12v battery Hyundai Kona EV 2019 Owner's Manual
[x] Cancel search | Manufacturer: HYUNDAI, Model Year: 2019, Model line: Kona EV, Model: Hyundai Kona EV 2019Pages: 540, PDF Size: 21.84 MB
Page 95 of 540
3-11
Convenient features of your vehicle
3
Operating Door Locks from
Inside the Vehicle
With the door lock button
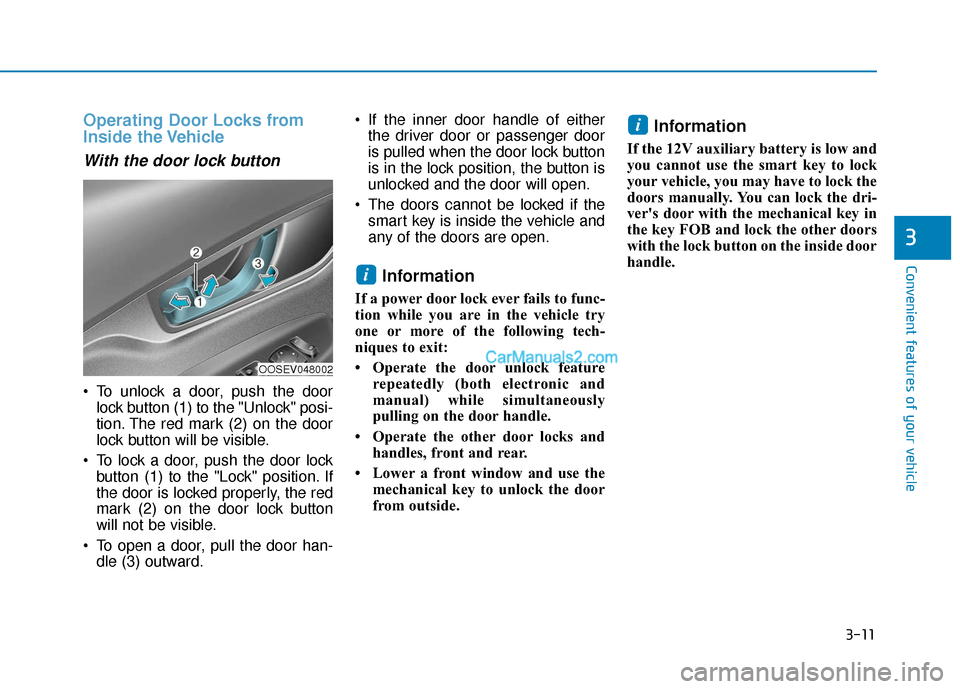
To unlock a door, push the doorlock button (1) to the "Unlock" posi-
tion. The red mark (2) on the door
lock button will be visible.
To lock a door, push the door lock button (1) to the "Lock" position. If
the door is locked properly, the red
mark (2) on the door lock button
will not be visible.
To open a door, pull the door han- dle (3) outward. If the inner door handle of either
the driver door or passenger door
is pulled when the door lock button
is in the lock position, the button is
unlocked and the door will open.
The doors cannot be locked if the smart key is inside the vehicle and
any of the doors are open.
Information
If a power door lock ever fails to func-
tion while you are in the vehicle try
one or more of the following tech-
niques to exit:
• Operate the door unlock feature repeatedly (both electronic and
manual) while simultaneously
pulling on the door handle.
• Operate the other door locks and handles, front and rear.
• Lower a front window and use the mechanical key to unlock the door
from outside.
Information
If the 12V auxiliary battery is low and
you cannot use the smart key to lock
your vehicle, you may have to lock the
doors manually. You can lock the dri-
ver's door with the mechanical key in
the key FOB and lock the other doors
with the lock button on the inside door
handle.
i
i
OOSEV048002
Page 140 of 540
3-56
Convenient features of your vehicle
Electric PowerSteering (EPS)Warning Light
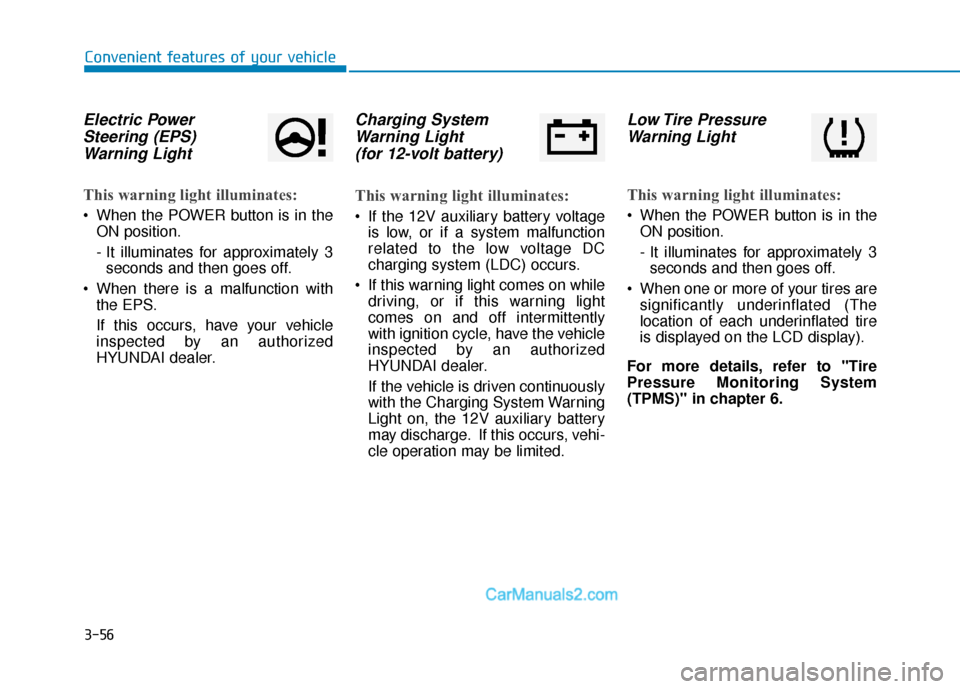
This warning light illuminates:
When the POWER button is in the
ON position.
- It illuminates for approximately 3seconds and then goes off.
When there is a malfunction with the EPS.
If this occurs, have your vehicle
inspected by an authorized
HYUNDAI dealer.
Charging SystemWarning Light(for 12-volt battery)
This warning light illuminates:
If the 12V auxiliary battery voltage
is low, or if a system malfunction
related to the low voltage DC
charging system (LDC) occurs.
If this warning light comes on while driving, or if this warning light
comes on and off intermittently
with ignition cycle, have the vehicle
inspected by an authorized
HYUNDAI dealer.
If the vehicle is driven continuously
with the Charging System Warning
Light on, the 12V auxiliary battery
may discharge. If this occurs, vehi-
cle operation may be limited.
Low Tire PressureWarning Light
This warning light illuminates:
When the POWER button is in the
ON position.
- It illuminates for approximately 3seconds and then goes off.
When one or more of your tires are significantly underinflated (The
location of each underinflated tire
is displayed on the LCD display).
For more details, refer to "Tire
Pressure Monitoring System
(TPMS)" in chapter 6.
Page 172 of 540
3-88
Convenient features of your vehicle
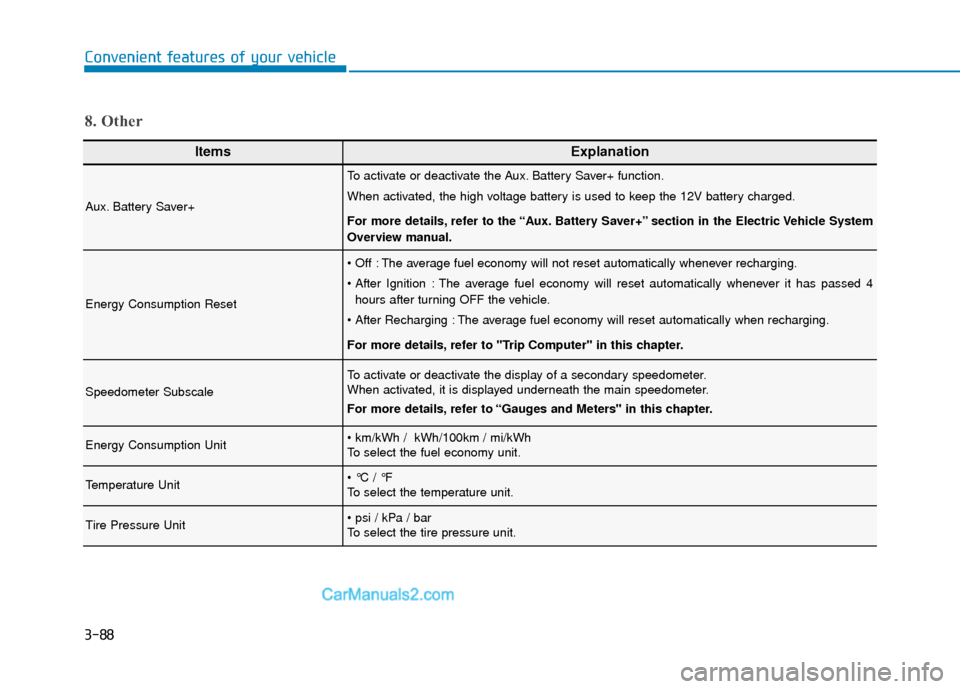
ItemsExplanation
Aux. Battery Saver+
To activate or deactivate the Aux. Battery Saver+ function.
When activated, the high voltage battery is used to keep the 12V battery charged.
For more details, refer to the “Aux. Battery Saver+” section in the Electric Vehicle System
Overview manual.
Energy Consumption Reset
The average fuel economy will not reset automatically whenever recharging.
The average fuel economy will reset automatically whenever it has passed 4hours after turning OFF the vehicle.
The average fuel economy will reset automatically when recharging.
For more details, refer to "Trip Computer" in this chapter.
Speedometer Subscale
To activate or deactivate the display of a secondary speedometer.
When activated, it is displayed underneath the main speedometer.
For more details, refer to “Gauges and Meters" in this chapter.
Energy Consumption Unit
To select the fuel economy unit.
Temperature Unit
To select the temperature unit.
Tire Pressure Unit
To select the tire pressure unit.
8. Other
Page 223 of 540
3-139
Convenient features of your vehicle
3
Power Outlet
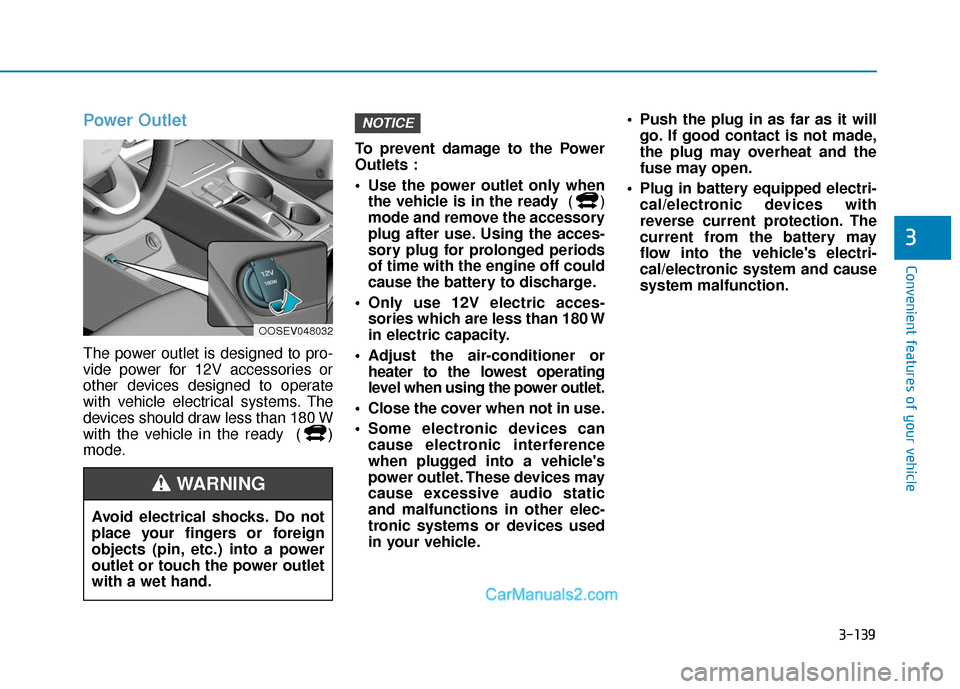
The power outlet is designed to pro-
vide power for 12V accessories or
other devices designed to operate
with vehicle electrical systems. The
devices should draw less than 180 W
with the vehicle in the ready ( )
mode.To prevent damage to the Power
Outlets :
Use the power outlet only when
the vehicle is in the ready ()
mode and remove the accessory
plug after use. Using the acces-
sory plug for prolonged periods
of time with the engine off could
cause the battery to discharge.
Only use 12V electric acces- sories which are less than 180 W
in electric capacity.
Adjust the air-conditioner or heater to the lowest operating
level when using the power outlet.
Close the cover when not in use.
Some electronic devices can cause electronic interference
when plugged into a vehicle's
power outlet. These devices may
cause excessive audio static
and malfunctions in other elec-
tronic systems or devices used
in your vehicle. Push the plug in as far as it will
go. If good contact is not made,
the plug may overheat and the
fuse may open.
Plug in battery equipped electri- cal/electronic devices with
reverse current protection. The
current from the battery may
flow into the vehicle's electri-
cal/electronic system and cause
system malfunction.
NOTICE
Avoid electrical shocks. Do not
place your fingers or foreign
objects (pin, etc.) into a power
outlet or touch the power outlet
with a wet hand.
WARNING
OOSEV048032
Page 357 of 540
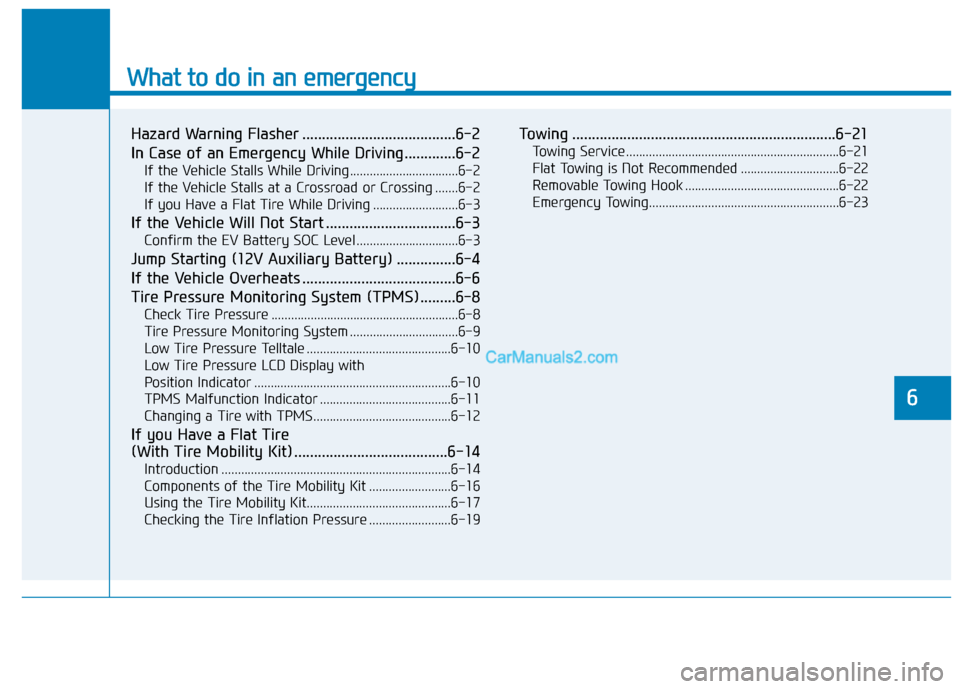
What to do in an emergency
6
Hazard Warning Flasher .......................................6-2
In Case of an Emergency While Driving.............6-2
If the Vehicle Stalls While Driving .................................6-2
If the Vehicle Stalls at a Crossroad or Crossing .......6-2
If you Have a Flat Tire While Driving ..........................6-3
If the Vehicle Will Not Start .................................6-3
Confirm the EV Battery SOC Level ...............................6-3
Jump Starting (12V Auxiliary Battery) ...............6-4
If the Vehicle Overheats .......................................6-6
Tire Pressure Monitoring System (TPMS).........6-8
Check Tire Pressure .........................................................6-8
Tire Pressure Monitoring System .................................6-9
Low Tire Pressure Telltale ............................................6-10
Low Tire Pressure LCD Display with
Position Indicator ............................................................6-10
TPMS Malfunction Indicator ........................................6-11
Changing a Tire with TPMS..........................................6-12
If you Have a Flat Tire
(With Tire Mobility Kit) .......................................6-14
Introduction ......................................................................6-\
14
Components of the Tire Mobility Kit .........................6-16
Using the Tire Mobility Kit............................................6-17
Checking the Tire Inflation Pressure .........................6-19
Towing ...................................................................6-21
Towing Service .................................................................6-21
Flat Towing is Not Recommended ..............................6-22
Removable Towing Hook ...............................................6-22
Emergency Towing..........................................................6-23
Page 359 of 540
6-3
What to do in an emergency
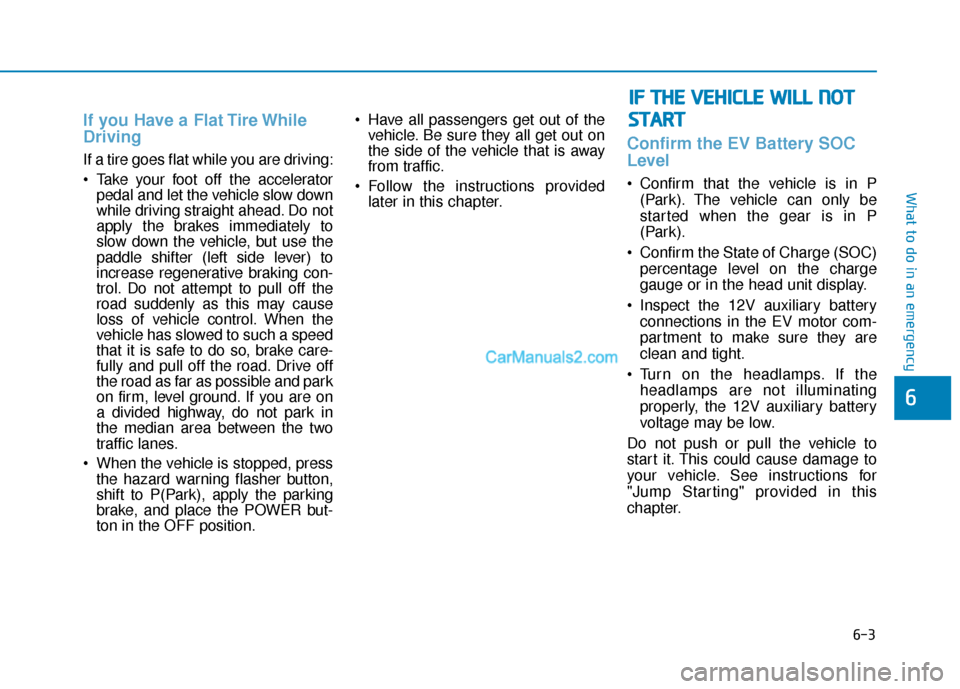
If you Have a Flat Tire While
Driving
If a tire goes flat while you are driving:
Take your foot off the acceleratorpedal and let the vehicle slow down
while driving straight ahead. Do not
apply the brakes immediately to
slow down the vehicle, but use the
paddle shifter (left side lever) to
increase regenerative braking con-
trol. Do not attempt to pull off the
road suddenly as this may cause
loss of vehicle control. When the
vehicle has slowed to such a speed
that it is safe to do so, brake care-
fully and pull off the road. Drive off
the road as far as possible and park
on firm, level ground. If you are on
a divided highway, do not park in
the median area between the two
traffic lanes.
When the vehicle is stopped, press the hazard warning flasher button,
shift to P(Park), apply the parking
brake, and place the POWER but-
ton in the OFF position. Have all passengers get out of the
vehicle. Be sure they all get out on
the side of the vehicle that is away
from traffic.
Follow the instructions provided later in this chapter.
Confirm the EV Battery SOC
Level
Confirm that the vehicle is in P
(Park). The vehicle can only be
started when the gear is in P
(Park).
Confirm the State of Charge (SOC) percentage level on the charge
gauge or in the head unit display.
Inspect the 12V auxiliary battery connections in the EV motor com-
partment to make sure they are
clean and tight.
Turn on the headlamps. If the headlamps are not illuminating
properly, the 12V auxiliary battery
voltage may be low.
Do not push or pull the vehicle to
start it. This could cause damage to
your vehicle. See instructions for
"Jump Starting" provided in this
chapter.
6
I I F
F
T
T H
H E
E
V
V E
EH
H I
IC
C L
LE
E
W
W I
IL
L L
L
N
N O
O T
T
S
S T
T A
A R
RT
T
Page 362 of 540
6-6
What to do in an emergency
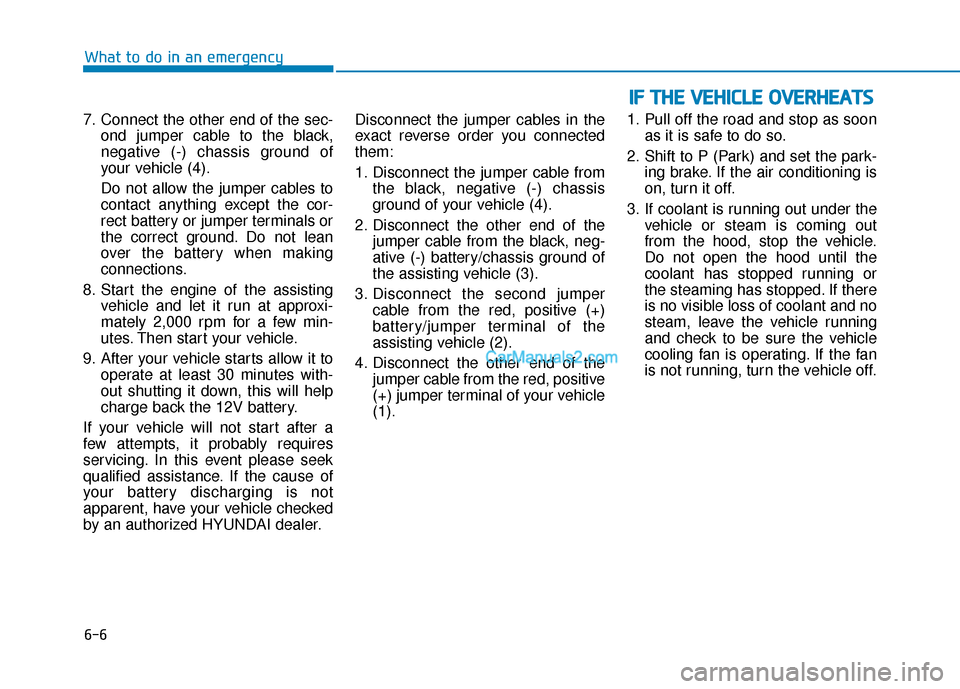
7. Connect the other end of the sec- ond jumper cable to the black,
negative (-) chassis ground of
your vehicle (4).
Do not allow the jumper cables to
contact anything except the cor-
rect battery or jumper terminals or
the correct ground. Do not lean
over the battery when making
connections.
8. Start the engine of the assisting vehicle and let it run at approxi-
mately 2,000 rpm for a few min-
utes. Then start your vehicle.
9. After your vehicle starts allow it to operate at least 30 minutes with-
out shutting it down, this will help
charge back the 12V battery.
If your vehicle will not start after a
few attempts, it probably requires
servicing. In this event please seek
qualified assistance. If the cause of
your battery discharging is not
apparent, have your vehicle checked
by an authorized HYUNDAI dealer. Disconnect the jumper cables in the
exact reverse order you connected
them:
1. Disconnect the jumper cable from
the black, negative (-) chassis
ground of your vehicle (4).
2. Disconnect the other end of the jumper cable from the black, neg-
ative (-) battery/chassis ground of
the assisting vehicle (3).
3. Disconnect the second jumper cable from the red, positive (+)
battery/jumper terminal of the
assisting vehicle (2).
4. Disconnect the other end of the jumper cable from the red, positive
(+) jumper terminal of your vehicle
(1). 1. Pull off the road and stop as soon
as it is safe to do so.
2. Shift to P (Park) and set the park- ing brake. If the air conditioning is
on, turn it off.
3. If coolant is running out under the vehicle or steam is coming out
from the hood, stop the vehicle.
Do not open the hood until the
coolant has stopped running or
the steaming has stopped. If there
is no visible loss of coolant and no
steam, leave the vehicle running
and check to be sure the vehicle
cooling fan is operating. If the fan
is not running, turn the vehicle off.
I IF
F
T
T H
H E
E
V
V E
EH
H I
IC
C L
LE
E
O
O V
VE
ER
R H
H E
EA
A T
TS
S
Page 381 of 540
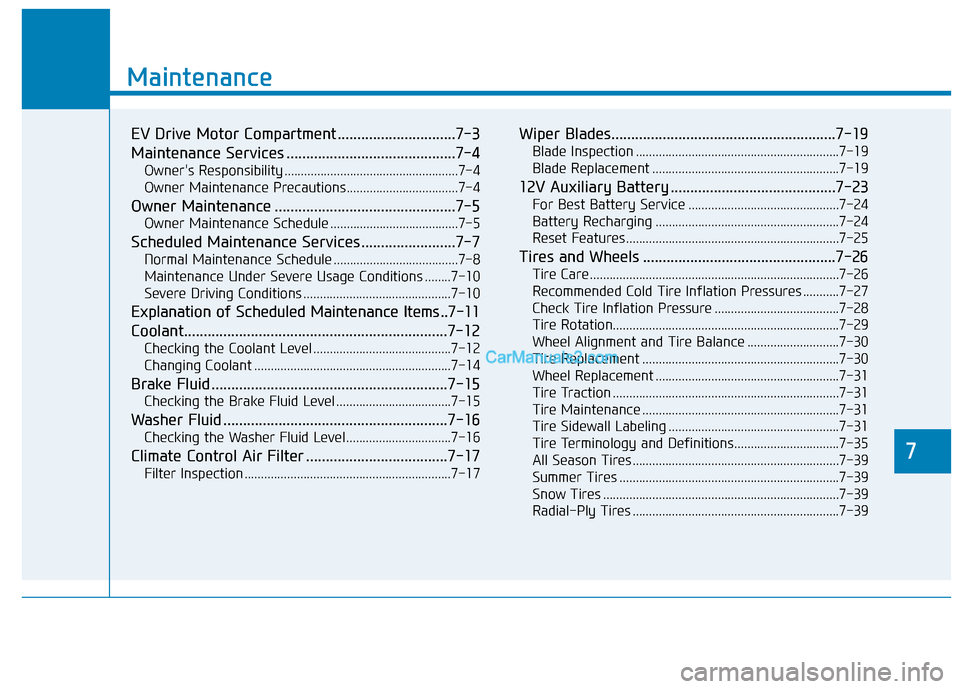
7
Maintenance
7
Maintenance
EV Drive Motor Compartment ..............................7-3
Maintenance Services ...........................................7-4
Owner's Responsibility .....................................................7-4
Owner Maintenance Precautions..................................7-4
Owner Maintenance ..............................................7-5
Owner Maintenance Schedule .......................................7-5
Scheduled Maintenance Services........................7-7
Normal Maintenance Schedule ......................................7-8
Maintenance Under Severe Usage Conditions ........7-10
Severe Driving Conditions .............................................7-10
Explanation of Scheduled Maintenance Items ..7-11
Coolant.................................................................\
..7-12
Checking the Coolant Level ..........................................7-12
Changing Coolant ............................................................7-14
Brake Fluid ............................................................7-15
Checking the Brake Fluid Level ...................................7-15
Washer Fluid .........................................................7-16
Checking the Washer Fluid Level................................7-16
Climate Control Air Filter ....................................7-17
Filter Inspection ...............................................................7-17
Wiper Blades.........................................................7-19
Blade Inspection ..............................................................7-19
Blade Replacement .........................................................7-19
12V Auxiliary Battery ..........................................7-23
For Best Battery Service ..............................................7-24
Battery Recharging ........................................................7-24
Reset Features.................................................................7-25
Tires and Wheels .................................................7-26
Tire Care ........................................................................\
....7-26
Recommended Cold Tire Inflation Pressures ...........7-27
Check Tire Inflation Pressure ......................................7-28
Tire Rotation...................................................................\
..7-29
Wheel Alignment and Tire Balance ............................7-30
Tire Replacement ............................................................7-30
Wheel Replacement ........................................................7-31
Tire Traction .....................................................................7-3\
1
Tire Maintenance ............................................................7-31
Tire Sidewall Labeling ....................................................7-31
Tire Terminology and Definitions................................7-35
All Season Tires ...............................................................7-39
Summer Tires ...................................................................7-39
Snow Tires ........................................................................\
7-39
Radial-Ply Tires ...............................................................7-39
7
Page 388 of 540
7-8
Maintenance
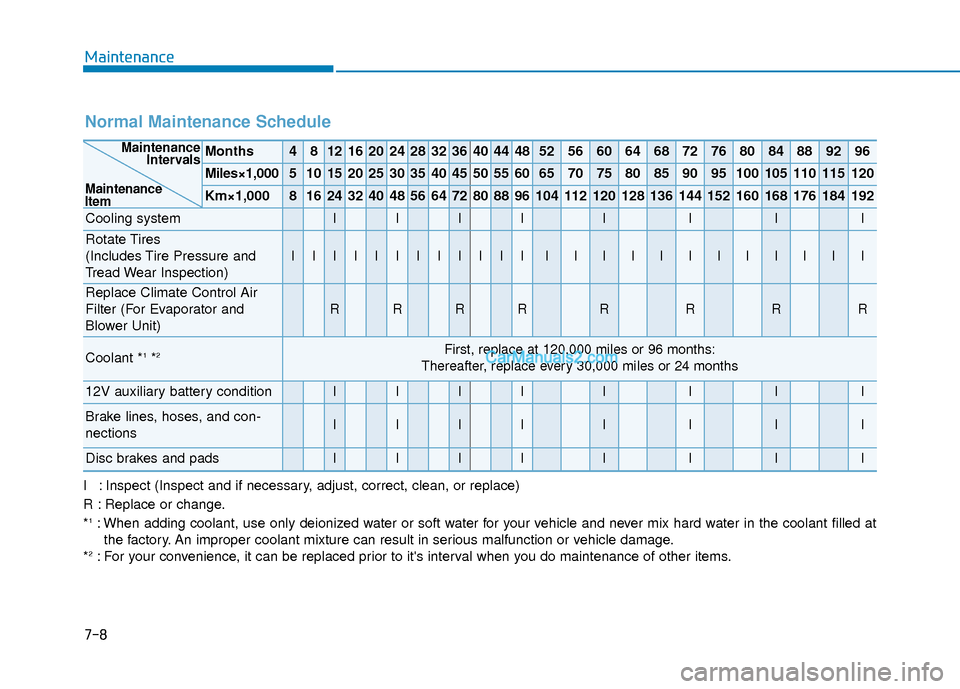
Normal Maintenance Schedule
Months4812162024283236404448525660646872768084889296
Miles×1,0005101520253035404550556065707580859095100105110115120
Km×1,00081624324048566472808896104112120128136144152160168176184192
Cooling systemIIIIIIII
Rotate Tires
(Includes Tire Pressure and
Tread Wear Inspection)
IIIIIIIIIIIIIIIIIIIIIIII
Replace Climate Control Air
Filter (For Evaporator and
Blower Unit)
RRRRRRRR
Coolant *1*2First, replace at 120,000 miles or 96 months:
Thereafter, replace every 30,000 miles or 24 months
12V auxiliary battery conditionIIIIIIII
Brake lines, hoses, and con-
nectionsIIIIIIII
Disc brakes and padsIIIIIIII
Maintenance Intervals
Maintenance
Item
I : Inspect (Inspect and if necessary, adjust, correct, clean, or replace)
R : Replace or change.
*
1: When adding coolant, use only deionized water or soft water for your vehicle and never mix hard water in the coolant filled at the factory. An improper coolant mixture can result in serious malfunction or vehicle damage.
*
2: For your convenience, it can be replaced prior to it's interval when you do maintenance of other items.
Page 467 of 540
H4
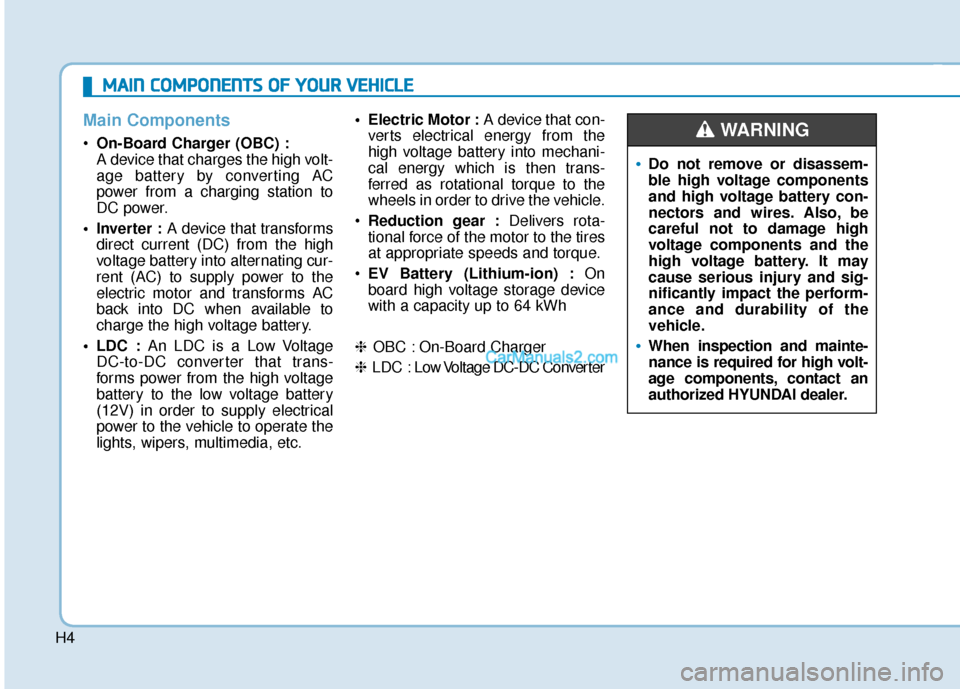
Main Components
On-Board Charger (OBC) :
A device that charges the high volt-
age battery by converting AC
power from a charging station to
DC power.
• Inverter : A device that transforms
direct current (DC) from the high
voltage battery into alternating cur-
rent (AC) to supply power to the
electric motor and transforms AC
back into DC when available to
charge the high voltage battery.
LDC : An LDC is a Low Voltage
DC-to-DC converter that trans-
forms power from the high voltage
battery to the low voltage battery
(12V) in order to supply electrical
power to the vehicle to operate the
lights, wipers, multimedia, etc. Electric Motor :
A device that con-
verts electrical energy from the
high voltage battery into mechani-
cal energy which is then trans-
ferred as rotational torque to the
wheels in order to drive the vehicle.
Reduction gear : Delivers rota-
tional force of the motor to the tires
at appropriate speeds and torque.
EV Battery (Lithium-ion) : On
board high voltage storage device
with a capacity up to 64 kWh
❈ OBC : On-Board Charger
❈ LDC : Low V oltage DC-DC Converter
M MA
AI
IN
N
C
C O
O M
M P
PO
O N
NE
EN
N T
TS
S
O
O F
F
Y
Y O
O U
UR
R
V
V E
EH
H I
IC
C L
LE
E
Do not remove or disassem-
ble high voltage components
and high voltage battery con-
nectors and wires. Also, be
careful not to damage high
voltage components and the
high voltage battery. It may
cause serious injury and sig-
nificantly impact the perform-
ance and durability of the
vehicle.
When inspection and mainte-
nance is required for high volt-
age components, contact an
authorized HYUNDAI dealer.
WARNING