INFINITI QX30 2019 Infiniti Connection
Manufacturer: INFINITI, Model Year: 2019, Model line: QX30, Model: INFINITI QX30 2019Pages: 283, PDF Size: 1.59 MB
Page 191 of 283
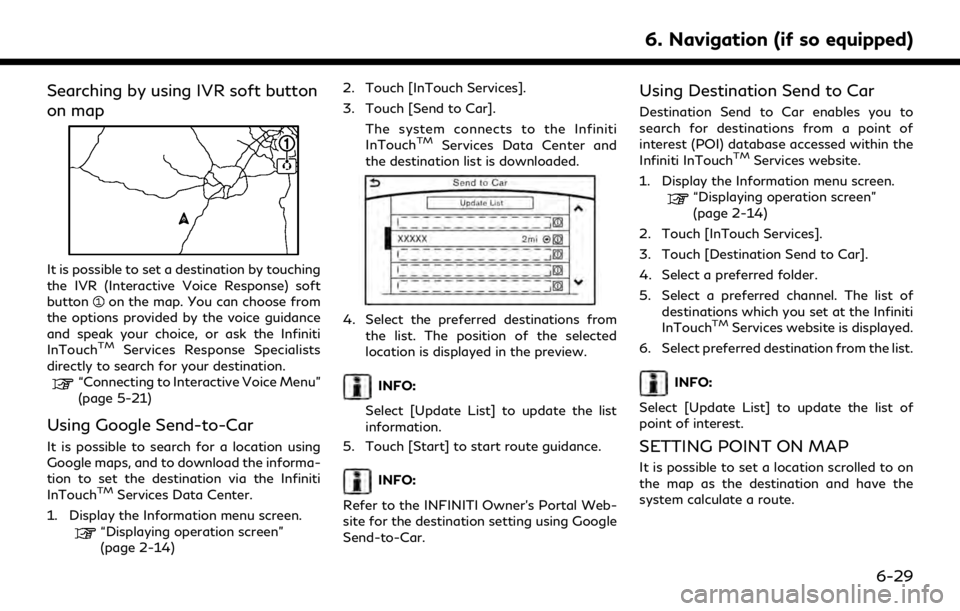
Searching by using IVR soft button
on map
It is possible to set a destination by touching
the IVR (Interactive Voice Response) soft
button
on the map. You can choose from
the options provided by the voice guidance
and speak your choice, or ask the Infiniti
InTouch
TMServices Response Specialists
directly to search for your destination.
“Connecting to Interactive Voice Menu”
(page 5-21)
Using Google Send-to-Car
It is possible to search for a location using
Google maps, and to download the informa-
tion to set the destination via the Infiniti
InTouch
TMServices Data Center.
1. Display the Information menu screen.
“Displaying operation screen”
(page 2-14) 2. Touch [InTouch Services].
3. Touch [Send to Car].
The system connects to the Infiniti
InTouch
TMServices Data Center and
the destination list is downloaded.
4. Select the preferred destinations from
the list. The position of the selected
location is displayed in the preview.
INFO:
Select [Update List] to update the list
information.
5. Touch [Start] to start route guidance.
INFO:
Refer to the INFINITI Owner’s Portal Web-
site for the destination setting using Google
Send-to-Car.
Using Destination Send to Car
Destination Send to Car enables you to
search for destinations from a point of
interest (POI) database accessed within the
Infiniti InTouch
TMServices website.
1. Display the Information menu screen.
“Displaying operation screen”
(page 2-14)
2. Touch [InTouch Services].
3. Touch [Destination Send to Car].
4. Select a preferred folder.
5. Select a preferred channel. The list of destinations which you set at the Infiniti
InTouch
TMServices website is displayed.
6. Select preferred destination from the list.
INFO:
Select [Update List] to update the list of
point of interest.
SETTING POINT ON MAP
It is possible to set a location scrolled to on
the map as the destination and have the
system calculate a route.
6. Navigation (if so equipped)
6-29
Page 192 of 283
6. Navigation (if so equipped)
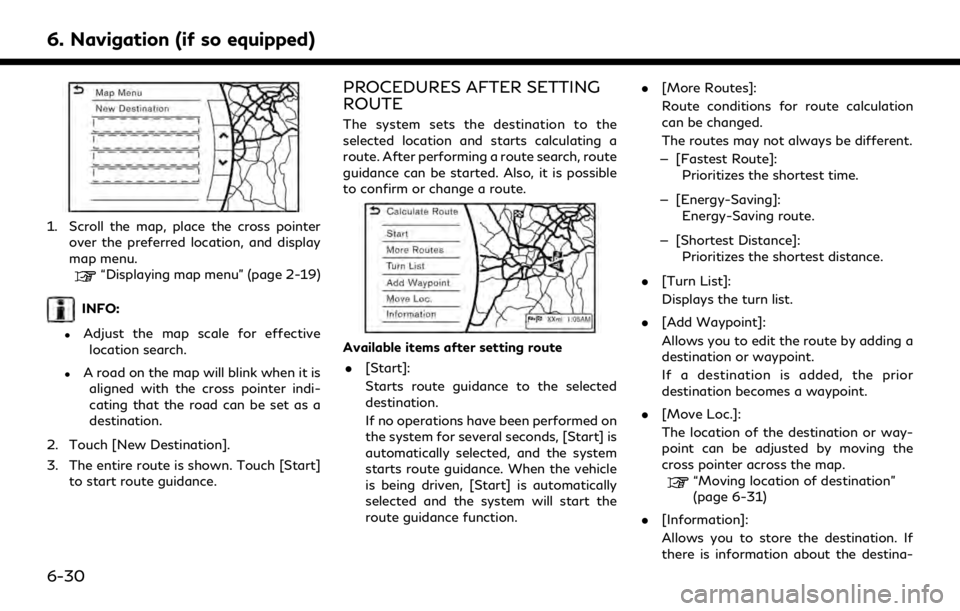
1. Scroll the map, place the cross pointerover the preferred location, and display
map menu.
“Displaying map menu” (page 2-19)
INFO:
.Adjust the map scale for effectivelocation search.
.A road on the map will blink when it is aligned with the cross pointer indi-
cating that the road can be set as a
destination.
2. Touch [New Destination].
3. The entire route is shown. Touch [Start] to start route guidance.
PROCEDURES AFTER SETTING
ROUTE
The system sets the destination to the
selected location and starts calculating a
route. After performing a route search, route
guidance can be started. Also, it is possible
to confirm or change a route.
Available items after setting route
. [Start]:
Starts route guidance to the selected
destination.
If no operations have been performed on
the system for several seconds, [Start] is
automatically selected, and the system
starts route guidance. When the vehicle
is being driven, [Start] is automatically
selected and the system will start the
route guidance function. .
[More Routes]:
Route conditions for route calculation
can be changed.
The routes may not always be different.
— [Fastest Route]: Prioritizes the shortest time.
— [Energy-Saving]: Energy-Saving route.
— [Shortest Distance]: Prioritizes the shortest distance.
. [Turn List]:
Displays the turn list.
. [Add Waypoint]:
Allows you to edit the route by adding a
destination or waypoint.
If a destination is added, the prior
destination becomes a waypoint.
. [Move Loc.]:
The location of the destination or way-
point can be adjusted by moving the
cross pointer across the map.
“Moving location of destination”
(page 6-31)
. [Information]:
Allows you to store the destination. If
there is information about the destina-
6-30
Page 193 of 283
tion (street address and phone number)
stored in the map data, it can also be
displayed.
Moving location of destination
The location of the destination can be
adjusted by moving the cross pointer across
the map.
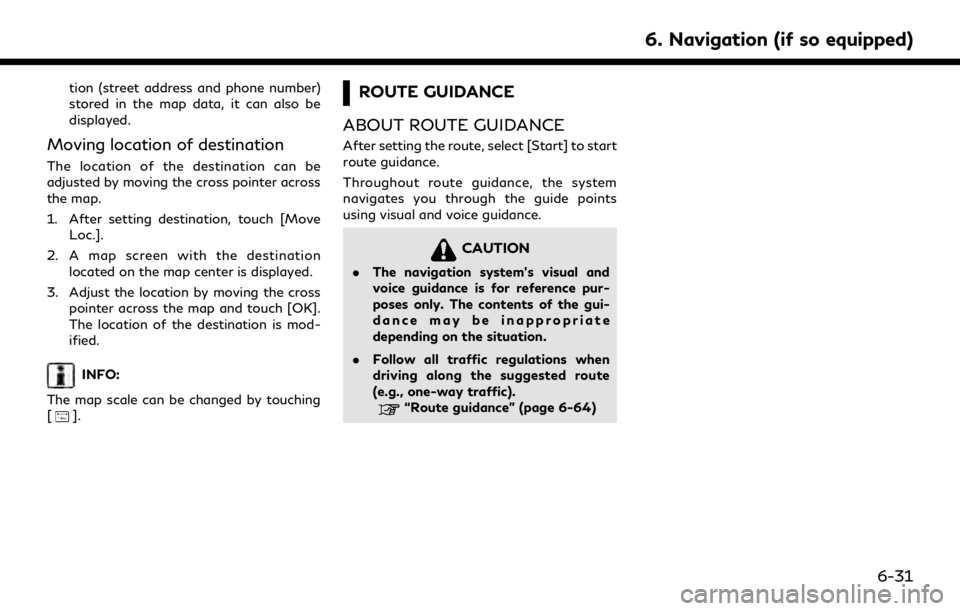
1. After setting destination, touch [MoveLoc.].
2. A map screen with the destination located on the map center is displayed.
3. Adjust the location by moving the cross pointer across the map and touch [OK].
The location of the destination is mod-
ified.
INFO:
The map scale can be changed by touching
[
].
ROUTE GUIDANCE
ABOUT ROUTE GUIDANCE
After setting the route, select [Start] to start
route guidance.
Throughout route guidance, the system
navigates you through the guide points
using visual and voice guidance.
CAUTION
. The navigation system’s visual and
voice guidance is for reference pur-
poses only. The contents of the gui-
dance may be inappropriate
depending on the situation.
. Follow all traffic regulations when
driving along the suggested route
(e.g., one-way traffic).
“Route guidance” (page 6-64)
6. Navigation (if so equipped)
6-31
Page 194 of 283
6. Navigation (if so equipped)
Voice guidance during route gui-
dance
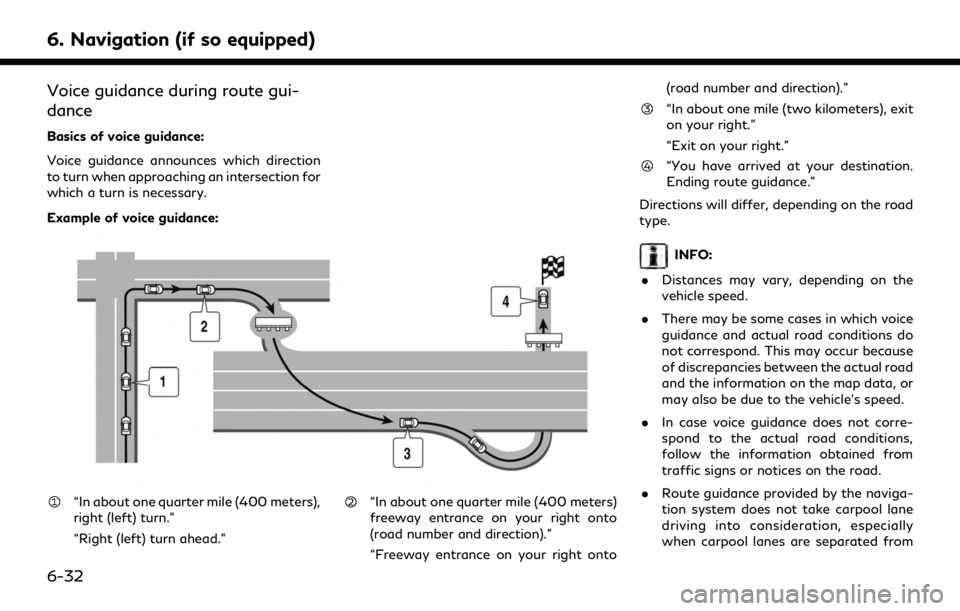
Basics of voice guidance:
Voice guidance announces which direction
to turn when approaching an intersection for
which a turn is necessary.
Example of voice guidance:
“In about one quarter mile (400 meters),
right (left) turn.”
“Right (left) turn ahead.”“In about one quarter mile (400 meters)
freeway entrance on your right onto
(road number and direction).”
“Freeway entrance on your right onto(road number and direction).”
“In about one mile (two kilometers), exit
on your right.”
“Exit on your right.”
“You have arrived at your destination.
Ending route guidance.”
Directions will differ, depending on the road
type.
INFO:
. Distances may vary, depending on the
vehicle speed.
. There may be some cases in which voice
guidance and actual road conditions do
not correspond. This may occur because
of discrepancies between the actual road
and the information on the map data, or
may also be due to the vehicle’s speed.
. In case voice guidance does not corre-
spond to the actual road conditions,
follow the information obtained from
traffic signs or notices on the road.
. Route guidance provided by the naviga-
tion system does not take carpool lane
driving into consideration, especially
when carpool lanes are separated from
6-32
Page 195 of 283

other road lanes.
. The system will only announce street
names when the system language is set
to English. Street names are not an-
nounced when the system is set to
French or Spanish.
. When approaching a guide point (inter-
section or corner), destination, etc. dur-
ing route guidance, voice guidance
announces the remaining distance and/
or turning direction.
Repeating voice guidance:
This function is available throughout route
guidance, from the time after the route
calculation is completed until the vehicle
arrives at the destination.
Push
INFO:
. If
Page 196 of 283

6. Navigation (if so equipped)
.Voice guidance may not accurately cor-
respond to street names at freeway
exits.
. The displayed street names may some-
times differ from the actual names, or
“UNKNOWN STREET NAME” may be
displayed.
. Voice guidance is not available when the
[Voice Guidance] is turned off.
“Volume settings” (page 2-27)
. Voice guidance will start when the
vehicle enters the suggested route. Refer
to the map for directions to the starting
point of the route.
. When approaching a waypoint, voice
guidance will announce, “You have ar-
rived at waypoint 1 (2, 3, 4,...).” Voice
guidance will switch to the next section
of the route. When voice guidance is not
available, refer to the map for directions.
. In some cases, voice guidance ends
before arrival at the destination. Refer
to the destination icon on the map to
reach the destination.
. If the system recognizes on which side
the destination (waypoint) is located,
voice guidance will announce “on the right/left” after announcing the arrival at
the destination.
. Voice guidance may be partially opera-
tional or inoperative due to the angle of
roads at an intersection.
. Because freeway lane information is
available only for approximately 7,000
major freeways in North America, it is
not possible to display information for all
junctions and exits.
. Freeway exit information may differ
from the information on the actual exit
signs.
. Because it is not possible to consider
data concerning roads that are season-
ally available or unavailable, a route may
be displayed that does not match the
actual traffic restrictions. Be sure to
follow the actual traffic restrictions
while driving.
. Canada and Alaska contain many roads
with incomplete map data. As a result,
when searching for a route, the route
may include roads with incomplete data.
In regions where road data is not
complete, voice guidance may stop for
long periods of time. Be sure to follow
the actual traffic restrictions while driv- ing.
ROUTE GUIDANCE SCREENS
Various guidance screens are displayed dur-
ing route guidance.
Guidance screen settings
The guidance screen can be displayed at all
times even when the vehicle is located away
from the guide point. Various types of
screens can be set.
“Display View Bar (models with naviga-
tion system)” (page 2-20)
Route guidance on map screen
When route guidance starts, the small turn
arrow on map is displayed in the upper left
corner of the map screen. This arrow
indicates the turning direction at the next
guide point (corner or intersection). The
distance is also displayed. At the top of the
6-34
Page 197 of 283
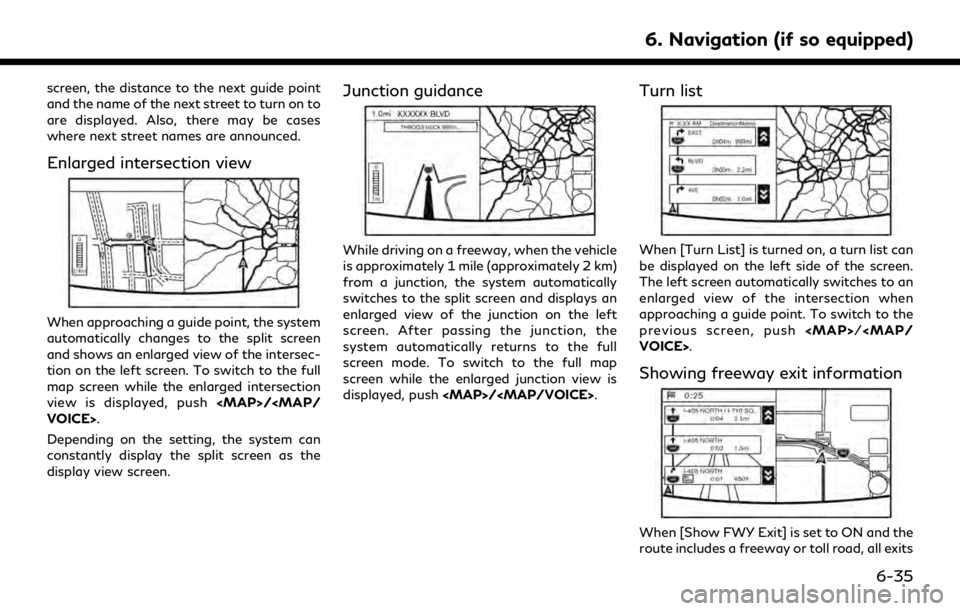
screen, the distance to the next guide point
and the name of the next street to turn on to
are displayed. Also, there may be cases
where next street names are announced.
Enlarged intersection view
When approaching a guide point, the system
automatically changes to the split screen
and shows an enlarged view of the intersec-
tion on the left screen. To switch to the full
map screen while the enlarged intersection
view is displayed, push
Depending on the setting, the system can
constantly display the split screen as the
display view screen.
Junction guidance
While driving on a freeway, when the vehicle
is approximately 1 mile (approximately 2 km)
from a junction, the system automatically
switches to the split screen and displays an
enlarged view of the junction on the left
screen. After passing the junction, the
system automatically returns to the full
screen mode. To switch to the full map
screen while the enlarged junction view is
displayed, push
Turn list
When [Turn List] is turned on, a turn list can
be displayed on the left side of the screen.
The left screen automatically switches to an
enlarged view of the intersection when
approaching a guide point. To switch to the
previous screen, push
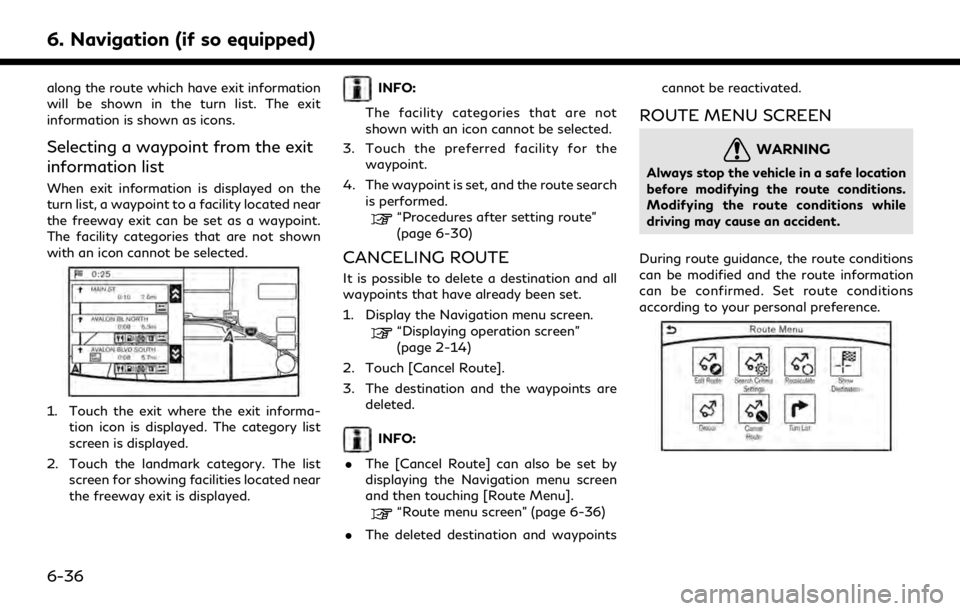
Showing freeway exit information
When [Show FWY Exit] is set to ON and the
route includes a freeway or toll road, all exits
6. Navigation (if so equipped)
6-35
Page 198 of 283
6. Navigation (if so equipped)
along the route which have exit information
will be shown in the turn list. The exit
information is shown as icons.
Selecting a waypoint from the exit
information list
When exit information is displayed on the
turn list, a waypoint to a facility located near
the freeway exit can be set as a waypoint.
The facility categories that are not shown
with an icon cannot be selected.
1. Touch the exit where the exit informa-tion icon is displayed. The category list
screen is displayed.
2. Touch the landmark category. The list screen for showing facilities located near
the freeway exit is displayed.
INFO:
The facility categories that are not
shown with an icon cannot be selected.
3. Touch the preferred facility for the waypoint.
4. The waypoint is set, and the route search is performed.
“Procedures after setting route”
(page 6-30)
CANCELING ROUTE
It is possible to delete a destination and all
waypoints that have already been set.
1. Display the Navigation menu screen.
“Displaying operation screen”
(page 2-14)
2. Touch [Cancel Route].
3. The destination and the waypoints are deleted.
INFO:
. The [Cancel Route] can also be set by
displaying the Navigation menu screen
and then touching [Route Menu].
“Route menu screen” (page 6-36)
. The deleted destination and waypoints cannot be reactivated.
ROUTE MENU SCREEN
WARNING
Always stop the vehicle in a safe location
before modifying the route conditions.
Modifying the route conditions while
driving may cause an accident.
During route guidance, the route conditions
can be modified and the route information
can be confirmed. Set route conditions
according to your personal preference.
6-36
Page 199 of 283
![INFINITI QX30 2019 Infiniti Connection Route menu screen display only when a
destination is already set.
1. Display the Navigation menu screen.
“Displaying operation screen”
(page 2-14)
2. Touch [Route Menu].
3. The following items are INFINITI QX30 2019 Infiniti Connection Route menu screen display only when a
destination is already set.
1. Display the Navigation menu screen.
“Displaying operation screen”
(page 2-14)
2. Touch [Route Menu].
3. The following items are](/img/42/35077/w960_35077-198.png)
Route menu screen display only when a
destination is already set.
1. Display the Navigation menu screen.
“Displaying operation screen”
(page 2-14)
2. Touch [Route Menu].
3. The following items are available.
Available settings . [Edit Route]:
Edit or add a destination or waypoint to
the route that is already set.
“Editing route” (page 6-37)
. [Search Criteria Settings]:
Change the route calculation conditions
anywhere along the route.
“Route settings” (page 6-45)
. [Recalculate]
Manually search for the route again after
changing the search conditions and have
the system calculate a route.
“Recalculating route” (page 6-39)
. [Show Destination]:
The destination is displayed on the map
screen.
. [Detour]:
A detour of a specified distance can be calculated.
“Specified distance based detour”
(page 6-40)
. [Cancel Route]:
The destination and the waypoints on
the route are deleted.
. [Turn List]:
Display the turn list.
“Displaying turn list” (page 6-41)
EDITING ROUTE
1. Display the Navigation menu screen.“Displaying operation screen”
(page 2-14)
2. Touch [Edit Route].
3. Set the preferred conditions. Available settings
[Add Destination]:
Touch to add a destination.
“Setting destination or waypoint”
(page 6-38)
Current destination:
Changes or deletes the destination.
“Editing/deleting destination or
waypoint” (page 6-38)
Condition for calculating a route to the
destination:
Changes the conditions for calculating a
route to the destination.
“Changing route calculation condi-
tions” (page 6-39)
[Add Waypoint]:“Setting destination or waypoint”
(page 6-38)
Current waypoint:
Changes or deletes the waypoint.
“Editing/deleting destination or
waypoint” (page 6-38)
Condition for calculating a route to a
waypoint:
Changes the conditions for calculating a
route to a waypoint.
6. Navigation (if so equipped)
6-37
Page 200 of 283
![INFINITI QX30 2019 Infiniti Connection 6. Navigation (if so equipped)
“Changing route calculation condi-
tions” (page 6-39)
[Sort]:
Sorts the waypoint and the destination.
[Store Route]:
Stores a route including a destination,
waypoint INFINITI QX30 2019 Infiniti Connection 6. Navigation (if so equipped)
“Changing route calculation condi-
tions” (page 6-39)
[Sort]:
Sorts the waypoint and the destination.
[Store Route]:
Stores a route including a destination,
waypoint](/img/42/35077/w960_35077-199.png)
6. Navigation (if so equipped)
“Changing route calculation condi-
tions” (page 6-39)
[Sort]:
Sorts the waypoint and the destination.
[Store Route]:
Stores a route including a destination,
waypoints, and route condition. A max-
imum of five routes can be stored.
Stored routes can be easily retrieved
and set as the suggested route.
INFO:
The [Edit Route] can also be set by display-
ing the Navigation menu screen and then
touching [Route Menu].
“Route menu screen” (page 6-36)
Setting destination or waypoint
A destination or waypoint can be added to a
route that has already been set. A total of six
destinations or waypoints can be set.
1. Display the Navigation menu screen.
“Displaying operation screen”
(page 2-14)
2. Touch [Edit Route].
3. Touch [Add Destination] or [Add Way- point].
INFO:
If [Add Destination] is selected, the
current destination changes to a way-
point.
4. Set a destination or waypoint. The method of searching for a destination
or waypoint is the same as the one for a
destination.
“Destination screen” (page 6-17)
5. The system will recalculate the routes. After the route search is completed, the
display will automatically return to the
edit route screen. Set the route condi-
tions as necessary.
“Editing/deleting destination or
waypoint” (page 6-38)
INFO:
The prior route is automatically deleted.
Editing/deleting destination or
waypoint
A destination or waypoint that has already
been set can be modified or deleted. If a
location is modified or deleted when a
suggested route is already set, the prior
suggested route will be recalculated accord-
ingly.
1. Display the Navigation menu screen.
“Displaying operation screen”
(page 2-14)
2. Touch [Edit Route].
3. Touch a destination or waypoint that is already set.
4. Touch the item you would like to set.
6-38