coolant level JAGUAR XJ6 1997 2.G User Guide
[x] Cancel search | Manufacturer: JAGUAR, Model Year: 1997, Model line: XJ6, Model: JAGUAR XJ6 1997 2.GPages: 227, PDF Size: 7.2 MB
Page 74 of 227

3261 Jaguar XJ6
3
Chapter 3
Cooling, heating and air conditioning systems
General
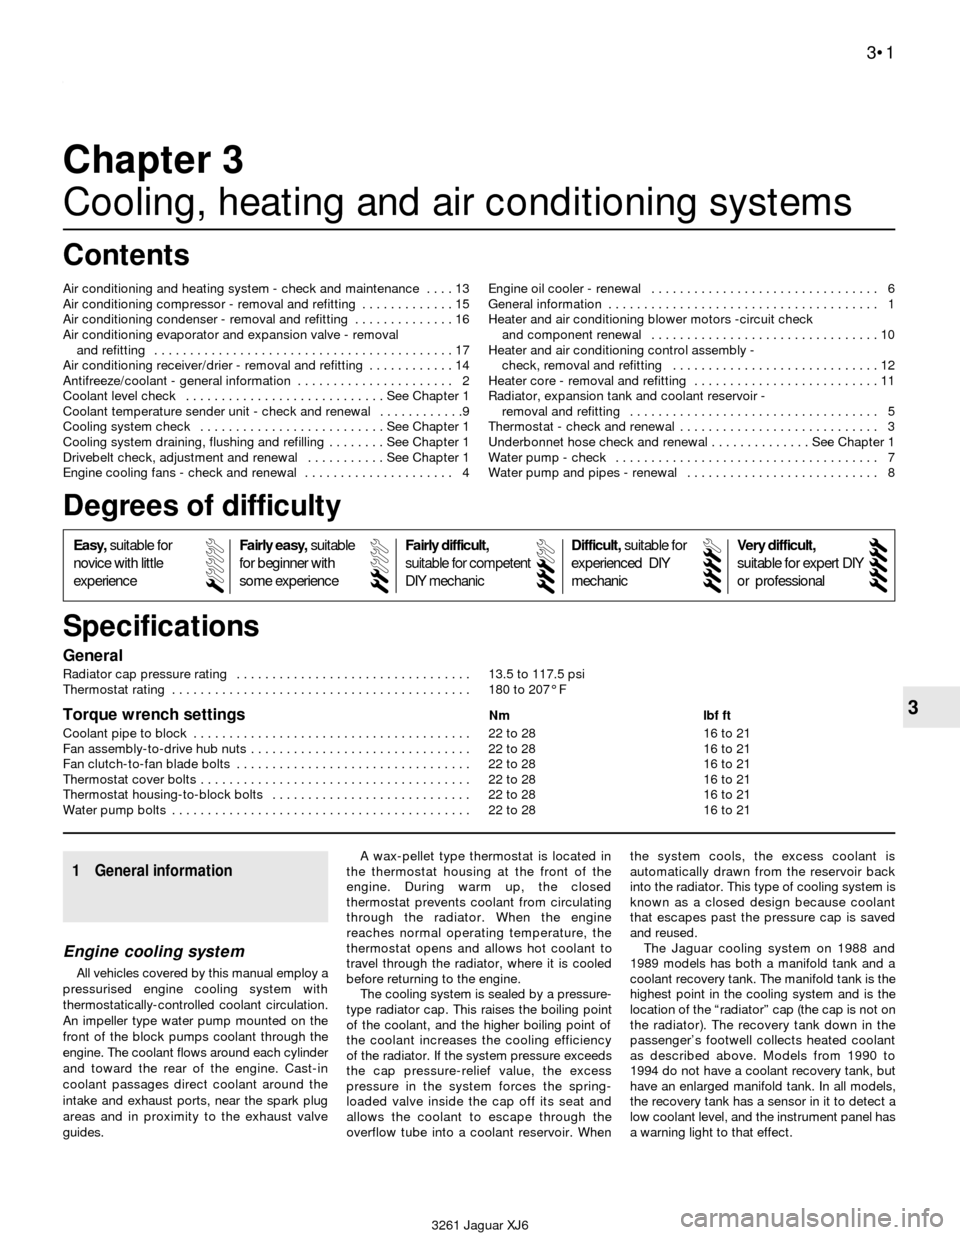
Radiator cap pressure rating . . . . . . . . . . . . . . . . . . . . . . . . . . . . . . . . . 13.5 to 117.5 psi
Thermostat rating . . . . . . . . . . . . . . . . . . . . . . . . . . . . . . . . . . . . . . . . . . 180 to 207° F
Torque wrench settingsNm lbf ft
Coolant pipe to block . . . . . . . . . . . . . . . . . . . . . . . . . . . . . . . . . . . . . . . 22 to 28 16 to 21
Fan assembly-to-drive hub nuts . . . . . . . . . . . . . . . . . . . . . . . . . . . . . . . 22 to 28 16 to 21
Fan clutch-to-fan blade bolts . . . . . . . . . . . . . . . . . . . . . . . . . . . . . . . . . 22 to 28 16 to 21
Thermostat cover bolts . . . . . . . . . . . . . . . . . . . . . . . . . . . . . . . . . . . . . . 22 to 28 16 to 21
Thermostat housing-to-block bolts . . . . . . . . . . . . . . . . . . . . . . . . . . . . 22 to 28 16 to 21
Water pump bolts . . . . . . . . . . . . . . . . . . . . . . . . . . . . . . . . . . . . . . . . . . 22 to 28 16 to 21 Air conditioning and heating system - check and maintenance . . . . 13
Air conditioning compressor - removal and refitting . . . . . . . . . . . . . 15
Air conditioning condenser - removal and refitting . . . . . . . . . . . . . . 16
Air conditioning evaporator and expansion valve - removal
and refitting . . . . . . . . . . . . . . . . . . . . . . . . . . . . . . . . . . . . . . . . . . 17
Air conditioning receiver/drier - removal and refitting . . . . . . . . . . . . 14
Antifreeze/coolant - general information . . . . . . . . . . . . . . . . . . . . . . 2
Coolant level check . . . . . . . . . . . . . . . . . . . . . . . . . . . . See Chapter 1
Coolant temperature sender unit - check and renewal . . . . . . . . . . . .9
Cooling system check . . . . . . . . . . . . . . . . . . . . . . . . . . See Chapter 1
Cooling system draining, flushing and refilling . . . . . . . . See Chapter 1
Drivebelt check, adjustment and renewal . . . . . . . . . . . See Chapter 1
Engine cooling fans - check and renewal . . . . . . . . . . . . . . . . . . . . . 4Engine oil cooler - renewal . . . . . . . . . . . . . . . . . . . . . . . . . . . . . . . . 6
General information . . . . . . . . . . . . . . . . . . . . . . . . . . . . . . . . . . . . . . 1
Heater and air conditioning blower motors -circuit check
and component renewal . . . . . . . . . . . . . . . . . . . . . . . . . . . . . . . . 10
Heater and air conditioning control assembly -
check, removal and refitting . . . . . . . . . . . . . . . . . . . . . . . . . . . . . 12
Heater core - removal and refitting . . . . . . . . . . . . . . . . . . . . . . . . . . 11
Radiator, expansion tank and coolant reservoir -
removal and refitting . . . . . . . . . . . . . . . . . . . . . . . . . . . . . . . . . . . 5
Thermostat - check and renewal . . . . . . . . . . . . . . . . . . . . . . . . . . . . 3
Underbonnet hose check and renewal . . . . . . . . . . . . . . See Chapter 1
Water pump - check . . . . . . . . . . . . . . . . . . . . . . . . . . . . . . . . . . . . . 7
Water pump and pipes - renewal . . . . . . . . . . . . . . . . . . . . . . . . . . . 8
3•1
Specifications Contents
Easy,suitable for
novice with little
experienceFairly easy,suitable
for beginner with
some experienceFairly difficult,
suitable for competent
DIY mechanic
Difficult,suitable for
experienced DIY
mechanicVery difficult,
suitable for expert DIY
or professional
Degrees of difficulty
54321
1 General information
Engine cooling system
All vehicles covered by this manual employ a
pressurised engine cooling system with
thermostatically-controlled coolant circulation.
An impeller type water pump mounted on the
front of the block pumps coolant through the
engine. The coolant flows around each cylinder
and toward the rear of the engine. Cast-in
coolant passages direct coolant around the
intake and exhaust ports, near the spark plug
areas and in proximity to the exhaust valve
guides.A wax-pellet type thermostat is located in
the thermostat housing at the front of the
engine. During warm up, the closed
thermostat prevents coolant from circulating
through the radiator. When the engine
reaches normal operating temperature, the
thermostat opens and allows hot coolant to
travel through the radiator, where it is cooled
before returning to the engine.
The cooling system is sealed by a pressure-
type radiator cap. This raises the boiling point
of the coolant, and the higher boiling point of
the coolant increases the cooling efficiency
of the radiator. If the system pressure exceeds
the cap pressure-relief value, the excess
pressure in the system forces the spring-
loaded valve inside the cap off its seat and
allows the coolant to escape through the
overflow tube into a coolant reservoir. Whenthe system cools, the excess coolant is
automatically drawn from the reservoir back
into the radiator. This type of cooling system is
known as a closed design because coolant
that escapes past the pressure cap is saved
and reused.
The Jaguar cooling system on 1988 and
1989 models has both a manifold tank and a
coolant recovery tank. The manifold tank is the
highest point in the cooling system and is the
location of the “radiator” cap (the cap is not on
the radiator). The recovery tank down in the
passenger’s footwell collects heated coolant
as described above. Models from 1990 to
1994 do not have a coolant recovery tank, but
have an enlarged manifold tank. In all models,
the recovery tank has a sensor in it to detect a
low coolant level, and the instrument panel has
a warning light to that effect.
Page 75 of 227

Heating system
The heating system consists of two blower
fans, one under the dash on the right and one
on the left, and a heater core located within
the heater/air conditioning assembly which is
under the dash and behind the console.
Hoses connect the heater core to the engine
cooling system. Heater function is controlled
by the heater/air conditioning control head on
the dashboard. Hot engine coolant is
circulated through the heater core. When the
heater mode is activated, a flap door opens to
expose the heater box to the passenger
compartment. A fan switch on the control
head activates the blower motor, which forces
air through the core, heating the air.
Air conditioning system
The air conditioning system consists of a
condenser mounted in front of the radiator, an
evaporator mounted in the heat/air
conditioning assembly behind the console and
under the centre of the dash, a compressor
mounted on the engine, a filter-drier which
contains a high pressure relief valve and the
plumbing connecting all of the above.
A blower fan forces the warmer air of the
passenger compartment through the
evaporator core (sort of a radiator-in-reverse),
transferring the heat from the air to the
refrigerant. The liquid refrigerant boils off into
low pressure vapour, taking the heat with it
when it leaves the evaporator. The
compressor keeps refrigerant circulating
through the system, pumping the warmed
coolant through the condenser where it is
cooled and then circulated back to the
evaporator.
2 Antifreeze/coolant-
general information
Warning: Do not allow antifreeze
to come in contact with your
skin or painted surfaces of the
vehicle. Rinse off spills immediately withplenty of water. Antifreeze is highly toxic if
ingested. Never leave antifreeze lying
around in an open container or in puddles
on the floor; children and pets are
attracted by it’s sweet smell and may drink
it. Check with local authorities about
disposing of used antifreeze. Many
communities have collection centres which
will see that antifreeze is disposed of
safely. Never dump used antifreeze on the
ground or into drains.
Note:Non-toxic antifreeze is now
manufactured and available at local car
accessory outlets, but even these types
should be disposed of properly.
The cooling system should be filled with a
water/ethylene-glycol based antifreeze
solution, which will prevent freezing down to
at least -20° F, or lower if local climate
requires it. It also provides protection against
corrosion and increases the coolant boiling
point.
The cooling system should be drained,
flushed and refilled every 24,000 miles or
every two years (see Chapter 1). The use of
antifreeze solutions for periods of longer than
two years is likely to cause damage and
encourage the formation of rust and scale in
the system. If your tap water is “hard”, i.e.
contains a lot of dissolved minerals, use
distilled water with the antifreeze.
Before adding antifreeze to the system,
check all hose connections, because
antifreeze tends to leak through very minute
openings. Engines do not normally consume
coolant. Therefore, if the level goes down, find
the cause and correct it.
The exact mixture of antifreeze-to-water
you should use depends on the relative
weather conditions. The mixture should
contain at least 50-percent antifreeze, but
should never contain more than 70-percent
antifreeze. Consult the mixture ratio chart on
the antifreeze container before adding
coolant. Hydrometers are available at most
car accessory outlets to test the ratio
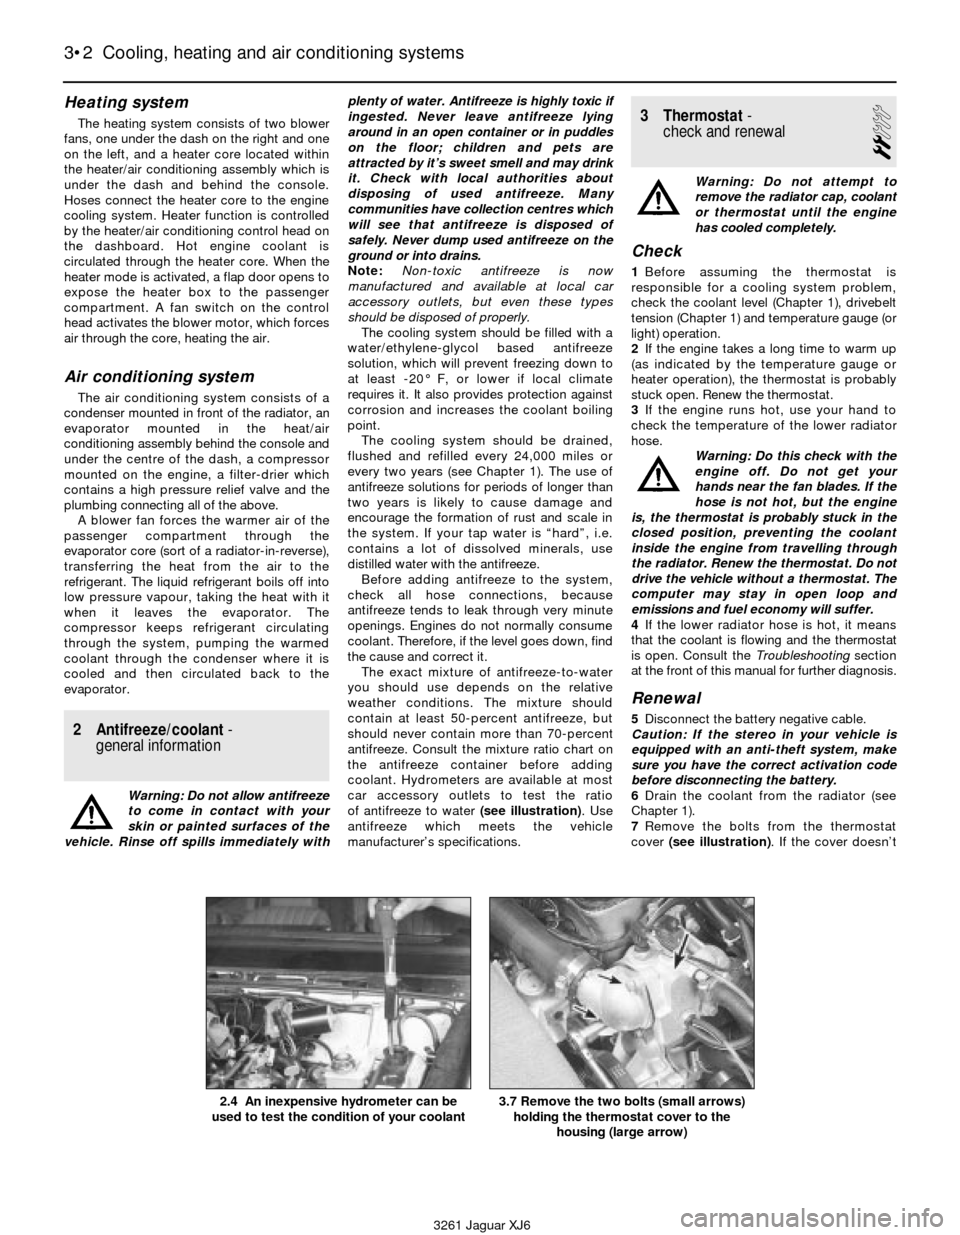
of antifreeze to water (see illustration). Use
antifreeze which meets the vehicle
manufacturer’s specifications.
3 Thermostat-
check and renewal
2
Warning: Do not attempt to
remove the radiator cap, coolant
or thermostat until the engine
has cooled completely.
Check
1Before assuming the thermostat is
responsible for a cooling system problem,
check the coolant level (Chapter 1), drivebelt
tension (Chapter 1) and temperature gauge (or
light) operation.
2If the engine takes a long time to warm up
(as indicated by the temperature gauge or
heater operation), the thermostat is probably
stuck open. Renew the thermostat.
3If the engine runs hot, use your hand to
check the temperature of the lower radiator
hose.
Warning: Do this check with the
engine off. Do not get your
hands near the fan blades. If the
hose is not hot, but the engine
is, the thermostat is probably stuck in the
closed position, preventing the coolant
inside the engine from travelling through
the radiator. Renew the thermostat. Do not
drive the vehicle without a thermostat. The
computer may stay in open loop and
emissions and fuel economy will suffer.
4If the lower radiator hose is hot, it means
that the coolant is flowing and the thermostat
is open. Consult the Troubleshootingsection
at the front of this manual for further diagnosis.
Renewal
5Disconnect the battery negative cable.
Caution: If the stereo in your vehicle is
equipped with an anti-theft system, make
sure you have the correct activation code
before disconnecting the battery.
6Drain the coolant from the radiator (see
Chapter 1).
7Remove the bolts from the thermostat
cover (see illustration). If the cover doesn’t
3•2 Cooling, heating and air conditioning systems
3261 Jaguar XJ6 2.4 An inexpensive hydrometer can be
used to test the condition of your coolant
3.7 Remove the two bolts (small arrows)
holding the thermostat cover to the
housing (large arrow)
Page 78 of 227

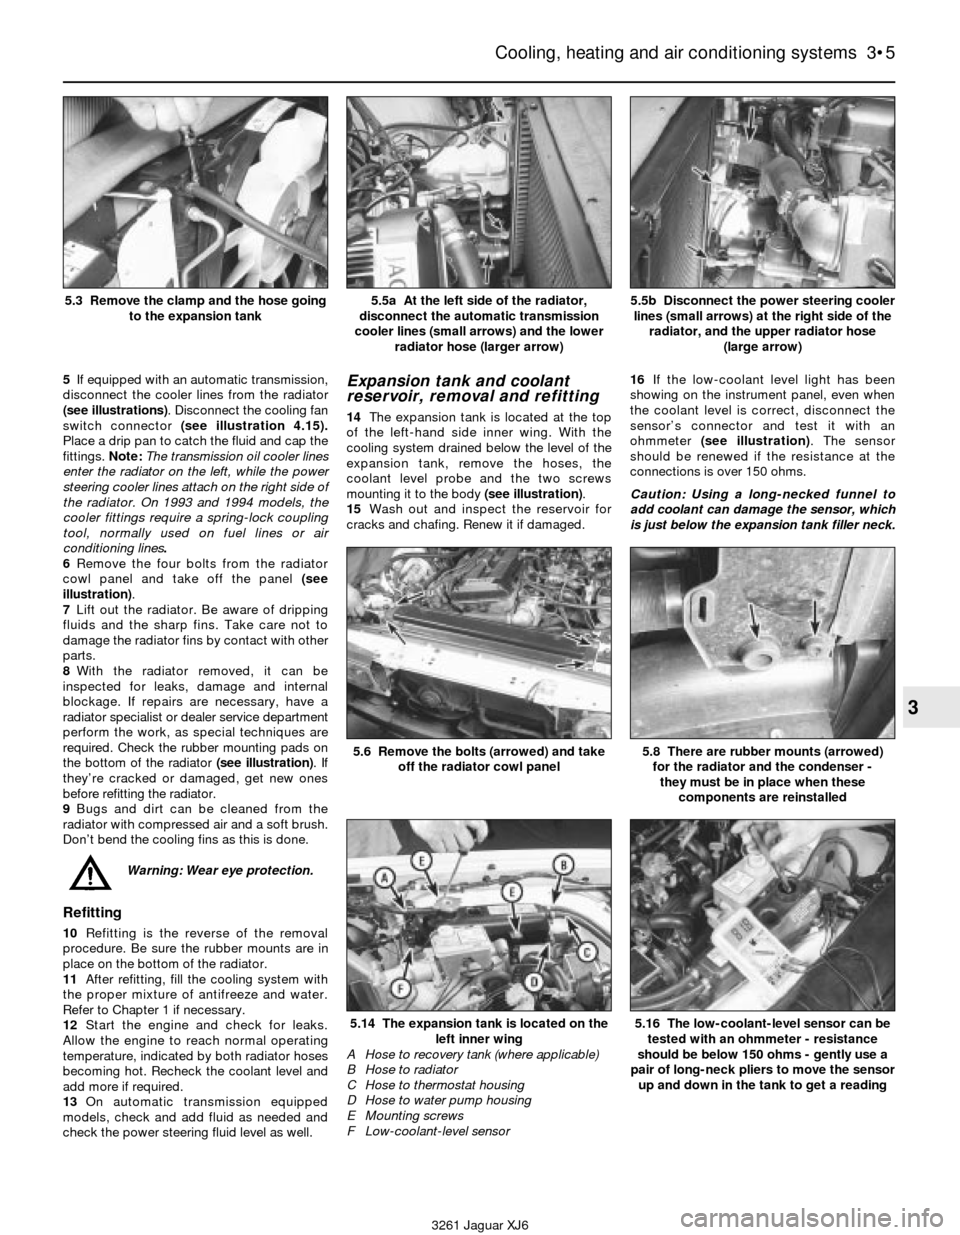
5If equipped with an automatic transmission,
disconnect the cooler lines from the radiator
(see illustrations). Disconnect the cooling fan
switch connector (see illustration 4.15).
Place a drip pan to catch the fluid and cap the
fittings. Note:The transmission oil cooler lines
enter the radiator on the left, while the power
steering cooler lines attach on the right side of
the radiator. On 1993 and 1994 models, the
cooler fittings require a spring-lock coupling
tool, normally used on fuel lines or air
conditioning lines.
6Remove the four bolts from the radiator
cowl panel and take off the panel (see
illustration).
7Lift out the radiator. Be aware of dripping
fluids and the sharp fins. Take care not to
damage the radiator fins by contact with other
parts.
8With the radiator removed, it can be
inspected for leaks, damage and internal
blockage. If repairs are necessary, have a
radiator specialist or dealer service department
perform the work, as special techniques are
required. Check the rubber mounting pads on
the bottom of the radiator (see illustration). If
they’re cracked or damaged, get new ones
before refitting the radiator.
9Bugs and dirt can be cleaned from the
radiator with compressed air and a soft brush.
Don’t bend the cooling fins as this is done.
Warning: Wear eye protection.
Refitting
10Refitting is the reverse of the removal
procedure. Be sure the rubber mounts are in
place on the bottom of the radiator.
11After refitting, fill the cooling system with
the proper mixture of antifreeze and water.
Refer to Chapter 1 if necessary.
12Start the engine and check for leaks.
Allow the engine to reach normal operating
temperature, indicated by both radiator hoses
becoming hot. Recheck the coolant level and
add more if required.
13On automatic transmission equipped
models, check and add fluid as needed and
check the power steering fluid level as well.
Expansion tank and coolant
reservoir, removal and refitting
14The expansion tank is located at the top
of the left-hand side inner wing. With the
cooling system drained below the level of the
expansion tank, remove the hoses, the
coolant level probe and the two screws
mounting it to the body (see illustration).
15Wash out and inspect the reservoir for
cracks and chafing. Renew it if damaged.16If the low-coolant level light has been
showing on the instrument panel, even when
the coolant level is correct, disconnect the
sensor’s connector and test it with an
ohmmeter (see illustration). The sensor
should be renewed if the resistance at the
connections is over 150 ohms.
Caution: Using a long-necked funnel to
add coolant can damage the sensor, which
is just below the expansion tank filler neck.
Cooling, heating and air conditioning systems 3•5
3
5.5a At the left side of the radiator,
disconnect the automatic transmission
cooler lines (small arrows) and the lower
radiator hose (larger arrow)5.5b Disconnect the power steering cooler
lines (small arrows) at the right side of the
radiator, and the upper radiator hose
(large arrow)
3261 Jaguar XJ6 5.3 Remove the clamp and the hose going
to the expansion tank
5.6 Remove the bolts (arrowed) and take
off the radiator cowl panel
5.14 The expansion tank is located on the
left inner wing
A Hose to recovery tank (where applicable)
B Hose to radiator
C Hose to thermostat housing
D Hose to water pump housing
E Mounting screws
F Low-coolant-level sensor
5.8 There are rubber mounts (arrowed)
for the radiator and the condenser -
they must be in place when these
components are reinstalled
5.16 The low-coolant-level sensor can be
tested with an ohmmeter - resistance
should be below 150 ohms - gently use a
pair of long-neck pliers to move the sensor
up and down in the tank to get a reading
Page 215 of 227

3261 Jaguar XJ6
REF•14Fault finding
2 Fuel system
Engine surges while holding accelerator steady
m mIntake air leak (Chapter 4).
m mFuel pump faulty (Chapter 4).
m mLoose fuel injector harness connections (Chapters 4 and 6).
m mDefective ECU (Chapter 6).
Pinking or knocking engine sounds during
acceleration or uphill
m mIncorrect grade of fuel.
m mDistributor installed incorrectly (Chapter 5).
m mFuel injection system in need of adjustment (Chapter 4).
m mImproper or damaged spark plugs or wires (Chapter 1).
m mWorn or damaged distributor components (Chapter 5).
m mFaulty emission system (Chapter 6).
m mVacuum leak (Chapter 4).
m mFuel rail feed (inlet) hose has hardened, resulting in knocking noise
near dash (see Chapter 4).
Engine lacks power
m mIncorrect ignition timing (Chapter 5).
m mExcessive play in distributor shaft (Chapter 5).
m mWorn rotor, distributor cap or wires (Chapters 1 and 5).
m mFaulty or incorrectly gapped spark plugs (Chapter 1).
m mFuel injection system malfunctioning (Chapter 4).
m mFaulty coil (Chapter 5).
m mBrakes binding (Chapter 1).
m mAutomatic transmission fluid level incorrect (Chapter 1).
m mFuel filter clogged and/or impurities in the fuel system (Chapter 1).
m mEmission control system not functioning properly (Chapter 6).
m mLow or uneven cylinder compression pressures (Chapter 2).
Engine rattles at start-up
m
mFailure of upper timing chain tensioner (Chapter 2).
Engine backfires
m
mEmissions system not functioning properly (Chapter 6).
m mIgnition timing incorrect (Chapter 1).
m mFaulty secondary ignition system (cracked spark plug insulator,
faulty plug leads, distributor cap and/or rotor) (Chapters 1 and 5).
m mFuel injection system malfunctioning (Chapter 4).
m mVacuum leak at fuel injector(s), intake manifold or vacuum hoses
(Chapter 4).
Engine stalls
m mIdle speed incorrect (Chapter 1).
m mFuel filter clogged and/or water and impurities in the fuel system
(Chapter 1).
m mDistributor components damp or damaged (Chapter 5).
m mFaulty emissions system components (Chapter 6).
m mFaulty or incorrectly gapped spark plugs (Chapter 1).
m mFaulty spark plug leads (Chapter 1).
m mVacuum leak in the fuel injection system, intake manifold or
vacuum hoses (Chapter 4).
Engine runs with oil pressure light on
m mLow oil level (Chapter 1).
m mIdle rpm too low (Chapter 1).
m mShort in wiring circuit (Chapter 12).
m mFaulty oil pressure sending unit (Chapter 2).
m mWorn engine bearings and/or oil pump (Chapter 2).
Engine diesels (continues to run)
after switching off
m mIdle speed too high (Chapter 4).
m mExcessive engine operating temperature (Chapter 3).
m mIncorrect fuel octane grade.
Excessive fuel consumption
m
mDirty or clogged air filter element (Chapter 1).
m mIncorrectly set ignition timing (Chapter 5).
m mEmissions system not functioning properly (Chapter 6).
m mFuel injection internal parts worn or damaged (Chapter 4).
m mLow tyre pressure or incorrect tyre size (Chapter 1).
Fuel leakage and/or fuel odour
m
mLeak in a fuel feed or vent line (Chapter 4).
m mTank overfilled.
m mFuel injector internal parts excessively worn (Chapter 4).
3 Cooling system
Overheating
m
mInsufficient coolant in system (Chapter 1).
m mWater pump drivebelt defective or out of adjustment (Chapter 1).
m mRadiator core blocked or grille restricted (Chapter 3).
m mThermostat faulty (Chapter 3).
m mRadiator cap not maintaining proper pressure (Chapter 3).
m mIgnition timing incorrect (Chapter 5).
Overcooling
m
mFaulty thermostat (Chapter 3).
External coolant leakage
m
mDeteriorated/damaged hoses; loose clamps (Chapters 1 and 3).
m mWater pump seal defective (Chapters 1 and 3).
m mLeakage from radiator core or manifold tank (Chapter 3).
m mEngine drain or water jacket core plugs leaking (Chapter 2).
m mHoses behind water pump leaking (Chapter 3).
Internal coolant leakage
m
mLeaking cylinder head gasket (Chapter 2).
m mCracked cylinder bore or cylinder head (Chapter 2).
Coolant loss
m
mToo much coolant in system (Chapter 1).
m mCoolant boiling away because of overheating (Chapter 3).
m mInternal or external leakage (Chapter 3).
m mFaulty radiator cap (Chapter 3).
Poor coolant circulation
m
mInoperative water pump (Chapter 3).
m mRestriction in cooling system (Chapters 1 and 3).
m mWater pump drivebelt defective/out of adjustment (Chapter 1).
m mThermostat sticking (Chapter 3).
1 Engine (continued)