navigation JEEP CHEROKEE 2016 KL / 5.G User Guide
[x] Cancel search | Manufacturer: JEEP, Model Year: 2016, Model line: CHEROKEE, Model: JEEP CHEROKEE 2016 KL / 5.GPages: 236, PDF Size: 11.24 MB
Page 2 of 236
The driver’s primary
responsibility is the safe
operation of the vehicle.
Driving while distracted
can result in loss of
vehicle control, resulting
in a collision and personal
injury. FCA US LLC
strongly recommends that
the driver use extreme
caution when using any
device or feature that may
take their attention off
the road. Use of any electrical
devices, such as cellular
telephones, computers,
portable radios, vehicle
navigation or other
devices, by the driver
while the vehicle is moving
is dangerous and could
lead to a serious collision.
Texting while driving
is also dangerous and
should never be done
while the vehicle
is moving. If you find yourself
unable to devote your
full attention to vehicle
operation, pull off the
road to a safe location
and stop your vehicle.
Some states or provinces
prohibit the use of cellular
telephones or texting
while driving. It is always
the driver’s responsibility
to comply with all
local laws.
Driving and Alcohol:
Drunken driving is one of the most frequent causes of collisions. Your driving
ability can be seriously impaired with blood alcohol levels far below the legal
minimum. If you are drinking, don’t drive. Ride with a designated non-
drinking driver, call a cab, a friend, or use public transportation.
WARNING:
Driving after drinking can lead to a collision. Your perceptions are less sharp,
your reflexes are slower, and your judgment is impaired when you have been
drinking. Never drink and then drive.
If you are the first registered retail owner of your vehicle, you
may obtain a complimentary printed copy of the Owner’s
Manual, Navigation/Uconnect Manuals or Warranty Booklet by
calling 1-877-426-5337 (U.S.) or 1-800-387-1143 (Canada) or
by contacting your dealer.
Important:
This User Guide is intended to familiarize you with the important features of
your vehicle. The DVD enclosed contains your Owner’s Manual, Navigation/
Uconnect Manuals, Warranty Booklets, Tire Warranty and Roadside
Assistance (new vehicles purchased in the U.S.) or Roadside Assistance
(new vehicles purchased in Canada) in electronic format. We hope you
find it useful. Replacement DVD kits may be purchased by visiting
www.techauthority.com.
This guide has been prepared to help you
get quickly acquainted with your new Jeep ®
Brand Vehicle and to provide a convenient
reference source for common questions.
However, it is not a substitute for your
Owner’s Manual.
For complete operational instructions,
maintenance procedures and important
safety messages, please consult your
Owner’s Manual, Navigation/Uconnect
Manuals and other Warning Labels in
your vehicle.
Not all features shown in this
guide may apply to your vehicle. For
additional information on accessories
to help personalize your vehicle, visit
www.mopar.com (U. S .), www.mopar.ca
(Canada) or your local Jeep brand dealer.
1888490_16b_Cherokee_UG_071615.indd 27/16/15 2:05 PM
Page 75 of 236
UCONNECT ACCESS
Uconnect Access — If Equipped (Available On Uconnect 8.4A/8.4AN —
U.S. Residents Only)
WARNING!
• ALWAYS obey traffic laws and pay attention to the road. Some UconnectAccess services, including 9-1-1 and Assist, will NOT work without an operable
1X (voice/data) or 3G (data) network connection.
• ALWAYS drive safely with your hands on the steering wheel. You have full
responsibility and assume all risks related to the use of the Uconnect features
and applications in this vehicle. Only use Uconnect when it is safe to do so.
Failure to do so may result in an accident involving serious injury or death.
NOTE:
Your vehicle may be transmitting data as authorized by the subscriber.
Uconnect Access enhances your ownership and driving experience by connecting
your vehicle to an operable 1X (voice/data) or 3G (data) network. When connected to
an operable 1X (voice/data) or 3G (data) network, you can:
• Place a call to a local 9-1-1 Operator for emergency assistance.
• Remotely lock/unlock your doors and start your vehicle from virtually anywhere, using the Uconnect Access App from your device. You can also do so by logging
into Mopar Owner Connect, or by calling Uconnect Care when your vehicle has an
operable 1X (voice/data) or 3G (data) network connection. Services can only be
used where coverage is available; see coverage map for details.
• Turn your vehicle into a WiFi Hotspot and connect your devices to the internet.
• Receive text or email notifications if your vehicle's theft alarm goes off.
• Receive stolen vehicle assistance, using GPS technology to help authorities locate your vehicle if it is stolen.
• Listen to your text messages or send free-form text messages with your voice while keeping your hands on the wheel, using the Voice Texting feature. Requires a
device that supports Bluetooth Message Access Profile (MAP).
• Search for places to eat, shop, relax and play with Yelp, using your voice or on-screen menu. Then navigate to them (navigation standard on Uconnect 8.4AN,
optional on Uconnect 8.4A).
• Get operator assistance using the ASSIST button on your interior rearview mirror.
ELECTRONICS
73
Page 76 of 236
Before you drive, familiarize yourself with the easy-to-use Uconnect Access.
1. The ASSIST and 9-1-1 buttons are located on your rearview mirror. The ASSISTbutton is used for contacting Roadside Assistance, Vehicle Care and Uconnect
Care. The 9-1-1 button connects you to emergency services.
NOTE:
Vehicles sold in Canada and Mexico DO NOT have 9-1-1 call system capabilities.
9-1-1 or other emergency line operators in Canada and Mexico may not answer or
respond to 9-1-1 system calls.
2. The Uconnect “Apps
” button in the center of the menu bar of the radio
touchscreen. This is where you can begin your registration process, manage your
Apps and purchase WiFi on demand.
3. The Uconnect Voice Command and Uconnect Phone buttons are located on the left side of your steering wheel. These buttons let you use your voice to give
commands, make phone calls, send and receive text messages hands-free, enter
navigation destinations, and control your radio and media devices.
Included Trial Period For New Vehicles
Your new vehicle may come with an included trial period for use of the Uconnect
Access Services starting at the date of vehicle purchase (date based on vehicle sales
notification from your dealer). To activate the trial, you must first register with Uconnect
Access. After the trial period, if you wish to continue your Uconnect Access Services
you can choose to purchase a subscription.
Features And Packages
•
After the trial period, you can subscribe to continue your service by visiting the Uconnect
Store located within the Mopar Owner Connect websitemoparownerconnect.com.
If you need assistance, U.S. residents can call Uconnect Care at 1-855-792-4241.
• For the latest information on packages and pricing information: U.S. residents
visit DriveUconnect.com.
Uconnect Access Registration (Uconnect 8.4A/8.4AN, U.S. 48 Contiguous
States, Alaska And Hawaii)
To unlock the full potential of Uconnect Access in your vehicle, you first need to register
with Uconnect Access.
1. Push the ASSIST button on your rear-
view mirror.
2. Press the “Uconnect Care” button on the touchscreen.
3. A helpful Uconnect Care Agent will register your vehicle and handle all of
the details.
ASSIST Button
ELECTRONICS
74
Page 102 of 236
RADIO
• To access the Radio mode, press the “Radio” button on the touchscreen.
Selecting Radio Stations
• Press the desired radio band (AM, FM or SXM) button on the touchscreen.
Seek Up/Seek Down
• Press the Seek up or down arrow buttons on the touchscreen for less than twoseconds to seek through radio stations.
• Press and hold either arrow button on the touchscreen for more than two seconds to bypass stations without stopping. The radio will stop at the next listenable
station once the arrow button on the touchscreen is released.
Uconnect 8.4AN Radio
1 — Radio Station Presets
2 — Toggle Between Presets
3 — Status Bar
4 — View Small Navigation Map
5 — HD Radio
6 — Main Category Bar7 — Audio Settings
8 — Seek Up
9 — Direct Tune To A Radio Station
10 — Seek Down
11 — Browse And Manage Presets
12 — Radio Bands
ELECTRONICS
100
Page 109 of 236
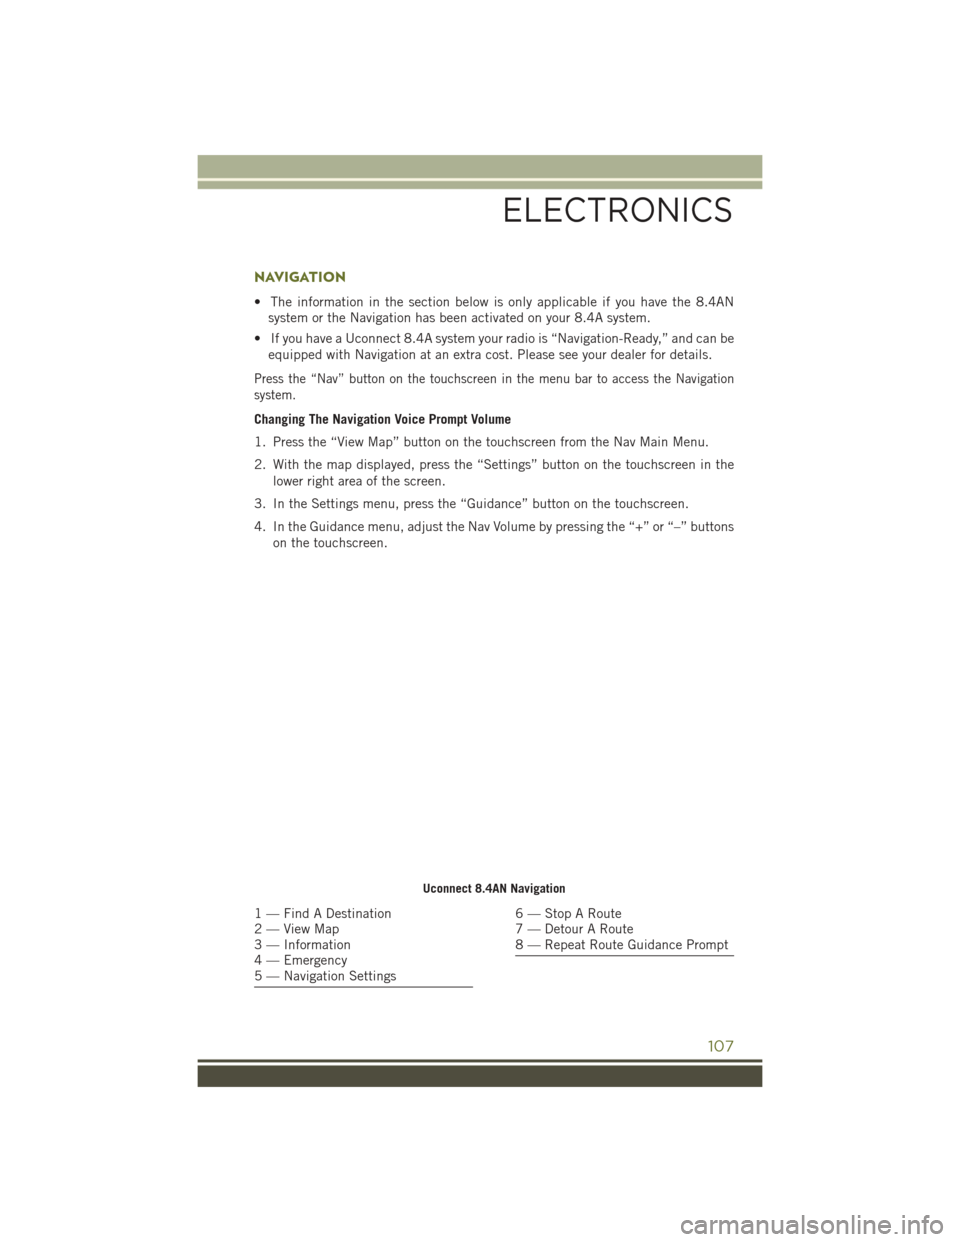
NAVIGATION
• The information in the section below is only applicable if you have the 8.4ANsystem or the Navigation has been activated on your 8.4A system.
• If you have a Uconnect 8.4A system your radio is “Navigation-Ready,” and can be equipped with Navigation at an extra cost. Please see your dealer for details.
Press the “Nav” button on the touchscreen in the menu bar to access the Navigation
system.
Changing The Navigation Voice Prompt Volume
1. Press the “View Map” button on the touchscreen from the Nav Main Menu.
2. With the map displayed, press the “Settings” button on the touchscreen in the
lower right area of the screen.
3. In the Settings menu, press the “Guidance” button on the touchscreen.
4. In the Guidance menu, adjust the Nav Volume by pressing the “+” or “–” buttons on the touchscreen.
Uconnect 8.4AN Navigation
1 — Find A Destination
2 — View Map
3 — Information
4 — Emergency
5 — Navigation Settings6 — Stop A Route
7 — Detour A Route
8 — Repeat Route Guidance Prompt
ELECTRONICS
107
Page 110 of 236
Finding Points Of Interest
• From the main Navigation menu, press the “Where To?” button on the touch-screen, then press the “Points of Interest” button on the touchscreen.
• Select a Category and then a subcategory, if necessary.
• Select your destination and press the “Yes” button on the touchscreen.
Finding A Place By Spelling The Name
• From the Main Navigation Menu press the “Where to?” button on the touchscreen, press the “Points of Interest” button on the touchscreen, then press the “Spell
Name” button on the touchscreen.
• Enter the name of your destination.
• Press the “List” button on the touchscreen.
• Select your destination and press the “Yes” button on the touchscreen.
One-Step Voice Destination Entry
• Enter a navigation destination without taking your hands off the wheel.
• Just push the Uconnect Voice Command
button on the steering wheel, wait
for the beep and say something like, "Find Address 800 Chrysler Drive Auburn Hills
MI."
NOTE:
Destination entry is not available while your vehicle is in motion. However, you can
also use Voice Commands to enter an address while moving. Refer to Common
Navigation Voice Commands in the Uconnect Voice Command section.
Setting Your Home Location
• Press the “Nav” button on the touchscreen in the menu bar to access the Navigation system and the Main Navigation menu.
• Press the “Where To?” button on the touchscreen, then press the “Go Home” button on the touchscreen.
• You may enter your address directly, use your current location as your home address, or choose from recently found locations.
• To delete your Home location (or other saved locations) so you can save a new Home location, press the “Where To?” button on the touchscreen from the Main
Navigation menu, then press the “Go Home” button on the touchscreen, and in the
Yes screen press the “Options” button on the touchscreen. In the Options menu
press the “Clear Home” button on the touchscreen. Set a new Home location by
following the previous instructions.
ELECTRONICS
108
Page 111 of 236
Go Home
• A Home location must be saved in the system. From the Main Navigation menu,press the “Where To?” button on the touchscreen, then press the “Go Home”
button on the touchscreen.
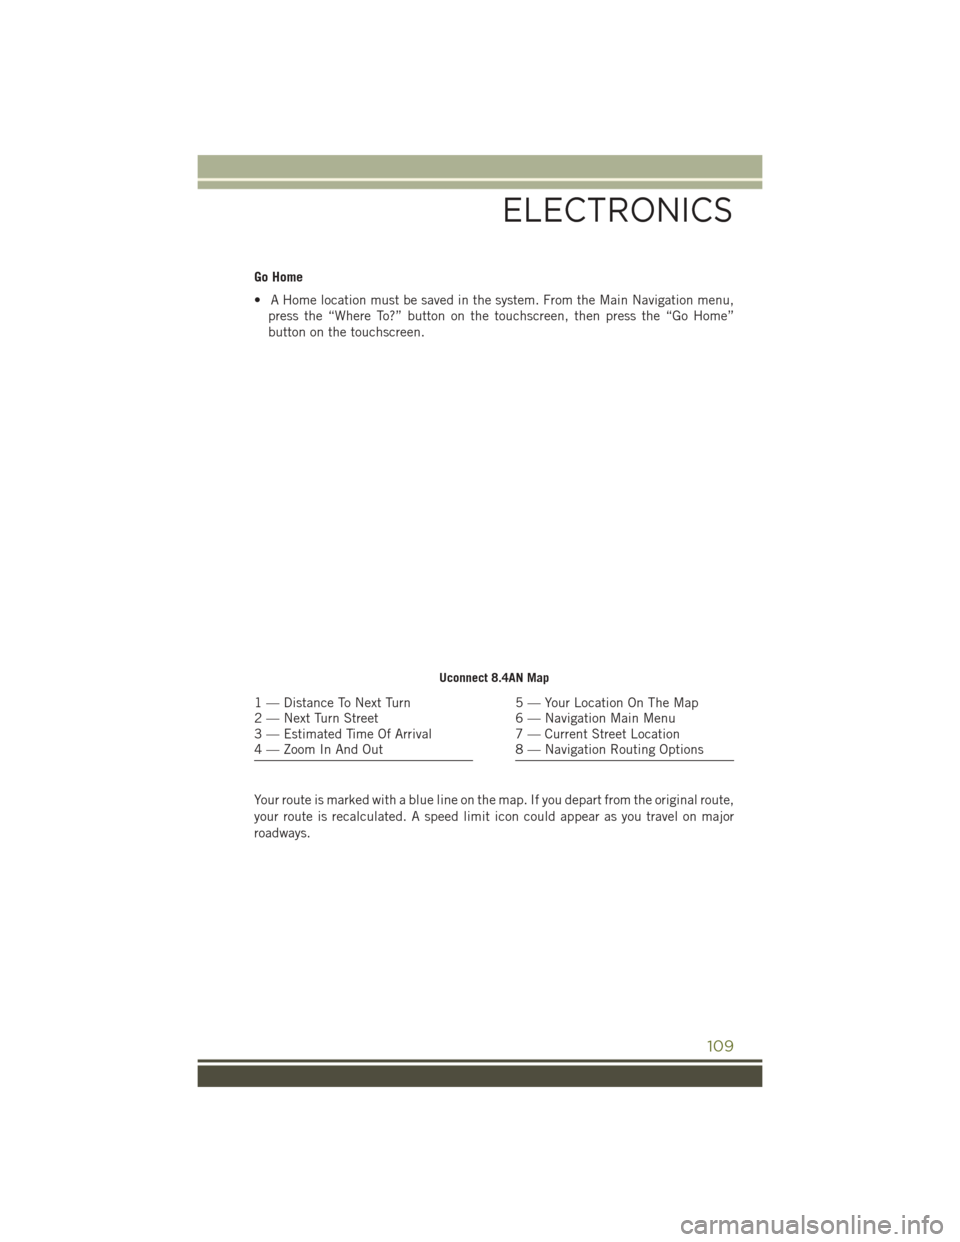
Your route is marked with a blue line on the map. If you depart from the original route,
your route is recalculated. A speed limit icon could appear as you travel on major
roadways.
Uconnect 8.4AN Map
1 — Distance To Next Turn
2 — Next Turn Street
3 — Estimated Time Of Arrival
4 — Zoom In And Out5 — Your Location On The Map
6 — Navigation Main Menu
7 — Current Street Location
8 — Navigation Routing Options
ELECTRONICS
109
Page 112 of 236
Adding A Stop
• To add a stop you must be navigating a route.
• Press the “Menu” button on the touchscreen to return to the Main Navigationmenu.
• Press the “Where To?” button on the touchscreen, then search for the extra stop. When another location has been selected, you can choose to cancel your previous
route, add as the first destination or add as the last destination.
• Press the desired selection and press the “Yes” button on the touchscreen.
Taking A Detour
• To take a detour you must be navigating a route.
• Press the “Detour” button on the touchscreen.
NOTE:
If the route you are currently taking is the only reasonable option, the device may not
calculate a detour. For more information, see your Uconnect User's Manual.
SiriusXM TRAFFIC (8.4AN & US Market Only)
Don't Drive Through Traffic. Drive Around It.
Avoid congestion before you reach it. By enhancing your vehicle's navigation system
with the ability to see detailed traffic information, you can pinpoint traffic incidents,
determine average traffic speed and estimate travel time along your route. Since the
service is integrated with a vehicle's navigation system, SiriusXM Traffic can help
drivers pick the fastest route based on traffic conditions.
• Detailed information on traffic speed, accidents, construction, and road closings.
• Traffic information from multiple sources, including police and emergency ser- vices, cameras and road sensors.
• Coast-to-coast delivery of traffic information.
• View conditions for points along your route and beyond. Available in over 130 markets.
ELECTRONICS
110
Page 113 of 236
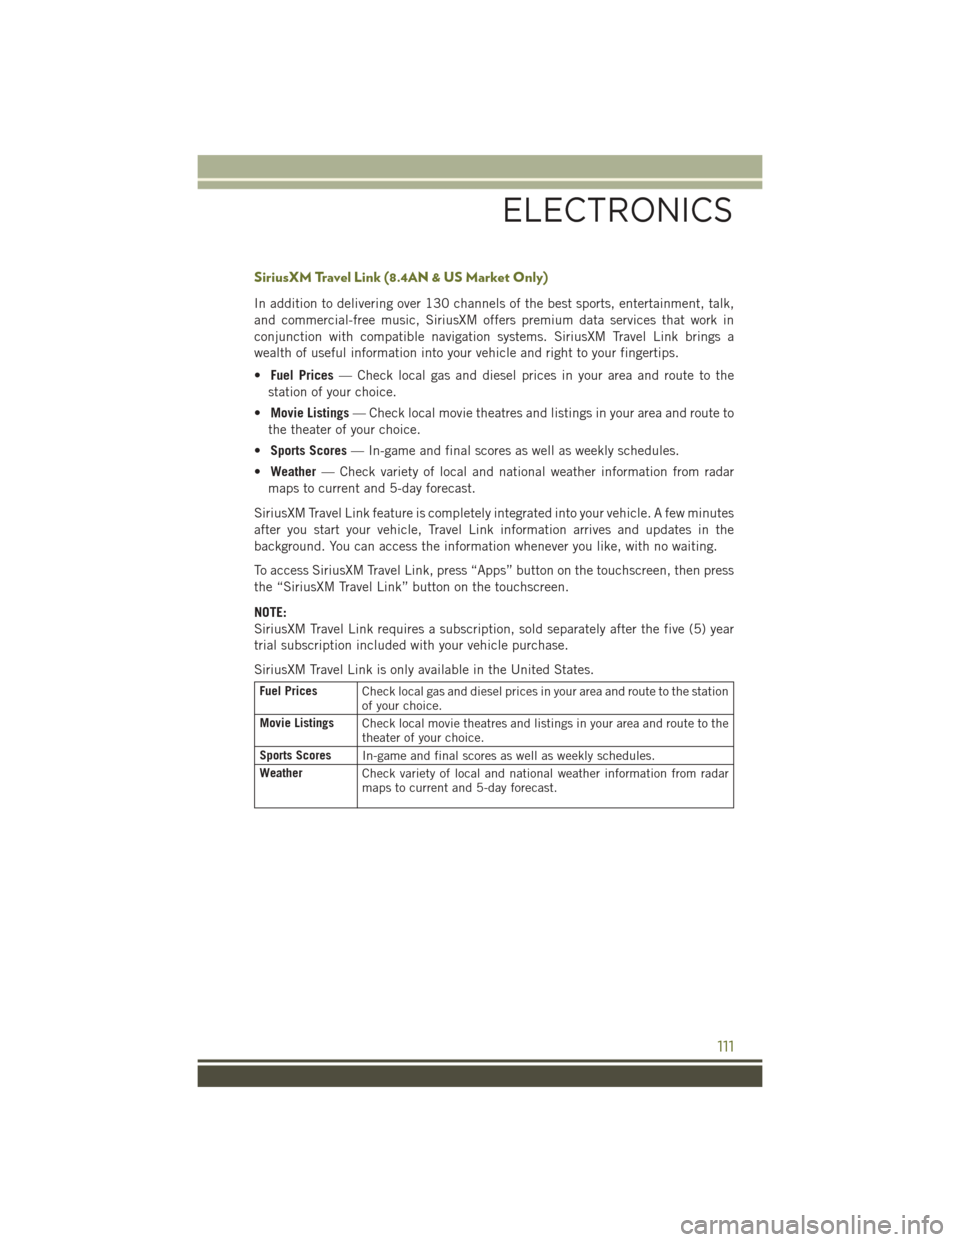
SiriusXM Travel Link (8.4AN & US Market Only)
In addition to delivering over 130 channels of the best sports, entertainment, talk,
and commercial-free music, SiriusXM offers premium data services that work in
conjunction with compatible navigation systems. SiriusXM Travel Link brings a
wealth of useful information into your vehicle and right to your fingertips.
•Fuel Prices — Check local gas and diesel prices in your area and route to the
station of your choice.
• Movie Listings — Check local movie theatres and listings in your area and route to
the theater of your choice.
• Sports Scores — In-game and final scores as well as weekly schedules.
• Weather — Check variety of local and national weather information from radar
maps to current and 5-day forecast.
SiriusXM Travel Link feature is completely integrated into your vehicle. A few minutes
after you start your vehicle, Travel Link information arrives and updates in the
background. You can access the information whenever you like, with no waiting.
To access SiriusXM Travel Link, press “Apps” button on the touchscreen, then press
the “SiriusXM Travel Link” button on the touchscreen.
NOTE:
SiriusXM Travel Link requires a subscription, sold separately after the five (5) year
trial subscription included with your vehicle purchase.
SiriusXM Travel Link is only available in the United States.
Fuel Prices Check local gas and diesel prices in your area and route to the station
of your choice.
Movie Listings Check local movie theatres and listings in your area and route to the
theater of your choice.
Sports Scores In-game and final scores as well as weekly schedules.
Weather Check variety of local and national weather information from radar
maps to current and 5-day forecast.
ELECTRONICS
111
Page 115 of 236
4. Each time you give a Voice Command, you must first push either the VR or Phonebutton, wait until afterthe beep, then say your Voice Command.
5. You can interrupt the help message or system prompts by pushing the VR or Phone button and saying a Voice Command from current category.
All you need to control your Uconnect system with your voice are the buttons on your
steering wheel.
1. Uconnect Phone Button
, Push to initiate, answer, or end a phone call, send
or receive a text.
2. Uconnect Voice Recognition Button
.
a. Short Press: Push and release the VR button to begin Radio, Climate,
Navigation, and other embedded functions. After you hear the single beep, say
a command.
b. Long Press: Push and hold, then release the VR button for Siri functions. After
you hear the familiar Siri "double beep," say a command.
3. Phone Hang Up Button.
Uconnect VR And Phone Buttons
ELECTRONICS
113