lock JEEP GRAND CHEROKEE 2012 WK2 / 4.G Owner's Manual
[x] Cancel search | Manufacturer: JEEP, Model Year: 2012, Model line: GRAND CHEROKEE, Model: JEEP GRAND CHEROKEE 2012 WK2 / 4.GPages: 148, PDF Size: 5.91 MB
Page 28 of 148
TILT/TELESCOPING STEERING COLUMN
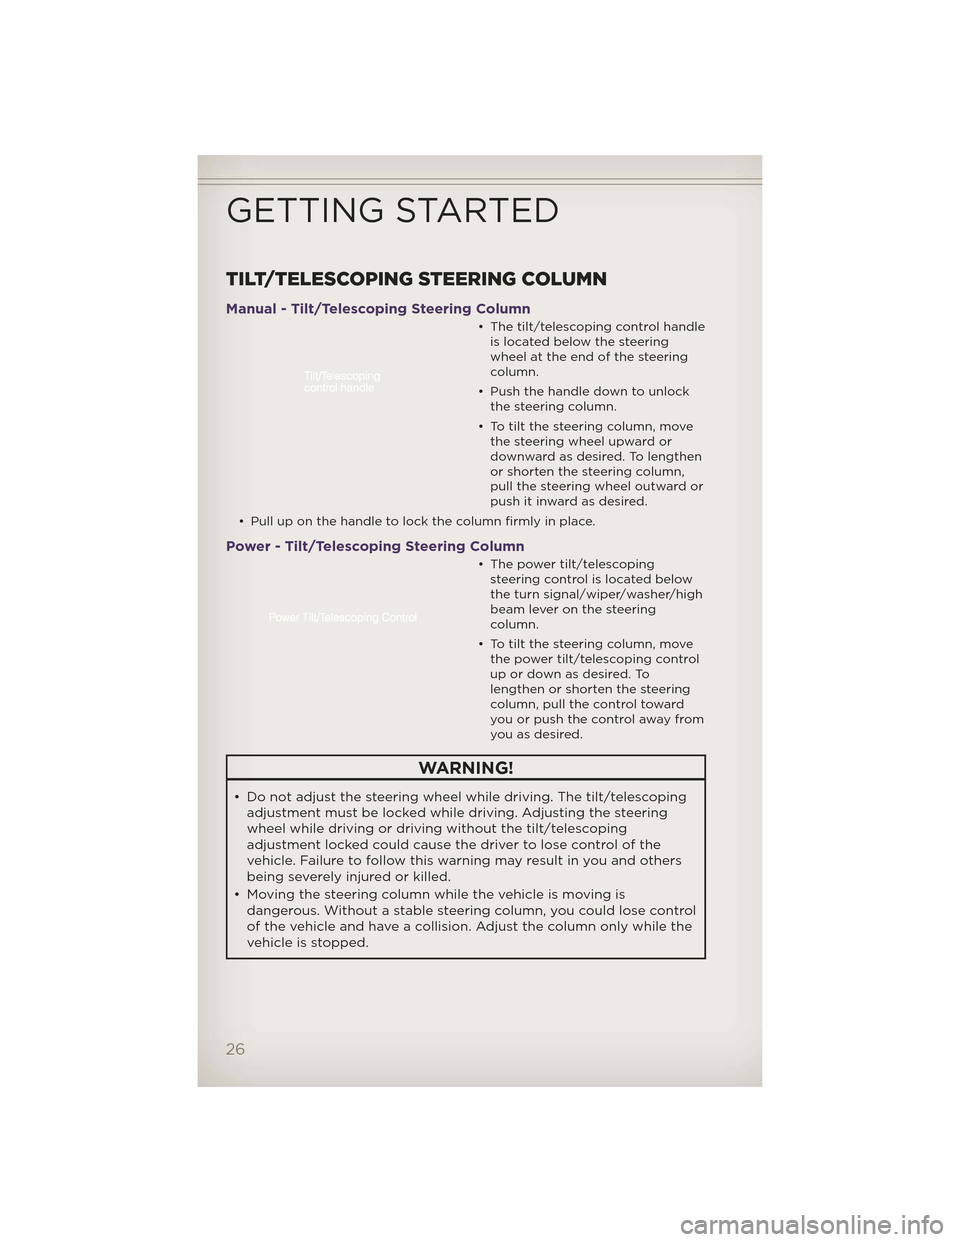
Manual - Tilt/Telescoping Steering Column
• The tilt/telescoping control handleis located below the steering
wheel at the end of the steering
column.
• Push the handle down to unlock the steering column.
• To tilt the steering column, move the steering wheel upward or
downward as desired. To lengthen
or shorten the steering column,
pull the steering wheel outward or
push it inward as desired.
• Pull up on the handle to lock the column firmly in place.
Power - Tilt/Telescoping Steering Column
• The power tilt/telescoping steering control is located below
the turn signal/wiper/washer/high
beam lever on the steering
column.
• To tilt the steering column, move the power tilt/telescoping control
up or down as desired. To
lengthen or shorten the steering
column, pull the control toward
youorpushthecontrolawayfrom
you as desired.
WARNING!
• Do not adjust the steering wheel while driving. The tilt/telescopingadjustment must be locked while driving. Adjusting the steering
wheel while driving or driving without the tilt/telescoping
adjustment locked could cause the driver to lose control of the
vehicle. Failure to follow this warning may result in you and others
being severely injured or killed.
• Moving the steering column while the vehicle is moving is dangerous. Without a stable steering column, you could lose control
of the vehicle and have a collision. Adjust the column only while the
vehicle is stopped.
GETTING STARTED
26
Page 39 of 148
WARNING!
Drivers must be careful when backing up even when using the
ParkView® Rear Back-Up Camera. Alwayscheck carefully behind your
vehicle, and be sure to check for pedestrians, animals, other vehicles,
obstructions, or blind spots before backing up. You must continue to
pay attention while backing up. Failure to do so can result in serious
injury or death.
BLIND SPOT MONITORING
• The Blind Spot Monitoring (BSM) system uses two radar-based sensors, located inside the rear bumper fascia, to detect Highway licensable
vehicles (automobiles, trucks, motorcycles etc.) that enter the blind spot
zones from the rear/front/side of the vehicle.
• The Blind Spot Monitoring (BSM) system warning light, located in the outside mirrors, will illuminate if a vehicle moves into a blind spot zone.
• The BSM system can also be configured to sound an audible (chime) alert and mute the radio to notify you of objects that have entered the
detection zones.
• Refer to your owner's manual on the DVD for further details.
LIFTGATE FLIPPER GLASS
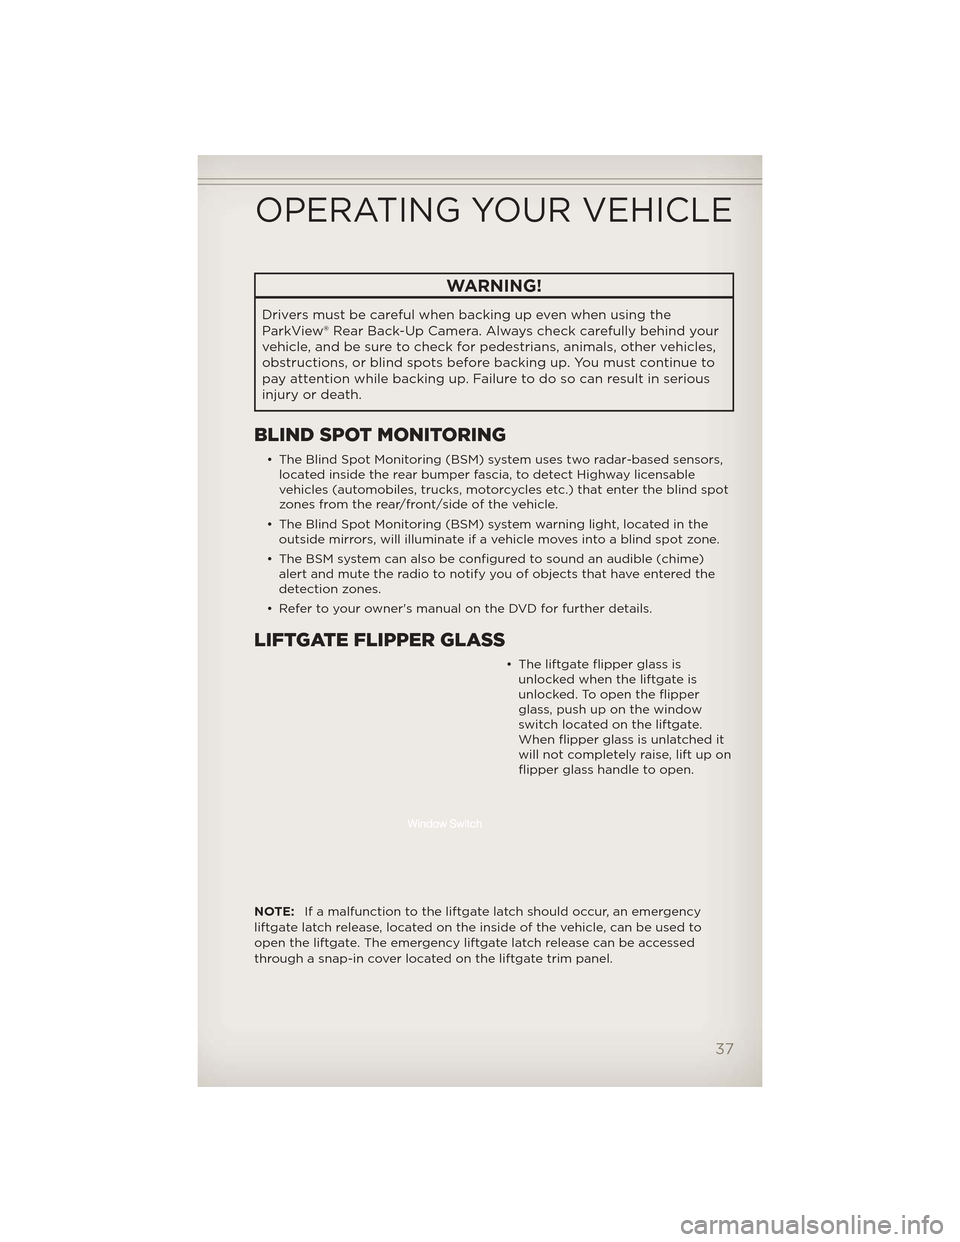
• The liftgate flipper glass is unlocked when the liftgate is
unlocked. To open the flipper
glass, push up on the window
switch located on the liftgate.
When flipper glass is unlatched it
will not completely raise, lift up on
flipper glass handle to open.
NOTE: If a malfunction to the liftgate latch should occur, an emergency
liftgate latch release, located on the inside of the vehicle, can be used to
open the liftgate. The emergency liftgate latch release can be accessed
through a snap-in cover located on the liftgate trim panel.
OPERATING YOUR VEHICLE
37
Page 46 of 148
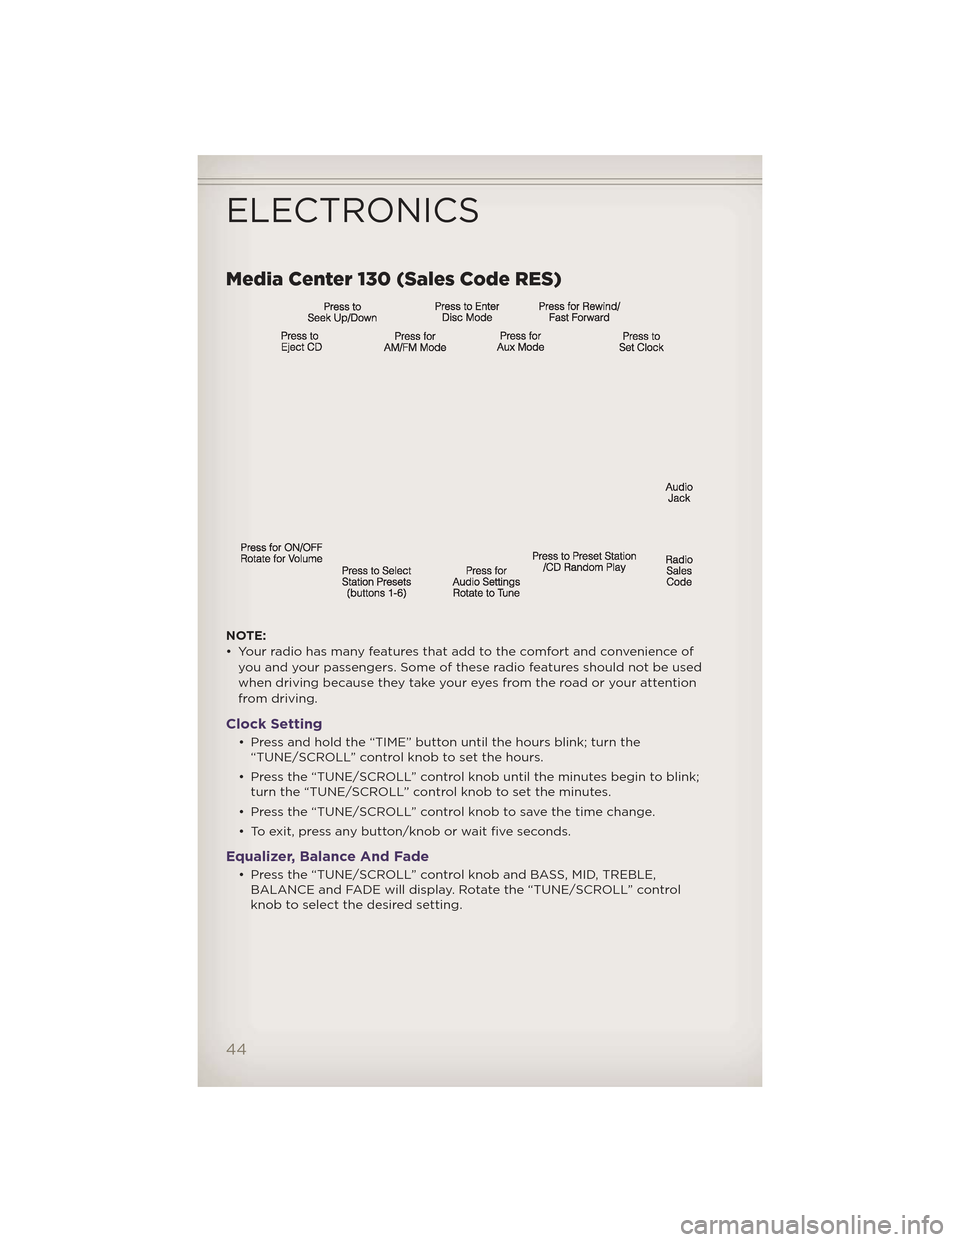
Media Center 130 (Sales Code RES)
NOTE:
• Your radio has many features that add to the comfort and convenience ofyou and your passengers. Some of these radio features should not be used
when driving because they take your eyes from the road or your attention
from driving.
Clock Setting
• Press and hold the “TIME” button until the hours blink; turn the“TUNE/SCROLL” control knob to set the hours.
• Press the “TUNE/SCROLL” control knob until the minutes begin to blink; turn the “TUNE/SCROLL” control knob to set the minutes.
• Press the “TUNE/SCROLL” control knob to save the time change.
• To exit, press any button/knob or wait five seconds.
Equalizer, Balance And Fade
• Press the “TUNE/SCROLL” control knob and BASS, MID, TREBLE, BALANCE and FADE will display. Rotate the “TUNE/SCROLL” control
knob to select the desired setting.
ELECTRONICS
44
Page 48 of 148
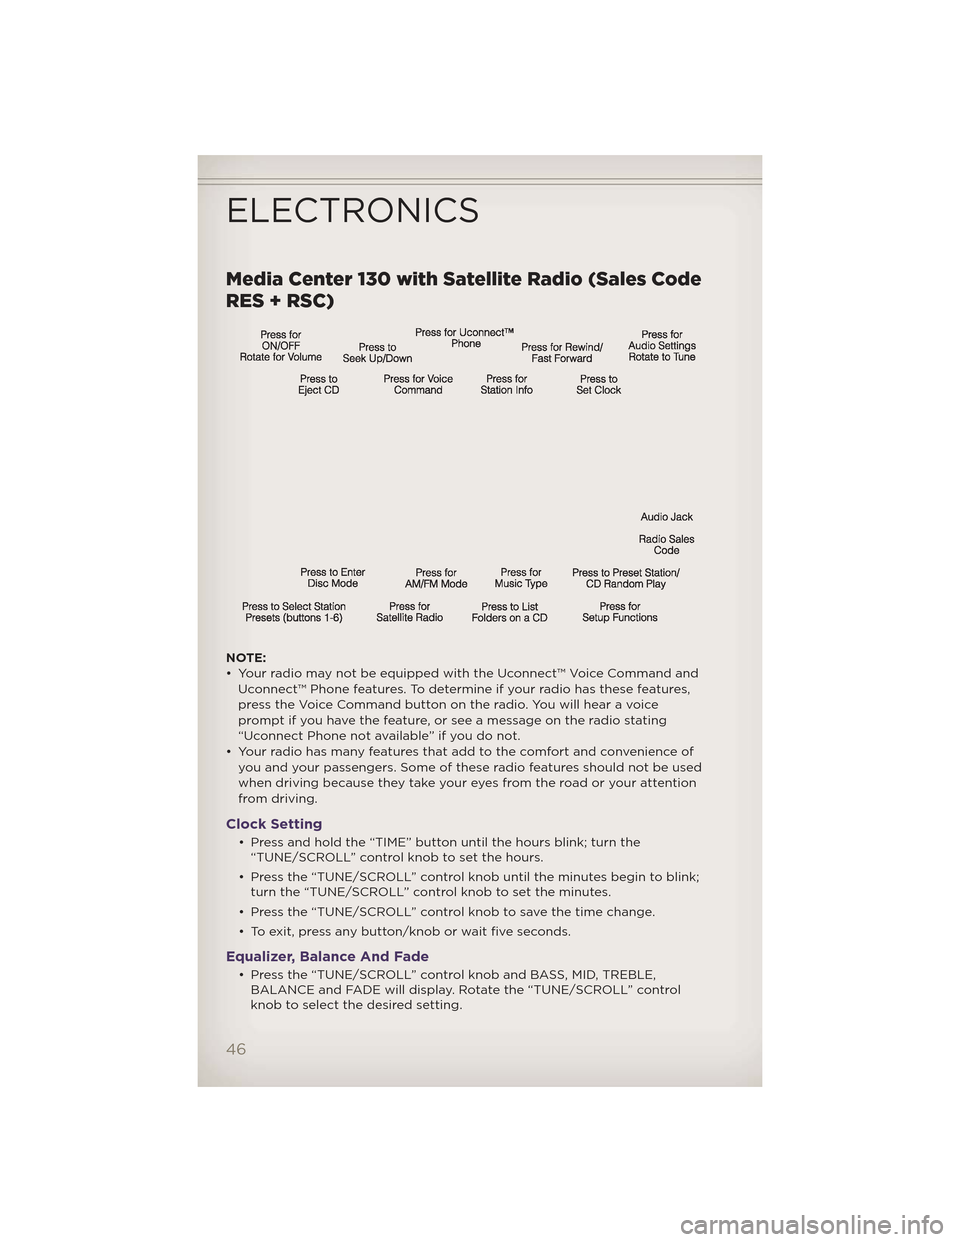
Media Center 130 with Satellite Radio (Sales Code
RES + RSC)
NOTE:
• Your radio may not be equipped with the Uconnect™ Voice Command andUconnect™ Phone features. To determine if your radio has these features,
press the Voice Command button on the radio. You will hear a voice
prompt if you have the feature, or see a message on the radio stating
“Uconnect Phone not available” if you do not.
• Your radio has many features that add to the comfort and convenience of you and your passengers. Some of these radio features should not be used
when driving because they take your eyes from the road or your attention
from driving.
Clock Setting
• Press and hold the “TIME” button until the hours blink; turn the“TUNE/SCROLL” control knob to set the hours.
• Press the “TUNE/SCROLL” control knob until the minutes begin to blink; turn the “TUNE/SCROLL” control knob to set the minutes.
• Press the “TUNE/SCROLL” control knob to save the time change.
• To exit, press any button/knob or wait five seconds.
Equalizer, Balance And Fade
• Press the “TUNE/SCROLL” control knob and BASS, MID, TREBLE, BALANCE and FADE will display. Rotate the “TUNE/SCROLL” control
knob to select the desired setting.
ELECTRONICS
46
Page 51 of 148
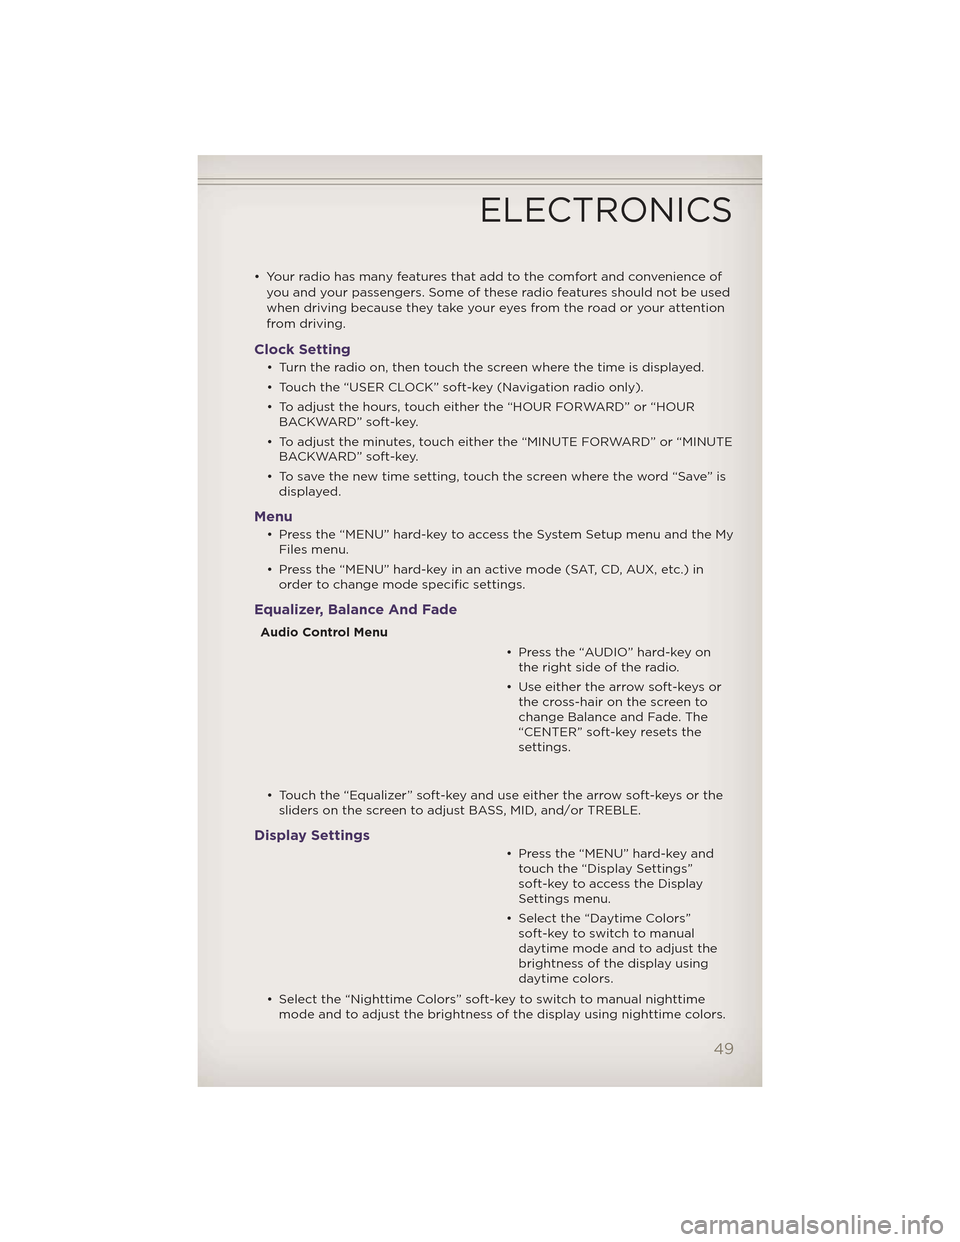
• Your radio has many features that add to the comfort and convenience ofyou and your passengers. Some of these radio features should not be used
when driving because they take your eyes from the road or your attention
from driving.
Clock Setting
• Turn the radio on, then touch the screen where the time is displayed.
• Touch the “USER CLOCK” soft-key (Navigation radio only).
• To adjust the hours, touch either the “HOUR FORWARD” or “HOURBACKWARD” soft-key.
• To adjust the minutes, touch either the “MINUTE FORWARD” or “MINUTE BACKWARD” soft-key.
• To save the new time setting, touch the screen where the word “Save” is displayed.
Menu
• Press the “MENU” hard-key to access the System Setup menu and the MyFiles menu.
• Press the “MENU” hard-key in an active mode (SAT, CD, AUX, etc.) in order to change mode specific settings.
Equalizer, Balance And Fade
Audio Control Menu
• Press the “AUDIO” hard-key onthe right side of the radio.
• Use either the arrow soft-keys or the cross-hair on the screen to
change Balance and Fade. The
“CENTER” soft-key resets the
settings.
• Touch the “Equalizer” soft-key and use either the arrow soft-keys or the sliders on the screen to adjust BASS, MID, and/or TREBLE.
Display Settings
• Press the “MENU” hard-key andtouch the “Display Settings”
soft-key to access the Display
Settings menu.
• Select the “Daytime Colors” soft-key to switch to manual
daytime mode and to adjust the
brightness of the display using
daytime colors.
• Select the “Nighttime Colors” soft-key to switch to manual nighttime mode and to adjust the brightness of the display using nighttime colors.
ELECTRONICS
49
Page 59 of 148
• You may experience delays in acquisition of satellite signals when inareas with an obstructed view to the sky, such as garages, tunnels, or
large cities with tall buildings.
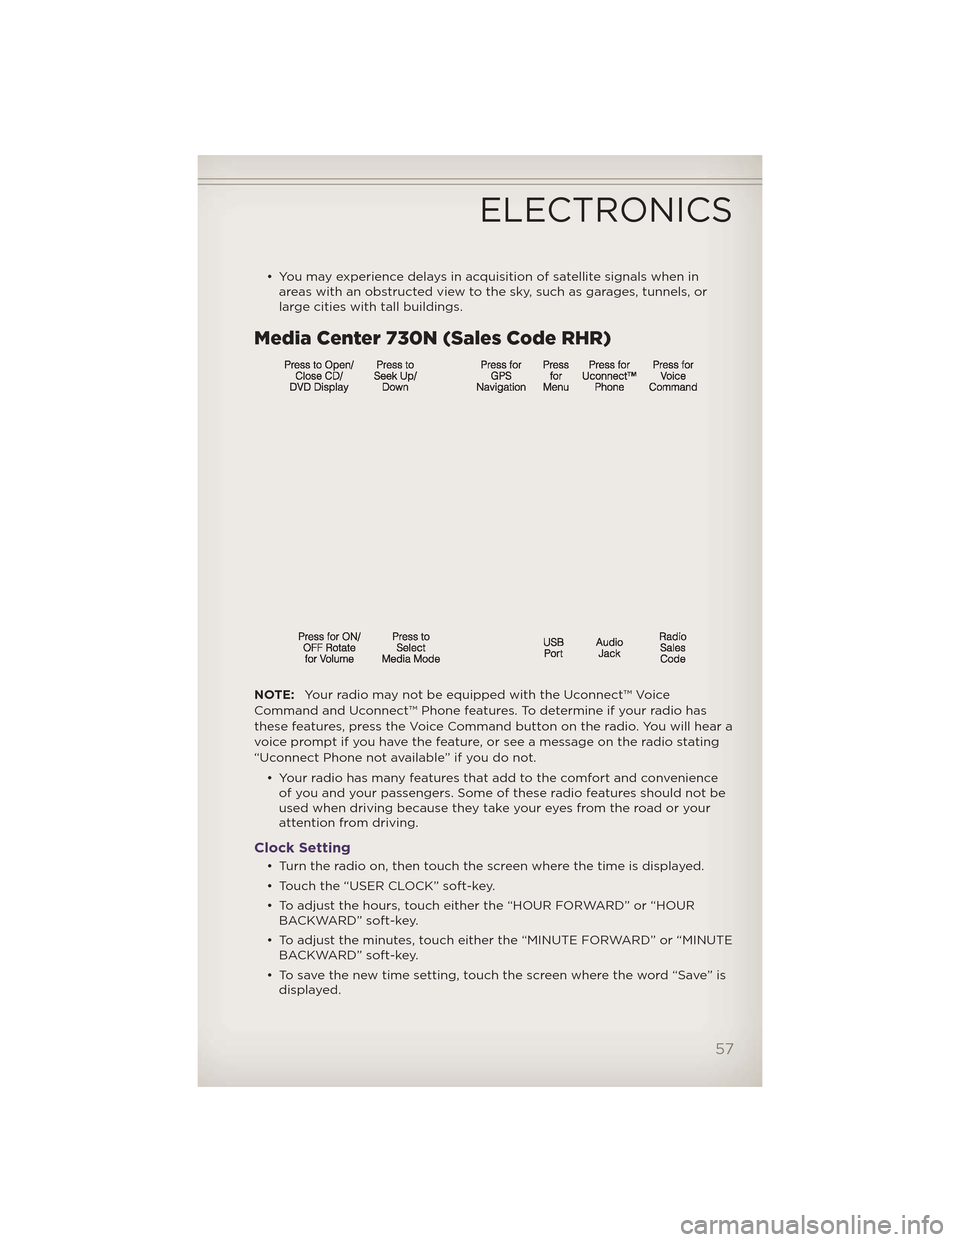
Media Center 730N (Sales Code RHR)
NOTE: Your radio may not be equipped with the Uconnect™ Voice
Command and Uconnect™ Phone features. To determine if your radio has
these features, press the Voice Command button on the radio. You will hear a
voice prompt if you have the feature, or see a message on the radio stating
“Uconnect Phone not available” if you do not.
• Your radio has many features that add to the comfort and convenienceof you and your passengers. Some of these radio features should not be
used when driving because they take your eyes from the road or your
attention from driving.
Clock Setting
• Turn the radio on, then touch the screen where the time is displayed.
• Touch the “USER CLOCK” soft-key.
• To adjust the hours, touch either the “HOUR FORWARD” or “HOURBACKWARD” soft-key.
• To adjust the minutes, touch either the “MINUTE FORWARD” or “MINUTE BACKWARD” soft-key.
• To save the new time setting, touch the screen where the word “Save” is displayed.
ELECTRONICS
57
Page 69 of 148
Sirius XM™ SATELLITE RADIO/TRAVEL LINK
• The following describes features that are available when in Sirius XM™Satellite Radio mode.
• To access Sirius XM™ Satellite Radio, press the “RADIO/MEDIA” or “RADIO” and then touch the “SAT” soft-key tab.
Info
• Touch the “i” soft-key to view detailed information about the currentSirius XM™ Satellite channel.
Sirius XM™ Parental Controls
• Sirius XM™ offers the option to permanently block selected channels. Call1-888-539-7474 and request the Family Package.
• Media Center 430/430N and 730N: Press the “MENU” hard-key while in Sirius XM™ Satellite Radio Mode, then touch the “Channel Lock” to
enable and/or disable desired channels. The SEEK and SCAN function
will then only display channels without Channel lock.
Search/Browse
• Touch the “magnifying glass”soft-key to search/browse the
Sirius XM™ channel listing by
Favorites and Categories such as
Song, Artist and Channel Name.
The Search/Browse also allows
you manage your Favorites.
Sirius XM™ Satellite Radio Favorites
(SAT Favorites) • You can save 50 favorite songs and 50 favorite artists.
• Touch the “add favorite” soft-key to add either the song or the artist
of the currently playing program
to the SAT Favorites list.
• You will see a favorite star indicator in the lower left side of the screen and a pop up will alert you that a favorite song or artist is currently
playing on one of the Sirius XM™ satellite radio channels.
NOTE:Refer to your Media Center
730N or Media Center 430/430N
User's Manual for more information.
ELECTRONICS
67
Page 81 of 148
PROGRAMMABLE FEATURES
Electronic Vehicle Information Center (EVIC)
• The EVIC can be used to program the following Personal Settings. Pressthe UPor DOWNbutton until System Setup displays, then press
the SELECTbutton. Scroll through the settings using the UP or
DOWN buttons. Press the SELECTbutton to change the setting.
Press the BACK button to scroll back to a previous menu or sub menu.
• Select Language • Illuminated Approach
• Nav – Turn By Turn • Display ECO Symbol
• Auto Unlock Doors • Keyless Enter-N-Go™
• Remote Unlock Sequence • Auto High Beams
• RKE Linked To Memory • Wiper Mode
• Remote Start Comfort Sys. • Hill Start Assist (HSA)
• Horn With Remote Lock • Blind Spot Alert
• Horn With Remote Start • Forward Collision Warning
• Flash Lamps With Lock • Park Assist System
• Headlamp Off Delay • Display Units of Measure In:
• Headlamps With Wipers • Liftgate Chime
• Easy Entry/Exit Seat • Calibrate Compass
• Tilt Mirror in Reverse • Compass Variance
• Key-Off Power Delay
UNIVERSAL GARAGE DOOR OPENER (HomeLink®)
• HomeLink® replaces up to three hand-held transmitters that operate devices such as garage door openers, motorized gates, lighting or home
security systems. The HomeLink® unit is powered by your vehicles 12 Volt
battery.
• The HomeLink® buttons that are located in the overhead console or sunvisor designate the three different HomeLink® channels.
• The HomeLink® indicator is located above the center button.
Before You Begin Programming
HomeLink®
• Be sure that your vehicle is parked outside of the garage before you
begin programming.
• For more efficient programming and accurate transmission of the
radio-frequency signal it is
recommended that a new battery
be placed in the hand-held
transmitter of the device that is
being programmed to the
HomeLink® system.
ELECTRONICS
79
Page 83 of 148
Programming A Non-Rolling Code
• For programming Garage Door Openers manufactured before 1995.
• Turn the ignition switch to the ON/RUN position.
• Place the hand-held transmitter 1 to 3 in (3 to 8 cm) away from theHomeLink® button you wish to program while keeping the HomeLink®
indicator light in view.
• Simultaneously press and hold both the HomeLink® button you want to program and the hand-held transmitter button.
• Continue to hold both buttons and observe the indicator light. The Homelink® indicator will flash slowly and then rapidly after Homelink® has
received the frequency signal from the hand-held transmitter. Release
both buttons after the indicator light changes from slow to rapid.
• Press and hold the programmed HomeLink® button and observe the indicator light.
NOTE:
• If the indicator light stays on constantly, programming is complete and the garage door (or device) should activate when the HomeLink® button is
pressed.
• To program the two remaining HomeLink® buttons, repeat each step for each remaining button. DO NOT erase the channels.
Using HomeLink®
• To operate, press and release the programmed HomeLink® button.Activation will now occur for the programmed device (i.e., garage door
opener, gate operator, security system, entry door lock, home/office
lighting, etc.,). The hand-held transmitter of the device may also be used
at any time.
WARNING!
• Your motorized door or gate will open and close while you areprogramming the universal transceiver. Do not program the
transceiver if people or pets are in the path of the door or gate.
• Do not run your vehicle in a closed garage or confined area while programming the transceiver. Exhaust gas from your vehicle
contains Carbon Monoxide (CO) which is odorless and colorless.
Carbon Monoxide is poisonous when inhaled and can cause you and
others to be severely injured or killed.
ELECTRONICS
81
Page 86 of 148
QUADRA-TRAC I® FOUR-WHEEL DRIVE
Quadra-Trac I® Operating Instructions/Precautions - 3.6L Only
• The Quadra-Trac I® is a single-speed (HI range only) transfer case, whichprovides convenient full-time four-wheel drive. No driver interaction is
required. The Brake Traction Control (BTC) System, which combines
standard ABS and Traction Control, provides resistance to any wheel that
is slipping to allow additional torque transfer to wheels with traction.
QUADRA-TRAC II®/QUADRA-DRIVE II®
FOUR-WHEEL DRIVE
Quadra-Trac II®/Quadra-Drive II® Operating Instructions/
Precautions
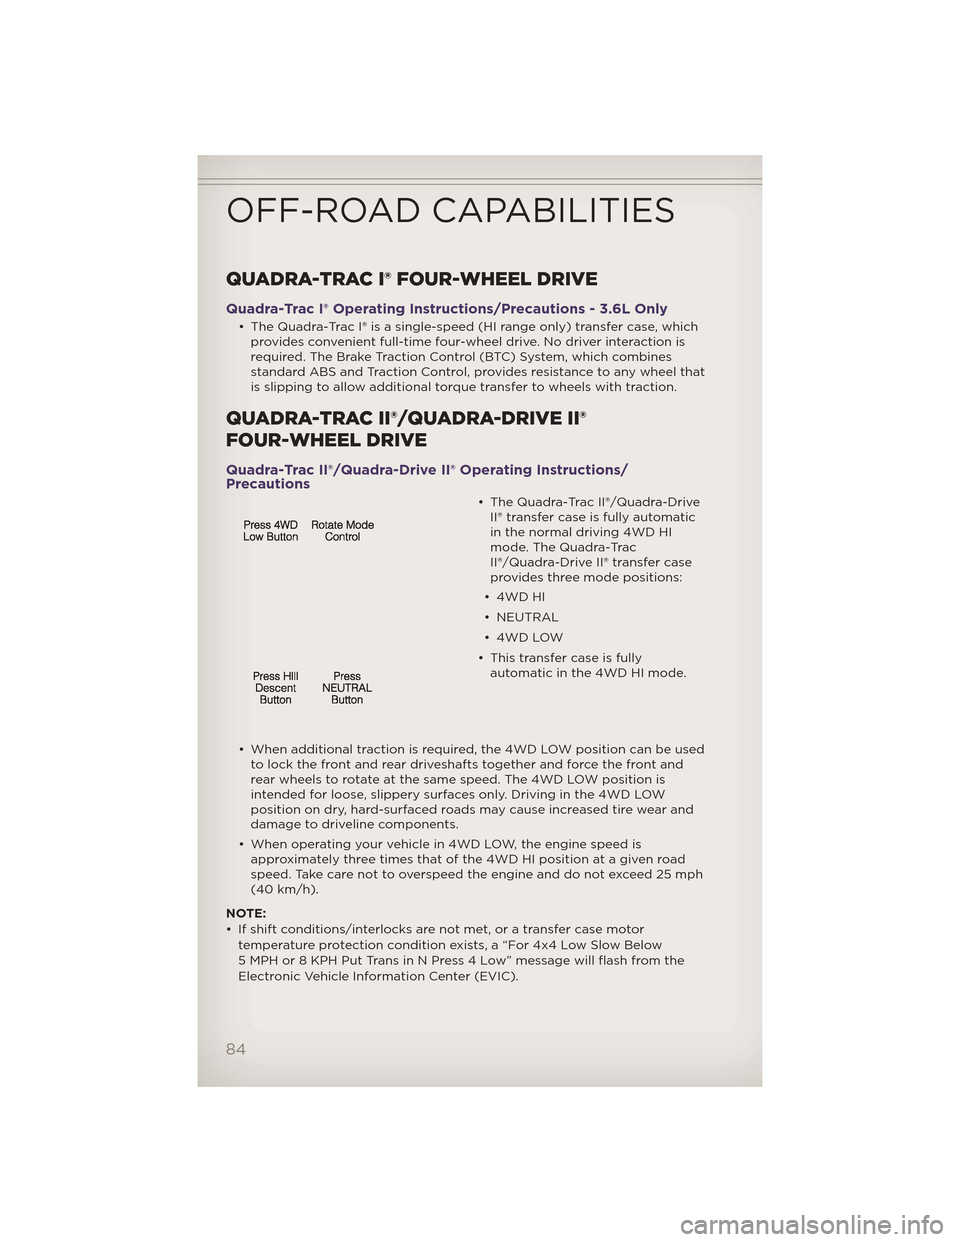
• The Quadra-Trac II®/Quadra-DriveII® transfer case is fully automatic
in the normal driving 4WD HI
mode. The Quadra-Trac
II®/Quadra-Drive II® transfer case
provides three mode positions:
• 4WD HI
• NEUTRAL
• 4WD LOW
• This transfer case is fully automatic in the 4WD HI mode.
• When additional traction is required, the 4WD LOW position can be used to lock the front and rear driveshafts together and force the front and
rear wheels to rotate at the same speed. The 4WD LOW position is
intended for loose, slippery surfaces only. Driving in the 4WD LOW
position on dry, hard-surfaced roads may cause increased tire wear and
damage to driveline components.
• When operating your vehicle in 4WD LOW, the engine speed is approximately three times that of the 4WD HI position at a given road
speed. Take care not to overspeed the engine and do not exceed 25 mph
(40 km/h).
NOTE:
• If shift conditions/interlocks are not met, or a transfer case motor temperature protection condition exists, a “For 4x4 Low Slow Below
5 MPH or 8 KPH Put Trans in N Press 4 Low” message will flash from the
Electronic Vehicle Information Center (EVIC).
OFF-ROAD CAPABILITIES
84