service indicator JEEP GRAND CHEROKEE 2013 Owner handbook (in English)
[x] Cancel search | Manufacturer: JEEP, Model Year: 2013, Model line: GRAND CHEROKEE, Model: JEEP GRAND CHEROKEE 2013Pages: 408, PDF Size: 3.21 MB
Page 233 of 408
REVERSE
This range is for moving the vehicle backward.
Shift into REVERSE only after the vehicle has
come to a complete stop.
NEUTRAL
Use this range when the vehicle is standing for
prolonged periods with the engine running. The
engine may be started in this range. Apply the
parking brake and shift the transmission into
PARK if you must leave the vehicle.
WARNING!
Do not coast in NEUTRAL and never turn off
the ignition to coast down a hill. These are
unsafe practices that limit your response to
changing traffic or road conditions. You might
lose control of the vehicle and have a collision.
CAUTION!
Towing the vehicle, coasting, or driving for
any other reason with the transmission in
NEUTRAL can cause severe transmission
damage. Refer to “Recreational Towing” in
“Starting And Operating” and “Towing A Dis-
abled Vehicle” in “What To Do In Emergen-
cies” for further information.
DRIVE
This range should be used for most city and
highway driving. It provides the smoothest up-
shifts and downshifts, and the best fuel
economy. The transmission automatically up-
shifts through underdrive first, second, and third
gears, direct fourth gear and overdrive fifth
gear. The DRIVE position provides optimum
driving characteristics under all normal operat-
ing conditions. When frequent transmission shifting occurs
(such as when operating the vehicle under
heavy loading conditions, in hilly terrain, travel-
ing into strong head winds, or while towing
heavy trailers), use the AutoStick® shift control
(refer to “AutoStick®” in this section) to select a
lower gear. Under these conditions, using a
lower gear will improve performance and ex-
tend transmission life by reducing excessive
shifting and heat buildup.
Transmission Limp Home Mode
Transmission function is monitored electroni-
cally for abnormal conditions. If a condition is
detected that could result in transmission dam-
age, Transmission Limp Home Mode is acti-
vated. In this mode, the transmission remains in
direct gear regardless of which forward gear is
selected. PARK, REVERSE, and NEUTRAL will
continue to operate. The Malfunction Indicator
Light (MIL) may be illuminated. Limp Home
Mode allows the vehicle to be driven to an
authorized dealer for service without damaging
the transmission.
229
Page 234 of 408
In the event of a momentary problem, the
transmission can be reset to regain all forward
gears by performing the following steps:
1. Stop the vehicle.
2. Shift the transmission into PARK.
3. Turn the ignition switch to the LOCK/OFF
position.
4. Wait approximately 10 seconds.
5. Restart the engine.
6. Shift into the desired gear range. If the
problem is no longer detected, the transmission
will return to normal operation.
NOTE:
Even if the transmission can be reset, we
recommend that you visit your authorized
dealer at your earliest possible conve-
nience. Your authorized dealer has diagnos-
tic equipment to determine if the problem
could recur. If the transmission cannot be
reset, authorized dealer service is required.Electronic Range Select (ERS) Operation
The Electronic Range Select (ERS) shift control
allows the driver to limit the highest available
gear when the shift lever is in the DRIVE
position. For example, if you shift the transmis-
sion into 3 (third gear), the transmission will
never shift above third gear, but will shift down
into second and first gears normally.
You can switch between DRIVE and ERS mode
at any vehicle speed. When the shift lever is in
the DRIVE position, the transmission will oper-
ate automatically, shifting between all available
gears. Tapping the shift lever to the left (-) will
downshift the transmission, activate ERS mode,
display the current gear in the instrument clus-
ter, and maintain that gear as the top available
gear. Once in ERS mode, tapping the shift lever
to the left (-) or right (+) will change the top
available gears.
To exit ERS mode, simply press and hold the
shift lever to the right (+) until “D” is once again
displayed in the shift lever position indicator in
the instrument cluster.WARNING!
Do not downshift for additional engine brak-
ing on a slippery surface. The drive wheels
could lose their grip and the vehicle could
skid, causing a collision or personal injury.
Screen Display
12 3 4 D
Actual Gear(s)
Allowed 1 1-2 1-3 1-4 1-5
NOTE:
To select the proper gear position for maxi-
mum deceleration (engine braking), simply
press and hold the shift lever to the left (-).
The transmission will shift to the range from
which the vehicle can best be slowed down.
230
Page 238 of 408
DRIVE
This range should be used for most city and
highway driving. It provides the smoothest up-
shifts and downshifts, and the best fuel
economy. The transmission automatically up-
shifts through underdrive first and second
gears, direct third gear and overdrive fourth and
fifth gears. The DRIVE position provides opti-
mum driving characteristics under all normal
operating conditions.
To access all six available gears, you must use
the Electronic Range Select (ERS) shift control
(refer to “Electronic Range Select (ERS) Opera-
tion” in this section).
When frequent transmission shifting occurs
(such as when operating the vehicle under
heavy loading conditions, in hilly terrain, travel-
ing into strong head winds, or while towing
heavy trailers), use the Electronic Range Select
(ERS) shift control (refer to “Electronic Range
Select (ERS) Operation” in this section) to se-
lect a lower gear range. Under these conditions,
using a lower gear range will improve perfor-
mance and extend transmission life by reducing
excessive shifting and heat buildup.If the transmission temperature exceeds normal
operating limits, the powertrain controller will
modify the transmission shift schedule and ex-
pand the range of torque converter clutch en-
gagement. This is done to prevent transmission
damage due to overheating.
If the transmission becomes extremely hot or is
in danger of overheating, the “Transmission
Temperature Warning Light” may illuminate and
the transmission may operate differently until
the transmission cools down.
NOTE:
Use caution when operating a heavily
loaded vehicle at low speeds (such as tow-
ing a trailer up a steep grade, or in stop-
and-go traffic) during hot weather. In these
conditions, torque converter slip can im-
pose a significant additional heat load on
the cooling system. Downshifting the trans-
mission to the lowest possible gear (when
climbing a grade), or shifting to NEUTRAL
(when stopped in heavy traffic) can help to
reduce this excess heat generation.
During cold temperatures, transmission opera-
tion may be modified depending on engine andtransmission temperature as well as vehicle
speed. This feature improves warm up time of
the engine and transmission to achieve maxi-
mum efficiency. Engagement of both the torque
converter clutch and the top overdrive gear are
inhibited until the transmission fluid is warm
(refer to the “Note” under “Torque Converter
Clutch” in this section). During extremely cold
temperatures (-16°F [-27°C] or below), opera-
tion may briefly be limited to first and direct
gears only. Normal operation will resume once
the transmission temperature has risen to a
suitable level.
Transmission Limp Home Mode
Transmission function is monitored electroni-
cally for abnormal conditions. If a condition is
detected that could result in transmission dam-
age, Transmission Limp Home Mode is acti-
vated. In this mode, the transmission remains in
direct gear regardless of which forward gear is
selected. PARK, REVERSE, and NEUTRAL will
continue to operate. The Malfunction Indicator
Light (MIL) may be illuminated. Limp Home
Mode allows the vehicle to be driven to an
authorized dealer for service without damaging
the transmission.
234
Page 239 of 408
In the event of a momentary problem, the
transmission can be reset to regain all forward
gears by performing the following steps:
1. Stop the vehicle.
2. Shift the transmission into PARK.
3. Turn the ignition switch to the LOCK/OFF
position.
4. Wait approximately 10 seconds.
5. Restart the engine.
6.
Shift into the desired gear range. If the prob-
lem is no longer detected, the transmission will
return to normal operation.
NOTE:
Even if the transmission can be reset, we
recommend that you visit your authorized
dealer at your earliest possible conve-
nience. Your authorized dealer has diagnos-
tic equipment to determine if the problem
could recur. If the transmission cannot be
reset, authorized dealer service is required. Electronic Range Select (ERS) Operation
The Electronic Range Select (ERS) shift control
allows the driver to limit the highest available
gear when the shift lever is in the DRIVE
position. For example, if you shift the transmis-
sion into 3 (third gear), the transmission will
never shift above third gear, but will shift down
into second and first gears normally.
Use of ERS (or TOW/HAUL mode) also enables
an additional underdrive gear which is not nor-
mally used during through-gear accelerations.
This additional gear can improve vehicle perfor-
mance and cooling capability when towing a
trailer on certain grades. In ERS mode, gears 1
though 3 are underdrive gears, and ERS 4 is
direct drive. ERS 5 and 6 (Overdrive gears ) are
the same as the normal fourth and fifth gears.
You can switch between DRIVE and ERS mode at
any vehicle speed. When the shift lever is in the
DRIVE position, the transmission will operate
automatically, shifting between all available
gears. Tapping the shift lever to the left (-) will
activate ERS mode, display the current gear in
the instrument cluster, and maintain that gear as
the top available gear. Once in ERS mode, tap-
ping the shift lever to the left (-) or right (+) will
change the top available gear.
The instrument cluster display will show the
requested top gear limit, however the transmis-
sion will not downshift to the requested gear if
doing so would overspeed the engine. The
transmission will downshift once the vehicle
speed has slowed sufficiently.
To exit ERS mode, simply press and hold the
shift lever to the right (+) until “D” is once again
displayed in the shift lever position indicator in
the instrument cluster.
WARNING!
Do not downshift for additional engine brak-
ing on a slippery surface. The drive wheels
could lose their grip and the vehicle could
skid, causing a collision or personal injury.
NOTE:
To select the proper gear position for maxi-
mum deceleration (engine braking), simply
press and hold the shift lever to the left (-).
The transmission will shift to the range from
which the vehicle can best be slowed down.
235
Page 247 of 408
The system requires that the engine be running
for all changes. When lowering the vehicle all of
the doors, including the liftgate, must be closed.
If a door is opened at any time while the vehicle
is lowering the change will not be completed
until the open door(s) is closed.
The Quadra-Lift™ air suspension system uses
a lifting and lowering pattern which keeps the
headlights from incorrectly shining into oncom-
ing traffic. When raising the vehicle, the rear of
the vehicle will move up first and then the front.
When lowering the vehicle, the front will move
down first and then the rear.
After the engine is turned off, it may be noticed
that the air suspension system operates briefly,
this is normal. The system is correcting the
position of the vehicle to ensure a proper ap-
pearance.
To assist with changing a spare tire, the
Quadra-Lift™ air suspension system has a fea-
ture which allows the automatic leveling to be
disabled. Press and hold both the “Up” and
“Down” buttons simultaneously between 5 and
10 seconds, a message will appear in the EVIC
stating leveling has been disabled immediatelyafter both buttons have been released. Refer to
“Electronic Vehicle Information Center (EVIC)”
in “Understanding Your Instrument Panel” for
further information. Driving the vehicle over
5 mph (8 km/h) will return the air suspension to
normal operation. Refer to “Jacking and Tire
Changing” in “What To Do In Emergencies” for
further information.
WARNING!
The air suspension system uses a high pres-
sure volume of air to operate the system. To
avoid personal injury or damage to the sys-
tem, see your authorized dealer for service.
Electronic Vehicle Information
Center (EVIC) Display Messages
When the appropriate conditions exist, a mes-
sage will appear in the EVIC display. Refer to
“Electronic Vehicle Information Center (EVIC)”
in “Understanding Your Instrument Panel” for
further information.
An audible chime will be heard whenever a
system error has been detected.
OperationThe indicator lamps 3 through 6 will illuminate to
show the current position of the vehicle. Flash-
ing indicator lamps will show a position which
the system is working to achieve. When raising,
if multiple indicator lamps are flashing on the
“Up” button, the highest flashing indicator lamp
is the position the system is working to achieve.
When lowering, if multiple indicators are flash-
ing on the
"Up"button the lowest solid indicator
lamp is the position the system is working to
achieve.
Pressing the “UP” button once will move the
suspension one position higher from the current
position, assuming all conditions are met (i.e.
engine running, speed below threshold, etc).
The “UP” button can be pressed multiple times,
each press will raise the requested level by one
position up to a maximum position of OR2 or the
highest position allowed based on current con-
ditions (i.e. vehicle speed, etc).
243
Page 268 of 408
Life Of TireThe service life of a tire is dependent upon
varying factors including, but not limited to:
•Driving style
• Tire pressure
• Distance driven
• Performance tires, tires with a speed rating of
V or higher, and summer tires typically have
a reduced tread life. Rotation of these tires
per the vehicle maintenance schedule is
highly recommended.
WARNING!
Tires and the spare tire should be replaced
after six years, regardless of the remaining
tread. Failure to follow this warning can
result in sudden tire failure. You could lose
control and have a collision resulting in seri-
ous injury or death.
Keep dismounted tires in a cool, dry place with
as little exposure to light as possible. Protect
tires from contact with oil, grease, and gasoline.
Replacement TiresThe tires on your new vehicle provide a balance
of many characteristics. They should be in-
spected regularly for wear and correct cold tire
inflation pressure. The manufacturer strongly
recommends that you use tires equivalent to the
originals in size, quality and performance when
replacement is needed. Refer to the paragraph
on “Tread Wear Indicators”. Refer to the “Tire
and Loading Information” placard for the size
designation of your tire. The Load Index and
Speed Symbol for your tire will be found on the
original equipment tire sidewall. See the Tire
Sizing Chart example found in the Tire Safety
Information section of this manual for more
information relating to the Load Index and
Speed Symbol of a tire.
It is recommended to replace the two front tires
or two rear tires as a pair. Replacing just one tire
can seriously affect your vehicle’s handling. If
you ever replace a wheel, make sure that the
wheel’s specifications match those of the origi-
nal wheels. It is recommended you contact your authorized
tire or original equipment vehicle dealer with
any questions you may have on tire specifica-
tions or capability. Failure to use equivalent
replacement tires may adversely affect the
safety, handling, and ride of your vehicle.
WARNING!
•
Do not use a tire, wheel size or rating other
than that specified for your vehicle. Some
combinations of unapproved tires and
wheels may change suspension dimen-
sions and performance characteristics, re-
sulting in changes to steering, handling,
and braking of your vehicle. This can
cause unpredictable handling and stress
to steering and suspension components.
You could lose control and have a collision
resulting in serious injury or death. Use
only the tire and wheel sizes with load
ratings approved for your vehicle.
(Continued)
264
Page 316 of 408
ONBOARD DIAGNOSTIC
SYSTEM (OBD II)
Your vehicle is equipped with a sophisticated
onboard diagnostic system called OBD II. This
system monitors the performance of the emis-
sions, engine, and automatic transmission con-
trol systems. When these systems are operat-
ing properly, your vehicle will provide excellent
performance and fuel economy, as well as
engine emissions well within current govern-
ment regulations.
If any of these systems require service, the
OBD II system will turn on the “Malfunction
Indicator Light (MIL).” It will also store diagnos-
tic codes and other information to assist your
service technician in making repairs. Although
your vehicle will usually be drivable and not
need towing, see your authorized dealer for
service as soon as possible.
CAUTION!
•
Prolonged driving with the MIL on could
cause further damage to the emission con-
trol system. It could also affect fuel economy
and drivability. The vehicle must be serviced
before any emissions tests can be per-
formed.
•If the MIL is flashing, while the engine is
running, severe catalytic converter dam-
age and power loss will soon occur. Imme-
diate service is required.
Loose Fuel Filler Cap Message
If the vehicle diagnostic system de-
termines that the fuel filler cap is
loose, improperly installed, or dam-
aged, a loose gascap indicator will
display in the EVIC telltale display
area. Refer to “Electronic Vehicle
Information Center (EVIC) in “Understanding
Your Instrument Panel” for further information.
Tighten the fuel filler cap properly and press the SELECT button to turn off the message. If the
problem continues, the message will appear the
next time the vehicle is started.
A loose, improperly installed, or damaged fuel
filler cap may also turn on the Malfunction
Indicator Light (MIL).
REPLACEMENT PARTS
Use of genuine MOPAR® parts for normal/
scheduled maintenance and repairs is highly
recommended to ensure the designed perfor-
mance. Damage or failures caused by the use
of non-MOPAR® parts for maintenance and
repairs will not be covered by the manufactur-
er’s warranty.
MAINTENANCE PROCEDURES
The pages that follow contain the
required
maintenance services determined by the engi-
neers who designed your vehicle.
Besides those maintenance items specified in
the fixed maintenance schedule, there are other
components which may require servicing or
replacement in the future.
312
Page 348 of 408
MAINTENANCE SCHEDULE
Maintenance Schedule – Gasoline
Engine
The Scheduled Maintenance services listed in
this manual must be done at the times or
mileages specified to protect your vehicle war-
ranty and ensure the best vehicle performance
and reliability. More frequent maintenance may
be needed for vehicles in severe operating
conditions, such as dusty areas and very short
trip driving. Inspection and service should also
be done anytime a malfunction is suspected.
The oil change indicator system will remind you
that it is time to take your vehicle in for sched-
uled maintenance.On Electronic Vehicle Information Center
(EVIC) equipped vehicles “Oil Change Re-
quired” will be displayed in the EVIC and a
single chime will sound, indicating that an oil
change is necessary.
The oil change indicator message will illuminate
approximately 7,000 miles (11,200 km) after the
most recent oil change was performed. Have
your vehicle serviced as soon as possible,
within 500 miles (800 km).
NOTE:
•
The oil change indicator message will not
monitor the time since the last oil change.
Change your vehicles oil if it has been 12
months since your last oil change even if
the oil change indicator message is NOT
illuminated. •
Change your engine oil more often if you
drive your vehicle off-road for an ex-
tended period of time.
•Under no circumstances should oil change
intervals exceed 7,500 miles (12 000 km) or
12 months, whichever comes first.
Your authorized dealer will reset the oil change
indicator message after completing the sched-
uled oil change. If this scheduled oil change is
performed by someone other than your autho-
rized dealer the message can be reset by
referring to the steps described under ”Elec-
tronic Vehicle Information Center” in “Under-
standing Your Instrument Panel” for further in-
formation.
344
Page 402 of 408
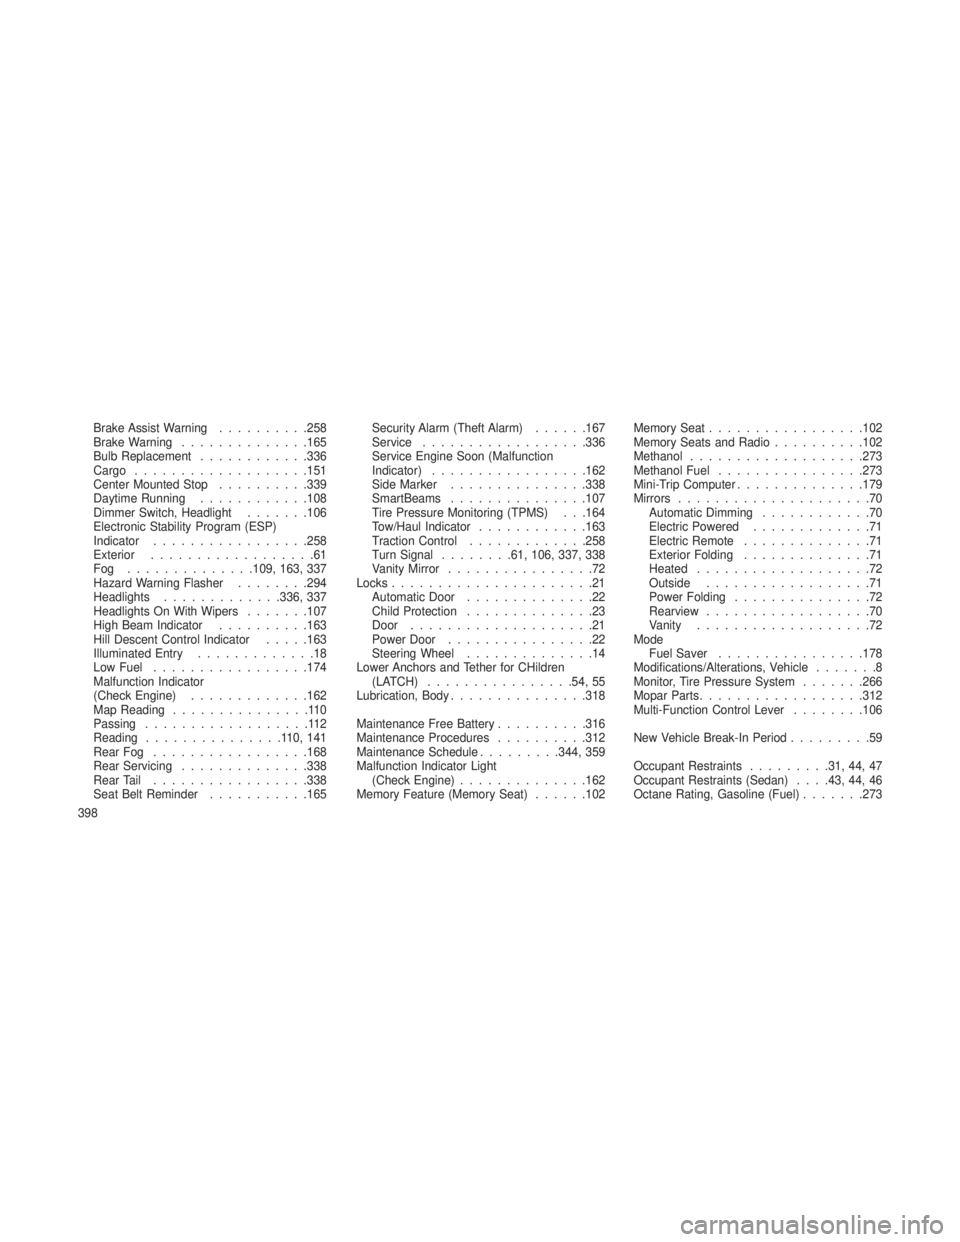
Brake Assist Warning..........258
Brake Warning ..............165
Bulb Replacement ............336
Cargo ...................151
Center Mounted Stop ..........339
Daytime Running ............108
Dimmer Switch, Headlight .......106
Electronic Stability Program (ESP)
Indicator .................258
Exterior ..................61
Fog ..............109, 163, 337
Hazard Warning Flasher ........294
Headlights .............336, 337
Headlights On With Wipers .......107
High Beam Indicator ..........163
Hill Descent Control Indicator .....163
Illuminated Entry .............18
Low Fuel .................174
Malfunction Indicator
(Check Engine) .............162
Map Reading ...............110
Passing ..................112
Reading ...............110,141
Rear Fog .................168
Rear Servicing ..............338
Rear Tail .................338
Seat Belt Reminder ...........165 Security Alarm (Theft Alarm)
......167
Service ................. .336
Service Engine Soon (Malfunction
Indicator) ................ .162
Side Marker ...............338
SmartBeams ...............107
Tire Pressure Monitoring (TPMS) . . .164
Tow/Haul Indicator ............163
Traction Control .............258
Turn Signal ........61, 106, 337, 338
Vanity Mirror ................72
Locks ......................21
Automatic Door ..............22
Child Protection ..............23
Door ....................2 1
Power
Door ................22
Steering Wheel ..............14
Lower Anchors and Tether for CHildren (LATCH) ................54, 55
Lubrication, Body ...............318
Maintenance Free Battery ..........316
Maintenance Procedures ..........312
Maintenance Schedule .........344, 359
Malfunction Indicator Light (Check Engine) ..............162
Memory Feature (Memory Seat) ......102Memory Seat
.................102
Memory Seats and Radio ..........102
Methanol ...................273
Methanol Fuel ................273
Mini-Trip Computer ..............179
Mirrors .....................70
Automatic Dimming ............70
Electric Powered .............71
Electric Remote ..............71
Exterior Folding ..............71
Heated ...................72
Outside ..................71
Power Folding ...............72
Rearview ..................70
Vanity ...................72
Mode Fuel Saver ................178
Modifications/Alterations, Vehicle .......8
Monitor, Tire Pressure System .......266
Mopar Parts ................. .312
Multi-Function Control Lever ........106
New Vehicle Break-In Period .........59
Occupant Restraints .........31, 44, 47
Occupant Restraints (Sedan) . . . .43, 44, 46
Octane Rating, Gasoline (Fuel) .......273
398
Page 404 of 408
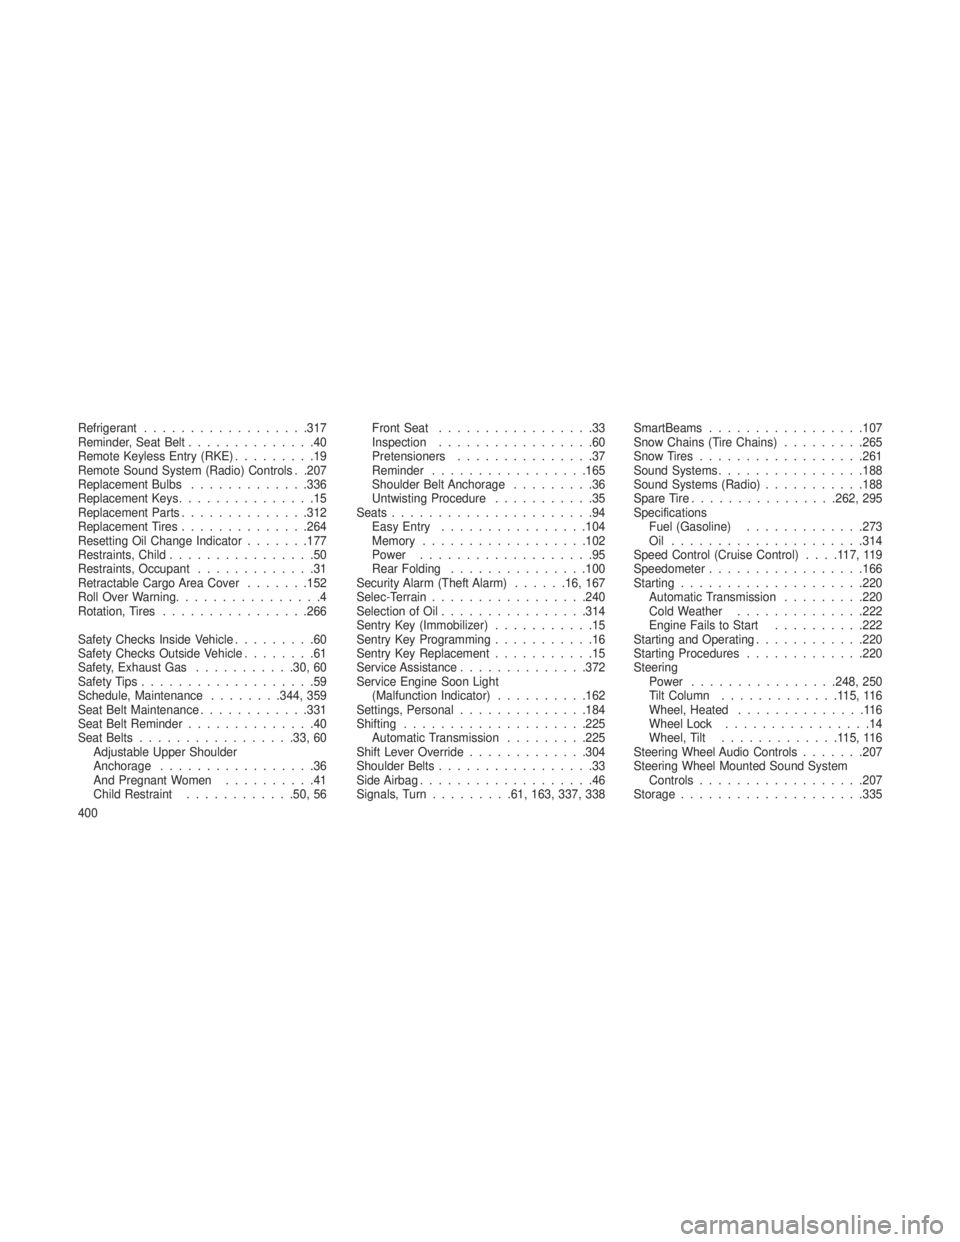
Refrigerant................. .317
Reminder, Seat Belt ..............40
Remote Keyless Entry (RKE) .........19
Remote Sound System (Radio) Controls . .207
Replacement Bulbs .............336
Replacement Keys ...............15
Replacement Parts ..............312
Replacement Tires ..............264
Resetting Oil Change Indicator .......177
Restraints, Child ................50
Restraints, Occupant .............31
Retractable Cargo Area Cover .......152
Roll Over Warning ................4
Rotation, Tires ................266
Safety Checks Inside Vehicle .........60
Safety Checks Outside Vehicle ........61
Safety, Exhaust Gas ...........30, 60
Safety Tips ...................59
Schedule, Maintenance ........344, 359
Seat Belt Maintenance ............331
Seat Belt Reminder ..............40
Seat Belts .................33, 60
Adjustable Upper Shoulder
Anchorage .................36
And Pregnant Women ..........41
Child Restraint ............50, 56 Front Seat
.................33
Inspection .................60
Pretensioners ...............37
Reminder ................ .165
Shoulder Belt Anchorage .........36
Untwisting Procedure ...........35
Seats ......................94
Easy Entry ................104
Memory ................. .102
Power ...................95
Rear Folding ...............100
Security Alarm (Theft Alarm) ......16, 167
Selec-Terrain ................ .240
Selection of Oil ................314
Sentry Key (Immobilizer) ...........15
Sentry Key Programming ...........16
Sentry Key Replacement ...........15
Service Assistance ..............372
Service Engine Soon
Light
(Malfunction Indicator) ..........162
Settings, Personal ..............184
Shifting ....................225
Automatic Transmission .........225
Shift Lever Override .............304
Shoulder Belts .................33
Side Airbag ...................46
Signals, Turn .........61, 163, 337, 338 SmartBeams
.................107
Snow Chains (Tire Chains) .........265
Snow Tires ................. .261
Sound Systems ................188
Sound Systems (Radio) ...........188
Spare Tire ................262, 295
Specifications Fuel (Gasoline) .............273
Oil .................... .314
Speed Control (Cruise Control) ....117,119
Speedometer .................166
Starting ....................220
Automatic Transmission .........220
Cold Weather ..............222
Engine Fails to Start ..........222
Starting and Operating ............220
Starting Procedures .............220
Steering Power ................248, 250
Tilt Column .............115,116
Wheel, Heated ..............116
Wheel Lock ................14
Wheel, Tilt .............115,116
Steering Wheel Audio Controls .......207
Steering Wheel Mounted Sound System Controls ................. .207
Storage ....................335
400