audio JEEP GRAND CHEROKEE 2016 WK2 / 4.G User Guide
[x] Cancel search | Manufacturer: JEEP, Model Year: 2016, Model line: GRAND CHEROKEE, Model: JEEP GRAND CHEROKEE 2016 WK2 / 4.GPages: 276, PDF Size: 10.84 MB
Page 3 of 276
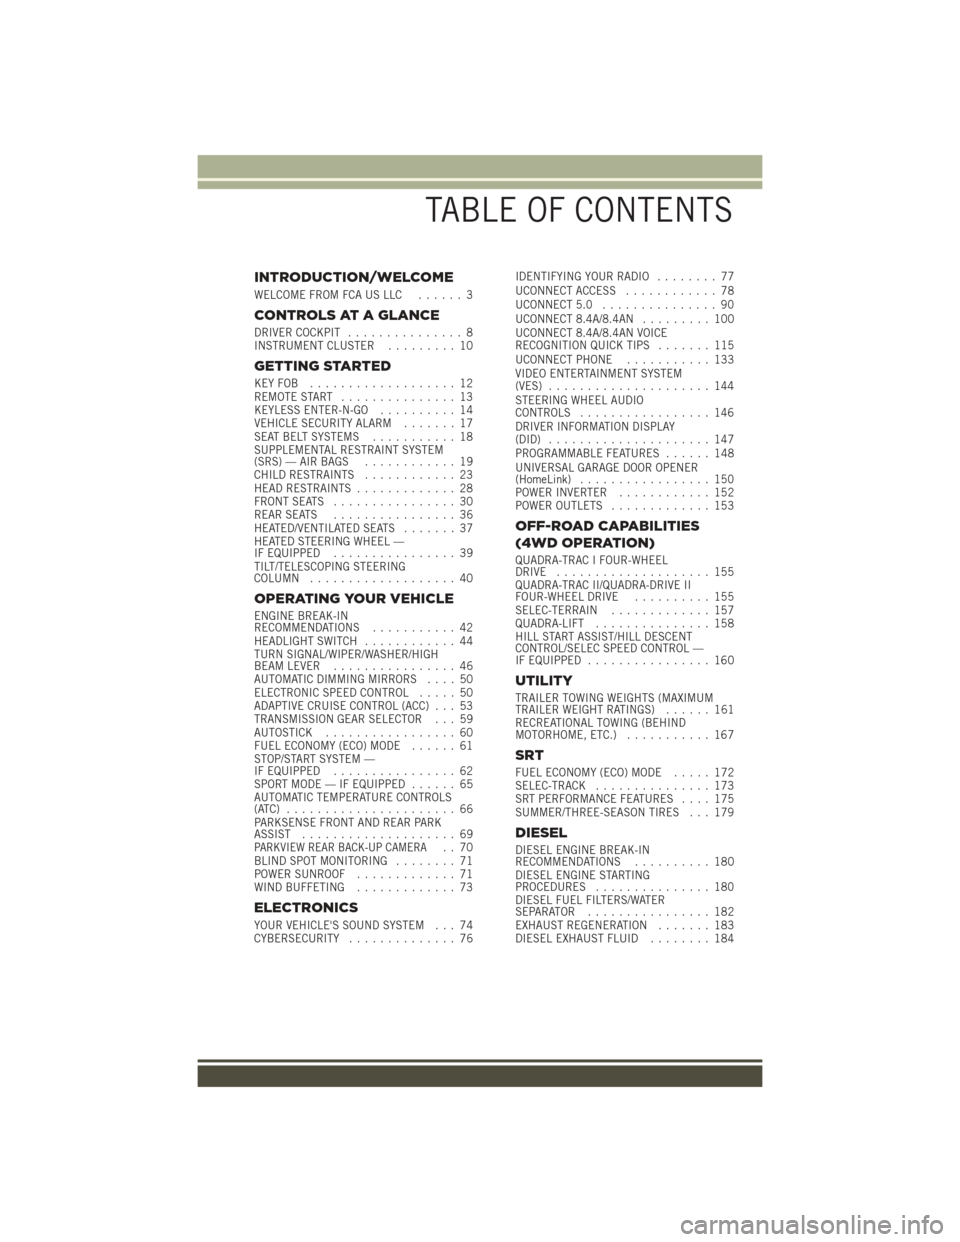
INTRODUCTION/WELCOME
WELCOME FROM FCA US LLC...... 3
CONTROLS AT A GLANCE
DRIVER COCKPIT............... 8
INSTRUMENT CLUSTER ......... 10
GETTING STARTED
KEYFOB ................... 12
REMOTE START............... 13
KEYLESS ENTER-N-GO .......... 14
VEHICLE SECURITY ALARM ....... 17
SEAT BELT SYSTEMS ........... 18
SUPPLEMENTAL RESTRAINT SYSTEM
(SRS) — AIR BAGS ............ 19
CHILD RESTRAINTS ............ 23
HEAD RESTRAINTS ............. 28
FRONT SEATS ................ 30
REAR SEATS ................ 36
HEATED/VENTILATED SEATS ....... 37
HEATED STEERING WHEEL —
IF EQUIPPED ................ 39
TILT/TELESCOPING STEERING
COLUMN ................... 40
OPERATING YOUR VEHICLE
ENGINE BREAK-IN
RECOMMENDATIONS ........... 42
HEADLIGHT SWITCH ............ 44
TURN SIGNAL/WIPER/WASHER/HIGH
BEAM LEVER ................ 46
AUTOMATIC DIMMING MIRRORS .... 50
ELECTRONIC SPEED CONTROL ..... 50
ADAPTIVE CRUISE CONTROL (ACC) . . . 53
TRANSMISSION GEAR SELECTOR . . . 59
AUTOSTICK ................. 60
FUEL ECONOMY (ECO) MODE ...... 61
STOP/START SYSTEM —
IF EQUIPPED ................ 62
SPORT MODE — IF EQUIPPED ...... 65
AUTOMATIC TEMPERATURE CONTROLS
(ATC) ...................... 66
PARKSENSE FRONT AND REAR PARK
ASSIST .................... 69
PARKVIEW REAR BACK-UP CAMERA.. 70
BLIND SPOT MONITORING ........ 71
POWER SUNROOF ............. 71
WIND BUFFETING ............. 73
ELECTRONICS
YOUR VEHICLE'S SOUND SYSTEM . . . 74
CYBERSECURITY.............. 76 IDENTIFYING YOUR RADIO
........ 77
UCONNECT ACCESS ............ 78
UCONNECT 5.0 ............... 90
UCONNECT 8.4A/8.4AN ......... 100
UCONNECT 8.4A/8.4AN VOICE
RECOGNITION QUICK TIPS ....... 115
UCONNECT PHONE ........... 133
VIDEO ENTERTAINMENT SYSTEM
(VES) ..................... 144
STEERING WHEEL AUDIO
CONTROLS ................. 146
DRIVER INFORMATION DISPLAY
(DID) ..................... 147
PROGRAMMABLE FEATURES ...... 148
UNIVERSAL GARAGE DOOR OPENER
(HomeLink) ................. 150
POWER INVERTER ............ 152
POWER OUTLETS ............. 153
OFF-ROAD CAPABILITIES
(4WD OPERATION)
QUADRA-TRAC I FOUR-WHEEL
DRIVE .................... 155
QUADRA-TRAC II/QUADRA-DRIVE II
FOUR-WHEEL DRIVE .......... 155
SELEC-TERRAIN ............. 157
QUADRA-LIFT ............... 158
HILL START ASSIST/HILL DESCENT
CONTROL/SELEC SPEED CONTROL —
IF EQUIPPED ................ 160
UTILITY
TRAILER TOWING WEIGHTS (MAXIMUM
TRAILER WEIGHT RATINGS) ...... 161
RECREATIONAL TOWING (BEHIND
MOTORHOME, ETC.) ........... 167
SRT
FUEL ECONOMY (ECO) MODE ..... 172
SELEC-TRACK ............... 173
SRT PERFORMANCE FEATURES .... 175
SUMMER/THREE-SEASON TIRES . . . 179
DIESEL
DIESEL ENGINE BREAK-IN
RECOMMENDATIONS .......... 180
DIESEL ENGINE STARTING
PROCEDURES ............... 180
DIESEL FUEL FILTERS/WATER
SEPARATOR ................ 182
EXHAUST REGENERATION ....... 183
DIESEL EXHAUST FLUID ........ 184
TABLE OF CONTENTS
Page 10 of 276
DRIVER COCKPIT
1. Headlight Switch pg. 44
2. Turn Signal/Wiper/Washer/High Beams Lever (Behind Steering Wheel) pg. 46
3. AutoStick pg. 60
4. Driver Information Display (DID) Controls pg. 147
5. Instrument Cluster pg. 10
6. Speed Control pg. 50
7. Engine Start/Stop Button (Behind Steering Wheel) pg. 16
8. Audio System (Touchscreen Radio Shown) pg. 74
CONTROLS AT A GLANCE
8
Page 63 of 276
• Holding the (-) paddle depressed will downshift the transmission to the lowestgear possible at the current speed.
• Transmission shifting will be more noticeable when AutoStick is enabled.
• The system may revert to automatic shift mode if a fault or overheat condition is detected.
NOTE:
When Selec-Speed or Hill Descent Control is enabled, AutoStick is not active.
To disengage AutoStick, return the gear selector to the DRIVE position, or press and
hold the (+) shift paddle (if the gear selector is already in DRIVE) until "D" is once
again indicated in the instrument cluster. You can shift in or out of AutoStick at any
time without taking your foot off the accelerator pedal.
WARNING!
Do not downshift for additional engine braking on a slippery surface. The drive
wheels could lose their grip and the vehicle could skid, causing a collision or
personal injury.
FUEL ECONOMY (ECO) MODE
The Fuel Economy (ECO) mode can improve the vehicle's overall fuel economy during
normal driving conditions. Push the “ECO” switch in the center stack of the
instrument panel to activate or disable ECO mode. An amber light on the switch
indicates when ECO mode is disabled.
When the Fuel Economy (ECO) Mode is
engaged, the vehicle control systems will
change the following:
• The transmission will upshift sooner and downshift later.
• The overall driving performance will be more conservative.
• Some ECO mode functions may be temporarily inhibited based on tem-
perature and other factors.
Active Noise Cancellation — Summit
And SRT Models Only
Your vehicle is equipped with an Active
Noise Cancellation System. This system
uses four microphones embedded in the headliner to detect undesirable exhaust
noise. An onboard frequency generator creates counteracting sound waves through
the audio system to help keep the vehicle quiet.ECO Switch
OPERATING YOUR VEHICLE
61
Page 76 of 276
YOUR VEHICLE'S SOUND SYSTEM
1. Uconnect Phone Button pg. 133
2. Uconnect Voice Command Button pg. 115
3. Phone Hang Up Button pg. 133
4. Steering Wheel Audio control (Left- Behind Steering Wheel) pg. 146
5. Steering Wheel Audio control (Right- Behind Steering Wheel) pg. 146
6. Volume Knob/Mute Button
7. Screen Off Button
ELECTRONICS
74
Page 83 of 276
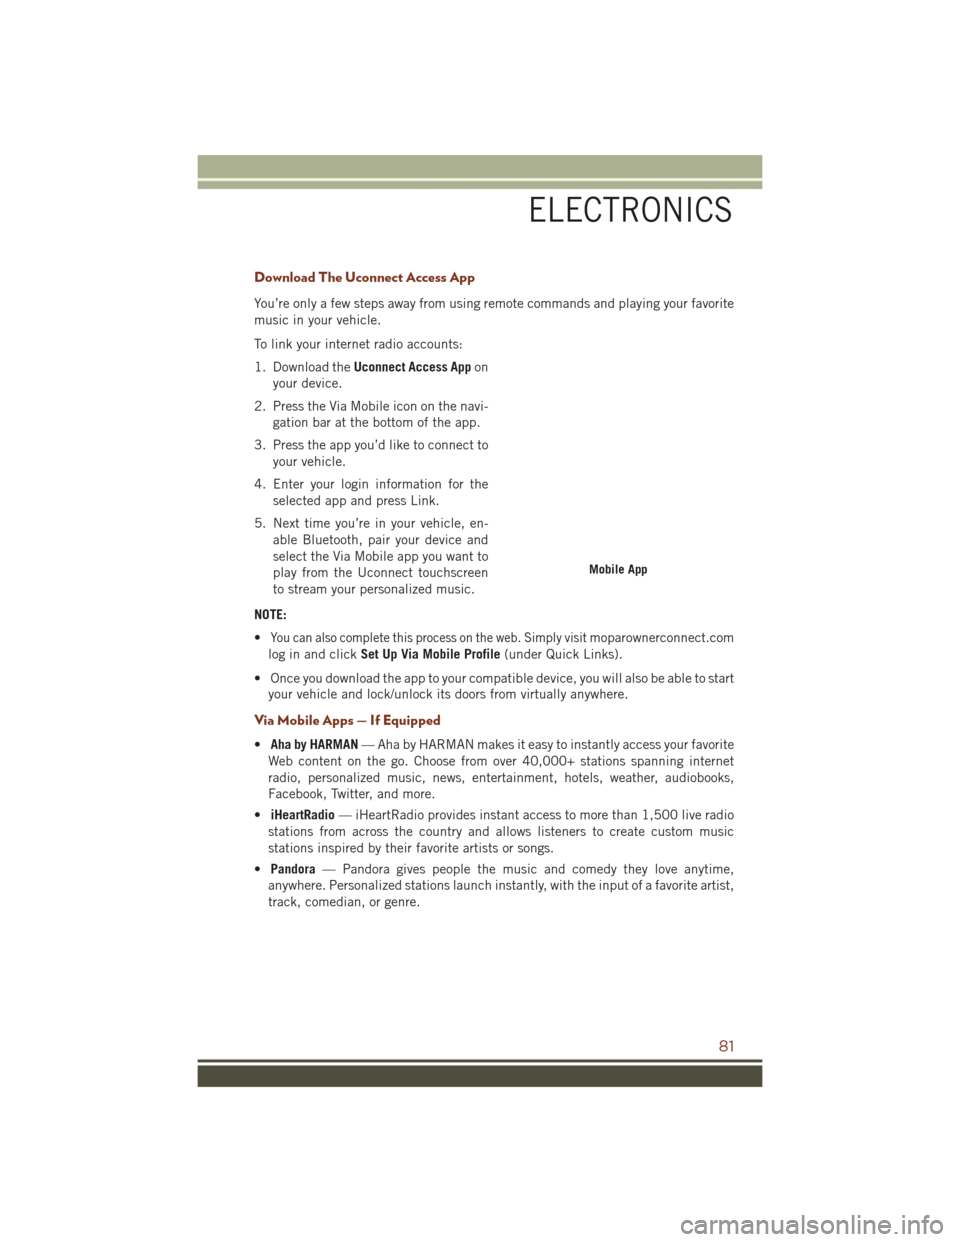
Download The Uconnect Access App
You’re only a few steps away from using remote commands and playing your favorite
music in your vehicle.
To link your internet radio accounts:
1. Download theUconnect Access App on
your device.
2. Press the Via Mobile icon on the navi- gation bar at the bottom of the app.
3. Press the app you’d like to connect to your vehicle.
4. Enter your login information for the selected app and press Link.
5. Next time you’re in your vehicle, en- able Bluetooth, pair your device and
select the Via Mobile app you want to
play from the Uconnect touchscreen
to stream your personalized music.
NOTE:
•
You can also complete this process on the web. Simply visitmoparownerconnect.com
log in and click Set Up Via Mobile Profile (under Quick Links).
• Once you download the app to your compatible device, you will also be able to start your vehicle and lock/unlock its doors from virtually anywhere.
Via Mobile Apps — If Equipped
• Aha by HARMAN — Aha by HARMAN makes it easy to instantly access your favorite
Web content on the go. Choose from over 40,000+ stations spanning internet
radio, personalized music, news, entertainment, hotels, weather, audiobooks,
Facebook, Twitter, and more.
• iHeartRadio — iHeartRadio provides instant access to more than 1,500 live radio
stations from across the country and allows listeners to create custom music
stations inspired by their favorite artists or songs.
• Pandora — Pandora gives people the music and comedy they love anytime,
anywhere. Personalized stations launch instantly, with the input of a favorite artist,
track, comedian, or genre.
Mobile App
ELECTRONICS
81
Page 92 of 276
UCONNECT 5.0
Clock Setting
To start the clock setting procedure:
1. Push the MORE button on the faceplate. Next press the “Settings” button on thetouchscreen and then press the “Clock and Date” button on the touchscreen.
2. Press the “Set Time” button on the touchscreen.
3. Press the “Up” or “Down” arrows to adjust the hours or minutes, next select the “AM” or “PM” button on the touchscreen. You can also select 12hr or 24hr format
by pressing the desired button on the touchscreen.
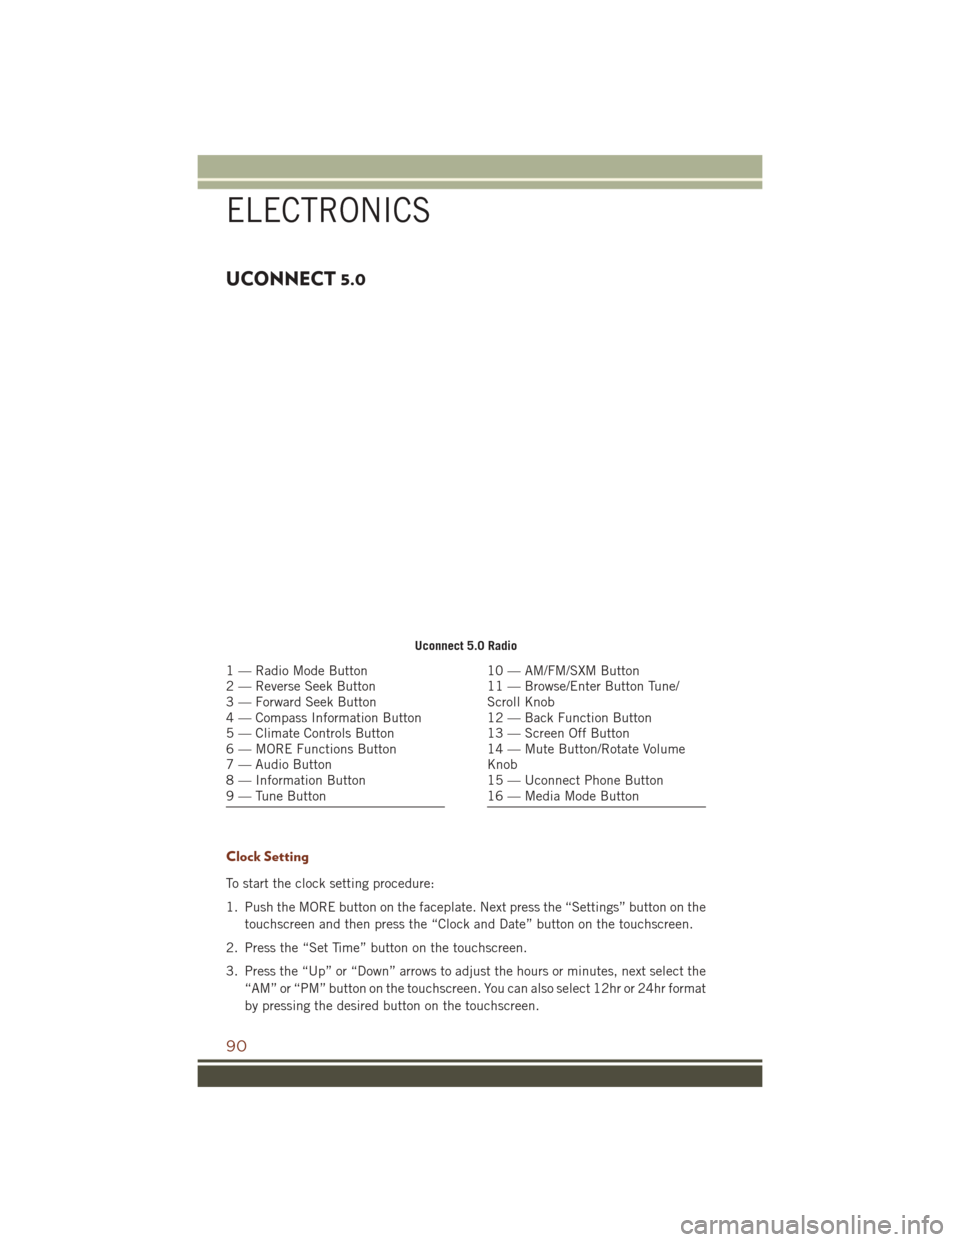
Uconnect 5.0 Radio
1 — Radio Mode Button
2 — Reverse Seek Button
3 — Forward Seek Button
4 — Compass Information Button
5 — Climate Controls Button
6 — MORE Functions Button
7 — Audio Button
8 — Information Button
9 — Tune Button10 — AM/FM/SXM Button
11 — Browse/Enter Button Tune/
Scroll Knob
12 — Back Function Button
13 — Screen Off Button
14 — Mute Button/Rotate Volume
Knob
15 — Uconnect Phone Button
16 — Media Mode Button
ELECTRONICS
90
Page 93 of 276
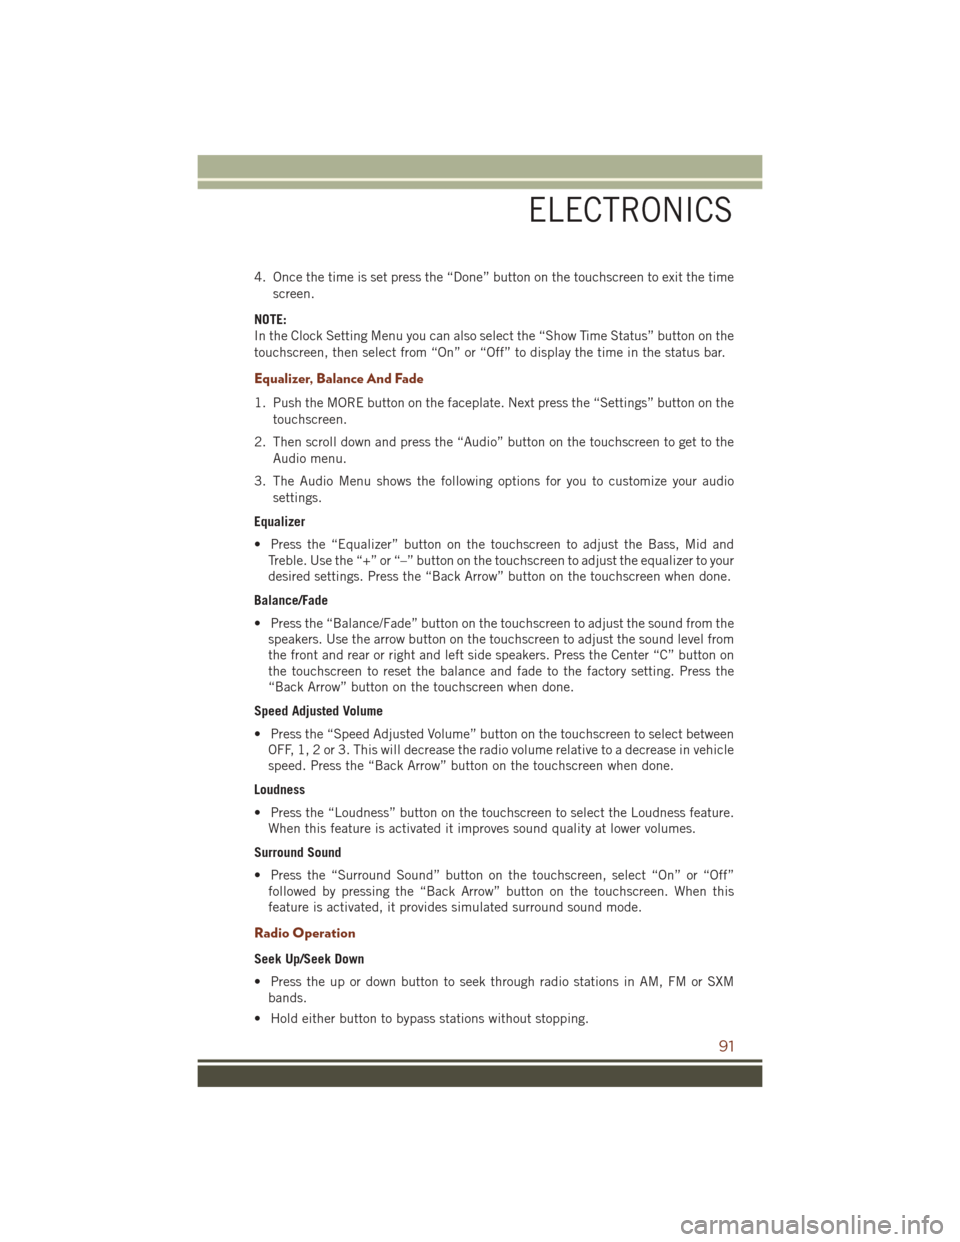
4. Once the time is set press the “Done” button on the touchscreen to exit the timescreen.
NOTE:
In the Clock Setting Menu you can also select the “Show Time Status” button on the
touchscreen, then select from “On” or “Off” to display the time in the status bar.
Equalizer, Balance And Fade
1. Push the MORE button on the faceplate. Next press the “Settings” button on the touchscreen.
2. Then scroll down and press the “Audio” button on the touchscreen to get to the Audio menu.
3. The Audio Menu shows the following options for you to customize your audio settings.
Equalizer
• Press the “Equalizer” button on the touchscreen to adjust the Bass, Mid and Treble. Use the “+” or “–” button on the touchscreen to adjust the equalizer to your
desired settings. Press the “Back Arrow” button on the touchscreen when done.
Balance/Fade
• Press the “Balance/Fade” button on the touchscreen to adjust the sound from the speakers. Use the arrow button on the touchscreen to adjust the sound level from
the front and rear or right and left side speakers. Press the Center “C” button on
the touchscreen to reset the balance and fade to the factory setting. Press the
“Back Arrow” button on the touchscreen when done.
Speed Adjusted Volume
• Press the “Speed Adjusted Volume” button on the touchscreen to select between OFF, 1, 2 or 3. This will decrease the radio volume relative to a decrease in vehicle
speed. Press the “Back Arrow” button on the touchscreen when done.
Loudness
• Press the “Loudness” button on the touchscreen to select the Loudness feature. When this feature is activated it improves sound quality at lower volumes.
Surround Sound
• Press the “Surround Sound” button on the touchscreen, select “On” or “Off” followed by pressing the “Back Arrow” button on the touchscreen. When this
feature is activated, it provides simulated surround sound mode.
Radio Operation
Seek Up/Seek Down
• Press the up or down button to seek through radio stations in AM, FM or SXMbands.
• Hold either button to bypass stations without stopping.
ELECTRONICS
91
Page 95 of 276
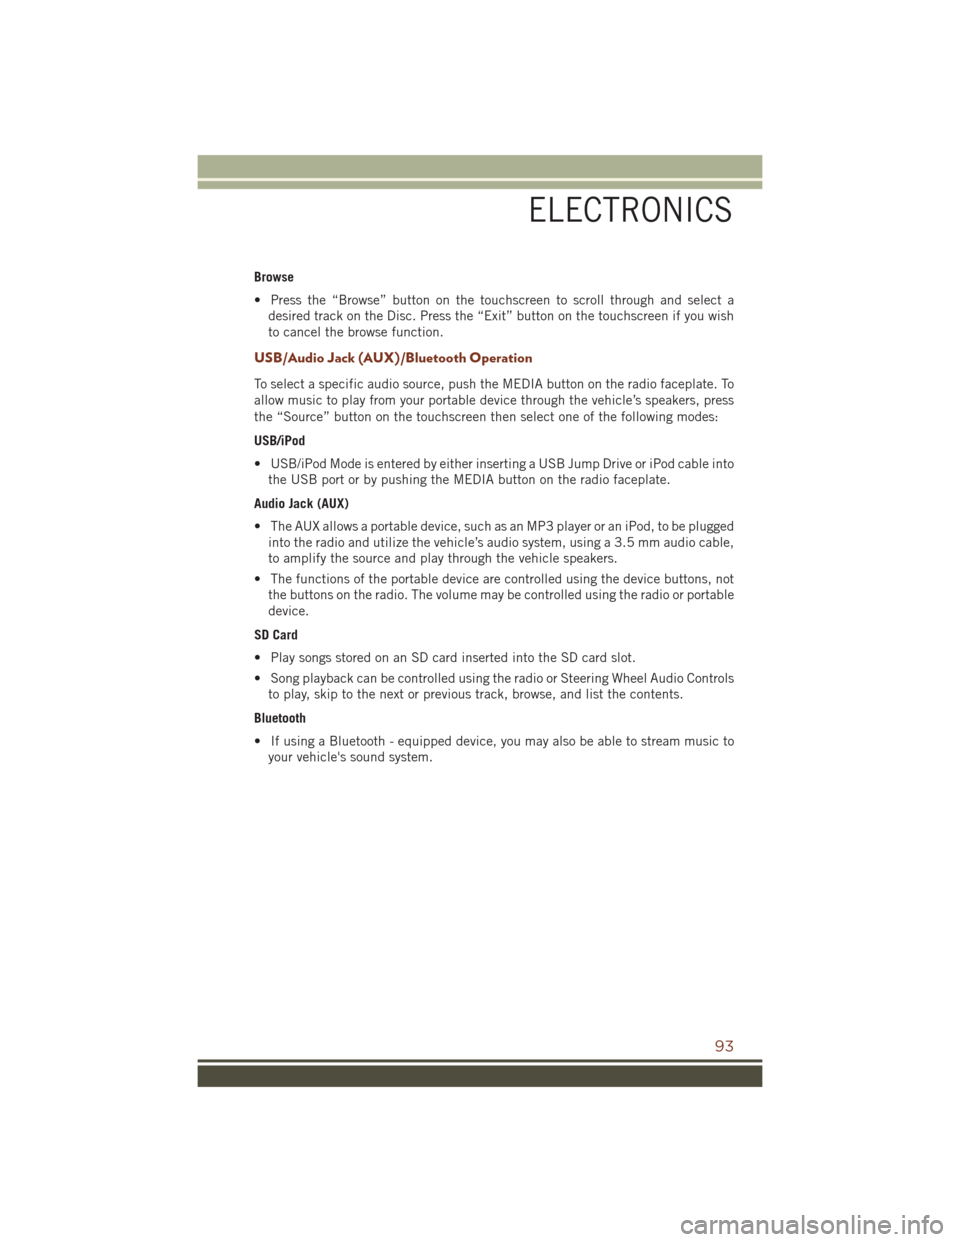
Browse
• Press the “Browse” button on the touchscreen to scroll through and select adesired track on the Disc. Press the “Exit” button on the touchscreen if you wish
to cancel the browse function.
USB/Audio Jack (AUX)/Bluetooth Operation
To select a specific audio source, push the MEDIA button on the radio faceplate. To
allow music to play from your portable device through the vehicle’s speakers, press
the “Source” button on the touchscreen then select one of the following modes:
USB/iPod
• USB/iPod Mode is entered by either inserting a USB Jump Drive or iPod cable intothe USB port or by pushing the MEDIA button on the radio faceplate.
Audio Jack (AUX)
• The AUX allows a portable device, such as an MP3 player or an iPod, to be plugged into the radio and utilize the vehicle’s audio system, using a 3.5 mm audio cable,
to amplify the source and play through the vehicle speakers.
• The functions of the portable device are controlled using the device buttons, not the buttons on the radio. The volume may be controlled using the radio or portable
device.
SD Card
• Play songs stored on an SD card inserted into the SD card slot.
• Song playback can be controlled using the radio or Steering Wheel Audio Controls to play, skip to the next or previous track, browse, and list the contents.
Bluetooth
• If using a Bluetooth - equipped device, you may also be able to stream music to your vehicle's sound system.
ELECTRONICS
93
Page 103 of 276
CAUTION!
Do NOT attach any object to the touchscreen, doing so can result in damage to the
screen.
Setting The Time
• Model 8.4AN synchronizes time automatically via GPS, so it should not require any time adjustment. If you do need to set the time manually, follow the
instructions below for Model 8.4A.
• For Model 8.4A, turn the unit on, then press the time display at the top of the screen. Press “Yes.”
• If the time is not displayed at the top of the screen, press the “Settings” button on the touchscreen. In the Settings screen, press the “Clock” button on the touch-
screen, then check or uncheck this option.
• Press “+” or “–” next to Set Time Hours and Set Time Minutes to adjust the time.
• If these features are not available, uncheck the Sync Time box.
• Press “X” to save your settings and exit out of the Clock Setting screen.
Background Themes
• Screen background themes are selectable from a pre-loaded list of themes. If you’d like to set a theme, follow the instructions below.
• Press the “Settings” button on the touchscreen.
• Press the “Display” button on the touchscreen.
• Then press “Set Theme” button on the touchscreen and select a theme.
Audio Settings
• Press of the “Audio” button on the touchscreen to activate the Audio settings screen to adjust Balance\Fade, Equalizer, and Speed Adjusted Volume.
• You can return to the Radio screen by pressing the “X” located at the top right.
Balance/Fade
• Press the “Balance/Fade” button on the touchscreen to Balance audio between the front speakers or fade the audio between the rear and front speakers.
• Pressing the “Front,” “Rear,” “Left,” or “Right” buttons on the touchscreen or press and drag the Speaker Icon to adjust the Balance/Fade.
Equalizer
• Press the “Equalizer” button on the touchscreen to activate the Equalizer screen.
• Press the “+” or “–” buttons on the touchscreen, or press and drag over the level bar for each of the equalizer bands. The level value, which spans between plus or
minus 9, is displayed at the bottom of each of the Bands.
ELECTRONICS
101
Page 104 of 276
Speed Adjusted Volume
• Press the “Speed Adjusted Volume” button on the touchscreen to activate theSpeed Adjusted Volume screen. The Speed Adjusted Volume is adjusted by
pressing the volume level indicator. This alters the automatic adjustment of the
audio volume with variation to vehicle speed.
Personalized Menu Bar
The Uconnect features and services in the main menu bar are easily changed for your
convenience. Simply follow these steps:
1. Press the “Apps
” button to open the App screen.
2. Press and hold, then drag the selected App to replace an existing shortcut in the main menu bar.
The replaced shortcut will now be an active App/shortcut on the main menu bar.
Uconnect 8.4A/8.4AN Main Menu
ELECTRONICS
102