audio JEEP RENEGADE 2018 Owner handbook (in English)
[x] Cancel search | Manufacturer: JEEP, Model Year: 2018, Model line: RENEGADE, Model: JEEP RENEGADE 2018Pages: 356, PDF Size: 6.11 MB
Page 70 of 356
GEAR SHIFT INDICATOR(where provided)
The Gear Shift Indicator (GSI) system
advises the driver to change gear through
a special indication on the display.
Through the GSI, the driver is informed
that the gear change will allow a
reduction in fuel consumption.
SHIFT UP (
SHIFT) icon on the
display: suggests switching to a higher
gear.
SHIFT DOWN (
SHIFT) icon on the
display: suggests switching to a lower
gear.
The indication in the display remains
until a gear is shifted or the driving
conditions go back to a situation where
gearshifting is not required to improve
consumption.
CONTROL BUTTONS
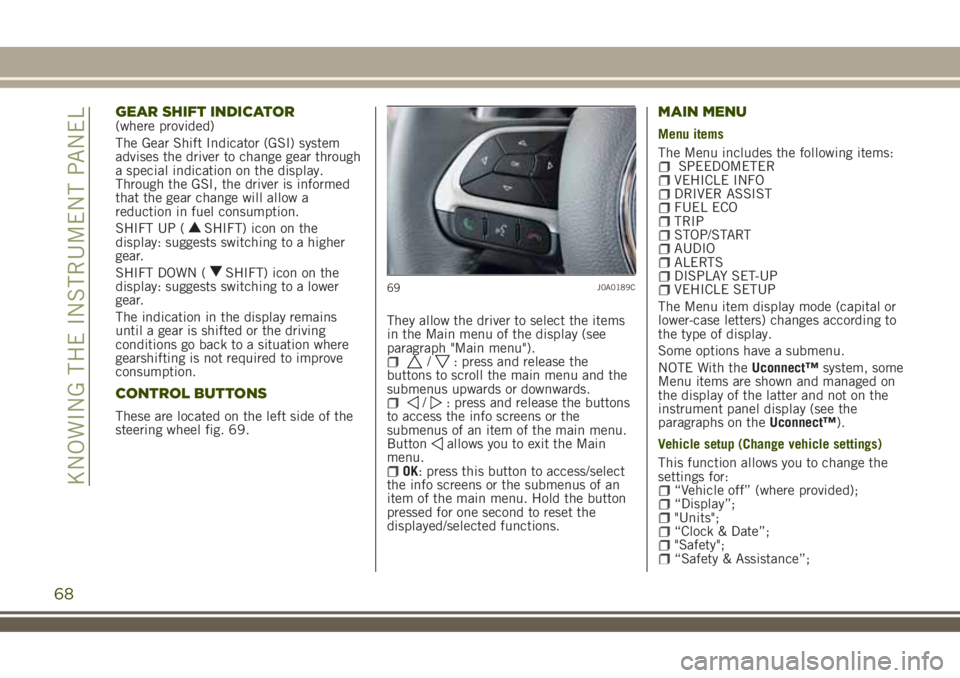
These are located on the left side of the
steering wheel fig. 69.They allow the driver to select the items
in the Main menu of the display (see
paragraph "Main menu").
/: press and release the
buttons to scroll the main menu and the
submenus upwards or downwards.
/: press and release the buttons
to access the info screens or the
submenus of an item of the main menu.
Button
allows you to exit the Main
menu.
OK: press this button to access/select
the info screens or the submenus of an
item of the main menu. Hold the button
pressed for one second to reset the
displayed/selected functions.
MAIN MENU
Menu items
The Menu includes the following items:
SPEEDOMETERVEHICLE INFODRIVER ASSISTFUEL ECOTRIPSTOP/STARTAUDIOALERTSDISPLAY SET-UPVEHICLE SETUP
The Menu item display mode (capital or
lower-case letters) changes according to
the type of display.
Some options have a submenu.
NOTE With theUconnect™system, some
Menu items are shown and managed on
the display of the latter and not on the
instrument panel display (see the
paragraphs on theUconnect™).
Vehicle setup (Change vehicle settings)
This function allows you to change the
settings for:
“Vehicle off” (where provided);“Display”;"Units";“Clock & Date”;"Safety";“Safety & Assistance”;
69J0A0189C
68
KNOWING THE INSTRUMENT PANEL
Page 92 of 356
Symbol What it means
LANESENSE SYSTEM FAILURE
The symbol comes on in the event of LaneSense system failure. The display shows the dedicated
message. In this case contact a Jeep Dealership as soon as possible.
AUTOMATIC MAIN BEAM HEADLIGHTS FAILURE
The symbol switches on to report a failure of the automatic main beam headlights. Contact a Jeep
Dealership as soon as possible.
AUTOMATIC TRANSMISSION FLUID OVERHEATING / DUAL CLUTCH AUTOMATIC TRANSMISSION
FLUID OVERHEATING
The symbol switches on in the case of transmission overheating, after a particularly demanding use. In
this case an engine performance limitation is carried out. With engine off or at idle speed, wait until the
symbol switches off.
TOW HOOK FAILURE
The symbol switches on to report a failure of the tow hook. Contact a Jeep Dealership as soon as
possible.
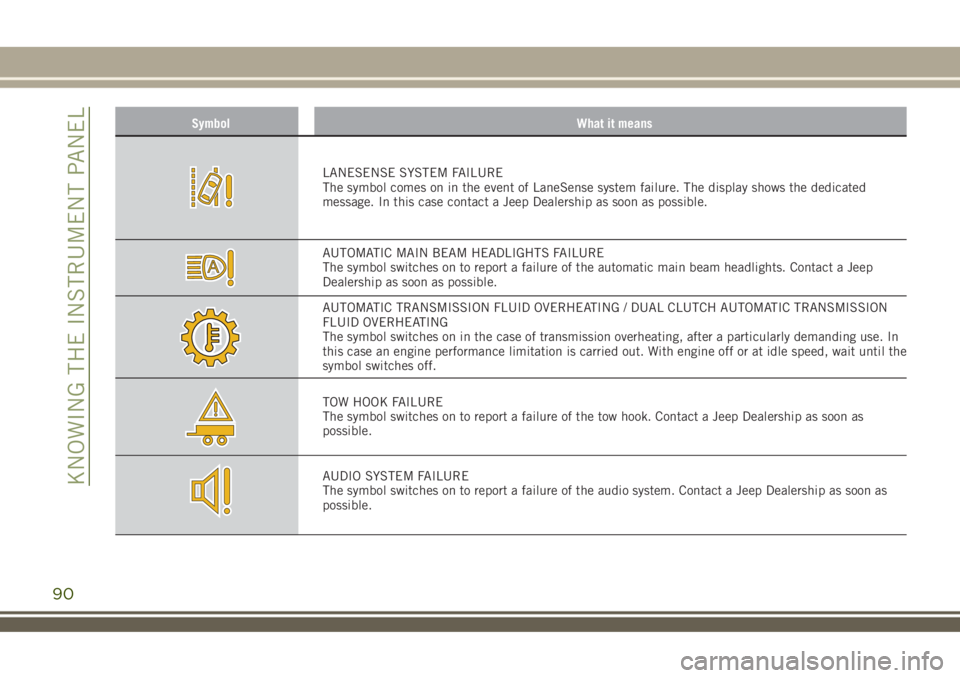
AUDIO SYSTEM FAILURE
The symbol switches on to report a failure of the audio system. Contact a Jeep Dealership as soon as
possible.
90
KNOWING THE INSTRUMENT PANEL
Page 304 of 356
"TOUCH SCREEN" FUNCTION
The system uses the "touch screen”
function; to interact with the different
functions, press the "graphic buttons"
displayed.
Press the “OK” buttonto confirmthe
selection.
To go back to the previous screen, press
the
(Delete) button or/Done,
depending on the active screen.
USB/AUX SOURCE
The car has a USB/AUX port (where
provided) on the central tunnel.
RADIO MODE
After the desired radio station is
selected, the following information is
shown on the display:
At the top: the list of radio stations stored
(preset) is displayed; the station currently
playing is highlighted.
In the middle: display of the name of the
current radio station and the buttons
/for selecting the previous or
next radio station.
At the bottom: display of the following
buttons:
“Browse”: list of the radio stations
available;
“AM/FM”, “AM/DAB”, “FM/DAB”:
selection of the desired frequency band
(button reconfigurable according to the
band selected: AM,FM or DAB);
"Tune" : manual radio station tuning
(not available for DAB radios);
“Info”: additional information on the
source being listened to;
“Audio”: access to the “Audio
Settings” screen.
Audio menu
The following adjustments can be carried
out using the "Audio" menu:
“Equaliser” (where provided);“Balance/Fader” (left/right and
front/rear audio balance adjustment);
“Volume/Speed” (excluding versions
with Hi-Fi system) speed-dependent
automatic volume adjustment;
“Loudness” (where provided);"Auto-On Radio" (selects the radio
operation when the ignition device is
turned to MAR).
MEDIA MODE
IMPORTANT Applications used on
portable devices may be not
compatible with theUconnect™
system.
Track selection (Browse)
With Media mode active, briefly press
buttons
/to play the
previous/next track or keep buttons/pressed to fast rewind/forward the
track.
NOTE For languages not supported by
the system which feature special
characters (e.g. Greek), the keyboard is
not available. In these cases this
function will be limited.
Bluetooth SOURCE
Pairing an audio deviceBluetooth®
Proceed as follows:
activate theBluetooth®function on
the device;
Press the MEDIA button on the front
panel;
if the "Media" source is active, press
the "Source" button;
select theBluetooth®Media source;press the "Add Device" button;search forUconnect™on the
Bluetooth®audio device (during the
pairing stage a screen is displayed
showing the progress of the operation);
when requested by the audio device,
enter the PIN code shown on the system
display or confirm on the device the PIN
displayed;
302
MULTIMEDIA
Page 305 of 356
if the pairing procedure is completed
successfully, a screen is displayed.
Answer "Yes" to the question to pair the
Bluetooth®audio device as favourite (the
device will have priority over all other
devices that will be paired subsequently).
If "No" is selected, the priority is
determined according to the order of
pairing. The last device connected will
have the highest priority;
an audio device can also be paired by
pressing thePHONE button on the
front panel and by selecting "Settings" or,
from the "Settings" menu, selecting
"Phone/Bluetooth".
IMPORTANT If theBluetooth®pairing
between mobile phone and system is
lost, consult the mobile phone owner's
handbook.
PHONE MODE
Activation of phone mode: press thePHONE button on the frontplate.
Use the buttons on the display to:
dial the phone number (using the
graphic keypad on the display);
display and call the contacts in the
mobile phone phonebook;
display and call contacts from the
registers of previous calls;
pair up to 10 phones/audio devices to
make access and connection easier and
quicker;
transfer calls from the system to the
mobile phone and vice versa and
deactivate the microphone audio for
private conversations.
NOTE: Cell phone audio is transmitted
via the car audio system: the system
automatically deactivates the audio
system when you use the Phone function.
NOTE To consult the list of mobile
phones and supported functions, visit the
www.driveuconnect.eu website
Pairing a mobile phone
Proceed as follows:
activate theBluetooth®function on
the cell phone;
press thePHONE button on the
front panel;
if no phone is paired with the system
yet, the display shows a dedicated
screen;
select “Yes” to start the pairing
procedure, then search for the
Uconnect™device on the mobile phone
(if "No" is selected, the Phone main
screen is displayed);
when prompted by the mobile phone,
use its keypad to enter the PIN code
shown on the system display or confirm
on the mobile phone the PIN displayed;
from the “Phone” screen you can
always pair a mobile phone by pressing
the “Settings” button: press the “Add
Device” button and proceed as described
above;
during the pairing stage a screen is
displayed showing the progress of the
operation;
when the pairing procedure is
completed successfully, a screen is
displayed: answer "Yes" to the question to
pair the mobile phone as favourite (the
mobile phone will have priority over all
other mobile phones to be paired
subsequently). If no other devices are
paired, the system will consider the first
associated device as favourite.
NOTE To ensure proper operation after
updating the phone software, it is
recommended to remove the phone from
the list of devices linked to the radio,
delete the previous system pairing also
from the list of Bluetooth devices on the
phone and make a new pairing.
Making a phone call
Proceed as follows:
selecting theicon (mobile phone
phonebook);
selecting “Recent Calls”;selecting theicon (graphic
keyboard);
pressing the “Redial” button.
303
Page 309 of 356
data and of your driving style.
More information is available on the
www.driveuconnect.eu site.
IMPORTANT Do not remove the USB
key or uncouple the smart phone with
theApp Uconnect™LIVE before the
system has downloaded the data,
because it could be lost.During the
transfer of data to the devices,
messages may appear on the radio
display to guide the user correctly
through the operation; follow these
instructions. These messages are
viewed only on the starter device in
STOP position and when a delay is set
in turning off the system. The data are
automatically transferred to the
devices when the engine is switched
off. Transferred data will be deleted
from the system memory in this
manner. You can decide to register the
travel data or not by pressing the
graphic button "Settings" and setting
registration activation and the mode of
transfer to USB or Cloud.
When the USB key memory is full, the
radio screen will show messages to that
effect.
When theeco:Drive™data have not been
transferred to the USB key for a while,
the internal memory systemUconnect™LIVEcould become saturated:
in this case, follow the recommendations
provided by the messages on the
Uconnect™screen.
my:Car
my:Car lets you always have the car's
health status under control.
The my:Car application is capable of
detecting malfunctioning in real time and
lets the driver know about the expiry of
maintenance coupons,
To interact with the application, press the
graphic button "my:Car": on the screen
there is a section "care:Index" where all
the detailed information on the car's
status will be shown. Pressing the
graphic button "Active signalling" you can
see (if there are any) the details of the
fault detected on the car which has
caused a warning light to go on.
The car's status can be viewed on both
the www.driveuconnect.eu and viaApp
Uconnect™LIVE.
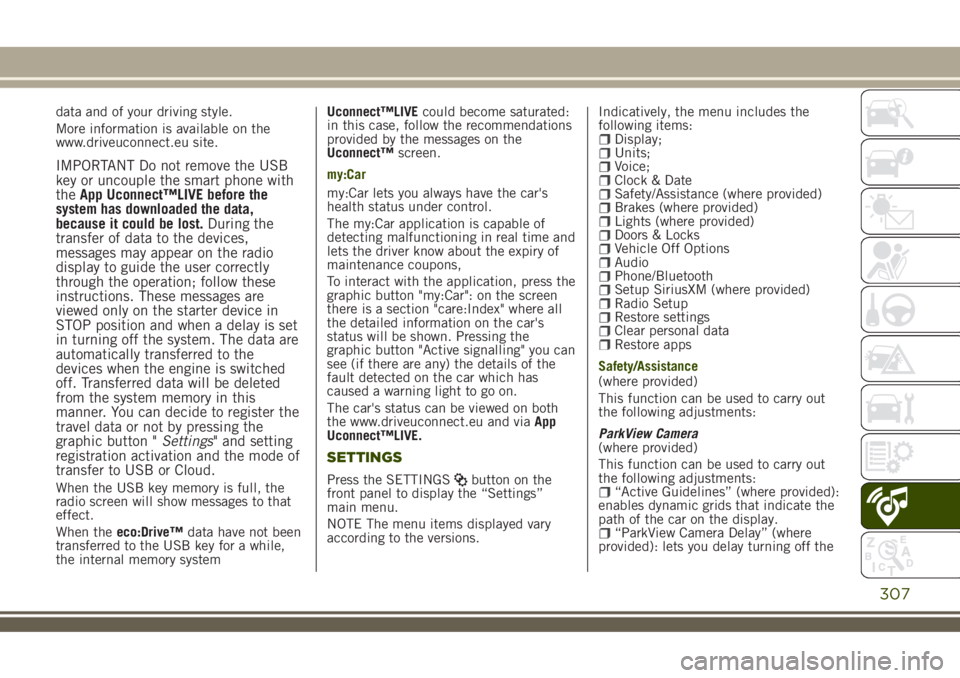
SETTINGS
Press the SETTINGSbutton on the
front panel to display the “Settings”
main menu.
NOTE The menu items displayed vary
according to the versions.Indicatively, the menu includes the
following items:
Display;Units;Voice;Clock & DateSafety/Assistance (where provided)Brakes (where provided)Lights (where provided)Doors & LocksVehicle Off OptionsAudioPhone/BluetoothSetup SiriusXM (where provided)Radio SetupRestore settingsClear personal dataRestore apps
Safety/Assistance
(where provided)
This function can be used to carry out
the following adjustments:
ParkView Camera
(where provided)
This function can be used to carry out
the following adjustments:
“Active Guidelines” (where provided):
enables dynamic grids that indicate the
path of the car on the display.
“ParkView Camera Delay” (where
provided): lets you delay turning off the
307
Page 311 of 356
VOICE COMMANDS
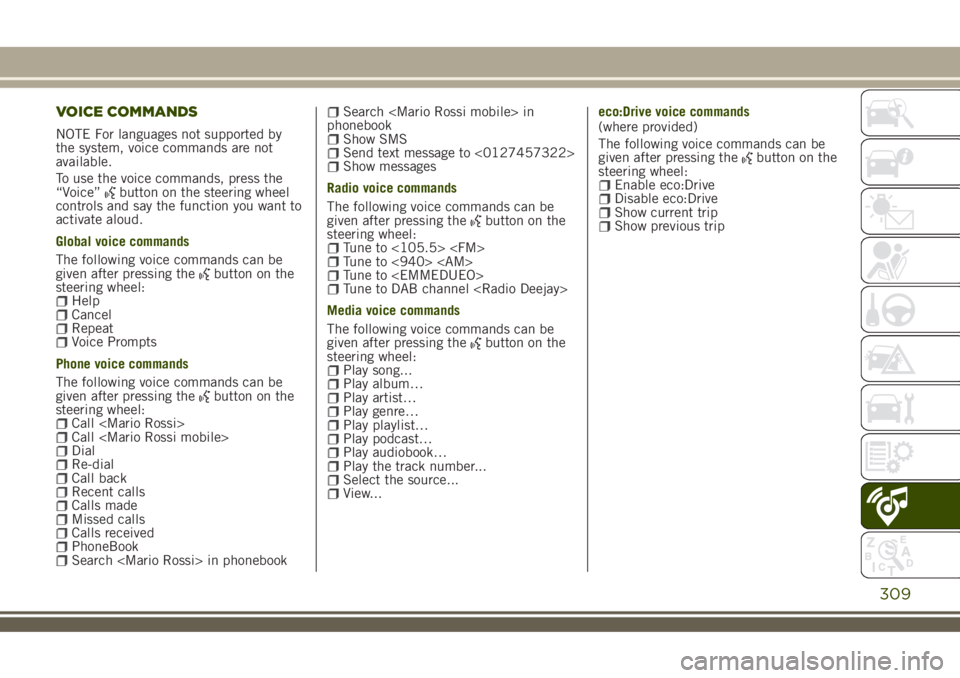
NOTE For languages not supported by
the system, voice commands are not
available.
To use the voice commands, press the
“Voice”
button on the steering wheel
controls and say the function you want to
activate aloud.
Global voice commands
The following voice commands can be
given after pressing the
button on the
steering wheel:
HelpCancelRepeatVoice Prompts
Phone voice commands
The following voice commands can be
given after pressing the
button on the
steering wheel:
Call
Search
phonebook
Show SMSSend text message to <0127457322>Show messages
Radio voice commands
The following voice commands can be
given after pressing the
button on the
steering wheel:
Tune to <105.5>
Media voice commands
The following voice commands can be
given after pressing the
button on the
steering wheel:
Play song...Play album…Play artist…Play genre…Play playlist…Play podcast…Play audiobook…Play the track number...Select the source...View...eco:Drive voice commands
(where provided)
The following voice commands can be
given after pressing the
button on the
steering wheel:
Enable eco:DriveDisable eco:DriveShow current tripShow previous trip
309
Page 313 of 356
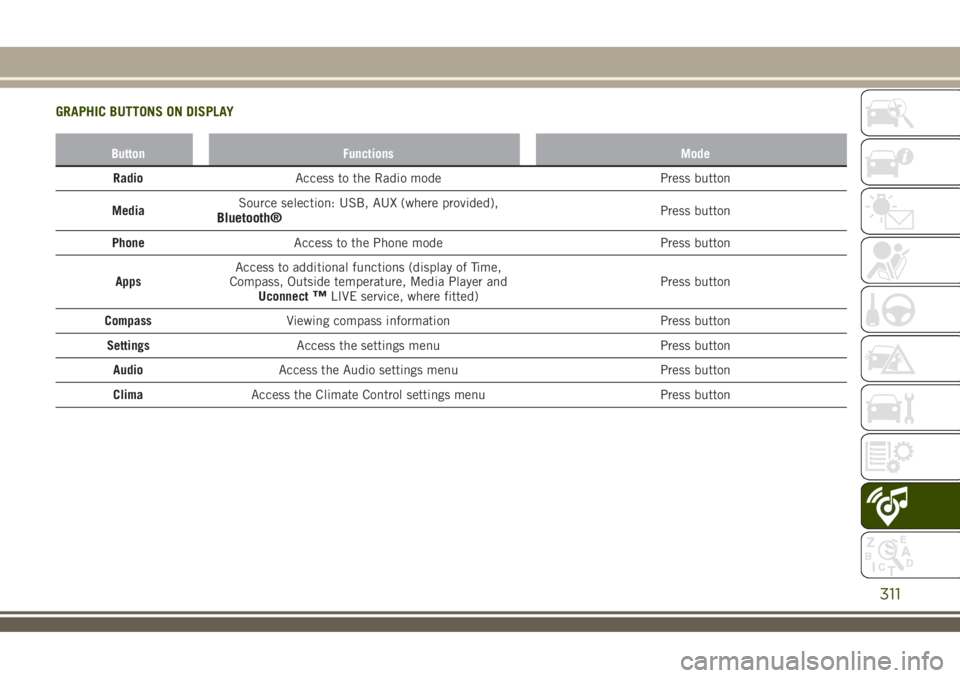
GRAPHIC BUTTONS ON DISPLAY
Button Functions Mode
RadioAccess to the Radio mode Press button
MediaSource selection: USB, AUX (where provided),
Bluetooth®Press button
PhoneAccess to the Phone mode Press button
AppsAccess to additional functions (display of Time,
Compass, Outside temperature, Media Player and
Uconnect
™LIVE service, where fitted)Press button
CompassViewing compass information Press button
SettingsAccess the settings menu Press button
AudioAccess the Audio settings menu Press button
ClimaAccess the Climate Control settings menu Press button
311
Page 318 of 356
"TOUCH SCREEN" FUNCTION
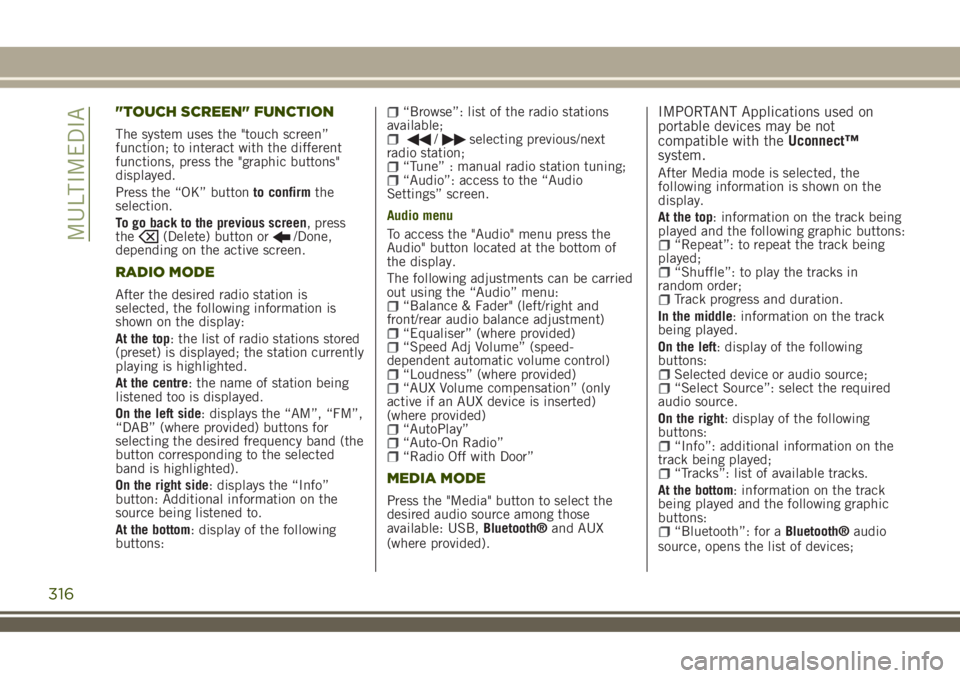
The system uses the "touch screen”
function; to interact with the different
functions, press the "graphic buttons"
displayed.
Press the “OK” buttonto confirmthe
selection.
To go back to the previous screen, press
the
(Delete) button or/Done,
depending on the active screen.
RADIO MODE
After the desired radio station is
selected, the following information is
shown on the display:
At the top: the list of radio stations stored
(preset) is displayed; the station currently
playing is highlighted.
At the centre: the name of station being
listened too is displayed.
On the left side: displays the “AM”, “FM”,
“DAB” (where provided) buttons for
selecting the desired frequency band (the
button corresponding to the selected
band is highlighted).
On the right side: displays the “Info”
button: Additional information on the
source being listened to.
At the bottom: display of the following
buttons:
“Browse”: list of the radio stations
available;
/selecting previous/next
radio station;
“Tune” : manual radio station tuning;“Audio”: access to the “Audio
Settings” screen.
Audio menu
To access the "Audio" menu press the
Audio" button located at the bottom of
the display.
The following adjustments can be carried
out using the “Audio” menu:
“Balance & Fader" (left/right and
front/rear audio balance adjustment)
“Equaliser” (where provided)“Speed Adj Volume” (speed-
dependent automatic volume control)
“Loudness” (where provided)“AUX Volume compensation” (only
active if an AUX device is inserted)
(where provided)
“AutoPlay”“Auto-On Radio”“Radio Off with Door”
MEDIA MODE
Press the "Media" button to select the
desired audio source among those
available: USB,Bluetooth®and AUX
(where provided).
IMPORTANT Applications used on
portable devices may be not
compatible with theUconnect™
system.
After Media mode is selected, the
following information is shown on the
display.
At the top: information on the track being
played and the following graphic buttons:
“Repeat”: to repeat the track being
played;
“Shuffle”: to play the tracks in
random order;
Track progress and duration.
In the middle: information on the track
being played.
On the left: display of the following
buttons:
Selected device or audio source;“Select Source”: select the required
audio source.
On the right: display of the following
buttons:
“Info”: additional information on the
track being played;
“Tracks”: list of available tracks.
At the bottom: information on the track
being played and the following graphic
buttons:
“Bluetooth”: for aBluetooth®audio
source, opens the list of devices;
316
MULTIMEDIA
Page 319 of 356
“Browse” for a USB source, opens
browsing;
/: select previous/next track;: pause track being played;“Audio”: access to the “Audio
Settings” screen.
Track selection
The “Tracks” function allows you to open
a window with the list of tracks being
played.
The choices available depend on the
device connected. For example, on a
USB device you can also use the TUNE
SCROLL / BROWSE ENTER button/knob
or the
andbuttons to scroll
through the list of artists, genres and
albums available on the device,
depending on the information present on
the tracks.
Within each list, the “ABC” button allows
the user to skip to the desired letter in
the list.
NOTE This button might be disabled for
someApple®devices.
NOTE The TUNE SCROLL / BROWSE
ENTER button/knob does not allow any
operation on an AUX device.
BLUETOOTH® SOURCE
This mode is activated by pairing a
Bluetooth®device containing music
tracks with the system.
PAIRING A BLUETOOTH® AUDIO
DEVICE
To pair aBluetooth®audio device,
proceed as follows:
activate theBluetooth®function on
the device;
press the “Media” button on the
display;
press the "Select Source" button;select theBluetooth®Media source;press the "Add Device" button;search forUconnect™on the
Bluetooth®audio device (during the
pairing stage a screen is displayed
showing the progress of the operation);
when requested by the audio device,
enter the PIN code shown on the system
display or confirm the PIN displayed on
the device
if the pairing procedure is completed
successfully, a screen is displayed.
Answer “Yes” to the question to pair the
Bluetooth®audio device as favourite (the
device will have priority over all other
devices to be paired subsequently). If
“No” is selected, the priority isdetermined according to the order of
connection. The last device connected
will have the highest priority;
an audio device can also be paired by
pressing the "Phone" graphic button on
the display and by selecting "Settings" or
selecting "Phone/Bluetooth” from the
"Settings" menu.
NOTE If the device is connected via USB
after theBluetooth®connection, the
radio may change the track being played
when modifying the name-device in the
Bluetooth®settings of the phone (where
provided). After updating the phone
software, for proper operation, it is
recommended to remove the phone from
the list of devices linked to the radio,
delete the previous system pairing also
from the list ofBluetooth®devices on the
phone and make a new pairing.
IMPORTANT If theBluetooth®
connection between mobile phone and
system is lost, consult the mobile
phone handbook.
USB/AUX SOURCE
USB source
The car has a USB/AUX port located on
the central tunnel.
When a USB device is inserted with the
317
Page 320 of 356
radio on, it starts to play the tracks on
the device if the “AutoPlay” is set to
"ON" in the “Audio” menu.
AUX source
(where provided)
To activate AUX mode, insert an
appropriate device in the AUX socket in
the car. When a device is inserted using
the AUX output socket the system starts
reproducing the AUX source connected,
if it is already being played.
Adjust the volume using the VOLUME
button/knob onUconnect™or using the
volume adjustment control on the
connected device.
The "AUX Volume Offset" function can be
selected in “Audio” settings only when
the AUX source is active.
IMPORTANT NOTES
The functions of the device connected
with the AUX socket are directly
managed by the device itself: it is not
possible to change track/folder/playlist or
control playing start/end/pause with the
controls on the front panel or on the
steering wheel.
To avoid possible speaker noise, do not
leave the cable of the portable reader
connected to the AUX socket after
disconnection.PHONE MODE
Phone mode activation
Press the “Phone” button on the display
to activate the Phone mode.
NOTE To consult the list of mobile
phones and supported functions, visit the
www.driveuconnect.eu website
Use the buttons on the display to:
dial the phone number (using the
graphic keypad on the display);
display and call the contacts in the
mobile phone phonebook;
display and call contacts from the
registers of previous calls;
pair up to 10 phones/audio devices to
make access and connection easier and
quicker;
transfer calls from the system to the
mobile phone and vice versa and
deactivate the microphone audio for
private conversations.
The mobile phone audio is transmitted
through the vehicle’s audio system; the
system automatically mutes the radio
when the Phone function is used.
Pairing a mobile phone
IMPORTANT Carry out this operation
only with vehicle stationary and insafety conditions; this function is
deactivated when the vehicle is
moving.
The pairing procedure for a mobile phone
is described below: always consult the
handbook for the mobile phone in any
case.
To pair the mobile phone, proceed as
follows:
activate theBluetooth®function on
the mobile phone;
press the “Phone” button on the
display;
if no phone is paired with the system
yet, the display shows a dedicated
screen;
access “Settings” and select “Add
device” to start the pairing procedure,
then search for theUconnect™device on
the mobile phone;
when prompted by the mobile phone,
use its keypad to enter the PIN code
shown on the system display or confirm
on the mobile phone the PIN displayed;
during the pairing stage a screen is
displayed showing the progress of the
operation;
when the pairing procedure is
completed successfully, a screen is
displayed: answer “Yes” to the question
to pair the mobile phone as favourite (the
mobile phone will have priority over all
other mobile phones to be paired
318
MULTIMEDIA