mirror controls JEEP WAGONEER 2023 Owners Manual
[x] Cancel search | Manufacturer: JEEP, Model Year: 2023, Model line: WAGONEER, Model: JEEP WAGONEER 2023Pages: 396, PDF Size: 15.17 MB
Page 33 of 396
GETTING TO KNOW YOUR VEHICLE31
Use the four-way control to adjust the steering column.
NOTE:For vehicles equipped with Driver Memory Settings, use
the key fob or the memory switch on the driver's door trim
panel to return the tilt/telescopic steering column to
saved positions
Úpage 31.
HEATED STEERING WHEEL
The steering wheel contains a heating element
that helps warm your hands in cold weather.
The heated steering wheel has three
temperature settings. Once the heated
steering wheel has been turned on, it will stay on until the
operator turns it off. The heated steering wheel may not
turn on when it is already warm. The heated steering wheel control button is located on the
left side of the radio screen or within the Uconnect system.
You can gain access to the control button on the top left
side of the screen by tapping the temperature controls,
which will provide a quick drop-down menu containing the
controls, or through the controls screen of the
touchscreen. If your vehicle is not equipped with the
button on the side of the radio, you can also access the
control button through the climate screen.
Press the heated steering wheel button once to turn
the HI setting on.
Press the heated steering wheel button a second time
to turn the MED setting on.
Press the heated steering wheel button a third time to
turn the LO setting on.
Press the heated steering wheel button a fourth time to
turn the heating elements off.NOTE:The engine must be running for the heated steering wheel
to operate.
For information on use with the Remote Start system, see
Úpage 23.
DRIVER AND PASSENGER MEMORY
SETTINGS — IF EQUIPPED
This feature allows the driver, and if equipped, also the
front passenger to save up to two different memory
profiles for easy recall through a memory switch. Each
memory profile saves desired position settings for the
following features:
Driver’s Side
Seat position
Easy entry/exit seat (if equipped)
Side mirrors
Power tilt and telescopic steering column (if equipped)
Power adjustable pedals (if equipped)
A set of desired radio station presets
WARNING!
Do not adjust the steering column while driving.
Adjusting the steering column while driving or driving
with the steering column unlocked, could cause the
driver to lose control of the vehicle. Failure to follow this
warning may result in serious injury or death.
WARNING!
Persons who are unable to feel pain to the skin
because of advanced age, chronic illness, diabetes,
spinal cord injury, medication, alcohol use, exhaus -
tion, or other physical conditions must exercise care
when using the steering wheel heater. It may cause
burns even at low temperatures, especially if used
for long periods.
Do not place anything on the steering wheel that
insulates against heat, such as a blanket or steering
wheel covers of any type and material. This may
cause the steering wheel heater to overheat.
2
23_WS_OM_EN_USC_t.book Page 31
Page 66 of 396
64GETTING TO KNOW YOUR VEHICLE
REAR WIPER AND WASHER
The rear wiper/washer is operated by rotating a switch,
located at the middle of the lever.
Rotate the center portion of the lever upward to
the first detent for intermittent operation and to
the second detent for continuous rear wiper
operation.
Rear Window Washer Operation Pushing the windshield wiper lever forward
activates the rear window washer. If the lever is
pushed while on the intermittent setting, the
wipers will turn on and operate for several wipe
cycles after the lever is released, and then resume the
intermittent interval previously selected. If the lever is
pushed while the wipers are in the off position, the wipers
will operate several wipe cycles, then turn off.
NOTE:When the rear window washer is activated, the rear Back
Up camera and Digital Rearview Mirror (if equipped)
cameras are also washed.
WINDSHIELD WIPER DE-ICER —
I
F EQUIPPED
Your vehicle may be equipped with a Windshield Wiper
De-Icer feature that may be activated under the following
conditions:
Activation By Front Defrost — The Windshield Wiper
De-Icer shall be activated automatically in the case of
a cold weather manual start with full front defrost, and
when the ambient temperature is below 33°F (0.6°C).
Activation By Rear Defrost — The Windshield Wiper
De-Icer shall be activated automatically when the rear
defrost is turned on and when the ambient tempera -
ture is below 33°F (0.6°C).
Activation By Remote Start Operation — When Remote
Start is active and the outside ambient temperature is
less than 33°F (0.6°C), the Windshield Wiper De-Icer
will activate. Exiting Remote Start will resume its
previous operation. If the Windshield Wiper De-Icer was
active, the timer and operation will continue.
CLIMATE CONTROLS
The Climate Control system allows you to regulate the
temperature, air flow, and direction of air circulating
throughout the vehicle. The controls are located on the
touchscreen and on the instrument panel below the radio.
AUTOMATIC CLIMATE CONTROL
D
ESCRIPTIONS AND FUNCTIONS
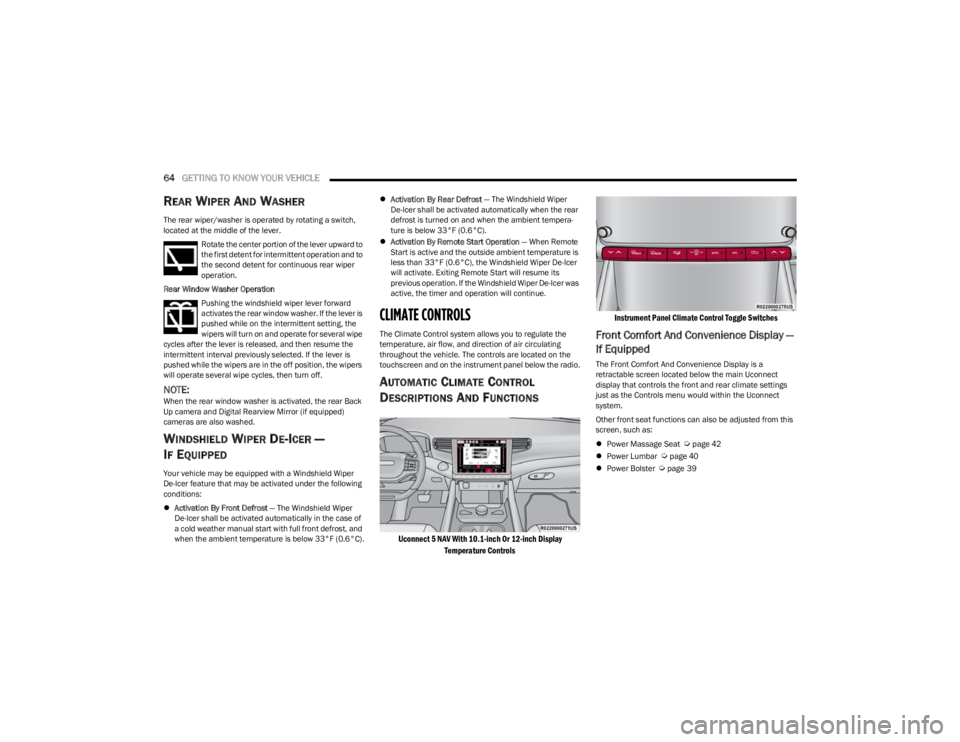
Uconnect 5 NAV With 10.1-inch Or 12-inch Display
Temperature Controls Instrument Panel Climate Control Toggle Switches
Front Comfort And Convenience Display —
If Equipped
The Front Comfort And Convenience Display is a
retractable screen located below the main Uconnect
display that controls the front and rear climate settings
just as the Controls menu would within the Uconnect
system.
Other front seat functions can also be adjusted from this
screen, such as:
Power Massage Seat
Úpage 42
Power Lumbar Úpage 40
Power Bolster Úpage 39
23_WS_OM_EN_USC_t.book Page 64
Page 68 of 396

66GETTING TO KNOW YOUR VEHICLE
MAX Defrost Button
Press the MAX Defrost button on the
touchscreen, or push the toggle switch on the
faceplate down, to change the current airflow
setting to Defrost mode. The indicator
illuminates when this feature is on. Performing this
function will cause the automatic climate controls to
change to manual mode.
When MAX Defrost mode is selected:
The blower speed increases to full (all LEDs on)
Air conditioning compressor is turned on (LED on)
Both driver and passenger temperature controls are
set to HI
Defrost mode is selected (LED on)
Rear defroster is turned on (LED on)
Air recirculation is turned off (LED off)
If MAX Defrost mode is turned off, the Climate Control
system will return to the previous setting.
Rear Defrost Button
Press and release the button on the
touchscreen, or push the toggle switch on the
faceplate down, to turn on the rear window
defroster and the heated outside mirrors (if
equipped). The Rear Defrost indicator illuminates when
the rear window defroster is on. The rear window defroster
automatically turns off after 10 minutes.
Driver And Passenger Temperature
Switches
These toggle switches provide the driver and passenger
with independent temperature control by pushing the
single switch upward or downward.
Instrument Panel Toggle Switches
Push upward on the driver’s or passenger’s
side toggle switch on the faceplate, or press
and slide the temperature bar towards the red
arrow button on the touchscreen for warmer
temperature settings.
Push downward the driver’s or passenger’s
side toggle switch on the faceplate, or press
and slide the temperature bar towards the blue
arrow button on the touchscreen for cooler
temperature settings.
SYNC Button
Press the SYNC button on the touchscreen to
turn the SYNC feature on/off. The SYNC
indicator illuminates when SYNC is on. SYNC is
used to synchronize the front passenger
temperature and rear passenger temperature, mode, and
blower settings with the driver temperature, mode, and
blower settings.
CAUTION!
Failure to follow these cautions can cause damage to
the heating elements:
Use care when washing the inside of the rear
window. Do not use abrasive window cleaners on the
interior surface of the window. Use a soft cloth and a
mild washing solution, wiping parallel to the heating
elements. Labels can be peeled off after soaking
with warm water.
Do not use scrapers, sharp instruments, or abrasive
window cleaners on the interior surface of the
window.
Keep all objects a safe distance from the window.
23_WS_OM_EN_USC_t.book Page 66
Page 85 of 396
GETTING TO KNOW YOUR VEHICLE83
Window Lockout Switch
The window lockout switch on the driver's door trim panel
allows you to disable the window controls on the rear
passenger doors. To disable the window controls, push
and release the window lockout button (the indicator light
on the button will turn on). To enable the window controls,
push and release the window lockout button again (the
indicator light on the button will turn off).
Power Window Lockout Switch
WIND BUFFETING
Wind buffeting can be described as the perception of
pressure on the ears or a helicopter-type sound in the
ears. Your vehicle may exhibit wind buffeting with the
windows down, or the sunroof (if equipped) in certain open
or partially open positions. This is a normal occurrence
and can be minimized. If the buffeting occurs with the rear
windows open, open the front and rear windows together
to minimize the buffeting. If the buffeting occurs with the
sunroof open, adjust the sunroof opening to minimize the
buffeting or open any window.
RADIO SIGNAL DEVICES ON
W
INDSHIELD — IF EQUIPPED
Your vehicle may be equipped with premium tint infrared
reflective glass (IRR). In the necessity of mounting devices
such as transponders, garage door openers, radar
detectors, or any other device that sends out a radio
signal, please refer to the allocated area on the
windshield. There is a small box located near the
passenger side of the mirror cover. The location is
identifiable by a slight discoloration in the glass due to the
removal of the IRR coating.
Metalized windshield coatings available on the Grand
Wagoneer can potentially disrupt RFID transmission/
reception depending on signal location or additional
interference, regardless of the provided deletion zone. In
the event that any RFID or signal interruption between a
vehicle mounted device (e.g. toll transponder) does not
function properly, you may need to consult with your toll
transponder company and may have to use an alternate
device such as a license plate attached toll transponder.
Radio Signal Device Mounting Location
POWER SUNROOF — IF EQUIPPED
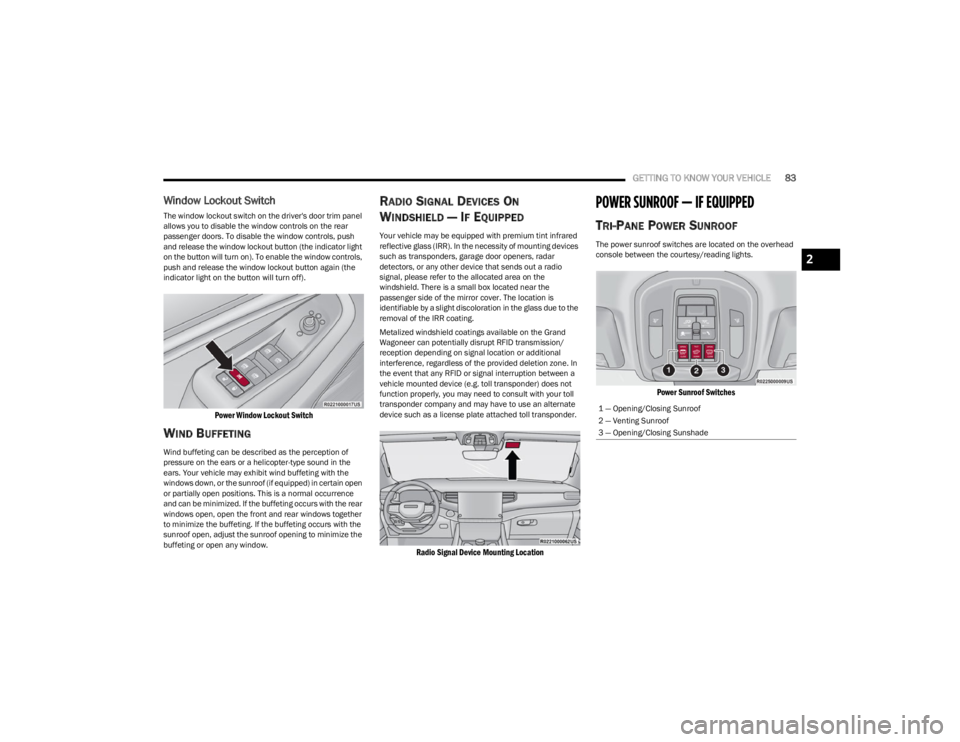
TRI-PANE POWER SUNROOF
The power sunroof switches are located on the overhead
console between the courtesy/reading lights.
Power Sunroof Switches
1 — Opening/Closing Sunroof
2 — Venting Sunroof
3 — Opening/Closing Sunshade
2
23_WS_OM_EN_USC_t.book Page 83
Page 121 of 396
119
STARTING AND OPERATING
STARTING THE ENGINE
Before starting your vehicle, adjust your seat, adjust the inside
and outside mirrors, fasten your seat belt, and if present,
instruct all other occupants to buckle their seat belts.
AUTOMATIC TRANSMISSION
The gear selector must be in the NEUTRAL (N) or PARK (P)
position before you can start the engine. Apply the brakes
before shifting into any driving gear.
KEYLESS ENTER ‘N GO™ — IGNITION
This feature allows the driver to operate the ignition
switch with the push of a button, as long as the Remote
Start/Keyless Enter ‘n Go™ key fob is in the passenger
compartment.
NORMAL STARTING
To Turn On The Engine Using The ENGINE START/STOP
Button
1. The transmission must be in PARK (P).
2. Press and hold the brake pedal while pushing the ENGINE START/STOP button once.
3. The system takes over and attempts to start the vehicle. If the vehicle fails to start, the starter will
disengage automatically after 10 seconds.
4. If you wish to stop the cranking of the engine prior to the engine starting, push the ENGINE START/STOP
button again.
To Turn Off The Engine Using The ENGINE START/STOP
Button
1. Place the gear selector in PARK, then push and release the ENGINE START/STOP button.
2. The ignition will return to the OFF position.
3. If the gear selector is not in PARK, the ENGINE START/STOP button must be held for two seconds or
three short pushes in a row with the vehicle speed
above 5 mph (8 km/h) before the engine will shut off.
The ignition will remain in the ON/RUN position until
the gear selector is in PARK and the button is pushed
twice to the OFF position.
WARNING!
Before exiting a vehicle, always come to a complete
stop, then shift the automatic transmission into PARK
and apply the parking brake.
Always make sure the keyless ignition node is in the
OFF position, key fob is removed from the vehicle and
vehicle is locked.
Never leave children alone in a vehicle, or with access
to an unlocked vehicle. Leaving children in a vehicle
unattended is dangerous for a number of reasons. A
child or others could be seriously or fatally injured.
Children should be warned not to touch the parking
brake, brake pedal or the gear selector.
Do not leave the key fob in or near the vehicle, or in a
location accessible to children, and do not leave the
ignition of a vehicle equipped with Keyless
Enter ‘n Go™ in the ON/RUN position. A child could
operate power windows, other controls, or move the
vehicle.
Do not leave children or animals inside parked vehi -
cles in hot weather. Interior heat build-up may cause
serious injury or death.
CAUTION!
Damage to the transmission may occur if the following
precautions are not observed:
Do not shift from REVERSE (R), PARK, or NEUTRAL
into any forward gear when the engine is above idle
speed.
Shift into PARK only after the vehicle has come to a
complete stop.
Shift into or out of REVERSE only after the vehicle has
come to a complete stop and the engine is at idle
speed.
Before shifting into any gear, make sure your foot is
firmly on the brake pedal.4
23_WS_OM_EN_USC_t.book Page 119
Page 173 of 396
STARTING AND OPERATING171
NOTE:If snow, ice, mud, or any foreign substance builds up on
the camera lens, clean the lens, rinse with water, and dry
with a soft cloth. Do not cover the lens. Rear Camera Washer
When the rear window washer is activated by pushing the
windshield wiper/washer lever forward, the rear Back Up
and digital rearview mirror (if equipped) cameras are also
washed. For more information, see
Úpage 64.
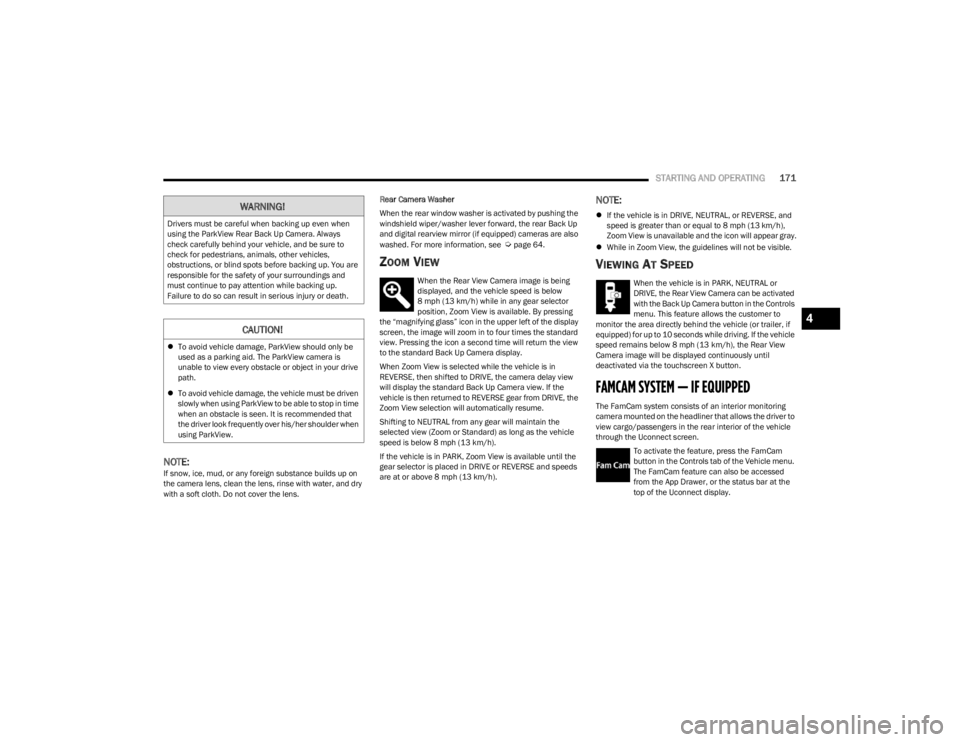
ZOOM VIEW
When the Rear View Camera image is being
displayed, and the vehicle speed is below
8 mph (13 km/h) while in any gear selector
position, Zoom View is available. By pressing
the “magnifying glass” icon in the upper left of the display
screen, the image will zoom in to four times the standard
view. Pressing the icon a second time will return the view
to the standard Back Up Camera display.
When Zoom View is selected while the vehicle is in
REVERSE, then shifted to DRIVE, the camera delay view
will display the standard Back Up Camera view. If the
vehicle is then returned to REVERSE gear from DRIVE, the
Zoom View selection will automatically resume.
Shifting to NEUTRAL from any gear will maintain the
selected view (Zoom or Standard) as long as the vehicle
speed is below 8 mph (13 km/h).
If the vehicle is in PARK, Zoom View is available until the
gear selector is placed in DRIVE or REVERSE and speeds
are at or above 8 mph (13 km/h).
NOTE:
If the vehicle is in DRIVE, NEUTRAL, or REVERSE, and
speed is greater than or equal to 8 mph (13 km/h),
Zoom View is unavailable and the icon will appear gray.
While in Zoom View, the guidelines will not be visible.
VIEWING AT SPEED
When the vehicle is in PARK, NEUTRAL or
DRIVE, the Rear View Camera can be activated
with the Back Up Camera button in the Controls
menu. This feature allows the customer to
monitor the area directly behind the vehicle (or trailer, if
equipped) for up to 10 seconds while driving. If the vehicle
speed remains below 8 mph (13 km/h), the Rear View
Camera image will be displayed continuously until
deactivated via the touchscreen X button.
FAMCAM SYSTEM — IF EQUIPPED
The FamCam system consists of an interior monitoring
camera mounted on the headliner that allows the driver to
view cargo/passengers in the rear interior of the vehicle
through the Uconnect screen.
To activate the feature, press the FamCam
button in the Controls tab of the Vehicle menu.
The FamCam feature can also be accessed
from the App Drawer, or the status bar at the
top of the Uconnect display.
WARNING!
Drivers must be careful when backing up even when
using the ParkView Rear Back Up Camera. Always
check carefully behind your vehicle, and be sure to
check for pedestrians, animals, other vehicles,
obstructions, or blind spots before backing up. You are
responsible for the safety of your surroundings and
must continue to pay attention while backing up.
Failure to do so can result in serious injury or death.
CAUTION!
To avoid vehicle damage, ParkView should only be
used as a parking aid. The ParkView camera is
unable to view every obstacle or object in your drive
path.
To avoid vehicle damage, the vehicle must be driven
slowly when using ParkView to be able to stop in time
when an obstacle is seen. It is recommended that
the driver look frequently over his/her shoulder when
using ParkView.
4
23_WS_OM_EN_USC_t.book Page 171
Page 177 of 396
STARTING AND OPERATING175
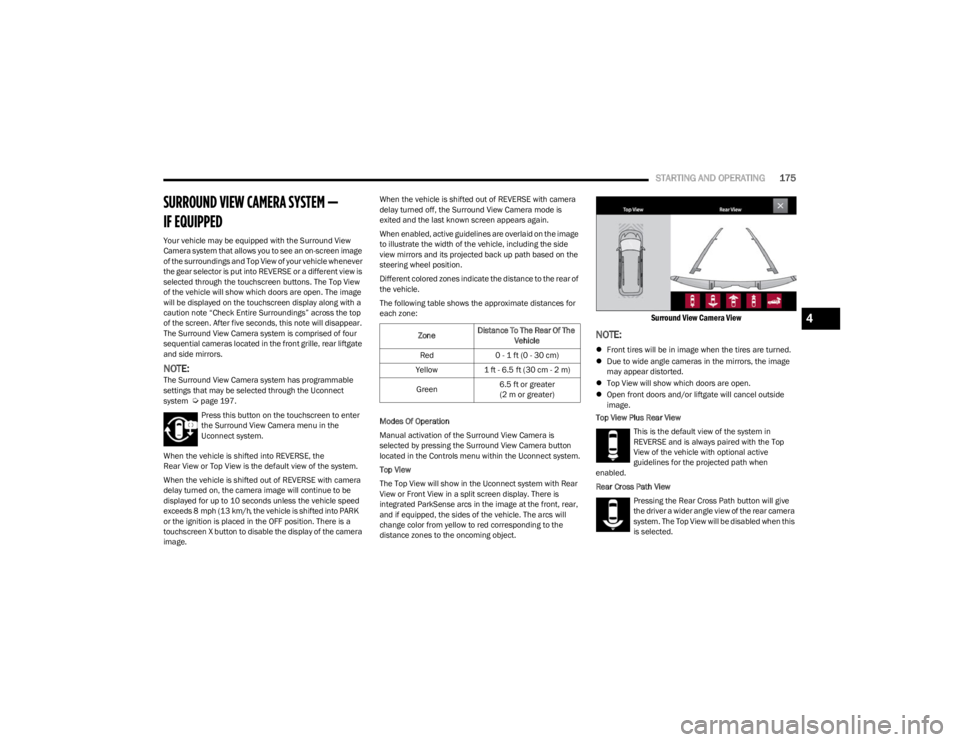
SURROUND VIEW CAMERA SYSTEM —
IF EQUIPPED
Your vehicle may be equipped with the Surround View
Camera system that allows you to see an on-screen image
of the surroundings and Top View of your vehicle whenever
the gear selector is put into REVERSE or a different view is
selected through the touchscreen buttons. The Top View
of the vehicle will show which doors are open. The image
will be displayed on the touchscreen display along with a
caution note “Check Entire Surroundings” across the top
of the screen. After five seconds, this note will disappear.
The Surround View Camera system is comprised of four
sequential cameras located in the front grille, rear liftgate
and side mirrors.
NOTE:The Surround View Camera system has programmable
settings that may be selected through the Uconnect
system
Úpage 197.
Press this button on the touchscreen to enter
the Surround View Camera menu in the
Uconnect system. When the vehicle is shifted into REVERSE, the
Rear View or Top View is the default view of the system.
When the vehicle is shifted out of REVERSE with camera
delay turned on, the camera image will continue to be
displayed for up to 10 seconds unless the vehicle speed
exceeds
8 mph (13 km/h, the vehicle is shifted into PARK
or the ignition is placed in the OFF position. There is a
touchscreen X button to disable the display of the camera
image.
When the vehicle is shifted out of REVERSE with camera
delay turned off, the Surround View Camera mode is
exited and the last known screen appears again.
When enabled, active guidelines are overlaid on the image
to illustrate the width of the vehicle, including the side
view mirrors and its projected back up path based on the
steering wheel position.
Different colored zones indicate the distance to the rear of
the vehicle.
The following table shows the approximate distances for
each zone:
Modes Of Operation
Manual activation of the Surround View Camera is
selected by pressing the Surround View Camera button
located in the Controls menu within the Uconnect system.
Top View
The Top View will show in the Uconnect system with Rear
View or Front View in a split screen display. There is
integrated ParkSense arcs in the image at the front, rear,
and if equipped, the sides of the vehicle. The arcs will
change color from yellow to red corresponding to the
distance zones to the oncoming object.
Surround View Camera View
NOTE:
Front tires will be in image when the tires are turned.
Due to wide angle cameras in the mirrors, the image
may appear distorted.
Top View will show which doors are open.
Open front doors and/or liftgate will cancel outside
image.
Top View Plus Rear View
This is the default view of the system in
REVERSE and is always paired with the Top
View of the vehicle with optional active
guidelines for the projected path when
enabled.
Rear Cross Path View
Pressing the Rear Cross Path button will give
the driver a wider angle view of the rear camera
system. The Top View will be disabled when this
is selected.
Zone Distance To The Rear Of The
Vehicle
Red 0 - 1 ft (0 - 30 cm)
Yellow 1 ft - 6.5 ft (30 cm - 2 m)
Green 6.5 ft or greater
(2 m or greater)
4
23_WS_OM_EN_USC_t.book Page 175
Page 178 of 396
176STARTING AND OPERATING
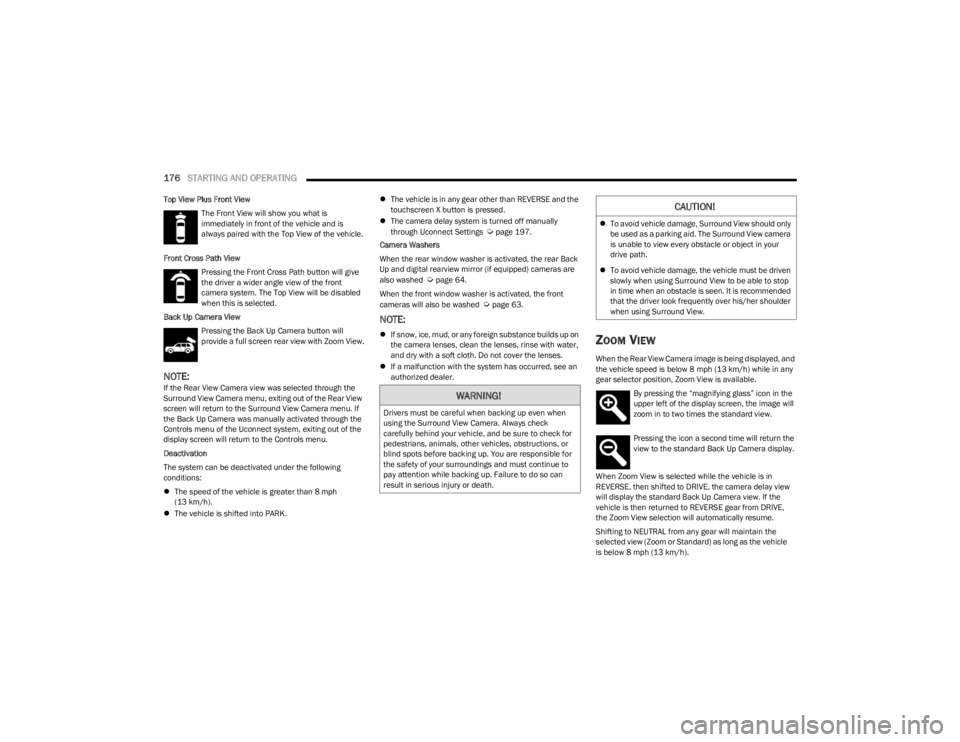
Top View Plus Front View
The Front View will show you what is
immediately in front of the vehicle and is
always paired with the Top View of the vehicle.
Front Cross Path View Pressing the Front Cross Path button will give
the driver a wider angle view of the front
camera system. The Top View will be disabled
when this is selected.
Back Up Camera View Pressing the Back Up Camera button will
provide a full screen rear view with Zoom View.
NOTE:If the Rear View Camera view was selected through the
Surround View Camera menu, exiting out of the Rear View
screen will return to the Surround View Camera menu. If
the Back Up Camera was manually activated through the
Controls menu of the Uconnect system, exiting out of the
display screen will return to the Controls menu.
Deactivation
The system can be deactivated under the following
conditions:
The speed of the vehicle is greater than 8 mph
(13 km/h).
The vehicle is shifted into PARK.
The vehicle is in any gear other than REVERSE and the
touchscreen X button is pressed.
The camera delay system is turned off manually
through Uconnect Settings
Úpage 197.
Camera Washers
When the rear window washer is activated, the rear Back
Up and digital rearview mirror (if equipped) cameras are
also washed
Úpage 64.
When the front window washer is activated, the front
cameras will also be washed
Úpage 63.
NOTE:
If snow, ice, mud, or any foreign substance builds up on
the camera lenses, clean the lenses, rinse with water,
and dry with a soft cloth. Do not cover the lenses.
If a malfunction with the system has occurred, see an
authorized dealer.ZOOM VIEW
When the Rear View Camera image is being displayed, and
the vehicle speed is below 8 mph (13 km/h) while in any
gear selector position, Zoom View is available. By pressing the “magnifying glass” icon in the
upper left of the display screen, the image will
zoom in to two times the standard view.
Pressing the icon a second time will return the
view to the standard Back Up Camera display.
When Zoom View is selected while the vehicle
is in
REVERSE, then shifted to DRIVE, the camera delay view
will display the standard Back Up Camera view. If the
vehicle is then returned to REVERSE gear from DRIVE,
the Zoom View selection will automatically resume.
Shifting to NEUTRAL from any gear will maintain the
selected view (Zoom or Standard) as long as the vehicle
is below 8 mph (13 km/h).
WARNING!
Drivers must be careful when backing up even when
using the Surround View Camera. Always check
carefully behind your vehicle, and be sure to check for
pedestrians, animals, other vehicles, obstructions, or
blind spots before backing up. You are responsible for
the safety of your surroundings and must continue to
pay attention while backing up. Failure to do so can
result in serious injury or death.
CAUTION!
To avoid vehicle damage, Surround View should only
be used as a parking aid. The Surround View camera
is unable to view every obstacle or object in your
drive path.
To avoid vehicle damage, the vehicle must be driven
slowly when using Surround View to be able to stop
in time when an obstacle is seen. It is recommended
that the driver look frequently over his/her shoulder
when using Surround View.
23_WS_OM_EN_USC_t.book Page 176
Page 234 of 396
232MULTIMEDIA
REAR SEAT ENTERTAINMENT WITH FIRE
TV B
UILT-IN STREAMING (USING THE
F
RONT RADIO AND REAR SCREENS)
Access Using Launch Source
To access Rear Seat Entertainment with Fire TV built-in
from the front radio, press the Media tab located on the
bottom menu bar. Then select the Rear Seat option
located on the top menu bar. Select “Launch Source”, and
then under “Inputs” select “Fire TV Home”.
Access Using Browse Media
Selecting “Browse Media” on the front radio screen will
give access to different media within Rear Seat
Entertainment with Fire TV built-in.
These options will be in the top menu of “Browse Media”
and include:
Fire TV — Selecting “Fire TV” will show streaming
options for categories and to select apps. This option
will be selectable on the left slider menu in “Browse
Media”. While in “Browse Media” under Fire TV, it will
display recent activity under “Recent”. This will display
recent videos viewed from Fire TV and recent down -
loads as well.
USB Video — Under “USB Videos”, videos will appear
that are options with a USB device connected to Rear
Seat Entertainment with Fire TV built-in.
USB Music — Under “USB Music”, music will appear
that are options with a USB device connected to Rear
Seat Entertainment with Fire TV built-in. Access Using the Voice Remote with Alexa and Rear
Screens
Rear passengers will be able to access some options for
streaming by pressing the “Prime Video”, “App 1”, or “App
2” button on the Voice Remote with Alexa. Selecting one
of those buttons on the Voice Remote with Alexa will take
you to the home page for that respective streaming
service. Turning on either of the rear screens will launch
Fire TV. By default, the rear screens will always launch in
Fire TV. More streaming options can be selected on the
Fire TV home page.
Fire TV
Fire TV is your source for online streaming with Rear Seat
Entertainment with Fire TV built-in.
NOTE:A data source needs to be connected to the system for
streaming to be accessible. This can be set up when Fire
TV is turned on for the first time on the rear screens. Some
options can be an in-vehicle 4G Wi-Fi hot spot, capable
Wi-Fi hot spot from a mobile device, or Wi-Fi from an
outside source like a home or a garage.
To access Fire TV on the front screen, select “Launch
Source” on the front radio, Rear Seat screen and then
“Fire TV Home” under “Inputs”.
Viewing from the front radio screen or passenger screen
mirrors or controls the Fire TV experience from one of the
rear Fire TV displays.
The menu bar for Fire TV will have the options for “Home”,
“Find”, “Library”, “Brand”, and “Live”.
Below the menu bar will be streaming options linked to
your Prime account like “Prime Video”. The front radio screen offers some options:
Power — This will turn Fire TV on or off.
Screen 1 and Screen 2 Toggle — This toggles between
the Rear Screens (for use with front radio screen only).
Collapse — While viewing on the front radio screen, this
will collapse the screen to dashboard view.
Source Drawer — This will open the “Source Drawer”
and the source logo will be displayed on the icon.
Browse Media — This will open the “Browse Media”
pop-up.
Back — This will let you go back the previous page.
Fire TV Home — This will take you back to the Fire TV
home page.
Menu — This will open the Fire TV menu.
Remote icon — This will display the on-screen remote.NOTE:Front radio screen mirroring and watching can only be
done when the vehicle is in PARK. The vehicle must be in
an active and usable cellular range and properly equipped
with a Uconnect 5 NAV system and Rear Seat Enter -
tainment with Fire TV package. For streaming, a Wi-Fi
connection and registered Amazon account are required
to run Fire TV in the vehicle. Streaming service subscrip -
tions are not included. Services and features are subject
to change or withdrawal at any time, may not be available
in all areas and languages, and may require separate
subscriptions.
23_WS_OM_EN_USC_t.book Page 232
Page 390 of 396

388 P
Pages, Off Road ........................................................... 236
Paint Care ..................................................................... 368
Panic Alarm .....................................................................17
Parking Brake ...................................................... 112
, 122
ParkSense Front And Rear ........................................................ 154
ParkSense Active Park Assist ...................................... 160
ParkSense System, Rear ............................................. 154
Passenger Screen ........................................................ 221
Passive Entry ...................................................................27
Pedals, Adjustable ..........................................................49 Permissions .................................................................. 221
Pets ............................................................................... 287
Phone Storage.................................................................74Pinch Protection .............................................................. 85
Placard, Tire And Loading Information ....................... 354
Power Brakes ..................................................................... 371
Distribution Center (Fuses) ..................331
, 338, 343
Door Locks .................................................................27
Inverter ....................................................................... 80
Mirrors ........................................................................52
Outlet (Auxiliary Electrical Outlet) ............................. 79
Seats...........................................................................38
Side Steps ..................................................................27
Steering .......................................................... 135
, 377
Sunroof ....................................................................... 83
Tilt/Telescoping Steering Column ............................ 30
Windows .....................................................................82
Power Rear Seats............................................................41 Power Seats
Down .......................................................................... 39
Forward ...................................................................... 39
Rearward.................................................................... 39
Up ............................................................................... 39
Pregnant Women And Seat Belts ................................ 263
Preparation For Jacking ............................................... 293
Pretensioners Seat Belts................................................................. 263
QQuadra-Lift ....................................................................132
Quadra-Trac ........................................................ 129, 130
RRadial Ply Tires ............................................................. 358
Radiator Cap (Coolant Pressure Cap) ......................... 327
RadioSound Setting .......................................................... 216
Radio Operation ............................................................238
Radio Remote Controls ................................................ 221
Rain Sensitive Wiper System ......................................... 63
Rear Air Conditioning...................................................... 69
Rear Axle (Differential) ................................................. 330
Rear Camera ....................................................... 170
, 175
Rear Cross Path ............................................................249
Rear ParkSense System............................................... 154
Rear Seat Entertainment ............................................. 228 Rear Seat Reminder ..................................................... 240
Rear Wiper/Washer ....................................................... 64
Recreational Towing ..................................................... 190
Reformulated Gasoline ................................................ 373
Refrigerant .................................................................... 321
Release, Hood ................................................................ 85
Reminder, Seat Belt ..................................................... 257
Remote Control Starting System ......................................................... 22
Remote Keyless Entry .................................................... 16 Arm The Alarm ........................................................... 24
Disarm The Alarm ..................................................... 24
Programming Additional Key Fobs ........................... 20
Remote Sound System (Radio) Control ...................... 221
Remote Starting Exit Remote Start Mode............................................ 23
Remote Starting System ................................................ 22 Replacement Bulbs ...................................................... 349
Replacement Keys ......................................................... 20
Replacement Tires ....................................................... 360
Reporting Safety Defects ............................................. 381
Restraints, Child ........................................................... 275
Restraints, Head............................................................. 44
Roll Over Warning........................................................... 10
Roof Luggage Rack ........................................................ 91Rotation, Tires .............................................................. 366
23_WS_OM_EN_USC_t.book Page 388