JEEP WRANGLER 2007 JK / 3.G Owners Manual
WRANGLER 2007 JK / 3.G
JEEP
JEEP
https://www.carmanualsonline.info/img/16/7156/w960_7156-0.png
JEEP WRANGLER 2007 JK / 3.G Owners Manual
Trending: 4WD, transmission, sensor, fuel tank capacity, TPMS reset, heating, warning lights
Page 131 of 467
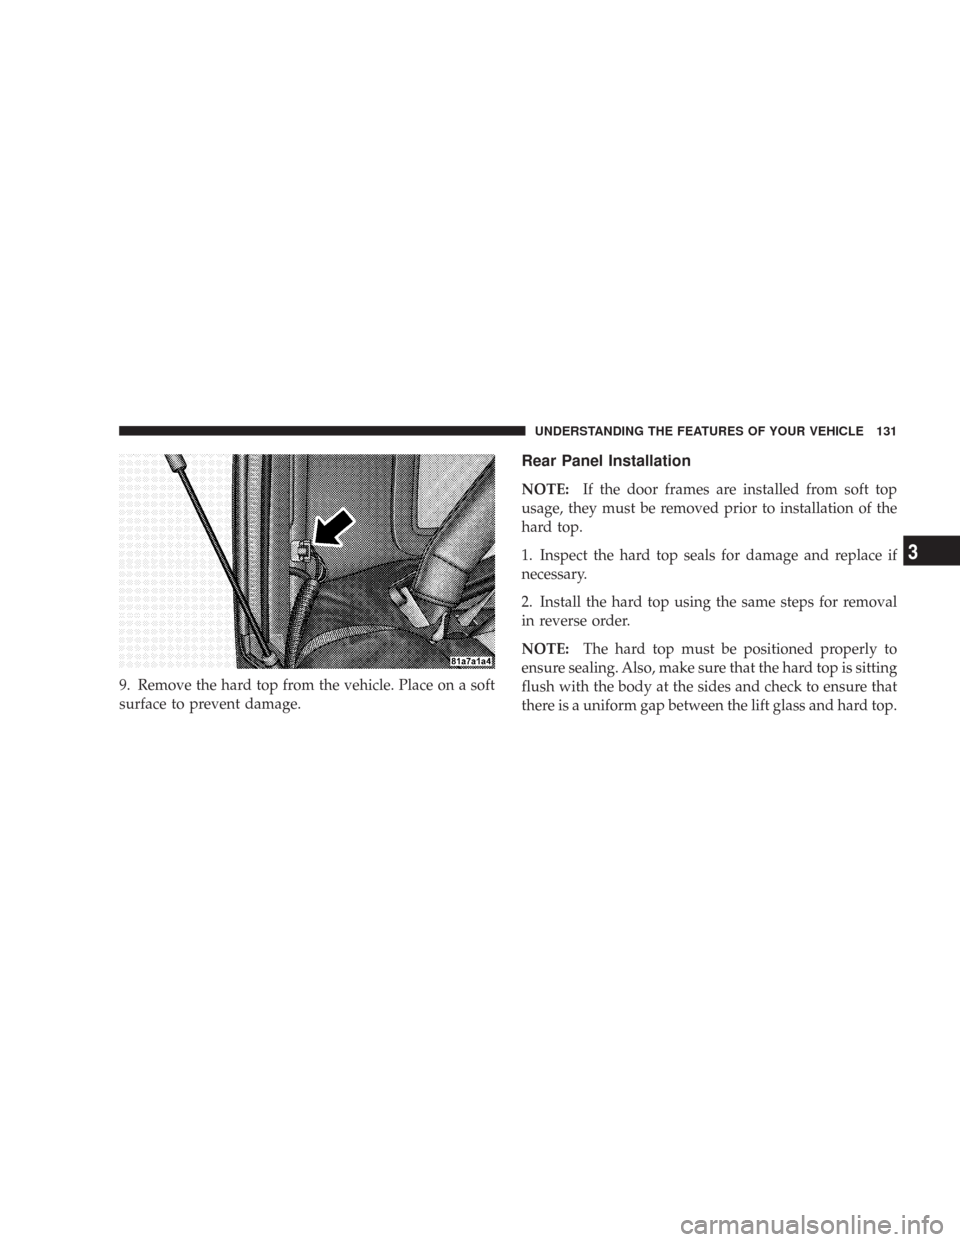
9. Remove the hard top from the vehicle. Place on a soft
surface to prevent damage.
Rear Panel Installation
NOTE:If the door frames are installed from soft top
usage, they must be removed prior to installation of the
hard top.
1. Inspect the hard top seals for damage and replace if
necessary.
2. Install the hard top using the same steps for removal
in reverse order.
NOTE:The hard top must be positioned properly to
ensure sealing. Also, make sure that the hard top is sitting
flush with the body at the sides and check to ensure that
there is a uniform gap between the lift glass and hard top.
UNDERSTANDING THE FEATURES OF YOUR VEHICLE 131
3
Page 132 of 467
DOOR FRAME
WARNING!
Do not drive your vehicle on-pavement with the door
frame removed as you lose the protection these
structural elements can provide. This procedure is
furnished for use during off-road operation only.
Door Frame Removal (2 Door Models)
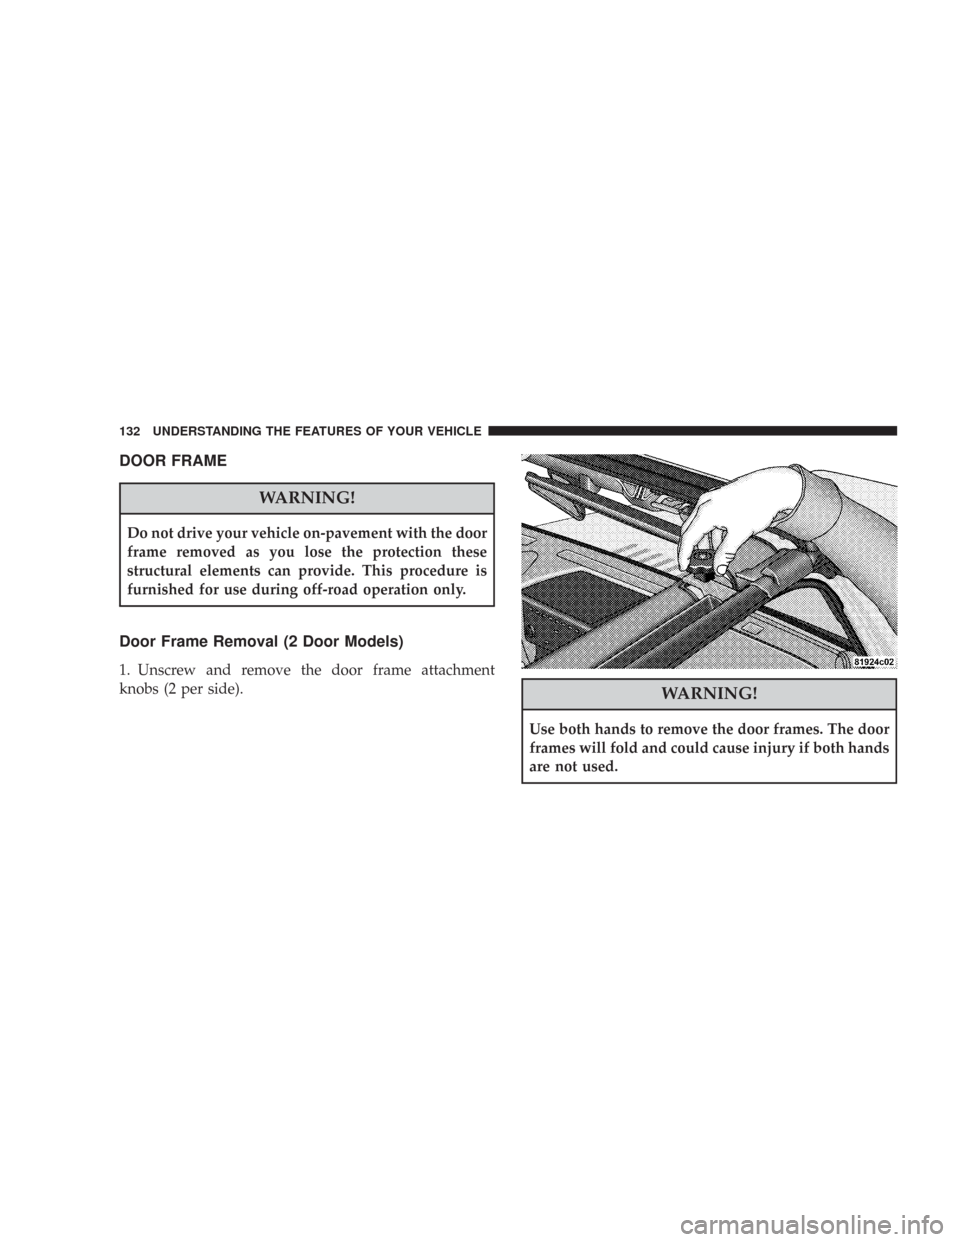
1. Unscrew and remove the door frame attachment
knobs (2 per side).
WARNING!
Use both hands to remove the door frames. The door
frames will fold and could cause injury if both hands
are not used.
132 UNDERSTANDING THE FEATURES OF YOUR VEHICLE
Page 133 of 467
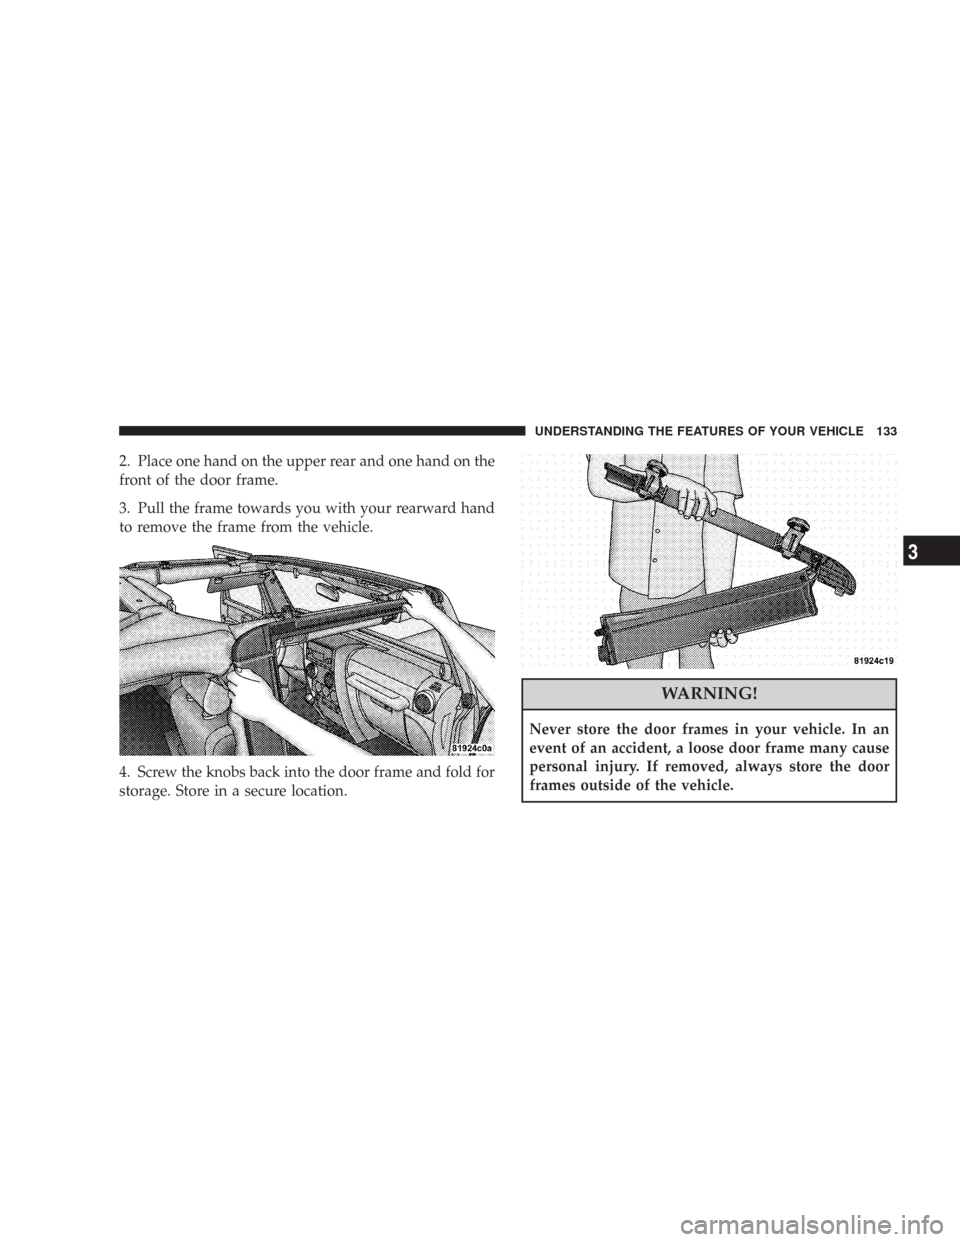
2. Place one hand on the upper rear and one hand on the
front of the door frame.
3. Pull the frame towards you with your rearward hand
to remove the frame from the vehicle.
4. Screw the knobs back into the door frame and fold for
storage. Store in a secure location.
WARNING!
Never store the door frames in your vehicle. In an
event of an accident, a loose door frame many cause
personal injury. If removed, always store the door
frames outside of the vehicle.
UNDERSTANDING THE FEATURES OF YOUR VEHICLE 133
3
Page 134 of 467
Door Frame Installation (2 Door Models)
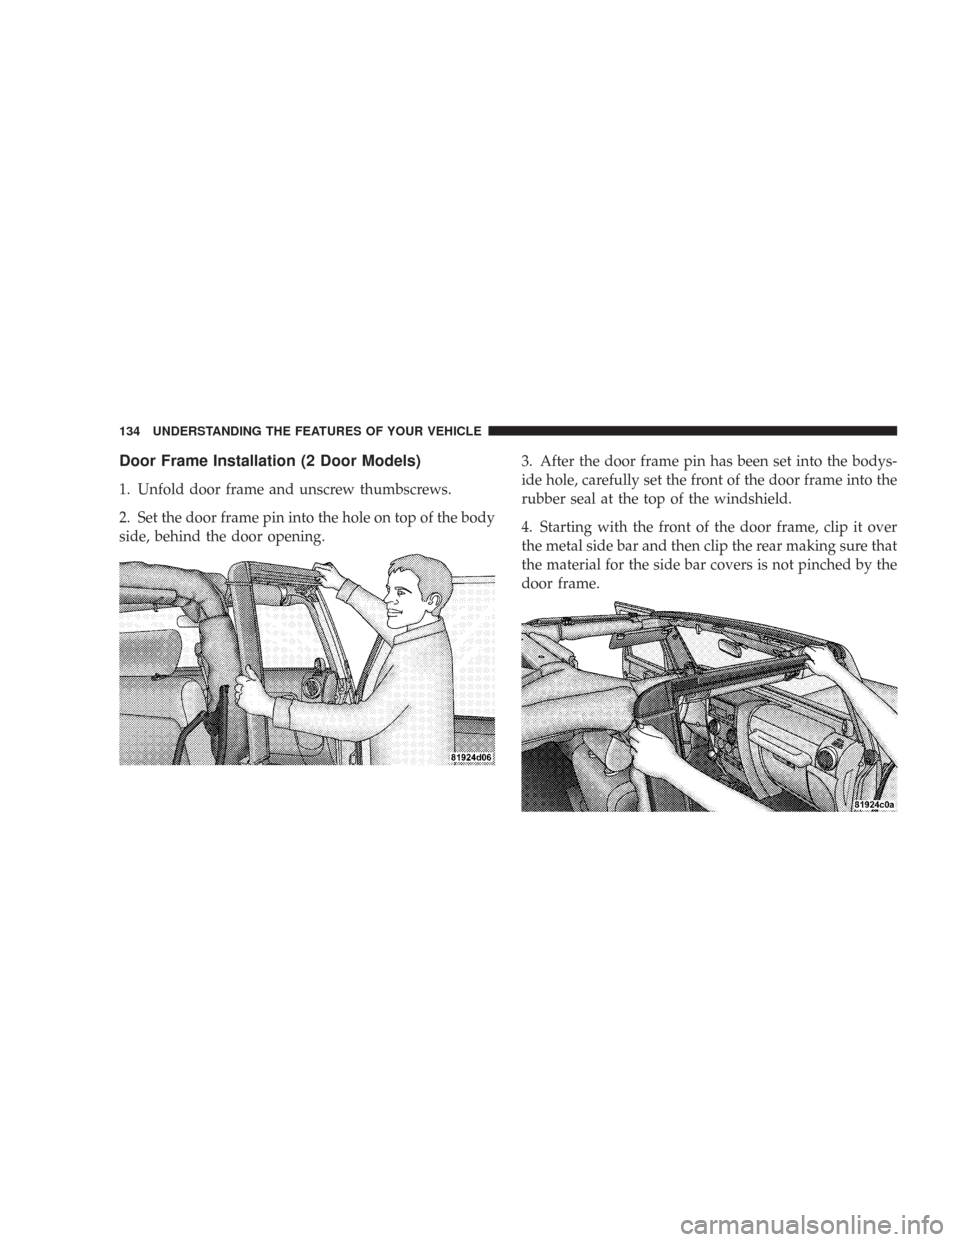
1. Unfold door frame and unscrew thumbscrews.
2. Set the door frame pin into the hole on top of the body
side, behind the door opening.3. After the door frame pin has been set into the bodys-
ide hole, carefully set the front of the door frame into the
rubber seal at the top of the windshield.
4. Starting with the front of the door frame, clip it over
the metal side bar and then clip the rear making sure that
the material for the side bar covers is not pinched by the
door frame.
134 UNDERSTANDING THE FEATURES OF YOUR VEHICLE
Page 135 of 467
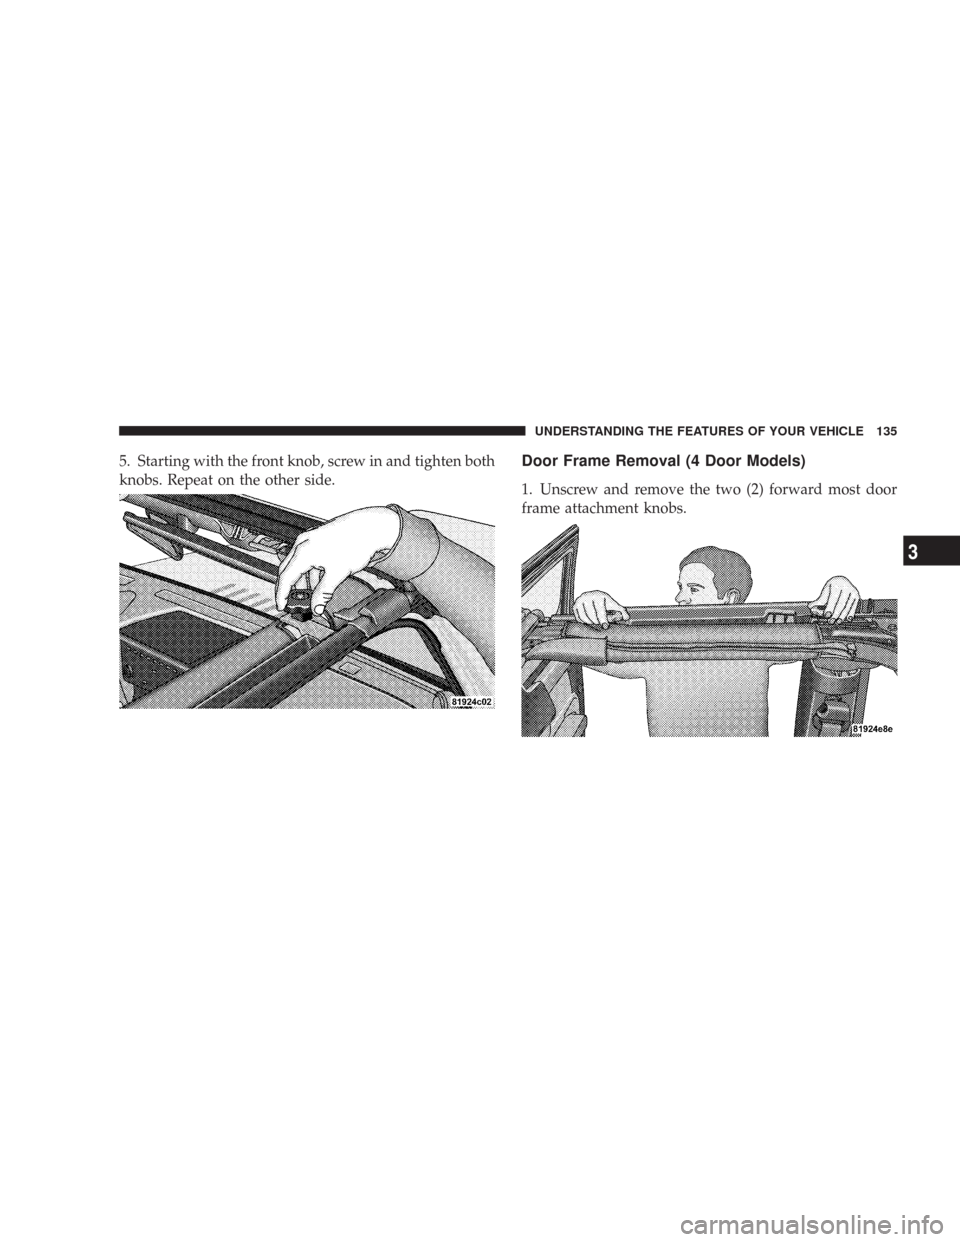
5. Starting with the front knob, screw in and tighten both
knobs. Repeat on the other side.Door Frame Removal (4 Door Models)
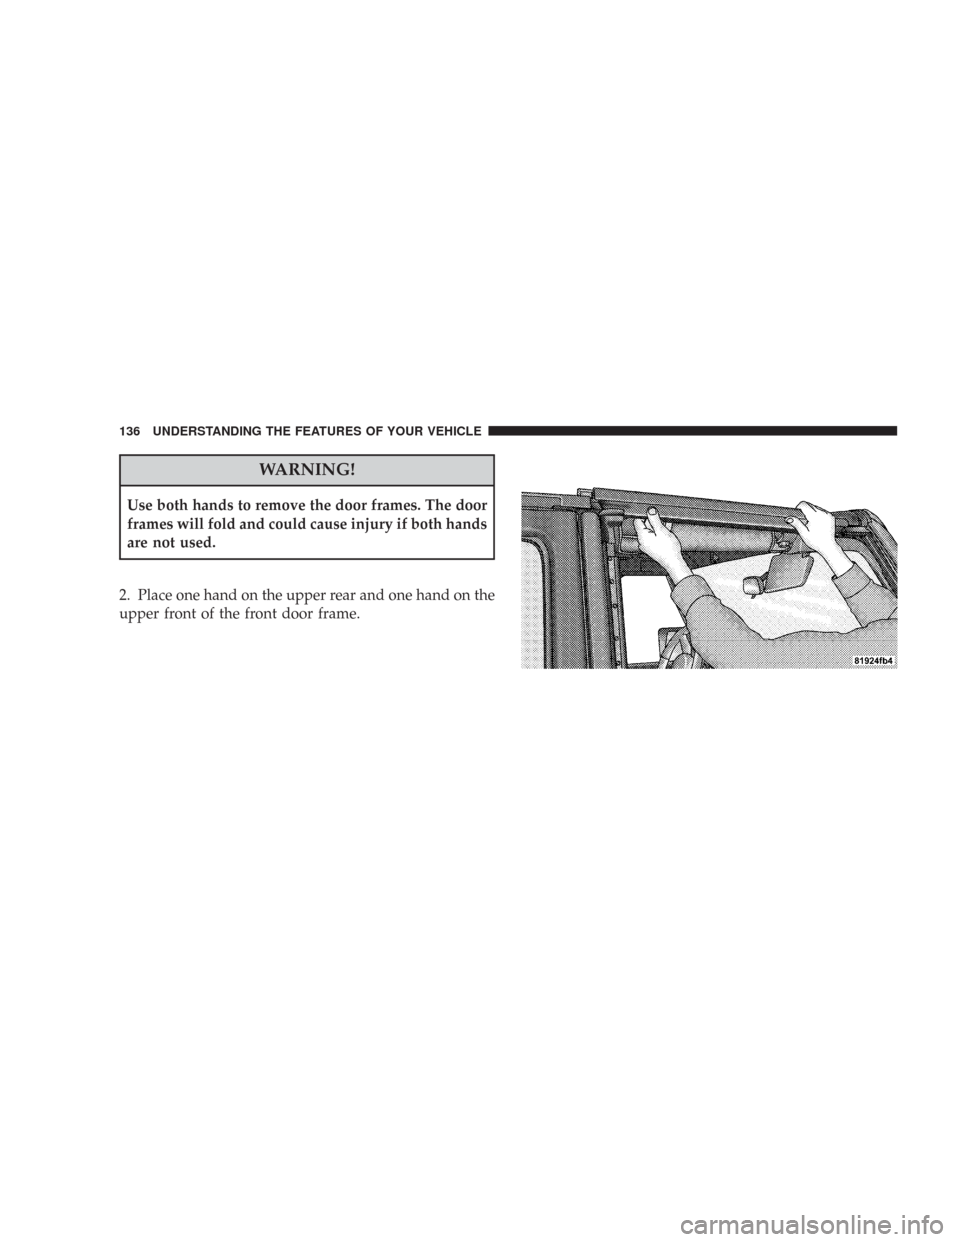
1. Unscrew and remove the two (2) forward most door
frame attachment knobs.
UNDERSTANDING THE FEATURES OF YOUR VEHICLE 135
3
Page 136 of 467
WARNING!
Use both hands to remove the door frames. The door
frames will fold and could cause injury if both hands
are not used.
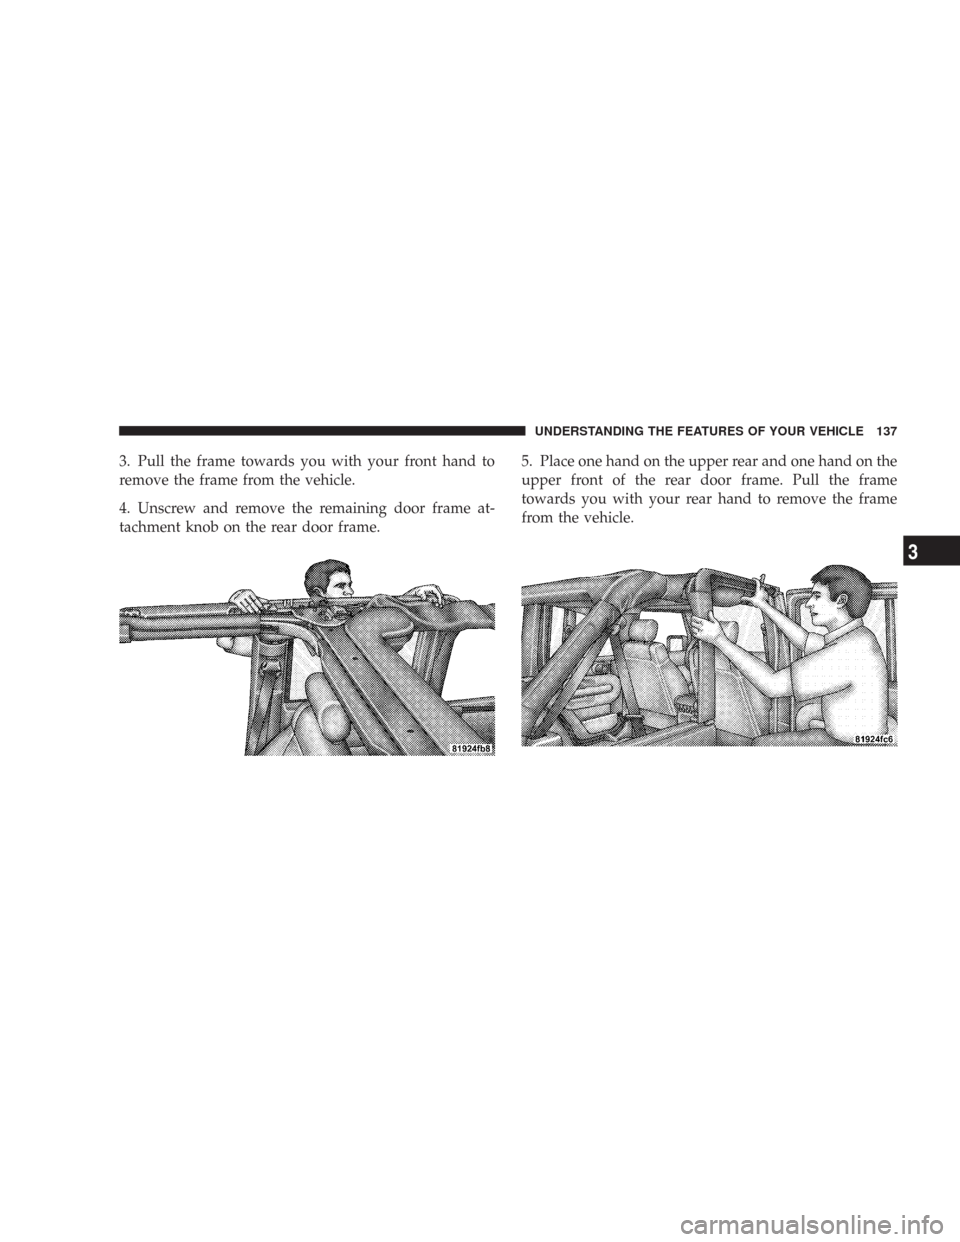
2. Place one hand on the upper rear and one hand on the
upper front of the front door frame.
136 UNDERSTANDING THE FEATURES OF YOUR VEHICLE
Page 137 of 467
3. Pull the frame towards you with your front hand to
remove the frame from the vehicle.
4. Unscrew and remove the remaining door frame at-
tachment knob on the rear door frame.5. Place one hand on the upper rear and one hand on the
upper front of the rear door frame. Pull the frame
towards you with your rear hand to remove the frame
from the vehicle.
UNDERSTANDING THE FEATURES OF YOUR VEHICLE 137
3
Page 138 of 467
6. Screw the knob back into the door frame and fold for
storage. Store in a secure location.WARNING!
•Never store the door frames in your vehicle. In an
event of an accident, a loose door frame many
cause personal injury. If removed, always store the
door frames outside of the vehicle.
Door Frame Installation (4 Door Models)
1. Install the rear door frame first.
2. Set the door frame pin into the hole on top of the body
side, just behind the rear door opening.
138 UNDERSTANDING THE FEATURES OF YOUR VEHICLE
Page 139 of 467
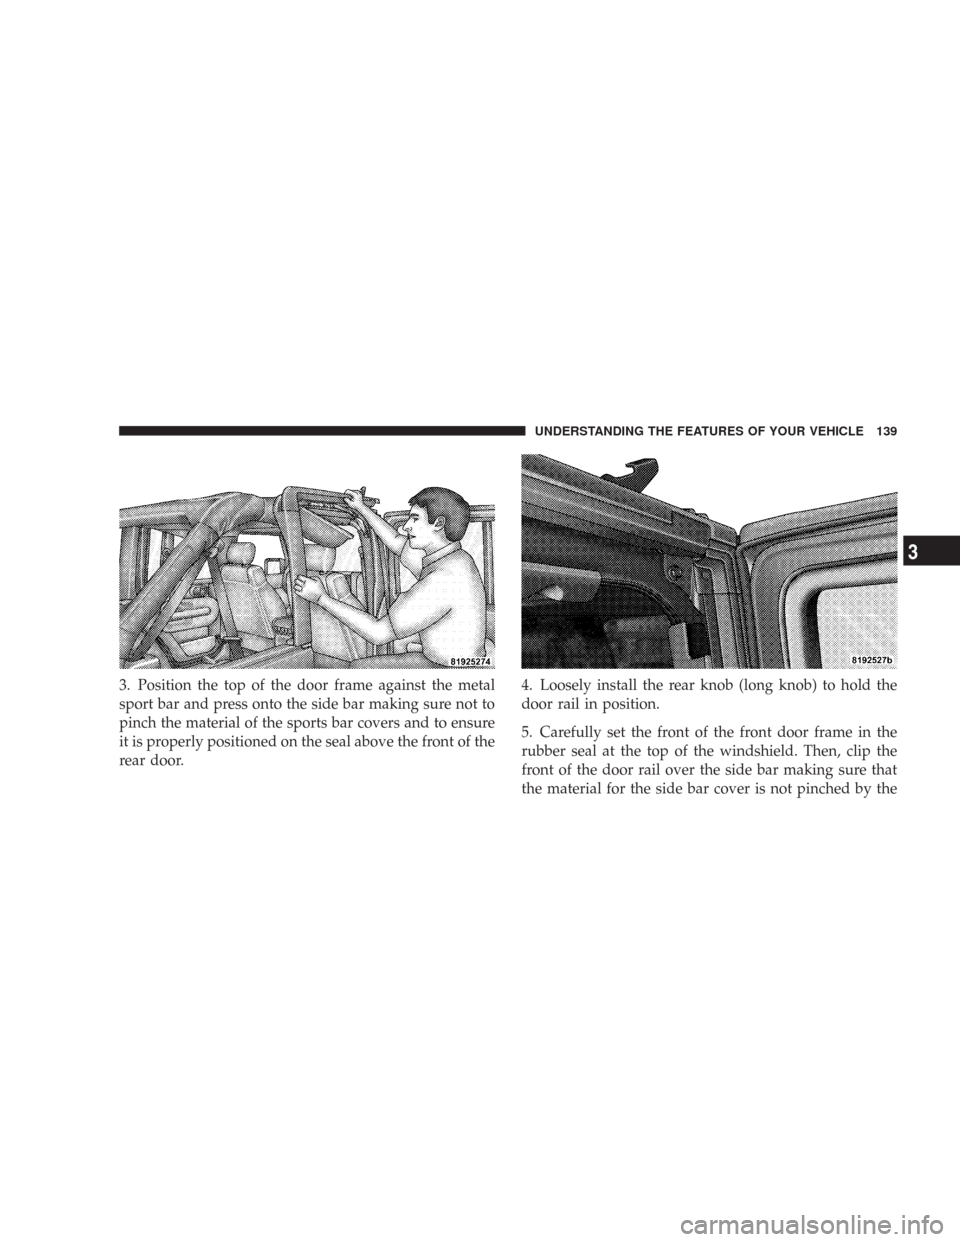
3. Position the top of the door frame against the metal
sport bar and press onto the side bar making sure not to
pinch the material of the sports bar covers and to ensure
it is properly positioned on the seal above the front of the
rear door.4. Loosely install the rear knob (long knob) to hold the
door rail in position.
5. Carefully set the front of the front door frame in the
rubber seal at the top of the windshield. Then, clip the
front of the door rail over the side bar making sure that
the material for the side bar cover is not pinched by the
UNDERSTANDING THE FEATURES OF YOUR VEHICLE 139
3
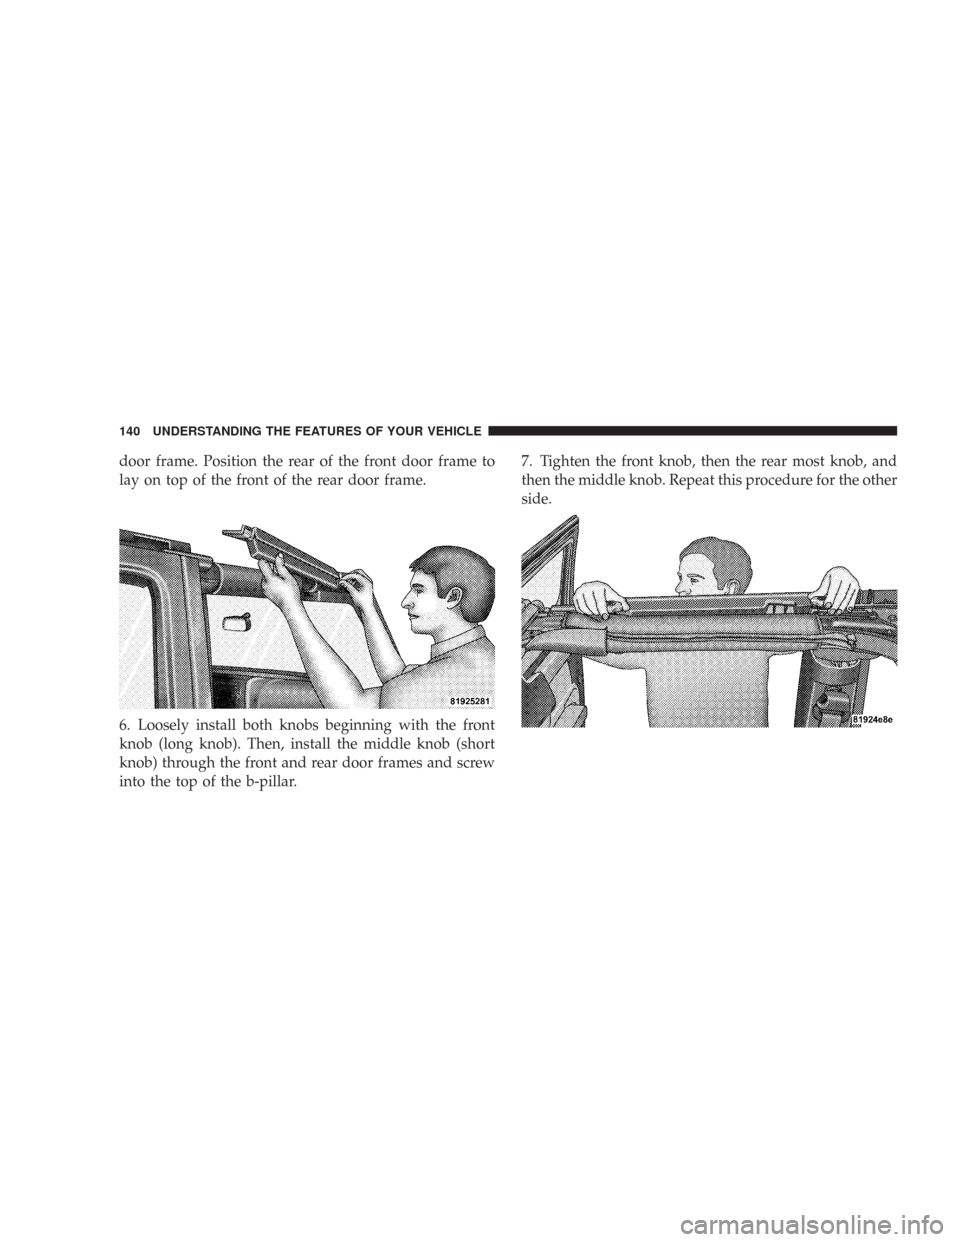
Page 140 of 467
door frame. Position the rear of the front door frame to
lay on top of the front of the rear door frame.
6. Loosely install both knobs beginning with the front
knob (long knob). Then, install the middle knob (short
knob) through the front and rear door frames and screw
into the top of the b-pillar.7. Tighten the front knob, then the rear most knob, and
then the middle knob. Repeat this procedure for the other
side.
140 UNDERSTANDING THE FEATURES OF YOUR VEHICLE
Trending: navigation system, wiring, oil dipstick, trunk, glove box, lights, rear entertainment
