steering JEEP WRANGLER 2015 JK / 3.G Service Manual
[x] Cancel search | Manufacturer: JEEP, Model Year: 2015, Model line: WRANGLER, Model: JEEP WRANGLER 2015 JK / 3.GPages: 695, PDF Size: 20.64 MB
Page 514 of 695
CAUTION!(Continued)
•Observe the traction device manufacturer ’s instruc-
tions on the method of installation, operating
speed, and conditions for use. Always use the
suggested operating speed of the device manufac-
turer ’s if it is less than 30 mph (48 km/h).
•Do not use traction devices on a compact spare tire.
TIRE ROTATION RECOMMENDATIONS
The tires on the front and rear of your vehicle operate at
different loads and perform different steering, handling,
and braking functions. For these reasons, they wear at
unequal rates.
These effects can be reduced by timely rotation of tires.
The benefits of rotation are especially worthwhile with
aggressive tread designs such as those on On/Off Road
type tires. Rotation will increase tread life, help to main-
tain mud, snow, and wet traction levels, and contribute to
a smooth, quiet ride.
Refer to the “Maintenance Schedule” for the proper
maintenance intervals. The reasons for any rapid or
unusual wear should be corrected prior to rotation being
performed.
The suggested rotation method is the “forward-cross”
shown in the following diagram.
512 STARTING AND OPERATING
Page 538 of 695
Trailer Sway Control – If Equipped
The trailer sway control is a telescoping link that can be
installed between the hitch receiver and the trailer
tongue. It typically provides adjustable friction associ-
ated with the telescoping motion to dampen any un-
wanted trailer swaying motions while traveling.
Weight-Carrying Hitch
A weight-carrying hitch supports the trailer tongue
weight, just as if it were luggage located at a hitch ball or
some other connecting point of the vehicle. These kinds
of hitches are the most popular on the market today and
they are commonly used to tow small and medium sized
trailers.
Weight-Distributing Hitch
A weight-distributing system works by applying lever-
age through spring (load) bars. They are typically used
for heavier loads to distribute trailer tongue weight to the
tow vehicle’s front axle and the trailer axle(s). When used
in accordance with the manufacturer’s directions, it pro-
vides for a more level ride, offering more consistent
steering and brake control thereby enhancing towing
safety. The addition of a friction/hydraulic sway control
also dampens sway caused by traffic and crosswinds and
contributes positively to tow vehicle and trailer stability.
Trailer sway control and a weight distributing (load
equalizing) hitch are recommended for heavier Tongue
Weights (TW) and may be required depending on vehicle
and trailer configuration/loading to comply with Gross
Axle Weight Rating (GAWR) requirements.
WARNING!
•An improperly adjusted Weight Distributing Hitch
system may reduce handling, stability, braking
performance, and could result in a collision.
(Continued)
536 STARTING AND OPERATING
Page 576 of 695
CAUTION!(Continued)
the vehicle’s battery will discharge sufficiently to
degrade battery life and/or prevent the engine from
starting.
FREEING A STUCK VEHICLE
If your vehicle becomes stuck in mud, sand or snow, it
can often be moved using a rocking motion. Turn the
steering wheel right and left to clear the area around the
front wheels. Then shift back and forth between DRIVE
and REVERSE (with automatic transmission) or 2nd gear
and REVERSE (with manual transmission), while gently
pressing the accelerator. Use the least amount of accel-
erator pedal pressure that will maintain the rocking
motion, without spinning the wheels, or racing the
engine.
CAUTION!
Racing the engine or spinning the wheels may lead to
transmission overheating and failure. Allow the en-
gine to idle with the transmission in NEUTRAL for at
least one minute after every five rocking-motion
cycles. This will minimize overheating and reduce
the risk of clutch or transmission failure during
prolonged efforts to free a stuck vehicle.
NOTE:Press the#ESC Off#switch, to place the Electronic
Stability Control (ESC) system in#Partial Off#mode,
before rocking the vehicle. Refer to “Electronic Brake
Control” in “Starting And Operating” for further infor-
mation. Once the vehicle has been freed, press the#ESC
Off#switch again to restore#ESC On#mode.
574 WHAT TO DO IN EMERGENCIES
Page 585 of 695
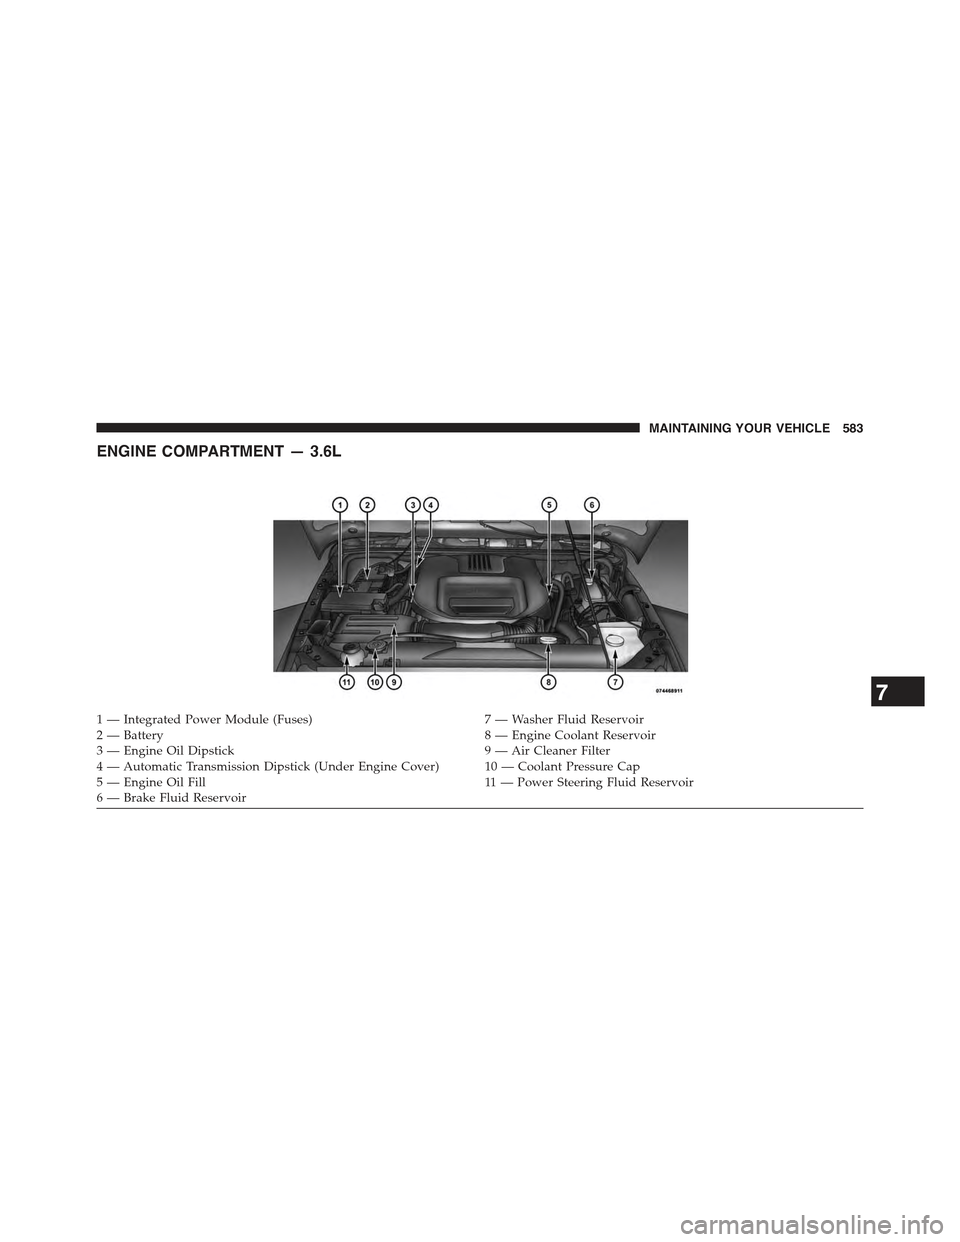
ENGINE COMPARTMENT — 3.6L
1 — Integrated Power Module (Fuses)7 — Washer Fluid Reservoir2—Battery8—EngineCoolantReservoir3 — Engine Oil Dipstick9 — Air Cleaner Filter4 — Automatic Transmission Dipstick (Under Engine Cover) 10 — Coolant Pressure Cap5 — Engine Oil Fill11 — Power Steering Fluid Reservoir6 — Brake Fluid Reservoir
7
MAINTAINING YOUR VEHICLE 583
Page 590 of 695
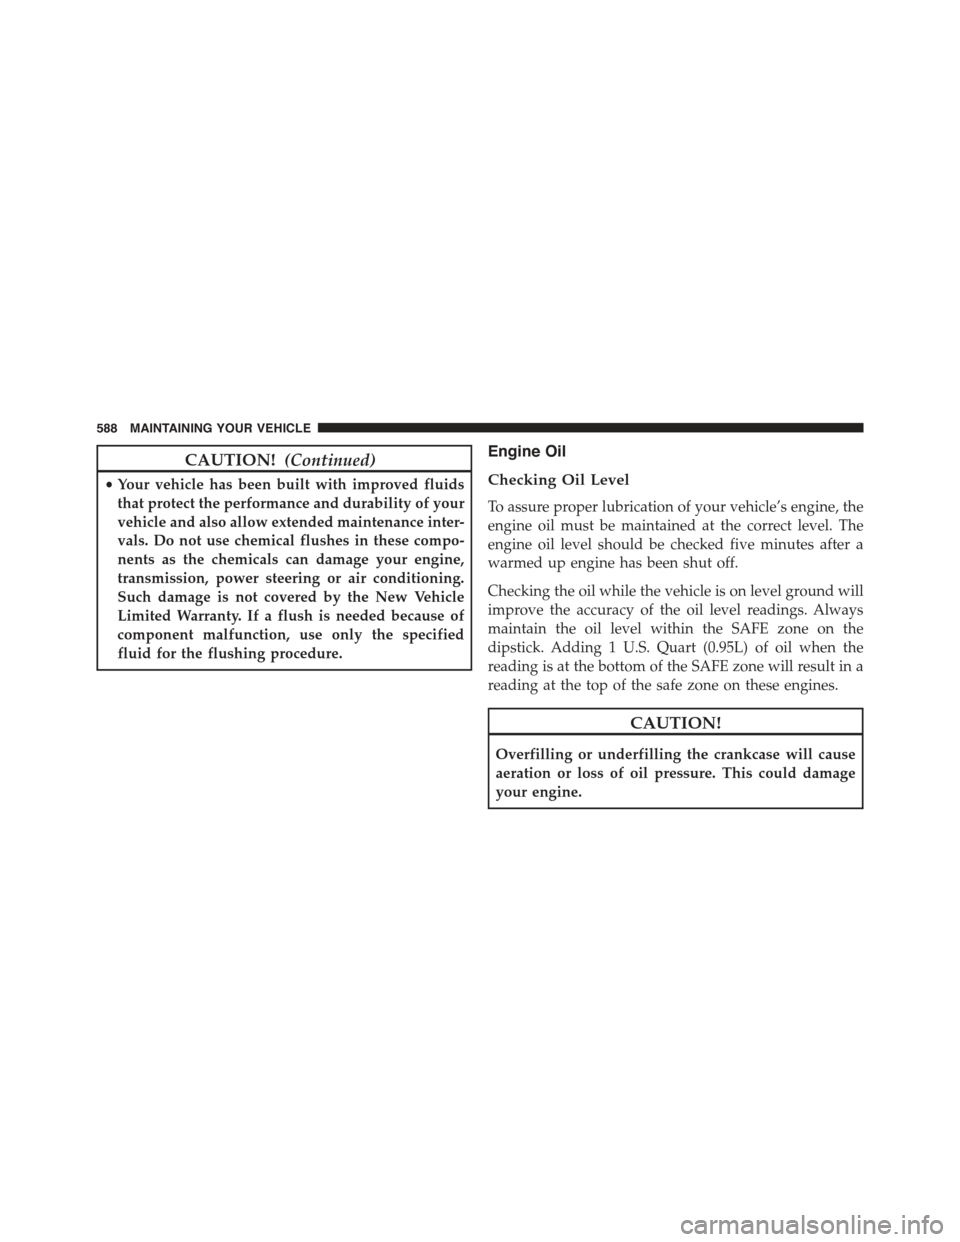
CAUTION!(Continued)
•Your vehicle has been built with improved fluids
that protect the performance and durability of your
vehicle and also allow extended maintenance inter-
vals. Do not use chemical flushes in these compo-
nents as the chemicals can damage your engine,
transmission, power steering or air conditioning.
Such damage is not covered by the New Vehicle
Limited Warranty. If a flush is needed because of
component malfunction, use only the specified
fluid for the flushing procedure.
Engine Oil
Checking Oil Level
To assure proper lubrication of your vehicle’s engine, the
engine oil must be maintained at the correct level. The
engine oil level should be checked five minutes after a
warmed up engine has been shut off.
Checking the oil while the vehicle is on level ground will
improve the accuracy of the oil level readings. Always
maintain the oil level within the SAFE zone on the
dipstick. Adding 1 U.S. Quart (0.95L) of oil when the
reading is at the bottom of the SAFE zone will result in a
reading at the top of the safe zone on these engines.
CAUTION!
Overfilling or underfilling the crankcase will cause
aeration or loss of oil pressure. This could damage
your engine.
588 MAINTAINING YOUR VEHICLE
Page 635 of 695
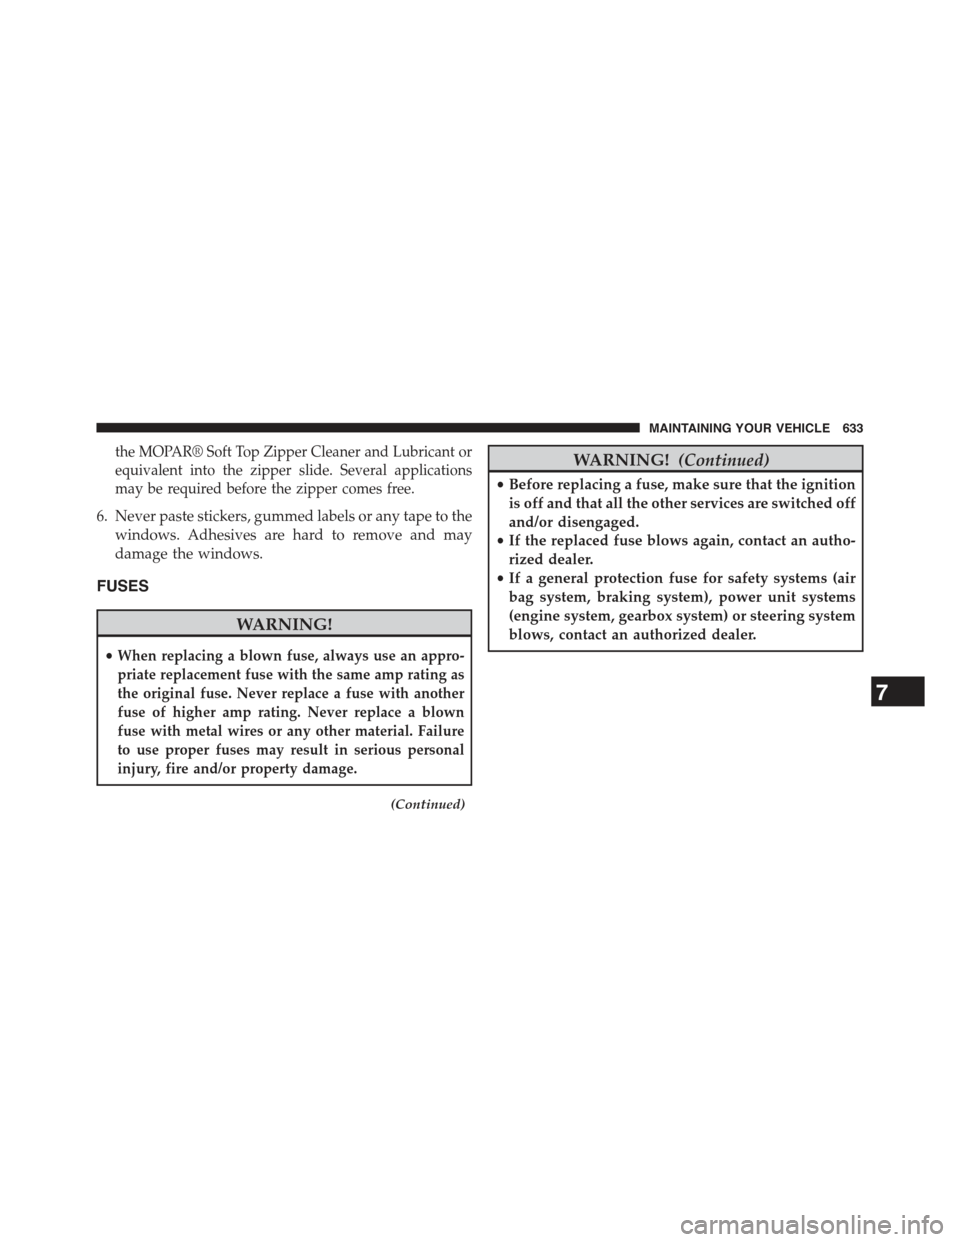
the MOPAR® Soft Top Zipper Cleaner and Lubricant or
equivalent into the zipper slide. Several applications
may be required before the zipper comes free.
6. Never paste stickers, gummed labels or any tape to the
windows. Adhesives are hard to remove and may
damage the windows.
FUSES
WARNING!
•When replacing a blown fuse, always use an appro-
priate replacement fuse with the same amp rating as
the original fuse. Never replace a fuse with another
fuse of higher amp rating. Never replace a blown
fuse with metal wires or any other material. Failure
to use proper fuses may result in serious personal
injury, fire and/or property damage.
(Continued)
WARNING!(Continued)
•Before replacing a fuse, make sure that the ignition
is off and that all the other services are switched off
and/or disengaged.
•If the replaced fuse blows again, contact an autho-
rized dealer.
•If a general protection fuse for safety systems (air
bag system, braking system), power unit systems
(engine system, gearbox system) or steering system
blows, contact an authorized dealer.
7
MAINTAINING YOUR VEHICLE 633
Page 652 of 695
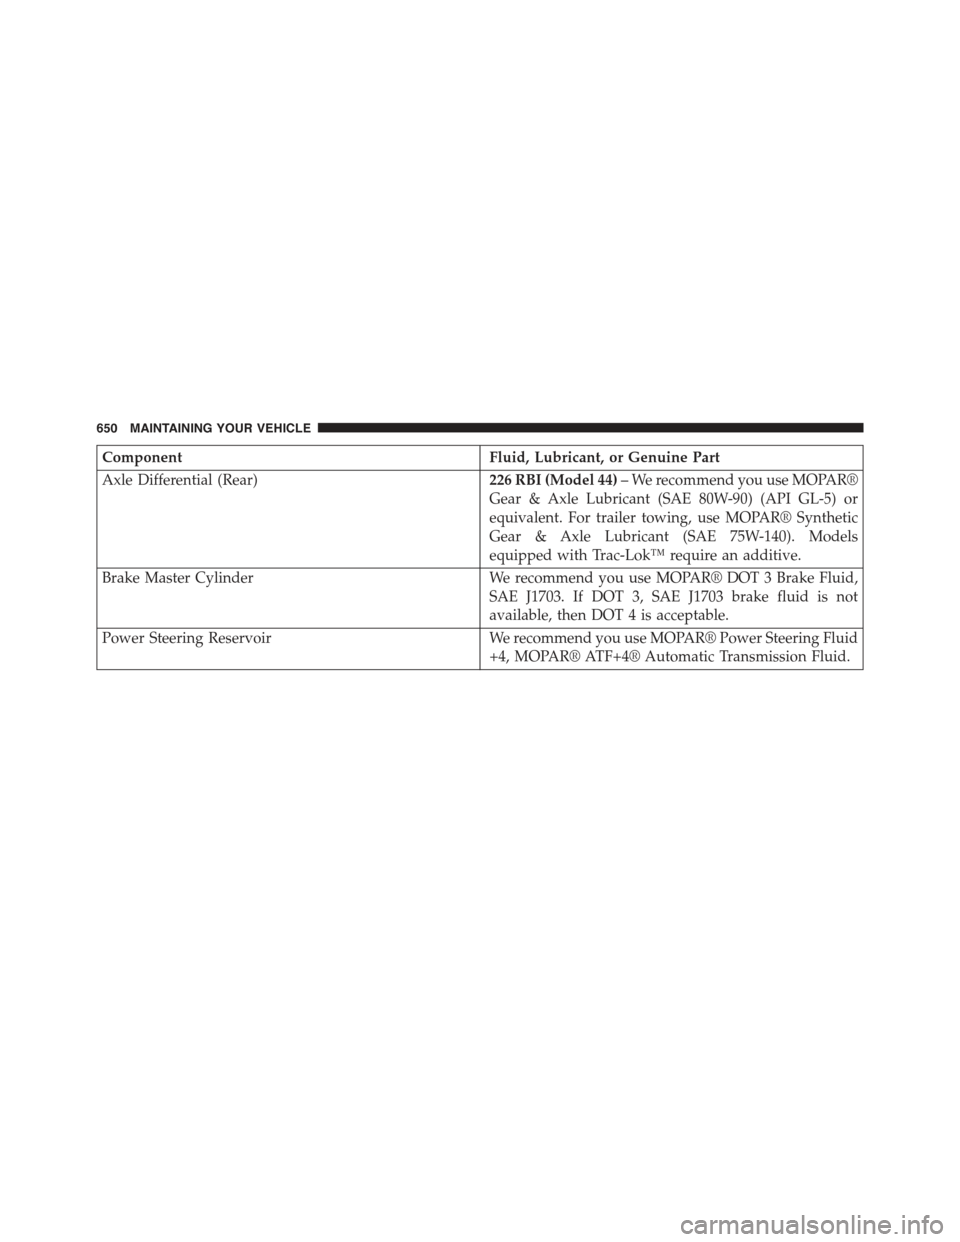
ComponentFluid, Lubricant, or Genuine Part
Axle Differential (Rear)226 RBI (Model 44)– We recommend you use MOPAR®
Gear & Axle Lubricant (SAE 80W-90) (API GL-5) or
equivalent. For trailer towing, use MOPAR® Synthetic
Gear & Axle Lubricant (SAE 75W-140). Models
equipped with Trac-Lok™ require an additive.
Brake Master CylinderWe recommend you use MOPAR® DOT 3 Brake Fluid,
SAE J1703. If DOT 3, SAE J1703 brake fluid is not
available, then DOT 4 is acceptable.
Power Steering ReservoirWe recommend you use MOPAR® Power Steering Fluid
+4, MOPAR® ATF+4® Automatic Transmission Fluid.
650 MAINTAINING YOUR VEHICLE
Page 655 of 695
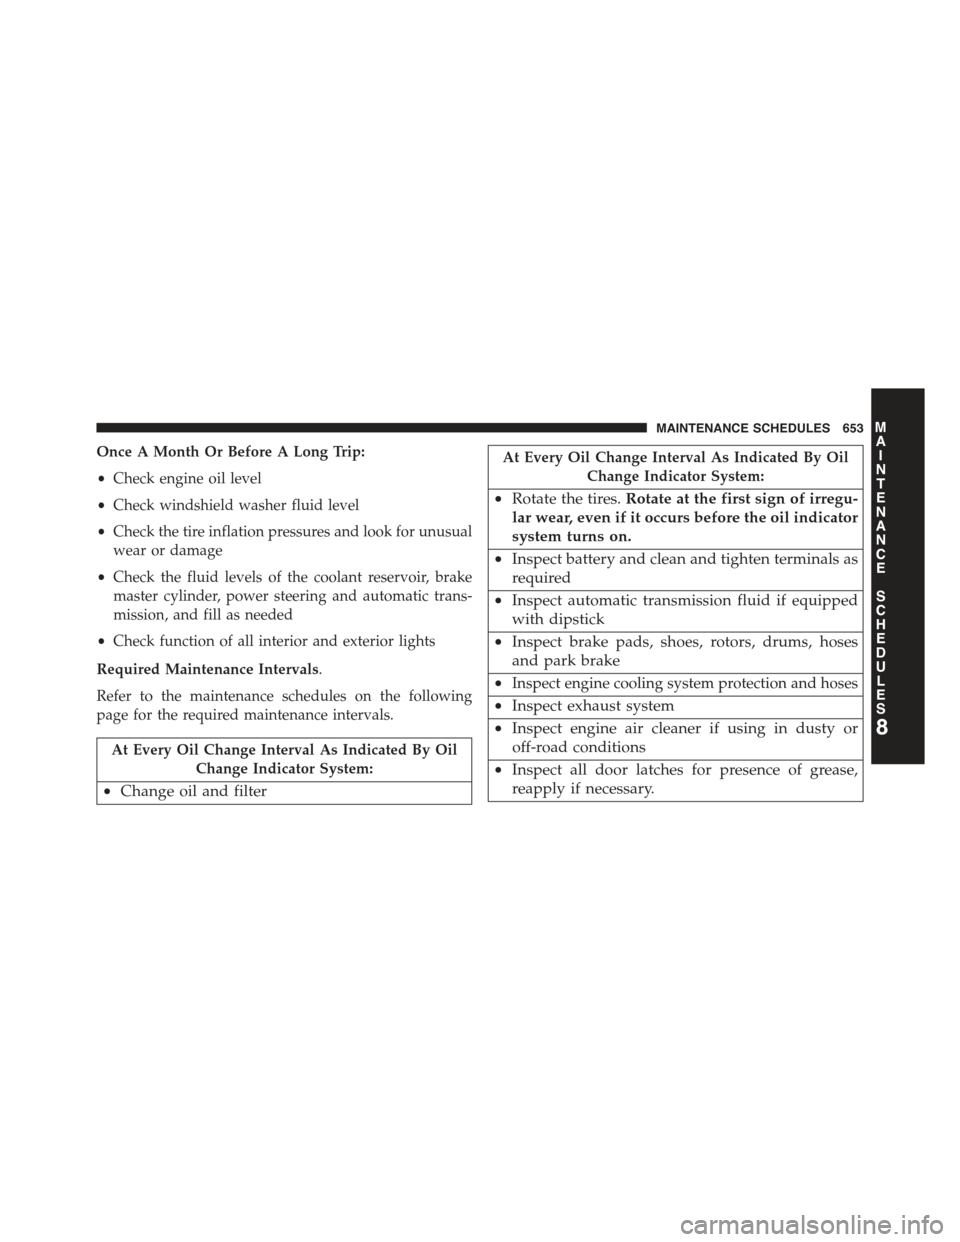
Once A Month Or Before A Long Trip:
•Check engine oil level
•Check windshield washer fluid level
•Check the tire inflation pressures and look for unusual
wear or damage
•Check the fluid levels of the coolant reservoir, brake
master cylinder, power steering and automatic trans-
mission, and fill as needed
•Check function of all interior and exterior lights
Required Maintenance Intervals.
Refer to the maintenance schedules on the following
page for the required maintenance intervals.
At Every Oil Change Interval As Indicated By Oil
Change Indicator System:
•Change oil and filter
At Every Oil Change Interval As Indicated By Oil
Change Indicator System:
•Rotate the tires.Rotate at the first sign of irregu-
lar wear, even if it occurs before the oil indicator
system turns on.
•Inspect battery and clean and tighten terminals as
required
•Inspect automatic transmission fluid if equipped
with dipstick
•Inspect brake pads, shoes, rotors, drums, hoses
and park brake
•Inspect engine cooling system protection and hoses
•Inspect exhaust system
•Inspect engine air cleaner if using in dusty or
off-road conditions
•Inspect all door latches for presence of grease,
reapply if necessary.
8
MAINTENANCE
SCHEDULES
MAINTENANCE SCHEDULES 653
Page 676 of 695
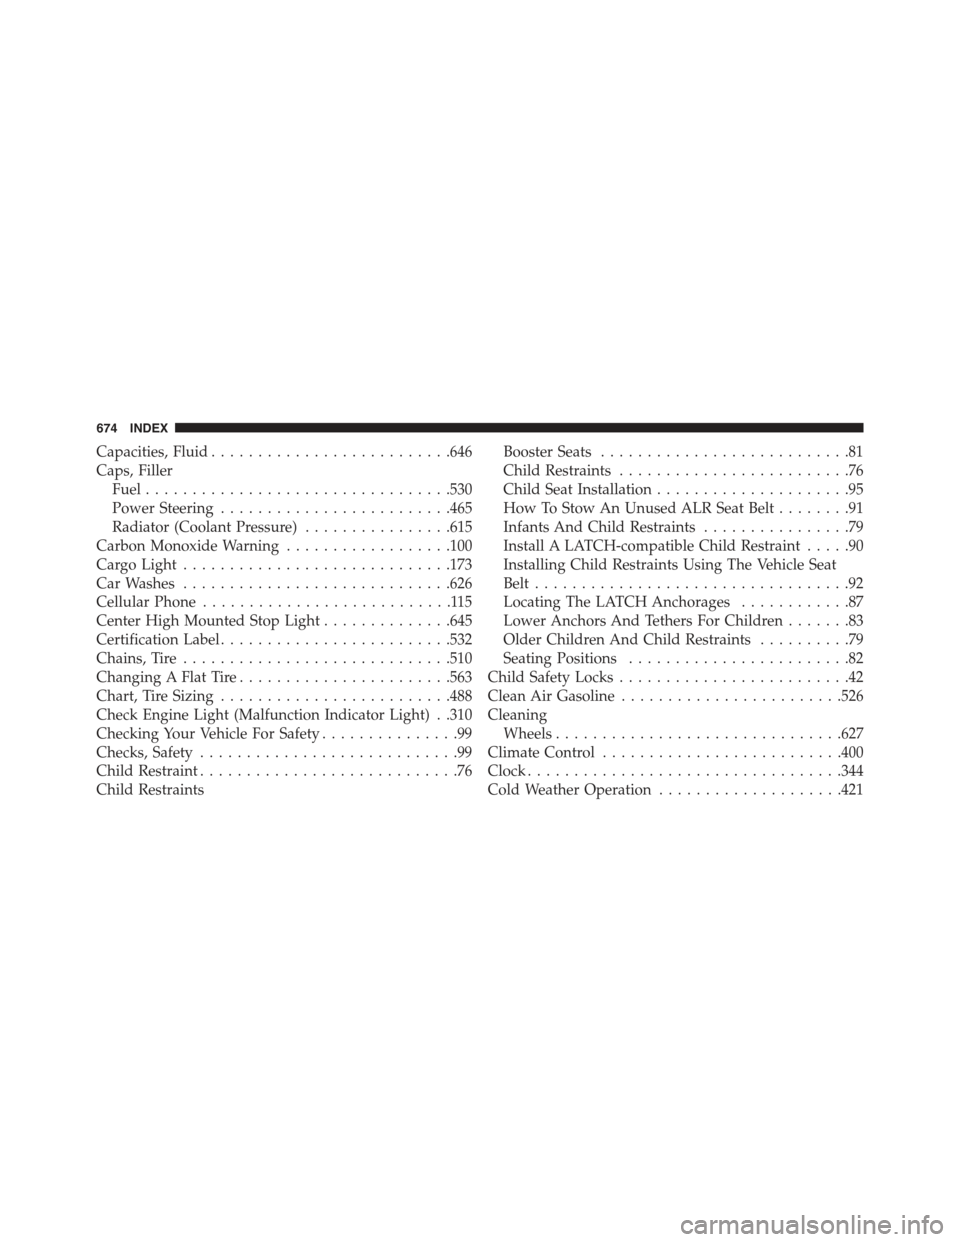
Capacities, Fluid..........................646
Caps, Filler
Fuel.................................530
Power Steering.........................465
Radiator (Coolant Pressure)................615
Carbon Monoxide Warning..................100
Cargo Light.............................173
Car Washes.............................626
Cellular Phone...........................115
Center High Mounted Stop Light..............645
Certification Label.........................532
Chains, Tire.............................510
Changing A Flat Tire.......................563
Chart, Tire Sizing.........................488
Check Engine Light (Malfunction Indicator Light) . .310
Checking Your Vehicle For Safety...............99
Checks, Safety............................99
Child Restraint............................76
Child Restraints
Booster Seats...........................81
Child Restraints.........................76
Child Seat Installation.....................95
How To Stow An Unused ALR Seat Belt........91
Infants And Child Restraints................79
Install A LATCH-compatible Child Restraint.....90
Installing Child Restraints Using The Vehicle Seat
Belt..................................92
Locating The LATCH Anchorages............87
Lower Anchors And Tethers For Children.......83
Older Children And Child Restraints..........79
Seating Positions........................82
Child Safety Locks.........................42
Clean Air Gasoline........................526
Cleaning
Wheels...............................627
Climate Control..........................400
Clock..................................344
Cold Weather Operation....................421
674 INDEX
Page 678 of 695
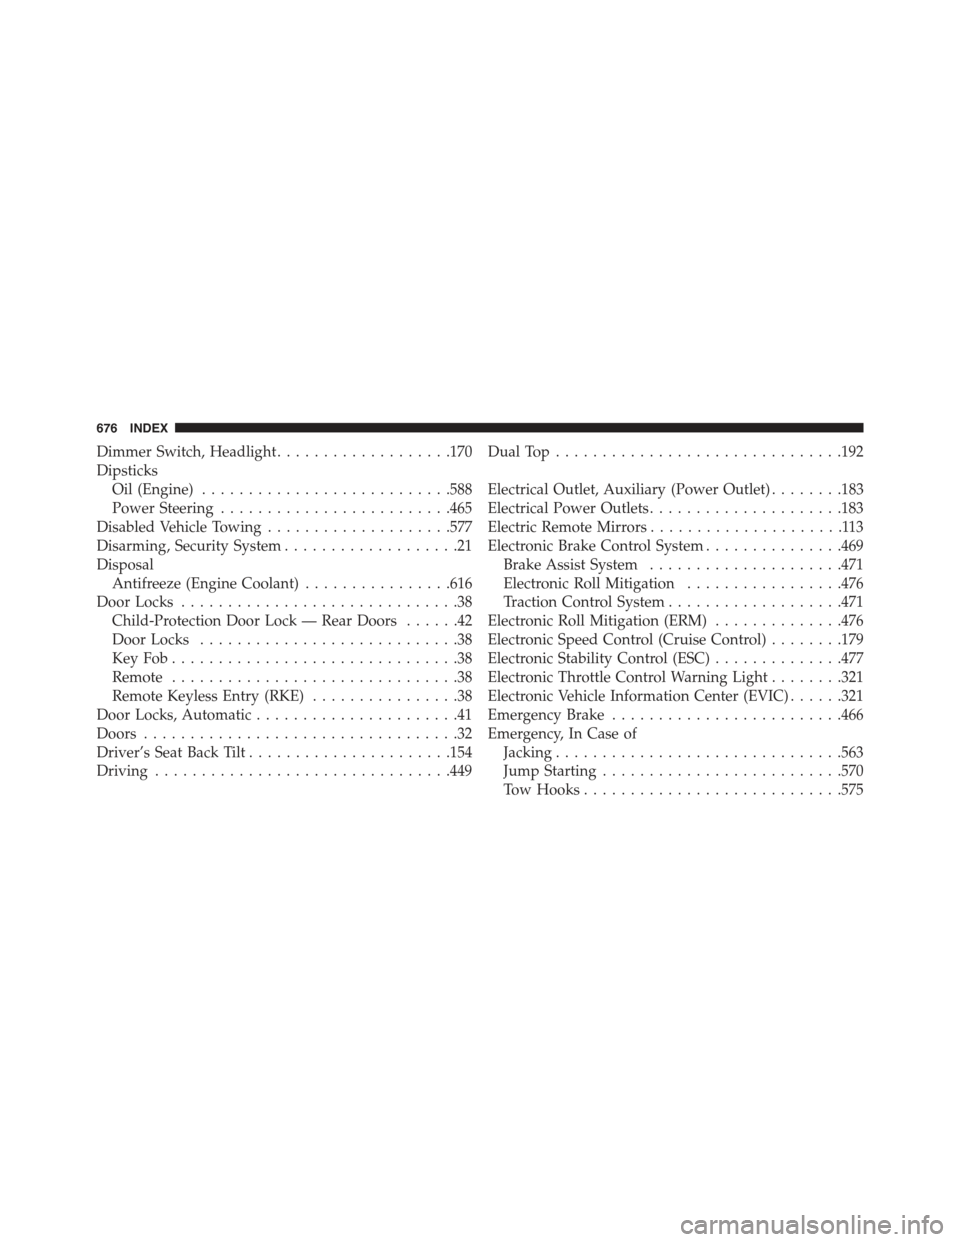
Dimmer Switch, Headlight...................170
Dipsticks
Oil (Engine)...........................588
Power Steering.........................465
Disabled Vehicle Towing....................577
Disarming, Security System...................21
Disposal
Antifreeze (Engine Coolant)................616
Door Locks..............................38
Child-Protection Door Lock — Rear Doors......42
Door Locks............................38
Key Fob . . . . . . . . . . . . . . . . . . . . . . . . . . . . . . .38
Remote...............................38
Remote Keyless Entry (RKE)................38
Door Locks, Automatic......................41
Doors..................................32
Driver’s Seat Back Tilt......................154
Driving................................449
Dual Top...............................192
Electrical Outlet, Auxiliary (Power Outlet)........183
Electrical Power Outlets.....................183
Electric Remote Mirrors.....................113
Electronic Brake Control System...............469
Brake Assist System.....................471
Electronic Roll Mitigation.................476
Traction Control System...................471
Electronic Roll Mitigation (ERM)..............476
Electronic Speed Control (Cruise Control)........179
Electronic Stability Control (ESC)..............477
Electronic Throttle Control Warning Light........321
Electronic Vehicle Information Center (EVIC)......321
Emergency Brake.........................466
Emergency, In Case of
Jacking...............................563
Jump Starting..........................570
Tow Hooks............................575
676 INDEX