KIA Borrego 2009 1.G Owner's Manual
Manufacturer: KIA, Model Year: 2009, Model line: Borrego, Model: KIA Borrego 2009 1.GPages: 425, PDF Size: 8.46 MB
Page 191 of 425

Features of your vehicle114
4INTERIOR FEATURES D280300AHMCup holder
D280301AHMCups or small beverage cans may be
placed in the cup holders.
D280302AHMCenter
To open the cover, press the cover and it
will slowly open.
Place a cup or small beverage can in the
holder after spreading the support (1).
WARNING
- Hot liquids
Do not place uncovered cups of
hot liquid in the cup holder while
the vehicle is in motion. If the hot
liquid spills, you may burn your-
self. Such a burn to the driver
could lead to loss of control of
the vehicle.
To reduce the risk of personal injury in the event of sudden stop
or collision, do not place uncov-
ered or unsecured bottles, glass-
es, cans, etc., in the cup holder
while the vehicle is in motion.
OHM048133NOHM048134
■Front■Rear
OHM048152
■Center
Page 192 of 425
4 115
Features of your vehicle
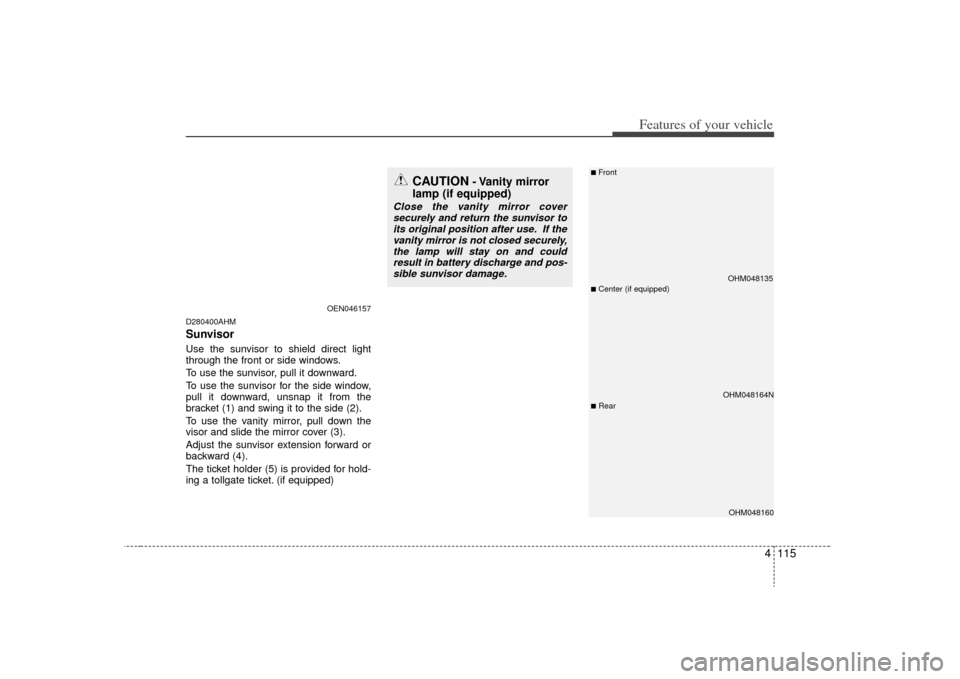
D280400AHMSunvisorUse the sunvisor to shield direct light
through the front or side windows.
To use the sunvisor, pull it downward.
To use the sunvisor for the side window,
pull it downward, unsnap it from the
bracket (1) and swing it to the side (2).
To use the vanity mirror, pull down the
visor and slide the mirror cover (3).
Adjust the sunvisor extension forward or
backward (4).
The ticket holder (5) is provided for hold-
ing a tollgate ticket. (if equipped)
OHM048135OHM048164NOHM048160
■Center (if equipped)■Front■Rear
OEN046157
CAUTION
- Vanity mirror
lamp (if equipped)
Close the vanity mirror cover
securely and return the sunvisor toits original position after use. If the vanity mirror is not closed securely,the lamp will stay on and couldresult in battery discharge and pos- sible sunvisor damage.
Page 193 of 425
Features of your vehicle116
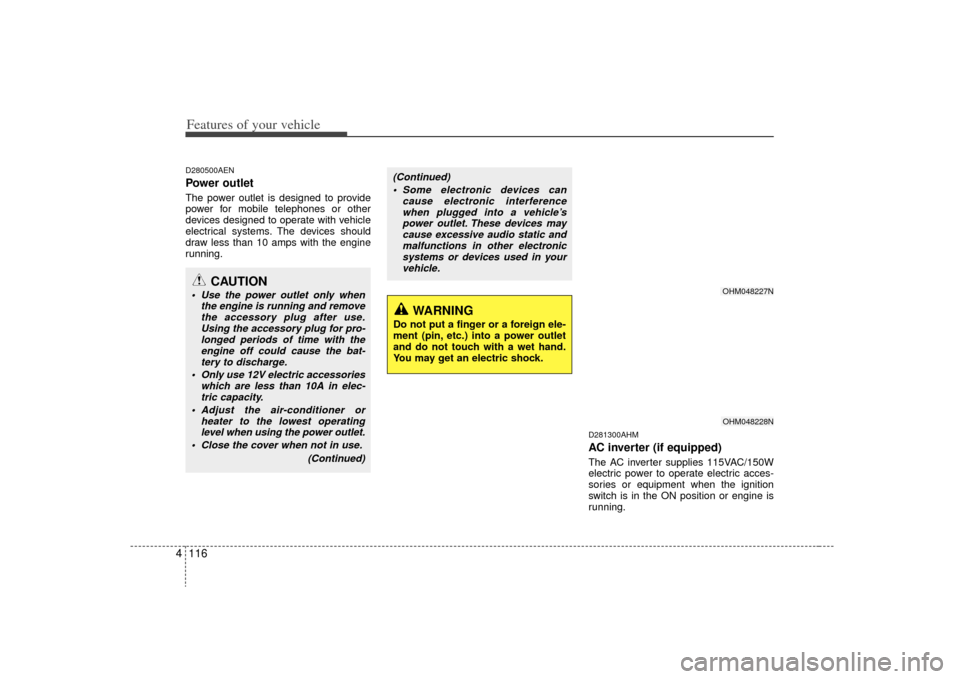
4D280500AENPower outletThe power outlet is designed to provide
power for mobile telephones or other
devices designed to operate with vehicle
electrical systems. The devices should
draw less than 10 amps with the engine
running.
D281300AHMAC inverter (if equipped)The AC inverter supplies 115VAC/150W
electric power to operate electric acces-
sories or equipment when the ignition
switch is in the ON position or engine is
running.
CAUTION
Use the power outlet only when
the engine is running and removethe accessory plug after use.Using the accessory plug for pro-longed periods of time with the engine off could cause the bat-tery to discharge.
Only use 12V electric accessories which are less than 10A in elec-tric capacity.
Adjust the air-conditioner or heater to the lowest operatinglevel when using the power outlet.
Close the cover when not in use.
(Continued)
(Continued) Some electronic devices can cause electronic interferencewhen plugged into a vehicle’spower outlet. These devices may cause excessive audio static andmalfunctions in other electronicsystems or devices used in yourvehicle.
WARNING
Do not put a finger or a foreign ele-
ment (pin, etc.) into a power outlet
and do not touch with a wet hand.
You may get an electric shock.
OHM048227NOHM048228N
Page 194 of 425
4 117
Features of your vehicle
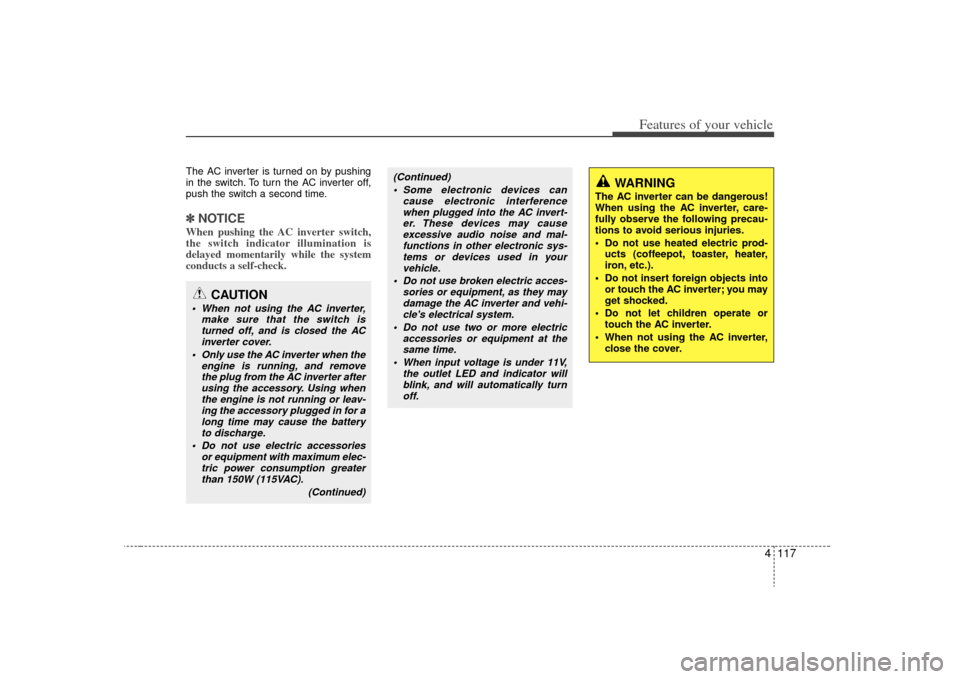
The AC inverter is turned on by pushing
in the switch. To turn the AC inverter off,
push the switch a second time.✽ ✽NOTICEWhen pushing the AC inverter switch,
the switch indicator illumination is
delayed momentarily while the system
conducts a self-check.
WARNING
The AC inverter can be dangerous!
When using the AC inverter, care-
fully observe the following precau-
tions to avoid serious injuries.
Do not use heated electric prod-
ucts (coffeepot, toaster, heater,
iron, etc.).
Do not insert foreign objects into or touch the AC inverter; you may
get shocked.
Do not let children operate or touch the AC inverter.
When not using the AC inverter, close the cover.
CAUTION
When not using the AC inverter, make sure that the switch isturned off, and is closed the AC inverter cover.
Only use the AC inverter when the engine is running, and removethe plug from the AC inverter afterusing the accessory. Using whenthe engine is not running or leav- ing the accessory plugged in for along time may cause the battery to discharge.
Do not use electric accessories or equipment with maximum elec-tric power consumption greaterthan 150W (115VAC).
(Continued)
(Continued) Some electronic devices can cause electronic interferencewhen plugged into the AC invert-er. These devices may cause excessive audio noise and mal-functions in other electronic sys-tems or devices used in yourvehicle.
Do not use broken electric acces- sories or equipment, as they maydamage the AC inverter and vehi- cle's electrical system.
Do not use two or more electric accessories or equipment at thesame time.
When input voltage is under 11V, the outlet LED and indicator willblink, and will automatically turn off.
Page 195 of 425
Features of your vehicle118
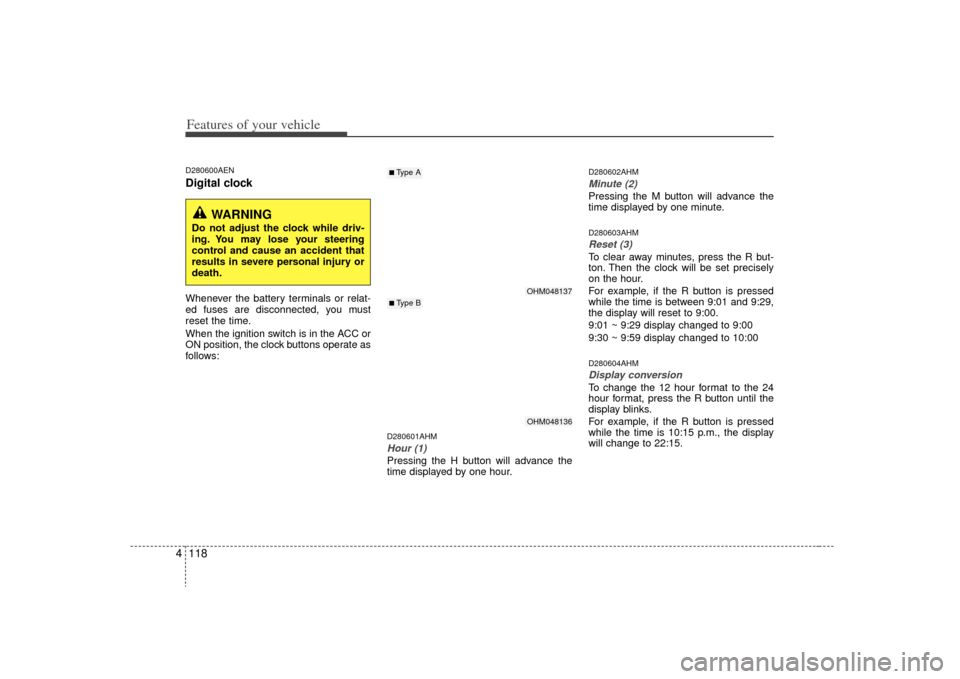
4D280600AENDigital clockWhenever the battery terminals or relat-
ed fuses are disconnected, you must
reset the time.
When the ignition switch is in the ACC or
ON position, the clock buttons operate as
follows:
D280601AHMHour (1)Pressing the H button will advance the
time displayed by one hour.
D280602AHMMinute (2)Pressing the M button will advance the
time displayed by one minute.D280603AHMReset (3)To clear away minutes, press the R but-
ton. Then the clock will be set precisely
on the hour.
For example, if the R button is pressed
while the time is between 9:01 and 9:29,
the display will reset to 9:00.
9:01 ~ 9:29 display changed to 9:00
9:30 ~ 9:59 display changed to 10:00D280604AHMDisplay conversionTo change the 12 hour format to the 24
hour format, press the R button until the
display blinks.
For example, if the R button is pressed
while the time is 10:15 p.m., the display
will change to 22:15.
OHM048137OHM048136
■Type A■ Type B
WARNING
Do not adjust the clock while driv-
ing. You may lose your steering
control and cause an accident that
results in severe personal injury or
death.
Page 196 of 425

4 119
Features of your vehicle
D281200AHM-EUOutside thermometerThe current outside temperature is dis-
played in 1°C (1°F) increments. The tem-
perature range is between -40°C ~ 60°C
(-40°F~140°F). The outside temperature on the display
may not change immediately like a
general thermometer to prevent the
driver from being inattentive.
For details, refer to the "Climate control
system" in section 4.
• Temperature ↔ ↔
Seconds
1. Turn the ignition switch to the ON posi- tion.
2. Press the H button at least 3 times within 3 seconds while pressing the R
button.
3. The temperature mode will change to the time mode. The time displays in
seconds.
4. If the M button is pressed, the clock’s minute will change and the counting
will start again from the beginning
(00).
5. To return to the temperature mode, press the H button at least 3 times
within 3 seconds while pressing the R
button.
If the ignition switch turns OFF and ON
again, the temperature mode will be dis-
played.
D280800AHMClothes hanger
CAUTION
Do not hang heavy clothes, the hook may be damaged.
OHM048153
OHM048138OHM048139
■Type A■ Type B
Page 197 of 425
Features of your vehicle120
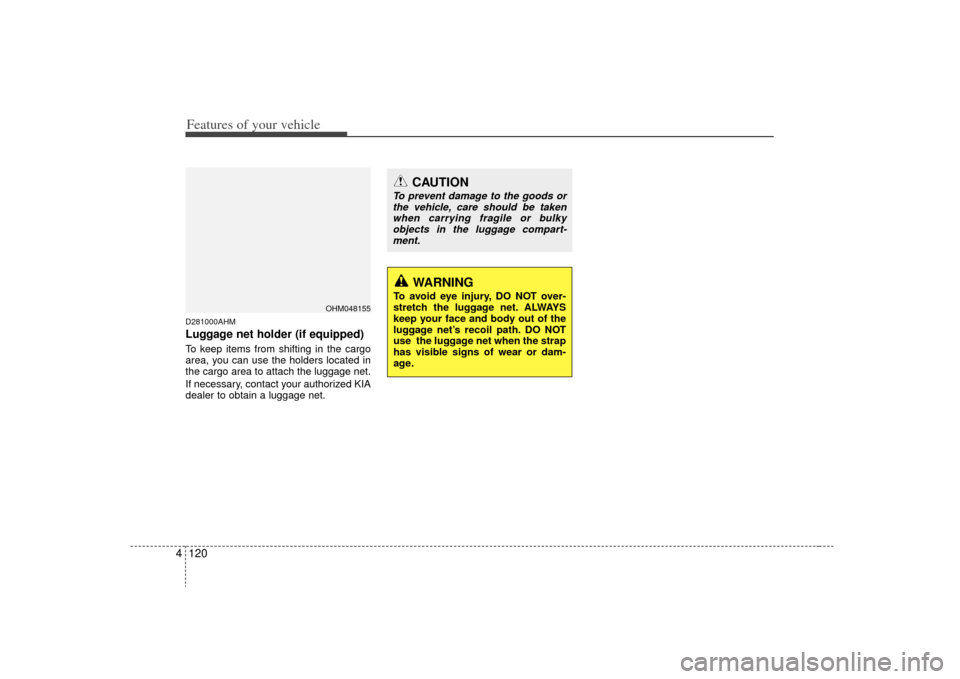
4D281000AHMLuggage net holder (if equipped)To keep items from shifting in the cargo
area, you can use the holders located in
the cargo area to attach the luggage net.
If necessary, contact your authorized KIA
dealer to obtain a luggage net.
CAUTION
To prevent damage to the goods or
the vehicle, care should be takenwhen carrying fragile or bulkyobjects in the luggage compart- ment.
WARNING
To avoid eye injury, DO NOT over-
stretch the luggage net. ALWAYS
keep your face and body out of the
luggage net’s recoil path. DO NOT
use the luggage net when the strap
has visible signs of wear or dam-
age.
OHM048155
Page 198 of 425
4 121
Features of your vehicle
D290100AHMRoof rack (if equipped)If the vehicle has a roof rack, you can
load cargo on top of your vehicle.
The two crossbars on the roof rack can
be repositioned forward or rearward for
conveniently loading cargo or a roof car-
rier. To move the crossbar, pull the lever
and move the crossbar to the desired
position. Release the lever and lock the
crossbar by moving the crossbar slightly
forward or rearward.
For your convenience and to prevent
damage, with an assistant on the oppo-
site side of the vehicle, pull and hold the
lever on each side, then move the cross
bar to the desired position.
✽ ✽NOTICE• The crossbars (if equipped) should be
placed in the proper load carrying
positions prior to placing items onto
the roof rack.
• If the vehicle is equipped with a sun- roof, be sure not to position cargo onto
the roof rack in such a way that itcould interfere with sunroof operation.• When the roof rack is not being usedto carry cargo, the crossbars may
need to be repositioned if wind noise is
detected.
EXTERIOR FEATURES
CAUTION
When carrying cargo on the roof
rack, take the necessary precau-tions to make sure the cargo doesnot damage the roof of the vehicle.
When carrying large objects on the roof rack, make sure they donot exceed the overall roof length or width.
WARNING
The following specification is the maximum weight that can be
loaded onto the roof rack.
Distribute the load as evenly as
possible across the crossbars (if
equipped) and roof rack and
secure the load firmly.
Loading cargo or luggage in
excess of the specified weight
limit on the roof rack may dam-
age your vehicle.
The vehicle center of gravity will be higher when items are loaded
onto the roof rack. Avoid sudden
starts, braking, sharp turns,
abrupt maneuvers or high speeds
that may result in loss of vehicle
control or rollover resulting in an
accident.
(Continued)
OUN026355 ROOF
100 kg (220 lbs.)
RACK EVENLY DISTRIBUTED
Page 199 of 425
Features of your vehicle122
4
D290200AENSide step (if equipped)When entering or exiting the vehicle, use
the side step for your convenience.
OHM048145
WARNING
Watch your steps so as not to slip
on a slippery side step when it is
rainy or snowy.
If you try to open the door when the temperature is below freezing
or when the side step is covered
with snow or ice, the door could
be damaged. Remove any snow
that may accumulate on the side
steps.
(Continued)
Always drive slowly and turn cor-ners carefully when carrying
items on the roof rack. Severe
wind updrafts, caused by passing
vehicles or natural causes, can
cause sudden upward pressure
on items loaded on the roof rack.
This is especially true when car-
rying large, flat items such as
wood panels or mattresses. This
could cause the items to fall off
the roof rack and cause damage
to your vehicle or others around
you.
To prevent damage or loss of cargo while driving, check fre-
quently before or while driving to
make sure the items on the roof
rack are securely fastened.
Page 200 of 425
4123
Features of your vehicle
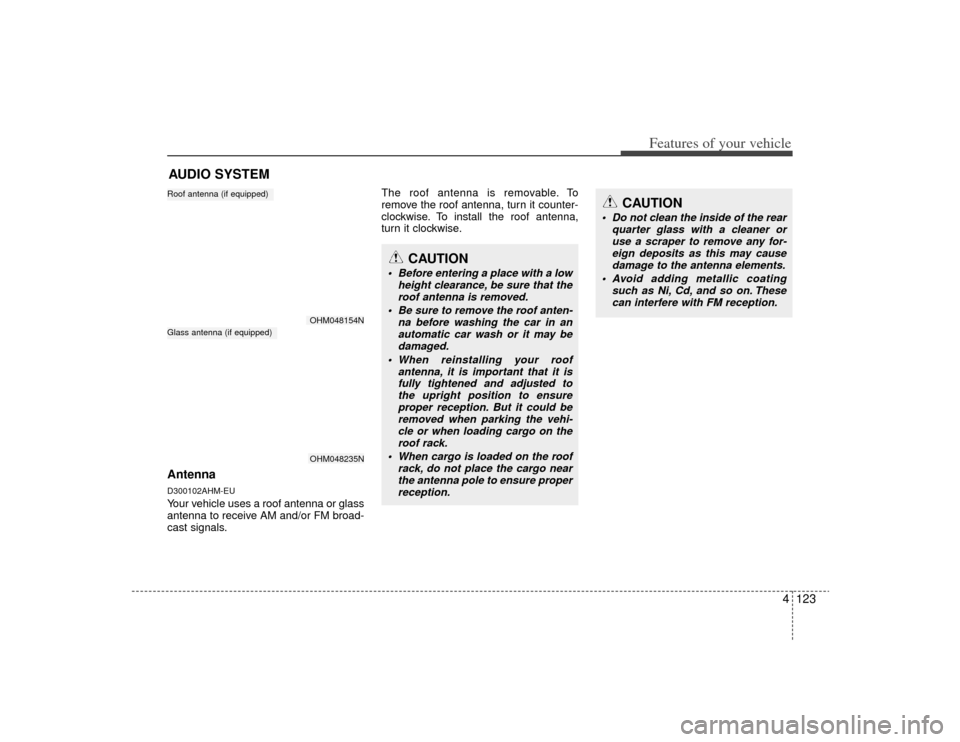
AntennaD300102AHM-EUYour vehicle uses a roof antenna or glass
antenna to receive AM and/or FM broad-
cast signals.The roof antenna is removable. To
remove the roof antenna, turn it counter-
clockwise. To install the roof antenna,
turn it clockwise.AUDIO SYSTEM
OHM048154NOHM048235N
Roof antenna (if equipped)Glass antenna (if equipped)
CAUTION
• Before entering a place with a low
height clearance, be sure that theroof antenna is removed.
Be sure to remove the roof anten- na before washing the car in anautomatic car wash or it may be damaged.
When reinstalling your roof antenna, it is important that it isfully tightened and adjusted tothe upright position to ensure proper reception. But it could beremoved when parking the vehi-cle or when loading cargo on the roof rack.
When cargo is loaded on the roof rack, do not place the cargo nearthe antenna pole to ensure proper reception.
CAUTION
Do not clean the inside of the rear quarter glass with a cleaner oruse a scraper to remove any for-eign deposits as this may cause damage to the antenna elements.
Avoid adding metallic coating such as Ni, Cd, and so on. Thesecan interfere with FM reception.