ignition KIA Borrego 2010 1.G Owner's Guide
[x] Cancel search | Manufacturer: KIA, Model Year: 2010, Model line: Borrego, Model: KIA Borrego 2010 1.GPages: 461, PDF Size: 12.25 MB
Page 113 of 461
433
Features of your vehicle
D110500AHM-EEResetting the sunroofWhenever the vehicle battery is discon-
nected or discharged, you must reset
your sunroof system as follows:
1. Turn the ignition switch to the ONposition.
2. According to the position of the sun- roof, do the following.
1) In case the sunroof is closed com-pletely or tilted:
Push the sunroof control lever
upward until the sunroof tilts com-
pletely upward.
2) In case the sunroof is open: Push the sunroof control lever for-
ward until the sunroof closes com-
pletely. Push the sunroof control
lever upward until the sunroof tilts
completely upward.
3. Release the sunroof control lever.
4. Push the sunroof control lever upward (for about 10 seconds) until the sun-
roof has returned to the original tilt
position after it is raised a little higher
than the maximum tilt position. Then,
release the lever. 5. Push the sunroof control lever upward
(for about 6 seconds) until the sunroof
operates as follows;
TILT DOWN → SLIDE OPEN →
SLIDE CLOSE
Then, release the lever.
When this is complete, the sunroof sys-
tem has been reset.
Page 114 of 461
Features of your vehicle34
4DRIVER POSITION MEMORY SYSTEM (IF EQUIPPED)D120000AHMA driver position memory system is pro-
vided to store and recall the driver seat,
outside rearview mirror and steering
wheel positions with a simple button
operation. By saving the desired positions
into the system memory, different drivers
can reposition the driver seat, outside
rearview mirror and steering wheel based
upon their driving preference. If the bat-
tery is disconnected, the position memo-
ry will be lost and the driving positions
should be restored in the system.✽ ✽
NOTICEThe buzzer sounds 10 times if the mem-
ory system malfunctions. Have the driv-
er position memory system checked by
an authorized KIA dealer.
Storing positions into memory
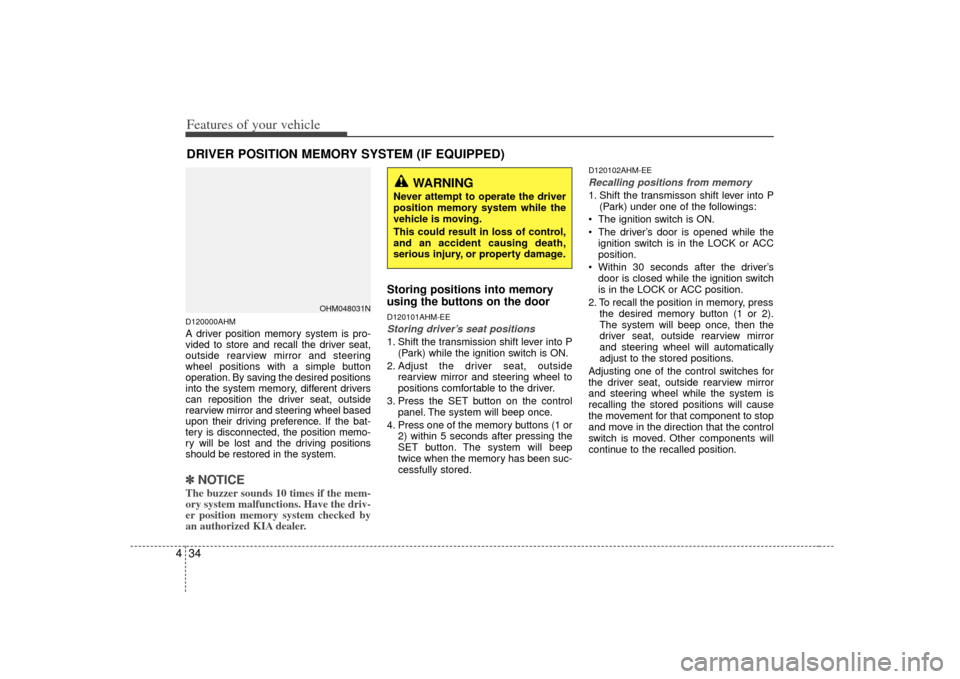
using the buttons on the doorD120101AHM-EEStoring driver’s seat positions1. Shift the transmission shift lever into P
(Park) while the ignition switch is ON.
2. Adjust the driver seat, outside rearview mirror and steering wheel to
positions comfortable to the driver.
3. Press the SET button on the control panel. The system will beep once.
4. Press one of the memory buttons (1 or 2) within 5 seconds after pressing the
SET button. The system will beep
twice when the memory has been suc-
cessfully stored.
D120102AHM-EERecalling positions from memory1. Shift the transmisson shift lever into P(Park) under one of the followings:
The ignition switch is ON.
The driver’s door is opened while the ignition switch is in the LOCK or ACC
position.
Within 30 seconds after the driver’s door is closed while the ignition switch
is in the LOCK or ACC position.
2. To recall the position in memory, press the desired memory button (1 or 2).
The system will beep once, then the
driver seat, outside rearview mirror
and steering wheel will automatically
adjust to the stored positions.
Adjusting one of the control switches for
the driver seat, outside rearview mirror
and steering wheel while the system is
recalling the stored positions will cause
the movement for that component to stop
and move in the direction that the control
switch is moved. Other components will
continue to the recalled position.
OHM048031N
WARNING
Never attempt to operate the driver
position memory system while the
vehicle is moving.
This could result in loss of control,
and an accident causing death,
serious injury, or property damage.
Page 115 of 461
435
Features of your vehicle
D120300AHM-EUEasy access function
(if equipped)With the shift lever in the P (Park) posi-
tion, the system will move the driver’s
seat and the steering wheel forward or
rearward automatically so you can com-
fortably enter and exit the vehicle.
With ignition key- The steering wheel will move awayfrom the driver and the seat will move
rearward, when the ignition key is
removed.
- The steering wheel will move toward the driver and the seat will move for-
ward, when the ignition key is insert-
ed. With smart key
- The steering wheel will move awayfrom the driver and the seat will move
rearward, when the ENGINE START/
STOP button is in the OFF position.
- The steering wheel will move toward the driver and the seat will move for-
ward, when the ENGINE START/
STOP button is in the ACC position.
To deactivate or activate the easy access
function
1. Shift the transmission shift lever into P (Park) while the ignition switch is ON.
2. Press the SET button and hold it for 10 seconds or more.
3. Release the button after one or two beep sounds. The system will beep
once to indicate the function deactivat-
ed or twice to indicate the function
activated.
D120400AHMReverse parking aid function
(if equipped)While the vehicle is moving backward,
the outside rearview mirror(s) will move
downward to aid reverse parking.
According to the position of the outside
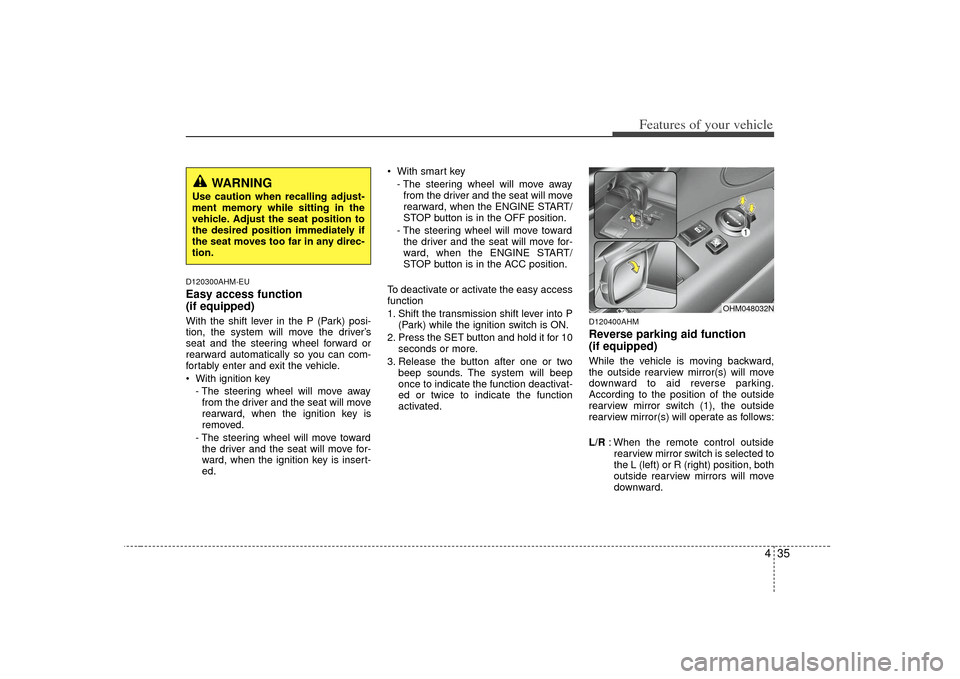
rearview mirror switch (1), the outside
rearview mirror(s) will operate as follows:
L/R : When the remote control outside
rearview mirror switch is selected to
the L (left) or R (right) position, both
outside rearview mirrors will move
downward.
WARNING
Use caution when recalling adjust-
ment memory while sitting in the
vehicle. Adjust the seat position to
the desired position immediately if
the seat moves too far in any direc-
tion.
OHM048032N
Page 116 of 461
Features of your vehicle36
4Neutral : When the remote control out-
side rearview mirror switch is
placed in the middle position,
the outside rearview mirrors
will not operate while the vehi-
cle is moving backward.✽ ✽ NOTICEThe outside rearview mirrors will auto-
matically revert to their original posi-
tions under the following conditions:
1. Ignition switch is in the LOCK posi-
tion.
2. Shift lever is moved to any position except R.
3. Remote control outside rearview mir- ror switch is placed in the middle
position.
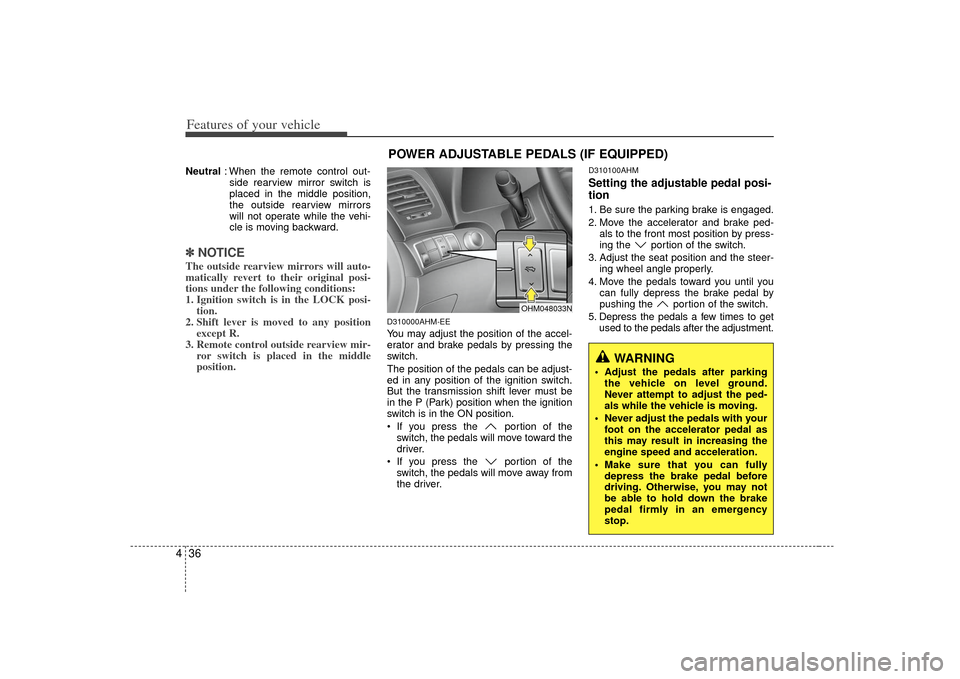
D310000AHM-EEYou may adjust the position of the accel-
erator and brake pedals by pressing the
switch.
The position of the pedals can be adjust-
ed in any position of the ignition switch.
But the transmission shift lever must be
in the P (Park) position when the ignition
switch is in the ON position.
If you press the portion of the
switch, the pedals will move toward the
driver.
If you press the portion of the switch, the pedals will move away from
the driver.
D310100AHMSetting the adjustable pedal posi-
tion1. Be sure the parking brake is engaged.
2. Move the accelerator and brake ped- als to the front most position by press-
ing the portion of the switch.
3. Adjust the seat position and the steer- ing wheel angle properly.
4. Move the pedals toward you until you can fully depress the brake pedal by
pushing the portion of the switch.
5. Depress the pedals a few times to get used to the pedals after the adjustment.
OHM048033N
WARNING
Adjust the pedals after parkingthe vehicle on level ground.
Never attempt to adjust the ped-
als while the vehicle is moving.
Never adjust the pedals with your foot on the accelerator pedal as
this may result in increasing the
engine speed and acceleration.
Make sure that you can fully depress the brake pedal before
driving. Otherwise, you may not
be able to hold down the brake
pedal firmly in an emergency
stop.
POWER ADJUSTABLE PEDALS (IF EQUIPPED)
Page 120 of 461

Features of your vehicle40
4To operate the electric rearview mirror:
Press the ON/OFF button (1) to turn
the automatic dimming function on.
The mirror indicator light will illuminate.
Press the ON/OFF button to turn the
automatic dimming function off. The
mirror indicator light will turn off.
The mirror defaults to the ON position whenever the ignition switch is turned
on.
D140105AEN-ECElectric chromic mirror (ECM) with
compass and HomeLink
®system
(if equipped)
Your vehicle may be equipped with a
Gentex Automatic-Dimming Mirror with a
Z-Nav™ Electronic Compass Display
and an Integrated HomeLink
®Wireless
Control System. During nighttime driving,
this feature will automatically detect and
reduce rearview mirror glare while the
compass indicates the direction the vehi-
cle is pointed. The HomeLink®Universal
Transceiver allows you to activate your
garage door(s), electric gate, home light-
ing, etc. (1) Channel 1 button
(2) Channel 2 button
(3) Status indicator LED
(4) Channel 3 button
(5) Rear light sensor
(6) Dimming ON/OFF button
(7) Compass control button
(8) Compass display
OHM048129OHM048039
■Type A■ Type B
IndicatorRear view display
Indicator
Sensor
Sensor
OHM048238N
Page 121 of 461
441
Features of your vehicle
Automatic-Dimming Night Vision
Safety™ (NVS
®) Mirror
The NVS
®Mirror in your vehicle is the
most advanced way to reduce annoying
glare in the rearview mirror during any
driving situation. For more information
regarding NVS
®mirrors and other appli-
cations, please refer to the Gentex web-
site:
www.gentex.com Automatic-dimming function
Your mirror will automatically dim upon
detecting glare from the vehicles travel-
ing behind you. The auto-dimming func-
tion can be controlled by the Dimming
ON/OFF Button:
1. Pressing the button turns the auto-
dimming function OFF which is indicat-
ed by the green Status Indicator LED
turning off.
2. Pressing the button again turns the auto-dimming function ON which is
indicated by the green Status Indicator
LED turning on.
✽ ✽NOTICEThe mirror defaults to the ON position
each time the vehicle is started.
Z-Nav™ Compass Display
The NVS™ Mirror in your vehicle is also
equipped with a Z-Nav™ Compass that
shows the vehicle Compass heading in
the Display Window using the 8 basic
cardinal headings (N, NE, E, SE, etc.).
Compass function
The Compass can be turned ON and
OFF and will remember the last state
when the ignition is cycled. To turn the
display feature ON/OFF:
1. Press and release the button to
turn the display feature OFF.
2. Press and release the button again to turn the display back ON.
Additional options can be set with press
and hold sequences of the button and
are detailed below.
There is a difference between magnetic
north and true north. The compass in the
mirror can compensate for this difference
when it knows the Magnetic Zone in
which it is operating. This is set either by
the dealer or by the user. The operating
Zone Numbers for North America are
shown in the figure on the following sec-
tion.
CAUTION
The NVS
®
Mirror automatically
reduces glare during driving condi- tions based upon light levels moni-tored in front of the vehicle andfrom the rear of the vehicle. These light sensors are visible throughopenings in the front and rear of the mirror case. Any object that wouldobstructs either light sensor willdegrade the automatic dimmingcontrol feature.
Page 127 of 461
447
Features of your vehicle
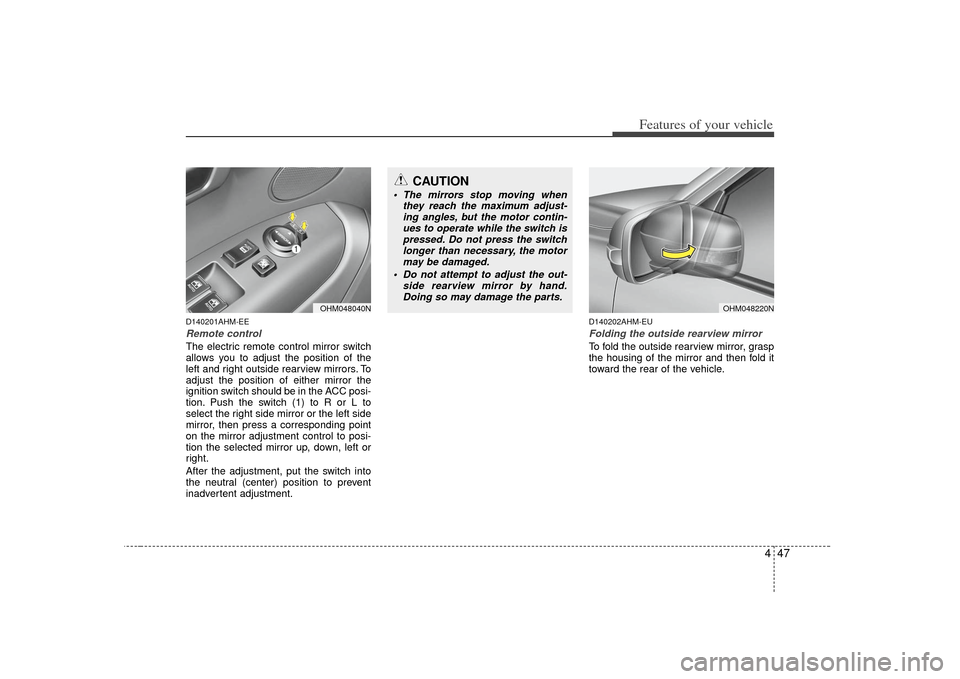
D140201AHM-EERemote controlThe electric remote control mirror switch
allows you to adjust the position of the
left and right outside rearview mirrors. To
adjust the position of either mirror the
ignition switch should be in the ACC posi-
tion. Push the switch (1) to R or L to
select the right side mirror or the left side
mirror, then press a corresponding point
on the mirror adjustment control to posi-
tion the selected mirror up, down, left or
right.
After the adjustment, put the switch into
the neutral (center) position to prevent
inadvertent adjustment.
D140202AHM-EUFolding the outside rearview mirrorTo fold the outside rearview mirror, grasp
the housing of the mirror and then fold it
toward the rear of the vehicle.
OHM048040N
CAUTION
The mirrors stop moving whenthey reach the maximum adjust-ing angles, but the motor contin-ues to operate while the switch ispressed. Do not press the switch longer than necessary, the motormay be damaged.
Do not attempt to adjust the out- side rearview mirror by hand.Doing so may damage the parts.
OHM048220N
Page 129 of 461
449
Features of your vehicle
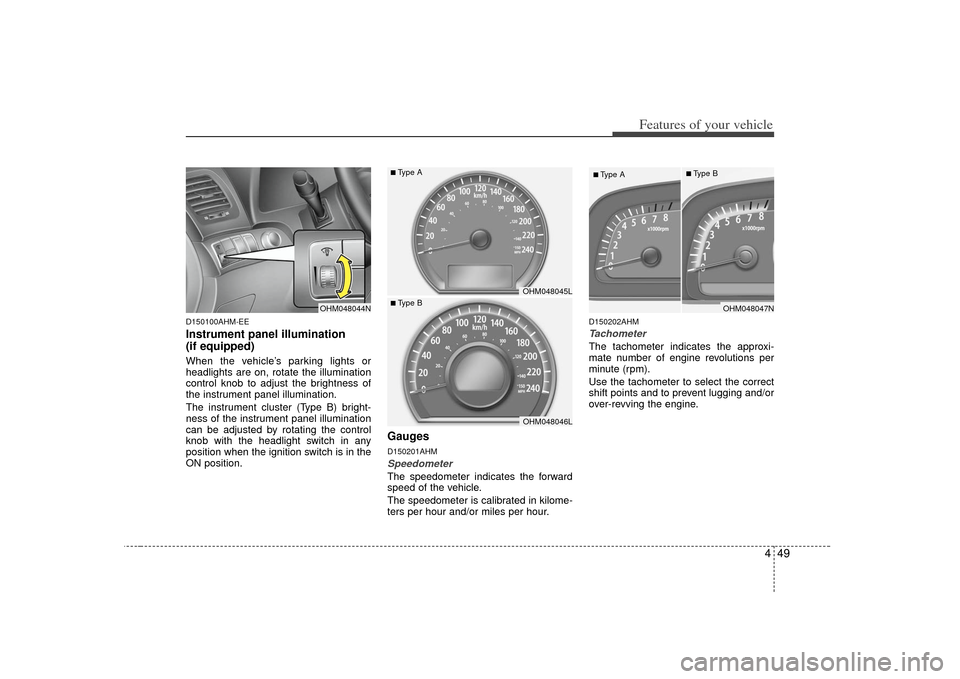
D150100AHM-EEInstrument panel illumination
(if equipped)When the vehicle’s parking lights or
headlights are on, rotate the illumination
control knob to adjust the brightness of
the instrument panel illumination.
The instrument cluster (Type B) bright-
ness of the instrument panel illumination
can be adjusted by rotating the control
knob with the headlight switch in any
position when the ignition switch is in the
ON position.
GaugesD150201AHMSpeedometer The speedometer indicates the forward
speed of the vehicle.
The speedometer is calibrated in kilome-
ters per hour and/or miles per hour.
D150202AHMTachometer The tachometer indicates the approxi-
mate number of engine revolutions per
minute (rpm).
Use the tachometer to select the correct
shift points and to prevent lugging and/or
over-revving the engine.
OHM048044N
OHM048047N
OHM048045LOHM048046L
■Type A■ Type B
■Type A
■Type B
Page 130 of 461
Features of your vehicle50
4When the door is opened, or if the engine
is not started within 1 minute, the
tachometer pointer may move slightly in
the ON position with the engine OFF.
This movement is normal and will not
affect the accuracy of the tachometer
once the engine is running.
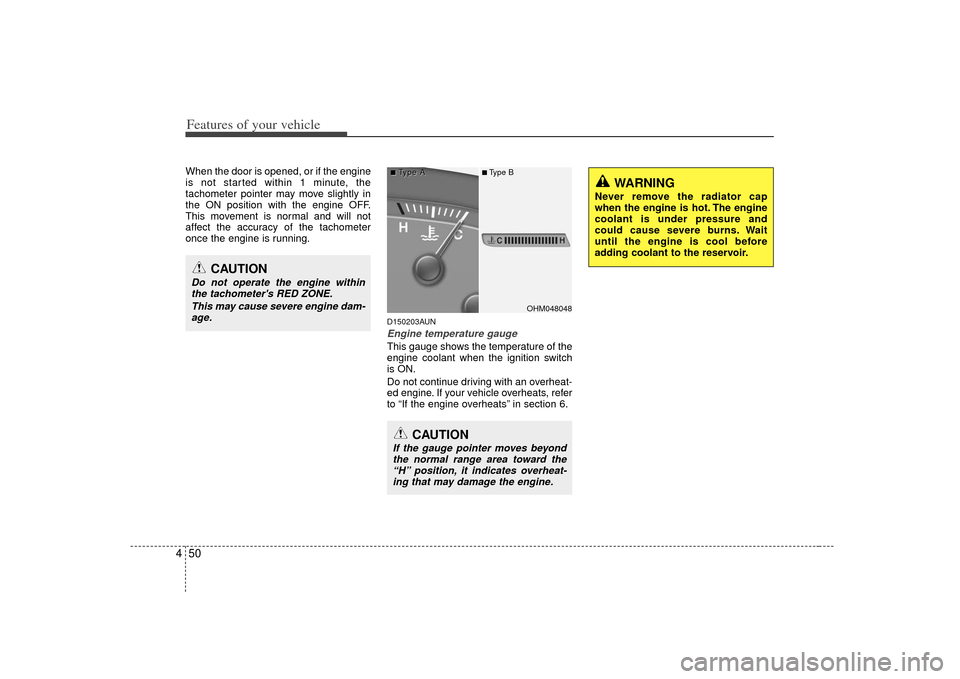
D150203AUNEngine temperature gauge This gauge shows the temperature of the
engine coolant when the ignition switch
is ON.
Do not continue driving with an overheat-
ed engine. If your vehicle overheats, refer
to “If the engine overheats” in section 6.
OHM048048
CAUTION
If the gauge pointer moves beyond
the normal range area toward the“H” position, it indicates overheat- ing that may damage the engine.
CAUTION
Do not operate the engine withinthe tachometer's RED ZONE.
This may cause severe engine dam-age.
WARNING
Never remove the radiator cap
when the engine is hot. The engine
coolant is under pressure and
could cause severe burns. Wait
until the engine is cool before
adding coolant to the reservoir.
■
■T
T
ype A
ype A
■Type B
Page 131 of 461
451
Features of your vehicle
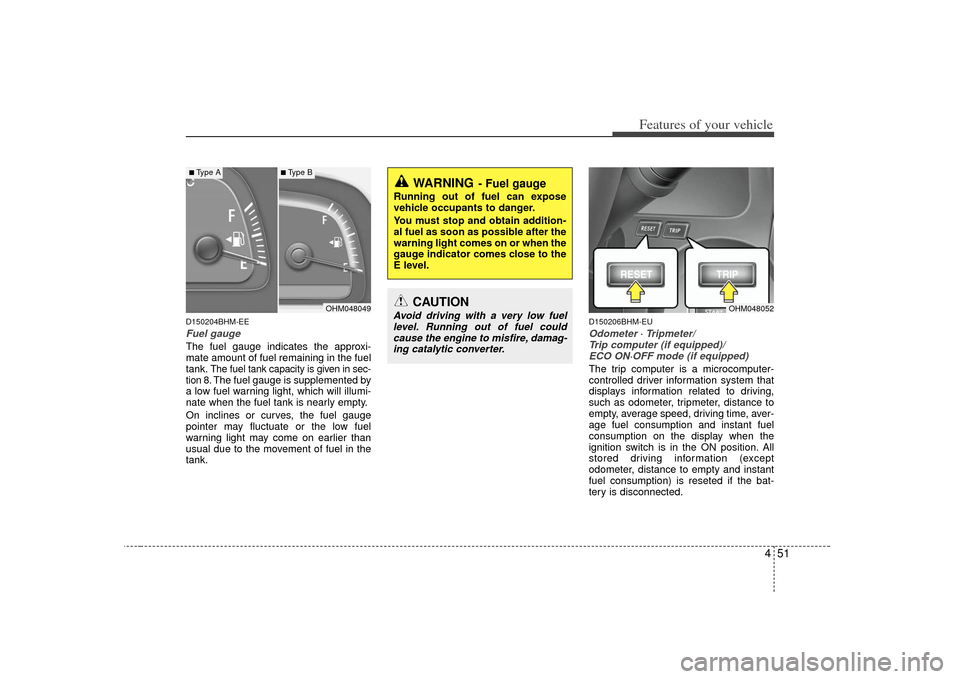
D150204BHM-EEFuel gaugeThe fuel gauge indicates the approxi-
mate amount of fuel remaining in the fuel
tank.
The fuel tank capacity is given in sec-
tion 8.The fuel gauge is supplemented by
a low fuel warning light, which will illumi-
nate when the fuel tank is nearly empty.
On inclines or curves, the fuel gauge
pointer may fluctuate or the low fuel
warning light may come on earlier than
usual due to the movement of fuel in the
tank.
D150206BHM-EUOdometer
⋅ ⋅
Tripmeter/
Trip computer (if equipped)/ ECO ON·OFF mode (if equipped)
The trip computer is a microcomputer-
controlled driver information system that
displays information related to driving,
such as odometer, tripmeter, distance to
empty, average speed, driving time, aver-
age fuel consumption and instant fuel
consumption on the display when the
ignition switch is in the ON position. All
stored driving information (except
odometer, distance to empty and instant
fuel consumption) is reseted if the bat-
tery is disconnected.
OHM048049
OHM048052
WARNING
- Fuel gauge
Running out of fuel can expose
vehicle occupants to danger.
You must stop and obtain addition-
al fuel as soon as possible after the
warning light comes on or when the
gauge indicator comes close to the
E level.
■Type A
■Type B
CAUTION
Avoid driving with a very low fuellevel. Running out of fuel couldcause the engine to misfire, damag-ing catalytic converter.