check engine light KIA CEED 2015 Repair Manual
[x] Cancel search | Manufacturer: KIA, Model Year: 2015, Model line: CEED, Model: KIA CEED 2015Pages: 1210, PDF Size: 35.92 MB
Page 796 of 1210
4 111
Features of your vehicle
Battery saver function
• The purpose of this feature is to pre-vent the battery from being dis-
charged. The system automatically
turns off the parking lights when the
driver removes the ignition key (Smart
key : turns off the engine) and opens
the driver- side door.
• With this feature, the parking lights will be turned off automatically if the driver
parks on the side of road at night.
If necessary, to keep the lights on
when the ignition key is removed, per-
form the following :
1) Open the driver-side door.
2) Turn the parking lights OFF and ON
again using the light switch on the
steering column. Headlamp delay function (if equipped) The headlamps (and/or taillights) remain
on for same minutes (Type A: 20 minutes,
Type B: 5 minutes) after the ignition key
is removed or turned to the ACC or
LOCK position. However, if the driver’s door is opened and closed, the head-
lights are turned off after 15 seconds.
The headlights can be turned off by
pressing the lock button on the transmit-
ter or smart key twice or turning off the
light switch from the headlight or Autolight position.
You can activate or deactivate the head-
lamp delay fuction. Refer to “User setting”in this section.
Headlight (Headlamp) welcome function (if equipped)
When the headlight switch is in the ON or
AUTO position and all doors (and tail-
gate) are closed and locked, if you press
the door unlock button on the transmitter
or smart key, the headlights will come on
for about 15 seconds.
If the headlight switch is in the AUTO
position, the function can only operate atnight.
At this time, if you press the door unlock
button again or door lock button on the
transmitter or smart key, the headlights
will turn off immediately.
You can activate or deactivate the head-
lamp welcome fuction. Refer to “User set-
ting” in this section.
✽NOTICE
There can be turned on front fog light
and the fail light when you turn on the
headlight switch ON. In this case we rec-
ommend that you the system checked by
an authorised Kia dealer.
LIGHTING
CAUTION
If the driver gets out of the vehicle through other doors (except driver’s
door), the battery saver functiondoes not operate and the headlampdelay function does not turn off
automatically. Therefore, it causesthe battery to be discharged. In this case, make sure to turn off the lamp
before getting out of the vehicle.
JD RHD 4a(~171).QXP 4/14/2015 7:02 PM Page 111
Page 803 of 1210
Features of your vehicle
118
4
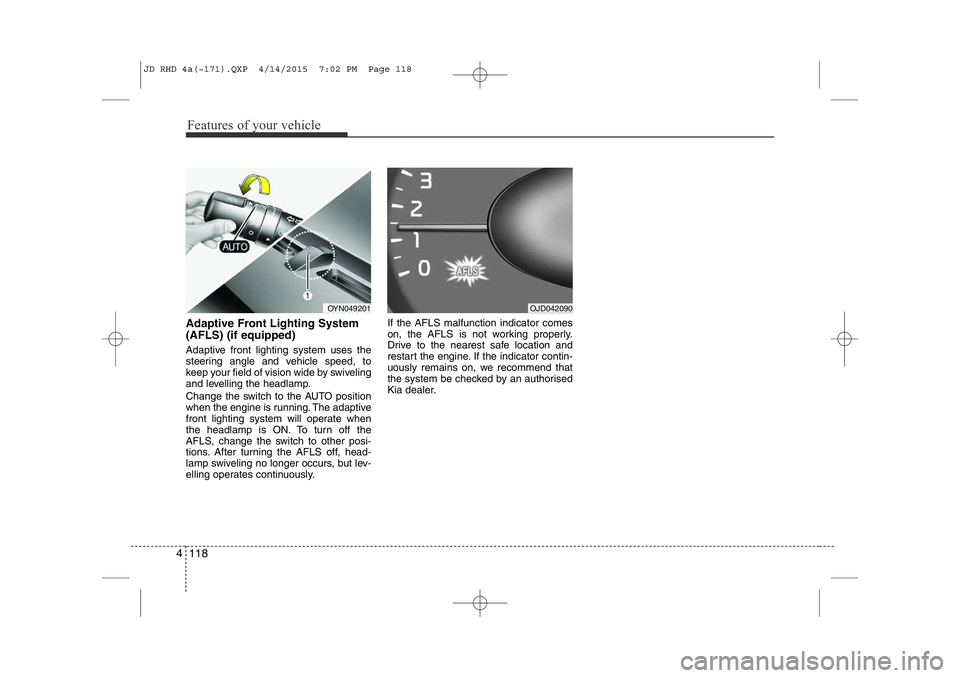
Adaptive Front Lighting System (AFLS) (if equipped)
Adaptive front lighting system uses the
steering angle and vehicle speed, to
keep your field of vision wide by swiveling
and levelling the headlamp.
Change the switch to the AUTO position
when the engine is running. The adaptive
front lighting system will operate when
the headlamp is ON. To turn off the
AFLS, change the switch to other posi-
tions. After turning the AFLS off, head-
lamp swiveling no longer occurs, but lev-
elling operates continuously. If the AFLS malfunction indicator comes
on, the AFLS is not working properly.
Drive to the nearest safe location and
restart the engine. If the indicator contin-
uously remains on, we recommend that
the system be checked by an authorised
Kia dealer.
OJD042090OYN049201
JD RHD 4a(~171).QXP 4/14/2015 7:02 PM Page 118
Page 807 of 1210
Features of your vehicle
122
4
Headlight washer (if equipped)
If your vehicle is equipped with the head-
light washer it will operate at the same
time when you operate the windscreen
washer. It will operate when the headlight
switch is in the first or second position
and the ignition switch or engine
start/stop button is in the ON position.
The washer fluid will be sprayed on to the
headlights.
✽NOTICE
Check the headlight washers periodical-
ly to confirm that the washer fluid is
being sprayed properly onto the head-
light lenses.
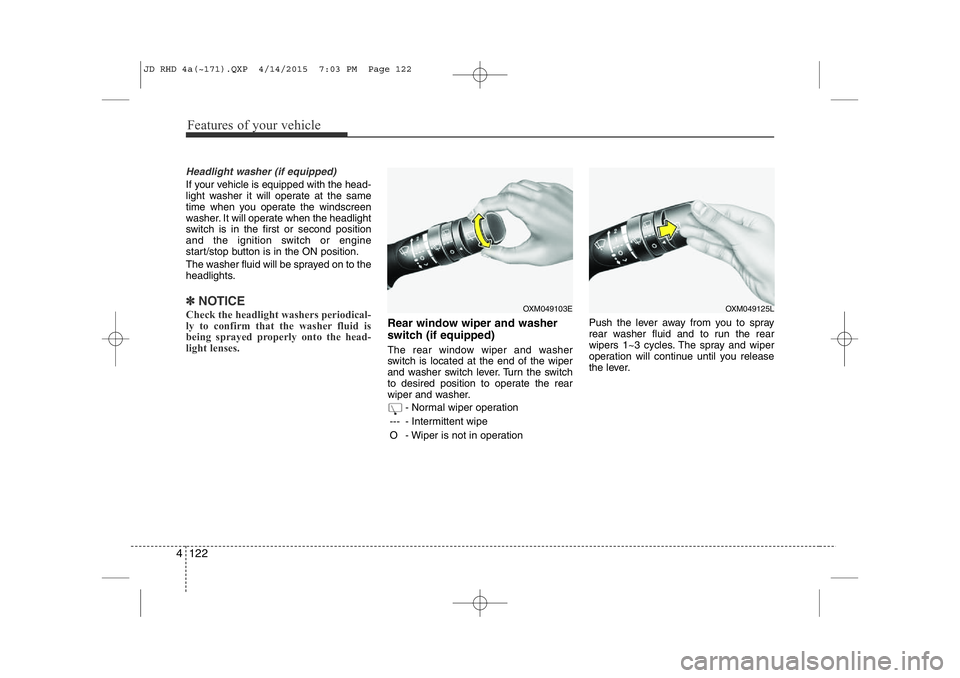
Rear window wiper and washer
switch (if equipped)
The rear window wiper and washer
switch is located at the end of the wiper
and washer switch lever. Turn the switch
to desired position to operate the rear
wiper and washer.
- Normal wiper operation
--- - Intermittent wipe
O - Wiper is not in operation Push the lever away from you to spray
rear washer fluid and to run the rear
wipers 1~3 cycles. The spray and wiper
operation will continue until you release
the lever.
OXM049103EOXM049125L
JD RHD 4a(~171).QXP 4/14/2015 7:03 PM Page 122
Page 954 of 1210
Driving your vehicle
4
5
Before entering vehicle
• Be sure that all windows, outside mir-
ror(s), and outside lights are clean.
Check the condition of the tyres.
Check under the vehicle for any sign of leaks.
Be sure there are no obstacles behind you if you intend to back up. Necessary inspections
Fluid levels, such as engine oil, engine
coolant, brake fluid, and washer fluid
should be checked on a regular basis,
with the exact interval depending on the
fluid. Further details are provided in sec-
tion 7, “Maintenance”.
Before starting
Close and lock all doors.
Position the seat so that all controls are
easily reached.
Adjust the inside and outside rearview mirrors.
Be sure that all lights work.
Check all gauges.
Check the operation of warning lights when the ignition switch is turned to the ON position.
Release the parking brake and make sure the brake warning light goes out.
For safe operation, be sure you are famil-
iar with your vehicle and its equipment.
BEFORE DRIVING
WARNING
All passengers must be properly
belted whenever the vehicle is mov-
ing. Refer to “Seat belts” in section
3 for more information on their
proper use.
WARNING
Always check the surrounding areas
near your vehicle for people, espe-
cially children, before putting a vehi-
cle into “D (Drive)” or “R (Reverse)”.
WARNING
Driving whilst distracted can result
in a loss of vehicle control, that
may lead to an accident, severe
personal injury, and death. The dri-
ver’s primary responsibility is in
the safe and legal operation of a
vehicle, and use of any handheld
devices, other equipment, or vehi-
cle systems which take the driver’s
eyes, attention and focus away
from the safe operation of a vehicle
or which are not permissible by law
should never be used during oper-
ation of the vehicle.
JD RHD 5.QXP 2/17/2015 10:32 AM Page 4
Page 956 of 1210
Driving your vehicle
6
5
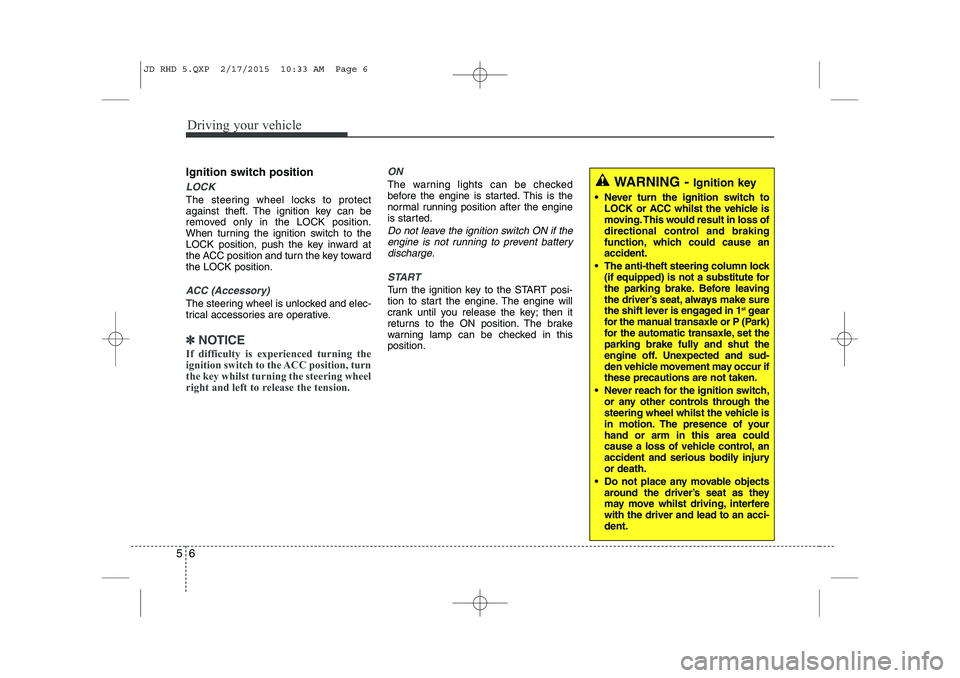
Ignition switch position
LOCK
The steering wheel locks to protect
against theft. The ignition key can be
removed only in the LOCK position.
When turning the ignition switch to the
LOCK position, push the key inward at
the ACC position and turn the key towardthe LOCK position.
ACC (Accessory)
The steering wheel is unlocked and elec-
trical accessories are operative.
✽✽
NOTICE
If difficulty is experienced turning the
ignition switch to the ACC position, turn
the key whilst turning the steering wheel
right and left to release the tension.
ON
The warning lights can be checked
before the engine is started. This is the
normal running position after the engine
is started.
Do not leave the ignition switch ON if the engine is not running to prevent battery
discharge.
START
Turn the ignition key to the START posi-
tion to start the engine. The engine will
crank until you release the key; then it
returns to the ON position. The brake
warning lamp can be checked in thisposition.
WARNING - Ignition key
Never turn the ignition switch to LOCK or ACC whilst the vehicle is
moving. This would result in loss of
directional control and braking
function, which could cause anaccident.
The anti-theft steering column lock (if equipped) is not a substitute for
the parking brake. Before leaving
the driver’s seat, always make sure
the shift lever is engaged in 1 st
gear
for the manual transaxle or P (Park)
for the automatic transaxle, set the
parking brake fully and shut the
engine off. Unexpected and sud-
den vehicle movement may occur ifthese precautions are not taken.
Never reach for the ignition switch, or any other controls through the
steering wheel whilst the vehicle is
in motion. The presence of yourhand or arm in this area could
cause a loss of vehicle control, an
accident and serious bodily injuryor death.
Do not place any movable objects around the driver’s seat as they
may move whilst driving, interferewith the driver and lead to an acci-dent.
JD RHD 5.QXP 2/17/2015 10:33 AM Page 6
Page 959 of 1210
59
Driving your vehicle
ENGINE START/STOP BUTTON (IF EQUIPPED)
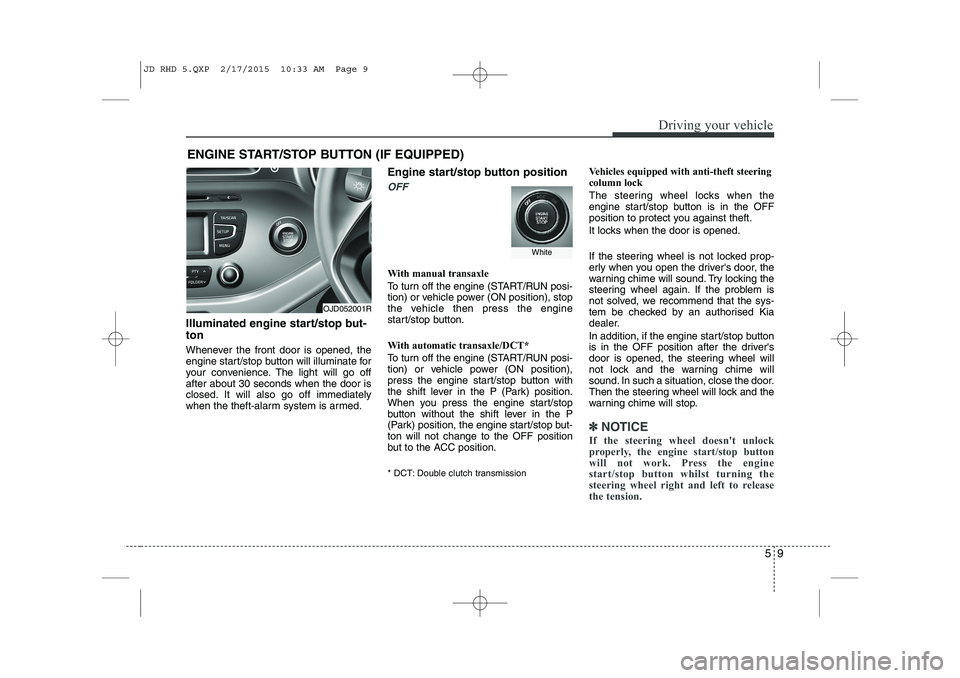
Illuminated engine start/stop but- ton
Whenever the front door is opened, the
engine start/stop button will illuminate for
your convenience. The light will go offafter about 30 seconds when the door is
closed. It will also go off immediately
when the theft-alarm system is armed. Engine start/stop button position
OFF
With manual transaxle
To turn off the engine (START/RUN posi-
tion) or vehicle power (ON position), stop
the vehicle then press the engine
start/stop button.
With automatic transaxle/DCT*
To turn off the engine (START/RUN posi-
tion) or vehicle power (ON position),
press the engine start/stop button with
the shift lever in the P (Park) position.
When you press the engine start/stop
button without the shift lever in the P
(Park) position, the engine start/stop but-ton will not change to the OFF position
but to the ACC position.
* DCT: Double clutch transmissionVehicles equipped with anti-theft steering
column lock
The steering wheel locks when the
engine start/stop button is in the OFF
position to protect you against theft.
It locks when the door is opened.
If the steering wheel is not locked prop-
erly when you open the driver's door, the
warning chime will sound. Try locking the
steering wheel again. If the problem is
not solved, we recommend that the sys-
tem be checked by an authorised Kia
dealer.
In addition, if the engine start/stop button
is in the OFF position after the driver's
door is opened, the steering wheel will
not lock and the warning chime will
sound. In such a situation, close the door.
Then the steering wheel will lock and the
warning chime will stop.
✽✽
NOTICE
If the steering wheel doesn't unlock
properly, the engine start/stop button
will not work. Press the engine
start/stop button whilst turning the
steering wheel right and left to release
the tension.
OJD052001R
White
JD RHD 5.QXP 2/17/2015 10:33 AM Page 9
Page 960 of 1210
Driving your vehicle
10
5
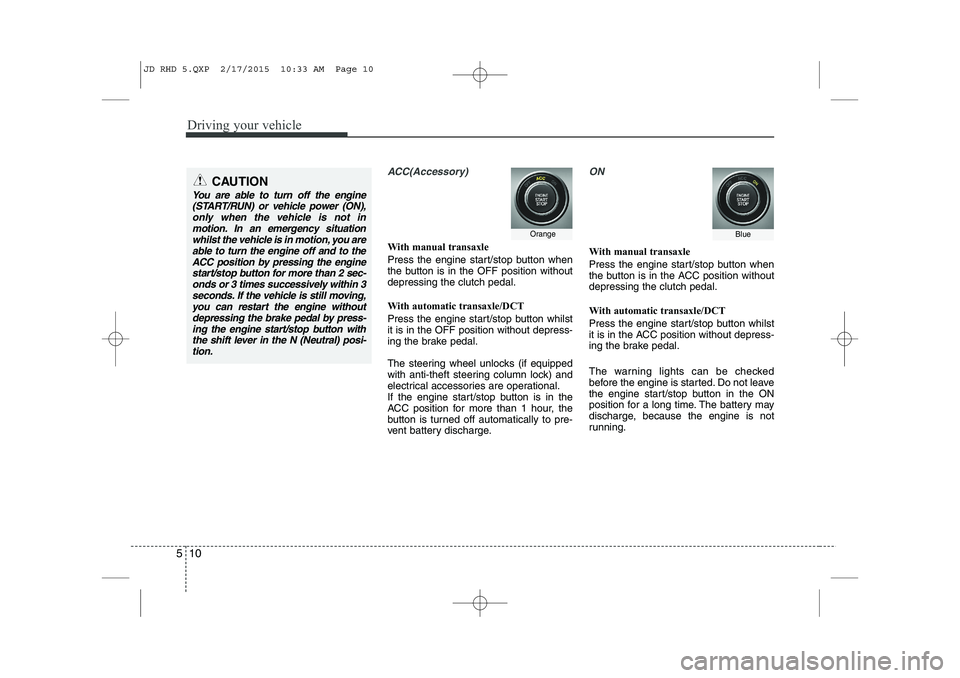
ACC(Accessory)
With manual transaxle
Press the engine start/stop button when
the button is in the OFF position withoutdepressing the clutch pedal.
With automatic transaxle/DCT
Press the engine start/stop button whilst it is in the OFF position without depress-
ing the brake pedal.
The steering wheel unlocks (if equipped
with anti-theft steering column lock) and
electrical accessories are operational.
If the engine start/stop button is in the
ACC position for more than 1 hour, the
button is turned off automatically to pre-
vent battery discharge.
ON
With manual transaxle
Press the engine start/stop button when
the button is in the ACC position withoutdepressing the clutch pedal.
With automatic transaxle/DCT
Press the engine start/stop button whilst
it is in the ACC position without depress-
ing the brake pedal.
The warning lights can be checked
before the engine is started. Do not leave
the engine start/stop button in the ON
position for a long time. The battery may
discharge, because the engine is not
running.
CAUTION
You are able to turn off the engine
(START/RUN) or vehicle power (ON),
only when the vehicle is not inmotion. In an emergency situation whilst the vehicle is in motion, you areable to turn the engine off and to the
ACC position by pressing the engine start/stop button for more than 2 sec-onds or 3 times successively within 3
seconds. If the vehicle is still moving,you can restart the engine without depressing the brake pedal by press-ing the engine start/stop button with
the shift lever in the N (Neutral) posi-tion.
OrangeBlue
JD RHD 5.QXP 2/17/2015 10:33 AM Page 10
Page 963 of 1210
513
Driving your vehicle
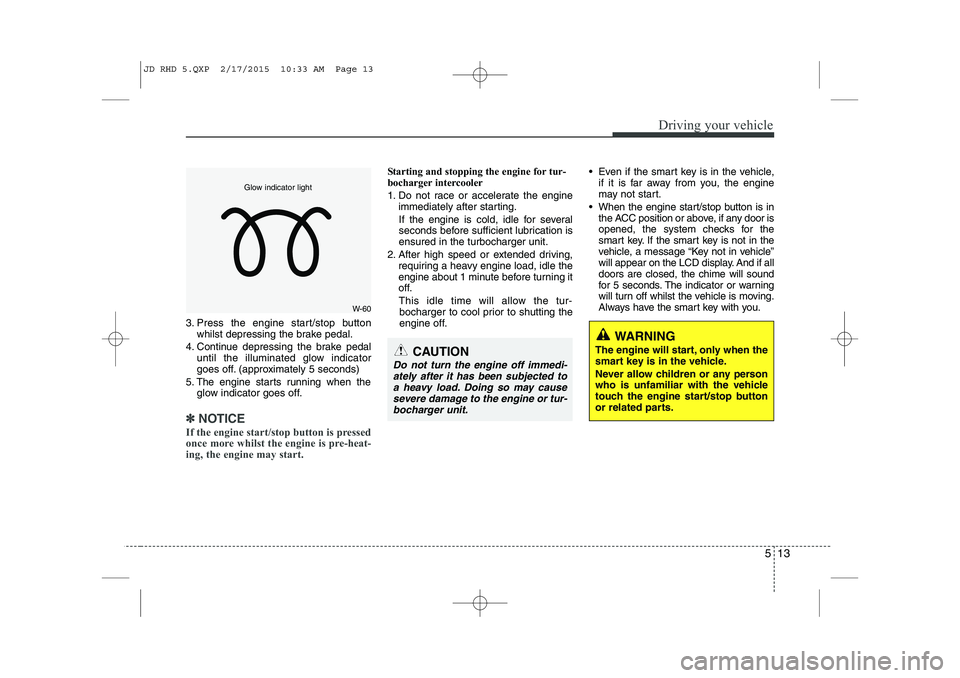
3. Press the engine start/stop buttonwhilst depressing the brake pedal.
4. Continue depressing the brake pedal until the illuminated glow indicator
goes off. (approximately 5 seconds)
5. The engine starts running when the glow indicator goes off.
✽✽
NOTICE
If the engine start/stop button is pressed
once more whilst the engine is pre-heat-
ing, the engine may start.
Starting and stopping the engine for tur-
bocharger intercooler
1. Do not race or accelerate the engine immediately after starting.
If the engine is cold, idle for several
seconds before sufficient lubrication isensured in the turbocharger unit.
2. After high speed or extended driving, requiring a heavy engine load, idle the
engine about 1 minute before turning it
off.
This idle time will allow the tur- bocharger to cool prior to shutting the
engine off. Even if the smart key is in the vehicle,
if it is far away from you, the engine
may not start.
When the engine start/stop button is in the ACC position or above, if any door is
opened, the system checks for the
smart key. If the smart key is not in the
vehicle, a message “Key not in vehicle”
will appear on the LCD display. And if alldoors are closed, the chime will sound
for 5 seconds. The indicator or warning
will turn off whilst the vehicle is moving.
Always have the smart key with you.
WARNING
The engine will start, only when the
smart key is in the vehicle.
Never allow children or any person
who is unfamiliar with the vehicle
touch the engine start/stop button
or related parts.
CAUTION
Do not turn the engine off immedi- ately after it has been subjected toa heavy load. Doing so may causesevere damage to the engine or tur-
bocharger unit.
W-60
Glow indicator light
JD RHD 5.QXP 2/17/2015 10:33 AM Page 13
Page 968 of 1210

Driving your vehicle
18
5
Condition of ISG system opera- tion
The ISG system will operate under
the following condition:
- The driver’s seat belt is fastened.
- The driver’s door and engine bonnet are closed.
- The brake vaccum pressure is ade- quate.
- The battery is sufficiently charged.
- The outside temperature is between -2°C to 35°C (28.4°F to 95°F).
- The engine coolant temperature is not too low.
✽✽ NOTICE
If the ISG system does not meet the operation condition, the ISG system is
deactivated. The light on the ISG OFF
button will illuminate and a message
“Auto Stop Deactivated” will appear
on the LCD display.
If the light or notice comes on contin-
uously, please check the operation
condition.ISG system deactivation
If you wish to deactivate the ISG sys-tem, press the ISG OFF button. The
light on the ISG OFF button will illumi-
nate and a message “Auto Stop OFF”
will appear on the LCD display.
If you press the ISG OFF button again, the system will be activated and the
light on the ISG OFF button will turn off.
■Normal vision ■
Supervision
OJD052003R/OJD052038/OJD052051
■ Normal vision ■
Supervision
OJD052003R/OJD052039/OJD052052
JD RHD 5.QXP 2/17/2015 10:33 AM Page 18
Page 983 of 1210
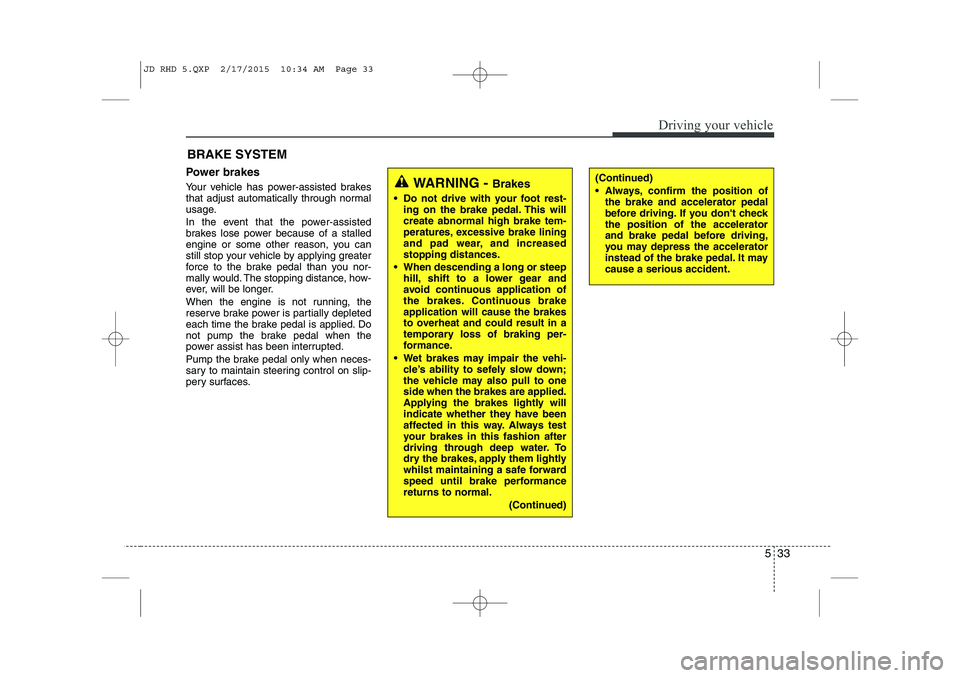
533
Driving your vehicle
Power brakes
Your vehicle has power-assisted brakes
that adjust automatically through normal
usage.
In the event that the power-assisted
brakes lose power because of a stalled
engine or some other reason, you can
still stop your vehicle by applying greater
force to the brake pedal than you nor-
mally would. The stopping distance, how-
ever, will be longer.
When the engine is not running, the
reserve brake power is partially depleted
each time the brake pedal is applied. Do
not pump the brake pedal when the
power assist has been interrupted.
Pump the brake pedal only when neces-
sary to maintain steering control on slip-
pery surfaces.BRAKE SYSTEM (Continued)
Always, confirm the position of
the brake and accelerator pedal
before driving. If you don't checkthe position of the accelerator
and brake pedal before driving,
you may depress the accelerator
instead of the brake pedal. It maycause a serious accident.WARNING - Brakes
Do not drive with your foot rest- ing on the brake pedal. This will create abnormal high brake tem-
peratures, excessive brake lining
and pad wear, and increasedstopping distances.
When descending a long or steep hill, shift to a lower gear and
avoid continuous application of
the brakes. Continuous brakeapplication will cause the brakes
to overheat and could result in a
temporary loss of braking per-
formance.
Wet brakes may impair the vehi- cle’s ability to sefely slow down;
the vehicle may also pull to oneside when the brakes are applied.
Applying the brakes lightly will
indicate whether they have been
affected in this way. Always test
your brakes in this fashion after
driving through deep water. To
dry the brakes, apply them lightly
whilst maintaining a safe forward
speed until brake performancereturns to normal.
(Continued)
JD RHD 5.QXP 2/17/2015 10:34 AM Page 33