KIA NIRO PHEV 2020 Quick Start Guide Base Audio
Manufacturer: KIA, Model Year: 2020, Model line: NIRO PHEV, Model: KIA NIRO PHEV 2020Pages: 134, PDF Size: 4.4 MB
Page 101 of 134
8-5
Configuring the
advanced system
settings
You can customize the advanced system
settings, such as notifications or button
functions.
Depending on the vehicle model or
specifications, displayed screens and
available options may vary.
On the Home screen, press All
Menus > Setup > Advanced and
select an option to change.
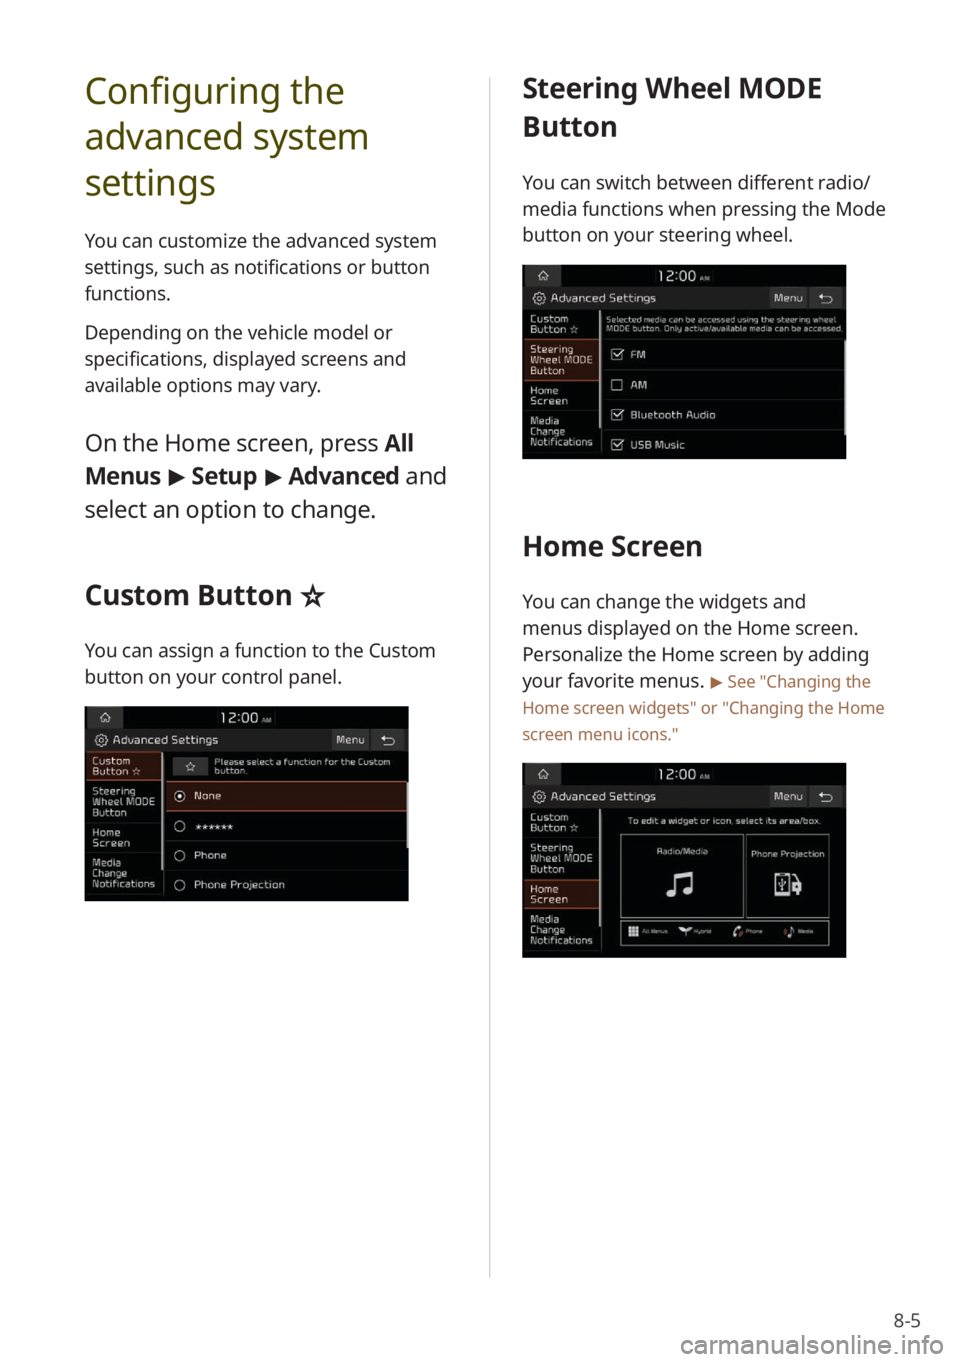
Custom Button ☆
You can assign a function to the Custom
button on your control panel.
Steering Wheel MODE
Button
You can switch between different radio/
media functions when pressing the Mode
button on your steering wheel.
Home Screen
You can change the widgets and
menus displayed on the Home screen.
Personalize the Home screen by adding
your favorite menus.
> See "Changing the
Home screen widgets" or
" Changing the Home
screen menu icons."
Page 102 of 134
8-6
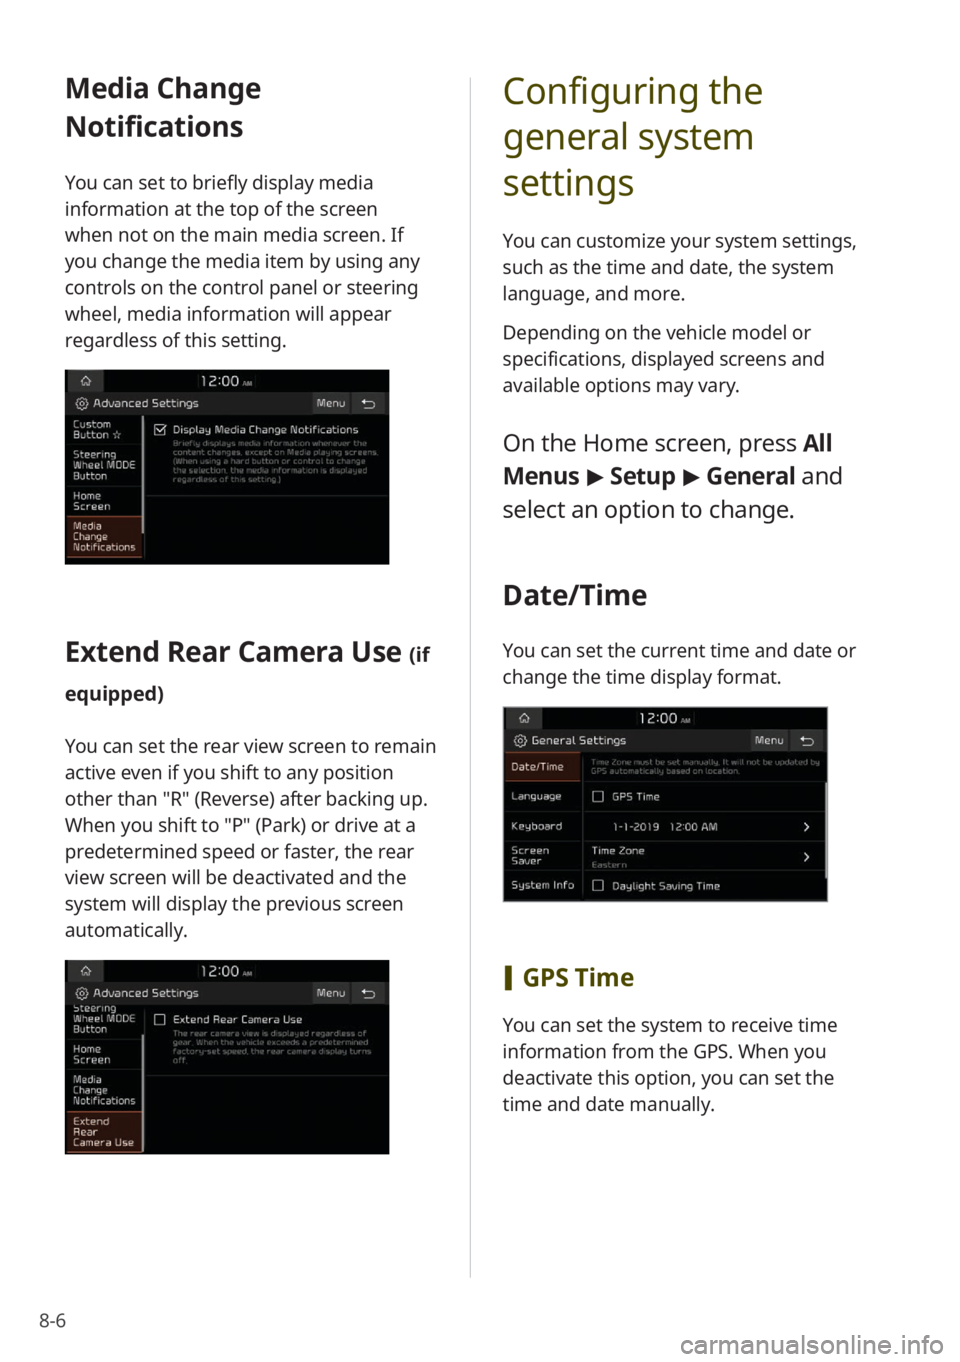
Media Change
Notifications
You can set to briefly display media
information at the top of the screen
when not on the main media screen. If
you change the media item by using any
controls on the control panel or steering
wheel, media information will appear
regardless of this setting.
Extend Rear Camera Use (if
equipped)
You can set the rear view screen to remain
active even if you shift to any position
other than "R" (Reverse) after backing up.
When you shift to "P" (Park) or drive at a
predetermined speed or faster, the rear
view screen will be deactivated and the
system will display the previous screen
automatically.
Configuring the
general system
settings
You can customize your system settings,
such as the time and date, the system
language, and more.
Depending on the vehicle model or
specifications, displayed screens and
available options may vary.
On the Home screen, press All
Menus > Setup > General and
select an option to change.
Date/Time
You can set the current time and date or
change the time display format.
[ GPS Time
You can set the system to receive time
information from the GPS. When you
deactivate this option, you can set the
time and date manually.
Page 103 of 134

8-7
[Time Zone
You can select your time zone.
[Daylight Saving Time
You can apply daylight saving time.
[24 Hours
You can set the time in the 24 hour
format.
Language
You can change the system language.
\333 Note
It may take a while for the system to
apply the selected language. When the
change is completed, a pop-up window
will appear telling you the system
language has changed. Press outside
the pop-up window area on the screen
to close the window, or wait for a few
seconds.
This setting will not affect user data,
such as MP3 file names.
Keyboard
You can customize your keyboard
settings.
\333 Note
Your keyboard settings will be applied
throughout the system when inputting
text.
[English Keyboard
You can select an English keyboard.
[Default Keyboard
You can select a default keyboard.
Page 104 of 134
8-8
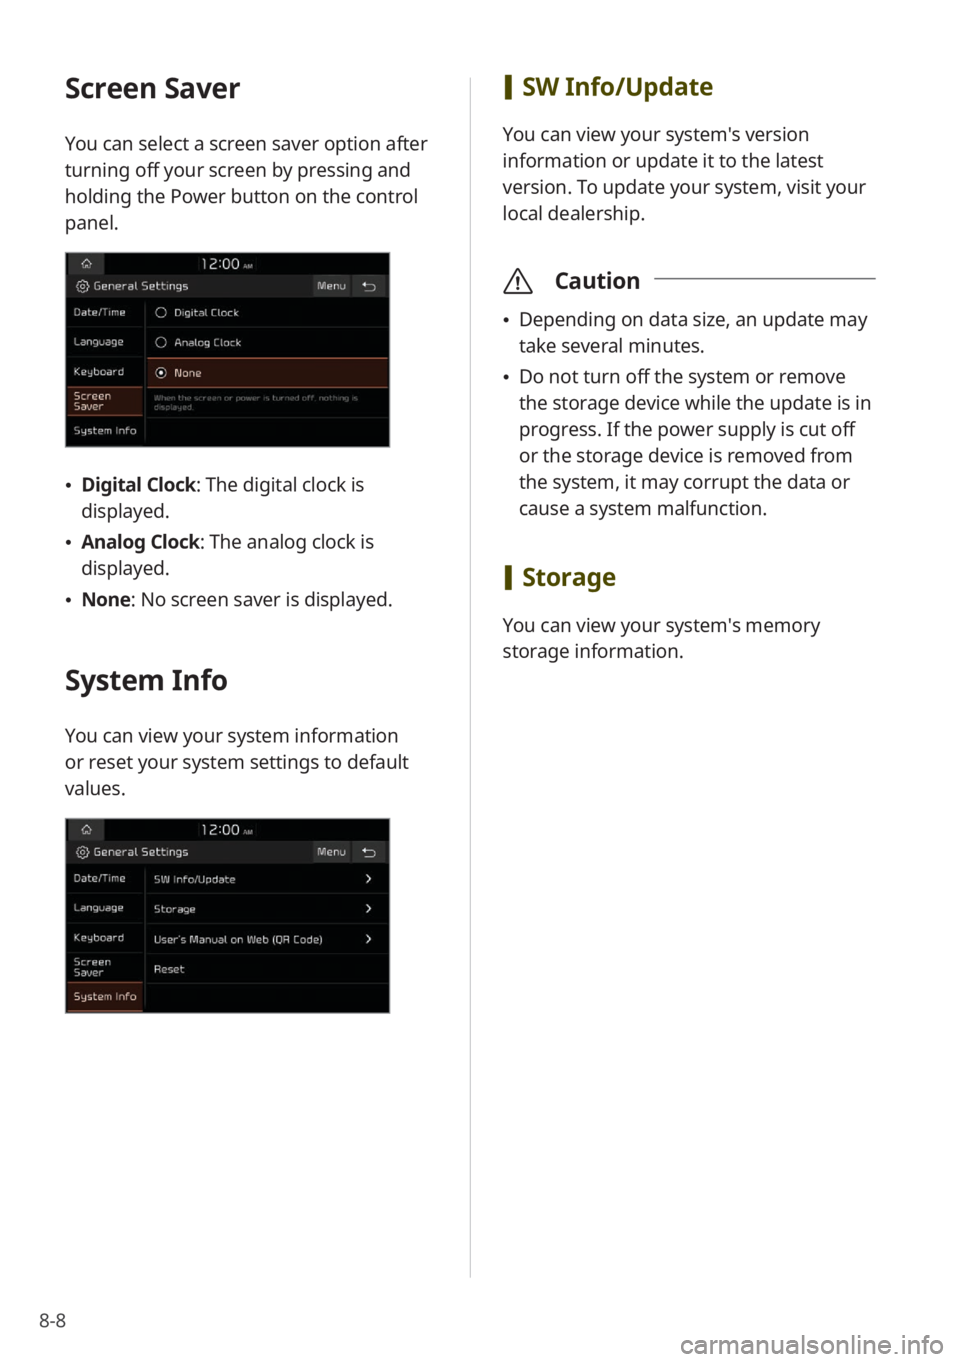
Screen Saver
You can select a screen saver option after
turning off your screen by pressing and
holding the Power button on the control
panel.
Digital Clock : The digital clock is
displayed.
Analog Clock : The analog clock is
displayed.
None: No screen saver is displayed.
System Info
You can view your system information
or reset your system settings to default
values.
[SW Info/Update
You can view your system's version
information or update it to the latest
version. To update your system, visit your
local dealership.
\335 Caution
Depending on data size, an update may
take several minutes.
Do not turn off the system or remove
the storage device while the update is in
progress. If the power supply is cut off
or the storage device is removed from
the system, it may corrupt the data or
cause a system malfunction.
[Storage
You can view your system′s memory
storage information.
Page 105 of 134
8-9
[User′s Manual on Web (QR
Code)
You can access the web manual of the
system by scanning the QR code with your
smartphone.
\334 Warning
Park your vehicle in a safe location before
scanning the QR code. For safety reasons,
you are not able to access QR codes from
the system′s screen while the vehicle is
moving.
[Reset
You can reset your system settings to
default values. All user data stored in the
system will also be deleted.
Configuring the sound
settings
You can adjust/modify sound settings
such as speaker volume or sound effects.
Depending on the vehicle model or
specifications, displayed screens and
available options may vary.
On the Home screen, press All
Menus > Setup > Sound and
select an option to change.
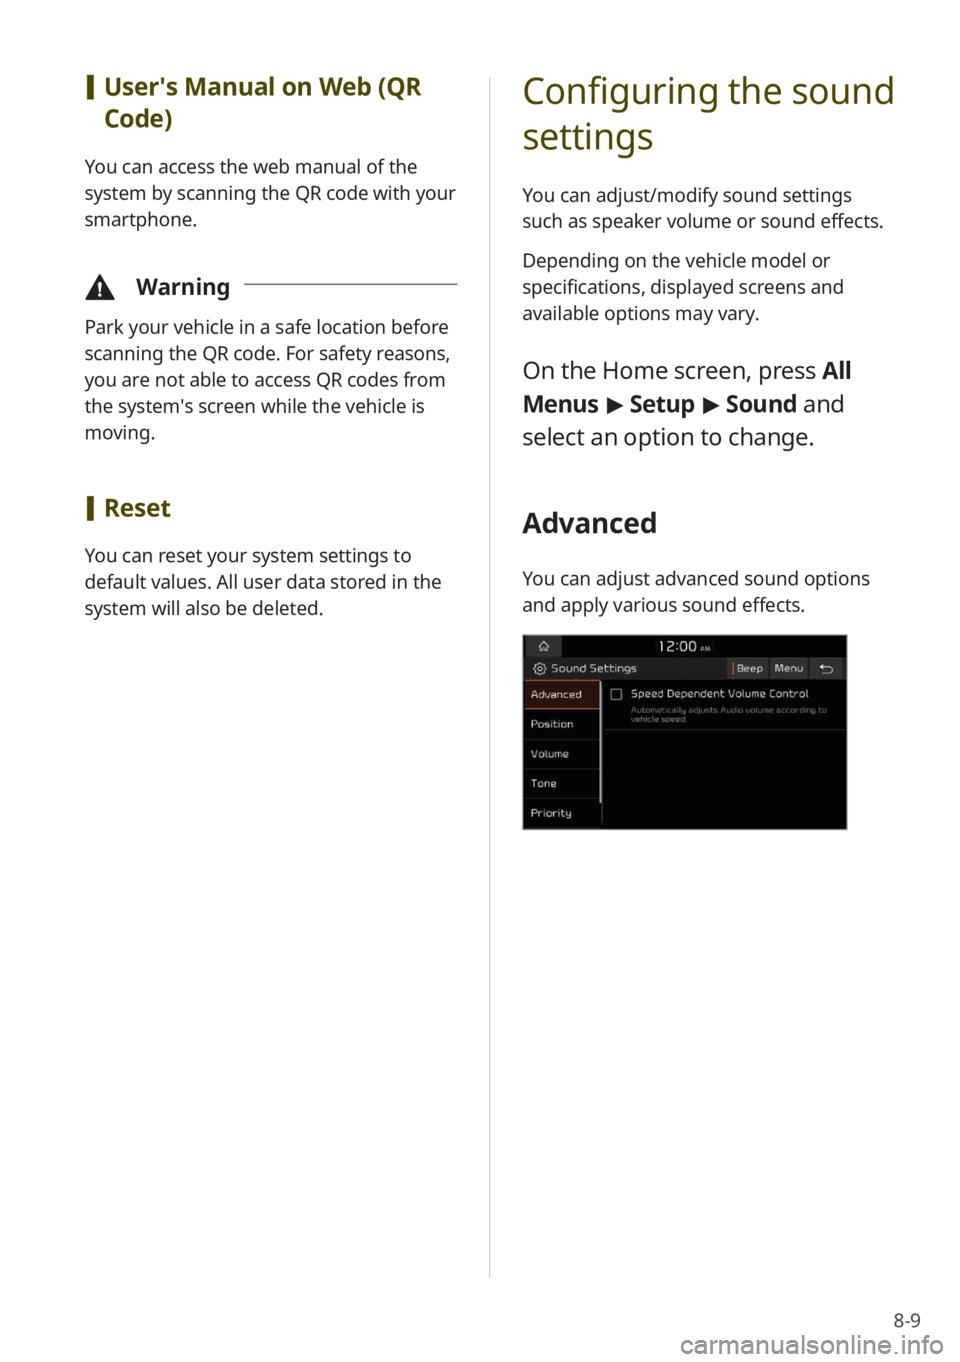
Advanced
You can adjust advanced sound options
and apply various sound effects.
Page 106 of 134
8-10
[Speed Dependent Volume
Control
You can set the volume to be adjusted
automatically according to your driving
speed.
[Live Dynamic (if equipped)
You can enjoy natural, dynamic sound like
sound from a live performance.
[Bass Boost (if equipped)
You can enjoy grand, dynamic sound with
amplified bass frequencies.
[Clari-Fi (if equipped)
You can enjoy sound restored to
compensate for frequencies lost during
audio compression.
[Quantum Logic Surround (if
equipped)
You can enjoy spacious, surround sound,
like the actual sound on a live stage.
[ BOSE Centerpoint (if equipped)
You can enjoy rich surround sound via the
stereo sound source, such as digital audio
files or satellite radio.
[BOSE Dynamic Speed
Compensation
(if equipped)
You can enjoy a stable listening
environment by automatically calibrating
the sound according to your driving
speed.
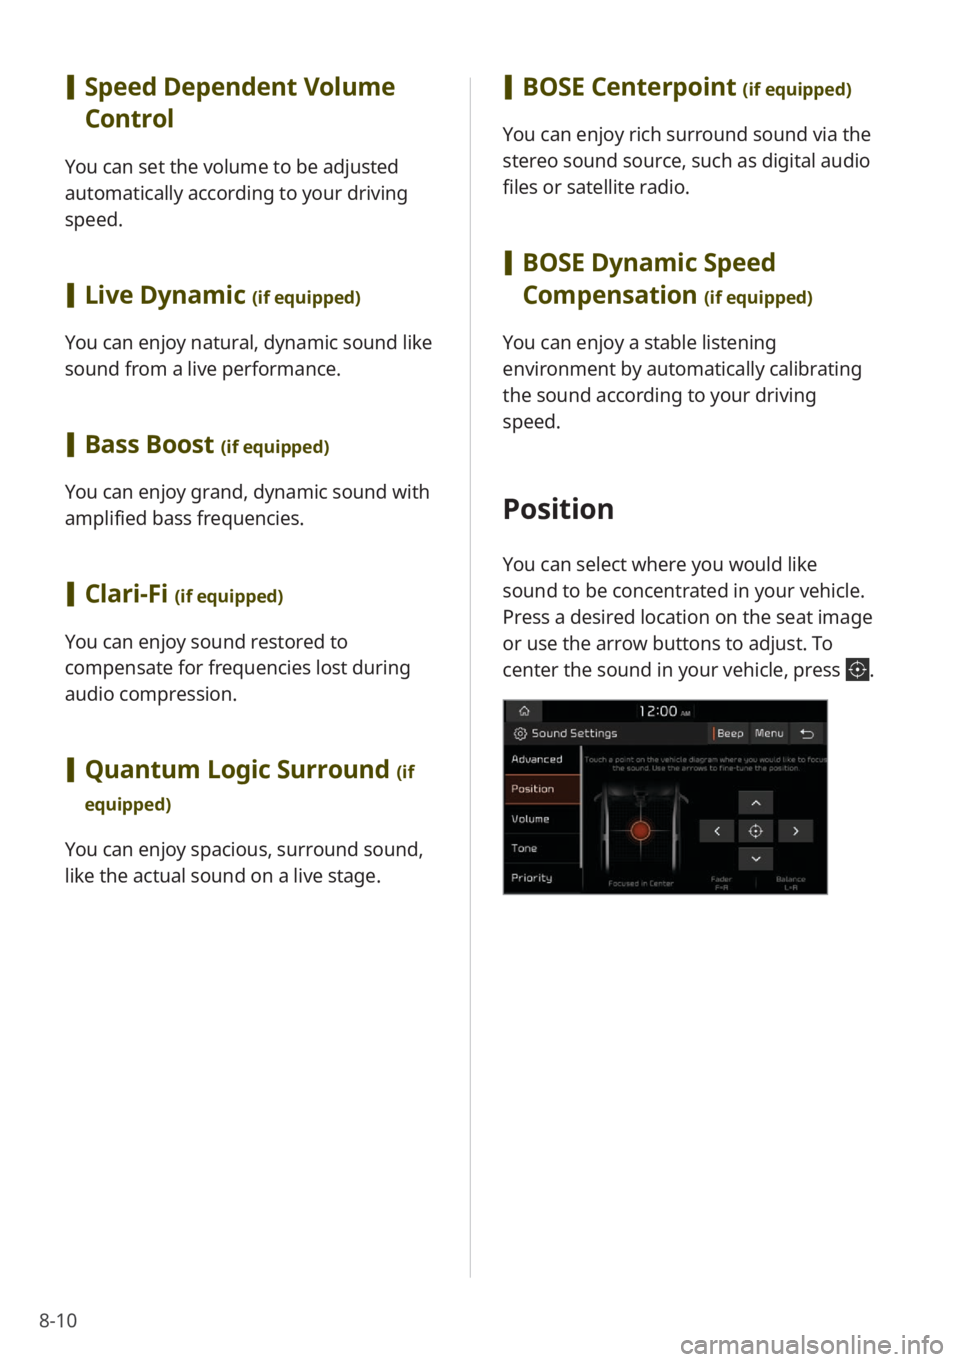
Position
You can select where you would like
sound to be concentrated in your vehicle.
Press a desired location on the seat image
or use the arrow buttons to adjust. To
center the sound in your vehicle, press
.
Page 107 of 134
8-11
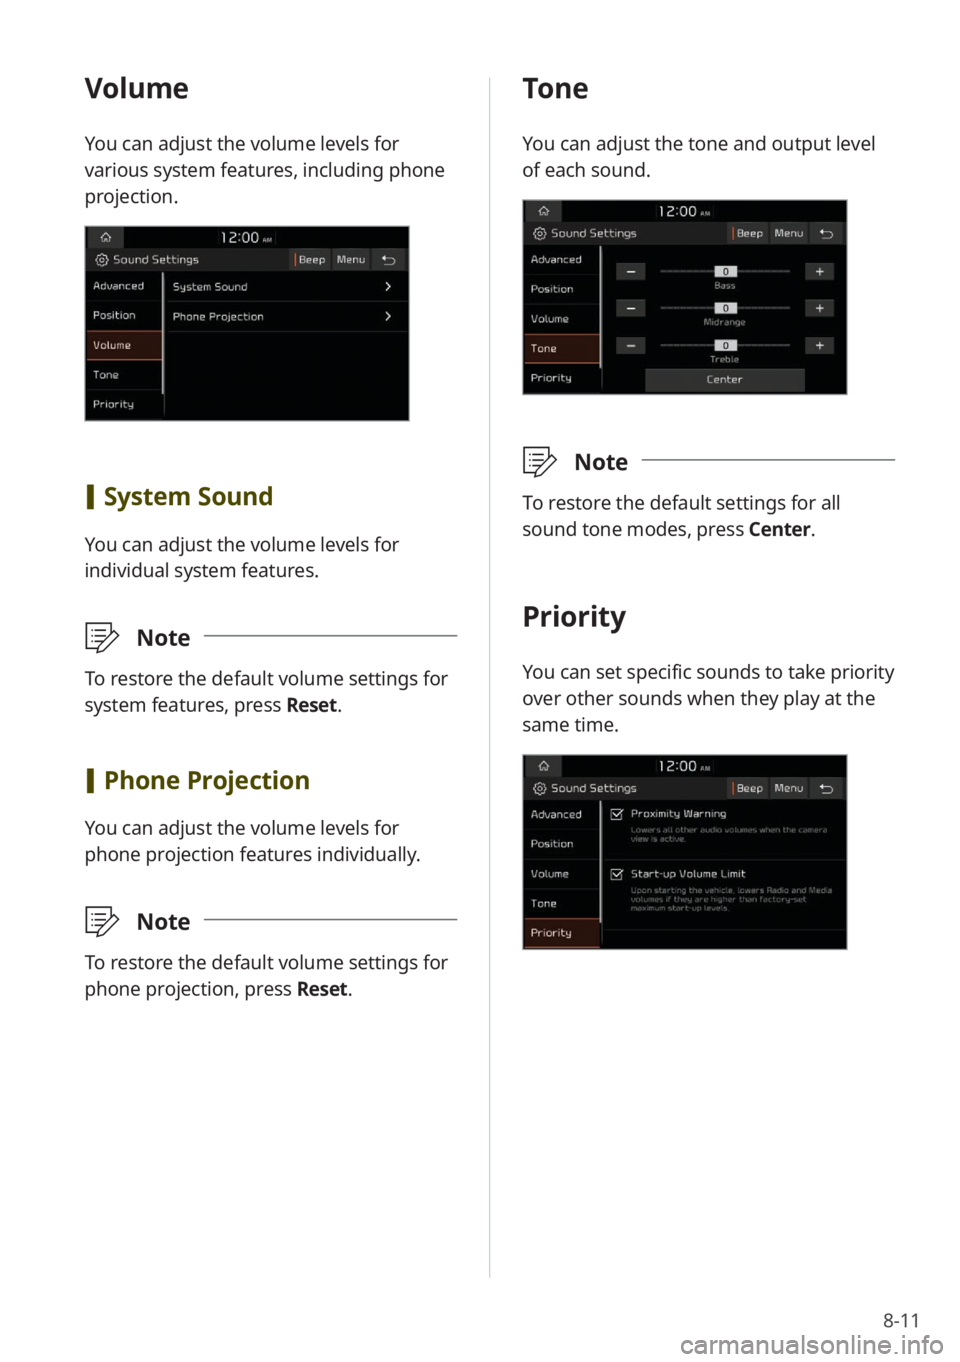
Volume
You can adjust the volume levels for
various system features, including phone
projection.
[System Sound
You can adjust the volume levels for
individual system features.
\333 Note
To restore the default volume settings for
system features, press Reset.
[Phone Projection
You can adjust the volume levels for
phone projection features individually.
\333 Note
To restore the default volume settings for
phone projection, press Reset.
Tone
You can adjust the tone and output level
of each sound.
\333Note
To restore the default settings for all
sound tone modes, press Center.
Priority
You can set specific sounds to take priority
over other sounds when they play at the
same time.
Page 108 of 134
8-12
[Proximity Warning
You can set to give priority to the
proximity warning feature and lower all
other sounds when parking your vehicle.
[Start-up Volume Limit
You can set to automatically lower the
system volume upon vehicle start-up, if
the volume has been previously set to a
high level.
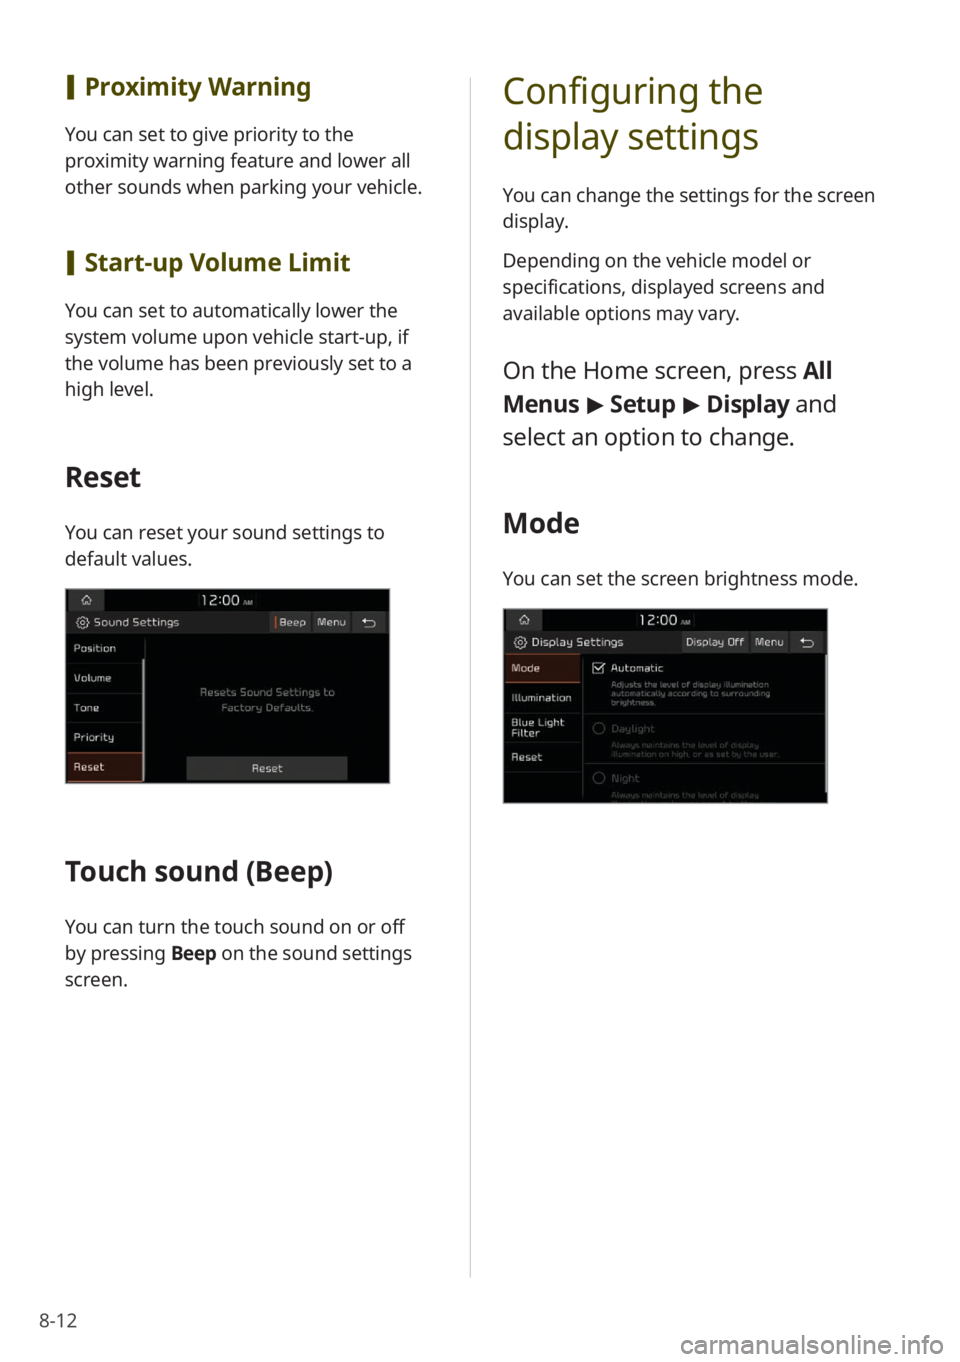
Reset
You can reset your sound settings to
default values.
Touch sound ( Beep)
You can turn the touch sound on or off
by pressing Beep on the sound settings
screen.
Configuring the
display settings
You can change the settings for the screen
display.
Depending on the vehicle model or
specifications, displayed screens and
available options may vary.
On the Home screen, press All
Menus > Setup > Display and
select an option to change.
Mode
You can set the screen brightness mode.
Page 109 of 134

8-13
[Automatic
You can set the system brightness to
be adjusted according to the ambient
lighting conditions or the headlamp
status.
[Daylight
This option is available when you
deactivate the Automatic option. The
screen will stay bright.
[ Night
This option is available when you
deactivate the Automatic option. The
screen will stay dimmed.
Illumination
You can adjust the screen brightness for
each brightness mode.
[ Link to Cluster Illumination
Control
(if equipped)
You can set system brightness to be
adjusted to match the instrument cluster′s
brightness. If deactivated, this feature
allows you to adjust screen brightness
in day or night mode, depending on the
mode selected.
Page 110 of 134
8-14
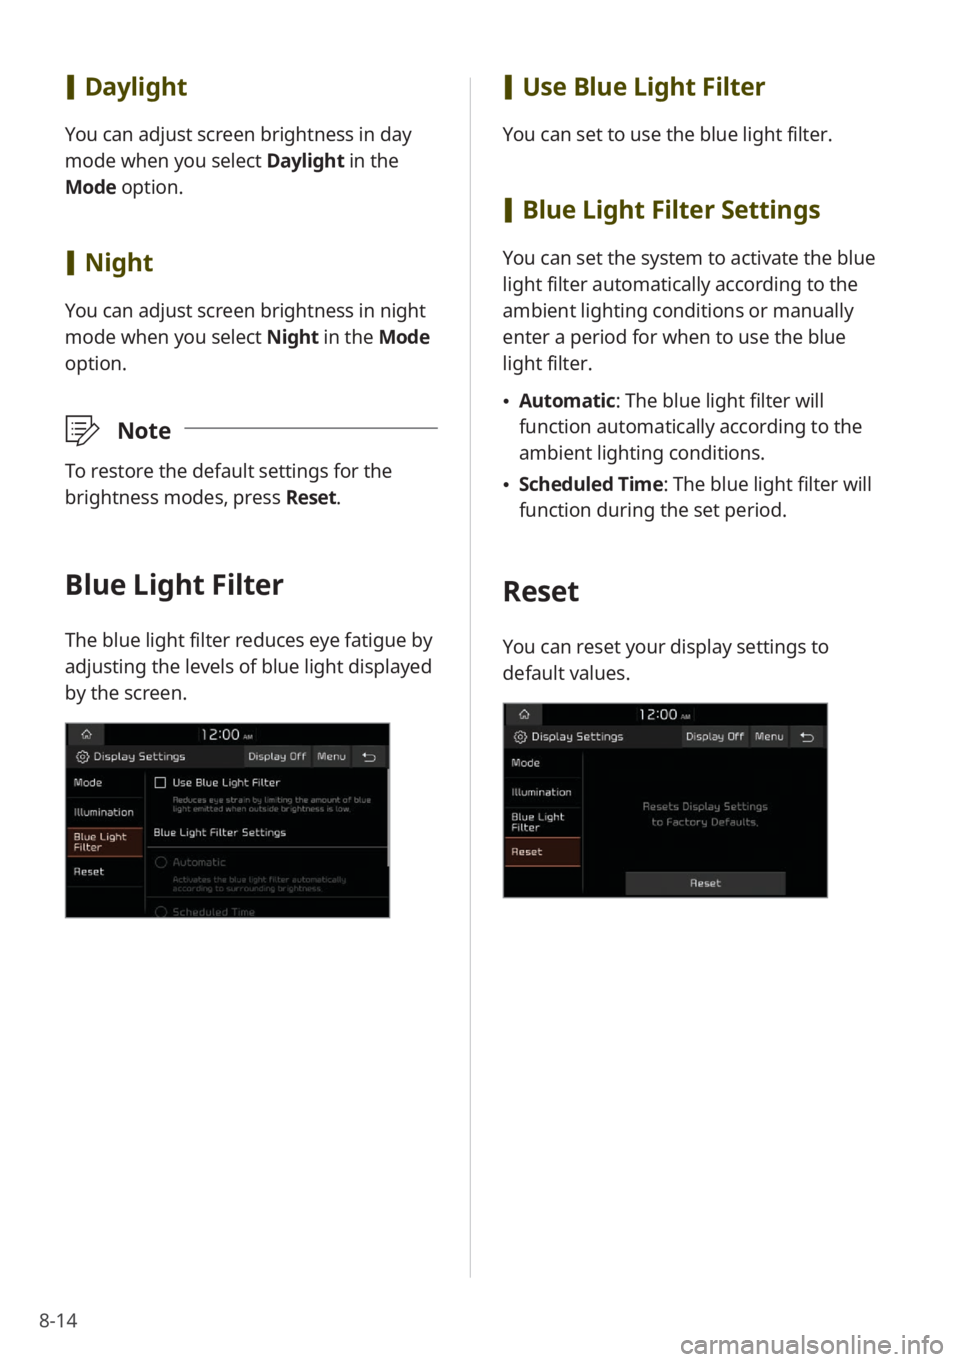
[Use Blue Light Filter
You can set to use the blue light filter.
[Blue Light Filter Settings
You can set the system to activate the blue
light filter automatically according to the
ambient lighting conditions or manually
enter a period for when to use the blue
light filter.
Automatic : The blue light filter will
function automatically according to the
ambient lighting conditions.
Scheduled Time: The blue light filter will
function during the set period.
Reset
You can reset your display settings to
default values.
[Daylight
You can adjust screen brightness in day
mode when you select Daylight in the
Mode option.
[ Night
You can adjust screen brightness in night
mode when you select Night in the Mode
option.
\333 Note
To restore the default settings for the
brightness modes, press Reset.
Blue Light Filter
The blue light filter reduces eye fatigue by
adjusting the levels of blue light displayed
by the screen.