KIA Sedona 2011 2.G Owner's Manual
Manufacturer: KIA, Model Year: 2011, Model line: Sedona, Model: KIA Sedona 2011 2.GPages: 370, PDF Size: 6.75 MB
Page 171 of 370
Features of your vehicle
154
3
System operation
Ventilation
1. Set the mode to the position.
2. Set the air intake control to the outside
(fresh) air position.
3. Set the temperature control to the desired position.
4. Set the fan speed control to the desired speed.
Heating
1. Set the mode to the position.
2. Set the air intake control to the outside(fresh) air position.
3. Set the temperature control to the desired position.
4. Set the fan speed control to the desired speed.
5. If dehumidified heating is desired, turn the air conditioning system (if
equipped) on.
If the windshield fogs up, set the mode to the
,position.
Air conditioning (if equipped)
All Kia Air Conditioning Systems are
filled with environmentally friendly
R-134a refrigerant which is not damag-
ing to the ozone layer.
1. Start the engine. Push the air condi- tioning button.
2. Set the mode to the position.
3. Set the air intake control to the outside air or recirdulation air position.
4. Set the temperature control to the desired position.
5. Set the fan speed control to the desired speed.
6. Adjust the fan speed control and tem- perature control to maintain maximum
comfort.
When maximum cooling is desired, set the temperature control to the COOL
(blue) position, set the air intake con-
trol to the recirculated air position, then
set the fan speed control to the highest
speed.CAUTION
When using the air conditioning system, monitor the temperaturegauge closely while driving up hills or in heavy traffic when out-side temperatures are high. Air conditioning system operationmay cause engine overheating. Continue to use the blower fanbut turn the air conditioning sys-tem off if the temperature gaugeindicates engine overheating.
When opening the windows in humid weather air conditioningmay create water droplets insidethe vehicle. Since excessive water droplets may cause dam-age to electrical equipment, air conditioning should only be runwith the windows closed.
Page 172 of 370
3155
Features of your vehicle
Air conditioning system opera-
tion tips
If the vehicle has been parked in directsunlight during hot weather, open the
windows for a short time to let the hot
air inside the vehicle escape.
To help reduce moisture inside of win- dows on rainy humid days, decrease
the humidity inside the vehicle by oper-
ating the air conditioning system.
During air conditioning system opera- tion, you may occasionally notice a
slight change in engine speed as the
air conditioning compressor cycles on.
This is a normal system operation
characteristic.
Use the air conditioning system every month if only for a few minutes to
ensure maximum system perform-
ance.
When using the air conditioning sys- tem, you may notice clear water drip-
ping (or even puddling) on the ground
under the passenger side of the vehi-
cle. This is a normal system operation
characteristic. Operating the air conditioning system
in the recirculated air position does
provide maximum cooling, however,
continual operation in this mode may
cause the air inside the vehicle to
become stale.
Checking the amount of air con-
ditioner refrigerant and compres-
sor lubricant
When the amount of refrigerant is low,
the performance of the air conditioning is
reduced. Overfilling also has a bad influ-
ence on the air conditioning system.
Therefore, if abnormal operation is
found, have the system inspected by an
authorized Kia dealer.
CAUTION
When the performance of the airconditioning system is reduced it is important that the correct type andamount of oil and refrigerant isused. Otherwise, damage to thecompressor and abnormal system operation may occur.
CAUTION
The air conditioning system shouldbe serviced by an authorized Kiadealer. Improper service may cause serious injury.
Page 173 of 370
Features of your vehicle
156
3
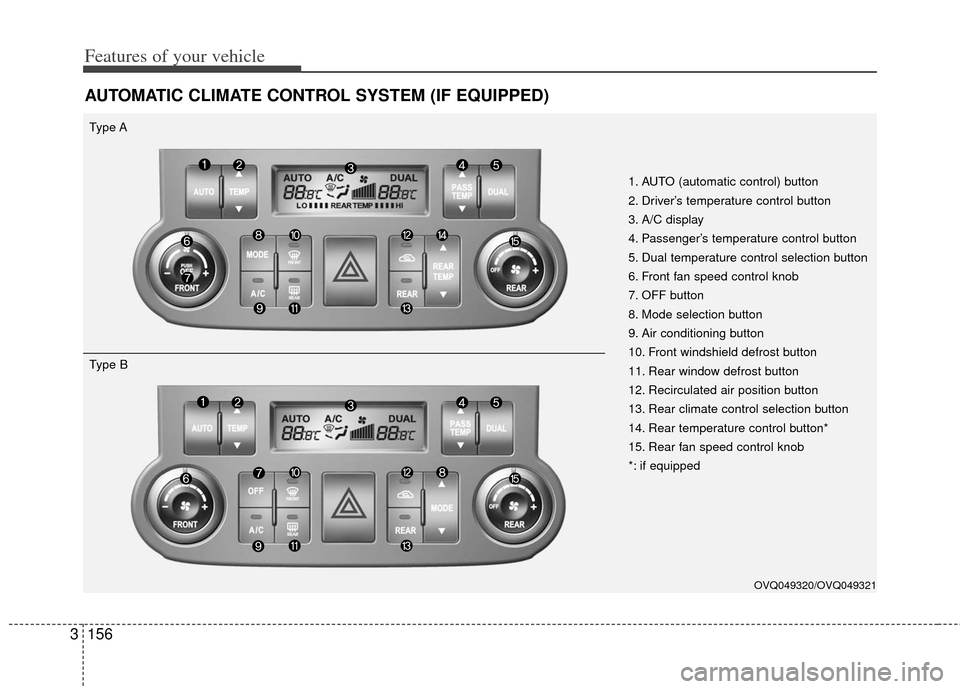
AUTOMATIC CLIMATE CONTROL SYSTEM (IF EQUIPPED)
1. AUTO (automatic control) button
2. Driver’s temperature control button
3. A/C display
4. Passenger’s temperature control button
5. Dual temperature control selection button
6. Front fan speed control knob
7. OFF button
8. Mode selection button
9. Air conditioning button
10. Front windshield defrost button
11. Rear window defrost button
12. Recirculated air position button
13. Rear climate control selection button
14. Rear temperature control button*
15. Rear fan speed control knob
*: if equipped
Type A
OVQ049320/OVQ049321
Type B
Page 174 of 370
3157
Features of your vehicle
Automatic operation
The automatic climate control system is
controlled by simply setting the desired
temperature.
The Full Automatic Temperature Control
(FATC) system automatically controls the
heating and cooling system as follows;
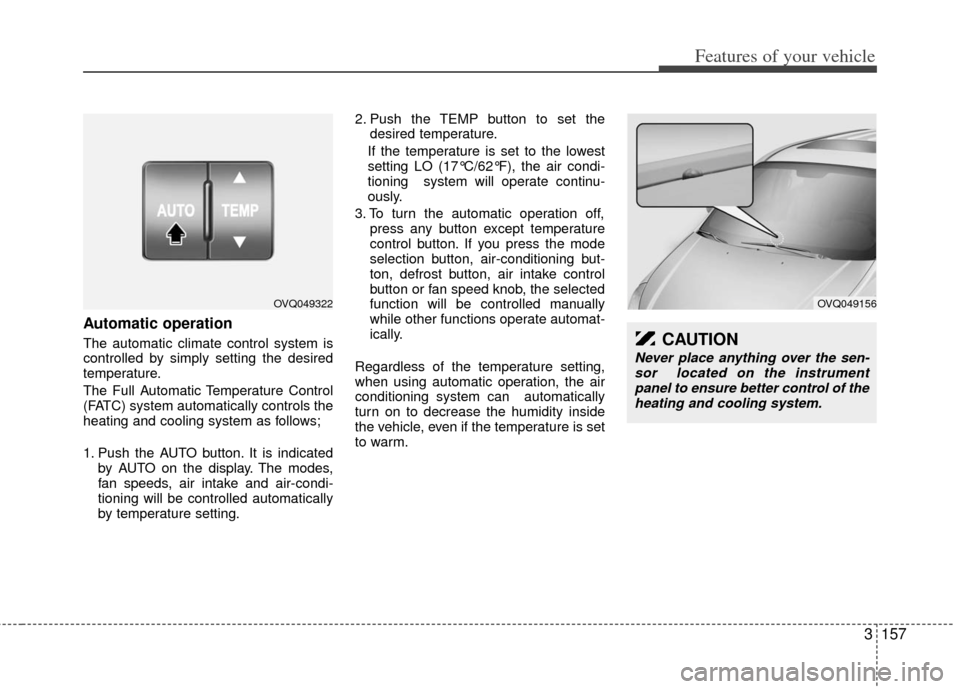
1. Push the AUTO button. It is indicatedby AUTO on the display. The modes,
fan speeds, air intake and air-condi-
tioning will be controlled automatically
by temperature setting. 2. Push the TEMP button to set the
desired temperature.
If the temperature is set to the lowest
setting LO (17°C/62°F), the air condi-
tioning system will operate continu-
ously.
3. To turn the automatic operation off, press any button except temperature
control button. If you press the mode
selection button, air-conditioning but-
ton, defrost button, air intake control
button or fan speed knob, the selected
function will be controlled manually
while other functions operate automat-
ically.
Regardless of the temperature setting,
when using automatic operation, the air
conditioning system can automatically
turn on to decrease the humidity inside
the vehicle, even if the temperature is set
to warm.
OVQ049322OVQ049156
CAUTION
Never place anything over the sen- sor located on the instrument panel to ensure better control of theheating and cooling system.
Page 175 of 370
Features of your vehicle
158
3
Manual operation
The heating and cooling system can be
controlled manually as well by pushing
buttons other than the AUTO button. In
this case, the system works sequentially
according to the order of buttons select-
ed.
When pressing any button except AUTO
button while automatic operation, the
functions of the buttons not selected will
be controlled automatically.
Press the AUTO button in order to con-
vert to full automatic control of the sys-
tem.
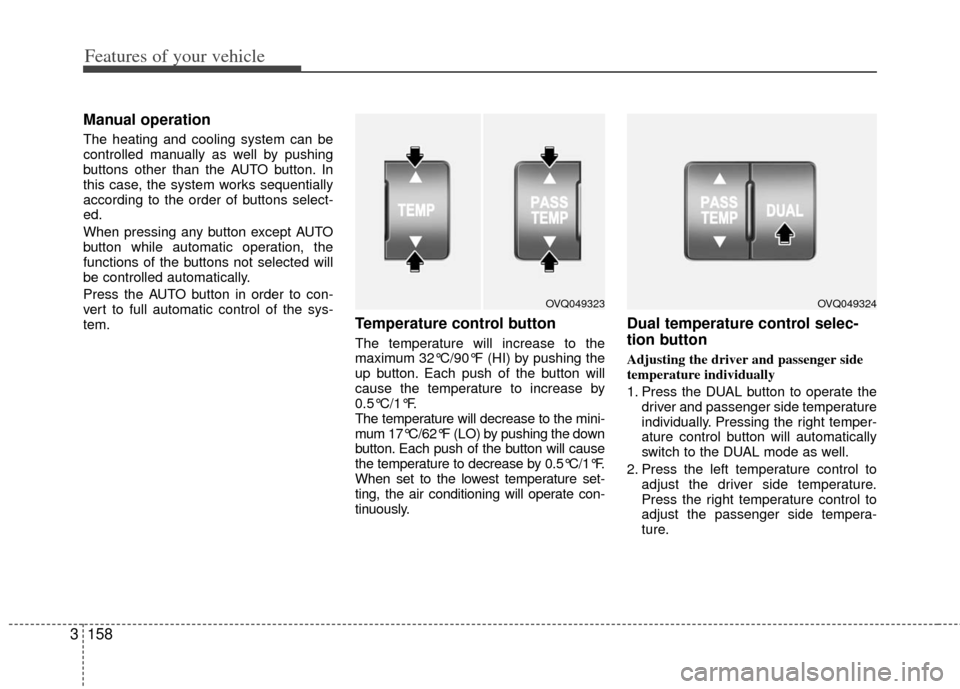
Temperature control button
The temperature will increase to the
maximum 32°C/90°F (HI) by pushing the
up button. Each push of the button will
cause the temperature to increase by
0.5°C/1°F.
The temperature will decrease to the mini-
mum 17°C/62°F (LO) by pushing the down
button. Each push of the button will cause
the temperature to decrease by 0.5°C/1°F.
When set to the lowest temperature set-
ting, the air conditioning will operate con-
tinuously.
Dual temperature control selec-
tion button
Adjusting the driver and passenger side
temperature individually
1. Press the DUAL button to operate the
driver and passenger side temperature
individually. Pressing the right temper-
ature control button will automatically
switch to the DUAL mode as well.
2. Press the left temperature control to adjust the driver side temperature.
Press the right temperature control to
adjust the passenger side tempera-
ture.
OVQ049323OVQ049324
Page 176 of 370
3159
Features of your vehicle
Adjusting the driver and passenger side
temperature equally
1. Press the DUAL button again to deac-tivate DUAL mode. The passenger
side temperature will be set to the
same as the driver side temperature.
2. Press the left temperature control but- ton. The driver and passenger side
temperature will be adjusted equally.
Temperature conversion
If the battery has been discharged or dis-
connected, the temperature mode dis-
play will reset to Centigrade.
This is normal condition and you can
switch the temperature mode between
Centigrade to Fahrenheit as follows;
While depressing the AUTO button,
depress the OFF button for 3 seconds or
more. The display will change from
Centigrade to Fahrenheit, or from
Fahrenheit to Centigrade.
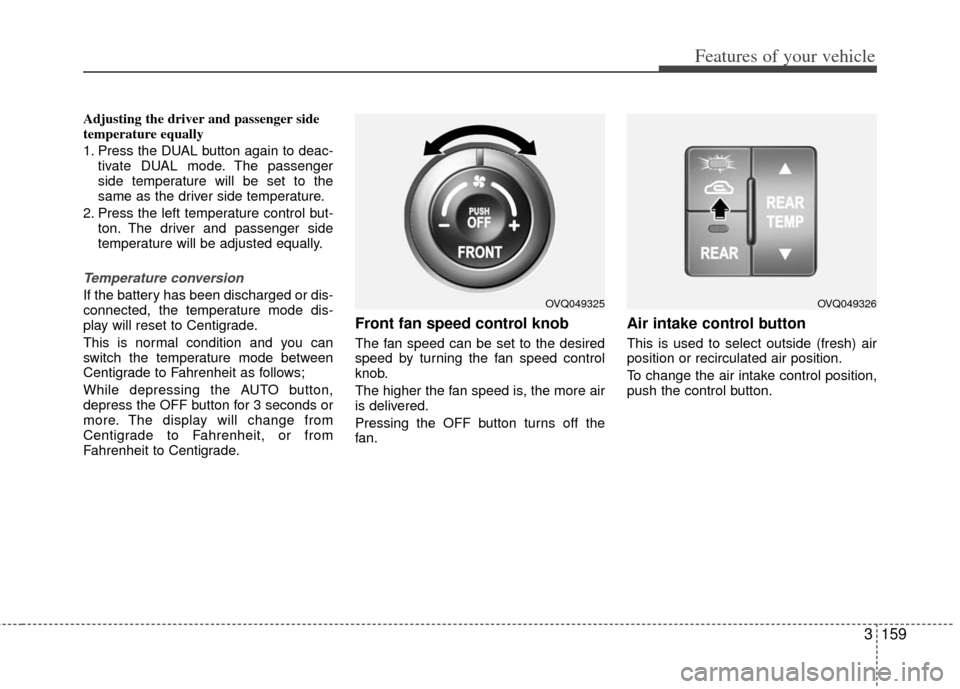
Front fan speed control knob
The fan speed can be set to the desired
speed by turning the fan speed control
knob.
The higher the fan speed is, the more air
is delivered.
Pressing the OFF button turns off the
fan.
Air intake control button
This is used to select outside (fresh) air
position or recirculated air position.
To change the air intake control position,
push the control button.
OVQ049325OVQ049326
Page 177 of 370
Features of your vehicle
160
3
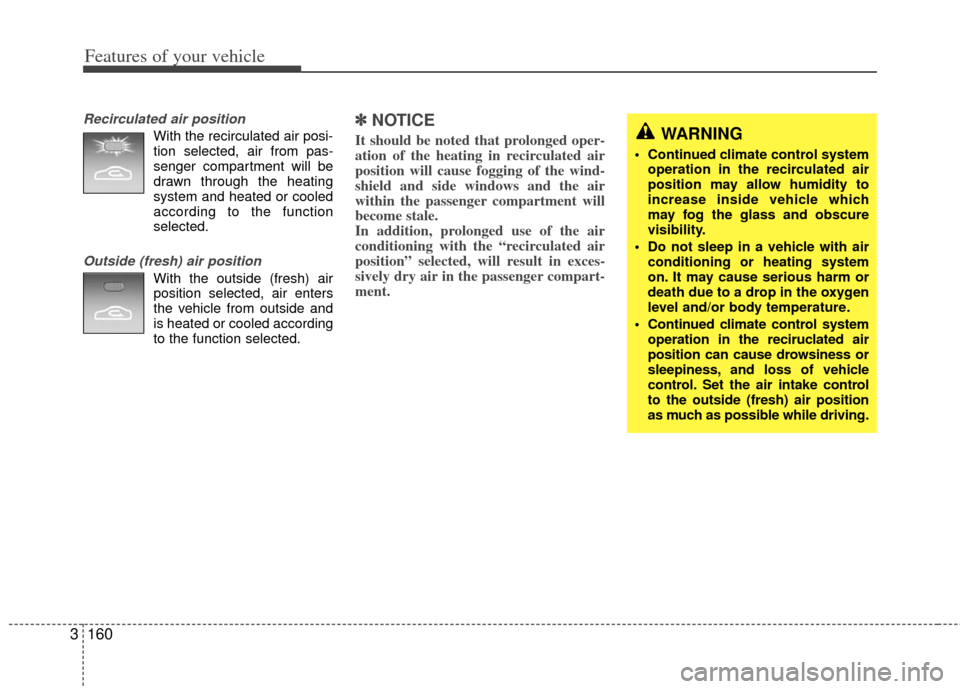
Recirculated air position
With the recirculated air posi-
tion selected, air from pas-
senger compartment will be
drawn through the heating
system and heated or cooled
according to the function
selected.
Outside (fresh) air position
With the outside (fresh) airposition selected, air enters
the vehicle from outside and
is heated or cooled according
to the function selected.
✽ ✽ NOTICE
It should be noted that prolonged oper-
ation of the heating in recirculated air
position will cause fogging of the wind-
shield and side windows and the air
within the passenger compartment will
become stale.
In addition, prolonged use of the air
conditioning with the “recirculated air
position” selected, will result in exces-
sively dry air in the passenger compart-
ment. WARNING
Continued climate control system
operation in the recirculated air
position may allow humidity to
increase inside vehicle which
may fog the glass and obscure
visibility.
Do not sleep in a vehicle with air conditioning or heating system
on. It may cause serious harm or
death due to a drop in the oxygen
level and/or body temperature.
Continued climate control system operation in the reciruclated air
position can cause drowsiness or
sleepiness, and loss of vehicle
control. Set the air intake control
to the outside (fresh) air position
as much as possible while driving.
Page 178 of 370
3161
Features of your vehicle
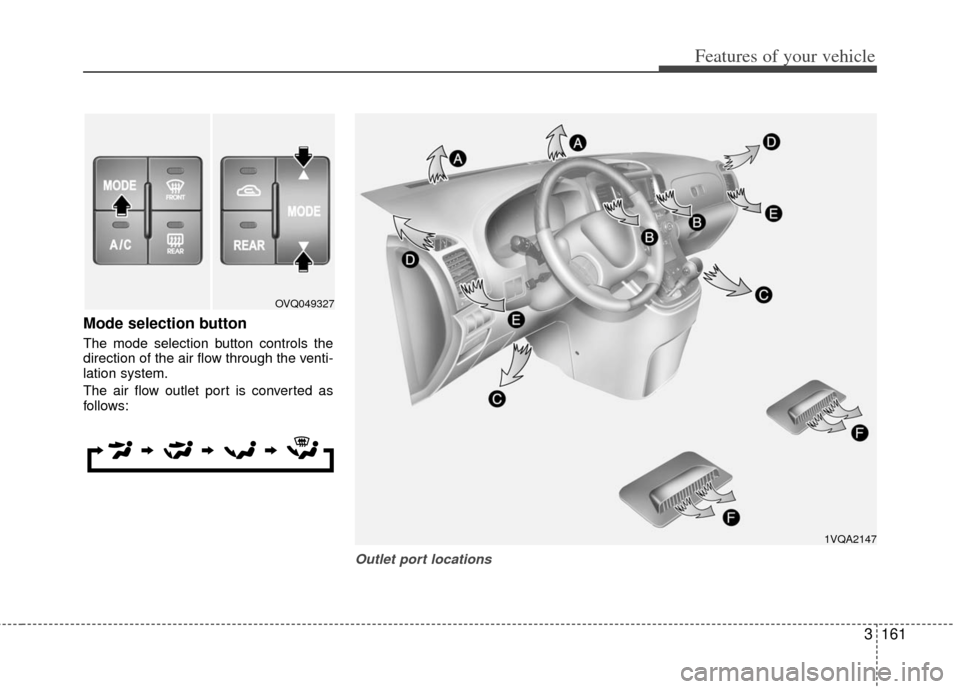
Mode selection button
The mode selection button controls the
direction of the air flow through the venti-
lation system.
The air flow outlet port is converted as
follows:
Outlet port locations
1VQA2147
OVQ049327
Page 179 of 370
Features of your vehicle
162
3
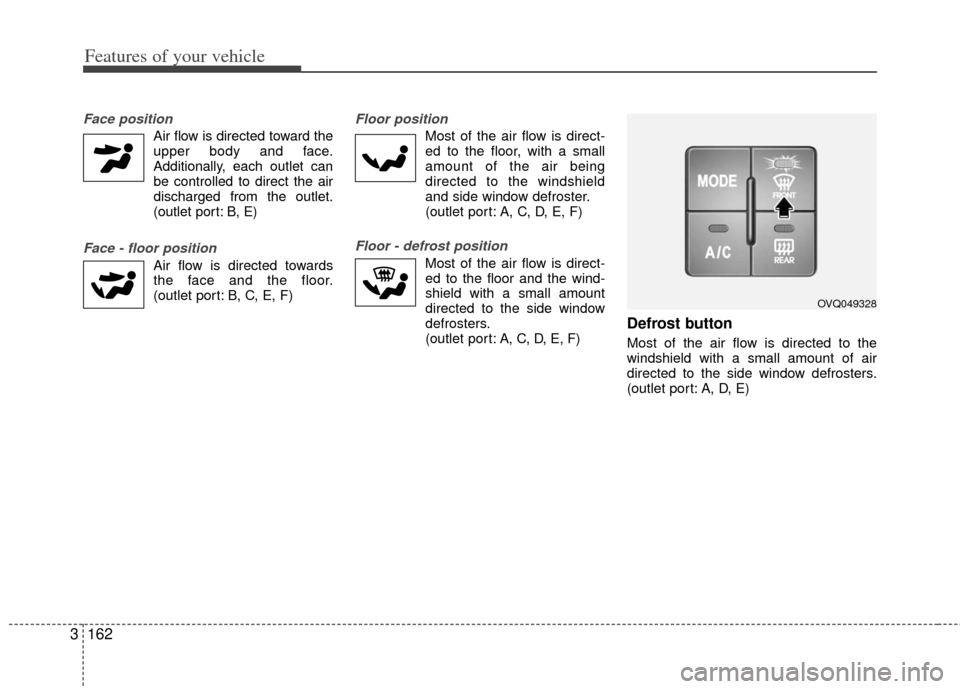
Face position
Air flow is directed toward the
upper body and face.
Additionally, each outlet can be controlled to direct the air
discharged from the outlet.
(outlet port: B, E)
Face - floor position
Air flow is directed towardsthe face and the floor.
(outlet port: B, C, E, F)
Floor position
Most of the air flow is direct-ed to the floor, with a small
amount of the air being
directed to the windshield
and side window defroster.
(outlet port: A, C, D, E, F)
Floor - defrost position
Most of the air flow is direct-ed to the floor and the wind-
shield with a small amount
directed to the side window
defrosters.
(outlet port: A, C, D, E, F)
Defrost button
Most of the air flow is directed to the
windshield with a small amount of air
directed to the side window defrosters.
(outlet port: A, D, E)
OVQ049328
Page 180 of 370
3163
Features of your vehicle
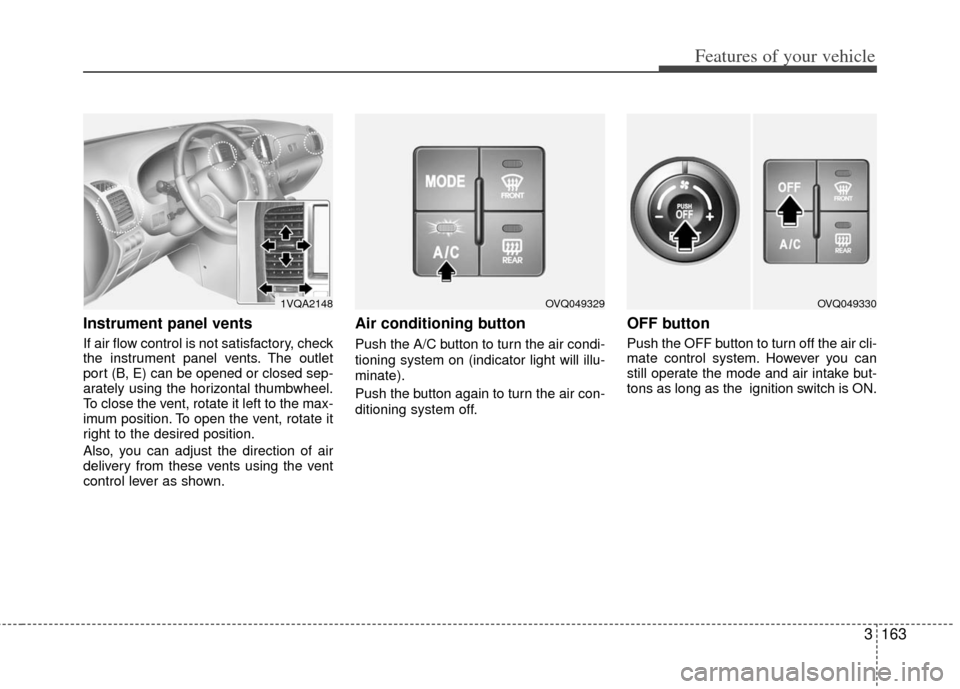
Instrument panel vents
If air flow control is not satisfactory, check
the instrument panel vents. The outlet
port (B, E) can be opened or closed sep-
arately using the horizontal thumbwheel.
To close the vent, rotate it left to the max-
imum position. To open the vent, rotate it
right to the desired position.
Also, you can adjust the direction of air
delivery from these vents using the vent
control lever as shown.
Air conditioning button
Push the A/C button to turn the air condi-
tioning system on (indicator light will illu-
minate).
Push the button again to turn the air con-
ditioning system off.
OFF button
Push the OFF button to turn off the air cli-
mate control system. However you can
still operate the mode and air intake but-
tons as long as the ignition switch is ON.
1VQA2148OVQ049329OVQ049330