wheel Lancia Delta 2011 Owner handbook (in English)
[x] Cancel search | Manufacturer: LANCIA, Model Year: 2011, Model line: Delta, Model: Lancia Delta 2011Pages: 290, PDF Size: 8.36 MB
Page 64 of 290

1
KNOWING YOUR CAR63
Deactivation
When the lights are switched off by the sensor, the dipped
beam headlights and side lights are switched off and the
day lights are switched on (if activated).
The sensor is not capable of detecting the presence of fog
therefore, in these circumstances, the lights have to be
turned on manually.
FRONT FOG LIGHTS WITH CORNERING LIGHTS
FUNCTION
When the dipped headlamps are on and the speed is be-
low 40 km/h, if the steering wheel rotation angle is large
or the direction indicators are on, a light (incorporated in
the fog light) will come on on the relevant side to improve
visibility at nightime. The function can be acti-
vated/deactivated via the display menu (see “Display”
paragraph in this chapter). AUTOMATIC HEADLIGHT SENSOR
(dusk sensor) fig. 27
(for versions/markets, where provided)
It detects variations in brightness outside the vehicle de-
pending on the light setting: the greater the sensitivity,
the less outside light needed to activate the exterior lights
being turned on. The sensitivity of the dusk sensor may
be adjusted, using the “Set-up menu” on the instrument
panel.
Activation
When the ring nut is turned to the AUTO position the ex-
ternal lights automatically switch on depending on the
exterior brightness.
The headlights can only be flashed with the sensor on.The daytime running lights are an alterna-
tive to the dipped beam headlights for dri-
ving during the daytime in countries where
it is compulsory to have lights on during the day,
and they are also permitted in those countries
where this not obligatory.
Daytime running lights cannot replace dipped
headlights when driving at night or through tunnels.
The use of daytime running lights is governed by
the highway code of the country in which you are
driving. Comply with legal requirements.
Page 65 of 290

64KNOWING YOUR CAR
DIPPED HEADLIGHTS/SIDE LIGHTS
With the ignition key turned to MAR, turn the twist
switch to 2. If the dipped beam headlights are activated,
the day lights are switched off and the side lights, dipped
headlights and number plate lights are switched on. The
warning light
3on the instrument panel comes on.
When the ignition key is turned to STOP or removed and
the twist switch is turned from
Oto2, all the side lights
and taillights and number plate lights come on. The
warning light
3in the instrument panel comes on.
Parking function
With the side lights on and the ignition key in the STOP
position or extracted, it is possible to select the lighting
on the desired side by operating the lights lever down-
wards (left side) or upwards (right side). In this case the
warning light
3in the instrument panel will go out.
MAIN BEAM HEADLIGHTS
With ring nut in position 2, push the stalk forward toward
the dashboard (stable position). The warning light 1on
the instrument panel will come on. They are switched off
by pulling the lever towards the steering wheel.
Flashing the headlights
You can flash the beams by pulling the stalk toward the
steering wheel (unstable position). The warning light
1
on the instrument panel will come on.DIRECTION INDICATORS fig. 28
Place the lever in the (stable) position:
– up (position
a): activates the right direction indicator;
– down (position
b): activates the left direction indicator.
The warning light
¥orÎstars flashing on the instrument
panel. The indicators switch off automatically when the
steering wheel is straightened.
fig. 28L0E0020m
Page 66 of 290
1
KNOWING YOUR CAR65
LANE CHANGE FUNCTION
If you wish to signal a lane change, place the left lever
in the unstable position for less than half a second. The
direction indicator on the side selected will flash five
times and then switch off automatically.
“FOLLOW ME HOME” DEVICE
This allows the space surrounding the car to be lit up for
a certain period of time.
Activation
With the ignition key in the STOP position or extracted,
pull the stalk towards the steering wheel and move it
within 2 minutes of the engine switching off. At each sin-
gle movement of the stalk, the lights will remain on for
an extra 30 seconds up to a maximum of 210 seconds;
then the lights are switched off automatically. Each time
the lever is operated, the warning light 3 on the instru-
ment panel comes on and the display shows how long the
function will remain active. The warning light comes on
when the stalk is pulled for the first time and stays lit un-
til the function switches itself off automatically. Each time
the stalk is activated the time will extend the time that
the lights remain on.
Deactivation
Keep the stalk pulled towards the steering wheel for more
than 2 seconds.WINDOW WASHING
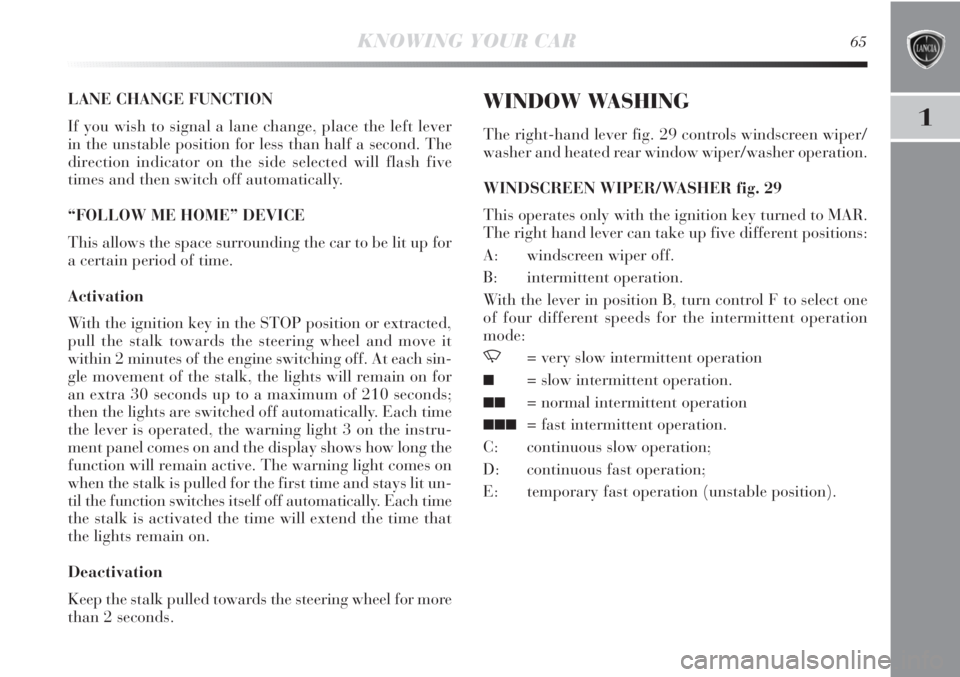
The right-hand lever fig. 29 controls windscreen wiper/
washer and heated rear window wiper/washer operation.
WINDSCREEN WIPER/WASHER fig. 29
This operates only with the ignition key turned to MAR.
The right hand lever can take up five different positions:
A: windscreen wiper off.
B: intermittent operation.
With the lever in position B, turn control F to select one
of four different speeds for the intermittent operation
mode:
,= very slow intermittent operation
■= slow intermittent operation.
■■= normal intermittent operation
■■■= fast intermittent operation.
C: continuous slow operation;
D: continuous fast operation;
E: temporary fast operation (unstable position).
Page 67 of 290

66KNOWING YOUR CAR
“Smart washing” function
Pull the stalk towards the steering wheel (unstable po-
sition) to operate the windscreen washer. Keep the lever
pulled to activate both the windscreen washer jet and the
windscreen wiper with a single movement; the latter
turns on automatically if you keep the lever pulled for
over half a second. The windscreen wiper stops operat-
ing a few strokes after releasing the stalk; a further
“cleaning stroke”, after a few seconds, completes the
wiping operation.
fig. 29L0E0021m
REAR WINDOW WASHER/ WIPER
This operates only with the ignition key turned to MAR.
Turn the ring nut to
'to operate the rear window wiper.
With the windscreen wiper on, turn the ring nut to
'to
turn on the rear window wiper. In this case the wiper
works (in the different positions) timed with the wind-
screen wiper, but at half speed. With the windscreen
wiper on, engaging reverse gear will automatically turn
the rear window wiper on, in continuous slow operation.
Operation stops when reverse is disengaged.
Do not use the windscreen or rear window
wiper to remove layers of snow or ice from
the windscreen. In these conditions, the
windscreen wipers may be submitted to excessive
effort resulting in motor protection cutting in and
wiper operation inhibition for a few seconds. If the
issue persists, contact a Lancia Dealership.
“Smart washing” function
Pushing the stalk towards the dashboard (unstable po-
sition) will activate the rear window washer.
Keep the stalk pressed, with just one movement, to op-
erate the rear window washer jet and the rear window
wiper itself; the latter automatically turns on if you keep
the stalk pressed for more than half a second.
Page 70 of 290
1
KNOWING YOUR CAR69
When travelling downhill with the device engaged, the
vehicle speed may slightly exceed the preset one.
The engagement of the device is signalled by the Üwarn-
ing light coming on in the instrument panel (together
with a message shown on the display) (see “Instrument
panel warning lights” paragraph in this chapter).
STORING THE SPEED
Proceed as follows:
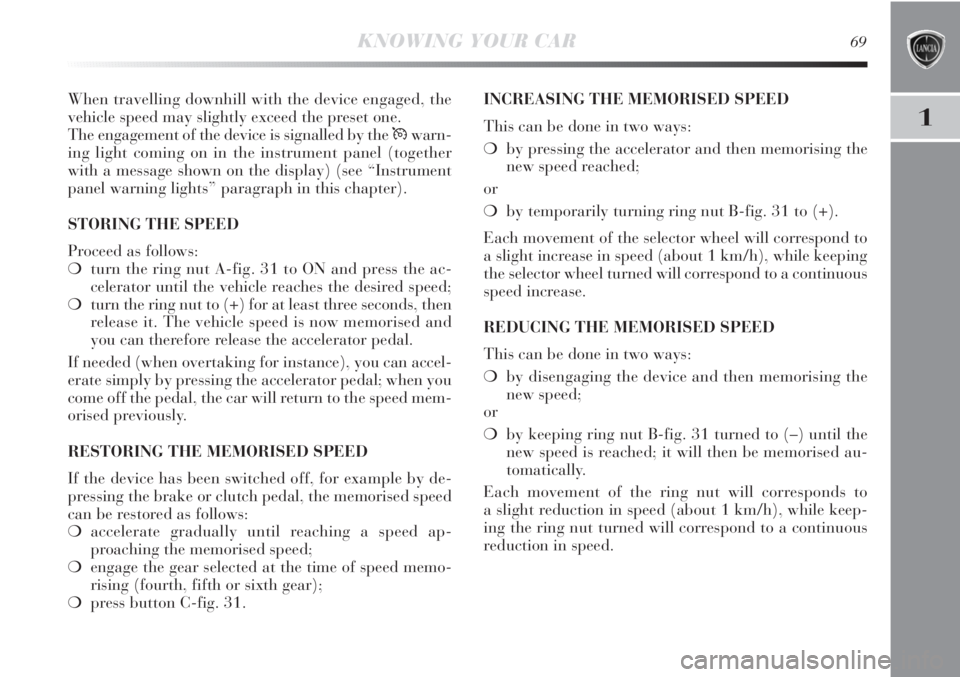
❍turn the ring nut A-fig. 31 to ON and press the ac-
celerator until the vehicle reaches the desired speed;
❍turn the ring nut to (+) for at least three seconds, then
release it. The vehicle speed is now memorised and
you can therefore release the accelerator pedal.
If needed (when overtaking for instance), you can accel-
erate simply by pressing the accelerator pedal; when you
come off the pedal, the car will return to the speed mem-
orised previously.
RESTORING THE MEMORISED SPEED
If the device has been switched off, for example by de-
pressing the brake or clutch pedal, the memorised speed
can be restored as follows:
❍accelerate gradually until reaching a speed ap-
proaching the memorised speed;
❍engage the gear selected at the time of speed memo-
rising (fourth, fifth or sixth gear);
❍press button C-fig. 31.INCREASING THE MEMORISED SPEED
This can be done in two ways:
❍by pressing the accelerator and then memorising the
new speed reached;
or
❍by temporarily turning ring nut B-fig. 31 to (+).
Each movement of the selector wheel will correspond to
a slight increase in speed (about 1 km/h), while keeping
the selector wheel turned will correspond to a continuous
speed increase.
REDUCING THE MEMORISED SPEED
This can be done in two ways:
❍by disengaging the device and then memorising the
new speed;
or
❍by keeping ring nut B-fig. 31 turned to (–) until the
new speed is reached; it will then be memorised au-
tomatically.
Each movement of the ring nut will corresponds to
a slight reduction in speed (about 1 km/h), while keep-
ing the ring nut turned will correspond to a continuous
reduction in speed.
Page 73 of 290
72KNOWING YOUR CAR
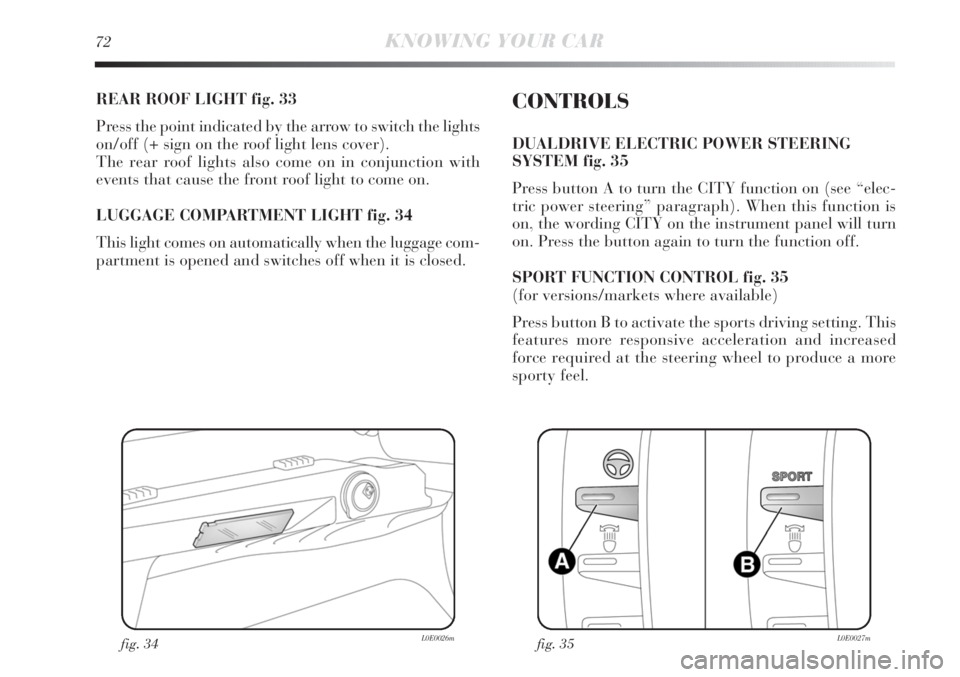
REAR ROOF LIGHT fig. 33
Press the point indicated by the arrow to switch the lights
on/off (+ sign on the roof light lens cover).
The rear roof lights also come on in conjunction with
events that cause the front roof light to come on.
LUGGAGE COMPARTMENT LIGHT fig. 34
This light comes on automatically when the luggage com-
partment is opened and switches off when it is closed.
fig. 34L0E0026m
CONTROLS
DUALDRIVE ELECTRIC POWER STEERING
SYSTEM fig. 35
Press button A to turn the CITY function on (see “elec-
tric power steering” paragraph). When this function is
on, the wording CITY on the instrument panel will turn
on. Press the button again to turn the function off.
SPORT FUNCTION CONTROL fig. 35
(for versions/markets where available)
Press button B to activate the sports driving setting. This
features more responsive acceleration and increased
force required at the steering wheel to produce a more
sporty feel.
fig. 35L0E0027m
Page 97 of 290
96KNOWING YOUR CAR
MAGIC BACK BOX
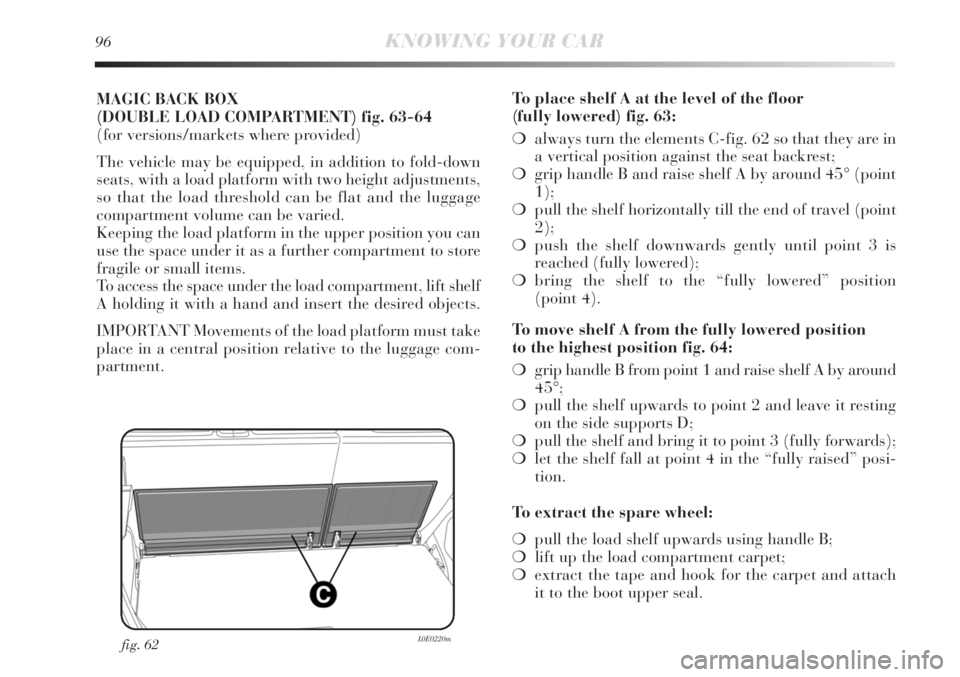
(DOUBLE LOAD COMPARTMENT) fig. 63-64
(for versions/markets where provided)
The vehicle may be equipped, in addition to fold-down
seats, with a load platform with two height adjustments,
so that the load threshold can be flat and the luggage
compartment volume can be varied.
Keeping the load platform in the upper position you can
use the space under it as a further compartment to store
fragile or small items.
To access the space under the load compartment, lift shelf
A holding it with a hand and insert the desired objects.
IMPORTANT Movements of the load platform must take
place in a central position relative to the luggage com-
partment.To place shelf A at the level of the floor
(fully lowered) fig. 63:
❍always turn the elements C-fig. 62 so that they are in
a vertical position against the seat backrest;
❍grip handle B and raise shelf A by around 45° (point
1);
❍pull the shelf horizontally till the end of travel (point
2);
❍push the shelf downwards gently until point 3 is
reached (fully lowered);
❍bring the shelf to the “fully lowered” position
(point 4).
To move shelf A from the fully lowered position
to the highest position fig. 64:
❍grip handle B from point 1 and raise shelf A by around
45°;
❍pull the shelf upwards to point 2 and leave it resting
on the side supports D;
❍pull the shelf and bring it to point 3 (fully forwards);
❍let the shelf fall at point 4 in the “fully raised” posi-
tion.
To extract the spare wheel:
❍pull the load shelf upwards using handle B;
❍lift up the load compartment carpet;
❍extract the tape and hook for the carpet and attach
it to the boot upper seal.
fig. 62L0E0220m
Page 105 of 290

104KNOWING YOUR CAR
DST SYSTEM
(Dynamic Steering Torque)
This system is incorporated with the ESP control unit
and suggests steering corrections whilst driving via the
electric power steering. The system applies a torque to
the steering wheel which increases the safety perception
of the vehicle, maintaining control of the steering and
making the intervention of the Advanced ESP system
less intrusive.
Fault signalling
In the event of any operating fault, the system switches
off automatically and the èwarning light is lit up on the
display together with a dedicated message. In this case,
go to a Lancia Dealership
SPORT FUNCTION
(for versions/markets where provided)
The vehicle may be equipped with a system that allows
a choice between two styles of driving, normal and sports.
Pressing the SPORT button fig. 69 produces sporty dri-
ving featuring higher acceleration response and more ef-
fort required on the steering wheel to produce this effect.
When the function is active, “S” is lit up in the instru-
ment panel. Press the button again to turn the function
off and restore the normal driving setting.
fig. 69L0E0058m
Page 106 of 290
1
KNOWING YOUR CAR105
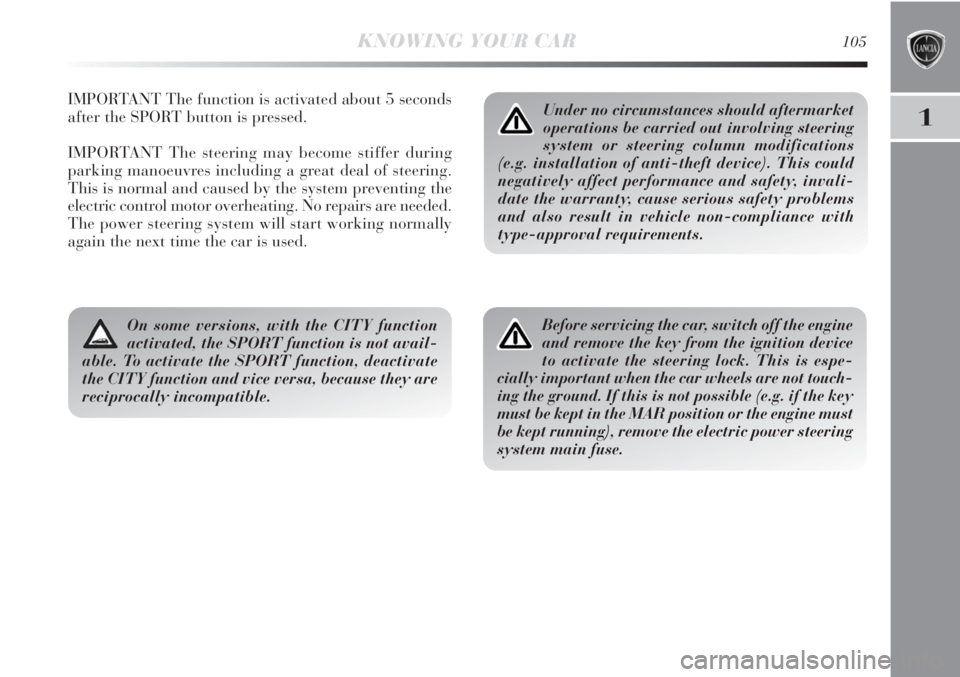
IMPORTANT The function is activated about 5 seconds
after the SPORT button is pressed.
IMPORTANT The steering may become stiffer during
parking manoeuvres including a great deal of steering.
This is normal and caused by the system preventing the
electric control motor overheating. No repairs are needed.
The power steering system will start working normally
again the next time the car is used.Under no circumstances should aftermarket
operations be carried out involving steering
system or steering column modifications
(e.g. installation of anti-theft device). This could
negatively affect performance and safety, invali-
date the warranty, cause serious safety problems
and also result in vehicle non-compliance with
type-approval requirements.
Before servicing the car, switch off the engine
and remove the key from the ignition device
to activate the steering lock. This is espe-
cially important when the car wheels are not touch-
ing the ground. If this is not possible (e.g. if the key
must be kept in the MAR position or the engine must
be kept running), remove the electric power steering
system main fuse.On some versions, with the CITY function
activated, the SPORT function is not avail-
able. To activate the SPORT function, deactivate
the CITY function and vice versa, because they are
reciprocally incompatible.
Page 109 of 290
108KNOWING YOUR CAR
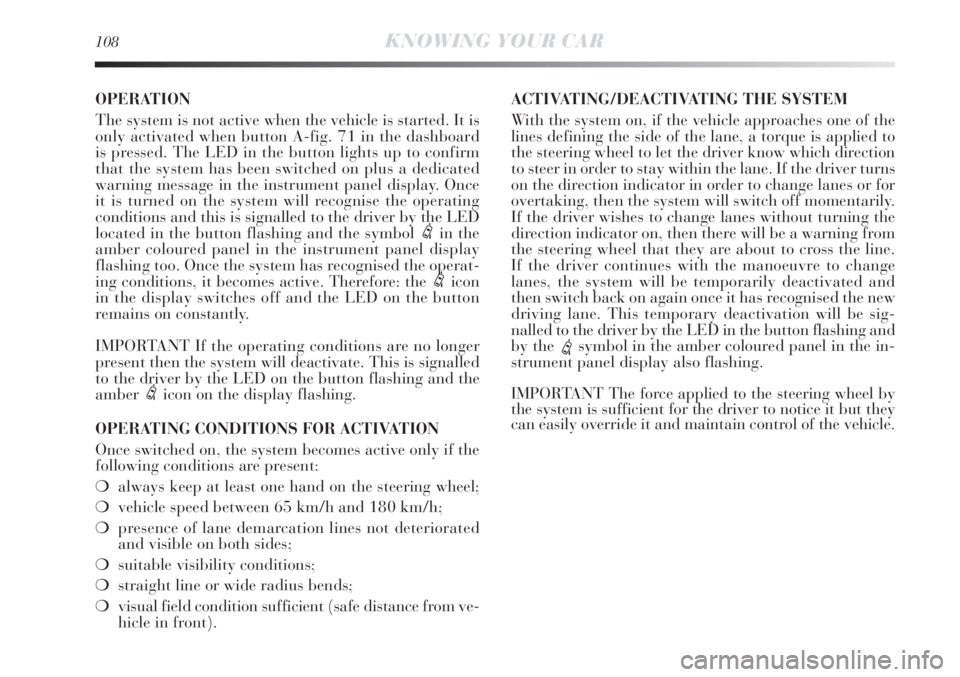
OPERATION
The system is not active when the vehicle is started. It is
only activated when button A-fig. 71 in the dashboard
is pressed. The LED in the button lights up to confirm
that the system has been switched on plus a dedicated
warning message in the instrument panel display. Once
it is turned on the system will recognise the operating
conditions and this is signalled to the driver by the LED
located in the button flashing and the symbol
ein the
amber coloured panel in the instrument panel display
flashing too. Once the system has recognised the operat-
ing conditions, it becomes active. Therefore: the
eicon
in the display switches off and the LED on the button
remains on constantly.
IMPORTANT If the operating conditions are no longer
present then the system will deactivate. This is signalled
to the driver by the LED on the button flashing and the
amber
eicon on the display flashing.
OPERATING CONDITIONS FOR ACTIVATION
Once switched on, the system becomes active only if the
following conditions are present:
❍always keep at least one hand on the steering wheel;
❍vehicle speed between 65 km/h and 180 km/h;
❍presence of lane demarcation lines not deteriorated
and visible on both sides;
❍suitable visibility conditions;
❍straight line or wide radius bends;
❍visual field condition sufficient (safe distance from ve-
hicle in front). ACTIVATING/DEACTIVATING THE SYSTEM
With the system on, if the vehicle approaches one of the
lines defining the side of the lane, a torque is applied to
the steering wheel to let the driver know which direction
to steer in order to stay within the lane. If the driver turns
on the direction indicator in order to change lanes or for
overtaking, then the system will switch off momentarily.
If the driver wishes to change lanes without turning the
direction indicator on, then there will be a warning from
the steering wheel that they are about to cross the line.
If the driver continues with the manoeuvre to change
lanes, the system will be temporarily deactivated and
then switch back on again once it has recognised the new
driving lane. This temporary deactivation will be sig-
nalled to the driver by the LED in the button flashing and
by the
esymbol in the amber coloured panel in the in-
strument panel display also flashing.
IMPORTANT The force applied to the steering wheel by
the system is sufficient for the driver to notice it but they
can easily override it and maintain control of the vehicle.