Lancia Thesis 2007 Owner handbook (in English)
Manufacturer: LANCIA, Model Year: 2007, Model line: Thesis, Model: Lancia Thesis 2007Pages: 386, PDF Size: 8.69 MB
Page 211 of 386

210
fig. 158
LOA0172b
Sensor operating range
The sensors allow the system to
monitor the car’s front and rear
parts. Their position covers the middle
and side areas of the car’s front and
back (fig. 158).Obstacles placed in the middle area
are detected at a distance of less
than approx. 0.9 m (front) and 1.50
m (rear).
Page 212 of 386

211
Obstacles placed in side areas are
detected at a distance of less than
0.6 m.
Rear sensors are automatically
switched on by removing the trailer
cable plug.FAULT INDICATIONS
The system control unit checks all
the system components every time
the ignition key is turned to MAR.
Then, the sensors and their respec-
tive electrical connections are con-
stantly monitored during system
operation.
Parking assist system faults are sig-
nalled by the lighting of symbol t
on the multifunction display, togeth-
er with message “PARKING SEN-
SOR FAULT”.
In case of fault signals, stop the
car, shut the engine off, then try to
clean the sensors, making sure that
you are not close to ultrasound-
emitting sources (e.g. truck air
brakes or pneumatic hammers). If
the cause of the operation anomaly
has been remedied, the system fully
resumes its functions and the fault
symbol on the multifunction display
goes out, together with its respective
warning message. Rear sensors are auto-
matically switched off
when the trailer’s electric
cable plug is inserted into the car
tow hitch socket.TOWING A TRAILER
Page 213 of 386

212
If, on the contrary, the warning
lamp remains on, go to a Lancia
Dealership to have the system
checked even if the system keeps on
working. In fact, if the fault detected
by the control unit does not affect
the operation of the system, the lat-
ter keeps on working and the mal-
function is stored in the memory so
as to be detected by the Lancia
Dealership during a subsequent
check.
GENERAL NOTES
When parking your car, always pay
the greatest attention to the obsta-
cles that could be situated above or
below the sensors. In fact, objects
situated at close range in the car’s
front or rear parts could, under cer-
tain circumstances, not be detected
by the system and, therefore, dam-
age your car or be damaged them-
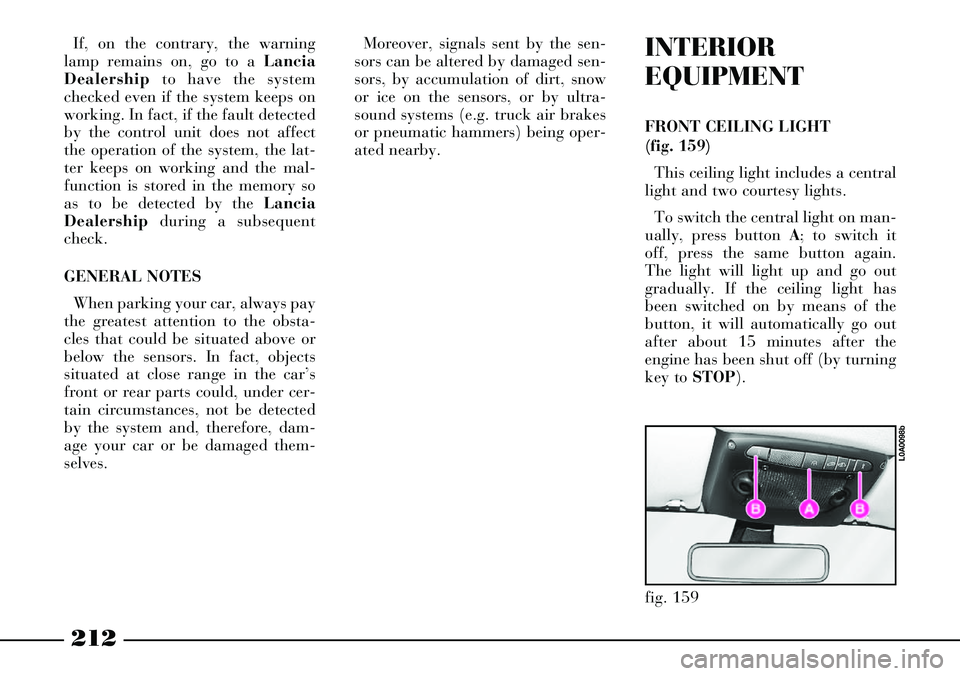
selves.Moreover, signals sent by the sen-
sors can be altered by damaged sen-
sors, by accumulation of dirt, snow
or ice on the sensors, or by ultra-
sound systems (e.g. truck air brakes
or pneumatic hammers) being oper-
ated nearby.INTERIOR
EQUIPMENT
FRONT CEILING LIGHT
(fig. 159)
This ceiling light includes a central
light and two courtesy lights.
To switch the central light on man-
ually, press button A; to switch it
off, press the same button again.
The light will light up and go out
gradually. If the ceiling light has
been switched on by means of the
button, it will automatically go out
after about 15 minutes after the
engine has been shut off (by turning
key to STOP).
fig. 159
L0A0098b
Page 214 of 386

213
To switch the courtesy lights on
and off, press the respective buttons
B. The courtesy lights will automat-
ically go out after about 15 minutes
after shutting the engine off (by
turning the key to STOP).
The central ceiling light will switch
on automatically, together with the
rear ceiling light, when a door is
opened. The ceiling lights will go out
after about 3 minutes if one or sever-
al doors remain open or if the doors
are closed beforehand, after about 10
seconds after the last door has been
closed or at doors locking.
If a door is left open, the ceiling
lights will automatically go out
after about 3 minutes. To switch
them on again, it is enough to open
and close a door.
Ceiling lights come on (for about 10
seconds) when removing the ignition
key (knob to STOPon cars fitted
with Keyless System) and operating
the central door opening with the
remote control.
In case of collision with actuation
of the inertial switch, the ceiling
lights will automatically light up for
about 15 minutes.REAR CEILING LIGHT
(fig. 160)
This ceiling light includes a central
light and two courtesy lights.
The central light will switch on and
off gradually, together with the front
ceiling light.
To switch the central light on man-
ually, press button A; to switch it
off, press the same button again.
To switch the courtesy lights on
and off, press the respective buttons
B. The courtesy lights will automat-
ically go out after about 15 minutes
after the engine has been shut off
(by turning the key to STOP).DOOR PUDDLE LIGHTS
(fig. 161)
A light is provided in the lower part
of the door panel, to illuminate the
area through which passengers get
into and out of the car.
This light will automatically light
up when the door is opened, regard-
less of the ignition key position.
With the door open, the light stays
on for about 3 minutes, then it goes
off automatically.
fig. 160
L0A0279b
fig. 161
L0A0214b
Page 215 of 386

214
REARVIEW MIRROR LIGHTS
(fig. 162)
The lower part of the external
rearview mirrors incorporate a light
to illuminate the area through which
passengers get into and out of the
car.
This light will automatically switch
on, for about 3 minutes, when the
door is opened or when the door lock
is released by means of the remote
control.SUN VISORS (fig. 163)
The sun visors can swing up or
down or be pivoted sideways.
Release the visors from hooks Ato
move them sideways.COURTESY MIRRORS (fig. 164)
They are fitted on the back of the
sun visors: they can be accessed by
rotating the visors and lifting the
cover A.
The mirrors are fitted with lights
that will come on automatically
when lifting the cover and will go
out when lowering it again or auto-
matically after 15 minutes after
switching the engine off (ignition
key at STOP).
fig. 162
L0A0195b
fig. 163
L0A0192b
fig. 164
L0A0193b
Page 216 of 386

215
FRONT ASHTRAY AND CIGAR
LIGHTER
The ashtray and cigar lighter are
protected by a single flap. Press the
flap in the point shown (fig. 165).
Press button A(fig. 166) to work
the cigar lighter. After a few seconds
it will return to its initial position
and be ready for use.
The cigar lighter will only work
when the ignition key is at MAR.
Remove tray Bto empty the ash-
tray.Always verify that the
cigar lighter has been
switched off.
The cigar lighter gets
very hot. Be careful how
you handle it and make
sure it is not used by children:
danger of fire or burns.REAR ASHTRAYS (fig. 167)
Two ashtrays are provided for rear
seats: they are incorporated into rear
door panels.
To open the ashtray, press on the
point specified by the arrow.
To empty the ashtray, remove tray
A.
fig. 165
L0A0189b
fig. 166
L0A0188b
fig. 167
L0A0053b
Page 217 of 386

216
GLOVE COMPARTMENT
A glove compartment with light is
located on the dashboard. The com-
partment has a flap and lock.
To open the glove compartment,
press button A(fig. 168); the button
works only when the key is at MAR
and for about 1 minute after remov-
ing the key or turning it to STOP.
Glove compartment opening can be
disabled and enabled again by
means of the CONNECT menu.
When the glove compartment is
opened, ceiling light A(fig. 169) will
light up. The ceiling light can be
switched off by closing the compart-
ment, or automatically, after about
15 minutes after shutting the engine
off (turning the key to STOP).The lower part of the glove com-
partment houses the Compact Disc
player B(CD-changer, where fitted)
and, on certain versions, the power
socket C.
IMPORTANTTo use the power
socket, read the instructions of the
relevant paragraph in this chapter.
Always close the glove
compartment when the
car is running: it could
hurt the passenger in the event of
an accident.ODDMENT COMPARTMENT
(fig. 170)
A pivoting oddment compartment
is incorporated on the left side of the
dashboard. To open the compart-
ment, press on point A, then release
it.
To close the compartment again,
push it into its seat.
Do not drive with the
compartment open: it
could hurt you in the
event of an accident.
fig. 168
L0A0191b
fig. 169
L0A0325b
fig. 170
L0A0190b
Page 218 of 386

217
FRONT BOTTLE/CAN HOLDER
(fig. 171)
It is incorporated into the front
part of the central console.
To open the holder, press on point
Athen release it: the bottle/can
holder will automatically open.
To close it, push cover Binto its
seat.CLIMATE-CONTROLLED
DRINK COMPARTMENT
The front armrest incorporates a
climate-controlled drink compart-
ment (fig. 172) fitted with a light,
which receives air directly from the
climate control system.
This compartment allows drinks to
be kept as long as possible at the
temperature they had when they
were put inside the compartment.
The compartment can be accessed
by lifting armrestA (fig. 173)by
pulling it from handgrip B. To open the compartment air vent,
lift control A (fig. 173). To close the
vent, lower control A.
To close the compartment, lower
the armrest until it is locked; to
lower it further, press handgrip C.
IMPORTANTThis compartment
is not a fridge or a drink warmer; it
is used to maintain the temperature
of the drinks put inside it. For this
reason, the drinks must be warmed
or cooled before being put inside the
compartment.
fig. 171
L0A0186b
fig. 172
L0A0251b
fig. 173
L0A0169b
Page 219 of 386

218
Take care not to spill the
drinks. In any case, the
compartment is provided
with a hole on its bottom, through
which any spilled liquid can be
discharged.ODDMENT COMPARTMENT ON
THE DASHBOARD (fig. 174)
Oddment compartment Ais placed
in front of the gear lever.DOOR POCKETS
Door pockets are located on the
door panels:
– A(fig. 175) on front door panels
– B(fig. 176) on rear door panels.
fig. 174
L0A0182b
fig. 176
L0A0212b
fig. 175
L0A0194b
Page 220 of 386

219
REAR BOTTLE/CAN HOLDER
(fig. 178)
Bottle/can holder Ais incorporated
in the rear armrest.
To open it, press on the point spec-
ified by the arrow, then release it:
the bottle/can holder will automati-
cally open.
To close the bottle/can holder,
push it into its seat.REAR ARMREST
COMPARTMENT
Inside the rear armrest is an odd-
ment compartment A(fig. 179), a
card holder Band a power socket C.
Depending on versions, the armrest
can also include:
– the control buttons for heating,
massage, lumbar adjustment and for
adaptation of rear side seats
– the button to shift the front pas-
senger’s seat
– the button to actuate the electric
window shades
fig. 178
L0A0073b
fig. 179
L0A0075b
fig. 177
L0A0252b
CENTRAL CONSOLE
COMPARTMENT (fig. 177)
Versions with automatic, two-zone
climate control system are provided
with an oddment compartment A,
placed on the rear part of the central
console.