change language Lancia Voyager 2014 Owner handbook (in English)
[x] Cancel search | Manufacturer: LANCIA, Model Year: 2014, Model line: Voyager, Model: Lancia Voyager 2014Pages: 364, PDF Size: 3.49 MB
Page 102 of 364
hear a double beep, indicating that
the two calls have been joined into one
conference call.
CALL TERMINATION
To end a call in progress, momentarily
press the
button. Only the active
call(s) will be terminated and if there
is a call on hold, it will become the
new active call. If the active call is
terminated by the phone far end, a
call on hold may not become active
automatically. This is cell phone-
dependent. To bring the call back
from hold, press and hold the
but-
ton until you hear a single beep.
REDIAL
Press thebutton to begin.
After the “Ready” prompt and the following beep, say “Redial.”
The Uconnect® Phone will call the last number that was dialed from
your mobile phone.
NOTE: This may not be the last
number dialed from the
Uconnect® Phone.
CALL CONTINUATION
Call continuation is the progression of
a phone call on the Uconnect® Phone
after the vehicle ignition has been
switched to OFF. Call continuation
functionality available on the vehicle
can be any one of three types:
After the ignition is switched to OFF, a call can continue on the
Uconnect® Phone either until the
call ends, or until the vehicle bat-
tery condition dictates cessation of
the call on the Uconnect® Phone
and transfer of the call to the mo-
bile phone.
After the ignition is cycled to OFF, a call can continue on the Uconnect®
Phone for a certain duration, after
which the call is automatically
transferred from the Uconnect®
Phone to the mobile phone.
An active call is automatically transferred to the mobile phone af-
ter the ignition is cycled to OFF.
Uconnect® PHONE
FEATURES
LANGUAGE SELECTION
To change the language that the
Uconnect® Phone is using:
Press the
button to begin.
After the “Ready” prompt and the following beep, say the name of the
language you wish to switch to
(English, Dutch, French, German,
Italian, or Spanish, if so equipped).
Continue to follow the system prompts to complete language se-
lection.
After selecting one of the languages,
all prompts and voice commands will
be in that language.
NOTE: After every Uconnect®
Phone language change operation,
only the language-specific 32-
name phonebook is usable. The
paired phone name is not
language-specific and is usable
across all languages.
96
Page 109 of 364
Uconnect® Phone will prompt you to
say the name or number of the person
you wish to send the message to.
List of Preset Messages:
1. Yes
2. No
3. Where are you?
4. I need more direction.
5. LOL
6. Why
7. I love you
8. Call me
9. Call me later
10. Thanks
11. See You in 15 minutes
12. Iamonmyway
13. I’ll be late14. Are you there yet?
15. Where are we meeting?
16. Can this wait?
17. Bye for now
18. When can we meet
19. Send number to call
20. Start without me
Turn Voice Text Reply Incoming
Announcement ON/OFF
Turning the Voice Text Reply Incom-
ing Announcement OFF will stop the
system from announcing the new in-
coming messages.
Press the
button.
After the “Ready” prompt and the following beep, say “Setup, Incom-
ing Message Announcement”, you
will then be given a choice to
change it.
Bluetooth®
COMMUNICATION LINK
Mobile phones have been found to
lose connection to the Uconnect®
Phone. When this happens, the con-
nection can generally be reestablished
by switching the phone off/on. Your
mobile phone is recommended to re-
main in Bluetooth® ON mode.
POWER-UP
After switching the ignition key from
OFF to either the ON or ACC position,
or after a language change, you must
wait at least fifteen seconds prior to
using the system.
103
Page 116 of 364
Bluetooth® Streaming (BT) Mode
To switch to Bluetooth® Streaming
(BT) mode, say “Bluetooth Stream-
ing.” In this mode, you may say the
following commands:
“Next Track” (to play the nexttrack)
“Previous Track” (to play the pre- vious track)
“List” (to list an Artist, Playlist, Album, Track, etc.)
Memo Mode
To switch to the voice recorder mode,
say “Memo.” In this mode, you may
say the following commands:
“New Memo” (to record a new memo) — During the recording,
you may press the Voice Command
button to stop recording. You
proceed by saying one of the follow-
ing commands:
– “Save” (to save the memo)
– “Continue” (to continue recording)
–
“Delete” (to delete the recording)
“Play Memos” (to play previously recorded memos) — During the
playback you may press the Voice
Command
button to stop
playing memos. You proceed by
saying one of the following com-
mands:
– “Repeat” (to repeat a memo)
– “Next” (to play the next memo)
– “Previous” (to play the previous memo)
– “Delete” (to delete a memo)
– “Delete All” (to delete all memos)
System Setup
To switch to system setup, you may
say one of the following:
“Change to system setup”
“Main menu system setup”
“Switch to system setup”
“Change to setup”
“Main menu setup” or
“Switch to setup” In this mode, you may say the follow-
ing commands:
“Language English”
“Language French”
“Language Spanish”
“Language Dutch”
“Language Deutsch”
“Language Italian”
“Tutorial”
“Voice Training”
NOTE: Keep in mind that you
have to press the Voice Command
button first and wait for the
beep before speaking the “Barge
In” commands.
VOICE TRAINING
For users experiencing difficulty with
the system recognizing their voice
commands or numbers the
Uconnect® Voice “Voice Training”
feature may be used.
1. Press the Voice Command
button, say “System Setup” and
110
Page 219 of 364
player will automatically skip the
file and begin playing the next
available file.
If you are creating your own files, the recommended fixed bit rate for
MP3 files is between 96 and 192
Kbps and the recommended fixed
bit rate for WMA files is between 64
and 192 Kbps. Variable bit rates
are also supported. For both for-
mats, the recommended sample
rate is either 44.1 kHz or 48 kHz.
To change the current file, use the DVD player’s ▲button to advance
to the next file, or the ▼button to
return to the start of the current or
previous file.
To change the current directory, use the remote control’s PROG UP and
Down buttons or Rewind/skip back
and fast fwd/skip forward.
Disc Errors
If the DVD player is unable to read the
disc, a "Disc Error" message is dis-
played on the VES™ and Radio dis-
plays and the disc is automatically ejected. A dirty, damaged, or incom-
patible disc format are all potential
causes for a "Disc Error" message.
If a disc has a damaged track which
results in audible or visible errors that
persists for 2.0 seconds, the DVD
player will attempt to continue play-
ing the disc by skipping forward 1.0
to 3.0 seconds at a time. If the end of
the disc is reached, the DVD player
will return to the beginning of the disc
and attempt to play the start of the
first track.
The DVD player may shut down dur-
ing extremely hot conditions, such as
when the vehicle’s interior tempera-
ture is above 120° F. The Blu-ray
player may shut down when the vehi-
cle's interior temperature exceeds
140° F. When this occurs, the DVD /
Blu-ray player will display "VES
High Temp" and will shut off the
VES™ displays until a safe tempera-
ture is reached. This shutdown is nec-
essary to protect the optics of the DVD
/ Blu-ray player.
The Blu-ray player may require addi-
tional reading time during extremelycold weather conditions. When this
occurs, allow the vehicles interior
temperature to warm, then insert disc
into player.
DISPLAY
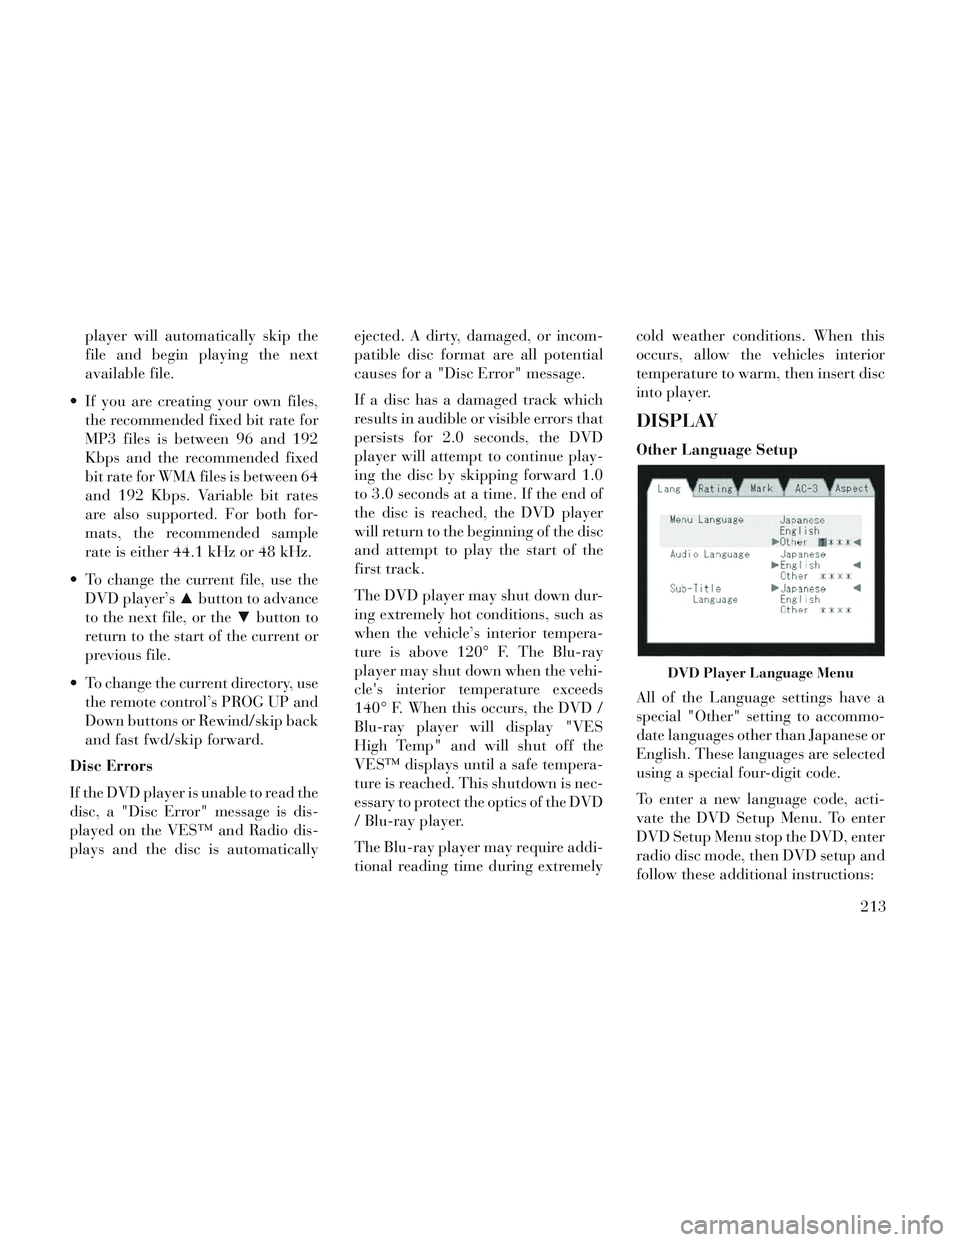
Other Language Setup
All of the Language settings have a
special "Other" setting to accommo-
date languages other than Japanese or
English. These languages are selected
using a special four-digit code.
To enter a new language code, acti-
vate the DVD Setup Menu. To enter
DVD Setup Menu stop the DVD, enter
radio disc mode, then DVD setup and
follow these additional instructions:
DVD Player Language Menu
213
Page 220 of 364
Using the remote control Up andDown cursor buttons, highlight the
Language item you want to edit,
and then press the remote control
ENTER/OK button.
Using the remote control Down cur- sor button, select the "Other" set-
ting, then press the remote control’s
Right cursor button to begin editing
the setting.
Using the remote control Up and Down cursor buttons, select a digit
for the current position. After se-
lecting the digit, press the remote
control’s Right cursor button to se-
lect the next digit. Repeat this digit
selection sequence for all four
digits.
When the entire four-digit code is entered, press the remote control’s
ENTER/OK button. If the language
code is not valid, the numbers all
change back to "*". If the digits are
visible after this step, then the lan-
guage code is valid.
Here is an abbreviated list of language
codes. For more language codes, please contact the dealer where the
vehicle was purchased.
Lan-
guage
Code Lan-
guageCode
Dutch 2311 French 1517
Ger-
man 1304 Ital-
ian1819
Portu-
guese 2519 Span-
ish1418
Rating and Password Setup
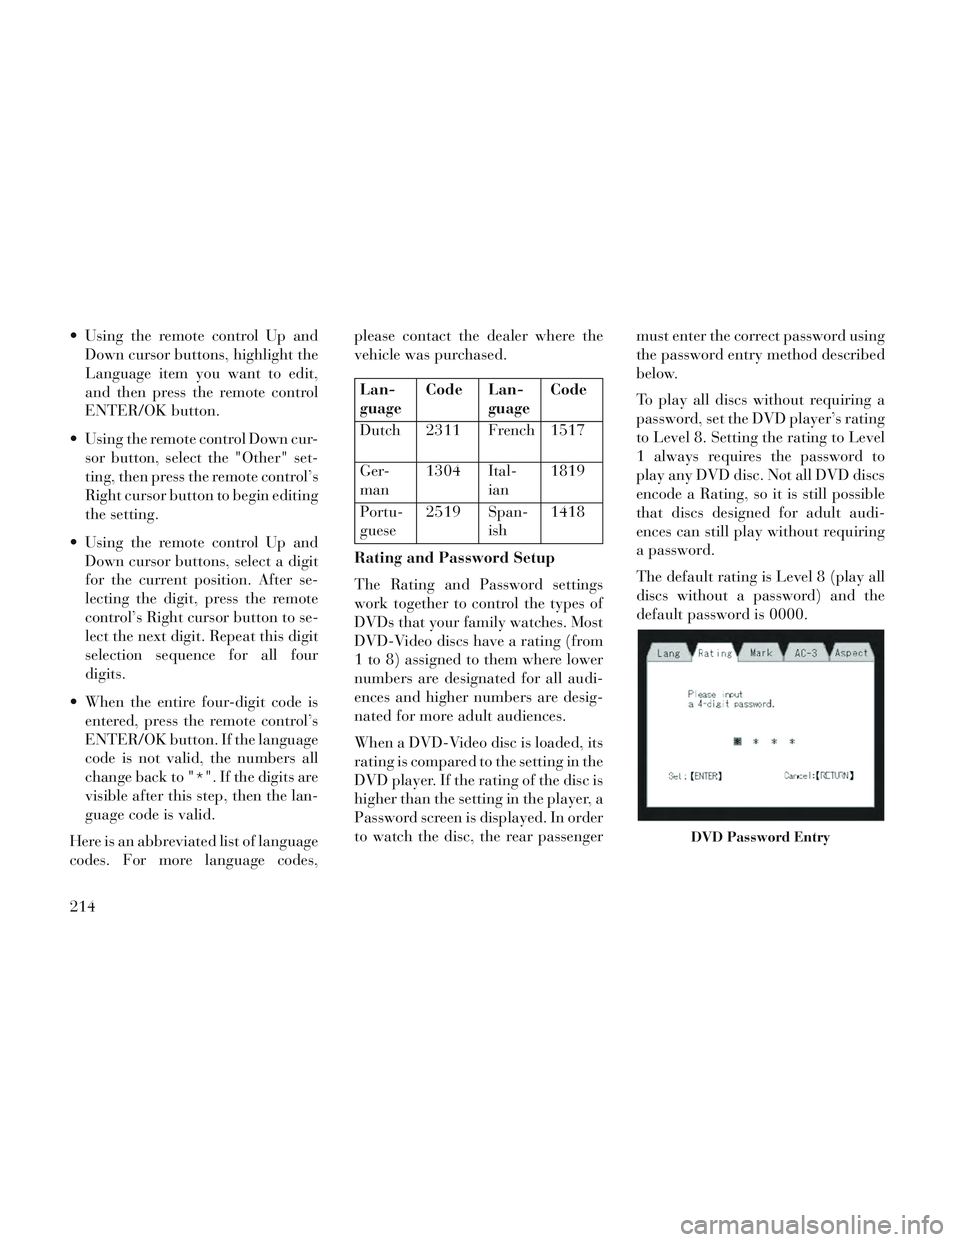
The Rating and Password settings
work together to control the types of
DVDs that your family watches. Most
DVD-Video discs have a rating (from
1 to 8) assigned to them where lower
numbers are designated for all audi-
ences and higher numbers are desig-
nated for more adult audiences.
When a DVD-Video disc is loaded, its
rating is compared to the setting in the
DVD player. If the rating of the disc is
higher than the setting in the player, a
Password screen is displayed. In order
to watch the disc, the rear passenger must enter the correct password using
the password entry method described
below.
To play all discs without requiring a
password, set the DVD player’s rating
to Level 8. Setting the rating to Level
1 always requires the password to
play any DVD disc. Not all DVD discs
encode a Rating, so it is still possible
that discs designed for adult audi-
ences can still play without requiring
a password.
The default rating is Level 8 (play all
discs without a password) and the
default password is 0000.
DVD Password Entry
214