display Lexus ES350 2012 Navigation Manual
[x] Cancel search | Manufacturer: LEXUS, Model Year: 2012, Model line: ES350, Model: Lexus ES350 2012Pages: 391, PDF Size: 38.15 MB
Page 292 of 391
INTUITIVE PARKING ASSIST
291
D
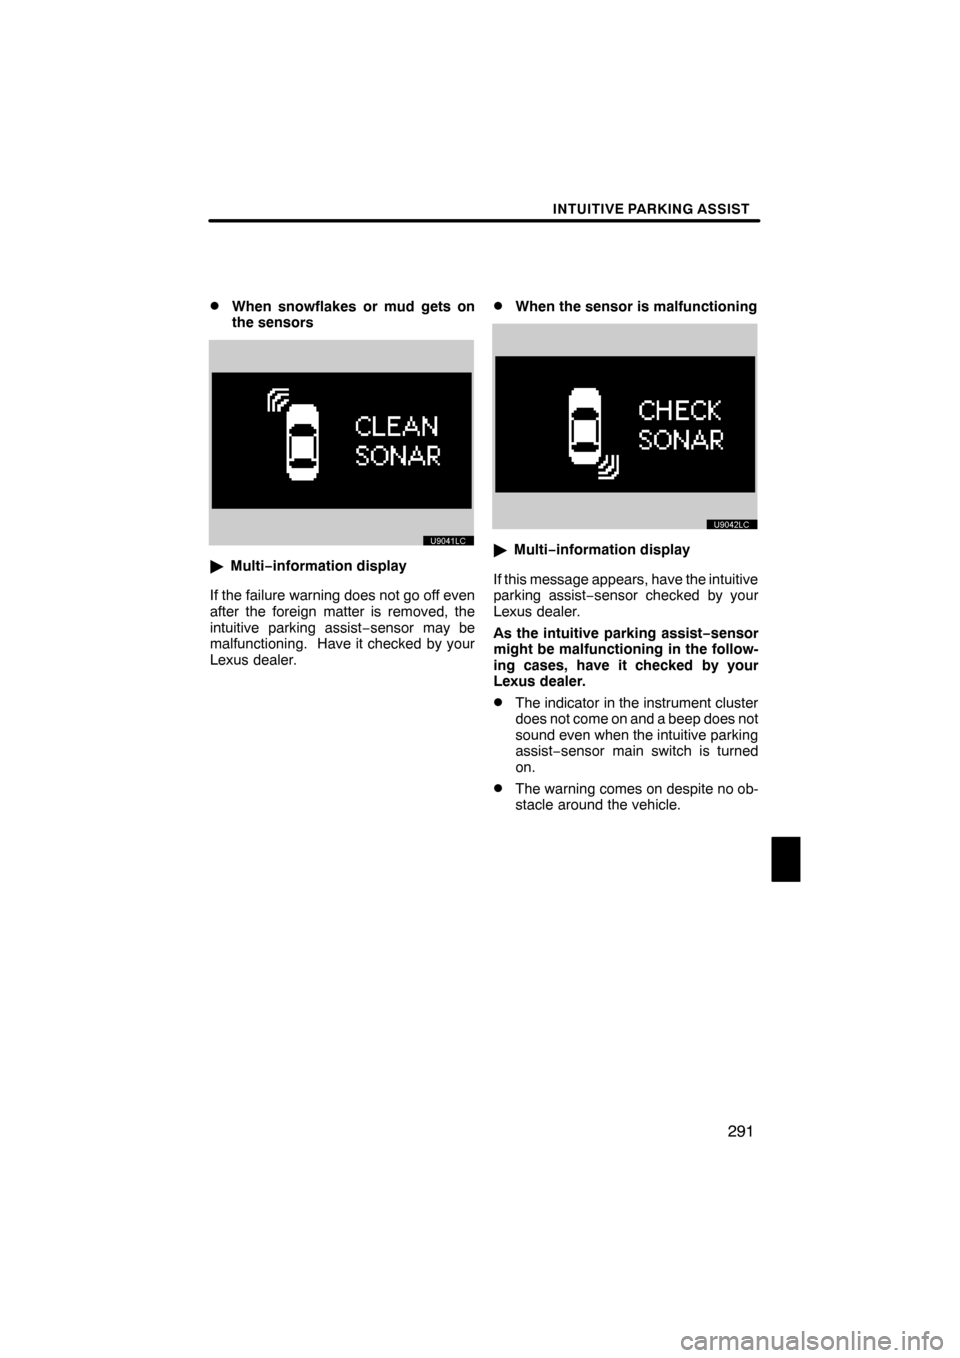
When snowflakes or mud gets on
the sensors
"
Multi− information display
If the failure warning does not go off even
after the foreign matter is removed, the
intuitive parking assist −sensor may be
malfunctioning. Have it checked by your
Lexus dealer.
DWhen the sensor is malfunctioning
" Multi− information display
If this message appears, have the intuitive
parking assist −sensor checked by your
Lexus dealer.
As the intuitive parking assist− sensor
might be malfunctioning in the follow-
ing cases, have it checked by your
Lexus dealer.
DThe indicator in the instrument cluster
does not come on and a beep does not
sound even when the intuitive parking
assist− sensor main switch is turned
on.
DThe warning comes on despite no ob-
stacle around the vehicle.
ES350 NAVI (U)
Finish
10
Page 294 of 391
SECTION11
SETUP
293
SETUP
DGeneral settings 294 .......................................
(Used for language selection and the on/off settings of
operation sounds and automatic screen change.)
D Clock settings 298
.........................................
(Used for changing time zones and the on/off settings of
daylight saving time.)
D Voice settings 300
.........................................
(Voice guidance can be set.)
D Navigation settings 303
....................................
(“Home” and “Preset Destinations” can be set and edited.)
D Detailed navigation settings 303
.............................
(Average cruising speed, displayed screen contents,
and POI icon categories can be set.)
D Telephone settings 312
.....................................
(Bluetooth rphones can be registered.)
D Audio settings 351
.........................................
(Settings are available for portable audio devices and
Bluetooth raudio devices players.)
D Vehicle settings 358
.......................................
(Vehicle information can be set.)
D Other settings 366
.........................................
(Used for changing settings for Lexus Insider and
XM rSports and Stocks.)
ES350 NAVI (U)
Finish
11
Page 296 of 391
SETUP
295
No.Function
1You can change the language.
(See “DSelecting a language” on
page 295.)
2“On” or“Off” can be selected to
sound beeps.
3
“On” or“Off” can be selected for
automatic screen changes from
the audio/air conditioner screen to
the map. When “On”is selected,
the screen will automatically re-
turn to the map from the audio/air
conditioner screen after 20 sec-
onds.
4Keyboard layout can be changed.
(See “DSelecting a keyboard lay-
out” on page 296.)
5Distance unit can be changed.
(See “DUnit of measurement” on
page 297.)
6The personal data can be deleted.
(See “DDelete personal data” on
page 297.)
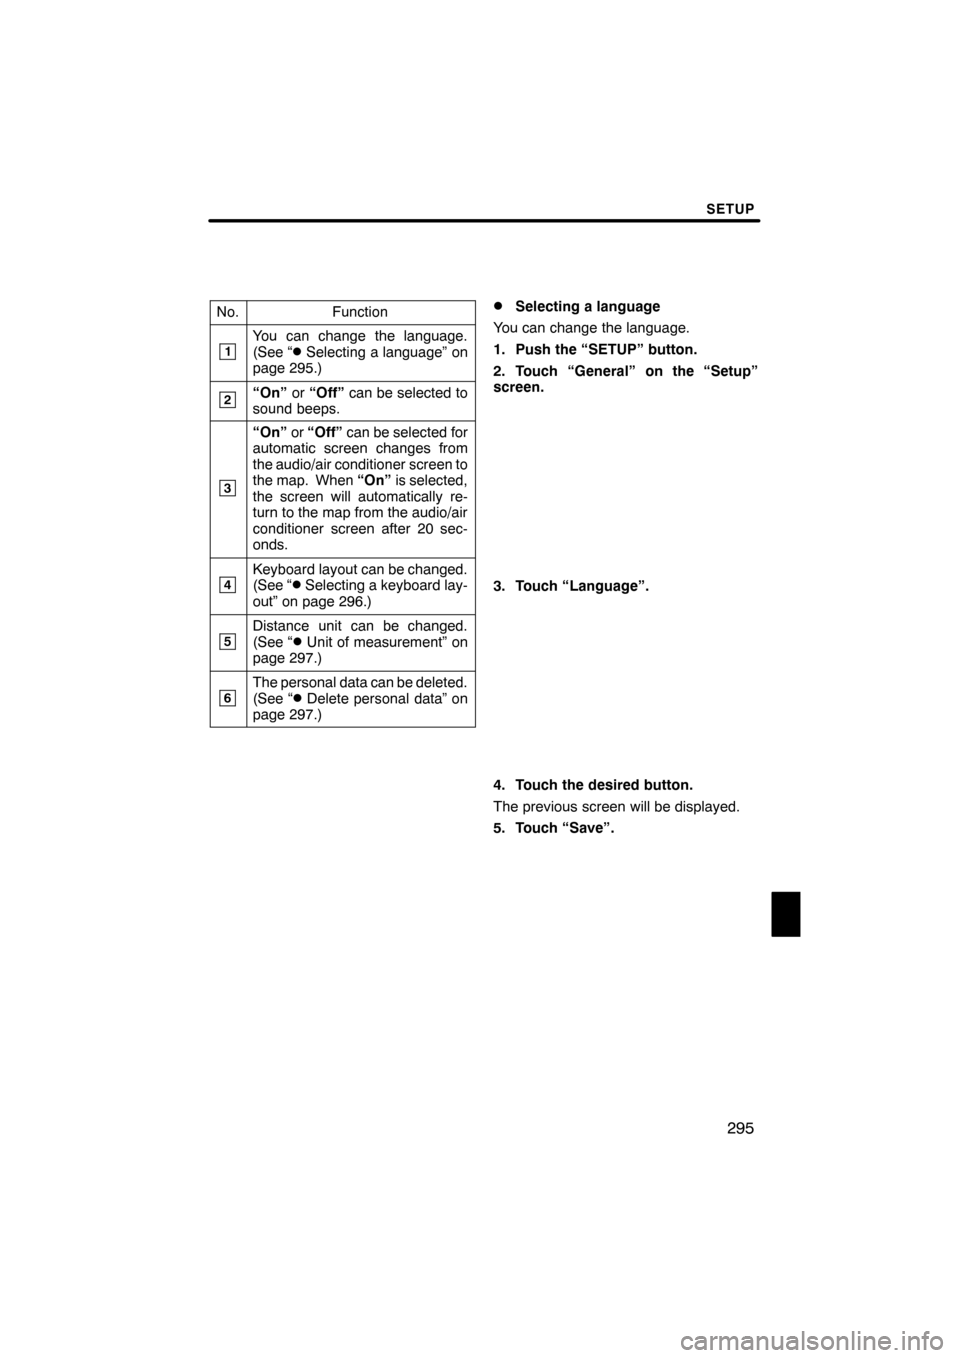
DSelecting a language
You can change the language.
1. Push the “SETUP” button.
2. Touch “General” on the “Setup”
screen.
3. Touch “Language”.
4. Touch the desired button.
The previous screen will be displayed.
5. Touch “Save”.
ES350 NAVI (U)
Finish
11
Page 304 of 391
SETUP
303
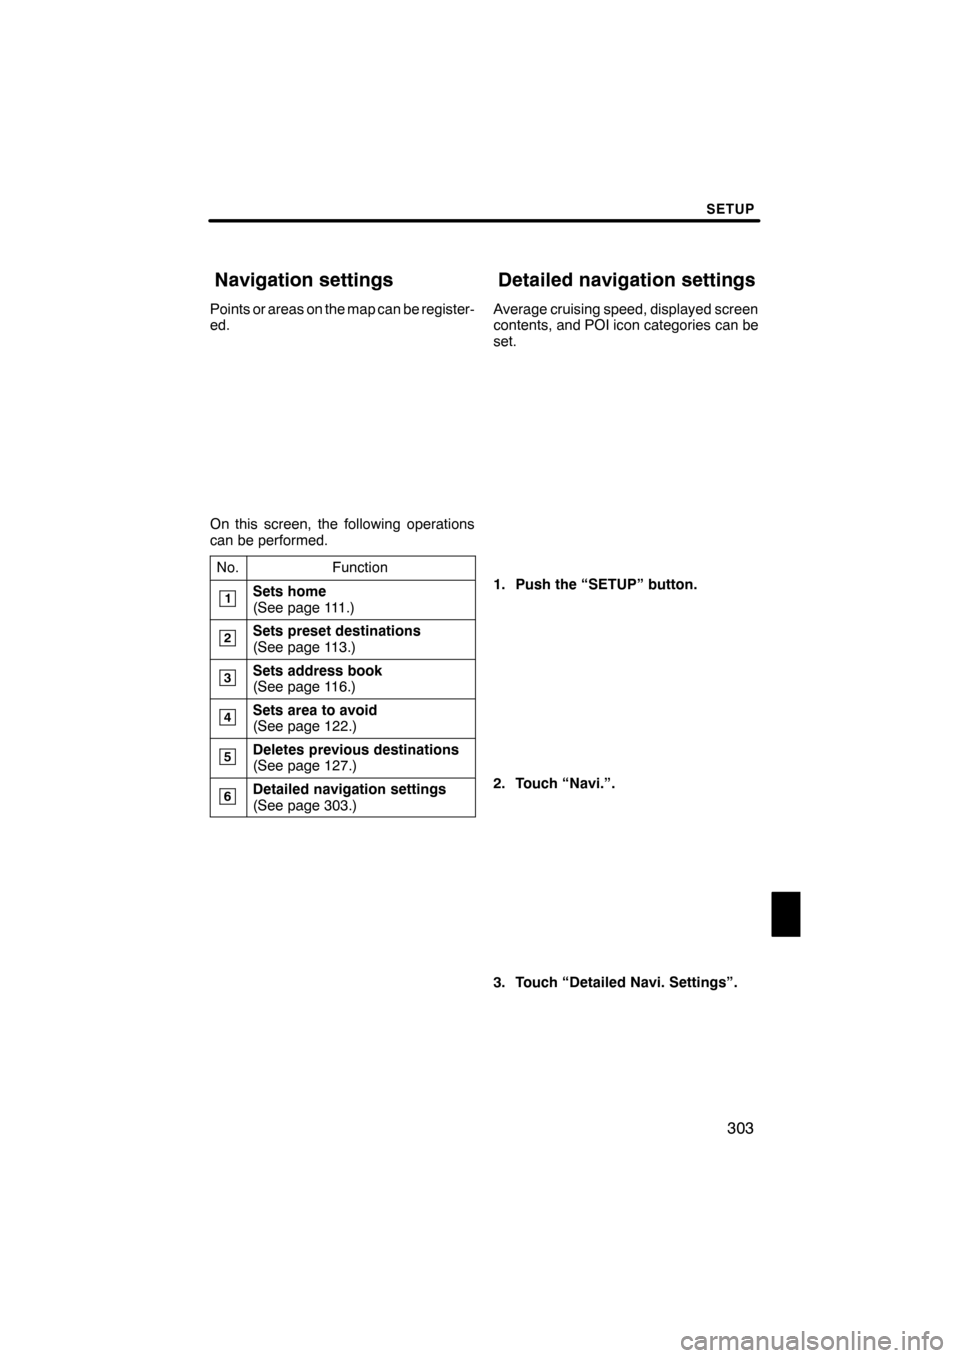
Points or areas on the map can be register-
ed.
On this screen, the following operations
can be performed.No.
Function
1Sets home
(See page 111.)
2Sets preset destinations
(See page 113.)
3Sets address book
(See page 116.)
4Sets area to avoid
(See page 122.)
5Deletes previous destinations
(See page 127.)
6Detailed navigation settings
(See page 303.)
Average cruising speed, displayed screen
contents, and POI icon categories can be
set.
1. Push the “SETUP” button.
2. Touch “Navi.”.
3. Touch “Detailed Navi. Settings”.
ES350 NAVI (U)
Finish
Navigation settings Detailed navigation settings
11
Page 306 of 391
SETUP
305
No.Function
6
Displayed POI icon categories can
be set. (See “DPOI category
change (Select POI icons)” on
page 308.)
7
Buttons displayed on the map
screen when “ AAOff” is selected
can be set. (See “
DScreen layout
function (“ AAOff” function)” on
page 309.)
8
The current vehicle position mark
can be adjusted manually. Miscal-
culation of the distance caused by
tire replacement can also be ad-
justed. (See “
DCurrent position/
tire change calibration” on page
309.)
9
Display of pop −up information can
be set to “On”or“Off” . (See “DPop−up information” on the page
311.)
DDriving speeds
The speed that is used for the calculation
of the estimated travel time and the esti-
mated arrival time can be set.
1. Push the “SETUP” button.
2. Touch “Navi.” on the “Setup”
screen.
3. Touch “Detailed Navi. Settings” on
the “Navigation Settings” screen.
4. Touch “Driving Speeds”.
5. Touchorto set the average
vehicle speeds for “Residential”, “Main
Streets”, and “Freeways”.
To set the default speeds, touch “De-
fault” .
6. After setting of the desired speeds
is completed, touch “Save”.
ES350 NAVI (U)
Finish
11
Page 307 of 391
SETUP
306
INFORMATION
DThe displayed time to the destina-
tion is the approximate driving
time that is calculated based on the
selected speeds and the actual
position along the guidance route.
D The time shown on the screen may
vary greatly depending on prog-
ress along the route, which may be
affected by conditions such as
traffic jams and construction work.
D It is possible to display up to 99
hours 59 minutes.
DAuto avoid traffic
The guidance route automatically
changes to another route to avoid heavy
congestion.
To turn the “Auto Avoid Traffic” on:
1. Push the “SETUP” button.
2. Touch “Navi.” on the “Setup”
screen.
3. Touch “Detailed Navi. Settings” on
the “Navigation Settings” screen.
4. Touch “On” of the “Auto Avoid Traf-
fic”.
5. Touch “Save”.
When congestion information about the
guidance route has been received, a
screen will appear to ask you whether to
reroute to avoid the congestion.
If you wish to reroute, touch “Yes”. Anoth-
er route to allow you to avoid the conges-
tion will appear.
If you do not wish to reroute, touch “No”.
ES350 NAVI (U)
Finish
Page 309 of 391
SETUP
308
D
POI category change
(Select POI icons)
Select from among the 6 icons displayed
on the “Customize POI Icons” screen, so
that setting of the icons to be displayed on
the map screen can be done easily.
1. Push the “SETUP” button.
2. Touch “Navi.” on the “Setup”
screen.
3. Touch “Detailed Navi. Settings” on
the “Navigation Settings” screen.
4. Touch “Customize POI Icons”.
5. Touch the category button to be
changed.
6. Touch the desired group.
If the desired POI category is not on the
screen, touch “List All Categories” to list
all POI categories.
7. Touch the desired category.
8. Touch “OK”.
ES350 NAVI (U)
Finish
Page 310 of 391
SETUP
309
D
Screen layout function (“
AAOff”
function)
Each screen buttons and current street
name on the map screen can be displayed
or hidden.
1. Push the “SETUP” button.
2. Touch “Navi.” on the “Setup”
screen.
3. Touch “Detailed Navi. Settings” on
the “Navigation Settings” screen.
4. Touch ““ AAOff” Function”.
5. Touch the button to be turned off.
The button becomes dimmed.
To set the default, touch “Default”.
6. Touch “Save”.
DCurrent position/tire change cal-
ibration
The current vehicle position mark can be
adjusted manually. Miscalculation of the
distance caused by tire replacement can
also be adjusted.
1. Push the “SETUP” button.
2. Touch “Navi.” on the “Setup”
screen.
3. Touch “Detailed Navi. Settings” on
the “Navigation Settings” screen.
4. Touch “Calibration”.
5. Touch the desired button.
INFORMATION
For additional information on the ac-
curacy of a current vehicle position,
see “Limitations of the navigation
system” on page 370.
ES350 NAVI (U)
Finish
11
Page 311 of 391
SETUP
310
POSITION/DIRECTION CALIBRATION
When driving, the current vehicle position
mark will be automatically corrected by
GPS signals. If GPS reception is poor due
to location, you can manually adjust the
current vehicle position mark.
1. Touch “Position / Direction”.
2. Touch the 8 directional button to
move the cursorto the desired point
on the map.
3. Touch “OK”.
4. Touch either theorto ad-
just the direction of the current vehicle
position mark.
5. Touch “OK”.
The map will be displayed.
ES350 NAVI (U)
Finish
Page 312 of 391
SETUP
311
TIRE CHANGE CALIBRATION
The tire change calibration function will be
used when replacing the tires. This func-
tion will adjust the miscalculation caused
by the circumference difference between
the old and new tires. If this procedure is
not performed when the tires are replaced,
the current vehicle position mark may be
incorrectly displayed.
To perform a distance calibration pro-
cedure, touch “Tire Change” on the
“Calibration” screen.
The message appears and the quick dis-
tance calibration is automatically started.
A few seconds later, a map will be dis-
played.
DPop−up information
When the “Pop −up information” is turned
on, the pop −up information will be dis-
played.
1. Push the “SETUP” button.
2. Touch “Navi.” on the “Setup”
screen.
3. Touch “Detailed Navi. Settings” on
the “Navigation Settings” screen.
4. Touch “Pop− up Information”.
5. Touch “On” or “Off”.
6. Touch “Save”.
ES350 NAVI (U)
Finish
11