LEXUS LS430 2006 Owners Manual
LS430 2006
LEXUS
LEXUS
https://www.carmanualsonline.info/img/36/57996/w960_57996-0.png
LEXUS LS430 2006 Owners Manual
Trending: wheel torque, dimensions, jump start, audio, high beam, heater, homelink
Page 201 of 419
185
3-2. Using the audio system
3
Interior features
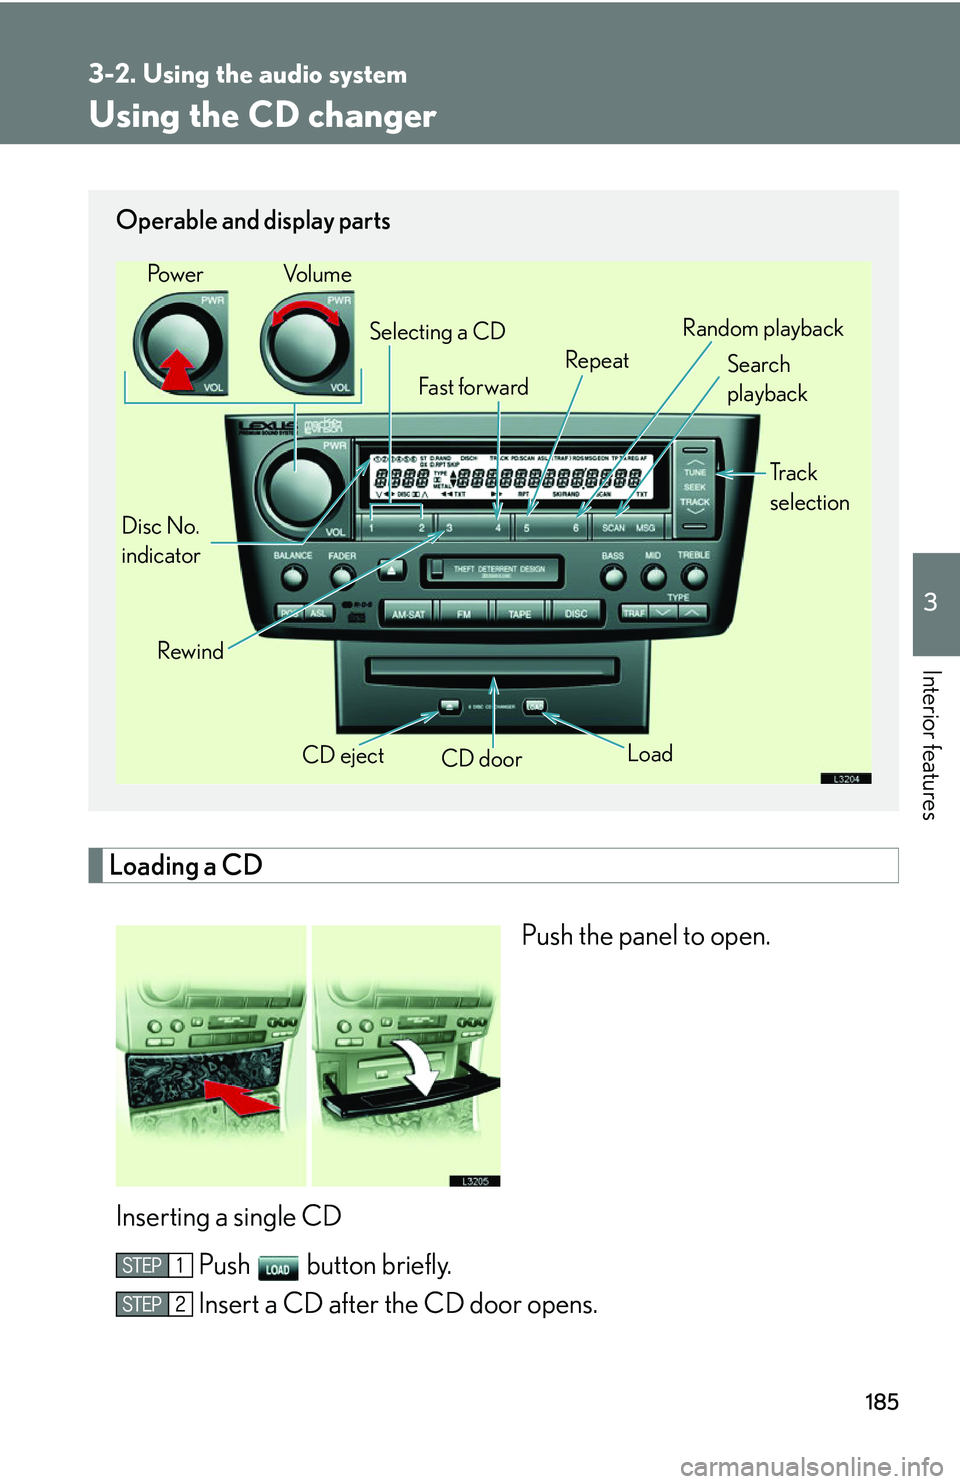
Using the CD changer
Loading a CD
Push the panel to open.
Inserting a single CD Push button briefly.
Insert a CD after the CD door opens.
Operable and display parts
CD eject
CD door
Disc No.
indicator Search
playback
Rewind LoadTr a c k
selection
Selecting a CD
Fa st for wa rd RepeatRandom playback
Po w e r Vo l u m e
Page 202 of 419
186
3-2. Using the audio system
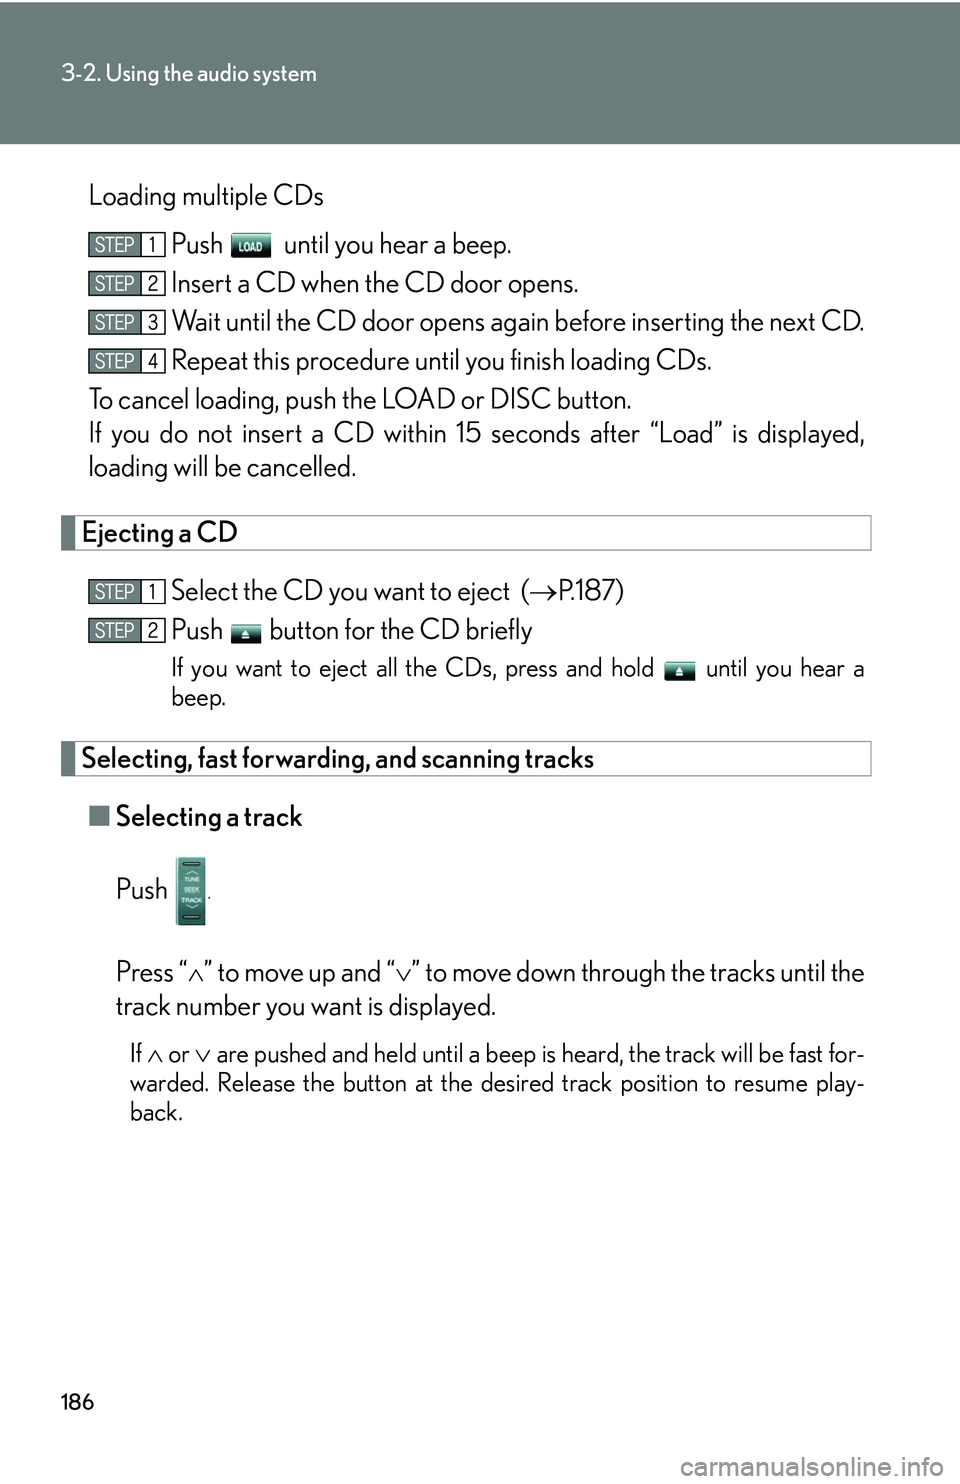
Loading multiple CDsPush until you hear a beep.
Insert a CD when the CD door opens.
Wait until the CD door opens again before inserting the next CD.
Repeat this procedure until you finish loading CDs.
To cancel loading, push the LOAD or DISC button.
If you do not insert a CD within 15 seconds af
ter “Load” is displayed,
loading will be cancelled.
Ejecting a CD
Select the CD you want to eject ( P.187)
Push button for the CD briefly
If you want to eject all the CDs, press and hold until you hear a
beep.
Selecting, fast forwarding, and scanning tracks
■ Selecting a track
Push
.
Press “” to move up and “” to move down throu gh the tracks until the
track number you want is displayed.
If or are pushed and held until a beep is heard, the track will be fast for-
warded. Release the button at the desired track position to resume play -
back.
Page 203 of 419
187
3-2. Using the audio system
3
Interior features
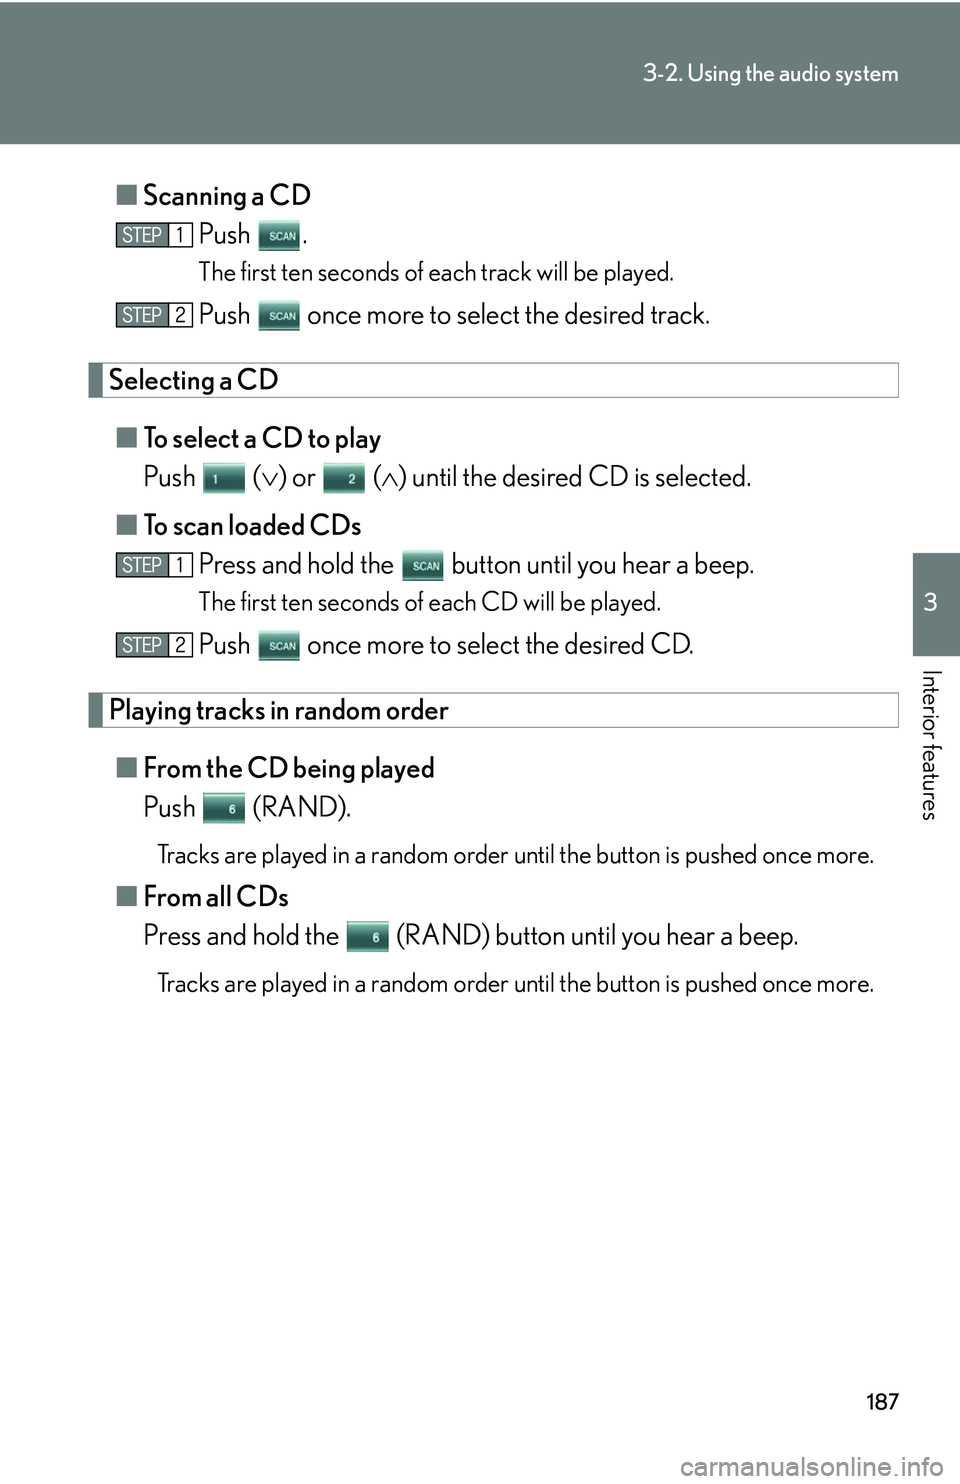
■Scanning a CD
Push .
The first ten seconds of each track will be played.
Push once more to select the desired track.
Selecting a CD
■To select a CD to play
Push () or () until the desir
ed CD is selected.
■ T
o scan loaded CDs
Press and hold the button until you hear a beep.
The first ten seconds of each CD will be played.
Push once more to select the desired CD.
Playing tracks in random order
■From the CD being played
Push (RAND).
Tracks are played in a random order un til the button is pushed once more.
■From all CDs
Press and hold the (RAND) button until you hear a beep.
Tracks are played in a random order un til the button is pushed once more.
Page 204 of 419
188
3-2. Using the audio system
■About your changer
Your automatic changer can store up to 6 CDs
■If you accidentally push the button
Push the DISC or LOAD button to insert a
gain. Do not push in the CD which is
being ejected forcibly
■When LOAD, ERROR or WAIT are shown on the display.
LOAD : The CD changer is preparing to playback a CD. Wait for a short while.
ERROR 1: Make sure the label of the displayed disc is facing up and reinsert it into
the ch
anger.
ERROR 3 or 4: There is a problem with the changer.
WAIT : Operation is stopped due to a hi gh temp
erature inside the changer.
Remove the CD from the player and allow the player to cool down.
If the malfunction persists, take yo ur v
ehicle to your Lexus dealer.
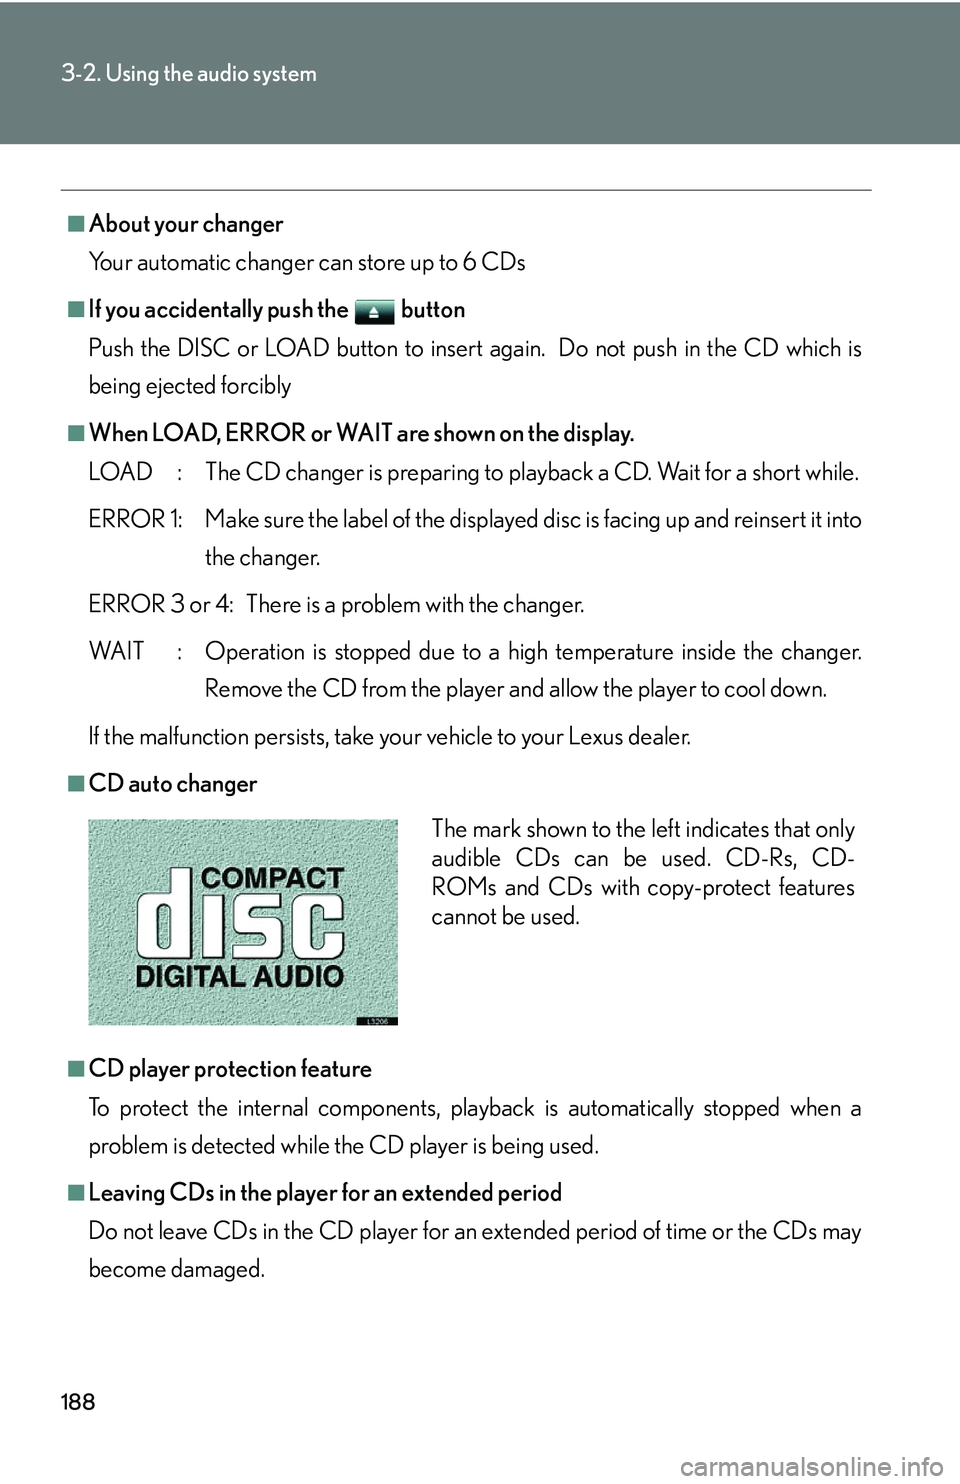
■CD auto changer
■CD player protection feature
To protect the internal components, play back
is automatically stopped when a
problem is detected while the CD player is being used.
■Leaving CDs in the player for an extended period
Do not leave CDs in the CD player for an e
xtended period of time or the CDs may
become damaged.
The mark shown to the left indicates that only
audible CDs can be used. CD-Rs, CD-
ROMs and CDs with copy-protect features
cannot be used.
Page 205 of 419
189
3-2. Using the audio system
3
Interior features
■Lens cleaners
Do not use lens cleaners. Doing so may damage the CD player.
NOTICE
■To prevent CDs getting stuck in the player
Insert CDs one at a time.
Do not feed CDs in continuously.
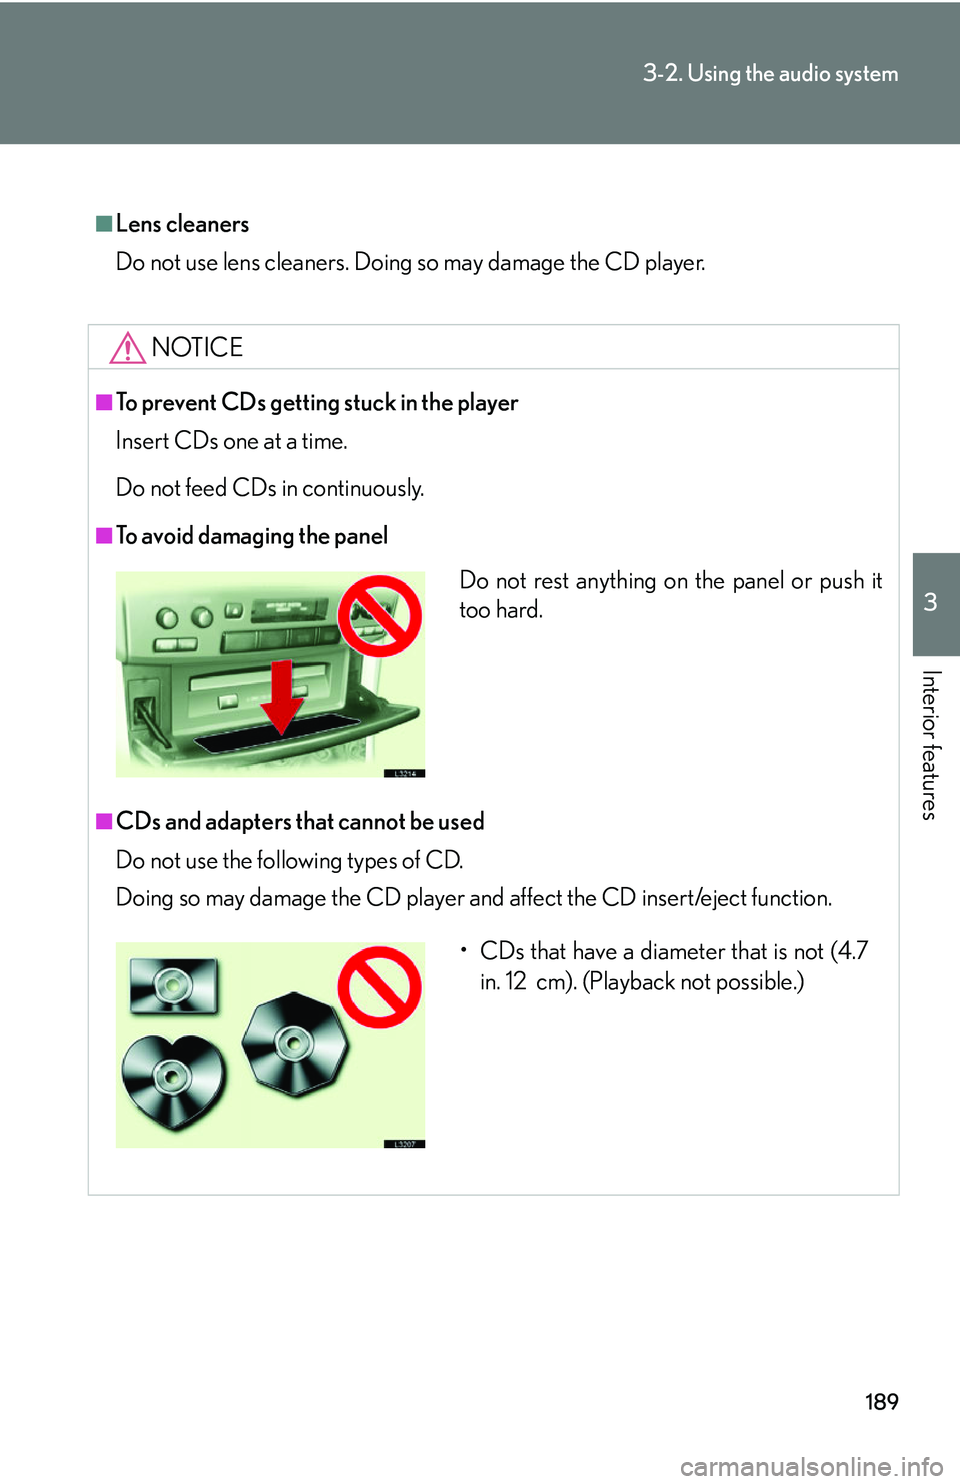
■To avoid damaging the panel
■CDs and adapters that cannot be used
Do not use the following types of CD.
Doing so may damage the CD player and af
fect the CD insert/eject function.
Do not rest anything on the panel or push it
too hard.
• CDs that have a diameter that is not (4.7
in. 12 cm). (Playback not possible.)
Page 206 of 419
190
3-2. Using the audio system
NOTICE
■CD player precautions
Failing observe the following precautions may result in CDs being unplayable or
ca
use the player to function abnormally.
• Do not insert anything other than CDs into the CD player.
• Do not apply oil to the CD player.
• Store CDs away from direct sunlight.
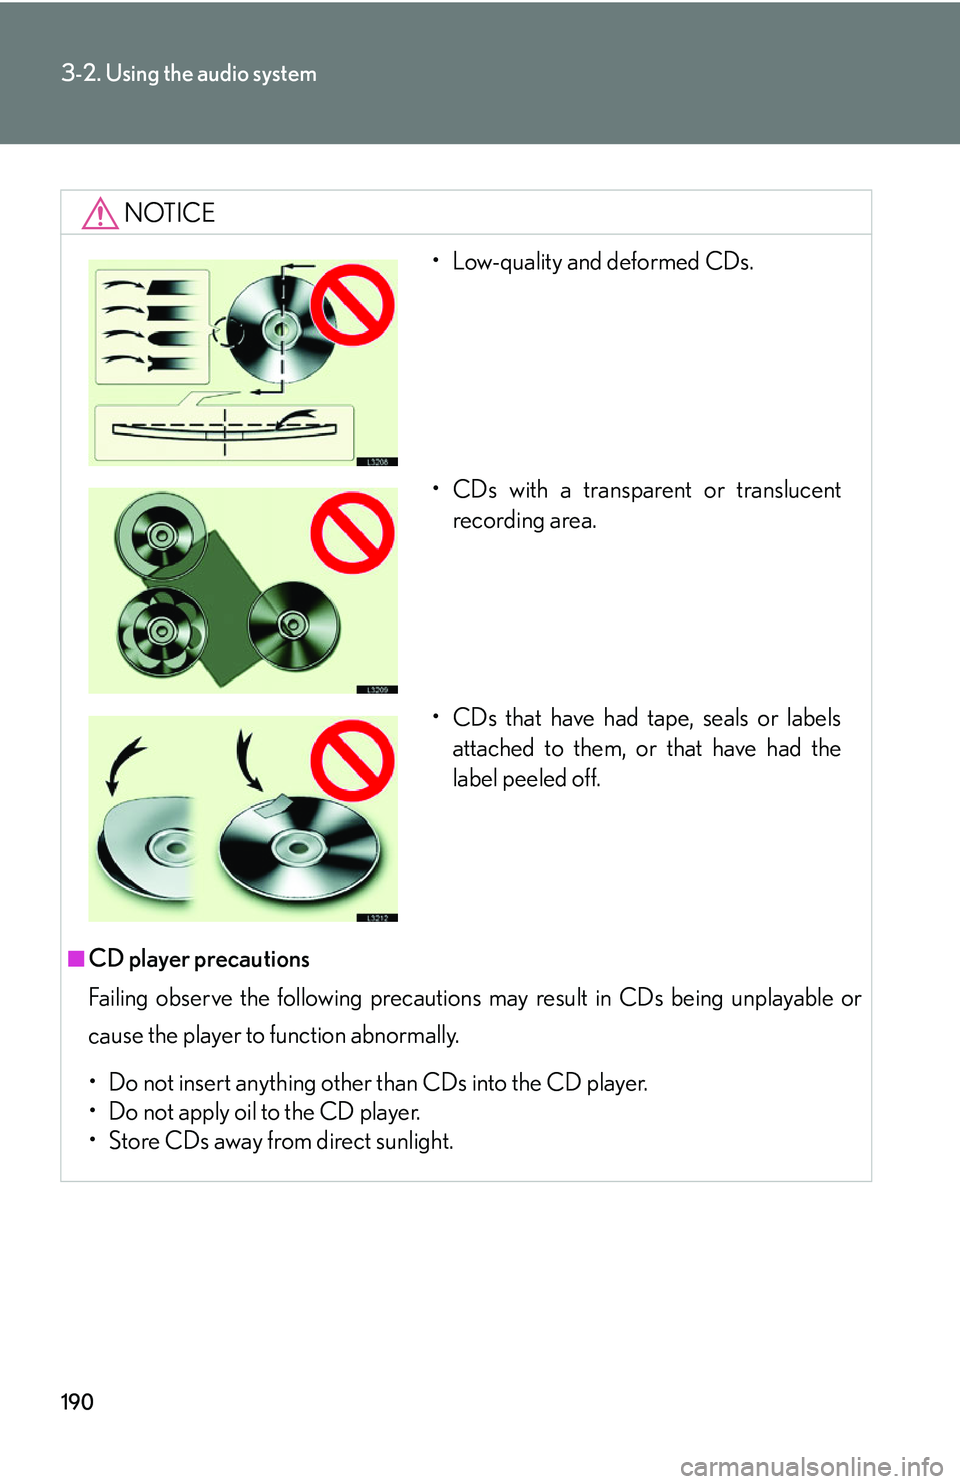
• Low-quality and deformed CDs.
• CDs with a transparent or translucent recording area.
• CDs that have had tape, seals or labels attached to them, or that have had the
label peeled off.
Page 207 of 419
191
3-2. Using the audio system
3
Interior features
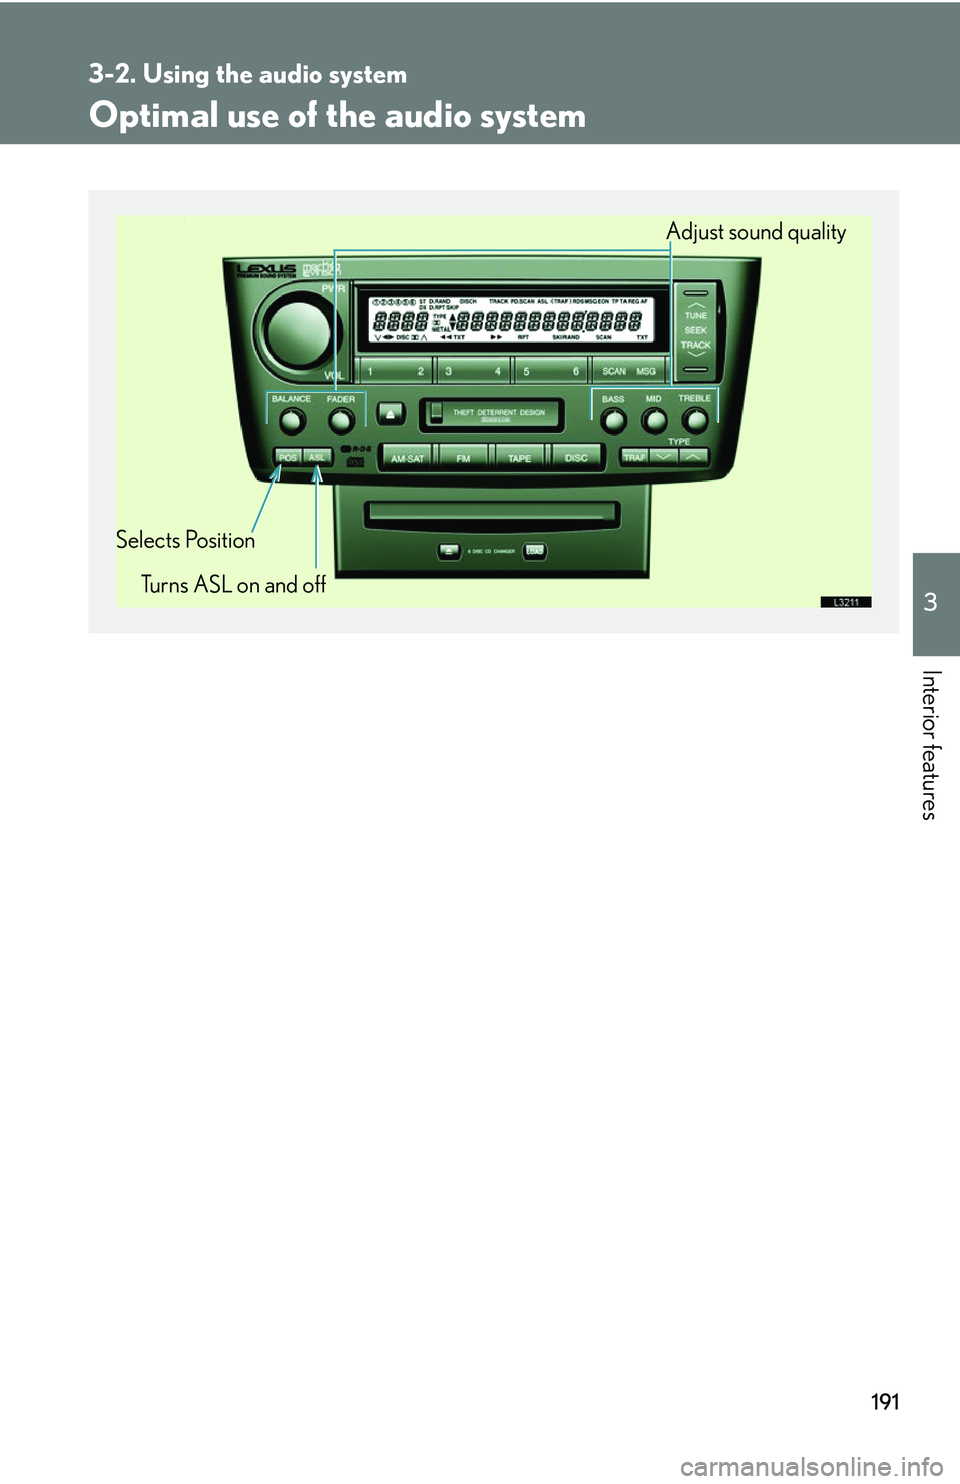
Optimal use of the audio system
Adjust sound quality
Selects Position Turns ASL on and off
Page 208 of 419
192
3-2. Using the audio system
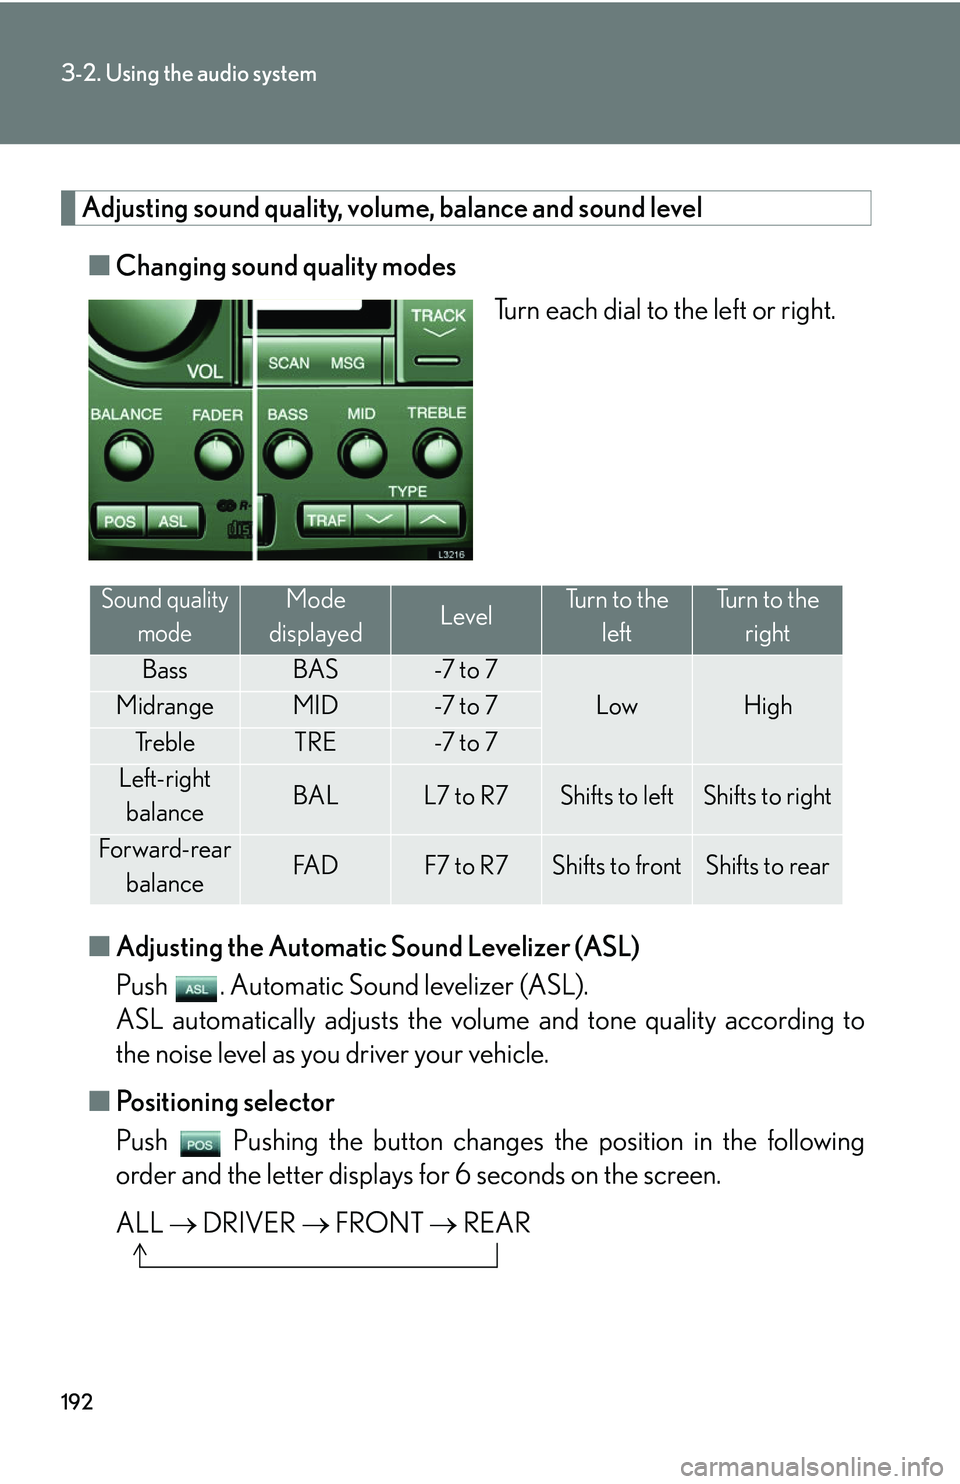
Adjusting sound quality, volume, balance and sound level
■Changing sound quality modes
Turn each dial to the left or right.
■ A
djusting the Automatic Sound Levelizer (ASL)
Push . Automatic Sound levelizer (ASL).
ASL automatically adjusts the volu me and tone quality accor
ding to
the noise level as you driver your vehicle.
■ P
ositioning selector
Push Pushing the button changes th e position in the follo
wing
order and the letter displays fo r 6 seconds on the scr
een.
ALL DRI
VER FRONT REAR
Sound quality
modeMode
displayedLevelTurn to the leftTurn to the right
BassBAS-7 t o 7
LowHighMidrangeMID-7 t o 7
Tr e b l eTRE-7 t o 7
Left-right balanceBALL7 to R7Shifts to leftShifts to right
Forward-rear
balanceFA DF7 to R7Shifts to frontShifts to rear
Page 209 of 419
193
3-2. Using the audio system
3
Interior features
Using the rear controller
Turning on the power and selecting audio modes
■Pow e r
Push when the audio system is turned OFF.
■ Cha
nging modes
Push when the audio system is turned ON. P
ushing the button
changes the sound mode in the fo llo
wing order: AM, FM, cassette
deck, (CD changer).
Adjusting the volume
Push .
Continual adjustment is possible if the button is held for more than one
second.
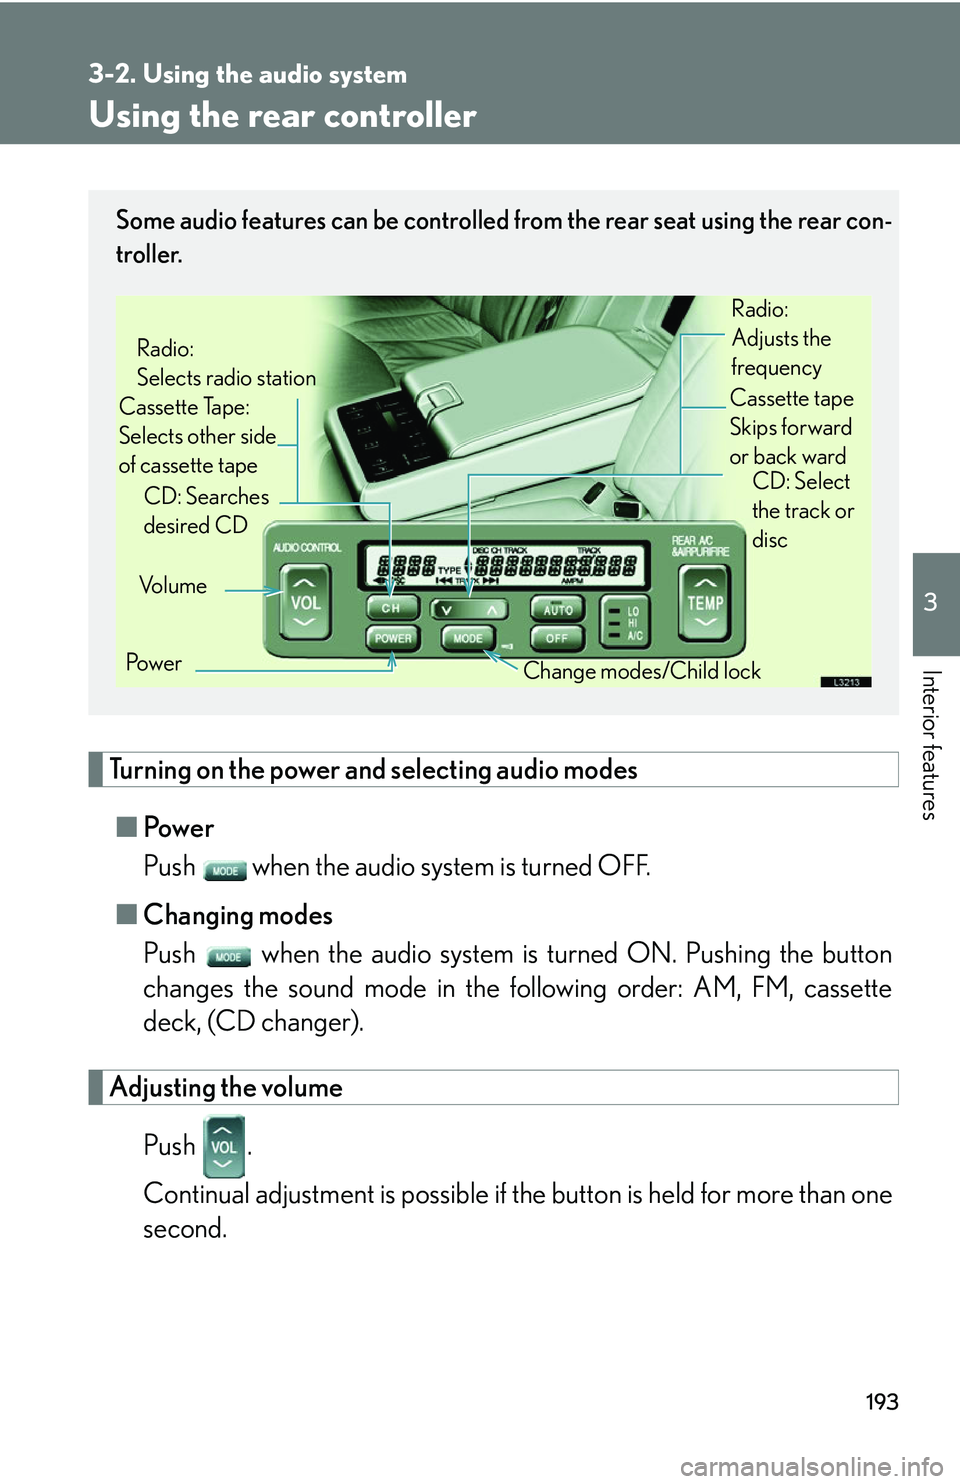
Some audio features can be controlled from the rear seat using the rear con-
troller.
Vo l u m e
Cassette Tape:
Selects other side
of cassette tape Radio:
Selects radio station
Po w e r Change modes/Child lock
CD: Searches
desired CD
Radio:
Adjusts the
frequency
Cassette tape
Skips forward
or back ward CD: Select
the track or
disc
Page 210 of 419
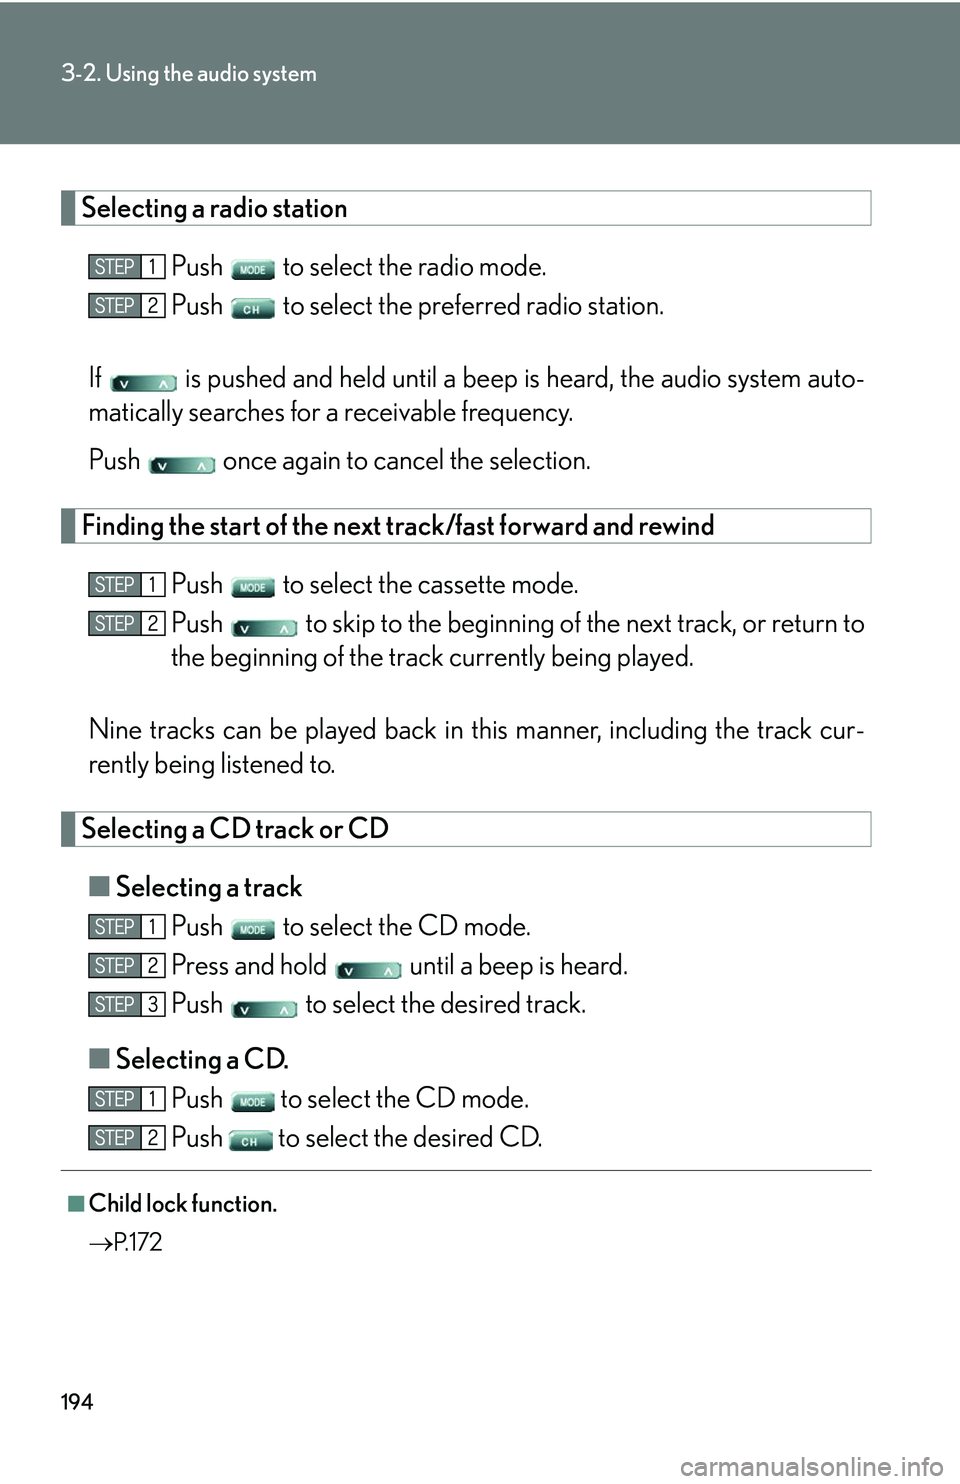
194
3-2. Using the audio system
Selecting a radio station
Push to select the radio mode.
Push to select the preferred radio station.
If is pushed and held until a beep is hear
d, the audio system auto -
matically searches for a receivable frequency.
Push once again to cancel the selection.
Finding the start of the next track/fast forward and rewind
Push to select the cassette mode.
Push to skip to the beginning of th e ne
xt track, or return to
the beginning of the trac k curr
ently being played.
Nine tracks can be played back in this manner
, including the track cur-
rently being listened to.
Selecting a CD track or CD
■ Selecting a track
Push to select the CD mode.
Press and hold until a beep is heard.
Push to select the desired track.
■ Selecting a CD
.
Push
to select the CD mode.
Push
to select the desired CD.
■Child lock function.
P. 1 7 2
Trending: brake pads, power steering fluid, battery location, catalytic converter, seats, ABS, run flat
