stop LEXUS LS500 2019 Owners Manual
[x] Cancel search | Manufacturer: LEXUS, Model Year: 2019, Model line: LS500, Model: LEXUS LS500 2019Pages: 512, PDF Size: 9.71 MB
Page 4 of 512
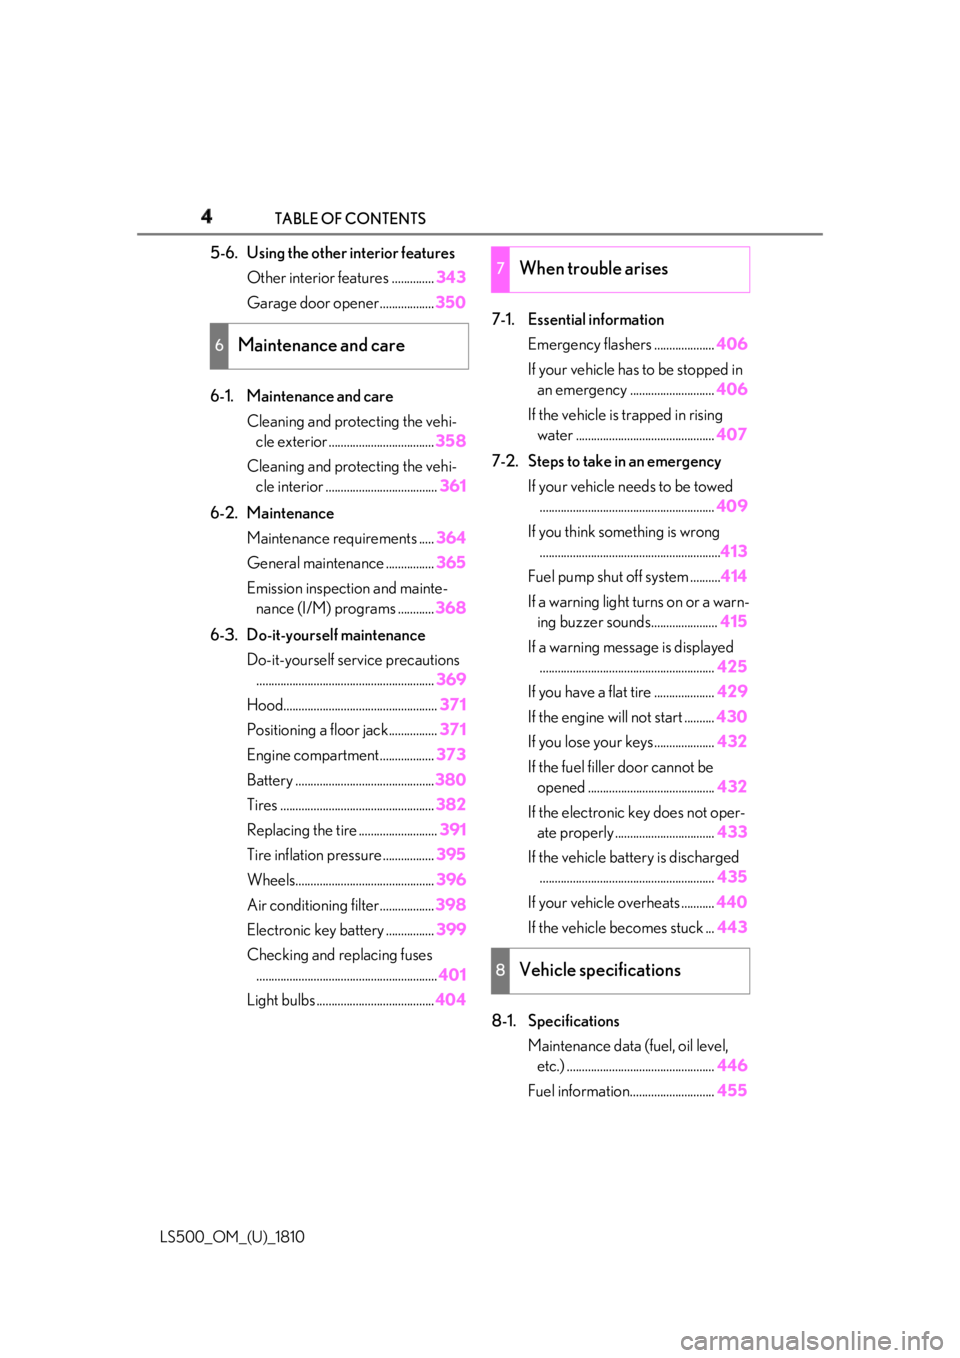
4 TABLE OF CONTENTS
LS500_OM_(U)_1810 5-6. Using the other interior features
Other interior features .............. 343
Garage door opener.................. 350
6-1. Maintenance and care
Cleaning and protecting the vehi-
cle exterior ................................... 358
Cleaning and protecting the vehi-
cle interior ..................................... 361
6-2. Maintenance
Maintenance requirements ..... 364
General maintenance ................ 365
Emission inspection and mainte-
nance (I/M) programs ............ 368
6-3. Do-it-yourself maintenance
Do-it-yourself service precautions
........................................................... 369
Hood................................................... 371
Positioning a floor jack................ 371
Engine compartment.................. 373
Battery .............................................. 380
Tires ................................................... 382
Replacing the tire .......................... 391
Tire inflation pressure ................. 395
Wheels.............................................. 396
Air conditioning filter.................. 398
Electronic key battery ................ 399
Checking and replacing fuses
............................................................ 401
Light bulbs ....................................... 404 7-1. Essential information
Emergency flashers .................... 406
If your vehicle has to be stopped in
an emergency ............................ 406
If the vehicle is trapped in rising
water .............................................. 407
7-2. Steps to take in an emergency
If your vehicle needs to be towed
.......................................................... 409
If you think something is wrong
............................................................ 413
Fuel pump shut off system .......... 414
If a warning light turns on or a warn-
ing buzzer sounds...................... 415
If a warning messa ge is displayed
.......................................................... 425
If you have a flat tire .................... 429
If the engine will not start .......... 430
If you lose your keys.................... 432
If the fuel filler door cannot be
opened .......................................... 432
If the electronic key does not oper-
ate properly ................................. 433
If the vehicle battery is discharged
.......................................................... 435
If your vehicle overheats ........... 440
If the vehicle becomes stuck ... 443
8-1. Specifications
Maintenance data (fuel, oil level,
etc.) ................................................. 446
Fuel information............................ 4556
Maintenance and care 7
When trouble arises
8
Vehicle specifications
Page 13 of 512
13Pictorial index
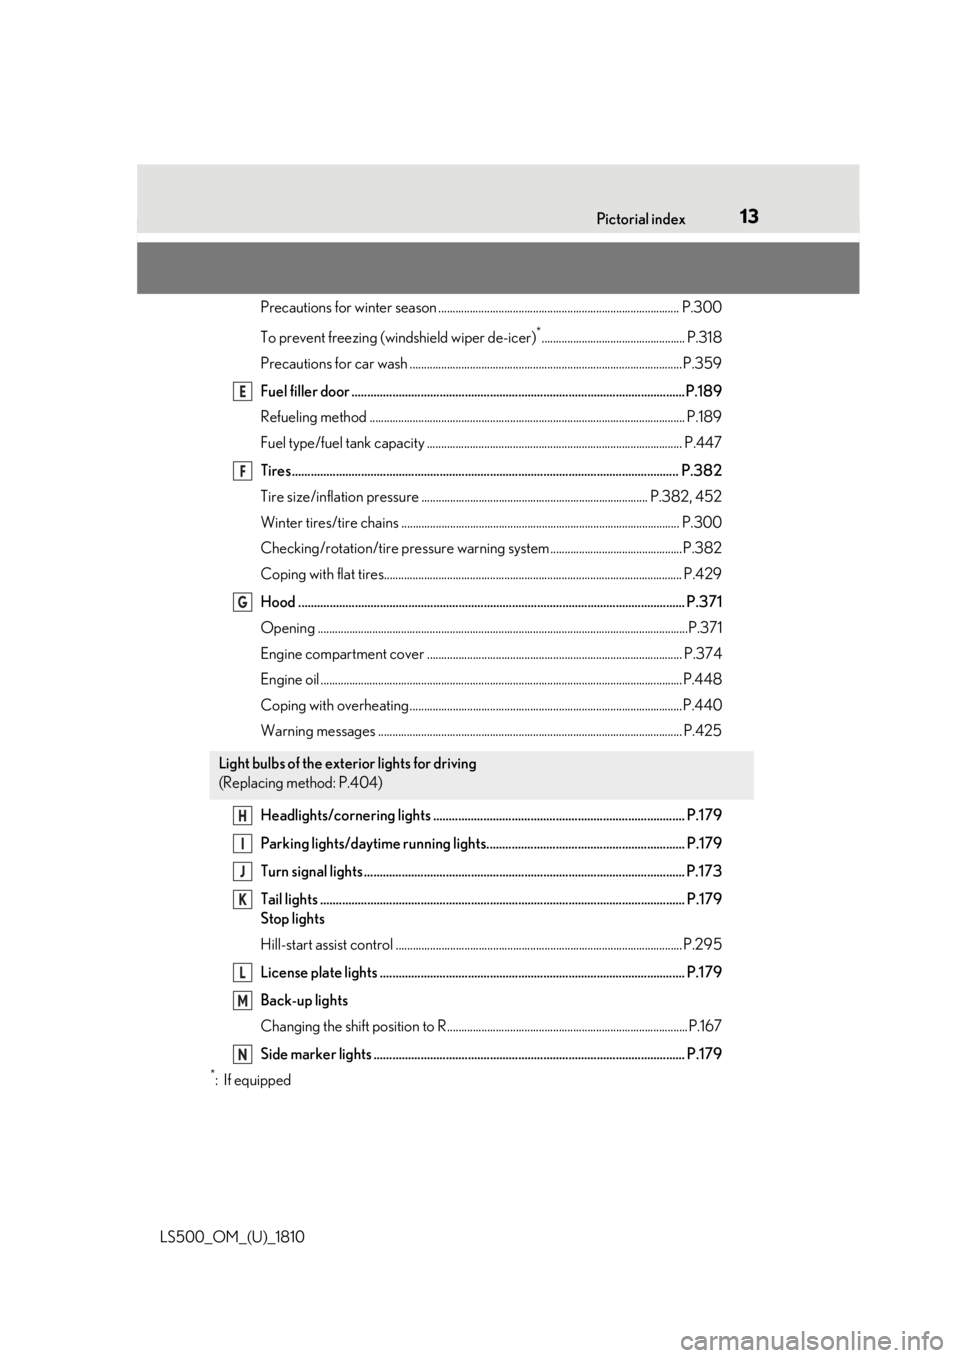
LS500_OM_(U)_1810 Precautions for winter season .. .................................................................................. P.300
To prevent freezing (windshield wiper de-icer) *
.................................................. P.318
Precautions for car wash ...............................................................................................P.359
Fuel filler door ..........................................................................................................P.189
Refueling method .............................................................................................................. P .189
Fuel type/fuel tank capacity ...... ................................................................................... P.447
Tires.......................................................................................................................... .P.382
Tire size/inflation pressure ............................................................................... P.382, 452
Winter tires/tire chains ................................................................................................. P.300
Checking/rotation/tire pressu re warning system..............................................P.382
Coping with flat tires........................................................................................................ P .429
Hood ........................................................................................................................... P.371
Opening ........................................................................................................................ .........P.371
Engine compartment cover ......................................................................................... P.374
Engine oil ..................................................................................................................... ......... P.448
Coping with overheating ............................................................................................... P.440
Warning messages .......................................................................................................... P.425
Headlights/cornering lights ................................................................................ P.179
Parking lights/daytime running lights............................................................... P.179
Turn signal lights ...................................................................................................... P.173
Tail lights .................................................................................................................... P.179
Stop lights
Hill-start assist control .................................................................................................... P. 295
License plate lights ................................................................................................. P.179
Back-up lights
Changing the shift position to R....................................................................................P.167
Side marker lights ................................................................................................... P.179 *
:If equipped Light bulbs of the exterior lights for driving
(Replacing method: P.404) E
F
G
H
I
J
K
L
M
N
Page 14 of 512

14 Pictorial index
LS500_OM_(U)_1810 ■ Instrument panel
Engine switch ........................................................................................................... P.164
Starting the engine/changing the modes ......... ........................................................P.164
Emergency stop of the engine ........................ ............................................................P.406
When the engine will not start .....................................................................................P.430
Warning messages .......................................................................................................... P.425
Shift lever................................................................................................................... P .167
Changing the shift position ............................................................................................ P.169
Precautions for towing ...................................................................................................P.409
Meters .................................................................................................................. P.73, 7 6
Reading the meters/adjusting the instru ment panel light........... P.73, 75, 76, 79
Warning lights/indicator lights ...................................................................................... P.68
When a warning light turns on ..................................................................................... P.415
Multi-information display ...................................................................................... P.80
Display ........................................................................................................................ ..............P.80
When a warning message is displayed.................................................................... P.425
Parking brake switch ............................................................................................. P.174 A
B
C
D
E
Page 22 of 512

22 1-1. For safe use
LS500_OM_(U)_1810 1-1.For safe use
Use only floor mats designed specifi-
cally for vehicles of the same model
and model year as your vehicle. Fix
them securely in place onto the carpet.
1 Insert the retaining hooks (clips)
into the floor mat eyelets.
2 Turn the upper knob of each retain-
ing hook (clip) to secure the floor
mats in place.
Always align the marks .
The shape of the reta ining hooks (clips)
may differ from that shown in the illustra-
tion.Before driving Observe the following before start-
ing off in the vehicle to ensure
safety of driving.
Installing floor mats
A WARNING
Observe the following precautions.
Failure to do so may cause the driver’s
floor mat to slip, poss ibly interfering with
the pedals while driv ing. An unexpect-
edly high speed may result or it may
become difficult to stop the vehicle. This
could lead to an accident, resulting in
death or serious injury. ■
When installing the driver’s floor mat ●
Do not use floor mats designed for
other models or different model year
vehicles, even if they are Lexus Genu-
ine floor mats. ●
Only use floor mats designed for the
driver’s seat. ●
Always install the floor mat securely
using the retaining hooks (clips) pro-
vided. ●
Do not use two or more floor mats on
top of each other. ●
Do not place the floor mat bot-
tom-side up or upside-down. ■
Before driving ●
Check that the floor mat is securely
fixed in the correct place with all the
provided retaining hooks (clips). Be
especially careful to perform this
check after cleaning the floor.
●
With the engine stopped and the shift
position in P, fully depress each pedal
to the floor to make sure it does not
interfere with the floor mat.
Page 23 of 512

231-1. For safe use
LS500_OM_(U)_1810 1
For safety and security
Adjust the angle of the seatback so
that you are sitting straight up and
so that you do not have to lean for-
ward to steer. ( P.119)
Adjust the seat so that you can
depress the pedals fully and so that
your arms bend slightly at the
elbow when gripping the steering
wheel. ( P.119)
Lock the head restraint in place
with the center of the head restraint
closest to the top of your ears.
( P.135)
Wear the seat belt correctly.
( P.24) Make sure that all occupants are wear-
ing their seat belts before driving the
vehicle. ( P.24)
Use a child restraint system appropri-
ate for the child until the child becomes
large enough to properly wear the
vehicle’s seat belt. ( P.45)
Make sure that you can see backward
clearly by adjusting the inside and out-
side rear view mirrors properly.
( P.139, 140)For safe driving For safe driving, adjust the seat and
mirror to an appropriate position
before driving.
Correct driving posture
WARNING
■
For safe driving
Observe the following precautions.
Failure to do so may result in death or
serious injury. A
B
C
D ●
Do not adjust the position of the
driver’s seat while driving.
Doing so could cause the driver to lose
control of the vehicle. ●
Do not place a cushion between the
driver or passenger and the seatback.
A cushion may prevent correct pos-
ture from being achieved, and reduce
the effectiveness of the seat belt and
head restraint. ●
Do not place anything under the front
seats.
Objects placed under the front seats
may become jammed in the seat
tracks and stop the seat from locking in
place. This may lead to an accident
and the adjustment mechanism may
also be damaged. ●
Always observe the legal speed limit
when driving on public roads. ●
When driving over long distances, take
regular breaks before you start to feel
tired.
Also, if you feel tired or sleepy while
driving, do not force yourself to con-
tinue driving and take a break immedi-
ately.
Correct use of the seat belts
Adjusting the mirrors
Page 26 of 512

26 1-1. For safe use
LS500_OM_(U)_1810 1 To fasten the seat belt, push the
plate into the buckle until a click
sound is heard.
2 To release the seat belt, press the
release button .If the seat belt cannot be pulled out of the
retractor, firmly pull the belt and release it.
■
Emergency locking retractor (ELR)
The retractor will lock the belt during a sud-
den stop or on impact. It may also lock if you
lean forward too quickly. A slow, easy
motion will allow the belt to extend so that
you can move around fully.
■
Automatic locking retractor (ALR)
When a passenger’s sh oulder belt is com-
pletely extended and then retracted even
slightly, the belt is locked in that position and
cannot be extended. This feature is used to
hold the child restraint system (CRS) firmly.
To free the belt again, fully retract the belt
and then pull the belt out once more.
( P.45) The front seat belt buckles move out-
ward automatically for easier access.
When entering the vehicle
When a front door is opened, the seat
belt buckle for the corresponding seat
will move outward automatically. The
buckle will retract automatically after
the plate is inserted and locked to the
buckle.
When exiting the vehicle (driver’s
seat only)
If the engine switch is turned off when
the driver’s seat belt is fastened, the
driver’s seat belt buckle will move out-
ward. The buckle will retract automati-
cally when the driver’s seat belt is
released. *
: If equipped
■
Easy Access Buckle ●
When the seat belt buckle is in the out-
ward position and not latched, if the front
passenger’s seat is not occupied and the
vehicle is driven, the seat belt buckle will
return to its original position. ●
If an occupant exits the vehicle and leaves
the front door open and then enters the
vehicle again, the seat belt buckle will not
operate until the door is closed and then
opened again.
■
Customization
Some functions can be customized.
( P.466)NOTICE■
When using a seat belt extender
When releasing the se at belt, press on
the buckle release button on the
extender, not on the seat belt.
This helps prevent damage to the vehicle
interior and the extender itself.
Fastening and releasing the seat
belt
AEasy Access Buckle (front
seats) *
Page 27 of 512

271-1. For safe use
LS500_OM_(U)_1810 1
For safety and security 1 Push the seat belt shoulder anchor
down while pressing the release
button .
2 Push the seat belt shoulder anchor
up.Move the height adjuster up and down as
needed until yo u hear a click. The pretensioners help the seat belts to
quickly restrain the occupants by
retracting the seat belts when the vehi-
cle is subjected to certain types of
severe frontal or side collision or a
vehicle rollover. The pretensioners do not activate in the
event of a minor frontal impact, a minor
side impact or a rear impact.
■
Replacing the belt after the preten-
sioner has been activated
If the vehicle is involved in multiple colli-
sions, the pretensioner will activate for the
first collision, but will not activate for the
second or subsequent collisions.Adjusting the seat belt shoulder
anchor height (front seats)
WARNING■
Adjustable shoulder anchor
Always make sure th e shoulder belt is
positioned across the center of your
shoulder. The belt should be kept away
from your neck, but not falling off your
shoulder. Failure to do so could reduce
the amount of protection in an accident
and cause death or serious injuries in the
event of a sudden stop, sudden swerve or
accident. A Seat belt pretensioners (front
and outboard rear seats)
WARNING
■
Seat belt pretensioners
Observe the following precautions to
reduce the risk of in jury in the event of
sudden braking, sudden swerving or an
accident.
Failure to do so may cause death or seri-
ous injury.
Page 31 of 512
311-1. For safe use
LS500_OM_(U)_1810 1
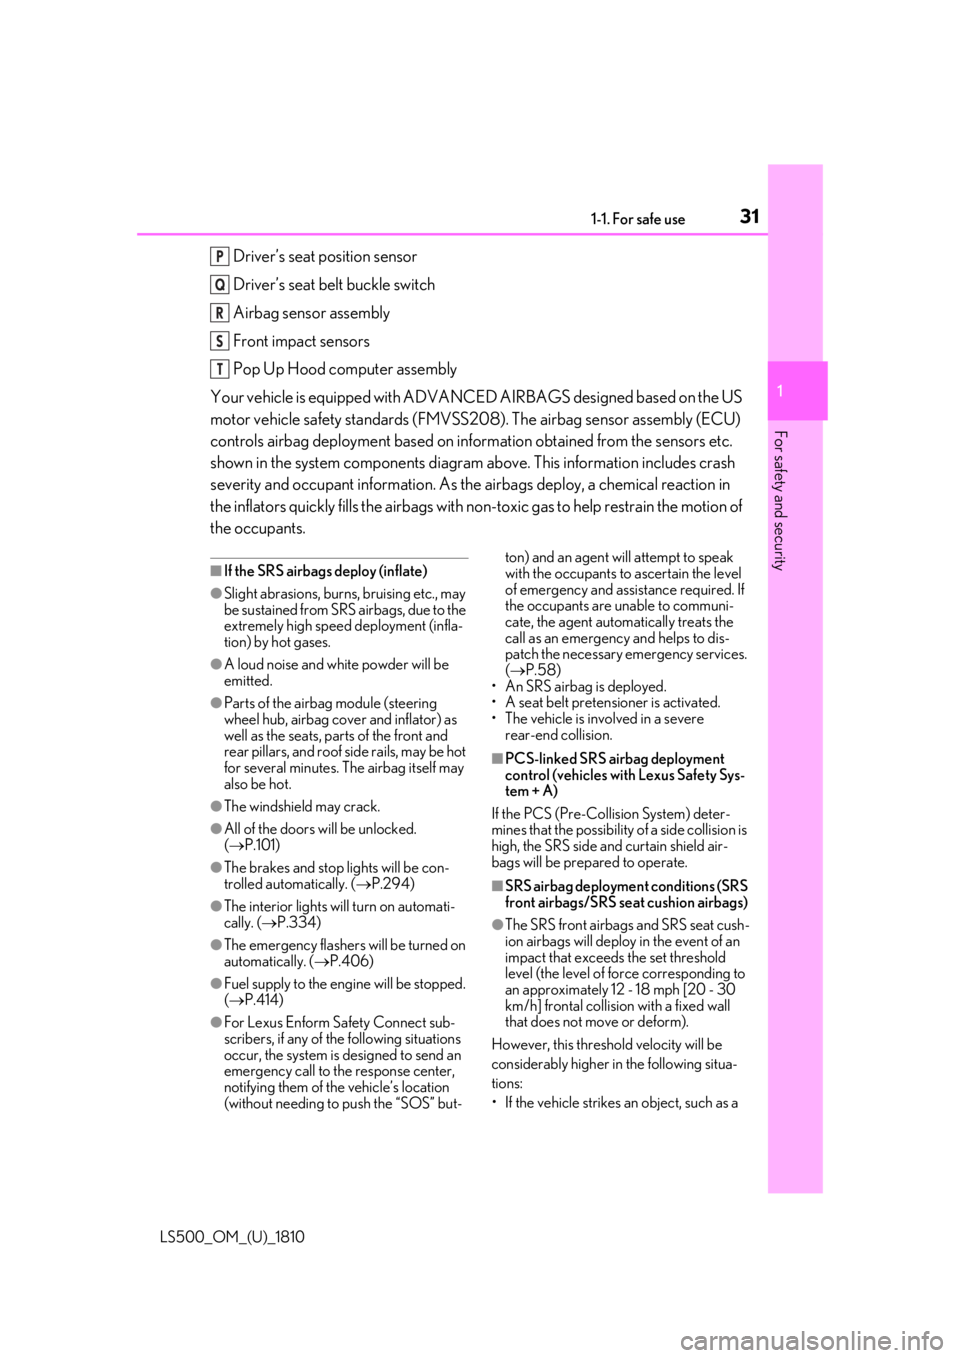
For safety and security Driver’s seat position sensor
Driver’s seat belt buckle switch
Airbag sensor assembly
Front impact sensors
Pop Up Hood computer assembly
Your vehicle is equipped with ADVANCED AIRBAGS designed based on the US
motor vehicle safety standards (FMVSS208). The airbag sensor assembly (ECU)
controls airbag deployment based on information obtained from the sensors etc.
shown in the system components diagram above. This information includes crash
severity and occupant information. As the airbags deploy, a chemical reaction in
the inflators quickly fills the airbags with no n-toxic gas to help restrain the motion of
the occupants. ■
If the SRS airbags deploy (inflate)●
Slight abrasions, burns, bruising etc., may
be sustained from SRS airbags, due to the
extremely high speed deployment (infla-
tion) by hot gases.●
A loud noise and white powder will be
emitted.●
Parts of the airbag module (steering
wheel hub, airbag cover and inflator) as
well as the seats, parts of the front and
rear pillars, and roof side rails, may be hot
for several minutes. The airbag itself may
also be hot.●
The windshield may crack.●
All of the doors will be unlocked.
( P.101)●
The brakes and stop lights will be con-
trolled automatically. ( P.294)
●
The interior lights will turn on automati-
cally. ( P.334)
●
The emergency flashers will be turned on
automatically. ( P.406)
●
Fuel supply to the engine will be stopped.
( P.414)
●
For Lexus Enform Safety Connect sub-
scribers, if any of the following situations
occur, the system is designed to send an
emergency call to the response center,
notifying them of the vehicle’s location
(without needing to push the “SOS” but- ton) and an agent will attempt to speak
with the occupants to ascertain the level
of emergency and assistance required. If
the occupants are unable to communi-
cate, the agent automatically treats the
call as an emergency and helps to dis-
patch the necessary emergency services.
( P.58)
• An SRS airbag is deployed.
• A seat belt pretensioner is activated.
• The vehicle is involved in a severe
rear-end collision. ■
PCS-linked SRS airbag deployment
control (vehicles with Lexus Safety Sys-
tem + A)
If the PCS (Pre-Collision System) deter-
mines that the possibility of a side collision is
high, the SRS side and curtain shield air-
bags will be prepared to operate.
■
SRS airbag deployment conditions (SRS
front airbags/SRS seat cushion airbags)
●
The SRS front airbags and SRS seat cush-
ion airbags will deploy in the event of an
impact that exceed s the set threshold
level (the level of fo rce corresponding to
an approximately 12 - 18 mph [20 - 30
km/h] frontal collision with a fixed wall
that does not move or deform).
However, this threshol d velocity will be
considerably higher in the following situa-
tions:
• If the vehicle strikes an object, such as a P
Q
R
S
T
Page 39 of 512
391-1. For safe use
LS500_OM_(U)_1810 1
For safety and security ●
A frontal impact applied to the front
bumper while driving at speeds outside
of the operational speed range●
A side impact or rear impact●
A vehicle rollover (In some accident situ-
ations, the Pop Up Hood may operate.)
WARNING■
When the Pop Up Hood is operated●
Do not pull the hood lock release lever.
Doing so after the Pop Up Hood has
operated will further raise the hood
and may cause an injury. Do not drive
with the hood raised, as doing so may
block the driver’s vision, possibly caus-
ing an accident.●
Do not forcibly push down the hood.
As the popped up hood cannot be
lowered by hand, doing so may deform
the hood or cause an injury.●
If the Pop Up Hood has operated, have
it replaced by your Lexus dealer. If the
Pop Up Hood has operated, stop the
vehicle in a safe place and contact
your Lexus dealer.●
Do not touch the lifters immediately
after the Pop Up Hood has operated,
as the lifters may be hot and burn you.
NOTICE
■
Pop Up Hood precautions●
Make sure to close the hood before
driving, as the system may not operate
properly if the hood is not fully closed.
●
Make sure that all 4 tires are of the
specified size and inflated to the speci-
fied tire pressure. If tires of a different
size are used, the system may not
operate properly.
●
If something has hit the area around
the front bumper, the sensors may be
damaged even if the Pop Up Hood has
not operated. Have the vehicle
inspected by your Lexus dealer. ●
Do not remove or repair the parts or
wiring of the Pop Up Hood, as doing
so may cause accidental operation or
prevent the system from operating
properly. If repair or replacement is
necessary, contact your Lexus dealer. ●
Do not remove such components as
the front bumper, hood or suspension,
or replace them with non-genuine
parts, as doing so may prevent the sys-
tem from operating properly. ●
Do not install anything to the front
bumper or hood, as doing so may pre-
vent the sensors fr om detecting an
impact correctly and prevent the sys-
tem from operating properly. ●
Do not close the hood with force or
apply load to the lifters, as doing so
may damage the lifters and prevent the
system from operating properly. ●
Do not modify the suspension, as
changes made to the vehicle height
may prevent the system from operat-
ing properly.
Page 44 of 512

44 1-1. For safe use
LS500_OM_(U)_1810 Exhaust gas precautions Harmful substance to the human
body is included in exhaust gases if
inhaled. WARNING
Exhaust gases include harmful carbon
monoxide (CO), which is colorless and
odorless. Observe the following precau-
tions.
Failure to do so may cause exhaust gases
enter the vehicle and may lead to an
accident caused by light-headedness, or
may lead to death or a serious health
hazard. ■
Important points while driving●
Keep the trunk lid closed.●
If you smell exhaust gases in the vehi-
cle even when the trunk lid is closed,
open the windows and have the vehi-
cle inspected at your Lexus dealer as
soon as possible.■
When parking●
If the vehicle is in a poorly ventilated
area or a closed area, such as a
garage, stop the engine.
●
Do not leave the vehicle with the
engine on for a long time.
If such a situation cannot be avoided,
park the vehicle in an open space and
ensure that exhaust fumes do not enter
the vehicle interior.
●
Do not leave the engine running in an
area with snow build-up, or where it is
snowing. If snowbanks build up around
the vehicle while the engine is running,
exhaust gases may collect and enter
the vehicle. ■
Exhaust pipe
The exhaust system needs to be checked
periodically. If there is a hole or crack
caused by corrosion, damage to a joint
or abnormal exhaust noise, be sure to
have the vehicle inspected and repaired
by your Lexus dealer.