stop start LINCOLN AVIATOR 2020 Owners Manual
[x] Cancel search | Manufacturer: LINCOLN, Model Year: 2020, Model line: AVIATOR, Model: LINCOLN AVIATOR 2020Pages: 609, PDF Size: 5.4 MB
Page 7 of 609
Garage Door Opener
Universal Garage Door Opener
................191
Auxiliary Power Points
Auxiliary Power Points ................................
197
Wireless Accessory Charger .....................
198
Storage Compartments
Center Console ............................................
201
Overhead Console ......................................
201
Starting and Stopping the Engine
General Information ...................................
202
Keyless Starting ...........................................
202
Starting a Gasoline Engine .......................
203
Engine Block Heater ..................................
206
Unique Driving Characteristics
Auto-Start-Stop ............................................
208
Fuel and Refueling
Safety Precautions ........................................
211Fuel Quality
...................................................
212
Fuel Filler Funnel Location ........................
212
Running Out of Fuel ....................................
213
Refueling ........................................................
214
Fuel Consumption ........................................
217
Engine Emission Control
Emission Law .................................................
219
Catalytic Converter .....................................
220
Transmission
Automatic Transmission ............................
223
All-Wheel Drive
Using All-Wheel Drive ................................
228
Brakes
General Information ....................................
235
Hints on Driving With Anti-Lock Brakes ......................................................................
236
Electric Parking Brake ................................
236
Hill Start Assist .............................................
238
Auto Hold ......................................................
239Reverse Braking Assist
What Is Reverse Braking Assist
................
241
Reverse Braking Assist Precautions .......
241
Switching Reverse Braking Assist On and Off ...............................................................
242
Overriding Reverse Braking Assist .........
242
Reverse Braking Assist Indicators ..........
242
Reverse Braking Assist – Troubleshooting ......................................................................
243
Traction Control
Principle of Operation ................................
245
Using Traction Control ...............................
245
Stability Control
Principle of Operation ................................
246
Using Stability Control ................................
247
Hill Descent Control
What Is Hill Descent Control ....................
248
Switching Hill Descent Control On and Off ......................................................................
248
Setting the Hill Descent Speed ...............
248
4
Aviator (CTV) Canada/United States of America, enUSA, Edition date: 201902, Third-Printing- Table of Contents
Page 25 of 609
Air vents.
A
Direction indicator. See Direction Indicators (page 111).
B
Voice control.
See Using Voice Recognition (page 458).
C
Audio control.
See Audio Control (page 99).
D
Information display.
See General Information (page 130).
E
Information display control.
See Information Display Control (page 101).
F
Wiper lever.
See Windshield Wipers (page 102).
G
Ignition switch.
See Keyless Starting (page 202).
H
Information and Entertainment display.
I
Camera button.
See Rear View Camera (page 261). See 360 Degree Camera (page 264).
J
Park aid button.
See Rear Parking Aid (page 250). See Front Parking Aid (page 252). See Active Park Assist (page 256).
K
Driver assistance button. See Auto-Start-Stop (page 208). See Using Traction Control (page 245). See Auto Hold (page 239). See
Settings
(page 498).
L
Audio unit.
See Audio Unit (page 446).
M
Climate control.
See Automatic Climate Control (page 160).
N
Hazard flasher switch.
See Hazard Flashers (page 328).
O
Transmission selector.
See Automatic Transmission (page 223).
P
Cruise control.
See Cruise Control (page 99).
Q
Horn.
See Horn (page 101).
R
Steering wheel adjustment.
See Adjusting the Steering Wheel (page 97).
S
22
Aviator (CTV) Canada/United States of America, enUSA, Edition date: 201902, Third-Printing- At a Glance
Page 71 of 609
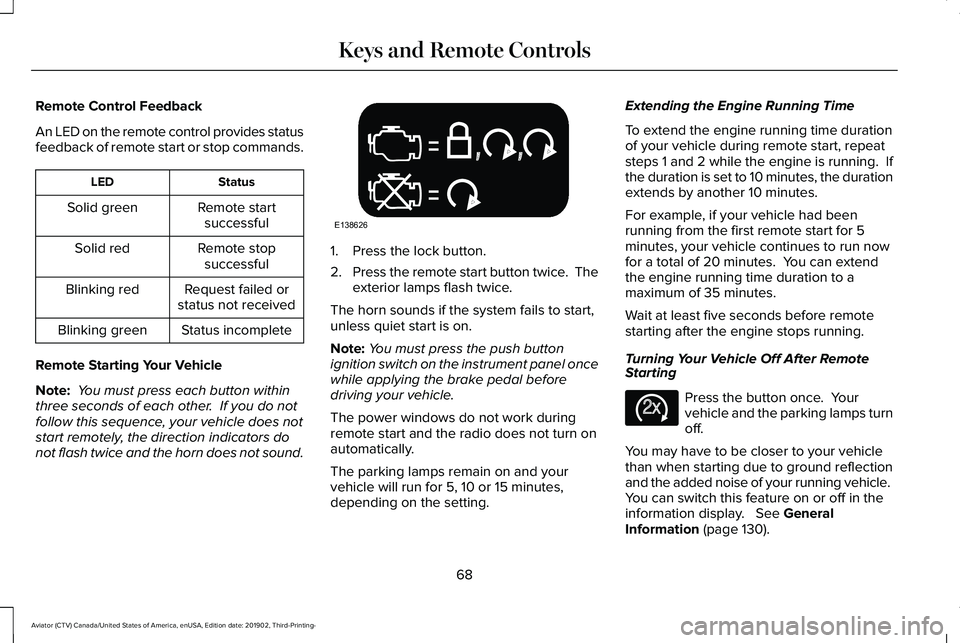
Remote Control Feedback
An LED on the remote control provides status
feedback of remote start or stop commands.
Status
LED
Remote startsuccessful
Solid green
Remote stopsuccessful
Solid red
Request failed or
status not received
Blinking red
Status incomplete
Blinking green
Remote Starting Your Vehicle
Note: You must press each button within
three seconds of each other. If you do not
follow this sequence, your vehicle does not
start remotely, the direction indicators do
not flash twice and the horn does not sound. 1. Press the lock button.
2.
Press the remote start button twice. The
exterior lamps flash twice.
The horn sounds if the system fails to start,
unless quiet start is on.
Note: You must press the push button
ignition switch on the instrument panel once
while applying the brake pedal before
driving your vehicle.
The power windows do not work during
remote start and the radio does not turn on
automatically.
The parking lamps remain on and your
vehicle will run for 5, 10 or 15 minutes,
depending on the setting. Extending the Engine Running Time
To extend the engine running time duration
of your vehicle during remote start, repeat
steps 1 and 2 while the engine is running. If
the duration is set to 10 minutes, the duration
extends by another 10 minutes.
For example, if your vehicle had been
running from the first remote start for 5
minutes, your vehicle continues to run now
for a total of 20 minutes. You can extend
the engine running time duration to a
maximum of 35 minutes.
Wait at least five seconds before remote
starting after the engine stops running.
Turning Your Vehicle Off After Remote
Starting
Press the button once. Your
vehicle and the parking lamps turn
off.
You may have to be closer to your vehicle
than when starting due to ground reflection
and the added noise of your running vehicle.
You can switch this feature on or off in the
information display. See General
Information (page 130).
68
Aviator (CTV) Canada/United States of America, enUSA, Edition date: 201902, Third-Printing- Keys and Remote ControlsE138626 E138625
Page 73 of 609
WHAT IS PHONE AS A KEY
Phone as a key allows you to use your phone
in place of a remote control.
You can use your phone for the following
functions:
•
Remote locking and unlocking.
• Passive entry and exit.
• Passive start.
• Remote start.
• Memory function recall.
PHONE AS A KEY LIMITATIONS
Limitations can vary based on the make and
model of your phone, phone location and
physical obstructions.
The following items could cause your phone
as a key to stop working:
• The approximate phone as a key range
is 131 ft (40 m).
• Your Bluetooth connection is not
enabled, is disrupted, or out of range. •
Your phone as a key is not active or
enabled on at least one phone.
• Your vehicle battery has depleted.
• Your phone battery has depleted.
• Your phone frequencies have jammed.
• Your phone is too close to metal objects
or other electronic devices.
PROGRAMMING YOUR PHONE
Refer to the Lincoln Way app for instructions
on registering your vehicle and programming
your phone as a key.
USING THE VALET MODE
1. Press Settings on the touchscreen.
2. Press Valet Mode.
Note: Have your backup start passcode
completely setup before using valet mode. Note:
Once the system detects a valid phone
as a key, the temporary passcode displays
in both the touchscreen and mobile app. If
the system does not detect a valid phone as
a key, it prompts you to enter your backup
start passcode. Once validated, the
temporary passcode displays on the
touchscreen.
3. Enter the first five digits of the passcode
on the keyless entry keypad to lock or
unlock your vehicle.
4. Enter the eight-digit passcode on the touchscreen to start and drive your
vehicle.
To disable valet mode, press Exit Valet Mode
on the touchscreen. Once the system detects
an authorized phone as a key, it disables. If
the system does not detect a valid phone as
a key, it prompts you to enter your backup
start passcode. Once validated, valet mode
disables.
70
Aviator (CTV) Canada/United States of America, enUSA, Edition date: 201902, Third-Printing- Phone as a Key
(If Equipped)
Page 99 of 609
Disarming the Alarm
Disarm the alarm by any of the following
actions:
•
Press the power door unlock button
within the 20-second pre-armed mode.
• Unlock the doors with the remote control
or keyless entry keypad. If equipped with
intelligent access, you can use the unlock
sensor on the exterior door handle. See
Locking and Unlocking (page 78).
• Switch the ignition on or start your
vehicle.
• Use a key in the driver door lock cylinder
to unlock your vehicle, then switch the
ignition on within 12 seconds.
Note: Pressing the panic button on the
remote control stops the horn and direction
indicators, but does not disarm the system.
96
Aviator (CTV) Canada/United States of America, enUSA, Edition date: 201902, Third-Printing- Security
Page 107 of 609
Autowipers Settings
This setting defaults to on and remains on
until you switch it off in the touchscreen.
When you switch off autowipers, the wipers
operate in intermittent mode.
Low Temperature Wipe Inhibit
The rain sensing feature will not operate
immediately after starting your vehicle when
it is in park (P) and the outside temperature
is below 32°F (0°C). You can switch on the
wipers by adjusting the rain sensor sensitivity
or adjusting the wiper speed.
This prevents damage to the wiper blades
from ice and snow on the windshield. WINDSHIELD WASHERS Pull the lever toward you to
operate the windshield washers.
When you release the lever, the wipers
operate for a short time. When activated, a
courtesy wipe occurs a short time after the
wipers stop to clear any remaining washer
fluid.
Note: You can switch courtesy wipe on or
off in the touchscreen.
Note: Do not operate the washers when the
washer reservoir is empty. This could cause
the washer pump to overheat. Front Camera Washer
(If Equipped)
Operating the windshield washer also turns
on the front camera washer.
REAR WINDOW WIPER AND
WASHERS
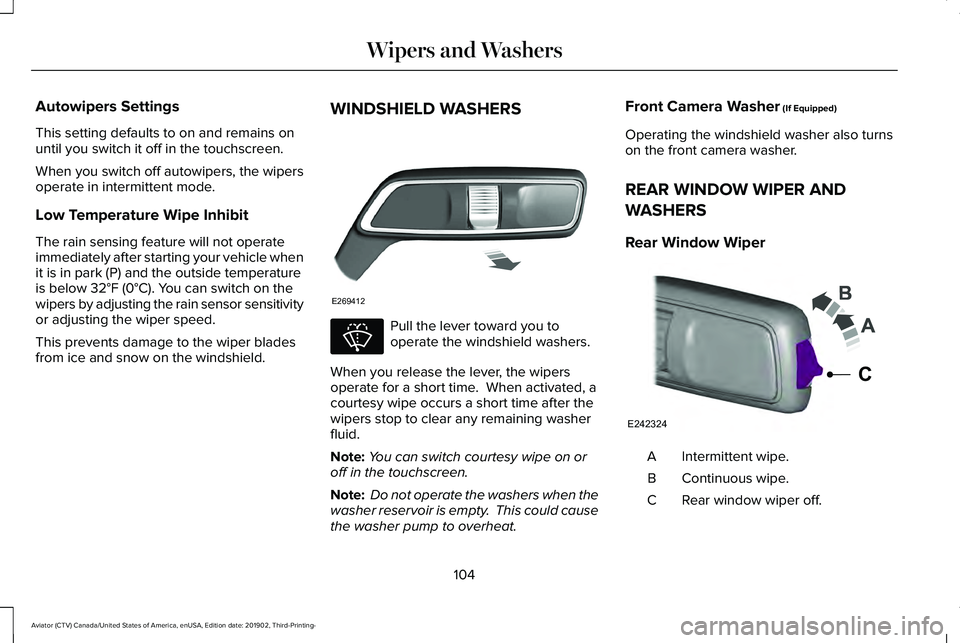
Rear Window Wiper Intermittent wipe.
A
Continuous wipe.
B
Rear window wiper off.
C
104
Aviator (CTV) Canada/United States of America, enUSA, Edition date: 201902, Third-Printing- Wipers and WashersE269412 E270967 E242324
C
Page 119 of 609
POWER WINDOWS
WARNING: Do not leave children
unattended in your vehicle and do not let
them play with the power windows. Failure
to follow this instruction could result in
personal injury. WARNING:
When closing the power
windows, verify they are free of obstruction
and make sure that children and pets are
not in the proximity of the window
openings. Note:
You may hear a pulsing noise when
just one of the windows is open. Lower the
opposite window slightly to reduce this
noise.
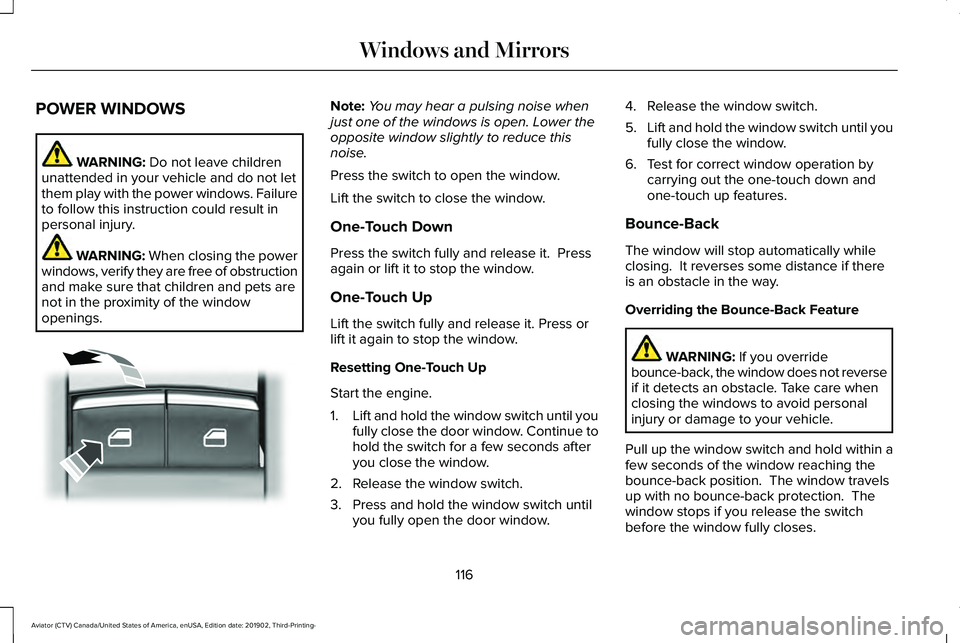
Press the switch to open the window.
Lift the switch to close the window.
One-Touch Down
Press the switch fully and release it. Press
again or lift it to stop the window.
One-Touch Up
Lift the switch fully and release it. Press or
lift it again to stop the window.
Resetting One-Touch Up
Start the engine.
1. Lift and hold the window switch until you
fully close the door window. Continue to
hold the switch for a few seconds after
you close the window.
2. Release the window switch.
3. Press and hold the window switch until you fully open the door window. 4. Release the window switch.
5.
Lift and hold the window switch until you
fully close the window.
6. Test for correct window operation by carrying out the one-touch down and
one-touch up features.
Bounce-Back
The window will stop automatically while
closing. It reverses some distance if there
is an obstacle in the way.
Overriding the Bounce-Back Feature WARNING:
If you override
bounce-back, the window does not reverse
if it detects an obstacle. Take care when
closing the windows to avoid personal
injury or damage to your vehicle.
Pull up the window switch and hold within a
few seconds of the window reaching the
bounce-back position. The window travels
up with no bounce-back protection. The
window stops if you release the switch
before the window fully closes.
116
Aviator (CTV) Canada/United States of America, enUSA, Edition date: 201902, Third-Printing- Windows and MirrorsE295317
Page 120 of 609
Window Lock
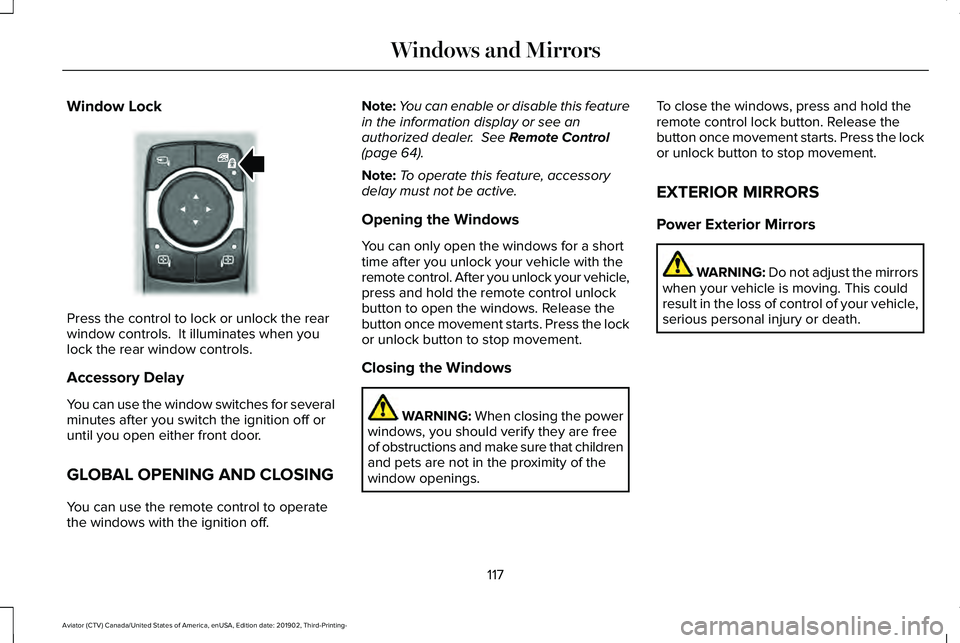
Press the control to lock or unlock the rear
window controls. It illuminates when you
lock the rear window controls.
Accessory Delay
You can use the window switches for several
minutes after you switch the ignition off or
until you open either front door.
GLOBAL OPENING AND CLOSING
You can use the remote control to operate
the windows with the ignition off. Note:
You can enable or disable this feature
in the information display or see an
authorized dealer. See Remote Control
(page 64).
Note: To operate this feature, accessory
delay must not be active.
Opening the Windows
You can only open the windows for a short
time after you unlock your vehicle with the
remote control. After you unlock your vehicle,
press and hold the remote control unlock
button to open the windows. Release the
button once movement starts. Press the lock
or unlock button to stop movement.
Closing the Windows WARNING:
When closing the power
windows, you should verify they are free
of obstructions and make sure that children
and pets are not in the proximity of the
window openings. To close the windows, press and hold the
remote control lock button. Release the
button once movement starts. Press the lock
or unlock button to stop movement.
EXTERIOR MIRRORS
Power Exterior Mirrors
WARNING: Do not adjust the mirrors
when your vehicle is moving. This could
result in the loss of control of your vehicle,
serious personal injury or death.
117
Aviator (CTV) Canada/United States of America, enUSA, Edition date: 201902, Third-Printing- Windows and MirrorsE295318
Page 128 of 609
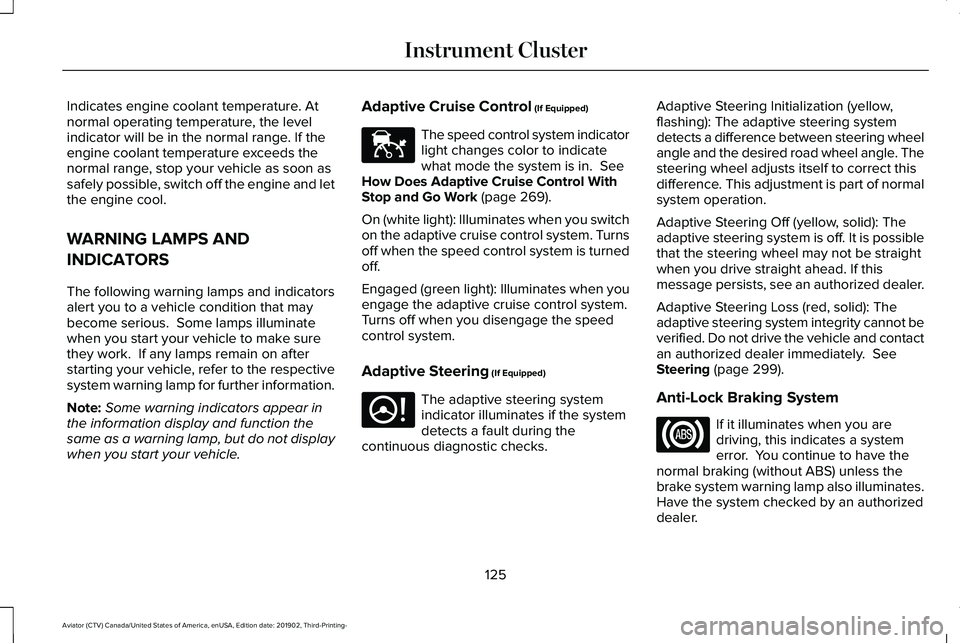
Indicates engine coolant temperature. At
normal operating temperature, the level
indicator will be in the normal range. If the
engine coolant temperature exceeds the
normal range, stop your vehicle as soon as
safely possible, switch off the engine and let
the engine cool.
WARNING LAMPS AND
INDICATORS
The following warning lamps and indicators
alert you to a vehicle condition that may
become serious. Some lamps illuminate
when you start your vehicle to make sure
they work. If any lamps remain on after
starting your vehicle, refer to the respective
system warning lamp for further information.
Note:
Some warning indicators appear in
the information display and function the
same as a warning lamp, but do not display
when you start your vehicle. Adaptive Cruise Control (If Equipped) The speed control system indicator
light changes color to indicate
what mode the system is in.
See
How Does Adaptive Cruise Control With
Stop and Go Work
(page 269).
On (white light): Illuminates when you switch
on the adaptive cruise control system. Turns
off when the speed control system is turned
off.
Engaged (green light): Illuminates when you
engage the adaptive cruise control system.
Turns off when you disengage the speed
control system.
Adaptive Steering
(If Equipped) The adaptive steering system
indicator illuminates if the system
detects a fault during the
continuous diagnostic checks. Adaptive Steering Initialization (yellow,
flashing): The adaptive steering system
detects a difference between steering wheel
angle and the desired road wheel angle. The
steering wheel adjusts itself to correct this
difference. This adjustment is part of normal
system operation.
Adaptive Steering Off (yellow, solid): The
adaptive steering system is off. It is possible
that the steering wheel may not be straight
when you drive straight ahead. If this
message persists, see an authorized dealer.
Adaptive Steering Loss (red, solid): The
adaptive steering system integrity cannot be
verified. Do not drive the vehicle and contact
an authorized dealer immediately.
See
Steering (page 299).
Anti-Lock Braking System If it illuminates when you are
driving, this indicates a system
error. You continue to have the
normal braking (without ABS) unless the
brake system warning lamp also illuminates.
Have the system checked by an authorized
dealer.
125
Aviator (CTV) Canada/United States of America, enUSA, Edition date: 201902, Third-Printing- Instrument ClusterE144524 E223375
Page 129 of 609
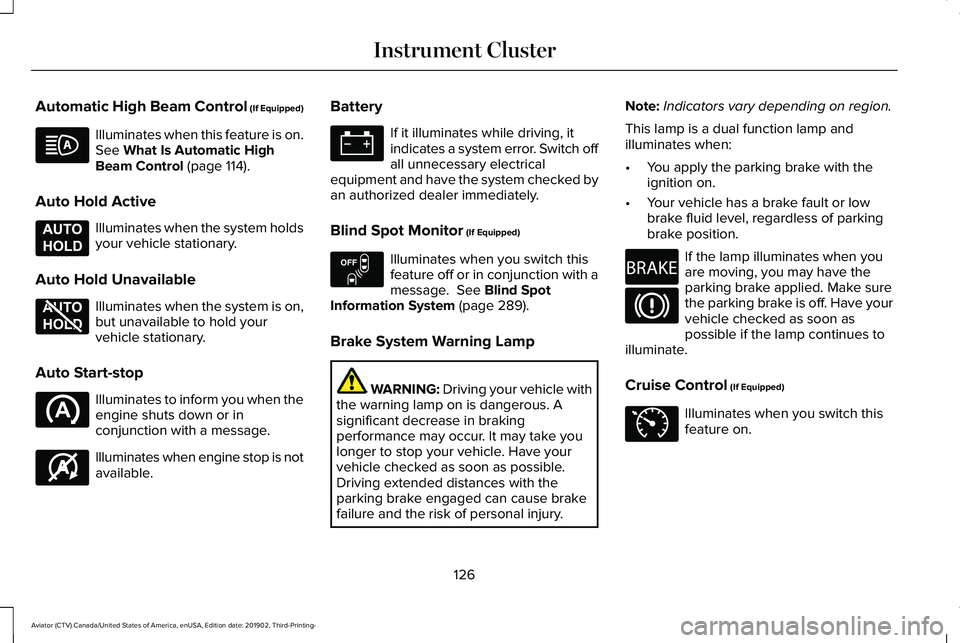
Automatic High Beam Control (If Equipped)
Illuminates when this feature is on.
See What Is Automatic High
Beam Control (page 114).
Auto Hold Active Illuminates when the system holds
your vehicle stationary.
Auto Hold Unavailable Illuminates when the system is on,
but unavailable to hold your
vehicle stationary.
Auto Start-stop Illuminates to inform you when the
engine shuts down or in
conjunction with a message.
Illuminates when engine stop is not
available. Battery If it illuminates while driving, it
indicates a system error. Switch off
all unnecessary electrical
equipment and have the system checked by
an authorized dealer immediately.
Blind Spot Monitor
(If Equipped) Illuminates when you switch this
feature off or in conjunction with a
message.
See Blind Spot
Information System (page 289).
Brake System Warning Lamp WARNING:
Driving your vehicle with
the warning lamp on is dangerous. A
significant decrease in braking
performance may occur. It may take you
longer to stop your vehicle. Have your
vehicle checked as soon as possible.
Driving extended distances with the
parking brake engaged can cause brake
failure and the risk of personal injury. Note:
Indicators vary depending on region.
This lamp is a dual function lamp and
illuminates when:
• You apply the parking brake with the
ignition on.
• Your vehicle has a brake fault or low
brake fluid level, regardless of parking
brake position. If the lamp illuminates when you
are moving, you may have the
parking brake applied. Make sure
the parking brake is off. Have your
vehicle checked as soon as
possible if the lamp continues to
illuminate.
Cruise Control (If Equipped) Illuminates when you switch this
feature on.
126
Aviator (CTV) Canada/United States of America, enUSA, Edition date: 201902, Third-Printing- Instrument Cluster E197933 E197934 E146361 E151262 E270480 E71340