tires LINCOLN MKC 2016 Owners Manual
[x] Cancel search | Manufacturer: LINCOLN, Model Year: 2016, Model line: MKC, Model: LINCOLN MKC 2016Pages: 432, PDF Size: 4.89 MB
Page 8 of 432
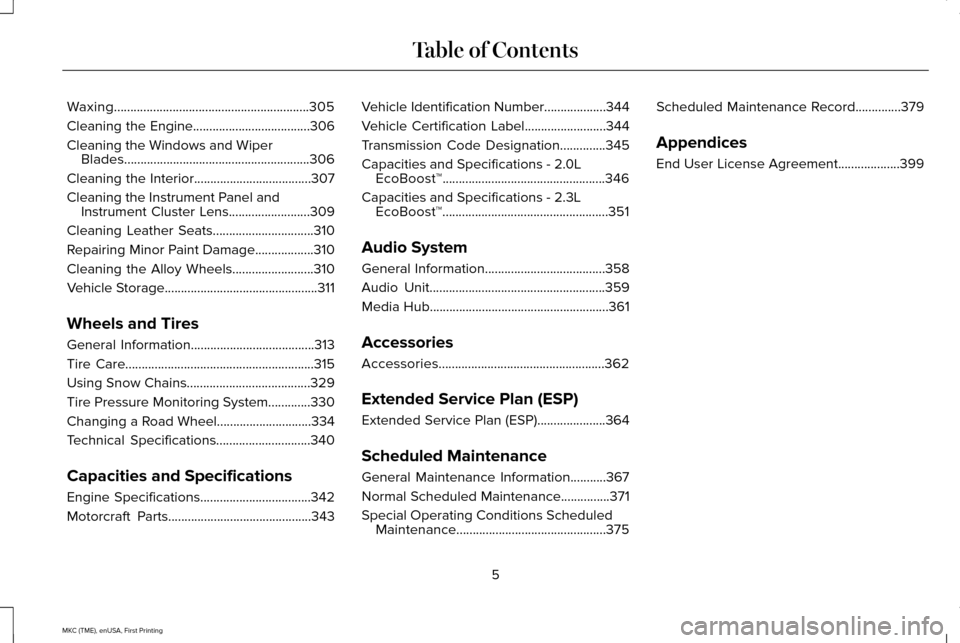
Waxing............................................................305
Cleaning the Engine....................................306
Cleaning the Windows and Wiper
Blades.........................................................306
Cleaning the Interior....................................307
Cleaning the Instrument Panel and Instrument Cluster Lens.........................309
Cleaning Leather Seats...............................310
Repairing Minor Paint Damage..................310
Cleaning the Alloy Wheels.........................310
Vehicle Storage...............................................311
Wheels and Tires
General Information......................................313
Tire Care
..........................................................315
Using Snow Chains......................................329
Tire Pressure Monitoring System.............330
Changing a Road Wheel.............................334
Technical Specifications
.............................340
Capacities and Specifications
Engine Specifications..................................342
Motorcraft Parts............................................343 Vehicle Identification Number...................344
Vehicle Certification Label.........................344
Transmission Code Designation
..............345
Capacities and Specifications -
2.0L
EcoBoost™..................................................346
Capacities and Specifications -
2.3L
EcoBoost™...................................................351
Audio System
General Information.....................................358
Audio Unit......................................................359
Media Hub.......................................................361
Accessories
Accessories...................................................362
Extended Service Plan (ESP)
Extended Service Plan (ESP).....................364
Scheduled Maintenance
General Maintenance Information
...........367
Normal Scheduled Maintenance...............371
Special Operating Conditions Scheduled Maintenance..............................................375 Scheduled Maintenance Record..............379
Appendices
End User License Agreement...................399
5
MKC (TME), enUSA, First Printing Table of Contents
Page 94 of 432
When switched off in the information display,
the daytime running lamps are off in all
lighting control switch positions.
AUTOMATIC HIGH BEAM
CONTROL (If Equipped)
The system automatically turns on the high
beams if it is dark enough and no other traffic
is present. When it detects the headlights of
an approaching vehicle, the rear lamps of
the preceding vehicle or street lighting, the
system turns off the high beams before they
distract other drivers. The low beams remain
on.
Note: If it appears that automatic high beam
is not functioning properly, check the
windshield in front of the camera for a
blockage. A clear view of the road is
required for proper system operation. Make
sure that authorized personnel repair any
windshield damage in the area of the
camera's field of view. Note:
If the system detects a blockage such
as bird droppings, bug splatter, snow or ice,
and you do not observe changes, the system
may go into low beam mode until you clear
the blockage. A message may also appear
in the information display noting the front
camera is blocked.
Note: Typical road dust, dirt and water spots
do not affect the performance of the
automatic high beam control. However, in
cold or inclement weather conditions, you
may notice a decrease in the availability of
the automatic high beam control, especially
at start up. If you want to change the beam
state independently of the system, you may
switch the high beams on or off using the
lighting control switch. Automatic high beam
control resumes when conditions are correct.
Note: Modification of your vehicle ride height
such as using much larger tires, may
degrade feature performance.
A camera sensor, centrally mounted behind
the windshield of your vehicle, continuously
monitors conditions to decide when to switch
the high beams off and on. Once the system is active, the high beams
switch on if:
•
The ambient light level is low enough.
• There is no traffic in front of the vehicle.
• The vehicle speed is greater than
31 mph
(50 km/h).
The high beams switch off if:
• The system detects the headlamps of an
approaching vehicle or the rear lamps of
a preceding vehicle.
• Vehicle speed falls below
26 mph
(42 km/h).
• The ambient light level is high enough
that high beams are not required.
• The system detects severe rain, snow or
fog.
• The camera is blocked.
Activating the System
Switch on the system in the information
display and switch the lighting control to the
autolamps position.
See Information
Displays (page 109). See Autolamps (page
88).
91
MKC (TME), enUSA, First Printing Lighting
Page 132 of 432
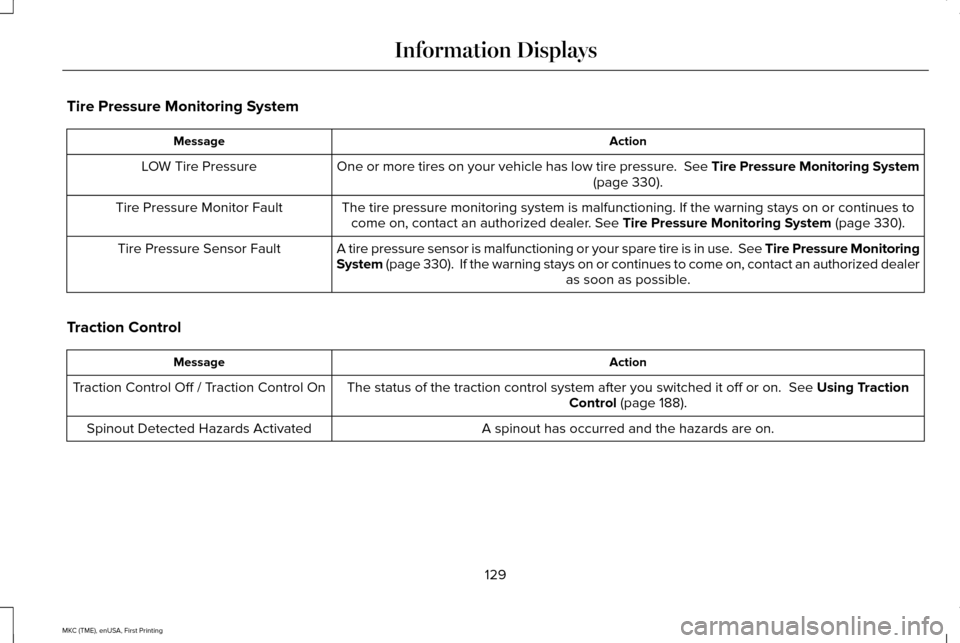
Tire Pressure Monitoring System
Action
Message
One or more tires on your vehicle has low tire pressure. See Tire Pressure Monitoring System (page 330).
LOW Tire Pressure
The tire pressure monitoring system is malfunctioning. If the warning st\
ays on or continues tocome on, contact an authorized dealer.
See Tire Pressure Monitoring System (page 330).
Tire Pressure Monitor Fault
A tire pressure sensor is malfunctioning or your spare tire is in use. See Tire Pressure Monitoring
System (page 330). If the warning stays on or continues to come on, contact\
an authorized dealer as soon as possible.
Tire Pressure Sensor Fault
Traction Control Action
Message
The status of the traction control system after you switched it off or o\
n.
See Using Traction
Control (page 188).
Traction Control Off / Traction Control On
A spinout has occurred and the hazards are on.
Spinout Detected Hazards Activated
129
MKC (TME), enUSA, First Printing Information Displays
Page 180 of 432
Note:
Do not rock your vehicle for more than
a minute or damage to your transmission
and tires may occur, or your engine may
overheat.
If your vehicle gets stuck in mud or snow,
you can help rock your vehicle out by shifting
between forward and reverse gears,
stopping between shifts in a steady pattern.
Press lightly on the accelerator in each gear.
177
MKC (TME), enUSA, First Printing Transmission
Page 183 of 432
To resume operation, switch the ignition off
and allow the system to cool down for a
minimum of 15 minutes. After the system has
cooled down, you will see a brief message
display in the information display. See
Information Messages (page 115).
When driving at slow speeds in deep sand
under high outside temperatures, use a low
gear when possible. Low gear operation will
maximize the engine and transmission
cooling capability.
Tips when driving over sand:
• Keep all four wheels on the most solid
area of the trail.
• Shift to a lower gear.
• Apply the accelerator slowly.
• Drive steadily through the terrain.
• Avoid excessive wheel spin.
• Avoid reducing the tire pressures. Mud and Water
Mud
Avoid sudden changes in vehicle speed or
direction when you are driving in mud. Even
all-wheel drive vehicles can lose traction in
mud. If your vehicle does slide, steer in the
direction of the slide until you regain control
of your vehicle.
After driving through mud, clean off excess
mud stuck to rotating driveshafts and tires.
Excess mud stuck on tires and rotating
driveshafts can cause an imbalance that
could damage drive components.
Water
Drive slowly through high water. Traction or
brake capability may be limited.
When driving through water, determine the
depth and avoid water higher than the
bottom of the wheel rims. If the ignition
system gets wet, your vehicle may stall. Once through water, always try the brakes.
Wet brakes will not stop your vehicle as
quickly as dry brakes. Apply light pressure
to the brake pedal while slowly moving the
vehicle to dry the brakes.
Note:
Driving through deep water may
damage the transmission. If the front or rear
axle is submerged in water, have the power
transfer unit (PTU) or rear axle serviced by
an authorized dealer.
Driving on Hilly or Sloping Terrain
Although natural obstacles may make it
necessary to travel diagonally up or down a
hill or steep incline, always try to drive
straight up or straight down the sloping
terrain.
Note: To maintain traction and avoid
possibly rolling your vehicle, avoid turning
on steep slopes or hills. When you drive on
a hill, determine beforehand the route you
will use. Do not drive over a hill without first
seeing what is on the other side. Do not drive
in reverse over a hill without the aid of an
observer.
180
MKC (TME), enUSA, First Printing All-Wheel Drive
(If Equipped)
Page 184 of 432
Start climbing a steep slope or hill in a low
gear rather than downshifting to a low gear
from a high gear after you have started your
climb. This reduces strain on the engine and
the possibility of stalling.
If your vehicle stalls, do not try to turn
around. Turning could cause the vehicle to
roll over. Instead, reverse back to a safe
location.
Apply just enough power to the wheels to
climb the hill. Too much power will cause the
tires to slip, spin or lose traction, and you
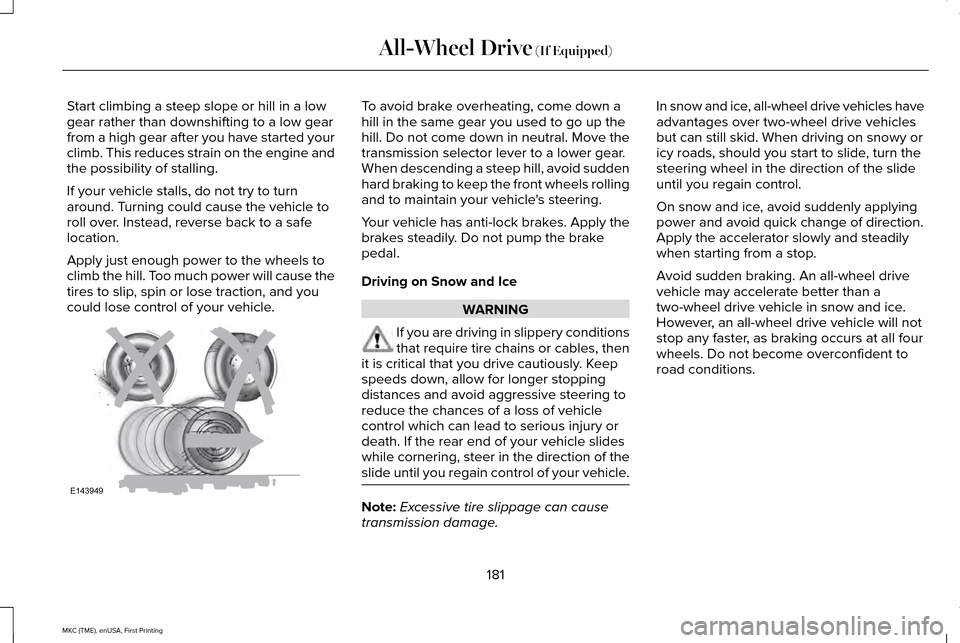
could lose control of your vehicle. To avoid brake overheating, come down a
hill in the same gear you used to go up the
hill. Do not come down in neutral. Move the
transmission selector lever to a lower gear.
When descending a steep hill, avoid sudden
hard braking to keep the front wheels rolling
and to maintain your vehicle's steering.
Your vehicle has anti-lock brakes. Apply the
brakes steadily. Do not pump the brake
pedal.
Driving on Snow and Ice
WARNING
If you are driving in slippery conditions
that require tire chains or cables, then
it is critical that you drive cautiously. Keep
speeds down, allow for longer stopping
distances and avoid aggressive steering to
reduce the chances of a loss of vehicle
control which can lead to serious injury or
death. If the rear end of your vehicle slides
while cornering, steer in the direction of the
slide until you regain control of your vehicle. Note:
Excessive tire slippage can cause
transmission damage. In snow and ice, all-wheel drive vehicles have
advantages over two-wheel drive vehicles
but can still skid. When driving on snowy or
icy roads, should you start to slide, turn the
steering wheel in the direction of the slide
until you regain control.
On snow and ice, avoid suddenly applying
power and avoid quick change of direction.
Apply the accelerator slowly and steadily
when starting from a stop.
Avoid sudden braking. An all-wheel drive
vehicle may accelerate better than a
two-wheel drive vehicle in snow and ice.
However, an all-wheel drive vehicle will not
stop any faster, as braking occurs at all four
wheels. Do not become overconfident to
road conditions.
181
MKC (TME), enUSA, First Printing All-Wheel Drive (If Equipped)E143949
Page 185 of 432
Make sure that you allow sufficient distance
between your vehicle and other vehicles for
stopping. On ice and snow, you should drive
more slowly than usual, and consider using
one of the lower gears. In emergency
stopping situations, steadily apply the brake.
Your vehicle has a four wheel anti-lock brake
system, do not pump the brake pedal. See
Hints on Driving With Anti-Lock Brakes
(page
183).
If Your Vehicle Gets Stuck In Mud or Snow
If your vehicle becomes stuck in mud or
snow, shift between forward and reverse
gears, and, in a steady pattern, stop between
shifts. Press lightly on the accelerator with
each shift. Rocking your vehicle this way may
dislodge your vehicle.
Note: Do not rock your vehicle if the engine
is not at normal operating temperature,
damage to the transmission may occur.
Note: Do not rock your vehicle for more than
a minute, damage to the transmission and
tires may occur or the engine may overheat. Maintenance and Modifications
The suspension and steering systems on
your vehicle provides predictable
performance whether your vehicle is loaded
or empty. For this reason, we recommend
that you do not make modifications to your
vehicle (lift kits or stabilizer bars) or use
replacement parts not equivalent to the
original factory equipment.
We recommend that you use caution when
your vehicle has either a high load or device
(ladder or luggage racks). Modifications to
your vehicle that raise the center of gravity
may cause your vehicle to tip if you should
lose vehicle control.
Failure to maintain your vehicle correctly may
void the warranty, increase your repair cost,
reduce vehicle performance and operational
capabilities, and adversely affect you and
your passenger's safety. We recommend that
you frequently inspect your vehicle's chassis
components if your vehicle is subject to
off-road use.
182
MKC (TME), enUSA, First Printing All-Wheel Drive
(If Equipped)
Page 193 of 432
PRINCIPLE OF OPERATION
WARNINGS
Vehicle modifications involving braking
system, aftermarket roof racks,
suspension, steering system, tire
construction and wheel and tire size may
change the handling characteristics of your
vehicle and may adversely affect the
performance of the electronic stability control
system. In addition, installing any stereo
loudspeakers may interfere with and
adversely affect the electronic stability
control system. Install any aftermarket stereo
loudspeaker as far as possible from the front
center console, the tunnel, and the front
seats in order to minimize the risk of
interfering with the electronic stability control
sensors. Reducing the effectiveness of the
electronic stability control system could lead
to an increased risk of loss of vehicle control,
vehicle rollover, personal injury and death. WARNINGS
Remember that even advanced
technology cannot defy the laws of
physics. It’ s always possible to lose control
of a vehicle due to inappropriate driver input
for the conditions. Aggressive driving on any
road condition can cause you to lose control
of your vehicle increasing the risk of personal
injury or property damage. Activation of the
electronic stability control system is an
indication that at least some of the tires have
exceeded their ability to grip the road; this
could reduce the operator’ s ability to control
the vehicle potentially resulting in a loss of
vehicle control, vehicle rollover, personal
injury and death. If your electronic stability
control system activates, SLOW DOWN. The system automatically turns on each time
you switch the ignition on.
If a driving condition activates either the
stability control or the traction control system
you may experience the following conditions:
•
The stability and traction control light
flashes.
• Your vehicle slows down. •
Reduced engine power.
• A vibration in the brake pedal.
• The brake pedal is stiffer than usual.
• If the driving condition is severe and your
foot is not on the brake, the brake pedal
may move as the systems applies higher
brake forces.
The stability control system has several
features built into it to help you maintain
control of your vehicle:
Electronic Stability Control
The system enhances your vehicle ’s ability
to prevent skids or lateral slides by applying
brakes to one or more of the wheels
individually and, if necessary, reducing
engine power.
Roll Stability Control
The system enhances your vehicle ’s ability
to prevent rollovers by detecting your
vehicle ’s roll motion and the rate at which it
changes by applying the brakes to one or
more wheels individually.
190
MKC (TME), enUSA, First Printing Stability Control
Page 202 of 432
![LINCOLN MKC 2016 Owners Manual The system does not position the vehicle where I want in the space
Your vehicle is rolling in the opposite direction of the transmission (r\
olling forward when reverse [R] is selected)
An irregular c LINCOLN MKC 2016 Owners Manual The system does not position the vehicle where I want in the space
Your vehicle is rolling in the opposite direction of the transmission (r\
olling forward when reverse [R] is selected)
An irregular c](/img/15/6903/w960_6903-201.png)
The system does not position the vehicle where I want in the space
Your vehicle is rolling in the opposite direction of the transmission (r\
olling forward when reverse [R] is selected)
An irregular curb along the parking space prevents the system from align\
ing your vehicle properly
Vehicles or objects bordering the space may not be positioned correctly
You pulled your vehicle too far past the parking space. The system performs best when you drive the same distance past the par\
king space
The tires may not be installed or maintained correctly (not inflated co\
rrectly, improper size, or of different sizes)
A repair or alteration has changed detection capabilities
A parked vehicle has a high attachment (salt sprayer, snowplow, moving truck bed, etc.)
The parking space length or position of parked objects changed after your vehicle passed
The temperature around your vehicle changes quickly (driving from a hea\
ted garage into the cold, or after leaving a car wash)
REAR VIEW CAMERA WARNINGS
The rear view camera system is a
reverse aid supplement device that still
requires the driver to use it in conjunction
with the interior and exterior mirrors for
maximum coverage. WARNINGS
Objects that are close to either corner
of the bumper or under the bumper,
might not be seen on the screen due to the
limited coverage of the camera system. Back up as slow as possible since
higher speeds might limit your reaction
time to stop your vehicle. WARNINGS
Use caution when using the rear video
camera and the luggage compartment
door is ajar. If the luggage compartment door
is ajar, the camera will be out of position and
the video image may be incorrect. All
guidelines disappear when the luggage
compartment door is ajar.
199
MKC (TME), enUSA, First Printing Parking Aids
Page 211 of 432
Changing the Set Speed
•
Press and release SET+ or SET-. The set
speed changes in 5 mph (5 km/h)
increments.
• Press the accelerator or brake pedal until
you reach the desired speed. Press and
release
SET+.
• Press and hold
SET+ or SET-. Release
the control when you reach the desired
speed.
The system may apply the brakes to slow
the vehicle to the new set speed. The set
speed displays continuously in the
information display when the system is
active.
Canceling the Set Speed
Press the brake pedal or press and release
CNCL
. The last set speed displays with a
strikethrough.
Resuming the Set Speed
Note: Only use resume if you are aware of
the set speed and intend to return to it. Press and release
RES. The vehicle returns
to the previously set speed. The set speed
shows continuously in the information display
while the system is active.
Automatic Cancellation
The system does not operate below
12 mph
(20 km/h). An audible warning sounds and
the automatic braking releases if the vehicle
drops below this speed.
Automatic cancellation can also occur if:
• The tires lose traction.
• The engine speed is too low.
• You apply the parking brake.
Note: If the engine speed drops too low, the
information display indicates low engine
speed. Shift to a lower gear (manual
transmission only) to avoid automatic
cancellation. Hilly Condition Usage
Note:
An audible alarm sounds and the
system shuts down if it applies brakes for an
extended period of time. This allows the
brakes to cool. The system functions
normally again when the brakes have
cooled.
You should select a lower gear when the
system is active in situations such as
prolonged downhill driving on steep grades,
for example in mountainous areas. The
system needs additional engine braking in
these situations to reduce the load on the
vehicle ’s regular brake system to prevent it
from overheating.
Switching the System Off
Note: The set speed memory erases when
you switch off the system.
Press and release OFF
or turn off the ignition.
208
MKC (TME), enUSA, First Printing Cruise Control