LINCOLN MKX 2018 Owners Manual
Manufacturer: LINCOLN, Model Year: 2018, Model line: MKX, Model: LINCOLN MKX 2018Pages: 603, PDF Size: 4.94 MB
Page 161 of 603
WARNINGS
Do not use the memory function whenyour vehicle is moving.
This feature automatically recalls the positionof the following:
•Driver seat.
•Power mirrors.
•Optional power adjustable foot pedals.
•Optional power steering column.
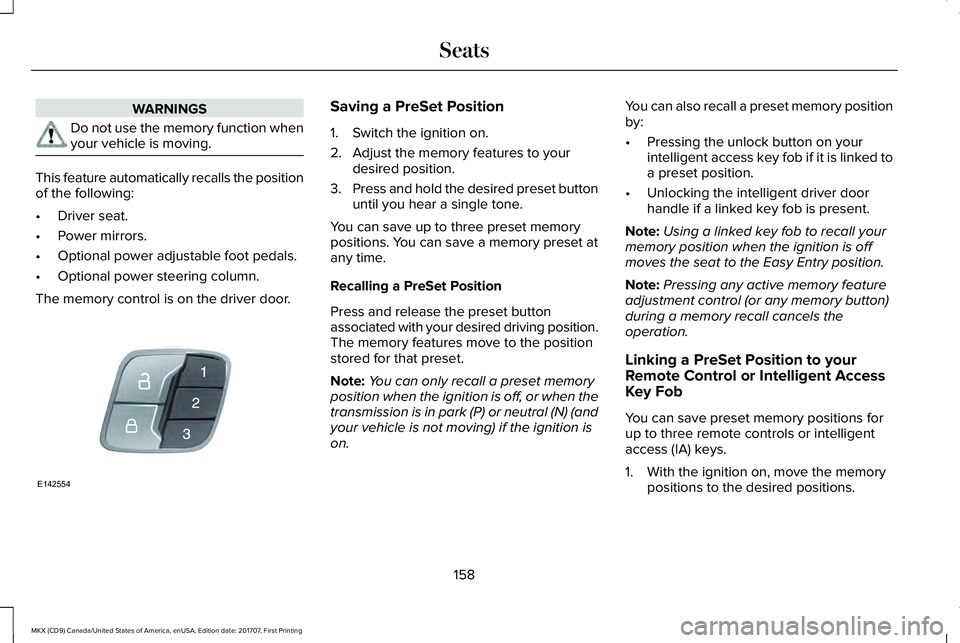
The memory control is on the driver door.
Saving a PreSet Position
1. Switch the ignition on.
2. Adjust the memory features to yourdesired position.
3.Press and hold the desired preset buttonuntil you hear a single tone.
You can save up to three preset memorypositions. You can save a memory preset atany time.
Recalling a PreSet Position
Press and release the preset buttonassociated with your desired driving position.The memory features move to the positionstored for that preset.
Note:You can only recall a preset memoryposition when the ignition is off, or when thetransmission is in park (P) or neutral (N) (andyour vehicle is not moving) if the ignition ison.
You can also recall a preset memory positionby:
•Pressing the unlock button on yourintelligent access key fob if it is linked toa preset position.
•Unlocking the intelligent driver doorhandle if a linked key fob is present.
Note:Using a linked key fob to recall yourmemory position when the ignition is offmoves the seat to the Easy Entry position.
Note:Pressing any active memory featureadjustment control (or any memory button)during a memory recall cancels theoperation.
Linking a PreSet Position to yourRemote Control or Intelligent AccessKey Fob
You can save preset memory positions forup to three remote controls or intelligentaccess (IA) keys.
1. With the ignition on, move the memorypositions to the desired positions.
158
MKX (CD9) Canada/United States of America, enUSA, Edition date: 201707, First Printing
SeatsE142554
Page 162 of 603
2.Press and hold the desired preset buttonfor about five seconds. A tone soundsafter about two seconds. Continueholding until you hear a second tone.
3. Within three seconds, press the lockbutton on the remote control you arelinking.
To unlink a remote control, follow the sameprocedure – except in step 3, press theunlock button on the remote control.
Note:If more than one linked remote controlor intelligent access key is in range, thememory function moves to the settings ofthe first key to initiate a memory recall.
Easy Entry and Exit Feature
If you enable the easy entry and exit feature,it automatically moves the driver seatposition rearward up to 2 in (5 cm) when youswitch the ignition off.
The driver seat will return to its previousposition when you switch the ignition on.
You can enable or disable this feature in theinformation display. See InformationDisplays (page 118).
REAR SEATS
Adjusting the Rear Seats
WARNING
To prevent possible damage to theseat or safety belts, make sure that thesafety belts are not buckled when foldingthe seatback.
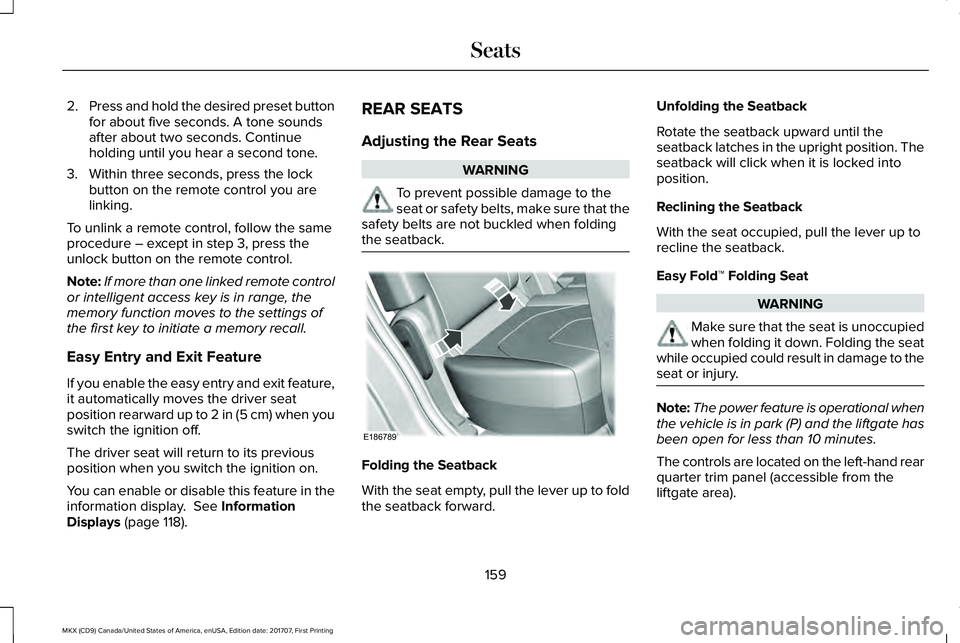
Folding the Seatback
With the seat empty, pull the lever up to foldthe seatback forward.
Unfolding the Seatback
Rotate the seatback upward until theseatback latches in the upright position. Theseatback will click when it is locked intoposition.
Reclining the Seatback
With the seat occupied, pull the lever up torecline the seatback.
Easy Fold™ Folding Seat
WARNING
Make sure that the seat is unoccupiedwhen folding it down. Folding the seatwhile occupied could result in damage to theseat or injury.
Note:The power feature is operational whenthe vehicle is in park (P) and the liftgate hasbeen open for less than 10 minutes.
The controls are located on the left-hand rearquarter trim panel (accessible from theliftgate area).
159
MKX (CD9) Canada/United States of America, enUSA, Edition date: 201707, First Printing
SeatsE186789
Page 163 of 603
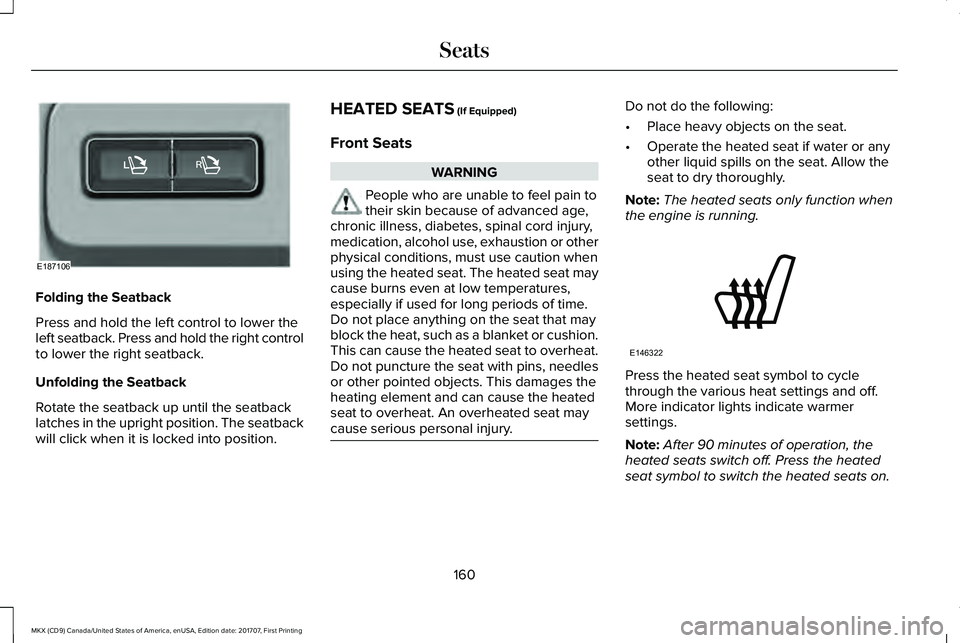
Folding the Seatback
Press and hold the left control to lower theleft seatback. Press and hold the right controlto lower the right seatback.
Unfolding the Seatback
Rotate the seatback up until the seatbacklatches in the upright position. The seatbackwill click when it is locked into position.
HEATED SEATS (If Equipped)
Front Seats
WARNING
People who are unable to feel pain totheir skin because of advanced age,chronic illness, diabetes, spinal cord injury,medication, alcohol use, exhaustion or otherphysical conditions, must use caution whenusing the heated seat. The heated seat maycause burns even at low temperatures,especially if used for long periods of time.Do not place anything on the seat that mayblock the heat, such as a blanket or cushion.This can cause the heated seat to overheat.Do not puncture the seat with pins, needlesor other pointed objects. This damages theheating element and can cause the heatedseat to overheat. An overheated seat maycause serious personal injury.
Do not do the following:
•Place heavy objects on the seat.
•Operate the heated seat if water or anyother liquid spills on the seat. Allow theseat to dry thoroughly.
Note:The heated seats only function whenthe engine is running.
Press the heated seat symbol to cyclethrough the various heat settings and off.More indicator lights indicate warmersettings.
Note:After 90 minutes of operation, theheated seats switch off. Press the heatedseat symbol to switch the heated seats on.
160
MKX (CD9) Canada/United States of America, enUSA, Edition date: 201707, First Printing
SeatsE187106 E146322
Page 164 of 603

Rear Seats
WARNING
People who are unable to feel pain totheir skin because of advanced age,chronic illness, diabetes, spinal cord injury,medication, alcohol use, exhaustion or otherphysical conditions, must use caution whenusing the heated seat. The heated seat maycause burns even at low temperatures,especially if used for long periods of time.Do not place anything on the seat that mayblock the heat, such as a blanket or cushion.This can cause the heated seat to overheat.Do not puncture the seat with pins, needlesor other pointed objects. This damages theheating element and can cause the heatedseat to overheat. An overheated seat maycause serious personal injury.
Do not do the following:
•Place heavy objects on the seat.
•Operate the seat heater if water or anyother liquid spills on the seat. Allow theseat to dry thoroughly.
Note:The heated seats only function whenthe engine is running.
The rear seat heat controls are on the rearof the center console.
Press the heated seat symbol to cyclethrough the various heat settings and off.More indicator lights indicate warmersettings.
Note:After an extended period of time, theheated seats switch off. Press the heatedseat symbol to switch the heated seats on.
CLIMATE CONTROLLED SEATS (If
Equipped)
Heated Seats
WARNING
People who are unable to feel pain totheir skin because of advanced age,chronic illness, diabetes, spinal cord injury,medication, alcohol use, exhaustion or otherphysical conditions, must exercise care whenusing the heated seat. The heated seat maycause burns even at low temperatures,especially if used for long periods of time.Do not place anything on the seat thatinsulates against heat, such as a blanket orcushion. This may cause the heated seat tooverheat. Do not puncture the seat with pins,needles or other pointed objects. This maydamage the heating element which maycause the heated seat to overheat. Anoverheated seat may cause serious personalinjury.
Note:Do not do the following:
•Place heavy objects on the seat.
•Operate the seat heater if water or anyother liquid spills on the seat. Allow theseat to dry thoroughly.
Note:The heated seats only function whenthe engine is running.
161
MKX (CD9) Canada/United States of America, enUSA, Edition date: 201707, First Printing
SeatsE146322
Page 165 of 603
Press the heated seat symbol to cyclethrough the various heat settings and off.More indicator lights indicate warmersettings.
Note:After 90 minutes of operation, theheated seats switch off. Press the heatedseat symbol to switch the heated seats on.
Cooled Seats
Note:The cooled seats only function whenthe engine is running.
Press the cooled seat symbol to cyclethrough the various cool settings and off.More indicator lights indicate cooler settings.
Climate controlled seat air filterreplacement
Your vehicle is equipped with lifetime airfilters that are integrated with the seats.Regular maintenance or replacement is notneeded.
REAR SEAT ARMREST
Fold the armrest down to use the armrestand cupholders.
The cupholders are located inside the rearseat armrest. To open the cupholders, pushthe plastic panel on the front edge of thearmrest. The cupholders will open.
Push the panel again to close thecupholders.
162
MKX (CD9) Canada/United States of America, enUSA, Edition date: 201707, First Printing
SeatsE146322 E146309 E201901
Page 166 of 603
(If Equipped)
HomeLink Wireless Control System
WARNINGS
Make sure that the garage door andsecurity device are free fromobstruction when you are programming. Donot program the system with the vehicle inthe garage.
Do not use the system with any garagedoor opener that does not have thesafety stop and reverse feature as requiredby U.S. Federal Safety Standards (thisincludes any garage door openermanufactured before April 1, 1982). A garagedoor opener which cannot detect an object,signaling the door to stop and reverse, doesnot meet current federal safety standards.Using a garage door opener without thesefeatures increases the risk of serious injuryor death.
Note:Make sure you keep the originalremote control transmitter for use in othervehicles as well as for future systemprogramming.
Note:We recommend that upon the sale orlease termination of your vehicle, you erasethe programmed function buttons for securityreasons. See Erasing the Function ButtonCodes later in this section.
Note:You can program a maximum of threedevices. To change or replace any of thethree devices after it has been initiallyprogrammed, you must first erase the currentsettings. See Erasing the Function ButtonCodes.
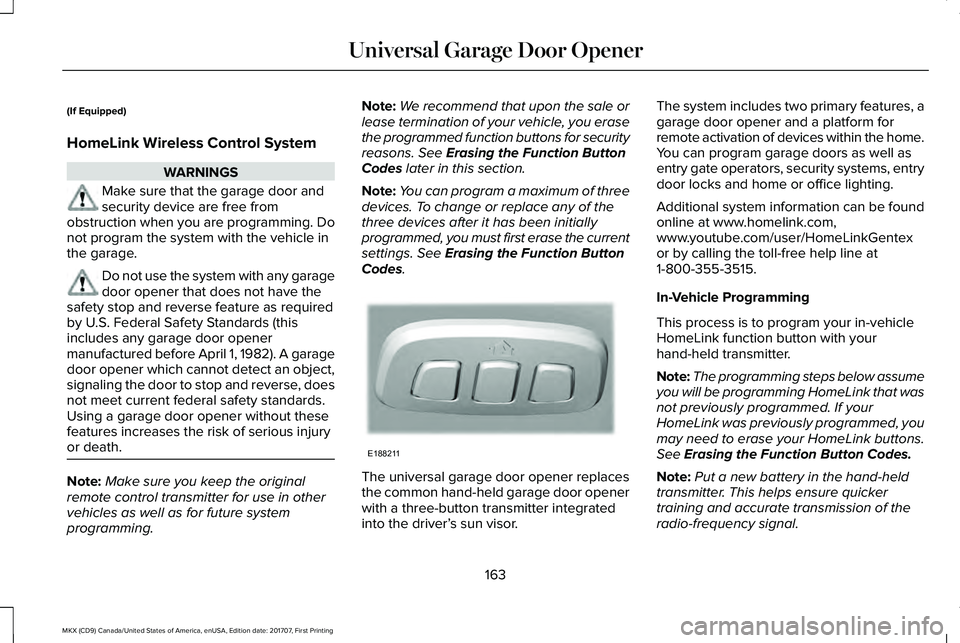
The universal garage door opener replacesthe common hand-held garage door openerwith a three-button transmitter integratedinto the driver’s sun visor.
The system includes two primary features, agarage door opener and a platform forremote activation of devices within the home.You can program garage doors as well asentry gate operators, security systems, entrydoor locks and home or office lighting.
Additional system information can be foundonline at www.homelink.com,www.youtube.com/user/HomeLinkGentexor by calling the toll-free help line at1-800-355-3515.
In-Vehicle Programming
This process is to program your in-vehicleHomeLink function button with yourhand-held transmitter.
Note:The programming steps below assumeyou will be programming HomeLink that wasnot previously programmed. If yourHomeLink was previously programmed, youmay need to erase your HomeLink buttons.See Erasing the Function Button Codes.
Note:Put a new battery in the hand-heldtransmitter. This helps ensure quickertraining and accurate transmission of theradio-frequency signal.
163
MKX (CD9) Canada/United States of America, enUSA, Edition date: 201707, First Printing
Universal Garage Door OpenerE188211
Page 167 of 603
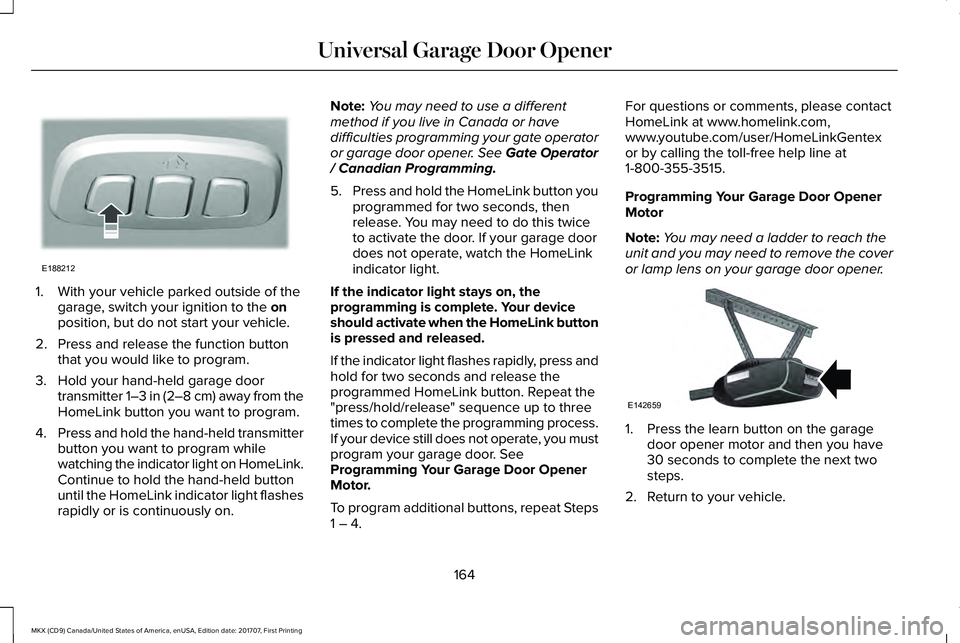
1. With your vehicle parked outside of thegarage, switch your ignition to the onposition, but do not start your vehicle.
2. Press and release the function buttonthat you would like to program.
3. Hold your hand-held garage doortransmitter 1–3 in (2–8 cm) away from theHomeLink button you want to program.
4.Press and hold the hand-held transmitterbutton you want to program whilewatching the indicator light on HomeLink.Continue to hold the hand-held buttonuntil the HomeLink indicator light flashesrapidly or is continuously on.
Note:You may need to use a differentmethod if you live in Canada or havedifficulties programming your gate operatoror garage door opener. See Gate Operator/ Canadian Programming.
5.Press and hold the HomeLink button youprogrammed for two seconds, thenrelease. You may need to do this twiceto activate the door. If your garage doordoes not operate, watch the HomeLinkindicator light.
If the indicator light stays on, theprogramming is complete. Your deviceshould activate when the HomeLink buttonis pressed and released.
If the indicator light flashes rapidly, press andhold for two seconds and release theprogrammed HomeLink button. Repeat the"press/hold/release" sequence up to threetimes to complete the programming process.If your device still does not operate, you mustprogram your garage door. SeeProgramming Your Garage Door OpenerMotor.
To program additional buttons, repeat Steps1 – 4.
For questions or comments, please contactHomeLink at www.homelink.com,www.youtube.com/user/HomeLinkGentexor by calling the toll-free help line at1-800-355-3515.
Programming Your Garage Door OpenerMotor
Note:You may need a ladder to reach theunit and you may need to remove the coveror lamp lens on your garage door opener.
1. Press the learn button on the garagedoor opener motor and then you have30 seconds to complete the next twosteps.
2. Return to your vehicle.
164
MKX (CD9) Canada/United States of America, enUSA, Edition date: 201707, First Printing
Universal Garage Door OpenerE188212 E142659
Page 168 of 603
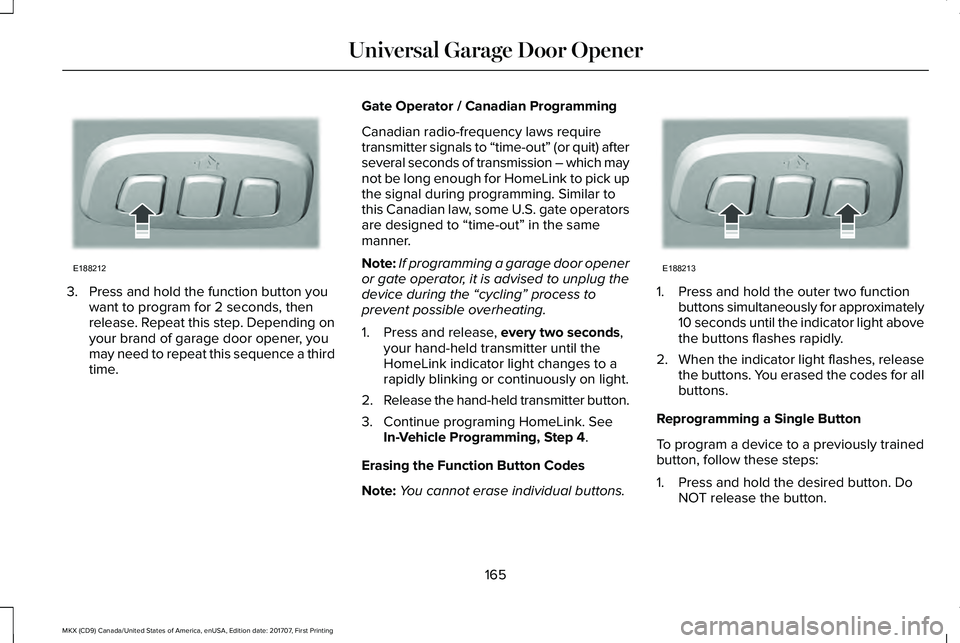
3. Press and hold the function button youwant to program for 2 seconds, thenrelease. Repeat this step. Depending onyour brand of garage door opener, youmay need to repeat this sequence a thirdtime.
Gate Operator / Canadian Programming
Canadian radio-frequency laws requiretransmitter signals to “time-out” (or quit) afterseveral seconds of transmission – which maynot be long enough for HomeLink to pick upthe signal during programming. Similar tothis Canadian law, some U.S. gate operatorsare designed to “time-out” in the samemanner.
Note:If programming a garage door openeror gate operator, it is advised to unplug thedevice during the “cycling” process toprevent possible overheating.
1. Press and release, every two seconds,your hand-held transmitter until theHomeLink indicator light changes to arapidly blinking or continuously on light.
2.Release the hand-held transmitter button.
3. Continue programing HomeLink. SeeIn-Vehicle Programming, Step 4.
Erasing the Function Button Codes
Note:You cannot erase individual buttons.
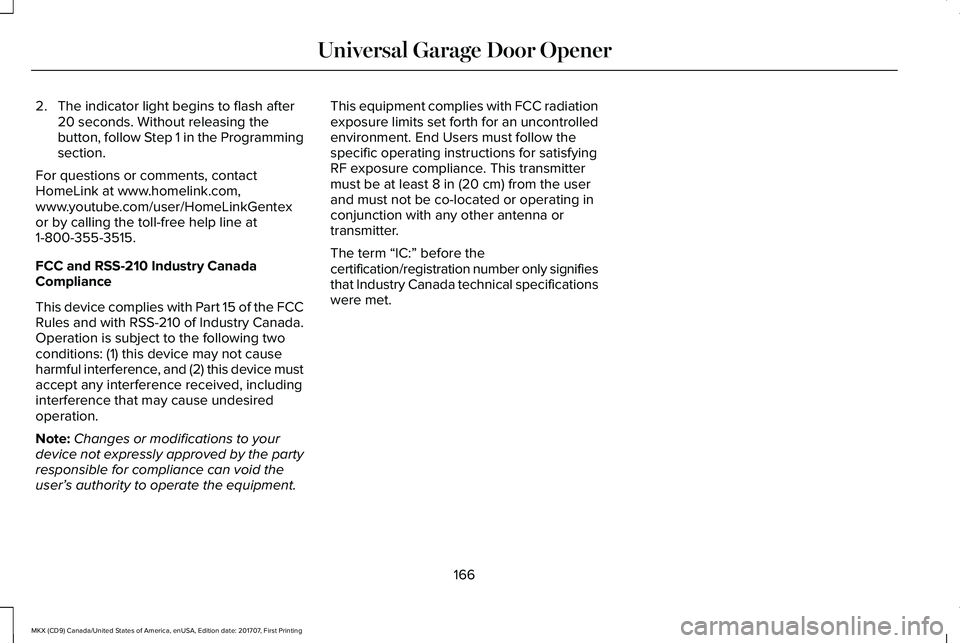
1. Press and hold the outer two functionbuttons simultaneously for approximately10 seconds until the indicator light abovethe buttons flashes rapidly.
2.When the indicator light flashes, releasethe buttons. You erased the codes for allbuttons.
Reprogramming a Single Button
To program a device to a previously trainedbutton, follow these steps:
1. Press and hold the desired button. DoNOT release the button.
165
MKX (CD9) Canada/United States of America, enUSA, Edition date: 201707, First Printing
Universal Garage Door OpenerE188212 E188213
Page 169 of 603
2. The indicator light begins to flash after20 seconds. Without releasing thebutton, follow Step 1 in the Programmingsection.
For questions or comments, contactHomeLink at www.homelink.com,www.youtube.com/user/HomeLinkGentexor by calling the toll-free help line at1-800-355-3515.
FCC and RSS-210 Industry CanadaCompliance
This device complies with Part 15 of the FCCRules and with RSS-210 of Industry Canada.Operation is subject to the following twoconditions: (1) this device may not causeharmful interference, and (2) this device mustaccept any interference received, includinginterference that may cause undesiredoperation.
Note:Changes or modifications to yourdevice not expressly approved by the partyresponsible for compliance can void theuser’s authority to operate the equipment.
This equipment complies with FCC radiationexposure limits set forth for an uncontrolledenvironment. End Users must follow thespecific operating instructions for satisfyingRF exposure compliance. This transmittermust be at least 8 in (20 cm) from the userand must not be co-located or operating inconjunction with any other antenna ortransmitter.
The term “IC:” before thecertification/registration number only signifiesthat Industry Canada technical specificationswere met.
166
MKX (CD9) Canada/United States of America, enUSA, Edition date: 201707, First Printing
Universal Garage Door Opener
Page 170 of 603
12 Volt DC Power Point
WARNING
Do not plug optional electricalaccessories into the cigar lightersocket. Incorrect use of the cigar lighter cancause damage not covered by the vehiclewarranty, and can result in fire or seriousinjury.
Note:When you switch the ignition on, youcan use the socket to power 12 voltappliances with a maximum current ratingof 15 amps.
If the power supply does not work after youswitch the ignition off, switch the ignition on.Note:Do not hang any accessory from theaccessory plug.
Note:Do not use the power point over thevehicle capacity of 12 volt DC 180 watts ora fuse may blow.
Note:Always keep the power point capsclosed when not in use.
Do not insert objects other than an accessoryplug into the power point. This damages thepower point and may blow the fuse.
Run the vehicle for full capacity use of thepower point.
To prevent the battery from running out ofcharge:
•Do not use the power point longer thannecessary when the vehicle is notrunning.
•Do not leave devices plugged inovernight or when you park your vehiclefor extended periods.
Locations
Power points may be in the followinglocations:
•On the front of the center console.
•Inside the center console.
•On the rear of the center console.
•In the cargo area.
110 Volt AC Power Point (If Equipped)
WARNING
Do not keep electrical devices pluggedin the power point whenever thedevice is not in use. Do not use anyextension cord with the 110 volt AC powerpoint, since it will defeat the safety protectiondesign. Doing so may cause the power pointto overload due to powering multiple devicesthat can reach beyond the 150 watt load limitand could result in fire or serious injury.
Note:The power point turns off when youswitch off the ignition, or when the batteryvoltage drops below 11 volts.
You can use the power point for electricdevices that require up to 150 watts. It is onthe rear of the center console.
167
MKX (CD9) Canada/United States of America, enUSA, Edition date: 201707, First Printing
Auxiliary Power Points