seats LINCOLN MKX 2018 Owners Manual
[x] Cancel search | Manufacturer: LINCOLN, Model Year: 2018, Model line: MKX, Model: LINCOLN MKX 2018Pages: 603, PDF Size: 4.94 MB
Page 4 of 603
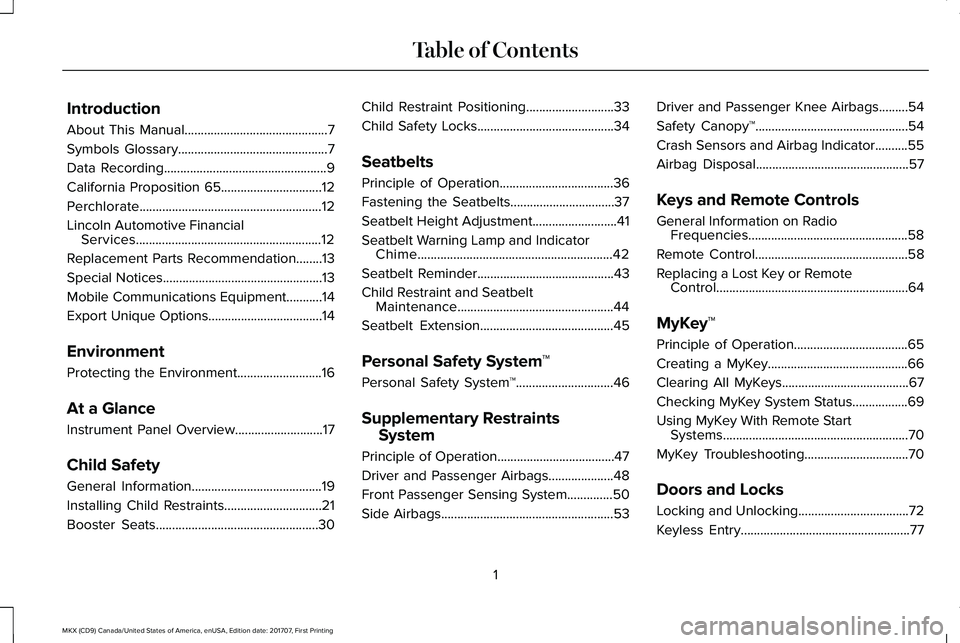
Introduction
About This Manual............................................7
Symbols Glossary..............................................7
Data Recording..................................................9
California Proposition 65...............................12
Perchlorate........................................................12
Lincoln Automotive FinancialServices.........................................................12
Replacement Parts Recommendation........13
Special Notices.................................................13
Mobile Communications Equipment...........14
Export Unique Options...................................14
Environment
Protecting the Environment..........................16
At a Glance
Instrument Panel Overview...........................17
Child Safety
General Information........................................19
Installing Child Restraints..............................21
Booster Seats..................................................30
Child Restraint Positioning...........................33
Child Safety Locks..........................................34
Seatbelts
Principle of Operation...................................36
Fastening the Seatbelts................................37
Seatbelt Height Adjustment..........................41
Seatbelt Warning Lamp and IndicatorChime............................................................42
Seatbelt Reminder..........................................43
Child Restraint and SeatbeltMaintenance................................................44
Seatbelt Extension.........................................45
Personal Safety System™
Personal Safety System™..............................46
Supplementary Restraints
System
Principle of Operation....................................47
Driver and Passenger Airbags....................48
Front Passenger Sensing System..............50
Side Airbags.....................................................53
Driver and Passenger Knee Airbags.........54
Safety Canopy™...............................................54
Crash Sensors and Airbag Indicator..........55
Airbag Disposal...............................................57
Keys and Remote Controls
General Information on RadioFrequencies.................................................58
Remote Control...............................................58
Replacing a Lost Key or RemoteControl...........................................................64
MyKey™
Principle of Operation...................................65
Creating a MyKey...........................................66
Clearing All MyKeys.......................................67
Checking MyKey System Status.................69
Using MyKey With Remote StartSystems.........................................................70
MyKey Troubleshooting................................70
Doors and Locks
Locking and Unlocking..................................72
Keyless Entry....................................................77
1
MKX (CD9) Canada/United States of America, enUSA, Edition date: 201707, First Printing
Table of Contents
Page 5 of 603
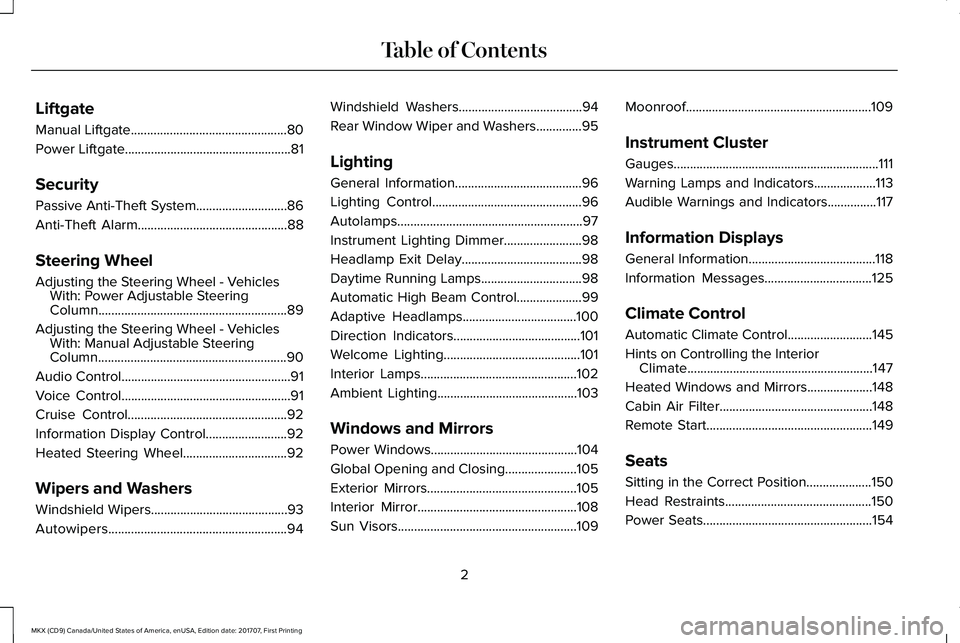
Liftgate
Manual Liftgate................................................80
Power Liftgate...................................................81
Security
Passive Anti-Theft System............................86
Anti-Theft Alarm..............................................88
Steering Wheel
Adjusting the Steering Wheel - VehiclesWith: Power Adjustable SteeringColumn..........................................................89
Adjusting the Steering Wheel - VehiclesWith: Manual Adjustable SteeringColumn..........................................................90
Audio Control....................................................91
Voice Control....................................................91
Cruise Control.................................................92
Information Display Control.........................92
Heated Steering Wheel................................92
Wipers and Washers
Windshield Wipers..........................................93
Autowipers.......................................................94
Windshield Washers......................................94
Rear Window Wiper and Washers..............95
Lighting
General Information.......................................96
Lighting Control..............................................96
Autolamps.........................................................97
Instrument Lighting Dimmer........................98
Headlamp Exit Delay.....................................98
Daytime Running Lamps...............................98
Automatic High Beam Control....................99
Adaptive Headlamps...................................100
Direction Indicators.......................................101
Welcome Lighting..........................................101
Interior Lamps................................................102
Ambient Lighting...........................................103
Windows and Mirrors
Power Windows.............................................104
Global Opening and Closing......................105
Exterior Mirrors..............................................105
Interior Mirror.................................................108
Sun Visors.......................................................109
Moonroof.........................................................109
Instrument Cluster
Gauges...............................................................111
Warning Lamps and Indicators...................113
Audible Warnings and Indicators...............117
Information Displays
General Information.......................................118
Information Messages.................................125
Climate Control
Automatic Climate Control..........................145
Hints on Controlling the InteriorClimate.........................................................147
Heated Windows and Mirrors....................148
Cabin Air Filter...............................................148
Remote Start...................................................149
Seats
Sitting in the Correct Position....................150
Head Restraints.............................................150
Power Seats....................................................154
2
MKX (CD9) Canada/United States of America, enUSA, Edition date: 201707, First Printing
Table of Contents
Page 6 of 603
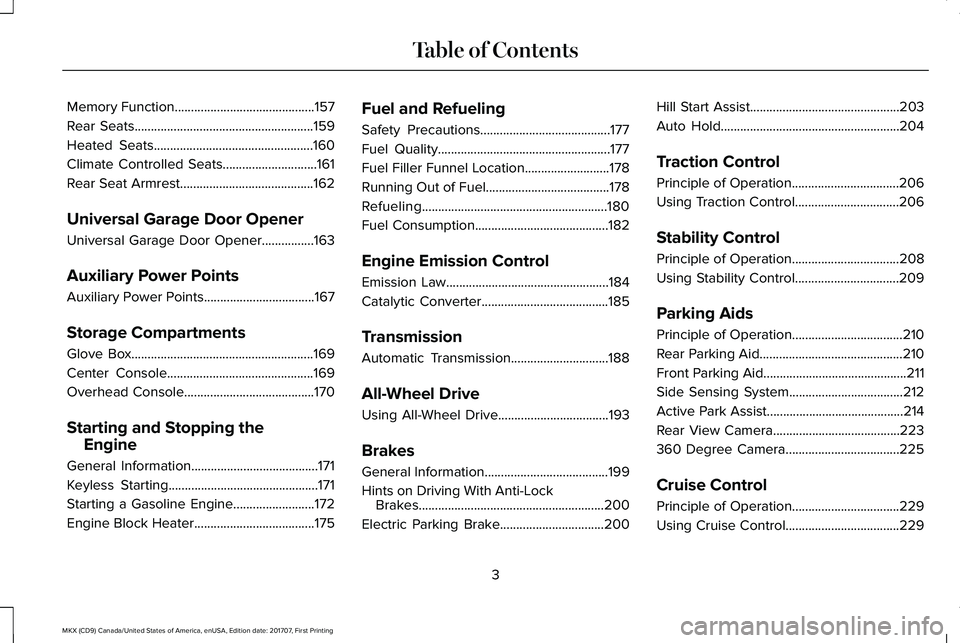
Memory Function...........................................157
Rear Seats.......................................................159
Heated Seats.................................................160
Climate Controlled Seats.............................161
Rear Seat Armrest.........................................162
Universal Garage Door Opener
Universal Garage Door Opener................163
Auxiliary Power Points
Auxiliary Power Points..................................167
Storage Compartments
Glove Box........................................................169
Center Console.............................................169
Overhead Console........................................170
Starting and Stopping the
Engine
General Information.......................................171
Keyless Starting..............................................171
Starting a Gasoline Engine.........................172
Engine Block Heater.....................................175
Fuel and Refueling
Safety Precautions........................................177
Fuel Quality.....................................................177
Fuel Filler Funnel Location..........................178
Running Out of Fuel......................................178
Refueling.........................................................180
Fuel Consumption.........................................182
Engine Emission Control
Emission Law..................................................184
Catalytic Converter.......................................185
Transmission
Automatic Transmission..............................188
All-Wheel Drive
Using All-Wheel Drive..................................193
Brakes
General Information......................................199
Hints on Driving With Anti-LockBrakes.........................................................200
Electric Parking Brake................................200
Hill Start Assist..............................................203
Auto Hold.......................................................204
Traction Control
Principle of Operation.................................206
Using Traction Control................................206
Stability Control
Principle of Operation.................................208
Using Stability Control................................209
Parking Aids
Principle of Operation..................................210
Rear Parking Aid............................................210
Front Parking Aid............................................211
Side Sensing System...................................212
Active Park Assist..........................................214
Rear View Camera.......................................223
360 Degree Camera...................................225
Cruise Control
Principle of Operation.................................229
Using Cruise Control...................................229
3
MKX (CD9) Canada/United States of America, enUSA, Edition date: 201707, First Printing
Table of Contents
Page 8 of 603
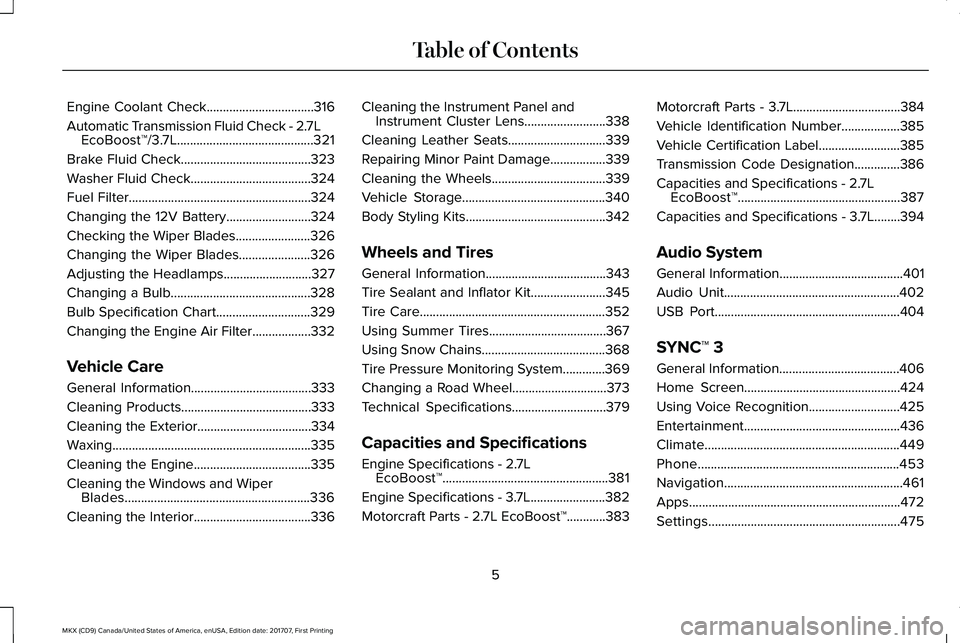
Engine Coolant Check.................................316
Automatic Transmission Fluid Check - 2.7LEcoBoost™/3.7L..........................................321
Brake Fluid Check........................................323
Washer Fluid Check.....................................324
Fuel Filter........................................................324
Changing the 12V Battery..........................324
Checking the Wiper Blades.......................326
Changing the Wiper Blades......................326
Adjusting the Headlamps...........................327
Changing a Bulb...........................................328
Bulb Specification Chart.............................329
Changing the Engine Air Filter..................332
Vehicle Care
General Information.....................................333
Cleaning Products........................................333
Cleaning the Exterior...................................334
Waxing.............................................................335
Cleaning the Engine....................................335
Cleaning the Windows and WiperBlades.........................................................336
Cleaning the Interior....................................336
Cleaning the Instrument Panel andInstrument Cluster Lens.........................338
Cleaning Leather Seats..............................339
Repairing Minor Paint Damage.................339
Cleaning the Wheels...................................339
Vehicle Storage............................................340
Body Styling Kits...........................................342
Wheels and Tires
General Information.....................................343
Tire Sealant and Inflator Kit.......................345
Tire Care.........................................................352
Using Summer Tires....................................367
Using Snow Chains......................................368
Tire Pressure Monitoring System.............369
Changing a Road Wheel.............................373
Technical Specifications.............................379
Capacities and Specifications
Engine Specifications - 2.7LEcoBoost™...................................................381
Engine Specifications - 3.7L.......................382
Motorcraft Parts - 2.7L EcoBoost™............383
Motorcraft Parts - 3.7L.................................384
Vehicle Identification Number..................385
Vehicle Certification Label.........................385
Transmission Code Designation..............386
Capacities and Specifications - 2.7LEcoBoost™..................................................387
Capacities and Specifications - 3.7L........394
Audio System
General Information......................................401
Audio Unit......................................................402
USB Port.........................................................404
SYNC™ 3
General Information.....................................406
Home Screen................................................424
Using Voice Recognition............................425
Entertainment................................................436
Climate............................................................449
Phone..............................................................453
Navigation.......................................................461
Apps.................................................................472
Settings...........................................................475
5
MKX (CD9) Canada/United States of America, enUSA, Edition date: 201707, First Printing
Table of Contents
Page 24 of 603
•You are required by law to properly usesafety seats for infants and toddlers inthe United States and Canada.
•Many states and provinces require thatsmall children use approved boosterseats until they reach age eight, a heightof 4 feet 9 inches (1.45 meters) tall, or80 lb (36 kg). Check your local and stateor provincial laws for specificrequirements about the safety of childrenin your vehicle.
•When possible, always properly restrainchildren 12 years of age and under in arear seating position of your vehicle.Accident statistics suggest that childrenare safer when properly restrained in therear seating positions than in a frontseating position. See Front PassengerSensing System (page 50).
INSTALLING CHILD RESTRAINTS
Child Seats
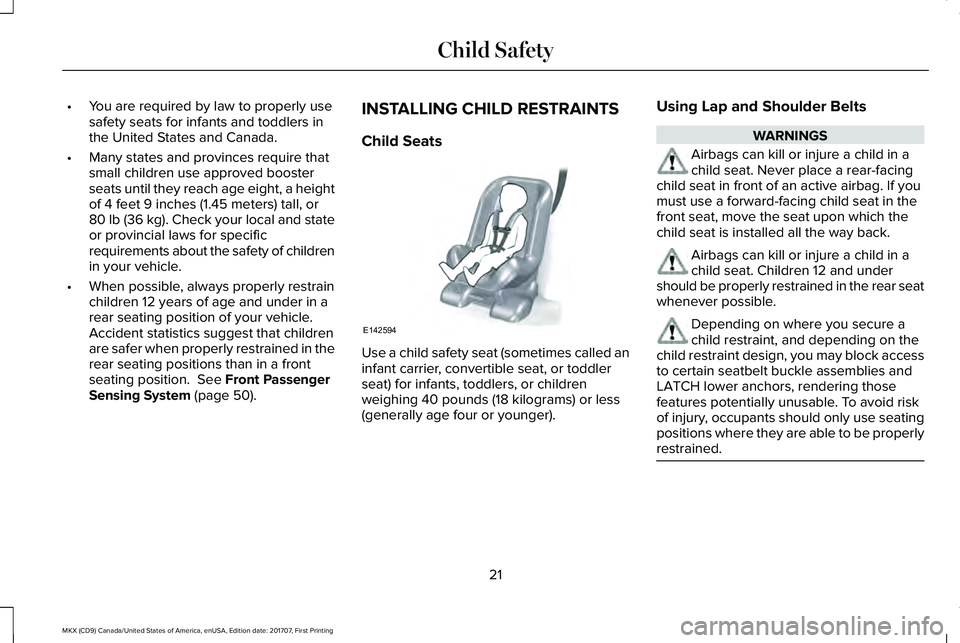
Use a child safety seat (sometimes called aninfant carrier, convertible seat, or toddlerseat) for infants, toddlers, or childrenweighing 40 pounds (18 kilograms) or less(generally age four or younger).
Using Lap and Shoulder Belts
WARNINGS
Airbags can kill or injure a child in achild seat. Never place a rear-facingchild seat in front of an active airbag. If youmust use a forward-facing child seat in thefront seat, move the seat upon which thechild seat is installed all the way back.
Airbags can kill or injure a child in achild seat. Children 12 and undershould be properly restrained in the rear seatwhenever possible.
Depending on where you secure achild restraint, and depending on thechild restraint design, you may block accessto certain seatbelt buckle assemblies andLATCH lower anchors, rendering thosefeatures potentially unusable. To avoid riskof injury, occupants should only use seatingpositions where they are able to be properlyrestrained.
21
MKX (CD9) Canada/United States of America, enUSA, Edition date: 201707, First Printing
Child SafetyE142594
Page 26 of 603
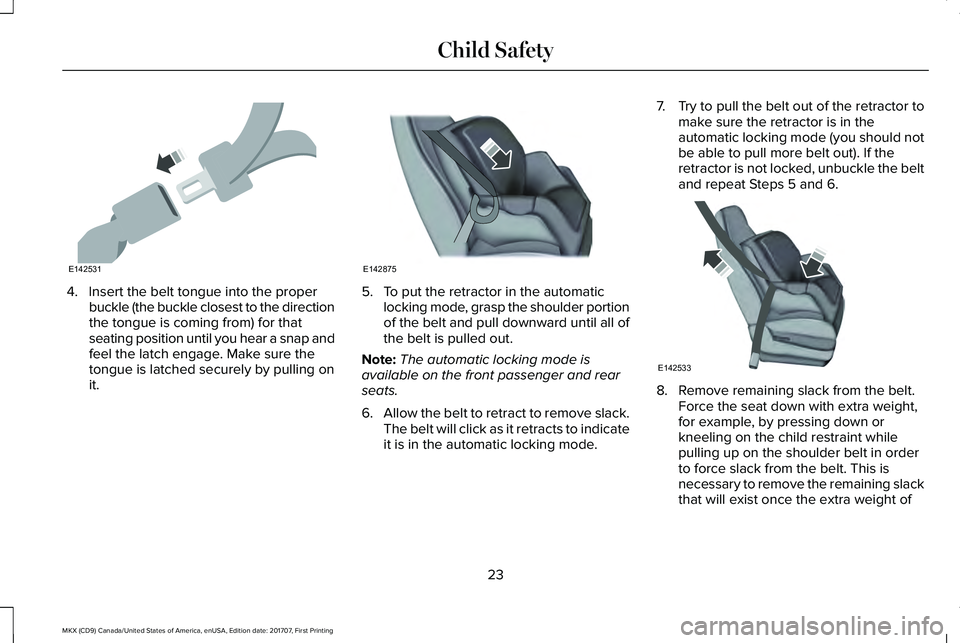
4. Insert the belt tongue into the properbuckle (the buckle closest to the directionthe tongue is coming from) for thatseating position until you hear a snap andfeel the latch engage. Make sure thetongue is latched securely by pulling onit.
5. To put the retractor in the automaticlocking mode, grasp the shoulder portionof the belt and pull downward until all ofthe belt is pulled out.
Note:The automatic locking mode isavailable on the front passenger and rearseats.
6.Allow the belt to retract to remove slack.The belt will click as it retracts to indicateit is in the automatic locking mode.
7.Try to pull the belt out of the retractor tomake sure the retractor is in theautomatic locking mode (you should notbe able to pull more belt out). If theretractor is not locked, unbuckle the beltand repeat Steps 5 and 6.
8. Remove remaining slack from the belt.Force the seat down with extra weight,for example, by pressing down orkneeling on the child restraint whilepulling up on the shoulder belt in orderto force slack from the belt. This isnecessary to remove the remaining slackthat will exist once the extra weight of
23
MKX (CD9) Canada/United States of America, enUSA, Edition date: 201707, First Printing
Child SafetyE142531 E142875 E142533
Page 29 of 603
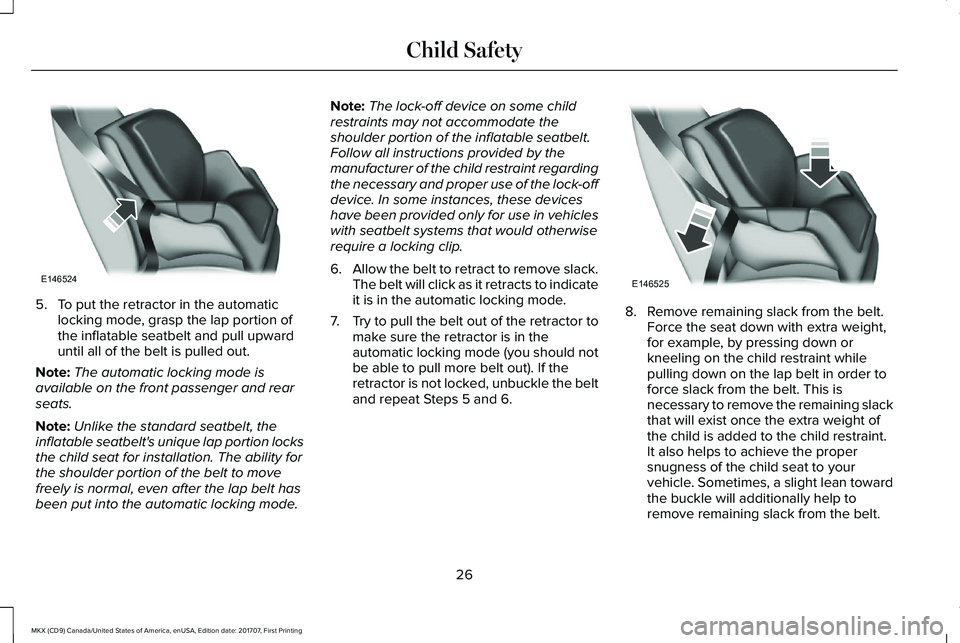
5. To put the retractor in the automaticlocking mode, grasp the lap portion ofthe inflatable seatbelt and pull upwarduntil all of the belt is pulled out.
Note:The automatic locking mode isavailable on the front passenger and rearseats.
Note:Unlike the standard seatbelt, theinflatable seatbelt's unique lap portion locksthe child seat for installation. The ability forthe shoulder portion of the belt to movefreely is normal, even after the lap belt hasbeen put into the automatic locking mode.
Note:The lock-off device on some childrestraints may not accommodate theshoulder portion of the inflatable seatbelt.Follow all instructions provided by themanufacturer of the child restraint regardingthe necessary and proper use of the lock-offdevice. In some instances, these deviceshave been provided only for use in vehicleswith seatbelt systems that would otherwiserequire a locking clip.
6.Allow the belt to retract to remove slack.The belt will click as it retracts to indicateit is in the automatic locking mode.
7.Try to pull the belt out of the retractor tomake sure the retractor is in theautomatic locking mode (you should notbe able to pull more belt out). If theretractor is not locked, unbuckle the beltand repeat Steps 5 and 6.
8. Remove remaining slack from the belt.Force the seat down with extra weight,for example, by pressing down orkneeling on the child restraint whilepulling down on the lap belt in order toforce slack from the belt. This isnecessary to remove the remaining slackthat will exist once the extra weight ofthe child is added to the child restraint.It also helps to achieve the propersnugness of the child seat to yourvehicle. Sometimes, a slight lean towardthe buckle will additionally help toremove remaining slack from the belt.
26
MKX (CD9) Canada/United States of America, enUSA, Edition date: 201707, First Printing
Child SafetyE146524 E146525
Page 30 of 603
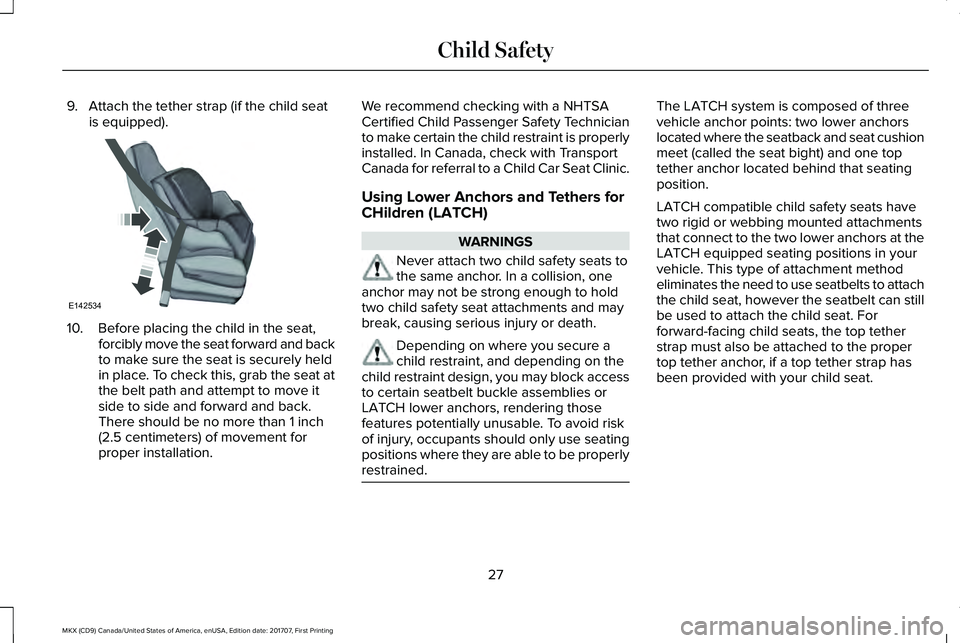
9. Attach the tether strap (if the child seatis equipped).
10. Before placing the child in the seat,forcibly move the seat forward and backto make sure the seat is securely heldin place. To check this, grab the seat atthe belt path and attempt to move itside to side and forward and back.There should be no more than 1 inch(2.5 centimeters) of movement forproper installation.
We recommend checking with a NHTSACertified Child Passenger Safety Technicianto make certain the child restraint is properlyinstalled. In Canada, check with TransportCanada for referral to a Child Car Seat Clinic.
Using Lower Anchors and Tethers for
CHildren (LATCH)
WARNINGS
Never attach two child safety seats tothe same anchor. In a collision, oneanchor may not be strong enough to holdtwo child safety seat attachments and maybreak, causing serious injury or death.
Depending on where you secure achild restraint, and depending on thechild restraint design, you may block accessto certain seatbelt buckle assemblies orLATCH lower anchors, rendering thosefeatures potentially unusable. To avoid riskof injury, occupants should only use seatingpositions where they are able to be properlyrestrained.
The LATCH system is composed of threevehicle anchor points: two lower anchorslocated where the seatback and seat cushionmeet (called the seat bight) and one toptether anchor located behind that seatingposition.
LATCH compatible child safety seats havetwo rigid or webbing mounted attachmentsthat connect to the two lower anchors at theLATCH equipped seating positions in yourvehicle. This type of attachment methodeliminates the need to use seatbelts to attachthe child seat, however the seatbelt can stillbe used to attach the child seat. Forforward-facing child seats, the top tetherstrap must also be attached to the propertop tether anchor, if a top tether strap hasbeen provided with your child seat.
27
MKX (CD9) Canada/United States of America, enUSA, Edition date: 201707, First Printing
Child SafetyE142534
Page 31 of 603
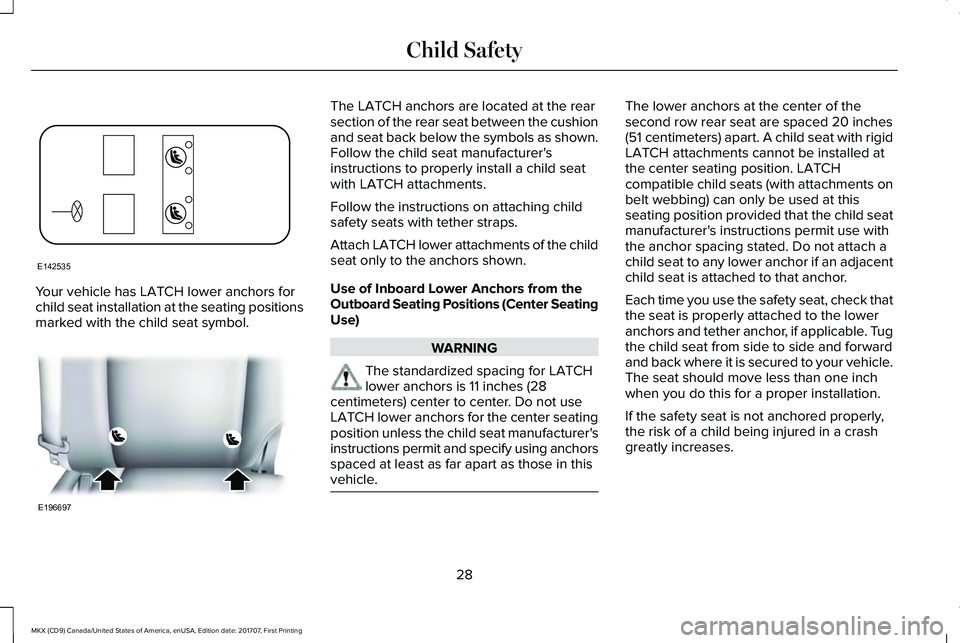
Your vehicle has LATCH lower anchors forchild seat installation at the seating positionsmarked with the child seat symbol.
The LATCH anchors are located at the rearsection of the rear seat between the cushionand seat back below the symbols as shown.Follow the child seat manufacturer'sinstructions to properly install a child seatwith LATCH attachments.
Follow the instructions on attaching childsafety seats with tether straps.
Attach LATCH lower attachments of the childseat only to the anchors shown.
Use of Inboard Lower Anchors from theOutboard Seating Positions (Center SeatingUse)
WARNING
The standardized spacing for LATCHlower anchors is 11 inches (28centimeters) center to center. Do not useLATCH lower anchors for the center seatingposition unless the child seat manufacturer'sinstructions permit and specify using anchorsspaced at least as far apart as those in thisvehicle.
The lower anchors at the center of thesecond row rear seat are spaced 20 inches(51 centimeters) apart. A child seat with rigidLATCH attachments cannot be installed atthe center seating position. LATCHcompatible child seats (with attachments onbelt webbing) can only be used at thisseating position provided that the child seatmanufacturer's instructions permit use withthe anchor spacing stated. Do not attach achild seat to any lower anchor if an adjacentchild seat is attached to that anchor.
Each time you use the safety seat, check thatthe seat is properly attached to the loweranchors and tether anchor, if applicable. Tugthe child seat from side to side and forwardand back where it is secured to your vehicle.The seat should move less than one inchwhen you do this for a proper installation.
If the safety seat is not anchored properly,the risk of a child being injured in a crashgreatly increases.
28
MKX (CD9) Canada/United States of America, enUSA, Edition date: 201707, First Printing
Child SafetyE142535 E196697
Page 32 of 603
Combining Seatbelt and LATCH LowerAnchors for Attaching Child Safety Seats
When used in combination, either theseatbelt or the LATCH lower anchors maybe attached first, provided a properinstallation is achieved. Attach the tetherstrap afterward, if included with the childseat.
Using Tether Straps
Many forward-facing child safetyseats include a tether strap whichextends from the back of the childsafety seat and hooks to an anchoring pointcalled the top tether anchor. Tether strapsare available as an accessory for many oldersafety seats.
Contact the manufacturer of your child seatfor information about ordering a tether strap,or to obtain a longer tether strap if the tetherstrap on your safety seat does not reach theappropriate top tether anchor in your vehicle.
Once the child safety seat has been installedusing either the seatbelt, the lower anchorsof the LATCH system, or both, you can attachthe top tether strap.
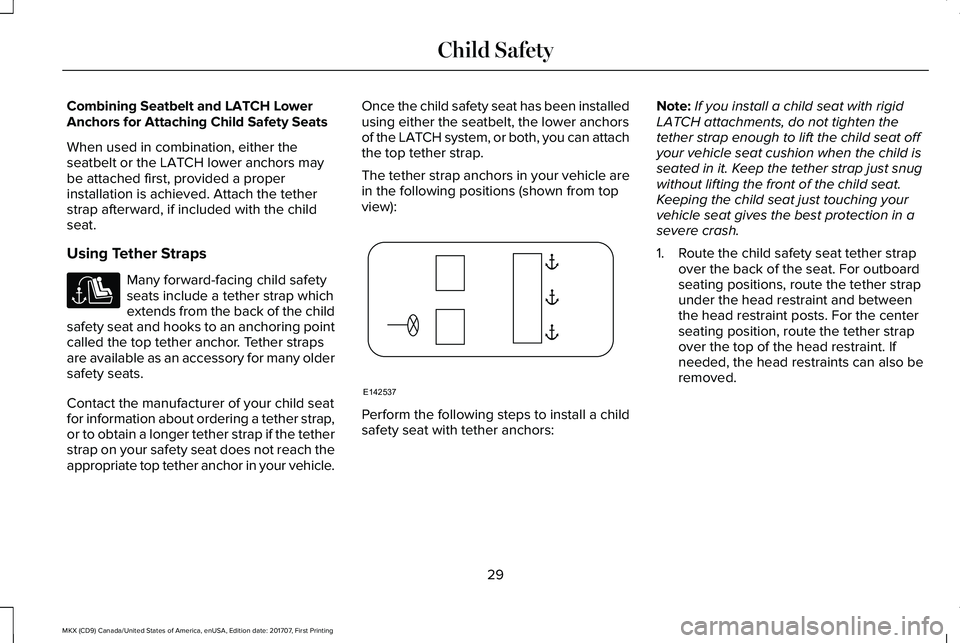
The tether strap anchors in your vehicle arein the following positions (shown from topview):
Perform the following steps to install a childsafety seat with tether anchors:
Note:If you install a child seat with rigidLATCH attachments, do not tighten thetether strap enough to lift the child seat offyour vehicle seat cushion when the child isseated in it. Keep the tether strap just snugwithout lifting the front of the child seat.Keeping the child seat just touching yourvehicle seat gives the best protection in asevere crash.
1. Route the child safety seat tether strapover the back of the seat. For outboardseating positions, route the tether strapunder the head restraint and betweenthe head restraint posts. For the centerseating position, route the tether strapover the top of the head restraint. Ifneeded, the head restraints can also beremoved.
29
MKX (CD9) Canada/United States of America, enUSA, Edition date: 201707, First Printing
Child Safety E142537