instrument panel LINCOLN MKZ HYBRID 2014 User Guide
[x] Cancel search | Manufacturer: LINCOLN, Model Year: 2014, Model line: MKZ HYBRID, Model: LINCOLN MKZ HYBRID 2014Pages: 445, PDF Size: 3.8 MB
Page 128 of 445
Note:
When you select windshield
defrosting and defogging, the instrument
panel and footwell level functions
automatically switch off and air
conditioning switches on. Outside air flows
into your vehicle.
Heating the Interior Quickly
1. Press the AUTO button.
2. Adjust the temperature control to the desired setting.
Recommended Settings for Heating
1. Press the AUTO button.
2. Adjust the temperature control to a comfortable setting.
Cooling the Interior Quickly
1. Press the MAX A/C button.
2. Adjust the temperature control to the desired setting.
Recommended Settings for Cooling
1. Press the AUTO button.
2. Adjust the temperature to a comfortable setting.
Side Window Defogging in Cold
Weather
1. Press the defrost button.
2. Adjust the temperature control to the desired setting. HEATED WINDOWS AND
MIRRORS
Heated Rear Window
Note:
You must switch the ignition on to
use this feature.
Press the button to clear the rear window
of thin ice and fog. Press the button again
within 10 minutes to switch it off. It
switches off automatically after 10 minutes,
or when you switch the ignition off.
Do not use razor blades or other sharp
objects to clean the inside of the rear
window or to remove decals from the
inside of the rear window. This may
cause damage to the heated grid lines,
which your warranty does not cover.
Heated Exterior Mirror
Note: Do not remove ice from the mirrors
with a scraper or attempt to readjust the
mirror glass if it has frozen in place. These
actions could cause damage to the glass
and mirrors.
Note: Do not clean the housing or glass
of any mirror with harsh abrasives, fuel or
other petroleum-based cleaning products.
Both heated mirrors remove ice, mist and
fog when you switch on the heated rear
window.
CABIN AIR FILTER
Your vehicle is equipped with a cabin air
filter. It is located behind the glove box.
126
MKZ (CC9) Climate Control
Page 172 of 445
AUTOMATIC TRANSMISSION
WARNINGS
Always set the parking brake fully
and make sure the vehicle is in P
(Park). Turn the ignition off whenever you
leave your vehicle. Do not apply the brake pedal and
accelerator pedal simultaneously.
Applying both pedals simultaneously for
more than three seconds will limit engine
rpm, which may result in difficulty
maintaining speed in traffic and could lead
to serious injury. Push Button Shift Transmission
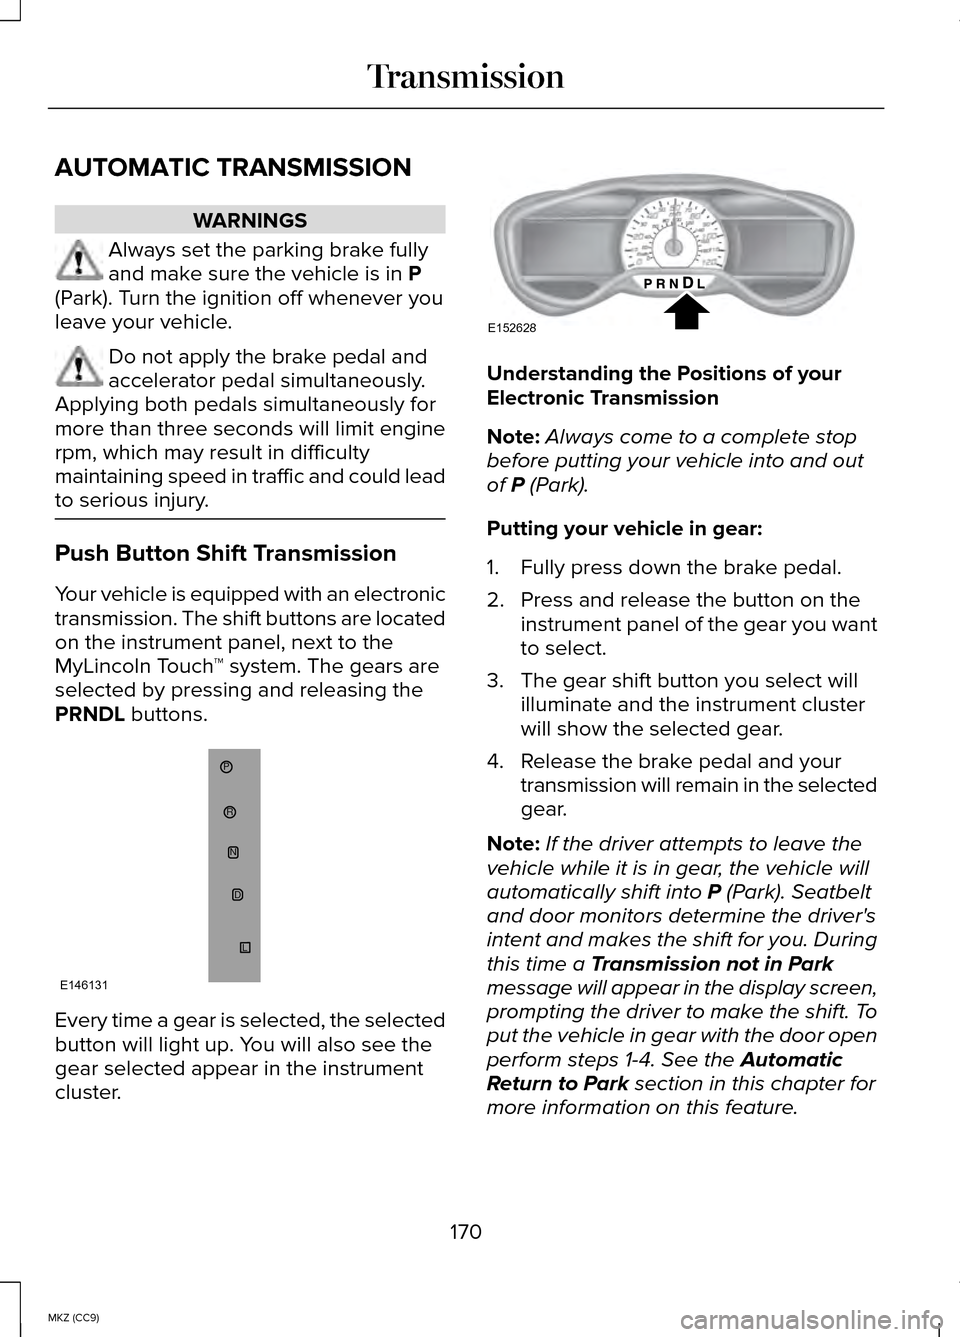
Your vehicle is equipped with an electronic
transmission. The shift buttons are located
on the instrument panel, next to the
MyLincoln Touch
™ system. The gears are
selected by pressing and releasing the
PRNDL
buttons. Every time a gear is selected, the selected
button will light up. You will also see the
gear selected appear in the instrument
cluster. Understanding the Positions of your
Electronic Transmission
Note:
Always come to a complete stop
before putting your vehicle into and out
of
P (Park).
Putting your vehicle in gear:
1. Fully press down the brake pedal.
2. Press and release the button on the instrument panel of the gear you want
to select.
3. The gear shift button you select will illuminate and the instrument cluster
will show the selected gear.
4. Release the brake pedal and your transmission will remain in the selected
gear.
Note: If the driver attempts to leave the
vehicle while it is in gear, the vehicle will
automatically shift into
P (Park). Seatbelt
and door monitors determine the driver's
intent and makes the shift for you. During
this time a
Transmission not in Park
message will appear in the display screen,
prompting the driver to make the shift. To
put the vehicle in gear with the door open
perform steps 1-4. See the
Automatic
Return to Park section in this chapter for
more information on this feature.
170
MKZ (CC9) TransmissionP
RN
D
L
E146131 E152628
Page 174 of 445
The message Stay in Neutral mode
engaged will appear in the instrument
cluster when the vehicle has entered Stay
in Neutral mode.
Note: During this mode the
N button will
flash continuously and the instrument
cluster will display
N as the selected gear.
Exiting Stay in Neutral mode
To disable Stay in Neutral mode put the
vehicle in another gear. See the
Putting
the Vehicle in Gear section for instructions
on how to do this.
Entering a Carwash
Note: Always put the vehicle in Stay in
Neutral mode when entering an automatic
car wash. Failure to do this could result in
vehicle damage that may not be covered
by warranty.
D (Drive)
The normal driving position for the best
fuel economy.
D (Drive) with Grade Assist The grade assist button is
located on the instrument panel
next the MyLincoln Touch
™
system. Press the grade assist button to
activate and deactivate grade assist. Grade assist:
•
Provides additional grade braking with
a combination of engine motoring and
high-voltage battery charging to help
maintain vehicle speed when
descending a grade.
• As the vehicle determines the amount
of engine motoring and high-voltage
battery charging, you may notice the
engine speed increasing and
decreasing to help maintain your
vehicle speed when descending a
grade. The grade assist lamp will
appear in the instrument cluster
when grade assist is turned on.
L (Low)
• Provides maximum engine braking.
• The transmission may be put into
L
(Low) at any vehicle speed.
Brake-Shift Interlock Override WARNINGS
Do not drive your vehicle until you
verify that the brake lamps are
working. When doing this procedure, you will
be taking the vehicle out of park
which means the vehicle can roll freely.
To avoid unwanted vehicle movement,
always fully set the parking brake prior to
doing this procedure. Use wheel chocks
if appropriate. If the parking brake is fully released,
but the brake warning lamp remains
illuminated, the brakes may not be working
properly. See your authorized dealer. 172
MKZ (CC9) TransmissionE144523 E144523
Page 175 of 445
Note:
See your authorized dealer as soon
as possible if this procedure is used.
Note: For some markets this feature will
be disabled.
Note: This feature will only function if your
12-volt battery has power.
Use the brake-shift interlock override
procedure to put the vehicle in gear in the
event of an electrical malfunction or if your
vehicle has a dead battery. The brake shift
interlock override button is located inside
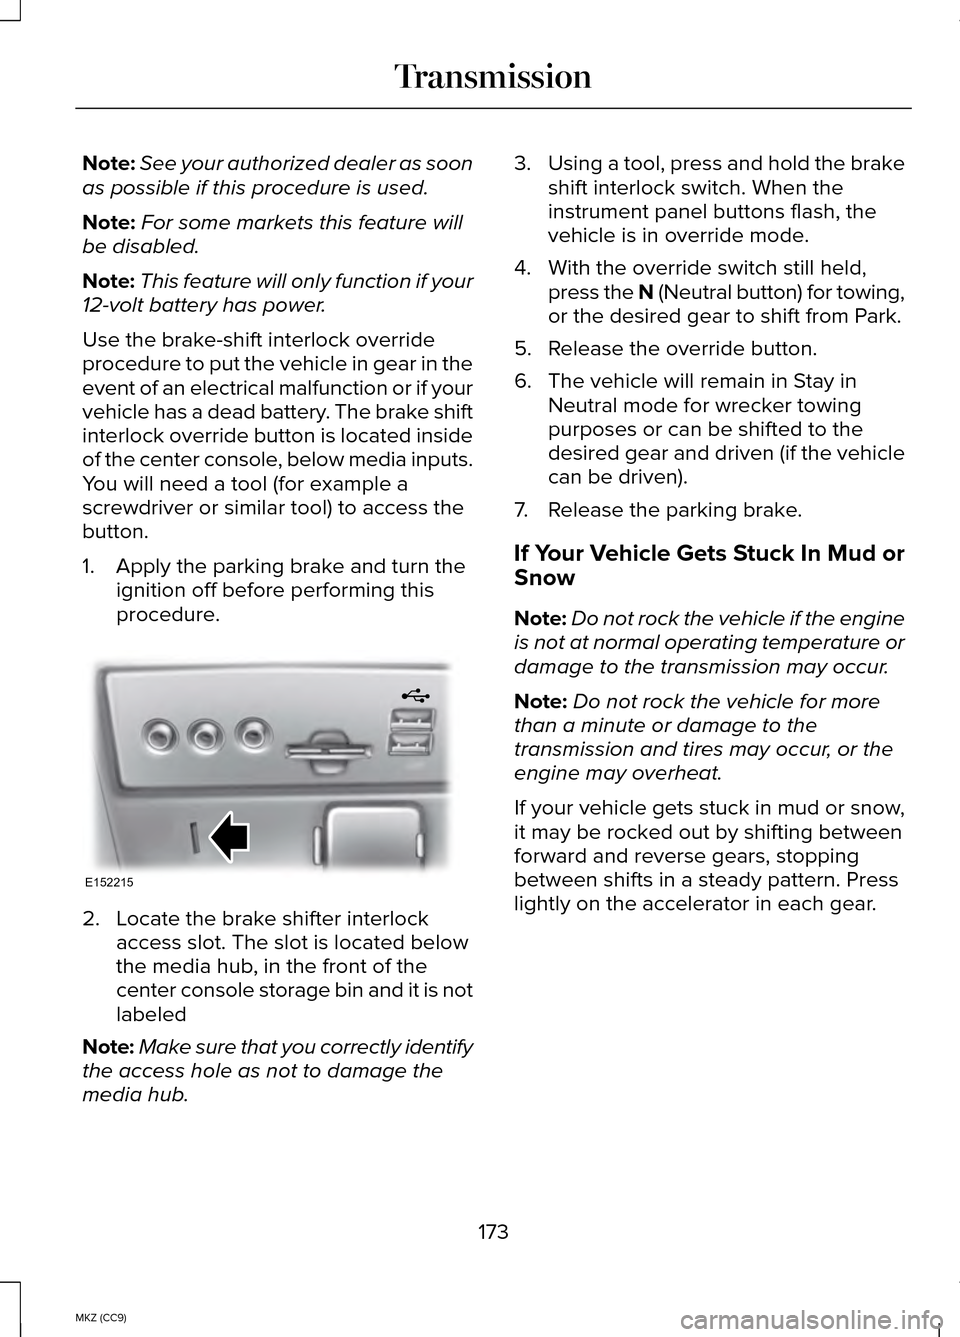
of the center console, below media inputs.
You will need a tool (for example a
screwdriver or similar tool) to access the
button.
1. Apply the parking brake and turn the ignition off before performing this
procedure. 2. Locate the brake shifter interlock
access slot. The slot is located below
the media hub, in the front of the
center console storage bin and it is not
labeled
Note: Make sure that you correctly identify
the access hole as not to damage the
media hub. 3.
Using a tool, press and hold the brake
shift interlock switch. When the
instrument panel buttons flash, the
vehicle is in override mode.
4. With the override switch still held, press the N (Neutral button) for towing,
or the desired gear to shift from Park.
5. Release the override button.
6. The vehicle will remain in Stay in Neutral mode for wrecker towing
purposes or can be shifted to the
desired gear and driven (if the vehicle
can be driven).
7. Release the parking brake.
If Your Vehicle Gets Stuck In Mud or
Snow
Note: Do not rock the vehicle if the engine
is not at normal operating temperature or
damage to the transmission may occur.
Note: Do not rock the vehicle for more
than a minute or damage to the
transmission and tires may occur, or the
engine may overheat.
If your vehicle gets stuck in mud or snow,
it may be rocked out by shifting between
forward and reverse gears, stopping
between shifts in a steady pattern. Press
lightly on the accelerator in each gear.
173
MKZ (CC9) TransmissionE152215
Page 177 of 445
spun as a generator to create electrical
current. This recharges the battery and
slows the vehicle. In effect, once the
accelerator pedal is released, the motor
changes from an energy user to an energy
producer.
When you release the accelerator pedal
or press the brake pedal, the brake
controller automatically detects the
amount of deceleration requested and
optimizes how much of the deceleration
will be produced by regenerative braking.
The remaining portion is generated by
standard friction braking. When the battery
is almost fully charged, the amount of
regenerative braking is limited to avoid
overcharging, and the requested
deceleration is produced by standard
friction braking alone.
Regenerative braking does not take the
place of the standard friction brakes; it only
assists them. Regenerative braking has
also been designed to interact with the
anti-lock brake system. Regenerative
braking is disabled when the anti-lock
brake system is activated or the battery is
fully charged.
HINTS ON DRIVING WITH ANTI-
LOCK BRAKES
Note:
When the system is operating, the
brake pedal will pulse and may travel
further. Maintain pressure on the brake
pedal. You may also hear a noise from the
system. This is normal. The anti-lock braking system will not
eliminate the risks when:
•
you drive too closely to the vehicle in
front of you
• your vehicle is hydroplaning
• you take corners too fast
• the road surface is poor.
ELECTRIC PARKING BRAKE
The electric parking brake replaces the
conventional handbrake. The operating
switch is located on the instrument panel
to the left of the steering wheel. WARNING
Always set the parking brake and
leave your vehicle with the
transmission selector in position P. Note:
When you apply the electric parking
brake in certain conditions, for example
on a steep hill, the electric parking brake
may reapply the brakes within three to ten
minutes.
Note: You may notice various noises when
you apply and release the electric parking
brake. This is normal and no cause for
concern.
Applying the electric parking brake WARNING
If the brake system warning lamp
does not illuminate or flashes, there
could be a problem with your electric
parking brake. Have the system checked
by an authorized dealer as soon as
possible. 175
MKZ (CC9) Brakes
Page 181 of 445
PRINCIPLE OF OPERATION
The traction control system helps avoid
drive wheel spin and loss of traction.
If your vehicle begins to slide, the system
applies the brakes to individual wheels
and, when needed, reduces engine power
at the same time. If the wheels spin when
accelerating on slippery or loose surfaces,
the system reduces engine power in order
to increase traction.
USING TRACTION CONTROL
In certain situations for example, stuck in
snow or mud, turning the traction control
off may be beneficial as this allows the
wheels to spin with full engine power.
Depending on the type of system you have
on your vehicle, you can either turn the
system off using the information display
or by pressing the button.
Switching the System Off Using the
Information Display Controls (If Equipped)
Your vehicle comes with this feature
already enabled. If required, you can
switch this feature off using the information
display controls. See Principle of
Operation (page 179).
Switching the System Off Using a
Switch
(If Equipped)
The button is located in the instrument
panel.
Press the button. You will see a message
in conjunction with an illuminated icon in
the display. Press the button again to
return the system to normal mode. When you switch the traction control
system off, stability control remains fully
active.
System Indicator Lights and
Messages
WARNING
If a failure has been detected within
the AdvanceTrac system, the
stability control light will illuminate steadily.
Verify that the AdvanceTrac system was
not manually disabled through the
information display. If the stability control
light still illuminates steadily, have the
system serviced by an authorized dealer
immediately. Operating your vehicle with
AdvanceTrac disabled could lead to an
increased risk of loss of vehicle control,
vehicle rollover, personal injury and death. The stability control light
temporarily illuminates on
engine start-up and flashes
when a driving condition activates the
stability system. The stability control off light
temporarily illuminates on
engine start-up and stays on
when you turn the traction control system
off.
When you turn the traction control system
off or on, a message appears in the
information display showing system status.
179
MKZ (CC9) Traction ControlE138639
Page 190 of 445
REAR VIEW CAMERA (IF EQUIPPED)
WARNINGS
The rear view camera system is a
reverse aid supplement device that
still requires the driver to use it in
conjunction with the interior and exterior
mirrors for maximum coverage. Objects that are close to either
corner of the bumper or under the
bumper, might not be seen on the screen
due to the limited coverage of the camera
system. Back up as slow as possible since
higher speeds might limit your
reaction time to stop the vehicle. Use caution when using the rear
video camera and the trunk is ajar.
If the trunk is ajar, the camera will be out
of position and the video image may be
incorrect. All guidelines (if enabled) have
been removed when the trunk is ajar. Use caution when turning camera
features on or off while in R
(Reverse). Make sure the vehicle is not
moving. The rear view camera system provides a
video image of the area behind your
vehicle. The image will display in either
the rear view mirror or the display in the
center of the instrument panel.
During operation, lines will appear in the
display that represent your vehicle
’s path
and proximity to objects behind your
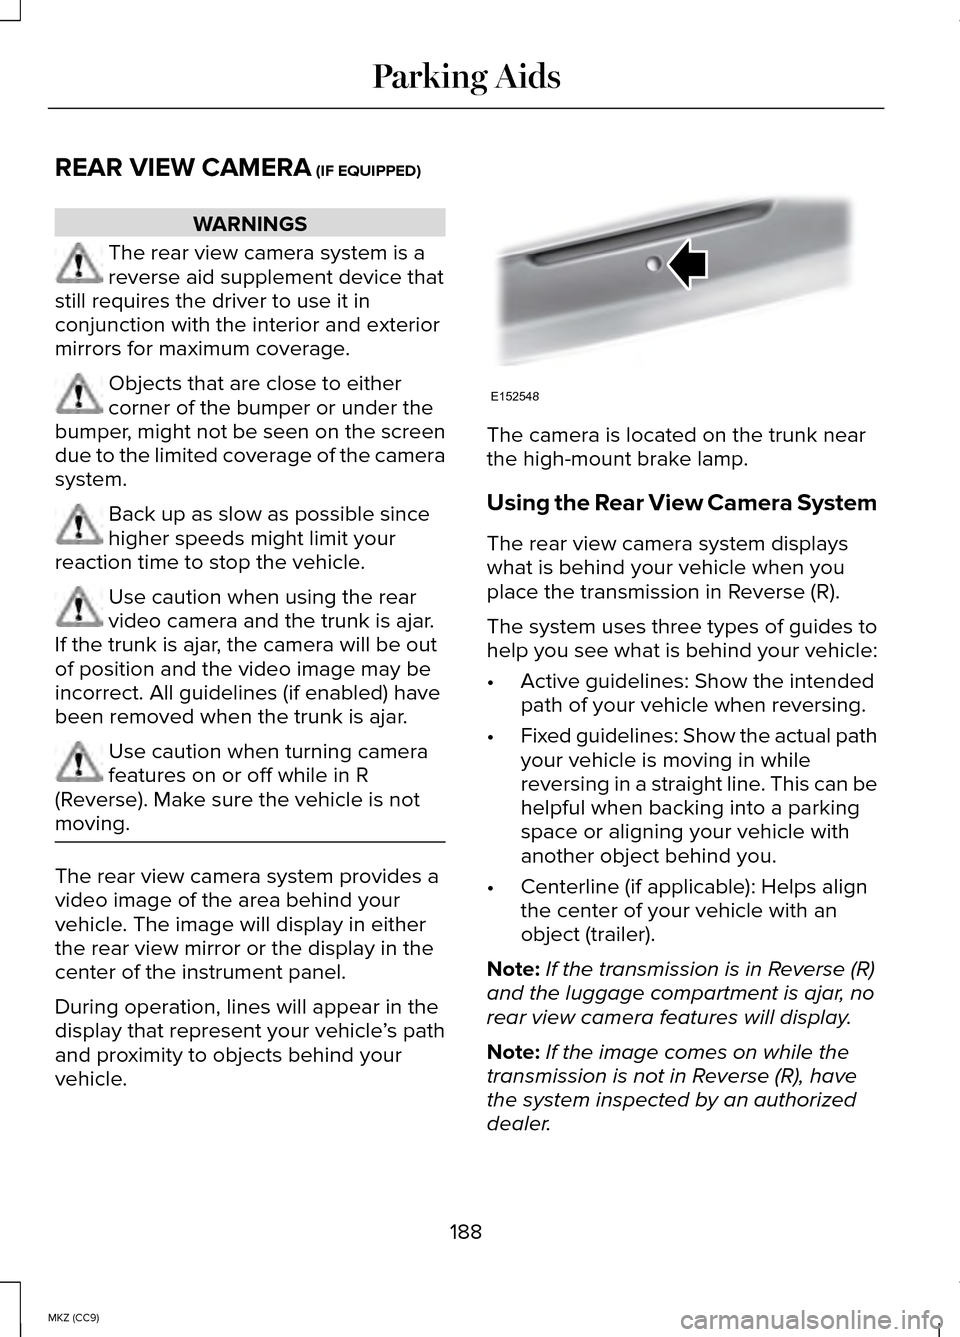
vehicle. The camera is located on the trunk near
the high-mount brake lamp.
Using the Rear View Camera System
The rear view camera system displays
what is behind your vehicle when you
place the transmission in Reverse (R).
The system uses three types of guides to
help you see what is behind your vehicle:
•
Active guidelines: Show the intended
path of your vehicle when reversing.
• Fixed guidelines: Show the actual path
your vehicle is moving in while
reversing in a straight line. This can be
helpful when backing into a parking
space or aligning your vehicle with
another object behind you.
• Centerline (if applicable): Helps align
the center of your vehicle with an
object (trailer).
Note: If the transmission is in Reverse (R)
and the luggage compartment is ajar, no
rear view camera features will display.
Note: If the image comes on while the
transmission is not in Reverse (R), have
the system inspected by an authorized
dealer.
188
MKZ (CC9) Parking AidsE152548
Page 228 of 445
Vehicles Sold In Canada : Using
Roadside Assistance
Canadian Roadside coverage and benefits
may differ from the United States
coverage. Please refer to your warranty
information or visit our website at
www.ford.ca for information on Canadian
services and benefits.
Canadian customers who need to obtain
roadside information, call 1-800-665-2006
or visit our website at
www.ford.ca.
HAZARD WARNING FLASHERS
Note: If used when the vehicle is not
running, the battery will lose charge. There
may be insufficient power to restart your
vehicle. The hazard warning button is
located on the instrument panel.
Use it when your vehicle is
creating a safety hazard for other
motorists.
• Press the button to turn on the hazard
warning function, and the front and
rear direction indicators will flash.
• Press the button again to turn them off.
FUEL SHUTOFF WARNING
Failure to inspect and, if necessary,
repair fuel leaks after a collision may
increase the risk of fire and serious injury.
Ford Motor Company recommends that
the fuel system be inspected by an
authorized dealer after any collision. In the event of a moderate to severe
collision, this vehicle is equipped with a
fuel pump shut-off feature that stops the
flow of fuel to the engine. Not every impact
will cause a shut-off.
Should your vehicle shut off after a
collision, you may restart your vehicle by
doing the following:
1. Turn the ignition off.
2. Turn the ignition to crank.
3. Turn the ignition off.
4.
Turn the ignition on again to re-enable
the fuel pump.
For vehicles equipped with a push button
start system:
1. Press the START/STOP button to turn
the ignition off.
2. Press the brake pedal and press the START/STOP
button (crank attempt).
3. Remove your foot from the brake pedal
and press the
START/STOP button
(ignition off ).
4. Press the
START/STOP button again
to re-enable the fuel system.
JUMP-STARTING THE VEHICLE WARNINGS
The gases around the battery can
explode if exposed to flames, sparks,
or lit cigarettes. An explosion could result
in injury or vehicle damage. Batteries contain sulfuric acid which
can burn skin, eyes and clothing, if
contacted. 226
MKZ (CC9) Roadside Emergencies
Page 248 of 445
Protected components
Fuse amp rating
Fuse or relay number
Not used
-
84
Panoramic roof #2
30A 1
85
1 M-type fuse
2 J-type fuse
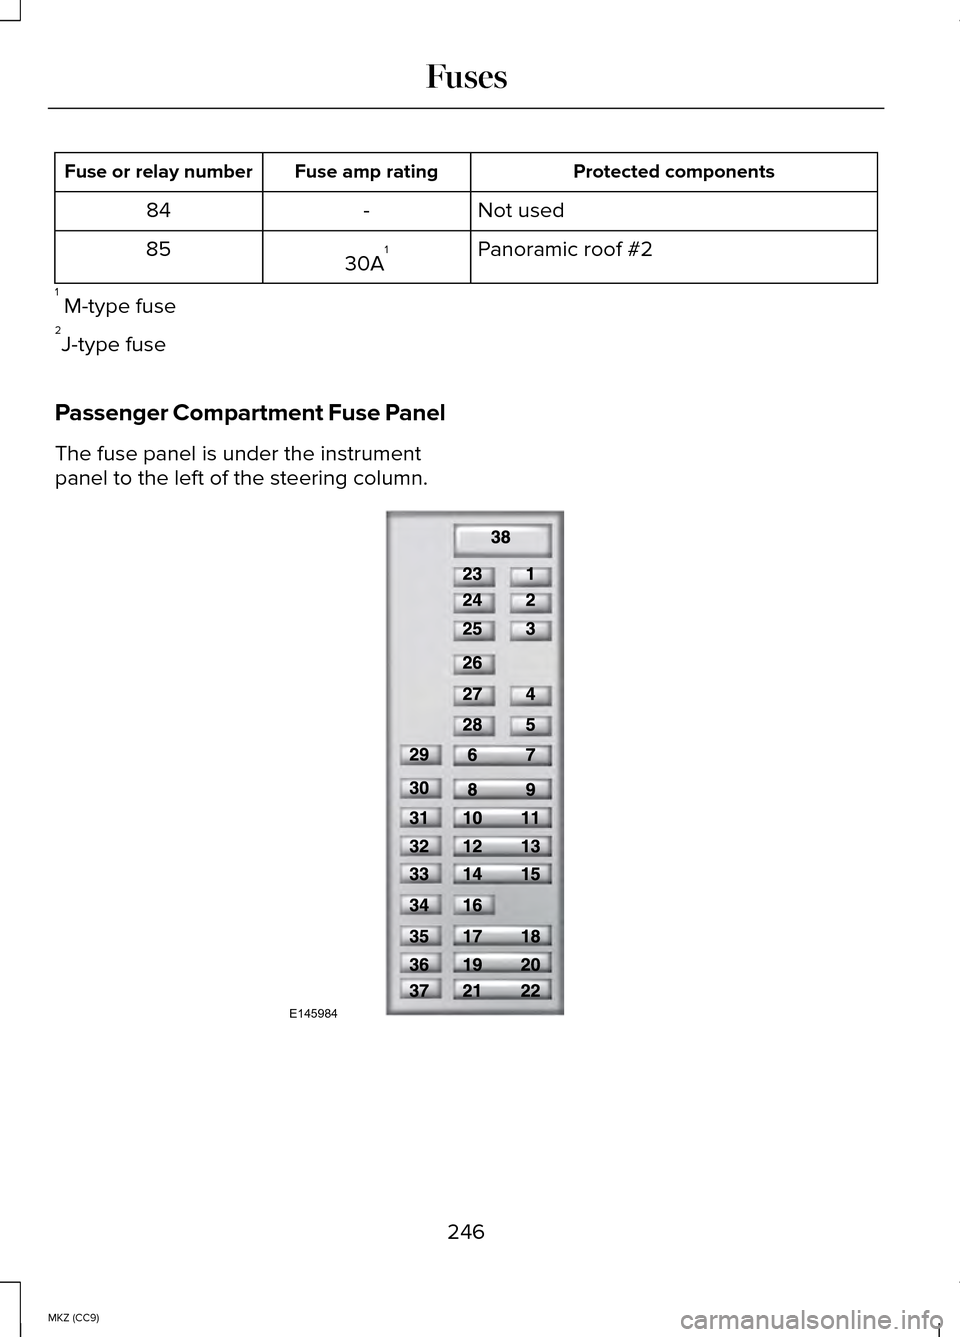
Passenger Compartment Fuse Panel
The fuse panel is under the instrument
panel to the left of the steering column. 246
MKZ (CC9) FusesE145984
Page 254 of 445
OPENING AND CLOSING THE
HOOD
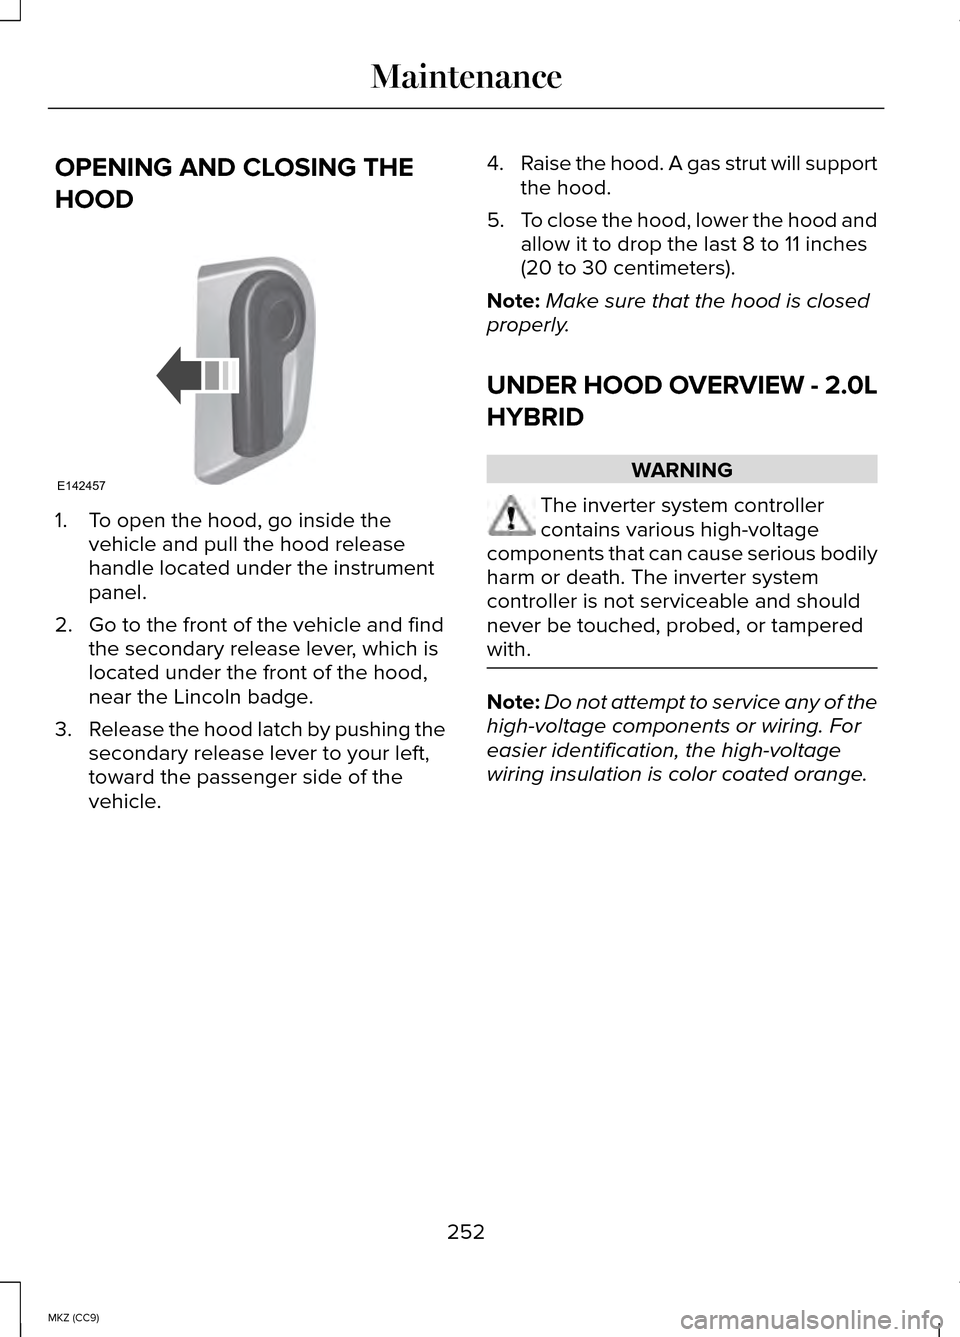
1. To open the hood, go inside the
vehicle and pull the hood release
handle located under the instrument
panel.
2. Go to the front of the vehicle and find the secondary release lever, which is
located under the front of the hood,
near the Lincoln badge.
3. Release the hood latch by pushing the
secondary release lever to your left,
toward the passenger side of the
vehicle. 4.
Raise the hood. A gas strut will support
the hood.
5. To close the hood, lower the hood and
allow it to drop the last 8 to 11 inches
(20 to 30 centimeters).
Note: Make sure that the hood is closed
properly.
UNDER HOOD OVERVIEW - 2.0L
HYBRID WARNING
The inverter system controller
contains various high-voltage
components that can cause serious bodily
harm or death. The inverter system
controller is not serviceable and should
never be touched, probed, or tampered
with. Note:
Do not attempt to service any of the
high-voltage components or wiring. For
easier identification, the high-voltage
wiring insulation is color coated orange.
252
MKZ (CC9) MaintenanceE142457