tow LINCOLN NAVIGATOR 2014 Owner's Manual
[x] Cancel search | Manufacturer: LINCOLN, Model Year: 2014, Model line: NAVIGATOR, Model: LINCOLN NAVIGATOR 2014Pages: 506, PDF Size: 5.72 MB
Page 168 of 506
Note:Use of any fuel other than recommended fuel can cause
powertrain damage, impair the emission control system or cause loss of
vehicle performance. Any damage to the vehicle that is caused by the
use of fuel not recommended will not be covered under warranty.
Choosing the Right Fuel With a Flex Fuel Vehicle (If Equipped)
Use only UNLEADED gasoline or UNLEADED gasoline blended with
a maximum of 85% ethanol (E-85) in your Flex Fuel Vehicle (FFV).
If your vehicle is flex fuel capable, it will have a yellow bezel placed over
the fuel fill inlet.
Do not use:
•fuels containing more than 85% ethanol or E-100 fuel
•fuels containing methanol
•fuels containing metallic based additives, including manganese-based
compounds
•fuels containing the octane booster additive, methylcyclopentadienyl
manganese tricarbonyl (MMT)
•leaded-fuel (The use of leaded fuel is prohibited by law)
Use of any fuel other than recommended fuel can cause powertrain
damage, impair the emission control system or cause loss of vehicle
performance. Any damage to a vehicle that is caused by use of fuel not
recommended will not be covered under warranty.
Octane Recommendations
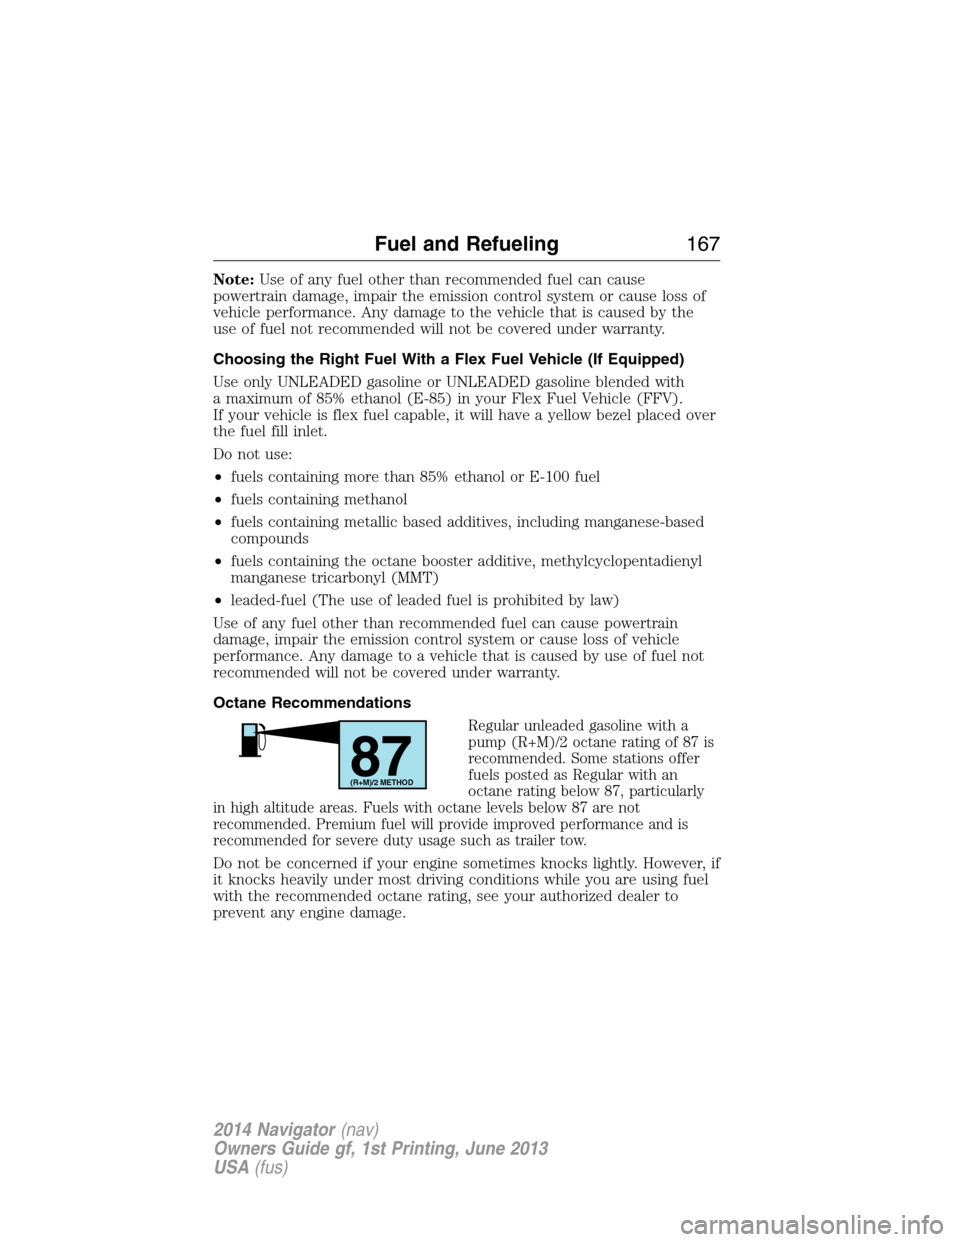
Regular unleaded gasoline with a
pump (R+M)/2 octane rating of 87 is
recommended. Some stations offer
fuels posted as Regular with an
octane rating below 87, particularly
in high altitude areas. Fuels with octane levels below 87 are not
recommended. Premium fuel will provide improved performance and is
recommended for severe duty usage such as trailer tow.
Do not be concerned if your engine sometimes knocks lightly. However, if
it knocks heavily under most driving conditions while you are using fuel
with the recommended octane rating, see your authorized dealer to
prevent any engine damage.
87(R+M)/2 METHOD
Fuel and Refueling167
2014 Navigator(nav)
Owners Guide gf, 1st Printing, June 2013
USA(fus)
Page 177 of 506
AUTOMATIC TRANSMISSION
WARNING:Always set the parking brake fully and make sure
the gearshift is latched in P (Park). Turn the ignition to the
LOCK position and remove the key whenever you leave your vehicle.
WARNING:Do not use the Tow/Haul feature when driving in icy
or slippery conditions as the increased engine braking can cause
the rear wheels to slide and the vehicle to swing around with the
possible loss of vehicle control.
Your vehicle has been designed to improve fuel economy by reducing
fuel usage while coasting or decelerating. When you take your foot off
the accelerator pedal and the vehicle begins to slow down, the torque
converter clutch locks up and aggressively shuts off fuel flow to the
engine while decelerating. This fuel economy benefit may be perceived
as a light to medium braking sensation when removing your foot from
the accelerator pedal.
This vehicle is equipped with an Adaptive Transmission Shift Strategy.
The Adaptive Transmission Shift Strategy offers the optimal transmission
operation and shift quality. When the engine is turned off, the shift data
which includes the adaptive information will be stored automatically in
the Powertrain Control Module. If the battery is disconnected for any
reason, the stored information from the last time the key was turned to
off will be read. This way, no information will be lost with any battery
removal or battery disconnect.
176Transmission
2014 Navigator(nav)
Owners Guide gf, 1st Printing, June 2013
USA(fus)
Page 178 of 506
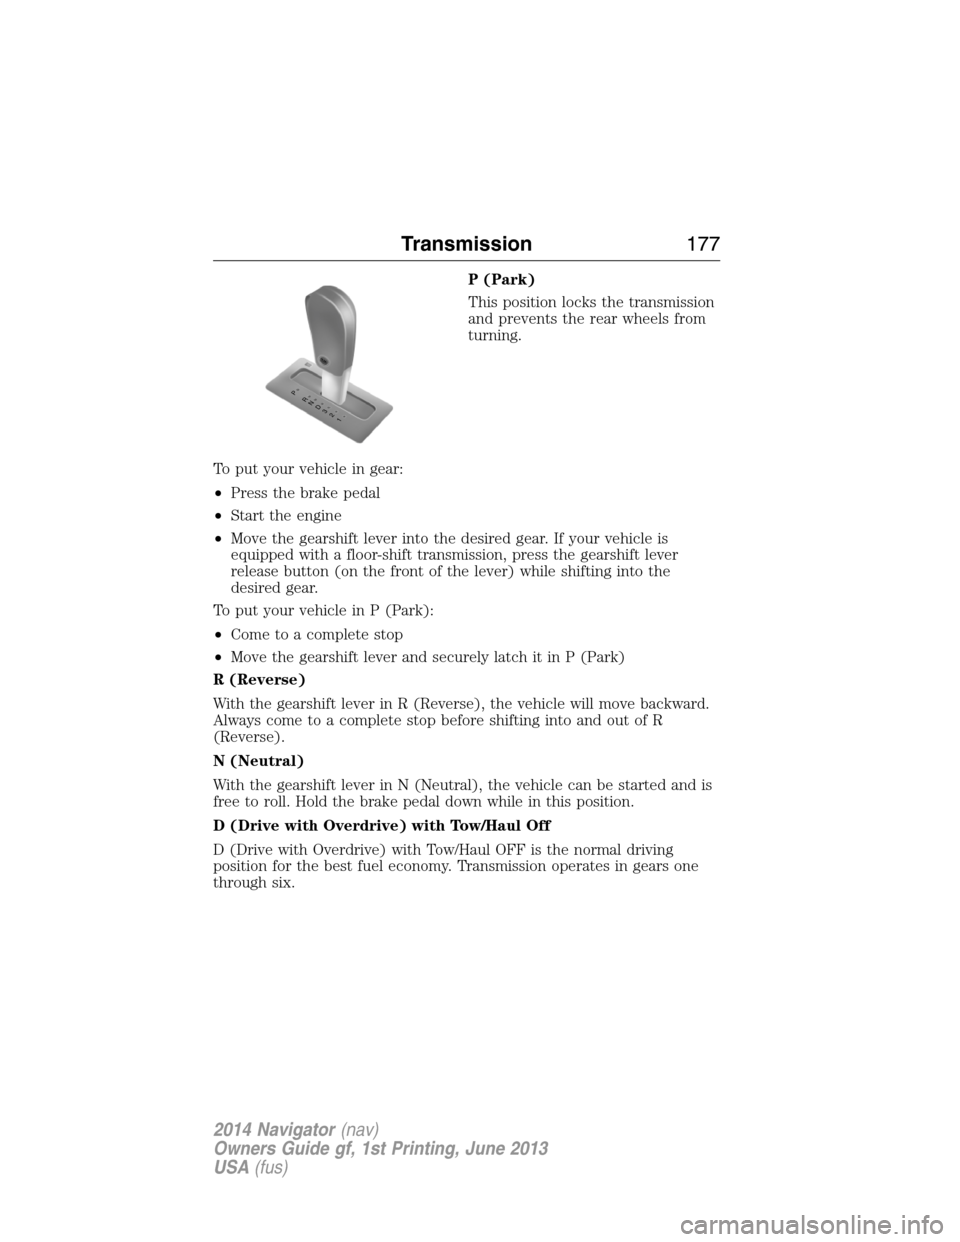
P (Park)
This position locks the transmission
and prevents the rear wheels from
turning.
To put your vehicle in gear:
•Press the brake pedal
•Start the engine
•Move the gearshift lever into the desired gear. If your vehicle is
equipped with a floor-shift transmission, press the gearshift lever
release button (on the front of the lever) while shifting into the
desired gear.
To put your vehicle in P (Park):
•Come to a complete stop
•Move the gearshift lever and securely latch it in P (Park)
R (Reverse)
With the gearshift lever in R (Reverse), the vehicle will move backward.
Always come to a complete stop before shifting into and out of R
(Reverse).
N (Neutral)
With the gearshift lever in N (Neutral), the vehicle can be started and is
free to roll. Hold the brake pedal down while in this position.
D (Drive with Overdrive) with Tow/Haul Off
D (Drive with Overdrive) with Tow/Haul OFF is the normal driving
position for the best fuel economy. Transmission operates in gears one
through six.
T/H
PR
N
D
3
2
1
Transmission177
2014 Navigator(nav)
Owners Guide gf, 1st Printing, June 2013
USA(fus)
Page 179 of 506
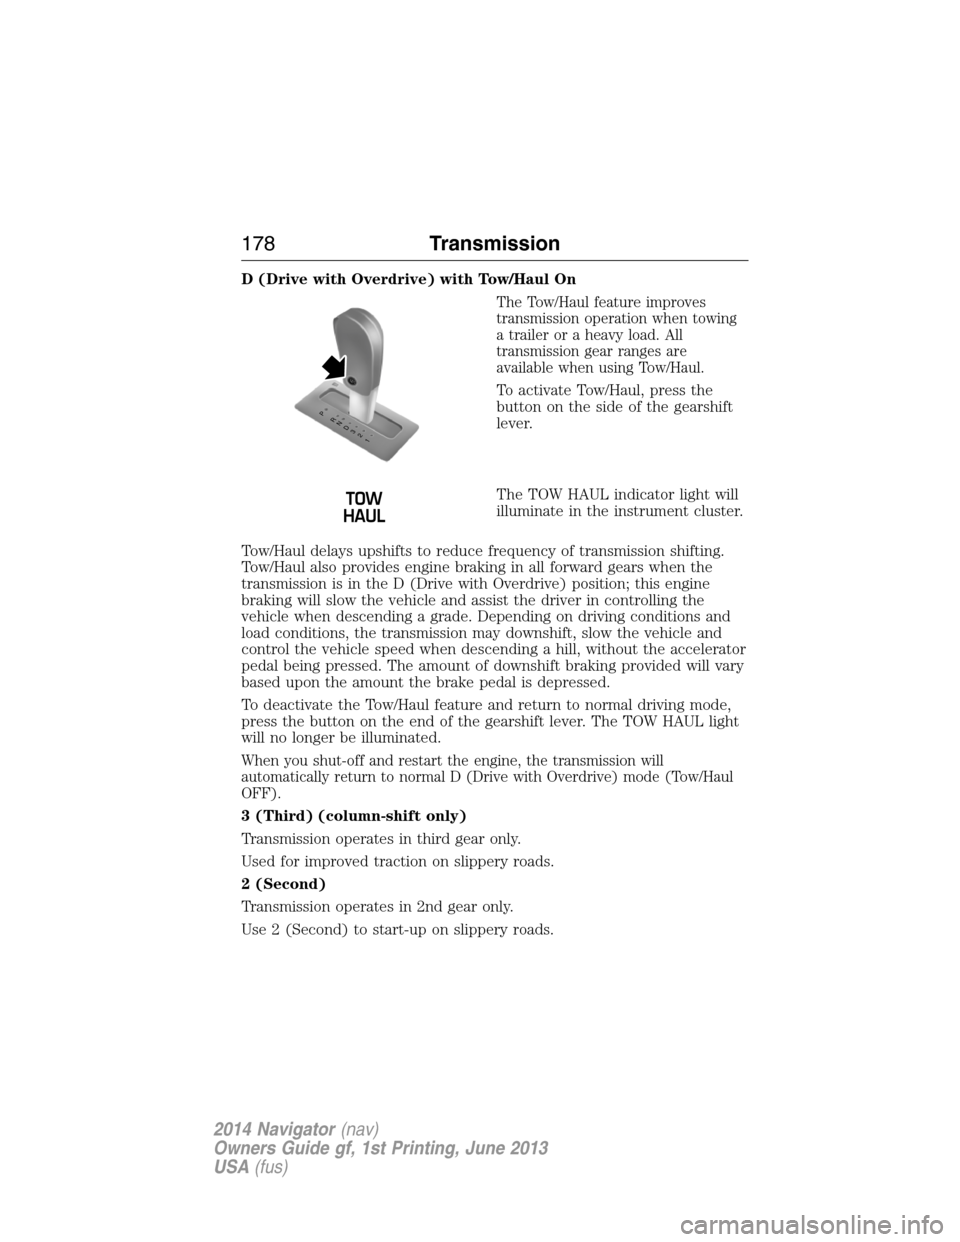
D (Drive with Overdrive) with Tow/Haul On
The Tow/Haul feature improves
transmission operation when towing
a trailer or a heavy load. All
transmission gear ranges are
available when using Tow/Haul.
To activate Tow/Haul, press the
button on the side of the gearshift
lever.
The TOW HAUL indicator light will
illuminate in the instrument cluster.
Tow/Haul delays upshifts to reduce frequency of transmission shifting.
Tow/Haul also provides engine braking in all forward gears when the
transmission is in the D (Drive with Overdrive) position; this engine
braking will slow the vehicle and assist the driver in controlling the
vehicle when descending a grade. Depending on driving conditions and
load conditions, the transmission may downshift, slow the vehicle and
control the vehicle speed when descending a hill, without the accelerator
pedal being pressed. The amount of downshift braking provided will vary
based upon the amount the brake pedal is depressed.
To deactivate the Tow/Haul feature and return to normal driving mode,
press the button on the end of the gearshift lever. The TOW HAUL light
will no longer be illuminated.
When you shut-off and restart the engine, the transmission will
automatically return to normal D (Drive with Overdrive) mode (Tow/Haul
OFF).
3 (Third) (column-shift only)
Transmission operates in third gear only.
Used for improved traction on slippery roads.
2 (Second)
Transmission operates in 2nd gear only.
Use 2 (Second) to start-up on slippery roads.
T/H T/H
PR
N
D
3
2
1
178Transmission
2014 Navigator(nav)
Owners Guide gf, 1st Printing, June 2013
USA(fus)
Page 183 of 506
USING FOUR-WHEEL DRIVE (4WD) (if equipped)
WARNING:For important information regarding safe operation
of this type of vehicle, seeGeneral Informationin theWheels
and Tireschapter.
Note:Do not use 4X4 mode on dry, hard surfaced roads. Doing so will
produce excessive noise, increase tire wear and may damage drive
components. 4X4 mode is only intended for consistently slippery or loose
surfaces.
Your 4x4 features the heavy-duty Control Trac® 4WD system which
includes a computer-operated transfer case. This unique system is
interactive with the road, continually monitoring and adjusting torque
delivery to the front and rear wheels to optimize vehicle control.
4WD Indicator Lights
The indicator lights illuminate in the message center in the
reconfigurable telltale (RTT) location under the following conditions.
Refer toWarning Lamps and Indicatorsin theInstrument Cluster
chapter.
Note:When a 4X4 system fault is present, the system will typically
remain in whichever 4X4 mode was selected prior to the fault condition
occurring. It will not default to 4X2 in all circumstances. When this
warning is displayed, have your vehicle serviced by an authorized dealer.
4X2- Momentarily illuminates when 2H is selected.
4X4 AUTO- Continuously illuminates when 4A is selected.
4X4- Continuously illuminates when 4H is selected.
CHECK 4X4- Displays when a 4X4 fault is present.
182Four-Wheel Drive (If Equipped)
2014 Navigator(nav)
Owners Guide gf, 1st Printing, June 2013
USA(fus)
Page 191 of 506
GENERAL INFORMATION
Note:Occasional brake noise is normal. If a metal-to-metal, continuous
grinding or continuous squeal sound is present, the brake linings may be
worn out. Have them inspected by an authorized dealer. If your vehicle
has continuous vibration or shudder in the steering wheel while braking,
have your vehicle inspected by an authorized dealer.
Note:Brake dust may accumulate on the wheels, even under normal
driving conditions. Some dust is inevitable as the brakes wear and does
not contribute to brake noise. See theVehicle Carechapter for wheel
cleaning instructions.
See theInstrument Clusterchapter for information on the
brake system warning light.
Wet brakes result in reduced braking efficiency. Gently press the brake
pedal a few times when driving from a car wash or standing water to dry
the brakes.
Brake Over Accelerator
In the event the accelerator pedal becomes stuck or entrapped, apply
steady and firm pressure to the brake pedal to slow your vehicle and
reduce engine power. If you experience this condition, apply the brakes
and bring your vehicle to a safe stop. Turn the engine off, shift to
positionPand apply the parking brake, then inspect the accelerator
pedal for any interferences. If none are found and the condition persists,
have your vehicle towed to the nearest authorized dealer.
Anti-Lock Brake System
This system helps you maintain steering control during emergency stops
by keeping the brakes from locking.
This lamp momentarily illuminates when you turn the ignition
on. If the light does not illuminate during start-up, remains on
or flashes, the anti-lock brake system may be disabled and may
need to be serviced.
If the anti-lock brake system is disabled, normal braking is still
effective. If the brake warning lamp illuminates with the parking
brake released, have your brake system serviced immediately.
190Brakes
2014 Navigator(nav)
Owners Guide gf, 1st Printing, June 2013
USA(fus)
Page 197 of 506
Using the Front and Rear Sensing System
Rear Sensing System
The rear sensors are only active when the transmission is in R (Reverse).
As the vehicle moves closer to the obstacle, the rate of the audible
warning increases. When the obstacle is fewer than 10 inches
(25 centimeters) away, the warning sounds continuously. If a stationary
or receding object is detected farther than 10 inches (25 centimeters)
from the side of the vehicle, the tone sounds for only three seconds.
Once the system detects an object approaching, the warning sounds
again.
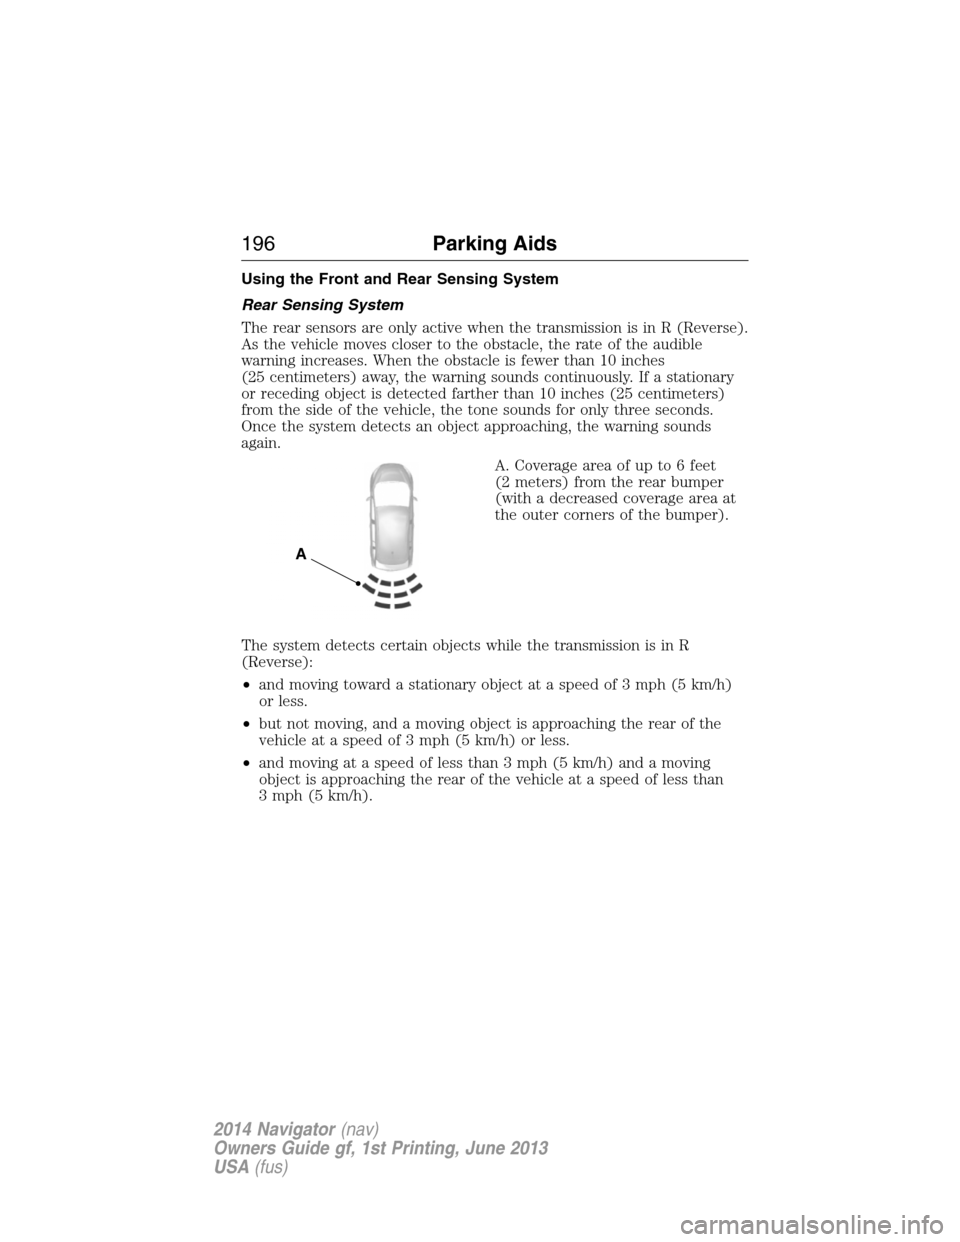
A. Coverage area of up to 6 feet
(2 meters) from the rear bumper
(with a decreased coverage area at
the outer corners of the bumper).
The system detects certain objects while the transmission is in R
(Reverse):
•and moving toward a stationary object at a speed of 3 mph (5 km/h)
or less.
•but not moving, and a moving object is approaching the rear of the
vehicle at a speed of 3 mph (5 km/h) or less.
•and moving at a speed of less than 3 mph (5 km/h) and a moving
object is approaching the rear of the vehicle at a speed of less than
3 mph (5 km/h).
A
196Parking Aids
2014 Navigator(nav)
Owners Guide gf, 1st Printing, June 2013
USA(fus)
Page 200 of 506
Using the Rear View Camera System
The rear view camera system displays what is behind your vehicle when
you place the transmission in R (Reverse). The system uses two types of
guides to help you see what is behind your vehicle:
1. Fixed guidelines: Show the actual path the vehicle is moving in while
reversing in a straight line, which can be helpful when backing into a
parking space or aligning the vehicle with another object behind the
vehicle.
2. Centerline: Helps align the center of the vehicle with an object (i.e. a
trailer).
Note:If the image comes on while the transmission is not in R
(Reverse), have the system inspected by your authorized dealer.
Note:When towing, the camera only sees what is being towed behind
the vehicle. This might not provide adequate coverage as it usually
provides in normal operation and some objects might not be seen.
In some vehicles, the guidelines may disappear once the trailer tow
connector is engaged.
Note:The default setting for the camera delay is off. Press the Settings
button found on the navigation screen (if equipped) to set the camera
delay feature to on or off.
Note:The camera may not operate correctly under the following
conditions:
•Nighttime or dark areas if one or both reverse lamps are not
operating.
•The camera’s view is obstructed by mud, water or debris. Clean the
lens with a soft, lint-free cloth and non-abrasive cleaner.
•The rear of the vehicle is hit or damaged, causing the camera to
become misaligned.
Parking Aids199
2014 Navigator(nav)
Owners Guide gf, 1st Printing, June 2013
USA(fus)
Page 205 of 506
AUTO LEVELING SUSPENSION SYSTEM (if equipped)
The automatic leveling suspension system is designed to improve ride,
handling and general vehicle performance during:
•Certain road conditions
•Steering maneuvers
•Braking
•Acceleration
•Towing
This system keeps the rear of your vehicle at a constant level through a
hydraulic pump inside each rear shock. Depending on the payload or
road surface conditions it will take approximately 2 miles (3.2 km) for
the leveling to complete.
If the loaded vehicle is not moved for approximately 12 hours, the
leveling system may bleed down to a lower height. This can be especially
apparent if a trailer is left attached to the parked vehicle for long periods
of time. You must drive your vehicle in order to re-level the suspension.
If a self-equalizing hitch is being used, your vehicle should be drive
approximately 2 miles (3.2 km) with the trailer prior to adjusting
(leveling) the hitch.
204Driving Aids
2014 Navigator(nav)
Owners Guide gf, 1st Printing, June 2013
USA(fus)
Page 209 of 506
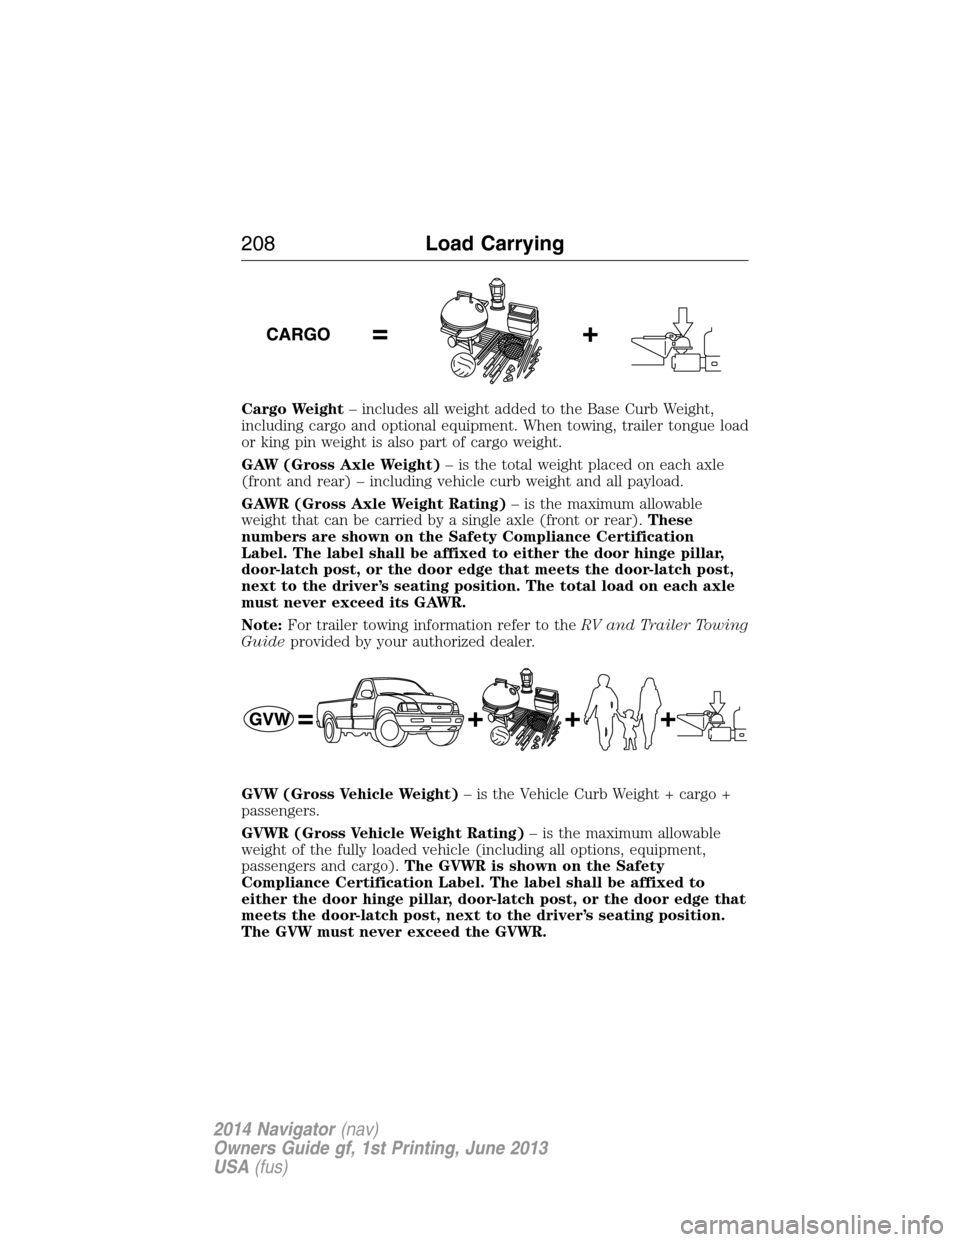
Cargo Weight– includes all weight added to the Base Curb Weight,
including cargo and optional equipment. When towing, trailer tongue load
or king pin weight is also part of cargo weight.
GAW (Gross Axle Weight)– is the total weight placed on each axle
(front and rear) – including vehicle curb weight and all payload.
GAWR (Gross Axle Weight Rating)– is the maximum allowable
weight that can be carried by a single axle (front or rear).These
numbers are shown on the Safety Compliance Certification
Label. The label shall be affixed to either the door hinge pillar,
door-latch post, or the door edge that meets the door-latch post,
next to the driver’s seating position. The total load on each axle
must never exceed its GAWR.
Note:For trailer towing information refer to theRV and Trailer Towing
Guideprovided by your authorized dealer.
GVW (Gross Vehicle Weight)– is the Vehicle Curb Weight + cargo +
passengers.
GVWR (Gross Vehicle Weight Rating)– is the maximum allowable
weight of the fully loaded vehicle (including all options, equipment,
passengers and cargo).The GVWR is shown on the Safety
Compliance Certification Label. The label shall be affixed to
either the door hinge pillar, door-latch post, or the door edge that
meets the door-latch post, next to the driver’s seating position.
The GVW must never exceed the GVWR.
208Load Carrying
2014 Navigator(nav)
Owners Guide gf, 1st Printing, June 2013
USA(fus)