display LINCOLN NAVIGATOR 2014 Owner's Guide
[x] Cancel search | Manufacturer: LINCOLN, Model Year: 2014, Model line: NAVIGATOR, Model: LINCOLN NAVIGATOR 2014Pages: 506, PDF Size: 5.72 MB
Page 154 of 506
2. Press the same button twice to confirm the change to Programming
mode. If done properly the LED light will appear red.
3. Hold the transmitter within 1–3 inches (2–8 centimeters) of the
button on the sun visor you want to program.
4. Press and hold both the programmed Genie button on the hand-held
transmitter and the button on the sun visor you want to program.
The indicator light on the sun visor will flash rapidly when the
programming is successful.
Note:the Genie transmitter will transmit for up to 30 seconds.
If HomeLink does not program within 30 seconds the Genie transmitter
will need to be pressed again. If the Genie transmitter LED displays
green and red, release the button until the LED turns off before pressing
the button again.
Once HomeLink has been programmed successfully, the Genie
transmitter must be changed out of program mode. To do this:
1. Press and hold the previously programmed Genie button on the
hand-held transmitter for 10 seconds. The indicator light will change
from red to red and green.
2. Press the same button twice to confirm the change. If done correctly
the LED will turn green.
Programming HomeLink to the Genie Intellicode garage door
opener motor
Note:You may need a ladder to access the garage door opener motor.
To program HomeLink to the garage
door opener motor:
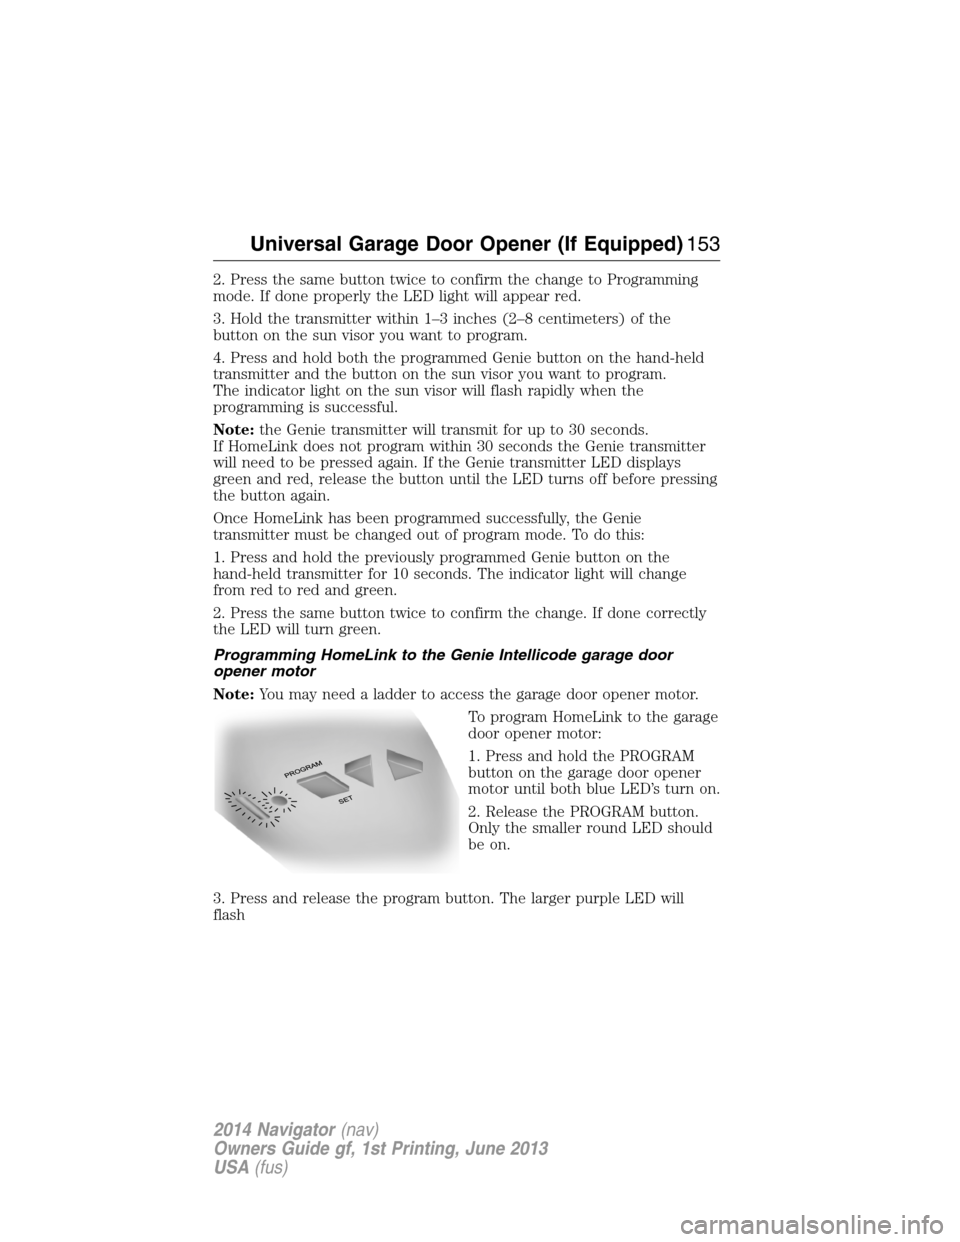
1. Press and hold the PROGRAM
button on the garage door opener
motor until both blue LED’s turn on.
2. Release the PROGRAM button.
Only the smaller round LED should
be on.
3. Press and release the program button. The larger purple LED will
flash
Universal Garage Door Opener (If Equipped)153
2014 Navigator(nav)
Owners Guide gf, 1st Printing, June 2013
USA(fus)
Page 171 of 506
Use the following guidelines to avoid electrostatic charge build-up when
filling an ungrounded fuel container:
•Place approved fuel container on the ground.
•DO NOT fill a fuel container while it is in the vehicle (including the
cargo area).
•Keep the fuel pump nozzle in contact with the fuel container while
filling.
•DO NOT use a device that would hold the fuel pump handle in the fill
position.
Easy Fuel® “No Cap” Fuel System
WARNING:The fuel system may be under pressure. If you hear
a hissing sound near the fuel filler door, do not refuel until the
sound stops. Otherwise, fuel may spray out, which could cause serious
personal injury.
When fueling your vehicle:
1. Turn the engine off.
2. Open the fuel door by pulling the indent on the door.
3. Insert the fuel plug key (if equipped) into the locking plug and turn it
counterclockwise to unlock it.
4. Slowly insert the fuel filler nozzle fully into the fuel system, and leave
the nozzle fully inserted until you are done pumping.
5. After you are done pumping fuel, slowly remove the fuel filler
nozzle—allow about ten seconds after pumping fuel before removing the
fuel filler nozzle. This allows residual fuel to drain back into the fuel tank
and not spill onto the vehicle.
6. Reinstall the plug (if equipped) into the fuel fill inlet and turn the key
clockwise to lock.
Note:Do not overfill the tank or fuel spillage will occur.
If the fuel fill inlet was not properly closed, a Check Fuel Fill Inlet
message may appear on the information display. See theInformation
Displayschapter for more information.
At the next opportunity, do the following:
1. Safely pull off the road.
2. Turn off the engine.
170Fuel and Refueling
2014 Navigator(nav)
Owners Guide gf, 1st Printing, June 2013
USA(fus)
Page 183 of 506
USING FOUR-WHEEL DRIVE (4WD) (if equipped)
WARNING:For important information regarding safe operation
of this type of vehicle, seeGeneral Informationin theWheels
and Tireschapter.
Note:Do not use 4X4 mode on dry, hard surfaced roads. Doing so will
produce excessive noise, increase tire wear and may damage drive
components. 4X4 mode is only intended for consistently slippery or loose
surfaces.
Your 4x4 features the heavy-duty Control Trac® 4WD system which
includes a computer-operated transfer case. This unique system is
interactive with the road, continually monitoring and adjusting torque
delivery to the front and rear wheels to optimize vehicle control.
4WD Indicator Lights
The indicator lights illuminate in the message center in the
reconfigurable telltale (RTT) location under the following conditions.
Refer toWarning Lamps and Indicatorsin theInstrument Cluster
chapter.
Note:When a 4X4 system fault is present, the system will typically
remain in whichever 4X4 mode was selected prior to the fault condition
occurring. It will not default to 4X2 in all circumstances. When this
warning is displayed, have your vehicle serviced by an authorized dealer.
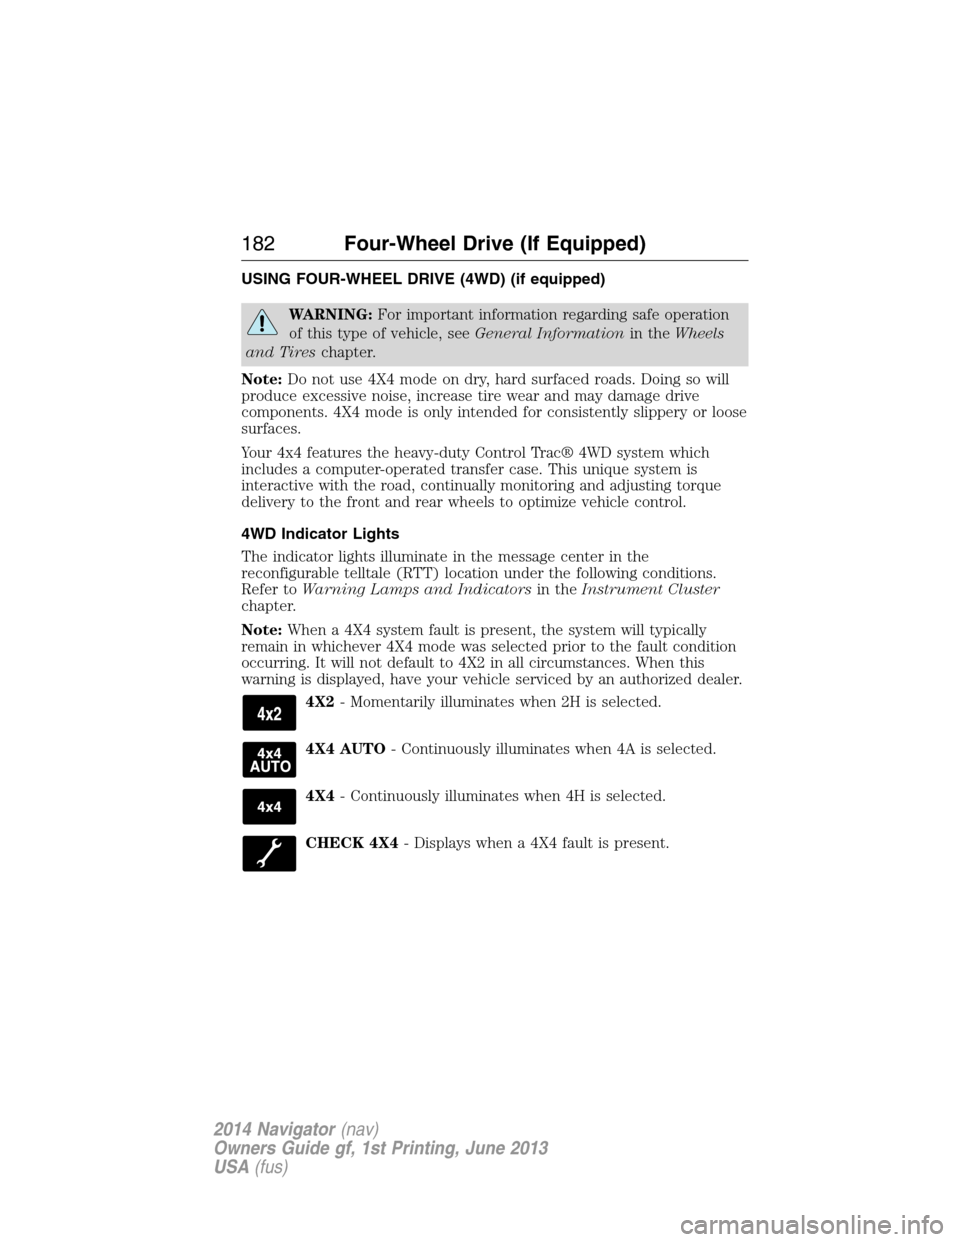
4X2- Momentarily illuminates when 2H is selected.
4X4 AUTO- Continuously illuminates when 4A is selected.
4X4- Continuously illuminates when 4H is selected.
CHECK 4X4- Displays when a 4X4 fault is present.
182Four-Wheel Drive (If Equipped)
2014 Navigator(nav)
Owners Guide gf, 1st Printing, June 2013
USA(fus)
Page 184 of 506
4WD switch positions
WARNING:Utility and four-wheel drive vehicles arenot
designed for cornering at speeds as high as passenger cars any
more than low-slung sports cars are designed to perform satisfactorily
under off-road conditions. Avoid sharp turns or abrupt maneuvers in
these vehicles.
Note:The AdvanceTrac® with RSC® stability enhancement system can
be turned off manually by pressing the AdvanceTrac button, see the
Traction Controlchapter for more information. This will disable the
engine management feature, allowing the vehicle to maintain full power
and enhanced momentum through the obstacle.
Note:The Control Trac selector switch should not be changed while the
rear wheels are slipping.
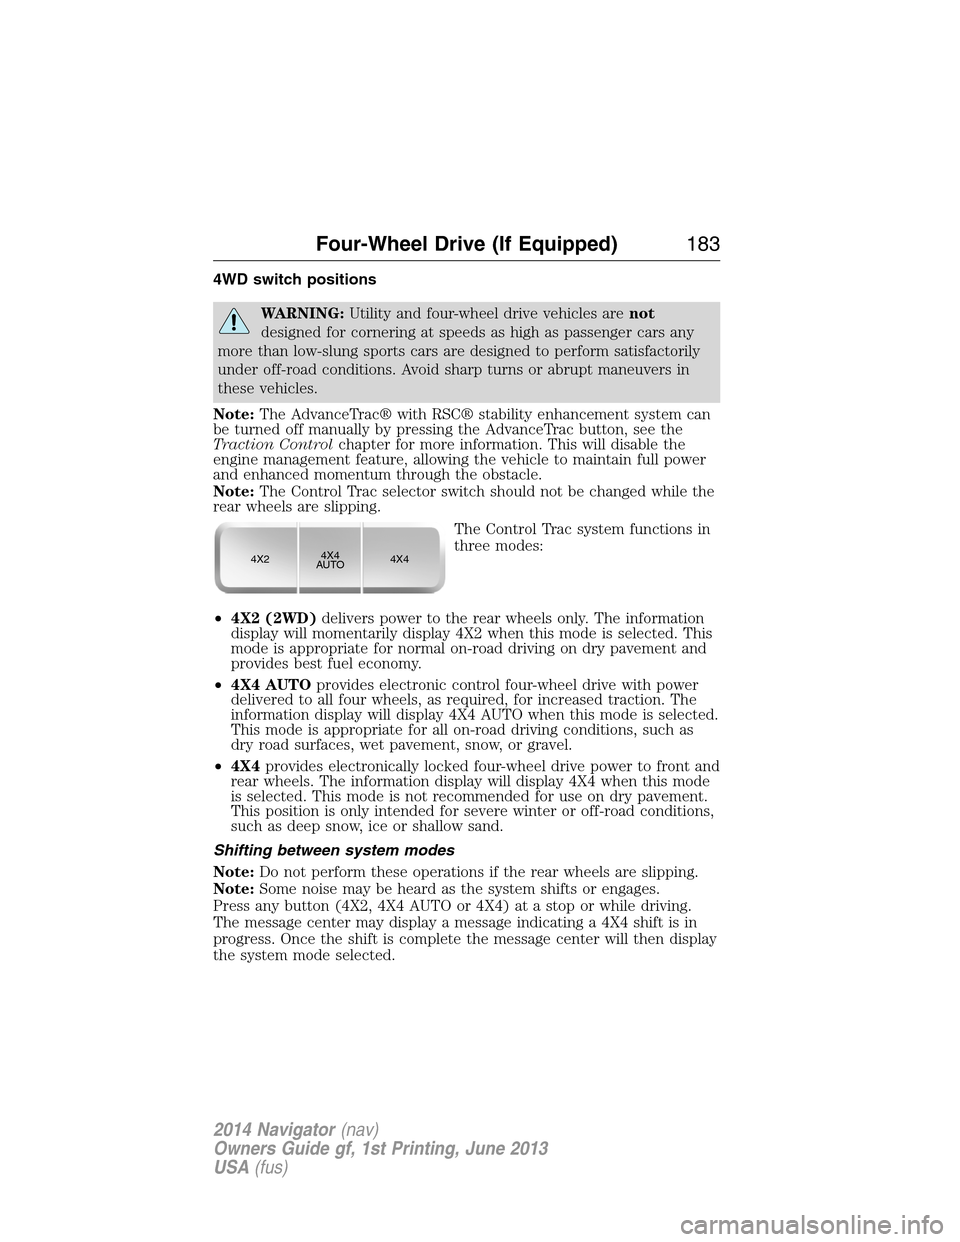
The Control Trac system functions in
three modes:
•4X2 (2WD)delivers power to the rear wheels only. The information
display will momentarily display 4X2 when this mode is selected. This
mode is appropriate for normal on-road driving on dry pavement and
provides best fuel economy.
•4X4 AUTOprovides electronic control four-wheel drive with power
delivered to all four wheels, as required, for increased traction. The
information display will display 4X4 AUTO when this mode is selected.
This mode is appropriate for all on-road driving conditions, such as
dry road surfaces, wet pavement, snow, or gravel.
•4X4provides electronically locked four-wheel drive power to front and
rear wheels. The information display will display 4X4 when this mode
is selected. This mode is not recommended for use on dry pavement.
This position is only intended for severe winter or off-road conditions,
such as deep snow, ice or shallow sand.
Shifting between system modes
Note:Do not perform these operations if the rear wheels are slipping.
Note:Some noise may be heard as the system shifts or engages.
Press any button (4X2, 4X4 AUTO or 4X4) at a stop or while driving.
The message center may display a message indicating a 4X4 shift is in
progress. Once the shift is complete the message center will then display
the system mode selected.
4X24X4
AUTO4X4
Four-Wheel Drive (If Equipped)183
2014 Navigator(nav)
Owners Guide gf, 1st Printing, June 2013
USA(fus)
Page 193 of 506
PRINCIPLES OF OPERATION
The traction control system helps avoid drive wheel spin and loss of
traction.
If your vehicle begins to slide, the system applies the brakes to individual
wheels and, when needed, reduces engine power at the same time. If the
wheels spin when accelerating on slippery or loose surfaces, the system
reduces engine power in order to increase traction.
USING TRACTION CONTROL
In certain situations (for example, stuck in snow or mud), turning the
traction control off may be beneficial as this allows the wheels to spin
with full engine power. Turn the traction control system off using the
TCS OFFbutton located on the center of the instrument panel.
System indicator lights and messages
WARNING:If a failure has been detected within the Traction
Control System, the stability control light will illuminate steadily.
Verify that the Traction Control System was not manually disabled.
If the stability control light still illuminates steadily, have the system
serviced by an authorized dealer immediately. Operating your vehicle
with Traction Control disabled could lead to an increased risk of loss of
vehicle control, vehicle rollover, personal injury and death.
The stability control light temporarily illuminates on engine
start-up and flashes when a driving condition activates the
stability system.
The stability control off light temporarily illuminates on engine
start-up and stays on when the traction control system is
turned off or if a problem occurs in the stability system.
When the traction control system is turned off or on, a message appears
in the information display showing system status.
192Traction Control
2014 Navigator(nav)
Owners Guide gf, 1st Printing, June 2013
USA(fus)
Page 199 of 506
REAR VIEW CAMERA SYSTEM (IF EQUIPPED)
WARNING:The rear view camera system is a reverse aid
supplement device that still requires the driver to use it in
conjunction with the interior and exterior mirrors for maximum
coverage.
WARNING:Objects that are close to either corner of the
bumper or under the bumper, might not be seen on the screen
due to the limited coverage of the camera system.
WARNING:Back up as slow as possible since higher speeds
might limit your reaction time to stop the vehicle.
WARNING:Use caution when using the rear video camera and
the liftgate is ajar. If the liftgate is ajar, the camera will be out of
position and the video image may be incorrect. All guidelines (if enabled)
have been removed when the liftgate is ajar.
WARNING:Use caution when turning camera features on or off
while in R (Reverse). Make sure the vehicle is not moving.
The rear view camera system provides a video image of the area behind
the vehicle.
During operation, lines appear in the display which represent your
vehicle’s path and proximity to objects behind the vehicle.
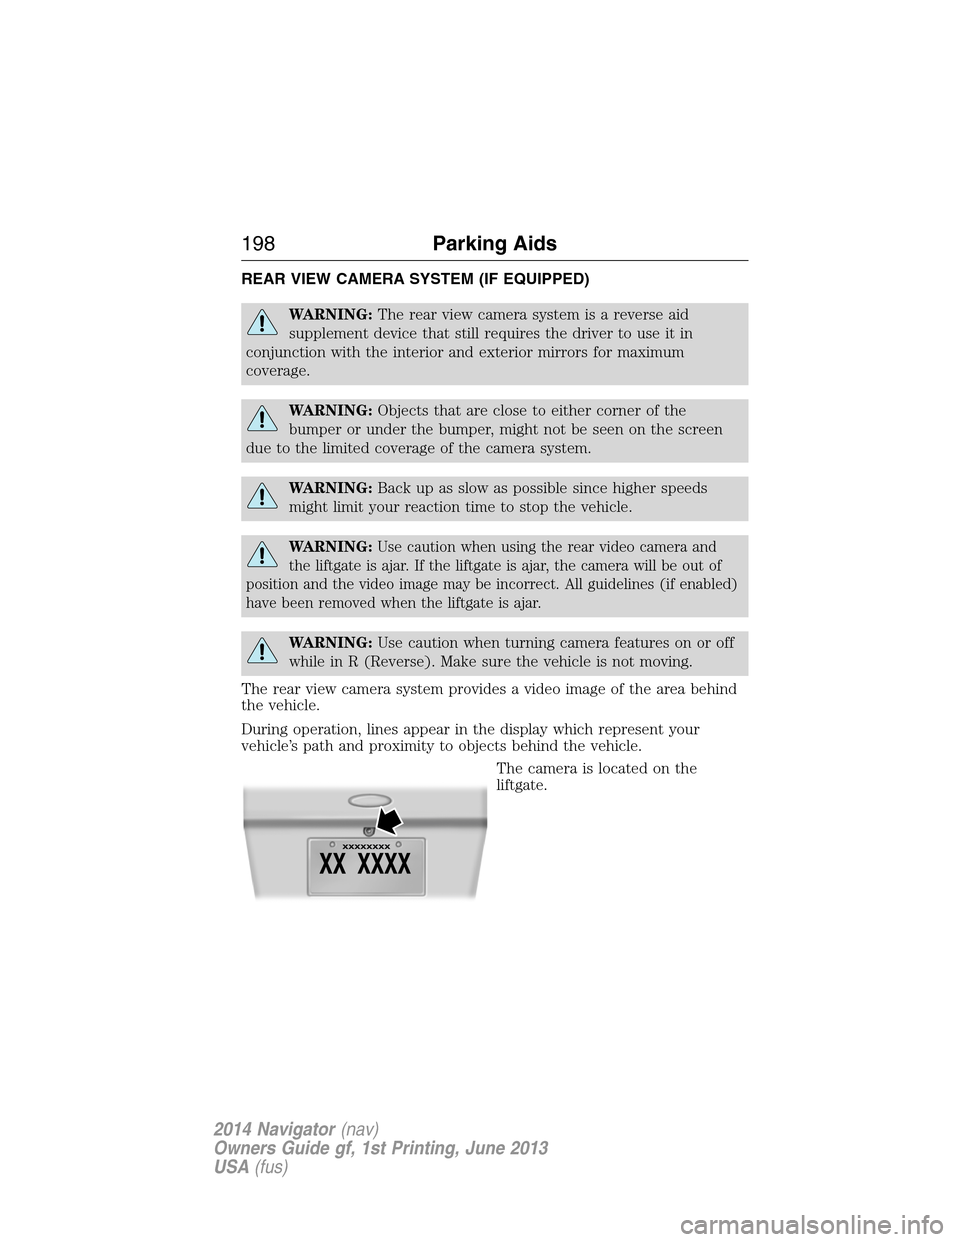
The camera is located on the
liftgate.
198Parking Aids
2014 Navigator(nav)
Owners Guide gf, 1st Printing, June 2013
USA(fus)
Page 200 of 506
Using the Rear View Camera System
The rear view camera system displays what is behind your vehicle when
you place the transmission in R (Reverse). The system uses two types of
guides to help you see what is behind your vehicle:
1. Fixed guidelines: Show the actual path the vehicle is moving in while
reversing in a straight line, which can be helpful when backing into a
parking space or aligning the vehicle with another object behind the
vehicle.
2. Centerline: Helps align the center of the vehicle with an object (i.e. a
trailer).
Note:If the image comes on while the transmission is not in R
(Reverse), have the system inspected by your authorized dealer.
Note:When towing, the camera only sees what is being towed behind
the vehicle. This might not provide adequate coverage as it usually
provides in normal operation and some objects might not be seen.
In some vehicles, the guidelines may disappear once the trailer tow
connector is engaged.
Note:The default setting for the camera delay is off. Press the Settings
button found on the navigation screen (if equipped) to set the camera
delay feature to on or off.
Note:The camera may not operate correctly under the following
conditions:
•Nighttime or dark areas if one or both reverse lamps are not
operating.
•The camera’s view is obstructed by mud, water or debris. Clean the
lens with a soft, lint-free cloth and non-abrasive cleaner.
•The rear of the vehicle is hit or damaged, causing the camera to
become misaligned.
Parking Aids199
2014 Navigator(nav)
Owners Guide gf, 1st Printing, June 2013
USA(fus)
Page 201 of 506
Guidelines and the Centerline
Note:Fixed guidelines are only available when the transmission is in R
(Reverse).
Note:The centerline is only available if fixed guidelines are on.
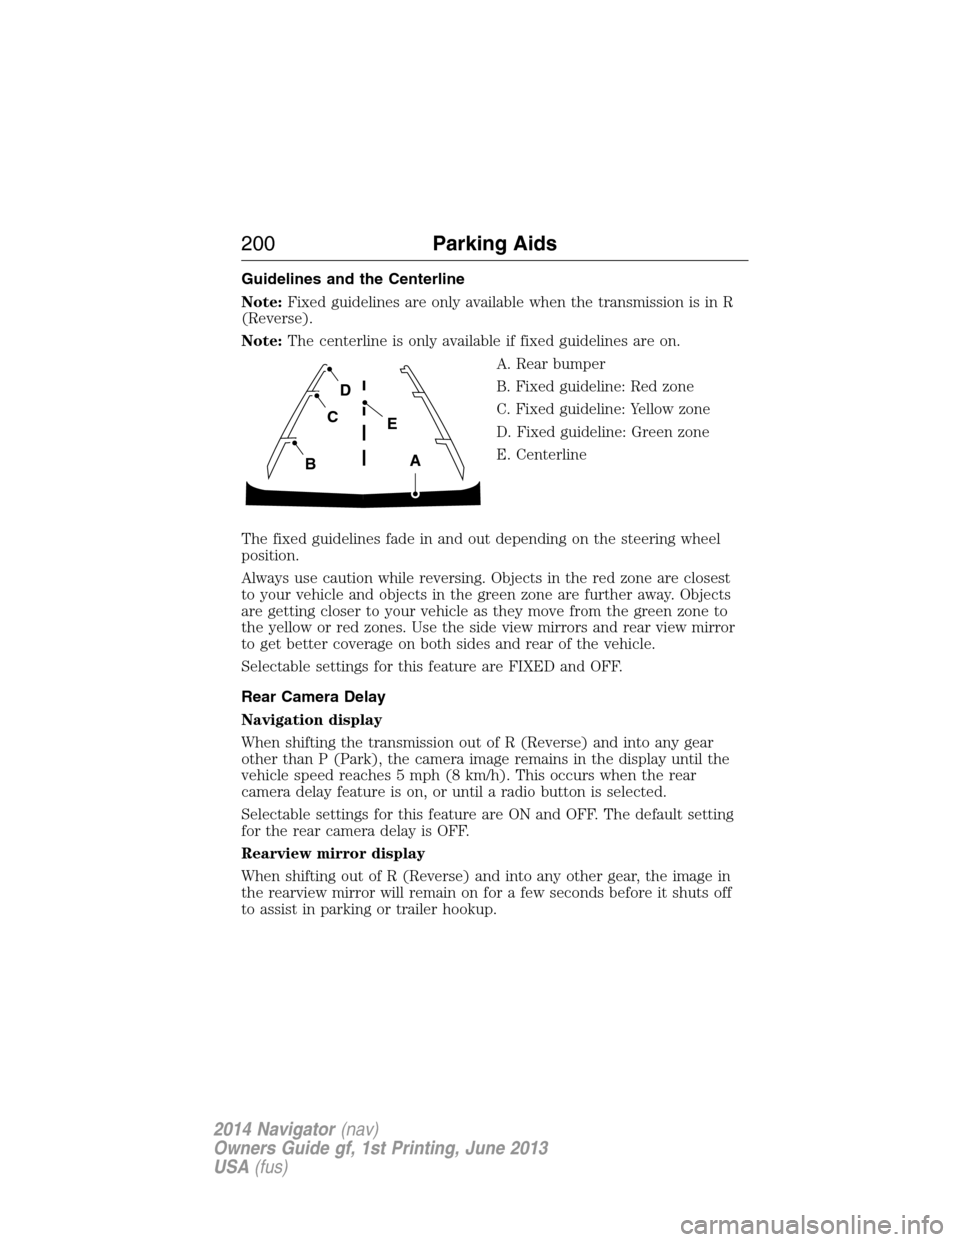
A. Rear bumper
B. Fixed guideline: Red zone
C. Fixed guideline: Yellow zone
D. Fixed guideline: Green zone
E. Centerline
The fixed guidelines fade in and out depending on the steering wheel
position.
Always use caution while reversing. Objects in the red zone are closest
to your vehicle and objects in the green zone are further away. Objects
are getting closer to your vehicle as they move from the green zone to
the yellow or red zones. Use the side view mirrors and rear view mirror
to get better coverage on both sides and rear of the vehicle.
Selectable settings for this feature are FIXED and OFF.
Rear Camera Delay
Navigation display
When shifting the transmission out of R (Reverse) and into any gear
other than P (Park), the camera image remains in the display until the
vehicle speed reaches 5 mph (8 km/h). This occurs when the rear
camera delay feature is on, or until a radio button is selected.
Selectable settings for this feature are ON and OFF. The default setting
for the rear camera delay is OFF.
Rearview mirror display
When shifting out of R (Reverse) and into any other gear, the image in
the rearview mirror will remain on for a few seconds before it shuts off
to assist in parking or trailer hookup.
A
E
D
C
B
200Parking Aids
2014 Navigator(nav)
Owners Guide gf, 1st Printing, June 2013
USA(fus)
Page 216 of 506
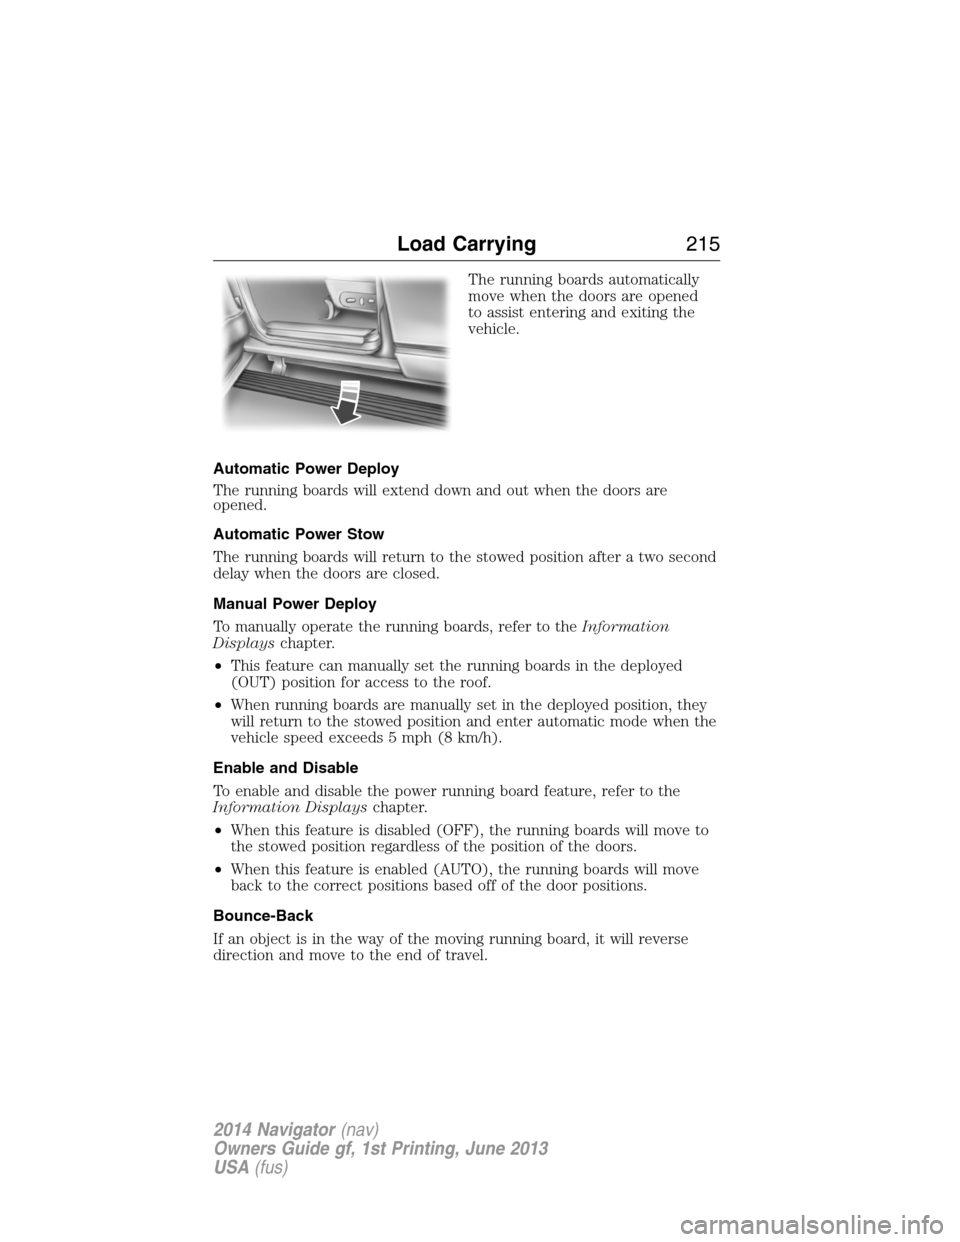
The running boards automatically
move when the doors are opened
to assist entering and exiting the
vehicle.
Automatic Power Deploy
The running boards will extend down and out when the doors are
opened.
Automatic Power Stow
The running boards will return to the stowed position after a two second
delay when the doors are closed.
Manual Power Deploy
To manually operate the running boards, refer to theInformation
Displayschapter.
•This feature can manually set the running boards in the deployed
(OUT) position for access to the roof.
•When running boards are manually set in the deployed position, they
will return to the stowed position and enter automatic mode when the
vehicle speed exceeds 5 mph (8 km/h).
Enable and Disable
To enable and disable the power running board feature, refer to the
Information Displayschapter.
•When this feature is disabled (OFF), the running boards will move to
the stowed position regardless of the position of the doors.
•When this feature is enabled (AUTO), the running boards will move
back to the correct positions based off of the door positions.
Bounce-Back
If an object is in the way of the moving running board, it will reverse
direction and move to the end of travel.
Load Carrying215
2014 Navigator(nav)
Owners Guide gf, 1st Printing, June 2013
USA(fus)
Page 218 of 506
TRAILER SWAY CONTROL
WARNING:Turning off trailer sway control increases the risk of
loss of vehicle control, serious injury or death. Ford does not
recommend disabling this feature except in situations where speed
reduction may be detrimental (such as hill climbing), the driver has
significant trailer towing experience, and can control trailer sway and
maintain safe operation.
Note:This feature does not prevent trailer sway, but reduces it once it
begins.
Note:This feature cannot stop all trailers from swaying.
Note:In some cases, if vehicle speed is too high, the system may turn
on multiple times, gradually reducing vehicle speed.
This feature applies your vehicle brakes at individual wheels and, if
necessary, reduces engine power. If the trailer begins to sway, the
stability control light flashes and the messageTRAILER SWAY
REDUCE SPEEDappears in the information display. The first thing to
do is slow your vehicle down, then pull safely to the side of the road and
check for proper tongue load and trailer load distribution. See theLoad
Carryingchapter for specific loading information.
RECOMMENDED TOWING WEIGHTS
Note:Do not exceed the trailer weight for your vehicle configuration
listed in the chart below.
Note:Make sure to take into consideration trailer frontal area. Do not
exceed:
•36.5 feet
2(3.39 meters2) trailer frontal area for vehicles equipped
with the standard towing package.
•60.0 feet
2(5.57 meters2) trailer frontal area for vehicles equipped
with the optional towing package.
Note:Exceeding this limitation may significantly reduce the
performance of your towing vehicle. Selecting a trailer with a low
aerodynamic drag and rounded front design helps optimize performance
and fuel economy.
Note:For high altitude operation, reduce the gross combined weight by
2% per 1000 feet (300 meters) starting at the 1000 foot (300 meter)
elevation point.
Towing217
2014 Navigator(nav)
Owners Guide gf, 1st Printing, June 2013
USA(fus)