ECO mode MASERATI GHIBLI 2019 Owner's Manual
[x] Cancel search | Manufacturer: MASERATI, Model Year: 2019, Model line: GHIBLI, Model: MASERATI GHIBLI 2019Pages: 384, PDF Size: 13.33 MB
Page 161 of 384
only or “Visual & Haptic” mode by
turning on the function via MTC+
system soft-key and by changing
your selection in the dedicated
submenu. The setting chosen will
latch over key cycles.
NOTE:
To set these systems, see chapters
“Adaptive Cruise Control - ACC”,
"Highway Assist - HAS" and “Lane
Keeping Assist - LKA” in section
“Driving”.
Press and release the
button to
return to the main menu.
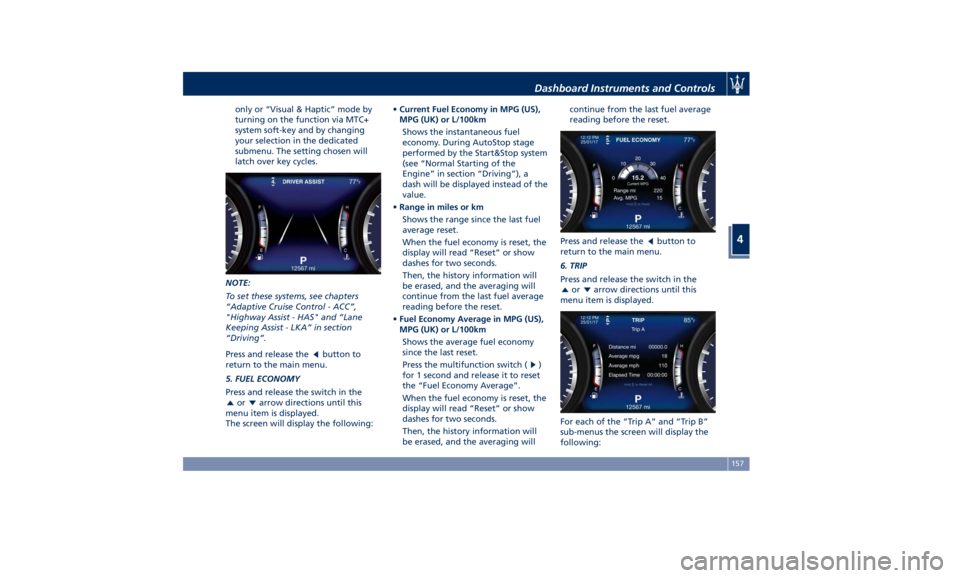
5. FUEL ECONOMY
Press and release the switch in the
or arrow directions until this
menu item is displayed.
The screen will display the following: • Current Fuel Economy in MPG (US),
MPG (UK) or L/100km
Shows the instantaneous fuel
economy. During AutoStop stage
performed by the Start&Stop system
(see “Normal Starting of the
Engine” in section “Driving”), a
dash will be displayed instead of the
value.
• Range in miles or km
Shows the range since the last fuel
average reset.
When the fuel economy is reset, the
display will read “Reset” or show
dashes for two seconds.
Then, the history information will
be erased, and the averaging will
continue from the last fuel average
reading before the reset.
• Fuel Economy Average in MPG (US),
MPG (UK) or L/100km
Shows the average fuel economy
since the last reset.
Press the multifunction switch (
)
for 1 second and release it to reset
the “Fuel Economy Average”.
When the fuel economy is reset, the
display will read “Reset” or show
dashes for two seconds.
Then, the history information will
be erased, and the averaging will continue from the last fuel average
reading before the reset.
Press and release the
button to
return to the main menu.
6. TRIP
Press and release the switch in the
or arrow directions until this
menu item is displayed.
For each of the “Trip A” and “Trip B”
sub-menus the screen will display the
following:Dashboard Instruments and Controls
4
157
Page 162 of 384
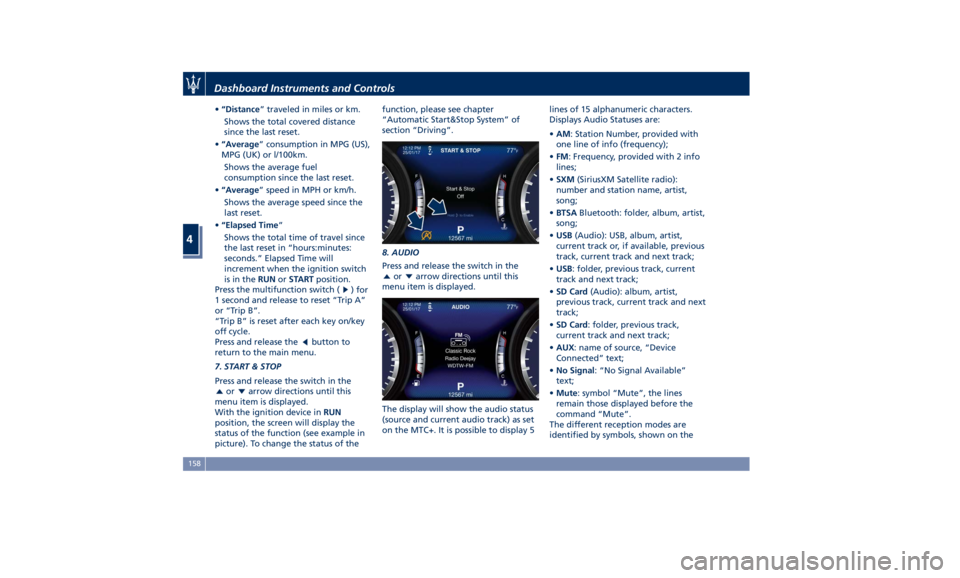
• “Distance ” traveled in miles or km.
Shows the total covered distance
since the last reset.
• “Average ” consumption in MPG (US),
MPG (UK) or l/100km.
Shows the average fuel
consumption since the last reset.
• “Average ” speed in MPH or km/h.
Shows the average speed since the
last reset.
• “Elapsed Time ”
Shows the total time of travel since
the last reset in “hours:minutes:
seconds.” Elapsed Time will
increment when the ignition switch
is in the RUN or START position.
Press the multifunction switch (
) for
1 second and release to reset “Trip A”
or “Trip B”.
“Trip B” is reset after each key on/key
off cycle.
Press and release the
button to
return to the main menu.
7. START & STOP
Press and release the switch in the
or arrow directions until this
menu item is displayed.
With the ignition device in RUN
position, the screen will display the
status of the function (see example in
picture). To change the status of the function, please see chapter
“Automatic Start&Stop System” of
section “Driving”.
8. AUDIO
Press and release the switch in the
or arrow directions until this
menu item is displayed.
The display will show the audio status
(source and current audio track) as set
on the MTC+. It is possible to display 5 lines of 15 alphanumeric characters.
Displays Audio Statuses are:
• AM : Station Number, provided with
one line of info (frequency);
• FM : Frequency, provided with 2 info
lines;
• SXM (SiriusXM Satellite radio):
number and station name, artist,
song;
• BTSA Bluetooth: folder, album, artist,
song;
• USB (Audio): USB, album, artist,
current track or, if available, previous
track, current track and next track;
• USB : folder, previous track, current
track and next track;
• SD Card (Audio): album, artist,
previous track, current track and next
track;
• SD Card : folder, previous track,
current track and next track;
• AUX : name of source, “Device
Connected” text;
• No Signal : “No Signal Available”
text;
• Mute : symbol “Mute”, the lines
remain those displayed before the
command “Mute”.
The different reception modes are
identified by symbols, shown on theDashboard Instruments and Controls
4
158
Page 167 of 384
of changing units remains in any case
active.
If the “Main Menu Navigation” is set
to “On”, navigation information will
be displayed in the main area of the
display only if a destination has been
set on the navigator of the MTC+. If
function is set to "Off", the navigation
information will not be displayed.
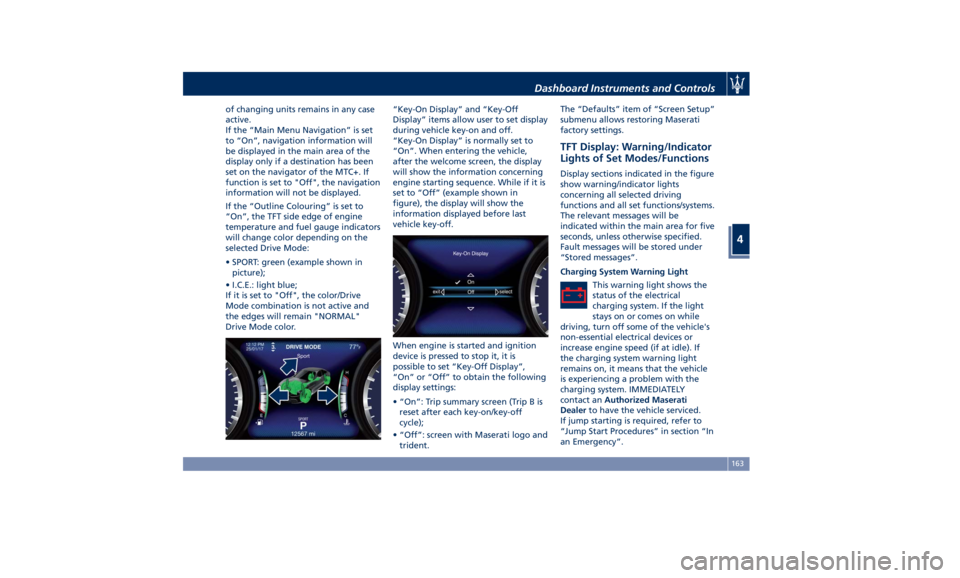
If the “Outline Colouring” is set to
“On”, the TFT side edge of engine
temperature and fuel gauge indicators
will change color depending on the
selected Drive Mode:
• SPORT: green (example shown in
picture);
• I.C.E.: light blue;
If it is set to "Off", the color/Drive
Mode combination is not active and
the edges will remain "NORMAL"
Drive Mode color. “Key-On Display” and “Key-Off
Display” items allow user to set display
during vehicle key-on and off.
“Key-On Display” is normally set to
“On”. When entering the vehicle,
after the welcome screen, the display
will show the information concerning
engine starting sequence. While if it is
set to “Off” (example shown in
figure), the display will show the
information displayed before last
vehicle key-off.
When engine is started and ignition
device is pressed to stop it, it is
possible to set “Key-Off Display”,
“On” or “Off” to obtain the following
display settings:
• “On”: Trip summary screen (Trip B is
reset after each key-on/key-off
cycle);
• “Off”: screen with Maserati logo and
trident. The “Defaults” item of “Screen Setup”
submenu allows restoring Maserati
factory settings.
TFT Display: Warning/Indicator
Lights of Set Modes/Functions Display sections indicated in the figure
show warning/indicator lights
concerning all selected driving
functions and all set functions/systems.
The relevant messages will be
indicated within the main area for five
seconds, unless otherwise specified.
Fault messages will be stored under
“Stored messages”.
Charging System Warning Light
This warning light shows the
status of the electrical
charging system. If the light
stays on or comes on while
driving, turn off some of the vehicle's
non-essential electrical devices or
increase engine speed (if at idle). If
the charging system warning light
remains on, it means that the vehicle
is experiencing a problem with the
charging system. IMMEDIATELY
contact an Authorized Maserati
Dealer to have the vehicle serviced.
If jump starting is required, refer to
“Jump Start Procedures” in section “In
an Emergency”.Dashboard Instruments and Controls
4
163
Page 170 of 384
Electronic Throttle Control (ETC)
Indicator
This indicator light indicates a
failure of the Electronic
Throttle Control (ETC) system.
If the indicator turns on while
driving (a torque decrease is possible),
have the system checked by an
Authorized Maserati Dealer .
When detecting a failure, the light
indicator will illuminate while the
engine is running.
If the indicator remains lit with the
engine running, you can still drive your
vehicle. However, contact an
Authorized Maserati Dealer as soon as
possible.
If the indicator is flashing while the
engine is running, immediate service is
required. You may experience reduced
performance, an elevated/rough idle
or engine stall and your vehicle may
require towing.
Trunk Lid and Hood Ajar Indicators
These light indicators will
illuminate to indicate that the
trunk lid and/or the hood are
ajar.
When the trunk lid or the
hood is open, a related
message will be displayed
besides the light if the vehicle is running at a speed of 5 mph (8 km/h)
or faster.
Low Fuel Indicator
When the fuel level reaches
approximately 4.2 Gallons (16
litres) this light under the fuel
gauge indicator will turn on,
and remain on until fuel is added
together with the related message. In
this condition the color indicating the
quantity of fuel in the tank, inside the
indicator on display, will go from
white to amber.
Refer to “Refueling” in section
“Driving” for fuel filling.
Windshield Washer Low Fluid
Indicator
This indicator will illuminate
for 5 seconds to indicate a low
level of the windshield washer
fluid. A related message will
be displayed.
See “Maintenance Procedures” in
section “Maintenance and Care” for
fluid filling.
Headlight Aiming System Failure
Warning Light
This warning light and the
related message indicate a
failure of the automatic
headlight aiming system. Please contact an Authorized Maserati
Dealer to check the system.
Automatic High Beam Failure Warning
Light
This warning light and the
related message illuminate to
report a failure of the
automatic high beam
headlights.
Contact an Authorized Maserati
Dealer as soon as possible.
Suspensions Failure Warning Light
This warning light and the
related message turn on while
driving if there is a failure of
the suspension system (only
with optional Skyhook active
suspension).
Please contact an Authorized Maserati
Dealer to check the system.
Ice Hazard Indicator
When the external
temperature falls below 38°F
(3°C), the temperature value
blinks for a few seconds, the
indicator light turns on, a message is
displayed and an acoustic signal is
triggered to warn the driver of the risk
of icy roadbed.
Under such conditions, we recommend
using the I.C.E. drive mode (seeDashboard Instruments and Controls
4
166
Page 171 of 384
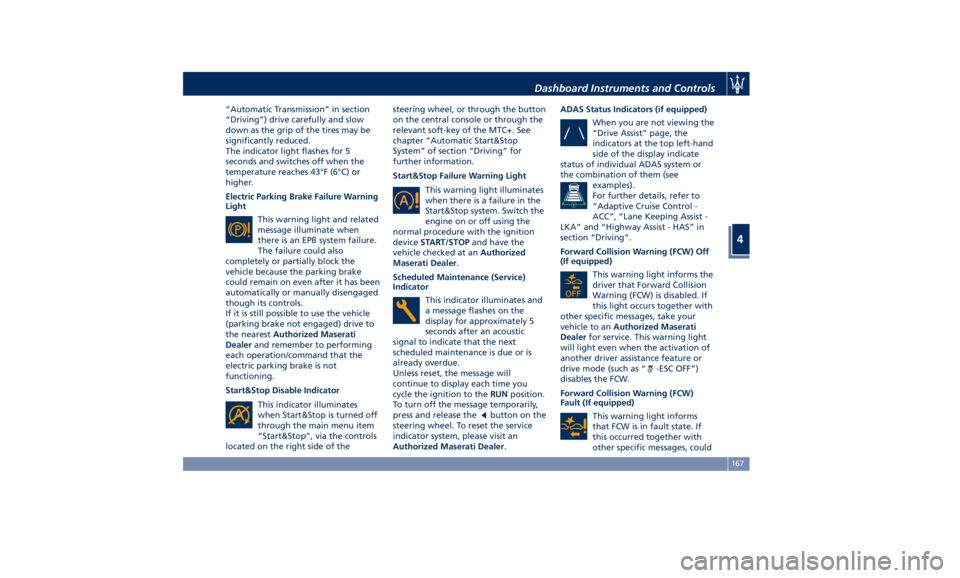
“Automatic Transmission” in section
“Driving”) drive carefully and slow
down as the grip of the tires may be
significantly reduced.
The indicator light flashes for 5
seconds and switches off when the
temperature reaches 43°F (6°C) or
higher.
Electric Parking Brake Failure Warning
Light
This warning light and related
message illuminate when
there is an EPB system failure.
The failure could also
completely or partially block the
vehicle because the parking brake
could remain on even after it has been
automatically or manually disengaged
though its controls.
If it is still possible to use the vehicle
(parking brake not engaged) drive to
the nearest Authorized Maserati
Dealer and remember to performing
each operation/command that the
electric parking brake is not
functioning.
Start&Stop Disable Indicator
This indicator illuminates
when Start&Stop is turned off
through the main menu item
“Start&Stop”, via the controls
located on the right side of the steering wheel, or through the button
on the central console or through the
relevant soft-key of the MTC+. See
chapter “Automatic Start&Stop
System” of section “Driving” for
further information.
Start&Stop Failure Warning Light
This warning light illuminates
when there is a failure in the
Start&Stop system. Switch the
engine on or off using the
normal procedure with the ignition
device START/STOP and have the
vehicle checked at an Authorized
Maserati Dealer .
Scheduled Maintenance (Service)
Indicator
This indicator illuminates and
a message flashes on the
display for approximately 5
seconds after an acoustic
signal to indicate that the next
scheduled maintenance is due or is
already overdue.
Unless reset, the message will
continue to display each time you
cycle the ignition to the RUN position.
To turn off the message temporarily,
press and release the
button on the
steering wheel. To reset the service
indicator system, please visit an
Authorized Maserati Dealer . ADAS Status Indicators (if equipped)
When you are not viewing the
“Drive Assist” page, the
indicators at the top left-hand
side of the display indicate
status of individual ADAS system or
the combination of them (see
examples).
For further details, refer to
“Adaptive Cruise Control -
ACC”, “Lane Keeping Assist -
LKA” and “Highway Assist - HAS” in
section “Driving”.
Forward Collision Warning (FCW) Off
(If equipped)
This warning light informs the
driver that Forward Collision
Warning (FCW) is disabled. If
this light occurs together with
other specific messages, take your
vehicle to an Authorized Maserati
Dealer for service. This warning light
will light even when the activation of
another driver assistance feature or
drive mode (such as “
-ESC OFF”)
disables the FCW.
Forward Collision Warning (FCW)
Fault (If equipped)
This warning light informs
that FCW is in fault state. If
this occurred together with
other specific messages, couldDashboard Instruments and Controls
4
167
Page 175 of 384
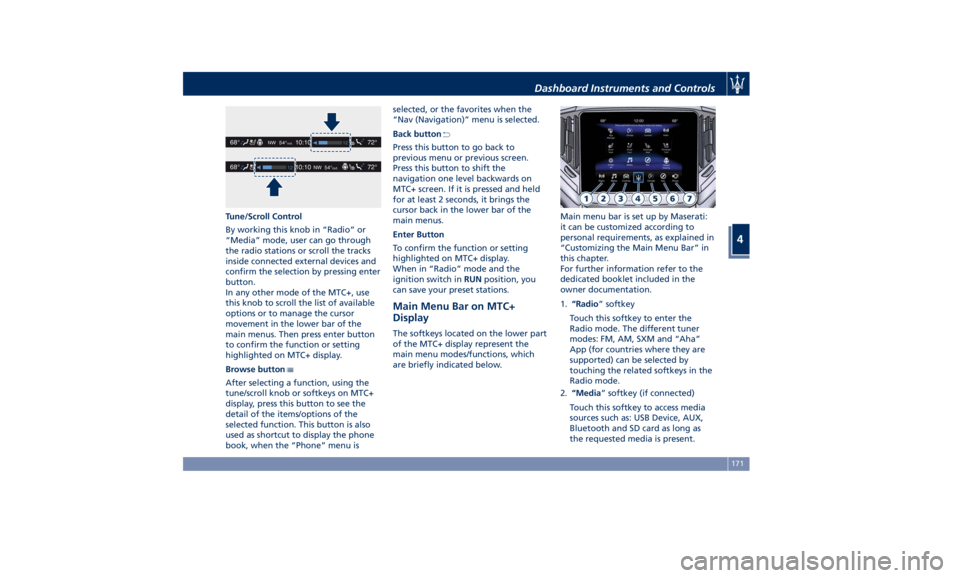
Tune/Scroll Control
By working this knob in “Radio” or
“Media” mode, user can go through
the radio stations or scroll the tracks
inside connected external devices and
confirm the selection by pressing enter
button.
In any other mode of the MTC+, use
this knob to scroll the list of available
options or to manage the cursor
movement in the lower bar of the
main menus. Then press enter button
to confirm the function or setting
highlighted on MTC+ display.
Browse button
After selecting a function, using the
tune/scroll knob or softkeys on MTC+
display, press this button to see the
detail of the items/options of the
selected function. This button is also
used as shortcut to display the phone
book, when the “Phone” menu is selected, or the favorites when the
“Nav (Navigation)” menu is selected.
Back button
Press this button to go back to
previous menu or previous screen.
Press this button to shift the
navigation one level backwards on
MTC+ screen. If it is pressed and held
for at least 2 seconds, it brings the
cursor back in the lower bar of the
main menus.
Enter Button
To confirm the function or setting
highlighted on MTC+ display.
When in “Radio” mode and the
ignition switch in RUN position, you
can save your preset stations.
Main Menu Bar on MTC+
Display The softkeys located on the lower part
of the MTC+ display represent the
main menu modes/functions, which
are briefly indicated below. Main menu bar is set up by Maserati:
it can be customized according to
personal requirements, as explained in
“Customizing the Main Menu Bar” in
this chapter.
For further information refer to the
dedicated booklet included in the
owner documentation.
1. “Radio ” softkey
Touch this softkey to enter the
Radio mode. The different tuner
modes: FM, AM, SXM and “Aha”
App (for countries where they are
supported) can be selected by
touching the related softkeys in the
Radio mode.
2. “Media ” softkey (if connected)
Touch this softkey to access media
sources such as: USB Device, AUX,
Bluetooth and SD card as long as
the requested media is present.Dashboard Instruments and Controls
4
171
Page 180 of 384
Audio Controls The vehicle is equipped with audio
controls that allow both driver and
front passenger to operate the audio
system. These controls can be used to
adjust audio volume, change radio
station or mode (FM, AM, USB, etc).
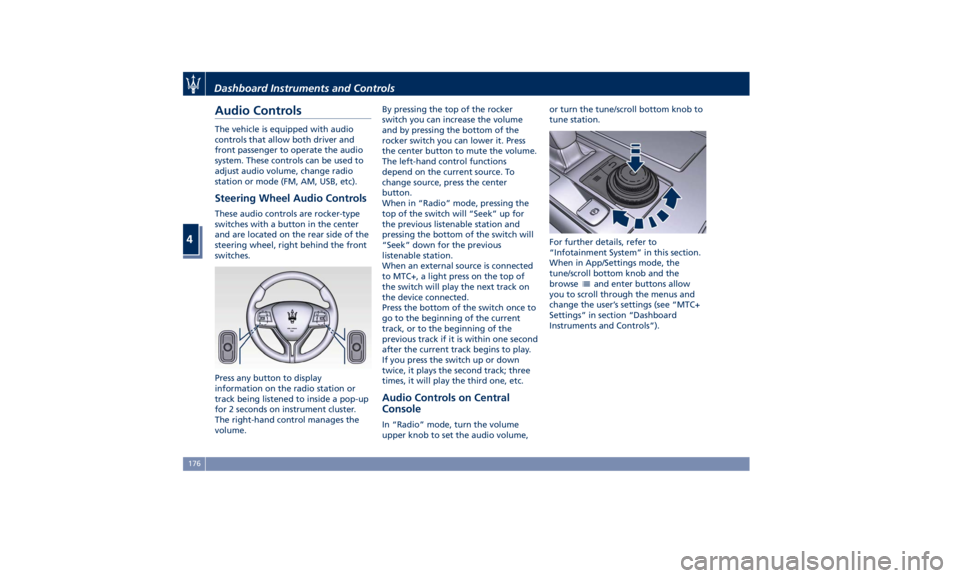
Steering Wheel Audio Controls These audio controls are rocker-type
switches with a button in the center
and are located on the rear side of the
steering wheel, right behind the front
switches.
Press any button to display
information on the radio station or
track being listened to inside a pop-up
for 2 seconds on instrument cluster.
The right-hand control manages the
volume. By pressing the top of the rocker
switch you can increase the volume
and by pressing the bottom of the
rocker switch you can lower it. Press
the center button to mute the volume.
The left-hand control functions
depend on the current source. To
change source, press the center
button.
When in “Radio” mode, pressing the
top of the switch will “Seek” up for
the previous listenable station and
pressing the bottom of the switch will
“Seek” down for the previous
listenable station.
When an external source is connected
to MTC+, a light press on the top of
the switch will play the next track on
the device connected.
Press the bottom of the switch once to
go to the beginning of the current
track, or to the beginning of the
previous track if it is within one second
after the current track begins to play.
If you press the switch up or down
twice, it plays the second track; three
times, it will play the third one, etc.
Audio Controls on Central
Console In “Radio” mode, turn the volume
upper knob to set the audio volume, or turn the tune/scroll bottom knob to
tune station.
For further details, refer to
“Infotainment System” in this section.
When in App/Settings mode, the
tune/scroll bottom knob and the
browse
and enter buttons allow
you to scroll through the menus and
change the user’s settings (see “MTC+
Settings” in section “Dashboard
Instruments and Controls”).Dashboard Instruments and Controls
4
176
Page 183 of 384
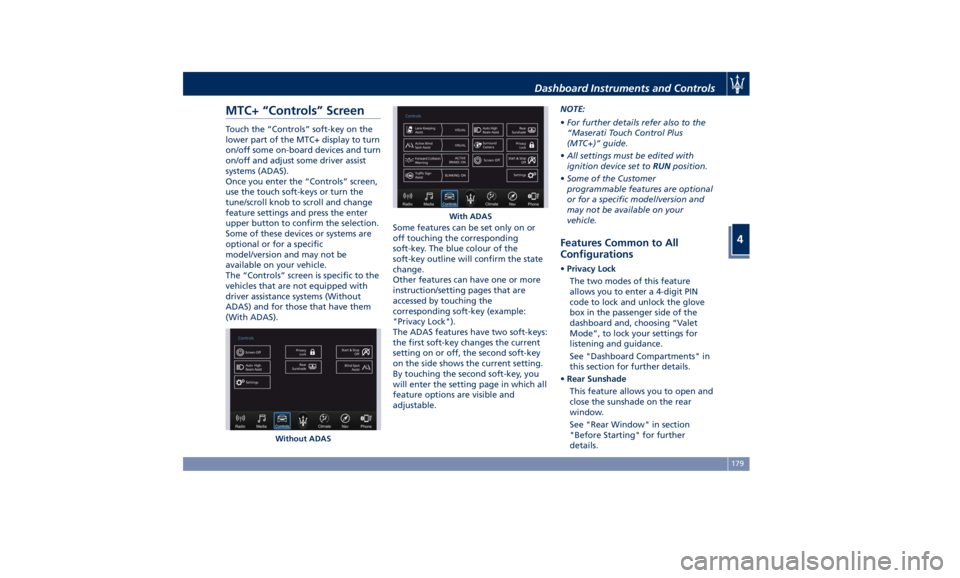
MTC+ “Controls” Screen Touch the “Controls” soft-key on the
lower part of the MTC+ display to turn
on/off some on-board devices and turn
on/off and adjust some driver assist
systems (ADAS).
Once you enter the “Controls” screen,
use the touch soft-keys or turn the
tune/scroll knob to scroll and change
feature settings and press the enter
upper button to confirm the selection.
Some of these devices or systems are
optional or for a specific
model/version and may not be
available on your vehicle.
The “Controls” screen is specific to the
vehicles that are not equipped with
driver assistance systems (Without
ADAS) and for those that have them
(With ADAS). Some features can be set only on or
off touching the corresponding
soft-key. The blue colour of the
soft-key outline will confirm the state
change.
Other features can have one or more
instruction/setting pages that are
accessed by touching the
corresponding soft-key (example:
"Privacy Lock").
The ADAS features have two soft-keys:
the first soft-key changes the current
setting on or off, the second soft-key
on the side shows the current setting.
By touching the second soft-key, you
will enter the setting page in which all
feature options are visible and
adjustable. NOTE:
• For further details refer also to the
“Maserati Touch Control Plus
(MTC+)” guide.
• All settings must be edited with
ignition device set to RUN position.
• Some of the Customer
programmable features are optional
or for a specific model/version and
may not be available on your
vehicle.
Features Common to All
Configurations • Privacy Lock
The two modes of this feature
allows you to enter a 4-digit PIN
code to lock and unlock the glove
box in the passenger side of the
dashboard and, choosing “Valet
Mode”, to lock your settings for
listening and guidance.
See "Dashboard Compartments" in
this section for further details.
• Rear Sunshade
This feature allows you to open and
close the sunshade on the rear
window.
See "Rear Window" in section
"Before Starting" for further
details.Without ADAS With ADASDashboard Instruments and Controls
4
179
Page 184 of 384
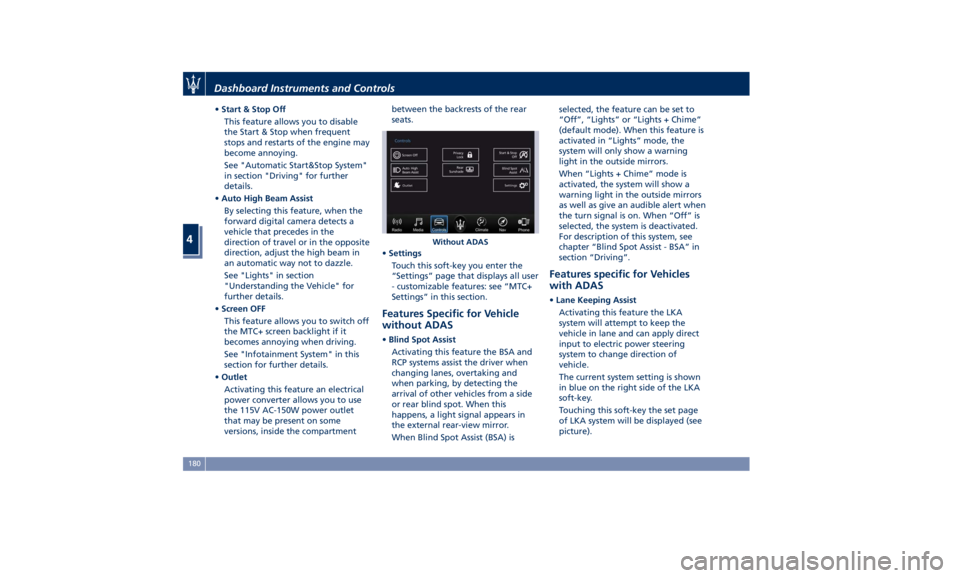
• Start & Stop Off
This feature allows you to disable
the Start & Stop when frequent
stops and restarts of the engine may
become annoying.
See "Automatic Start&Stop System"
in section "Driving" for further
details.
• Auto High Beam Assist
By selecting this feature, when the
forward digital camera detects a
vehicle that precedes in the
direction of travel or in the opposite
direction, adjust the high beam in
an automatic way not to dazzle.
See "Lights" in section
"Understanding the Vehicle" for
further details.
• Screen OFF
This feature allows you to switch off
the MTC+ screen backlight if it
becomes annoying when driving.
See "Infotainment System" in this
section for further details.
• Outlet
Activating this feature an electrical
power converter allows you to use
the 115V AC-150W power outlet
that may be present on some
versions, inside the compartment between the backrests of the rear
seats.
• Settings
Touch this soft-key you enter the
“Settings” page that displays all user
- customizable features: see “MTC+
Settings” in this section.
Features Specific for Vehicle
without ADAS • Blind Spot Assist
Activating this feature the BSA and
RCP systems assist the driver when
changing lanes, overtaking and
when parking, by detecting the
arrival of other vehicles from a side
or rear blind spot. When this
happens, a light signal appears in
the external rear-view mirror.
When Blind Spot Assist (BSA) is selected, the feature can be set to
“Off”, “Lights” or “Lights + Chime”
(default mode). When this feature is
activated in “Lights” mode, the
system will only show a warning
light in the outside mirrors.
When “Lights + Chime” mode is
activated, the system will show a
warning light in the outside mirrors
as well as give an audible alert when
the turn signal is on. When “Off” is
selected, the system is deactivated.
For description of this system, see
chapter “Blind Spot Assist - BSA” in
section “Driving”.
Features specific for Vehicles
with ADAS • Lane Keeping Assist
Activating this feature the LKA
system will attempt to keep the
vehicle in lane and can apply direct
input to electric power steering
system to change direction of
vehicle.
The current system setting is shown
in blue on the right side of the LKA
soft-key.
Touching this soft-key the set page
of LKA system will be displayed (see
picture).Without ADASDashboard Instruments and Controls
4
180
Page 189 of 384
(if equipped). The available
languages are specific to the target
markets.
• Touchscreen Beep
When in this display, you can turn
on or shut off the sound activated
by pressure of a touchscreen
soft-key.
• Controls Screen Time-Out
When this mode is selected, the
“Controls” screen will remain
displayed for 5 seconds. If this mode
is not selected, the screen will
remain displayed until closed
manually.
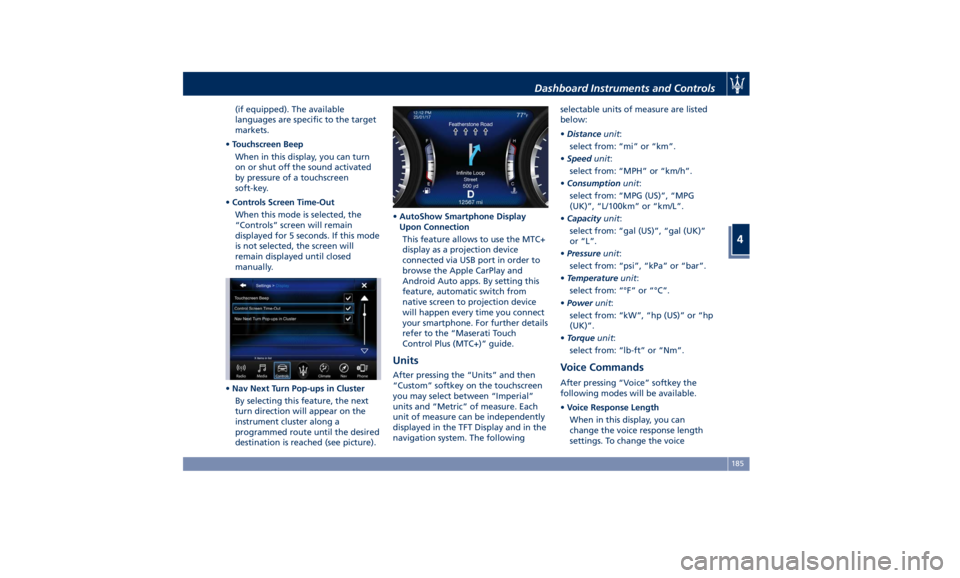
• Nav Next Turn Pop-ups in Cluster
By selecting this feature, the next
turn direction will appear on the
instrument cluster along a
programmed route until the desired
destination is reached (see picture). • AutoShow Smartphone Display
Upon Connection
This feature allows to use the MTC+
display as a projection device
connected via USB port in order to
browse the Apple CarPlay and
Android Auto apps. By setting this
feature, automatic switch from
native screen to projection device
will happen every time you connect
your smartphone. For further details
refer to the “Maserati Touch
Control Plus (MTC+)” guide.
Units After pressing the “Units” and then
“Custom” softkey on the touchscreen
you may select between “Imperial”
units and “Metric” of measure. Each
unit of measure can be independently
displayed in the TFT Display and in the
navigation system. The following selectable units of measure are listed
below:
• Distance unit :
select from: “mi” or “km”.
• Speed unit :
select from: “MPH” or “km/h”.
• Consumption unit :
select from: “MPG (US)”, “MPG
(UK)”, “L/100km” or “km/L”.
• Capacity unit :
select from: “gal (US)”, “gal (UK)”
or “L”.
• Pressure unit :
select from: “psi”, “kPa” or “bar”.
• Temperature unit :
select from: “°F” or “°C”.
• Power unit :
select from: “kW”, “hp (US)” or “hp
(UK)”.
• Torque unit :
select from: “lb-ft” or “Nm”.
Voice Commands After pressing “Voice” softkey the
following modes will be available.
• Voice Response Length
When in this display, you can
change the voice response length
settings. To change the voiceDashboard Instruments and Controls
4
185