fuel MAZDA 6 2002 Suplement Owner's Manual
[x] Cancel search | Manufacturer: MAZDA, Model Year: 2002, Model line: 6, Model: MAZDA 6 2002Pages: 909, PDF Size: 17.16 MB
Page 52 of 909

CYLINDER HEAD GASKET
B2–21
B2
Fuel Injection Pipe Installation Note
Caution
•Fuel injection pipes can be removed and reinstalled up to five times. If removing them for the sixth
time, be sure to replace them with new ones.
Cylinder Head Cover Installation Note
1. Apply silicone sealant to the shaded areas.
Thickness
2 mm {0.079 in}
2. Tighten the bolts in the order shown.
Tightening torque
7.9—10.7 N·m {80—110 kgf·cm, 69.5—95.4
in·lbf}
Seal Plate Installation Note
1. Install the seal plate and hand tighten the bolt in
the order A to B.
2. Tighten the bolts in the order shown.
Tightening torque
7.9—10.7 N·m {80—110 kgf·cm, 69.5—95.4
in·lbf}
Idler Installation Note
Caution
•The idler has a front and back relative to
the engine, therefore when installing
make sure that the longer projection of
the shaft is on the engine side as
indicated in the figure.
SEALANTSEALANTSEALANTSEALANT
SEALANTSEALANT20 mm
{0.79 in}
MIN.VIEW AVIEW A
A6E2318W116
9
8
7
5
4
36
1
2
A6E2318W117
1
2B
A
3
3
A6E2318W118
SHAFTCYLINDER
BLOCK
BOLT
A6E2318W121
Page 58 of 909

ENGINE
B2–27
B2
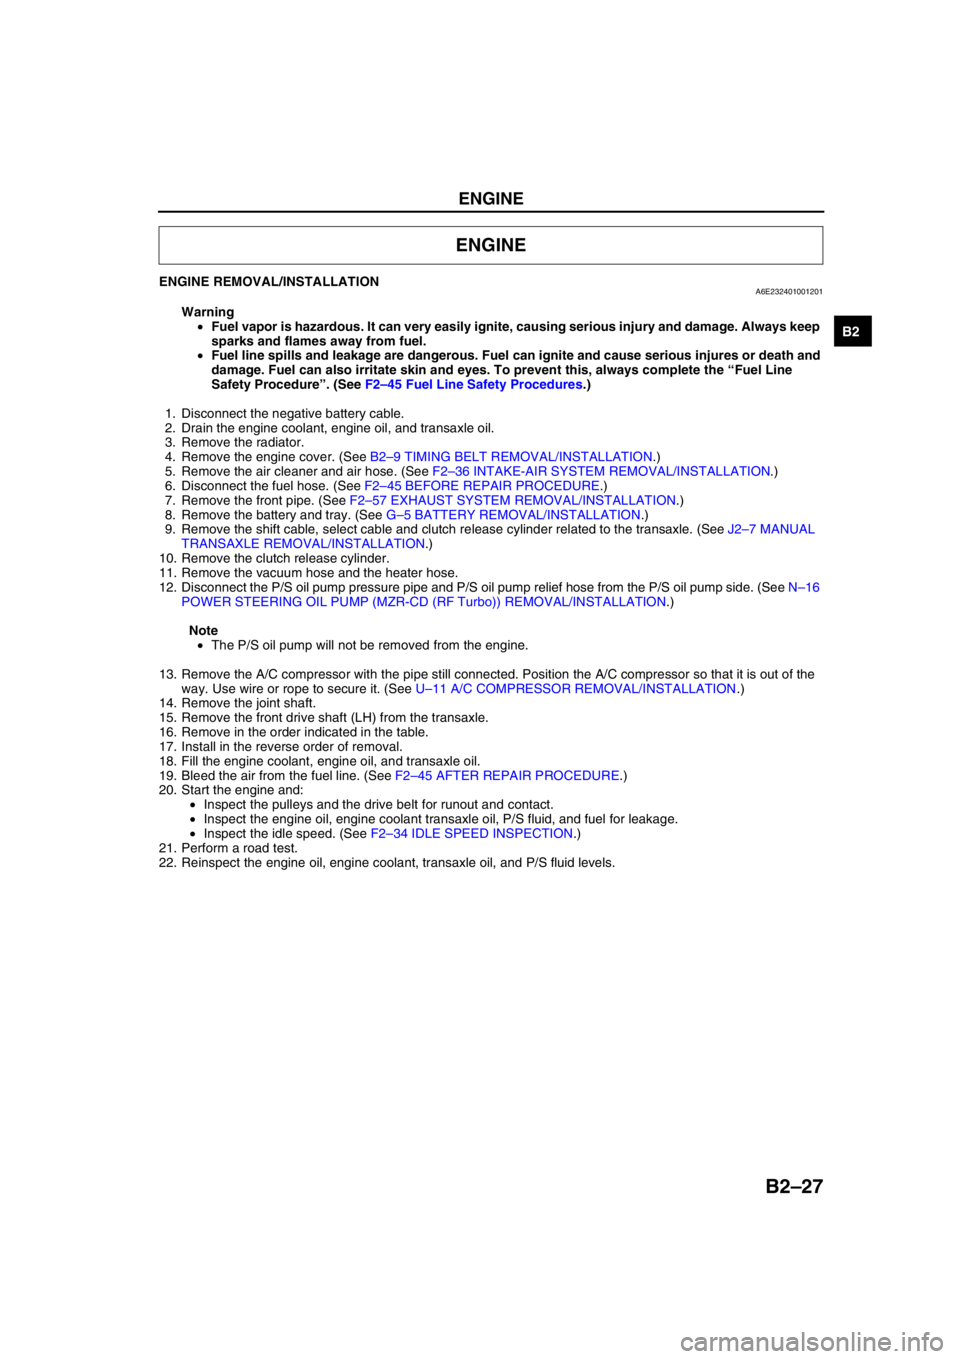
ENGINE REMOVAL/INSTALLATIONA6E232401001201
Warning
•Fuel vapor is hazardous. It can very easily ignite, causing serious injury and damage. Always keep
sparks and flames away from fuel.
•Fuel line spills and leakage are dangerous. Fuel can ignite and cause serious injures or death and
damage. Fuel can also irritate skin and eyes. To prevent this, always complete the “Fuel Line
Safety Procedure”. (See F2–45 Fuel Line Safety Procedures.)
1. Disconnect the negative battery cable.
2. Drain the engine coolant, engine oil, and transaxle oil.
3. Remove the radiator.
4. Remove the engine cover. (See B2–9 TIMING BELT REMOVAL/INSTALLATION.)
5. Remove the air cleaner and air hose. (See F2–36 INTAKE-AIR SYSTEM REMOVAL/INSTALLATION.)
6. Disconnect the fuel hose. (See F2–45 BEFORE REPAIR PROCEDURE.)
7. Remove the front pipe. (See F2–57 EXHAUST SYSTEM REMOVAL/INSTALLATION.)
8. Remove the battery and tray. (See G–5 BATTERY REMOVAL/INSTALLATION.)
9. Remove the shift cable, select cable and clutch release cylinder related to the transaxle. (See J2–7 MANUAL
TRANSAXLE REMOVAL/INSTALLATION.)
10. Remove the clutch release cylinder.
11. Remove the vacuum hose and the heater hose.
12. Disconnect the P/S oil pump pressure pipe and P/S oil pump relief hose from the P/S oil pump side. (See N–16
POWER STEERING OIL PUMP (MZR-CD (RF Turbo)) REMOVAL/INSTALLATION.)
Note
•The P/S oil pump will not be removed from the engine.
13. Remove the A/C compressor with the pipe still connected. Position the A/C compressor so that it is out of the
way. Use wire or rope to secure it. (See U–11 A/C COMPRESSOR REMOVAL/INSTALLATION.)
14. Remove the joint shaft.
15. Remove the front drive shaft (LH) from the transaxle.
16. Remove in the order indicated in the table.
17. Install in the reverse order of removal.
18. Fill the engine coolant, engine oil, and transaxle oil.
19. Bleed the air from the fuel line. (See F2–45 AFTER REPAIR PROCEDURE.)
20. Start the engine and:
•Inspect the pulleys and the drive belt for runout and contact.
•Inspect the engine oil, engine coolant transaxle oil, P/S fluid, and fuel for leakage.
•Inspect the idle speed. (See F2–34 IDLE SPEED INSPECTION.)
21. Perform a road test.
22. Reinspect the engine oil, engine coolant, transaxle oil, and P/S fluid levels.
ENGINE
Page 89 of 909
![MAZDA 6 2002 Suplement Owners Manual F1–1
F1
F1FUEL AND EMISSION CONTROL SYSTEM
[L8, LF, L3]
OUTLINE.............................................................. F1-2
OUTLINE OF CONSTRUCTION ....................... F1-2
FEATURES ..... MAZDA 6 2002 Suplement Owners Manual F1–1
F1
F1FUEL AND EMISSION CONTROL SYSTEM
[L8, LF, L3]
OUTLINE.............................................................. F1-2
OUTLINE OF CONSTRUCTION ....................... F1-2
FEATURES .....](/img/28/57057/w960_57057-88.png)
F1–1
F1
F1FUEL AND EMISSION CONTROL SYSTEM
[L8, LF, L3]
OUTLINE.............................................................. F1-2
OUTLINE OF CONSTRUCTION ....................... F1-2
FEATURES ........................................................ F1-2
SPECIFICATIONS ............................................. F1-2
CONTROL SYSTEM DIAGRAM (4WD)............. F1-3
CONTROL SYSTEM WIRING DIAGRAM
(4WD).............................................................. F1-4
FUEL SYSTEM..................................................... F1-9
OUTLINE ........................................................... F1-9
STRUCTURAL VIEW......................................... F1-9
SYSTEM DIAGRAM ........................................ F1-10
FUEL PUMP (TRANSFER).............................. F1-10
QUICK RELEASE CONNECTOR (FUEL TANK
SIDE, TRANSFER HOSE PART) ................. F1-12
EXHAUST SYSTEM........................................... F1-13
OUTLINE ......................................................... F1-13
STRUCTURAL VIEW....................................... F1-13
CONTROL SYSTEM........................................... F1-14
OUTLINE ......................................................... F1-14
STRUCTURAL VIEW (4WD) ........................... F1-16
BLOCK DIAGRAM ........................................... F1-17
CONTROL DEVICE AND CONTROL
RELATIONSHIP CHART .............................. F1-19
CONTROLLER AREA NETWORK (CAN) ....... F1-21
OUTLINE............................................................ F1-22
SUPPLEMENTAL SERVICE
INFORMATION ............................................. F1-22
ENGINE TUNE-UP............................................. F1-22
IDLE SPEED INSPECTION (4WD) ................. F1-22
FUEL SYSTEM................................................... F1-23
FUEL TANK REMOVAL/INSTALLATION ........ F1-23
FUEL PUMP UNIT
REMOVAL/INSTALLATION .......................... F1-26
FUEL HOSE (FUEL TANK SIDE,
TRANSFER HOSE PART)
REMOVAL/INSTALLATION .......................... F1-29
EXHAUST SYSTEM........................................... F1-30
EXHAUST SYSTEM
REMOVAL/INSTALLATION .......................... F1-30
CONTROL SYSTEM........................................... F1-33
PCM INSPECTION (4WD)............................... F1-33
ON-BOARD DIAGNOSTIC................................. F1-50
OUTLINE ......................................................... F1-50
CONTROL DEVICE AND MONITORING
SYSTEM RELATIONSHIP CHART .............. F1-50
DIAGNOSTIC TEST MODE (4WD) ................. F1-50
DTC (4WD) ...................................................... F1-52
OBD DRIVE MODE ......................................... F1-52
DTC TABLE ..................................................... F1-54
TROUBLESHOOTING........................................ F1-57ENGINE SYMPTOM
TROUBLESHOOTING .................................. F1-57
QUICK DIAGNOSTIC CHART ......................... F1-58
NO.14 POOR FUEL ECONOMY ..................... F1-62
NO.22 VIBRATION CONCERNS
(ENGINE) ...................................................... F1-64 FEATURES
SERVICE
Page 90 of 909

F1–2
OUTLINE
OUTLINE OF CONSTRUCTIONA6E390218881201•The fuel and emission control systems are essentially carried over from the current Mazda6 (GG), except for
the following features. (See Mazda6 Training Manual 3359-1*-02C.)
End Of Sie
FEATURESA6E390218881202System simplification
•Controller area network has been adopted with TCM communication (4WD).
TCM adoption
•DTC for CAN (TCM communication) has been adopted.
Modifications to match the vehicle characteristics
•The idle speed has been modified.
•Fuel pump (transfer) has been adopted.
End Of Sie
SPECIFICATIONSA6E390218881203
*1: Without the BARO sensor
*2: With the BARO sensor
Bold frames: New specifications
End Of Sie
OUTLINE
Item 2WD 4WD
Air cleaner element Type Paper element (oil permeated)
IAC valve Type Duty control
Fuel injectorType Hi-ohmic
Type of fuel delivery Top-feed
Type of drive Voltage
Pressure regulatorRegulating pressure
(kPa {kgf/cm
2, psi})440 {4.5, 64}
Fuel tankCapacity
(L {US qt, lmp qt})64 {68, 56} 62 {65, 54}
Fuel SpecificationUnleaded
(RON 90*
1/95*2 or above)Unleaded (RON 95 or above)
Catalyst Type TWC (monolythic)
EGR control Type Stepping motor type
Evaporative emission control
systemType Canister type
PCV system Type Closed type
Page 91 of 909

OUTLINE
F1–3
F1
CONTROL SYSTEM DIAGRAM (4WD)A6E390218881204
.
* : Equipped for L3 engine modelEnd Of Sie
9
8
7
54
3
10
19
18
17
15
16
14
13
11
12
20
29
28
27
25
26
24
23
21
22
30
3938
3735
33
36
31
32
40
6
1
2
3441
A6E39022000
1PCM
2 Ignition coil
3 Generator
4* VAD shutter valve
5 Air cleaner
6 MAF sensor
7* VAD shutter valve actuator
8* VAD control solenoid valve
9* Vacuum chamber
10* VAD check valve (one-way)
11 IAC valve
12 Purge solenoid valve
13 TP sensor
14 MAP sensor
15* VIS control solenoid valve
16 Variable tumble control solenoid valve
17* VIS shutter valve actuator
18* VIS shutter valve
19 VTCS shutter valve actuator
20 VTCS shutter valve
21 Fuel injector22* OCV
23 CMP sensor
24 EGR valve
25 Knock sensor
26 ECT sensor
27 PCV valve
28 CKP sensor
29 HO2S (front)
30 HO2S (rear)
31 Charcoal canister
32 Check valve (two-way)
33 Pressure regulator
34 Fuel filter (high-pressure)
35 Fuel pump
36 Fuel filter (low-pressure)
37 Fuel tank
38 Rollover valve
39 Pulsation damper
40 Fuel pump (transfer)
41 To PCM
Page 93 of 909

OUTLINE
F1–5
F1
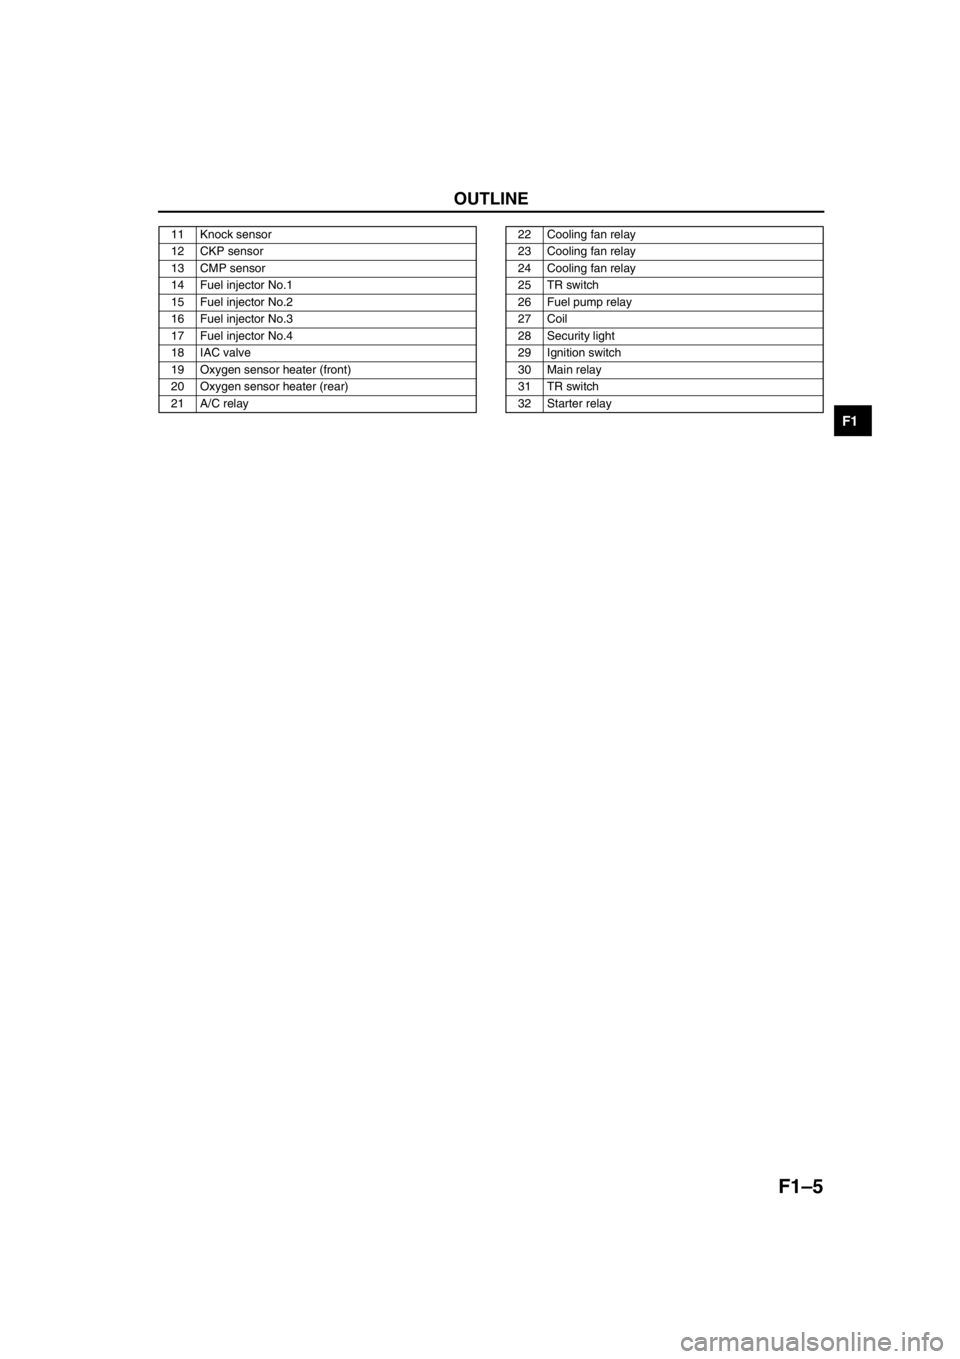
11 Knock sensor
12 CKP sensor
13 CMP sensor
14 Fuel injector No.1
15 Fuel injector No.2
16 Fuel injector No.3
17 Fuel injector No.4
18 IAC valve
19 Oxygen sensor heater (front)
20 Oxygen sensor heater (rear)
21 A/C relay22 Cooling fan relay
23 Cooling fan relay
24 Cooling fan relay
25 TR switch
26 Fuel pump relay
27 Coil
28 Security light
29 Ignition switch
30 Main relay
31 TR switch
32 Starter relay
Page 95 of 909

OUTLINE
F1–7
F1
Without Immobilizer system
.
2Y
2Z
2AC
1AB
1Y
2K
2A
1J
1G
1M
2E
1P
2H
2U
2R
2P
2S
2D
2G
2J
2M4Z
4W
4AD
4AA
4G
4J
4A
4D
2X
4O
4B
4L
4F
4P
9
87
5
4
3
10
19
18
17
15
16
14
13
11
12
20
25
26
24
23
21
226
1
2
28
27
A6E39022003
1 HO2S (front)
2 HO2S (rear)
3 TP sensor
4 MAP sensor
5 BARO sensor
6ECT sensor
7 MAF/IAT sensor8 IAT sensor
9 MAF sensor
10 Controller area network (CAN)
11 Knock sensor
12 CKP sensor
13 CMP sensor
14 Fuel injector No.1
Page 96 of 909

F1–8
OUTLINE
.
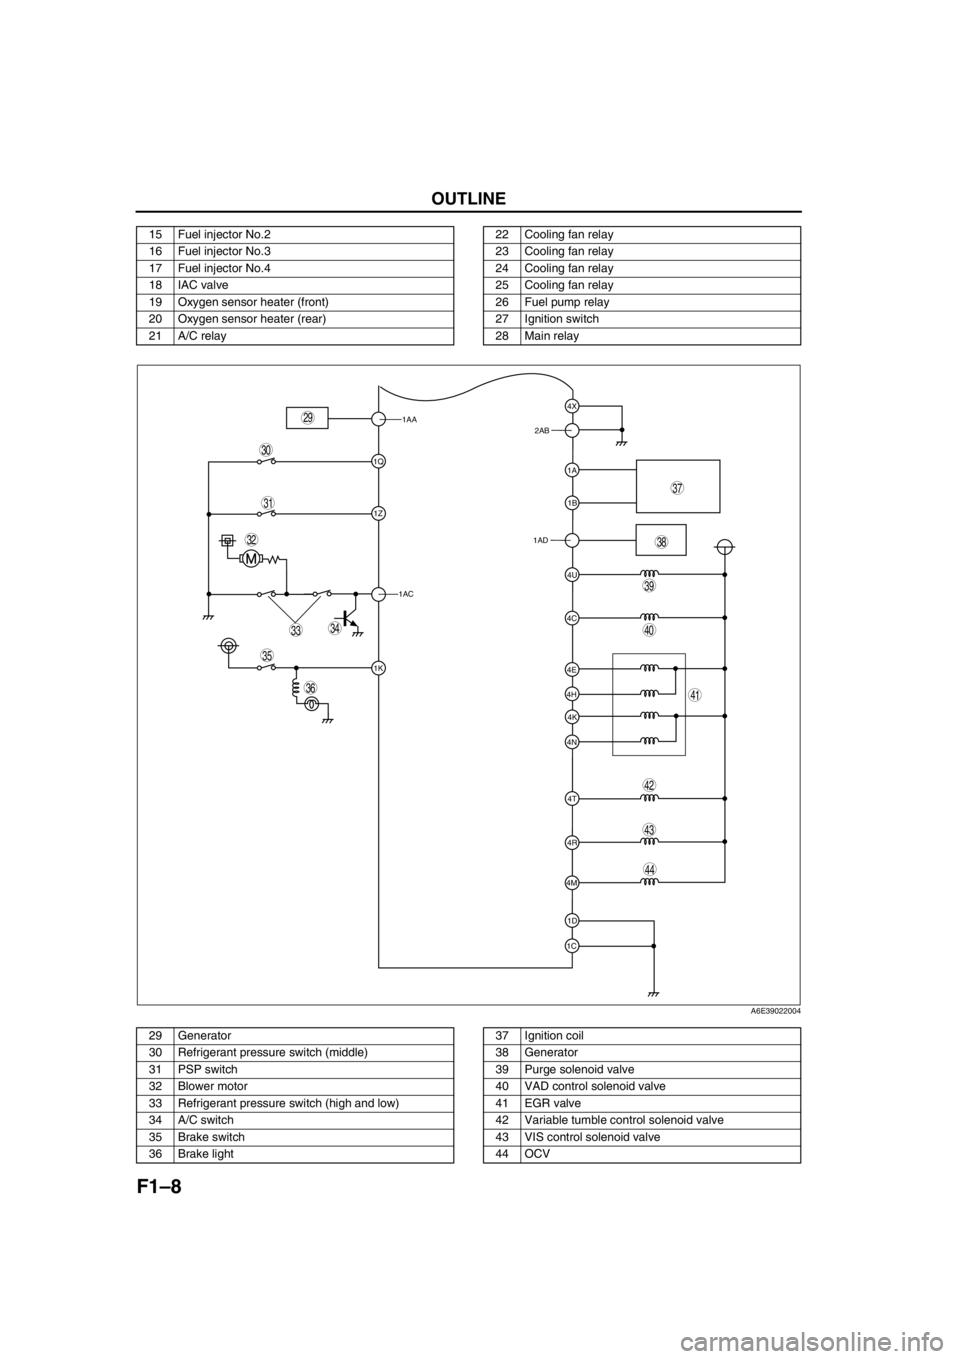
15 Fuel injector No.2
16 Fuel injector No.3
17 Fuel injector No.4
18 IAC valve
19 Oxygen sensor heater (front)
20 Oxygen sensor heater (rear)
21 A/C relay22 Cooling fan relay
23 Cooling fan relay
24 Cooling fan relay
25 Cooling fan relay
26 Fuel pump relay
27 Ignition switch
28 Main relay
1AA
1Q
1Z
1AC
1K
1C1D 4M4R 4N4K 4H4E
4T 4C4U 1AD1B 1A 2AB4X
39
38
37
35
36
33
31
32
40
44
43
41
42
34
29
30
A6E39022004
29 Generator
30 Refrigerant pressure switch (middle)
31 PSP switch
32 Blower motor
33 Refrigerant pressure switch (high and low)
34 A/C switch
35 Brake switch
36 Brake light37 Ignition coil
38 Generator
39 Purge solenoid valve
40 VAD control solenoid valve
41 EGR valve
42 Variable tumble control solenoid valve
43 VIS control solenoid valve
44 OCV
Page 97 of 909

FUEL SYSTEM
F1–9
F1
End Of Sie
OUTLINEA6E391201006201•The fuel system is essentially carried over from that of the current Mazda6 (GG), except for the following. (See
Mazda6 Training Manual 3359-1*-02C.)
—A saddle type fuel tank has been adopted.
—A fuel pump (transfer) for fuel transmission has been added.
End Of Sie
STRUCTURAL VIEWA6E391201006202
.
End Of Sie
FUEL SYSTEM
7
5
4
3
6
1
2
A6E39122001
1 Fuel gauge sender sub-unit
2 Quick release connector (fuel tank side, transfer
hose part)
3 Non-return valve4 Quick release connector (fuel tank side, main fuel
pipe part)
5 Fuel tank
6 Fuel pump unit
7 Filler cap
Page 98 of 909

F1–10
FUEL SYSTEM
SYSTEM DIAGRAMA6E391201006203
.
End Of Sie
FUEL PUMP (TRANSFER)A6E391213350201Function
•The fuel tank for 4WD is saddle type. Fuel in the fuel gauge sender sub-unit side (right side) is pumped to the
left side of the fuel tank using the fuel pump (transfer).
Structure
•The fuel pump (transfer) is integrated into the fuel pump unit and it cannot be separately disassembled.
•The fuel pump (transfer) is composed of a relief valve and fuel jet pump.
87
5
4
3
6
1
2
:
9
10
A6E39122002
1 Filler cap
2 Pressure regulator
3 Fuel pump (transfer)
4 Fuel filter (high-pressure)
5Fuel pump6 Fuel filter (low-pressure)
7 Fuel pump unit
8 Pulsation damper
9 Fuel injector
10 Fuel flow