navigation system MAZDA MODEL CX-7 2009 Smart Start Guide (in English)
[x] Cancel search | Manufacturer: MAZDA, Model Year: 2009, Model line: MODEL CX-7, Model: MAZDA MODEL CX-7 2009Pages: 30, PDF Size: 3.41 MB
Page 7 of 30
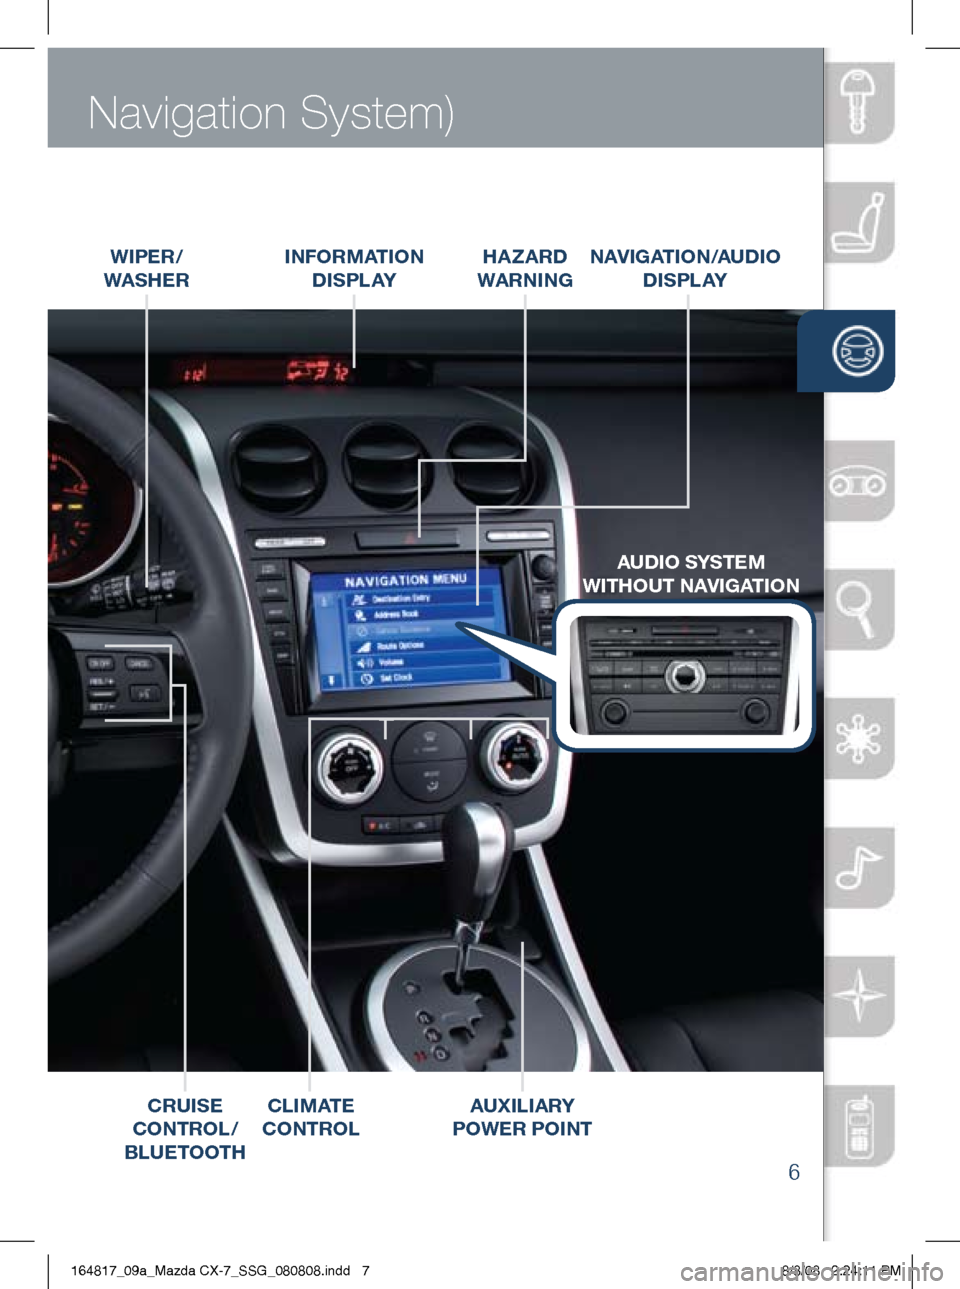
Driver’s View (shown with optional
6
Navigation System)
wiPER /
wAS hER
CRU iSE
CONTROL /
BLUETOOT h hA
zARD
w ARN iNg
iNFOR
mAT iON
D iS P L AY NAV
igAT iON /AUD iO
D i S P L AY
C Li mAT E
CONTROL
AUD iO SYSTE m
wi ThOUT NAV igAT iON
AU xiLiARY
PO wER PO iNT
164817_09a_Mazda CX-7_SSG_080808.indd 78/8/08 2:24:11 PM
Page 14 of 30
Feature Highlights
13
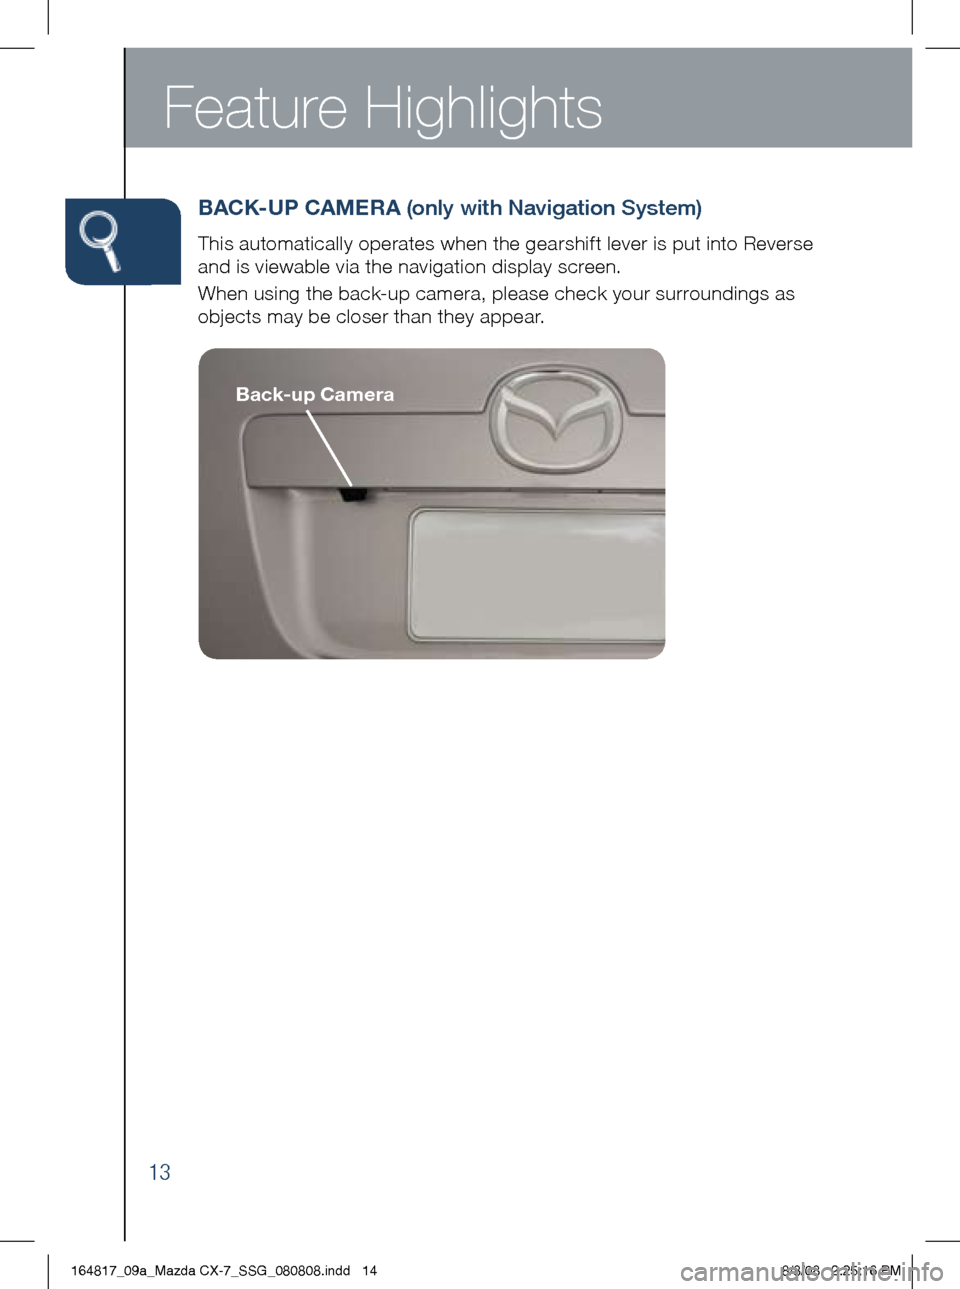
BACK -UP CA mERA (only with Navigation System)
This automatically operates when the gearshift lever is put into Reverse
and is viewable via the navigation display screen.
When using the back-up camera, please check your surroundings as
objects may be closer than they appear.
Back-up Camera
164817_09a_Mazda CX-7_SSG_080808.indd 148/8/08 2:25:16 PM
Page 18 of 30
Audio Controls Without Navigation
17
Audio System On
• Press the POWER/ VOLUME
button to turn the radio on.
m edia selection
• FM 1/2
• AM
• SAT (SIRIUS
TM Satellite radio)
• CD
•
MEDIA
(to switch to AUX jack input)
Note:
If the FM broadcast signal
becomes weak, reception automatically
changes from STEREO to MONO for
reduced noise, and the “ST” indicator
will go out.
S AT: SIRIUSTM Satellite radio will
deliver the broadest, deepest mix of
radio enter tainment. See Owner’s
Manual for more details. Tu n i n g
The radio has the following
tuning controls:
• M ANUAL
• T RACK /SEEK
• S CAN
• P RESET CHANNEL
• A UTO-M
m anual tuning
•
Turning the TUNE dial will
change the frequency higher
or lower.
Seek tuning
• Pressing the TRACK /SEEK
tuning button will seek a
higher or lower frequency
automatically.
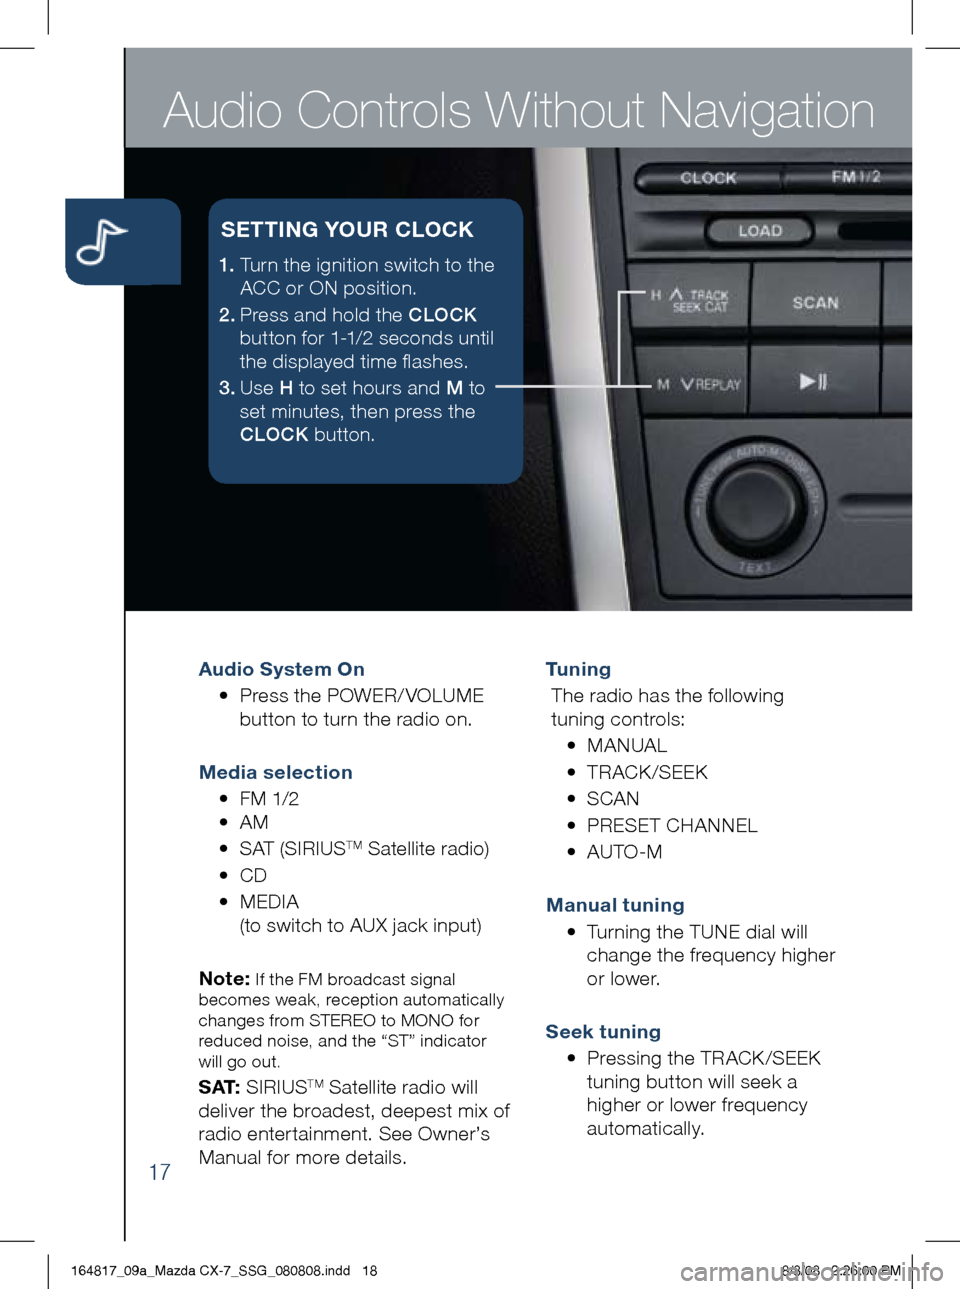
1. Turn the ignition switch to the
ACC or ON position.
2 . Press and hold the CLOCK
button for 1-1/2 seconds until
the displayed time flashes.
3 . Use H to set hours and M to
set minutes, then press the
CLOCK button.
SETT iN g YOUR CLOCK
164817_09a_Mazda CX-7_SSG_080808.indd 188/8/08 2:26:00 PM
Page 20 of 30
Audio Controls With Navigation
19
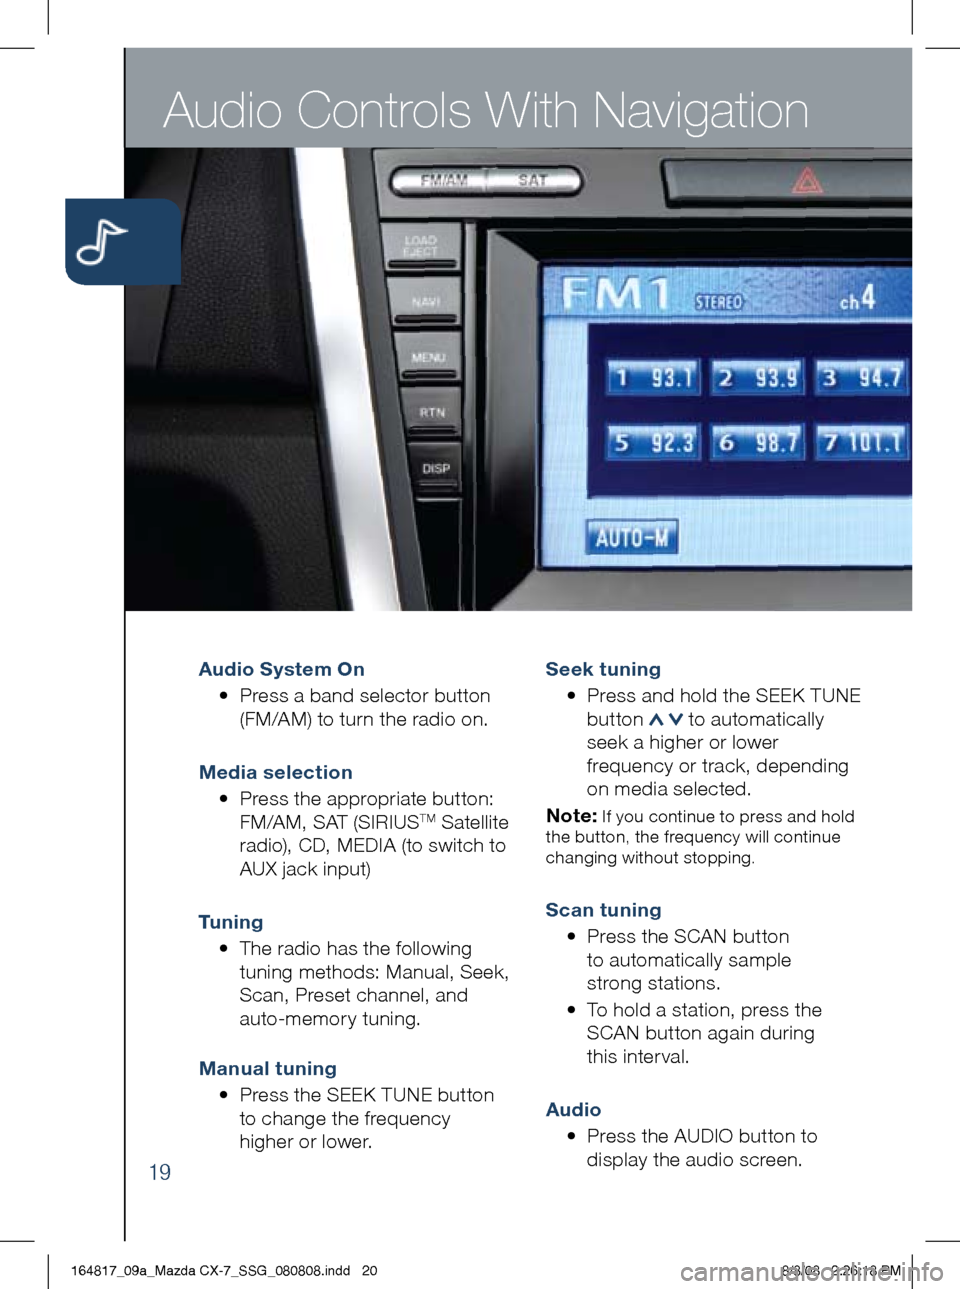
Audio System On
• Press a band selector button
(FM/AM) to turn the radio on.
m edia selection
•
Press the appropriate button:
FM/AM, SAT (SIRIUS
TM Satellite
radio), CD, MEDIA (to switch to
AUX jack input)
Tu n i n g
• The radio has the following
tuning methods: Manual, Seek,
Scan, Preset channel, and
auto-memory tuning.
m anual tuning
•
Press the SEEK TUNE button
to change the frequency
higher or lower.
Seek tuning
•
Press and hold the SEEK TUNE
button
to automatically
seek a higher or lower
frequency or track, depending
on media selected.
Note:
If you continue to press and hold
the button, the frequency will continue
changing without stopping.
Scan tuning
• Press the SCAN button
to automatically sample
strong stations.
•
To hold a station, press the
SCAN button again during
this inter val.
Audio
• Press the AUDIO button to
display the audio screen.
164817_09a_Mazda CX-7_SSG_080808.indd 208/8/08 2:26:18 PM
Page 22 of 30
Navigation System
21
You can choose setting a destination using a street address, a point of
interest, the nearest restaurants, ATMs, gas stations, hospitals and more.
1 Press the “Menu” button on the navigation face.
2 Select “Destination Entry”.
3 Select “Change” and then select your desired search area.
4 Select State (or scroll past States to find Canadian Provinces)
5 Select “Address”.
6
Select “City”.
7 Select “Input City Name”.
8
Use keyboard to enter city name, street name and house number.
9 When all the information is correct, press “OK”.
Note:
When entering numbers for a street name, (e.g. 1st Ave.), press “Sym.”
button to switch to the numeric keyboard.
Note: If you cannot find the address in the state you are looking for, you may have
the wrong area selected. Press “Menu” to go back to the beginning and select the
correct area on the US map.
S ELECT iN g A DEST iNAT iON US iN g A STREET ADDRESS
164817_09a_Mazda CX-7_SSG_080808.indd 228/8/08 2:26:27 PM
Page 23 of 30
22
1 Press the “Menu” button on the navigation face.
2 Select “Destination Entry”.
3 Select “Point of Interest”.
4 Select “Nearest”.
5 Select “Current Position”.
6
In the QUICK POI screen, select the category of the point of interest you
want to find. You can set multiple categories for searching up to five.
7 After selecting categories, press “List”.
8
Search result shows up as a list in “LOCAL POIs” screen. Select the
point of interest you want to set as the destination from the list.
9 Press “Destination”.
10 Press “Guide” or just start driving.
SELECTiN g A PO iNT OF i NTEREST (PO i)
NEAR YOUR CURRENT LOCAT iON
Please refer to your Navigation System Owner’s Manual for complete details
and important safety information.
164817_09a_Mazda CX-7_SSG_080808.indd 238/8/08 2:26:28 PM
Page 24 of 30
Bluetooth
®
23
without Navigation System
(Refer to your Owner’s Manual for Bluetooth® with Navigation operations)
PA iR iN g Y OUR B LUETOOT h® PhONE
Note: Before pairing your cell phone, it is recomended that you refer to you phone’s
manual for steps to turn on Bluetooth and perform pairing. These steps will be
required to perform steps 7-8 below.
1 Press the button located on the steering wheel.
2 From the options and after the beep say, “Set-up” .
3
From the next prompt options after the beep, say, “Pairing options” .
4
The prompt will give you some more options. After the beep,
s a y, “Pair” .
5
The prompt will ask you for a 4-digit pairing code. After the beep,
say any 4-digit code you’d like to use.
6
The prompt will repeat the number and ask if it is correct. After the
beep, say, “ Ye s ” if it is or “No” if it isn’t. If it’s not, the system will
repeat the process.
7
Use your phone’s manual for instructions on how to proceed.
Select your model, then select Bluetooth.
Note:
You can also find this information on MyMazda.com/bluetooth. Select
your model, then select Bluetooth® and then follow the screen prompts.
8 Input the 4-digit code you chose earlier.
9
You will be asked to name your phone. Say the name you want to
give the phone like, “ heather’s Phone” .
10
The prompt will then say that it is adding that phone name and ask
if this is correct. After the beep say, “ Ye s ” .
11 The prompt should then say that the pairing is complete.
12
You will also be asked if you would like to use this device for
streaming audio as well if your phone is capable.
Please call 800-430-0153 for questions regarding Bluetooth compatibility
or problems pairing the phone.
164817_09a_Mazda CX-7_SSG_080808.indd 248/8/08 2:26:29 PM
Page 25 of 30
without Navigation System
(Refer to your Owner’s Manual for Bluetooth® with Navigation operations)
24
TO m AKE A h ANDS-FREE CALL
1 To make a hands-free call, press the button and after the
beep say, “Dial” .
2
Say the number you would like dialed. The prompt will repeat the
number and ask if it’s correct. If it is say, “ Ye s ” and the prompt will
say it’s dialing.
3
To receive an incoming call, just press the
button. To end a call
or reject a call, press
. A beep will confirm the call is ended.
Note:
When using voice recognition, wait until beep. Prompt can be interrupted
by pressing TALK button. Sound quality of Bluetooth streaming audio varies
depending on device.
Please refer to your Owner’s Manual for complete details on how to “Pair” up to 7
Bluetooth phones and audio d evices, and how to use the built-in tutorial and other
impor tant safety information. For toll-free Bluetooth Hands-Free customer ser vice
call
800-430-0153 or go to www. mazdaUSA.com/bluetooth for assistance.
164817_09a_Mazda CX-7_SSG_080808.indd 258/8/08 2:26:31 PM
Page 28 of 30
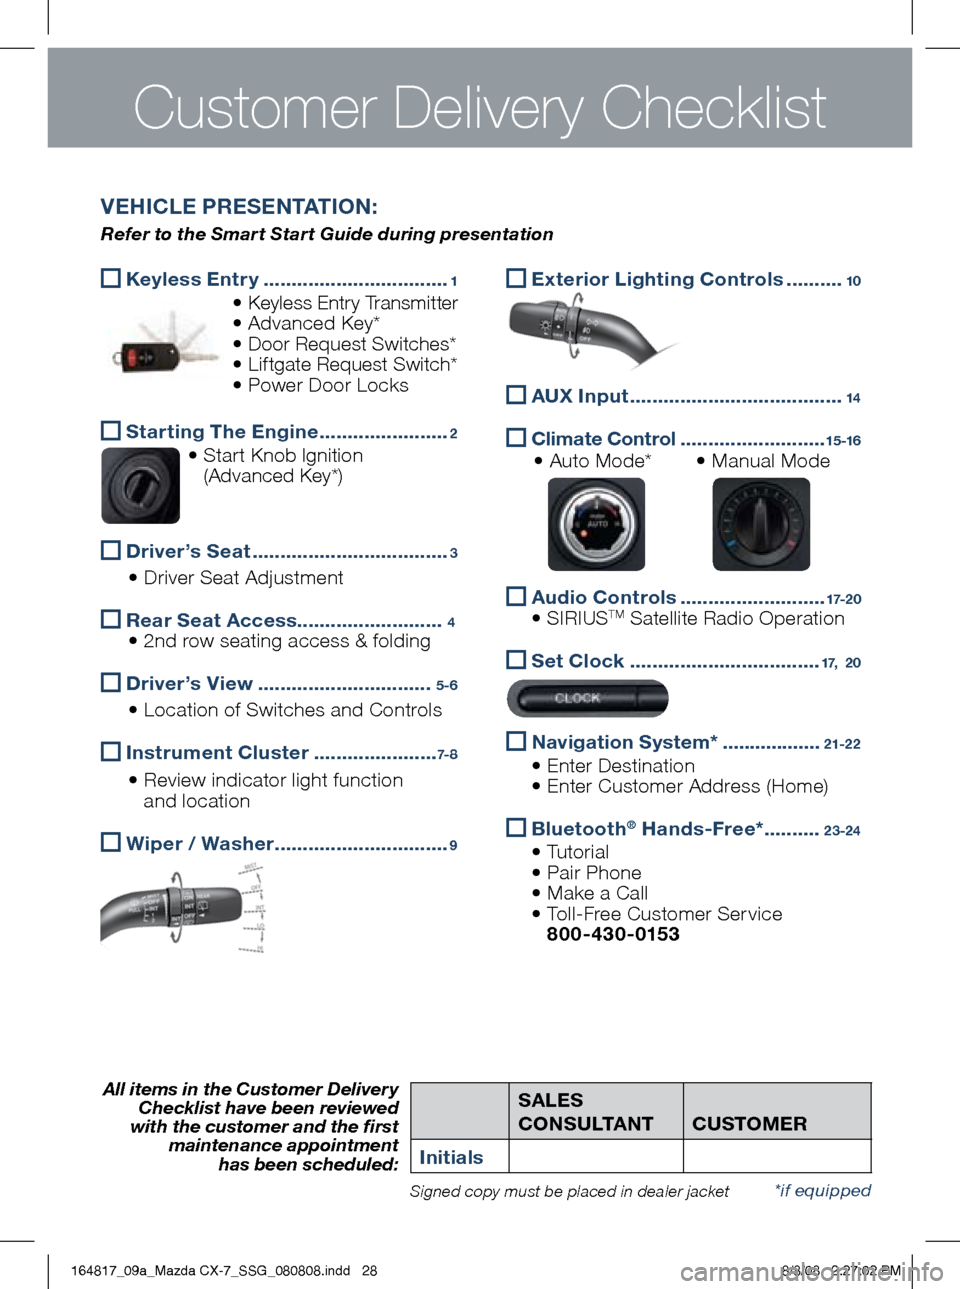
SALES
CONSULTANT
CUSTOm
ER
initialsAll items in the Customer Delivery Checklist have been reviewed
with the customer and the first maintenance appointment
has been scheduled:
*if equippedSigned copy must be placed in dealer jacket
Keyless Entr y
.................................1
• Keyless Entr y Transmitter
• Advanced Key*
• Door Request Switches*
• Liftgate Request Switch*
• Power Door Locks
Starting The Engine
.......................2
• Start Knob Ignition
(Advanced Key*)
Driver’s Seat
...................................3
• Driver Seat Adjustment
Rear Seat Access
..........................4
• 2nd row seating access & folding
Driver’s View
...............................5-6
• Location of Switches and Controls
i
nstrument Cluster ......................7- 8
• Review indicator light function
and location
w
iper / w asher ...............................9
VE hi CLE PRESENTAT iON :
Refer to the Smart Start Guide during presentation
Exterior Lighting Controls
..........10
AU
x input ......................................14
Climate Control
..........................15 -16 • Auto Mode* • Manual Mode
Audio Contro
ls ..........................17-2 0
• SIRIUSTM Satellite Radio Operation
Set Clock
..................................17, 20
Navigation System*
..................21-2 2
• Enter Destination
• Enter Customer Address (Home)
Bluetooth®
h ands-Free* ..........23-24
• Tutorial
• Pair Phone
• Make a Call
• Toll-Free Customer Service
800-430-0153
Customer Delivery Checklist
164817_09a_Mazda CX-7_SSG_080808.indd 288/8/08 2:27:02 PM