phone MERCEDES-BENZ AMG GT ROADSTER 2018 Owners Manual
[x] Cancel search | Manufacturer: MERCEDES-BENZ, Model Year: 2018, Model line: AMG GT ROADSTER, Model: MERCEDES-BENZ AMG GT ROADSTER 2018Pages: 409, PDF Size: 7.66 MB
Page 6 of 409
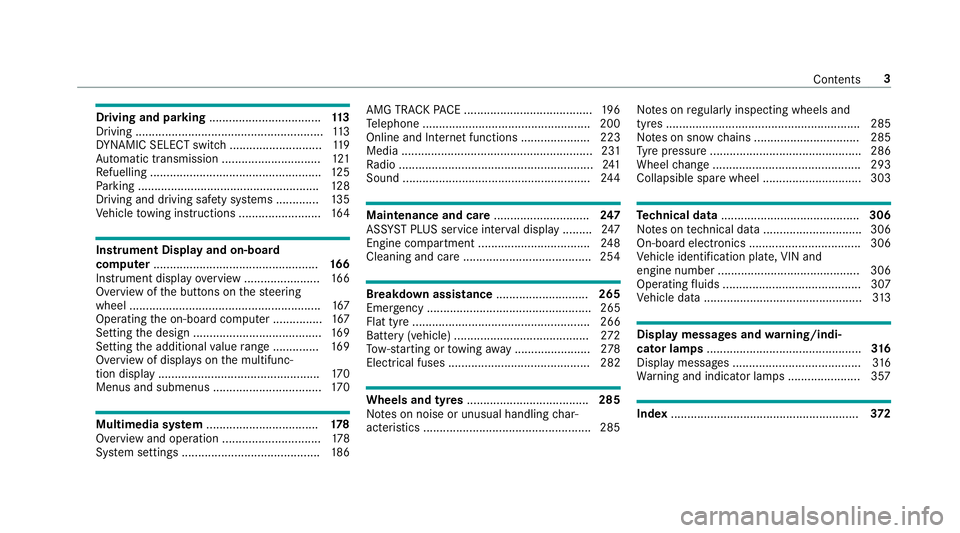
Driving and pa
rking .................................. 11 3
Driving ......................................................... 11 3
DY NA MIC SELECT switch ............................1 19
Au tomatic transmission .............................. 121
Re fuelling .................................................... 12 5
Pa rking ...................................................... .128
Driving and driving saf ety sy stems .............1 35
Ve hicle towing instructions ........................ .164 Instrument Display and on-board
compu ter.................................................. 16 6
Instrument display overview ...................... .166
Overview of the buttons on thesteering
wheel ..........................................................1 67
Operating the on-board computer ............... 167
Setting the design ....................................... 16 9
Setting the additional value range .............. 16 9
Overview of displa yson the multifunc‐
tion display .................................................1 70
Menus and submenus ................................. 17 0Multimedia sy
stem .................................. 17 8
Overview and operation .............................. 178
Sy stem settings .......................................... 186AMG TR
ACKPA CE ...................................... .196
Te lephone .................................................. .200
Online and Internet functions ..................... 223
Media .......................................................... 231
Ra dio ...........................................................2 41
Sound ......................................................... 24 4 Maintenance and care
.............................247
ASS YST PLUS service inter val display ........ .247
Engine compartment .................................. 24 8
Cleaning and care ...................................... .254 Breakdown assistance
............................265
Emergency .................................................. 265
Flat tyre ...................................................... 266
Battery (vehicle) ......................................... 272
To w- starting or towing away ....................... 278
Electrical fuses ........................................... 282 Wheels and tyres
..................................... 285
No tes on noise or unusual handling char‐
acteristics .................................................. .285 No
tes on regular lyinspecting wheels and
tyres .......................................................... .285
No tes on snow chains ................................ 285
Ty re pressure .............................................. 286
Wheel change ............................................ .293
Collapsible spa rewheel .............................. 303 Te
ch nical data .......................................... 306
No tes on tech nical da ta.............................. 306
On-board electronics .................................. 306
Ve hicle identification plate, VIN and
engine number ...........................................3 06
Operating fluids .......................................... 307
Ve hicle data ................................................ 313 Display messages and
warning/indi‐
cator lamps ............................................... 316
Displ aymessa ges ....................................... 316
Wa rning and indicator lamps ...................... 357 Index
......................................................... 372 Con
tents 3
Page 26 of 409
Jack
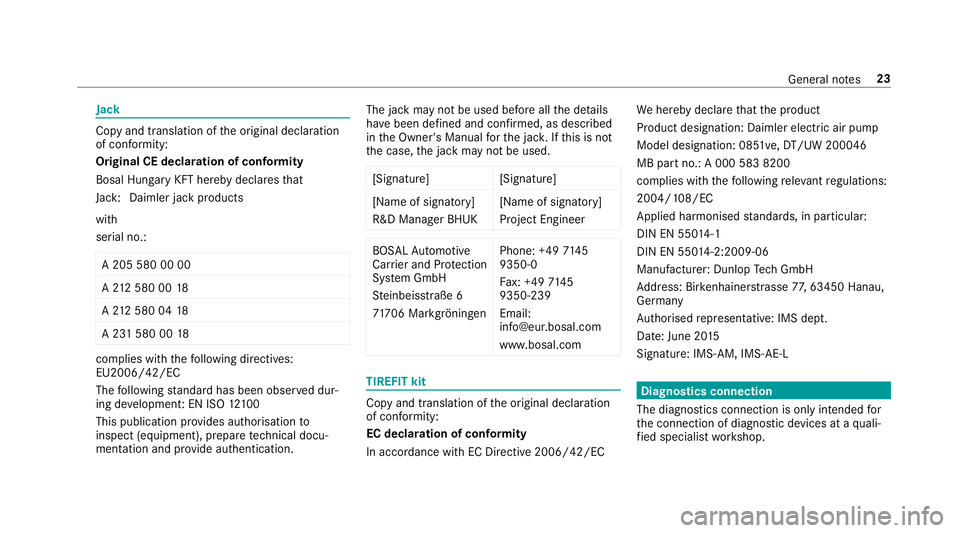
Copy and translation of
the original declaration
of confo rmity:
Original CE declaration of conformity
Bosal Hun gary KFT hereby decla resth at
Jack: Daimler jack products
with
serial no.:
A 205 580 00 00
A 21 2 580 00 18
A 21 2 580 04 18
A 231 580 00 18 complies wi
th thefo llowing directives:
EU2006/42/EC
The following standard has been obse rved dur‐
ing de velopmen t:EN ISO 12100
This publication pr ovides authorisation to
inspect (equipment), prepare tech nical docu‐
mentation and pr ovide authentication. The jack may not be used before all
the de tails
ha ve been defined and con firm ed, as described
in the Owner's Manual forth e jac k.Ifth is is not
th e case, the jack may not be used.
[Signature] [Signature]
[Name of signatory]
R&D Manager BHUK [Name of signatory]
Project Engineer BO
SALAu tomotive
Carr ier and Pr otection
Sy stem GmbH
St einbeisstraße 6
71 706 Mar kgröningen Phone: +49
7145
9350-0
Fa x: +49 7145
9350-239
Email:
[email protected]
www. bosal.com TIREFIT kit
Copy and translation of
the original declaration
of confo rmity:
EC declaration of conformity
In accordance with EC Directive 2006/42/EC We
hereby declare that the product
Product designation: Daimler electric air pump
Model designation: 0851ve, DT/UW 200046
MB pa rtno.: A 000 583 8200
complies wi th thefo llowing releva nt regulations:
2004/108/EC
Applied harmonised standards, in particular:
DIN EN 55 014-1
DIN EN 550 14-2:2009-06
Manufactu rer: Dunlop Tech GmbH
Ad dress: Bir kenhaine rstrasse 77, 63450 Hanau,
Germany
Auth orised representative: IMS dept.
Date: June 20 15
Signatu re: IMS-AM, IMS-AE-L Diagnostics connection
The diagnostics connection is only intended for
th e connection of diagnostic devices at a quali‐
fi ed specialist workshop. General no
tes23
Page 30 of 409
Depending on
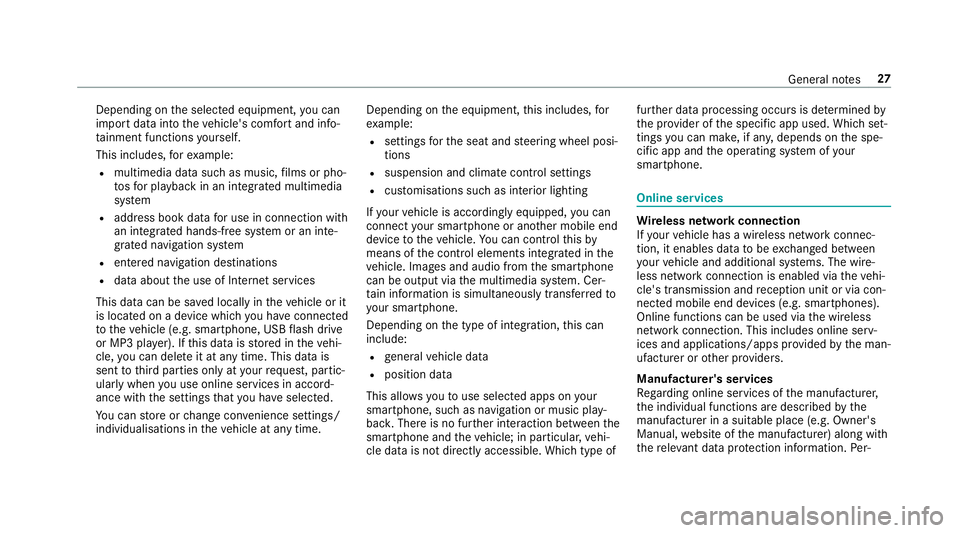
the selected equipment, you can
import data into theve hicle's comfort and info‐
ta inment functions yourself.
This includes, forex ample:
R multimedia data such as music, films or pho‐
to sfo r playback in an integrated multimedia
sy stem
R address book data for use in connection with
an integrated hands-free sy stem or an inte‐
grated navigation sy stem
R entered navigation destinations
R data about the use of Internet services
This data can be sa ved locally in theve hicle or it
is located on a device which you ha veconnected
to theve hicle (e.g. smartphone, USB flash drive
or MP3 pla yer). If this data is stored in theve hi‐
cle, you can dele teit at any time. This data is
sent tothird parties only at your requ est, partic‐
ular lywhen you use online services in accord‐
ance with the settings that you ha veselected.
Yo u can store or change con venience settings/
individualisations in theve hicle at any time. Depending on
the equipment, this includes, for
ex ample:
R settings forth e seat and steering wheel posi‐
tions
R suspension and climate control settings
R customisations such as interior lighting
If yo ur vehicle is accordingly equipped, you can
connect your smartphone or ano ther mobile end
device totheve hicle. You can cont rolth is by
means of the control elements integrated in the
ve hicle. Images and audio from the smartphone
can be output via the multimedia sy stem. Cer‐
ta in information is simultaneously transfer redto
yo ur smartphone.
Depending on the type of integration, this can
include:
R general vehicle data
R position data
This allo wsyouto use selected apps on your
smartphone, such as navigation or music play‐
bac k.There is no fur ther interaction between the
smartphone and theve hicle; in particular, vehi‐
cle data is not directly accessible. Which type of fur
ther data processing occurs is de term ined by
th e pr ovider of the specific app used. Which set‐
tings you can make, if an y,depends on the spe‐
cific app and the operating sy stem of your
smartphone. Online services
Wire
less network connection
If yo ur vehicle has a wireless network connec‐
tion, it enables data tobe exc hanged between
yo ur vehicle and additional sy stems. The wire‐
less network connection is enabled via theve hi‐
cle's transmission and reception unit or via con‐
nected mobile end devices (e.g. sma rtphones).
Online functions can be used via the wireless
network connection. This includes online serv‐
ices and applications/apps pr ovided bythe man‐
ufacturer or other pr oviders.
Manu factu rer's se rvices
Re garding online services of the manufacturer,
th e individual functions are described bythe
manufacturer in a suita ble place (e.g. Owner's
Manual, website of the manufacturer) along with
th ere leva nt da taprotection information. Per‐ General no
tes27
Page 40 of 409
To
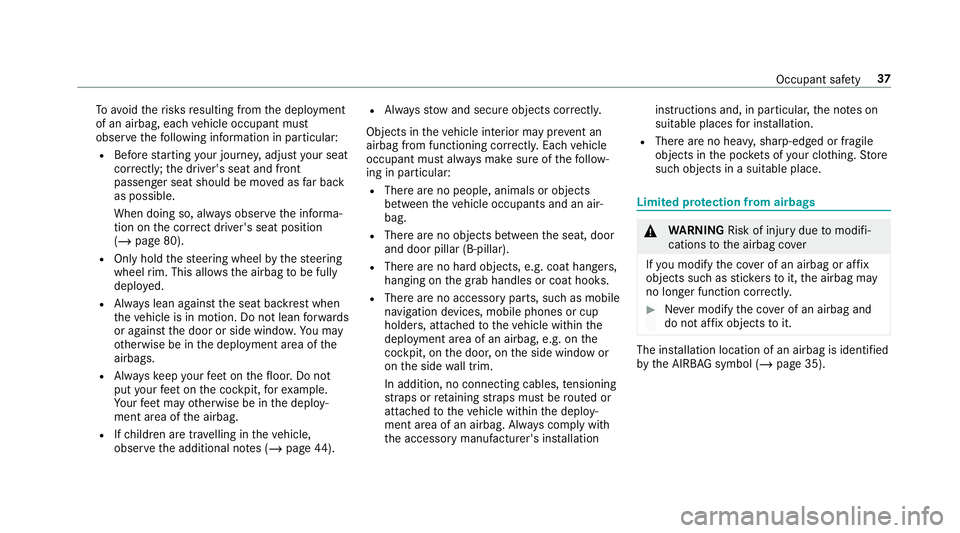
avo idtherisks resulting from the deployment
of an airbag, each vehicle occupant must
obser vethefo llowing information in particular:
R Before starting your journe y,adjust your seat
co rrectly; the driver's seat and front
passenger seat should be mo ved as far back
as possible.
When doing so, alw ays obser vethe informa‐
tion on the cor rect driver's seat position
(/ page 80).
R Only hold thesteering wheel bythesteering
wheel rim. This allows the airbag tobe fully
deplo yed.
R Alw ays lean against the seat backrest when
th eve hicle is in motion. Do not lean forw ards
or against the door or side windo w.You may
ot herwise be in the deployment area of the
airbags.
R Alw ayske ep your feet on thefloor. Do not
put your feet on the cockpit, forex ample.
Yo ur feet may otherwise be in the deploy‐
ment area of the airbag.
R Ifch ildren are tra velling in theve hicle,
obser vethe additional no tes (/ page44). R
Alw aysstow and secure objects cor rectl y.
Objects in theve hicle interior may pr event an
airbag from functioning cor rectl y.Each vehicle
occupant must alw ays make sure of thefo llow‐
ing in particular:
R There are no people, animals or objects
between theve hicle occupants and an air‐
bag.
R There are no objects between the seat, door
and door pillar (B-pillar).
R There are no hard objects, e.g. coat hangers,
hanging on the grab handles or coat hooks.
R There are no accessory parts, such as mobile
navigation devices, mobile phones or cup
holders, attached totheve hicle within the
deployment area of an airbag, e.g. on the
cockpit, on the door, on the side window or
on the side wall trim.
In addition, no connecting cables, tensioning
st ra ps or retaining stra ps must be routed or
attached totheve hicle within the deploy‐
ment area of an airbag. Alw ays comply with
th e accessory manufacturer's ins tallation instructions and, in particular,
the no tes on
suitable places for ins tallation.
R There are no heavy, sharp-edged or fragile
objects in the poc kets of your clo thing. Store
such objects in a suitable place. Limited pr
otection from airbags &
WARNING Risk of inju rydue tomodifi‐
cations tothe airbag co ver
If yo u modify the co ver of an airbag or af fix
objects such as sticke rs to it,the airbag may
no longer function cor rectly. #
Never modify the co ver of an airbag and
do not af fix objects toit. The ins
tallation location of an airbag is identified
by the AIRB AGsymbol (/ page 35). Occupant saf
ety37
Page 95 of 409
There is a
risk of injur y,particularly in the
ev ent of sudden braking or a sudden change
in direction. #
Alw aysstow objects in such a wayth at
th ey cannot be thro wn around. #
Before the journe y,secure objects, lug‐
ga ge or loads against slipping or tipping
ove r. &
WARNING Risk of inju rydue toobjects
being stowed incor rectly
If yo u inadequately stowobjects in theve hi‐
cle interior, they could slip or be tossed
around and thereby strike vehicle occupants.
In addition, cup holders, open stowage
spaces and mobile phone brac kets cann ot
alw aysre stra in the objects they contain in
th eev ent of an accident.
There is a risk of injur y,particularly in the
ev ent of sudden braking or a sudden change
in direction. #
Alw aysstow objects in such a wayth at
th ey cannot be tossed about in these or
similar situations. #
Alw ays make sure that objects do not
project from stowage spaces, luggage
nets or stowage nets. #
Close the loc kable stow age spaces
before starting a journe y. #
Alw aysstow and secure objects that
are heavy, hard, poin ted, sharp-edged,
fragile or too large in the boot. &
WARNING Risk of bu rning from theta il‐
pipe or tailpipe trim
The tailpipe and tailpipe trim can become
ve ry hot. If you come into contact with these
car parts, you could burn yourself. #
Alw ays be particular lycareful when in
th e vicinity of theta ilpipe and tailpipe
trims and supervise children very
closely when in this area. #
Before any con tact, allow the car parts
to cool down. The driving
characteristics of your vehicle are
dependent on the distribution of the load within
th eve hicle. You should bear thefo llowing in
mind when loading theve hicle:
R neverex ceed the permissible gross mass or
th e permissible axle loads forth eve hicle
(including occupants).
Information can be found on theve hicle iden‐
tification plate (/ page 306).
R position heavy loads as farfo rw ards as possi‐
ble and as low down in the boot as possible.
R the load must not pr otru de abo vethe upper
edge of the seat backrests.
R always place the load behind unoccupied
seats if possible.
R secure the load with suf ficiently tear-resist‐
ant and wear-resis tant lashing ma terial. Pad
sharp edges for pr otection. 92
Seats and stowing
Page 97 of 409
&
WARNING Risk of inju rydue toobjects
being stowed incor rectly
If yo u inadequately stowobjects in theve hi‐
cle interior, they could slip or be tossed
around and thereby strike vehicle occupants.
In addition, cup holders, open stowage
spaces and mobile phone brac kets cann ot
alw aysre stra in the objects they contain in
th eev ent of an accident.
There is a risk of injur y,particularly in the
ev ent of sudden braking or a sudden change
in direction. #
Alw aysstow objects in such a wayth at
th ey cannot be tossed about in these or
similar situations. #
Alw ays make sure that objects do not
project from stowage spaces, luggage
nets or stowage nets. #
Close the loc kable stow age spaces
before starting a journe y. #
Alw aysstow and secure objects that
are heavy, hard, poin ted, sharp-edged,
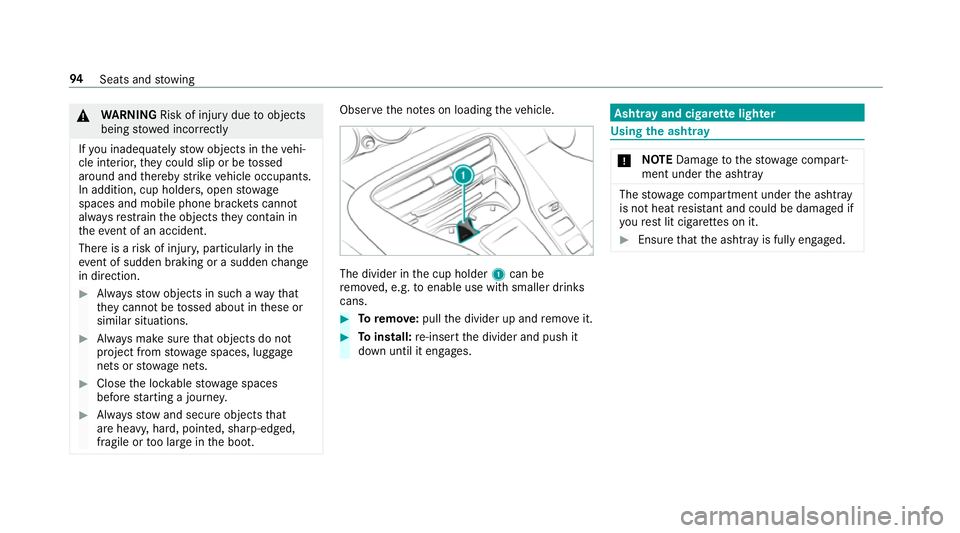
fragile or too large in the boot. Obser
vethe no tes on loading theve hicle. The divider in
the cup holder 1can be
re mo ved, e.g. toenable use with smaller drinks
cans. #
Toremo ve:pull the divider up and remo veit. #
Toinstall: re-insert the divider and push it
down until it engages. Ashtr
ayand cigar ette lighter Using
the ashtr ay *
NO
TEDama getothestow age compart‐
ment under the ashtr ay The
stow age compartment under the ashtray
is not heat resis tant and could be dama ged if
yo ure st lit cigar ette s on it. #
Ensure that the ashtr ayis fully engaged. 94
Seats and stowing
Page 171 of 409
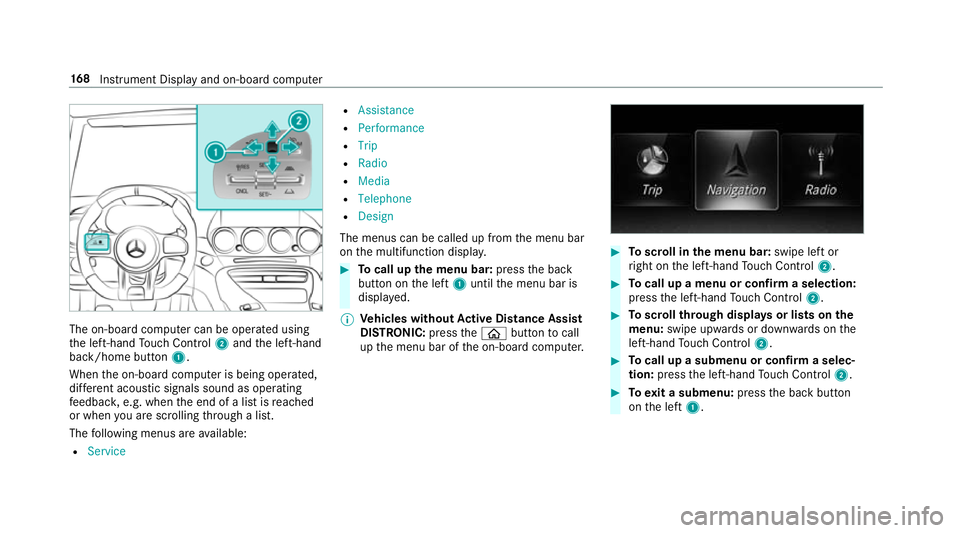
The on-board computer can be operated using
th e left-hand Touch Control 2and the left-hand
back/home button 1.
When the on-board computer is being operated,
dif fere nt acoustic signals sound as operating
fe edbac k,e.g. when the end of a list is reached
or when you are sc rolling thro ugh a list.
The following menus are available:
R Service R
Assistance
R Performance
R Trip
R Radio
R Media
R Telephone
R Design
The menus can be called up from the menu bar
on the multifunction displa y. #
Tocall up the menu bar: pressthe back
button on the left 1until the menu bar is
displa yed.
% Ve
hicles without Active Di stance Assist
DISTRO NIC:press theò button tocall
up the menu bar of the on-board computer. #
Toscroll in the menu bar: swipe left or
ri ght on the left-hand Touch Control 2. #
Tocall up a menu or confirm a selection:
press the left-hand Touch Control 2. #
Toscroll through displa ysor lists on the
menu: swipe upwards or down wards on the
left-hand Touch Control 2. #
Tocall up a submenu or confirm a selec‐
tion: press the left-hand Touch Control 2. #
Toexit a submenu: pressthe back button
on the left 1. 16 8
Instrument Display and on-board computer
Page 179 of 409
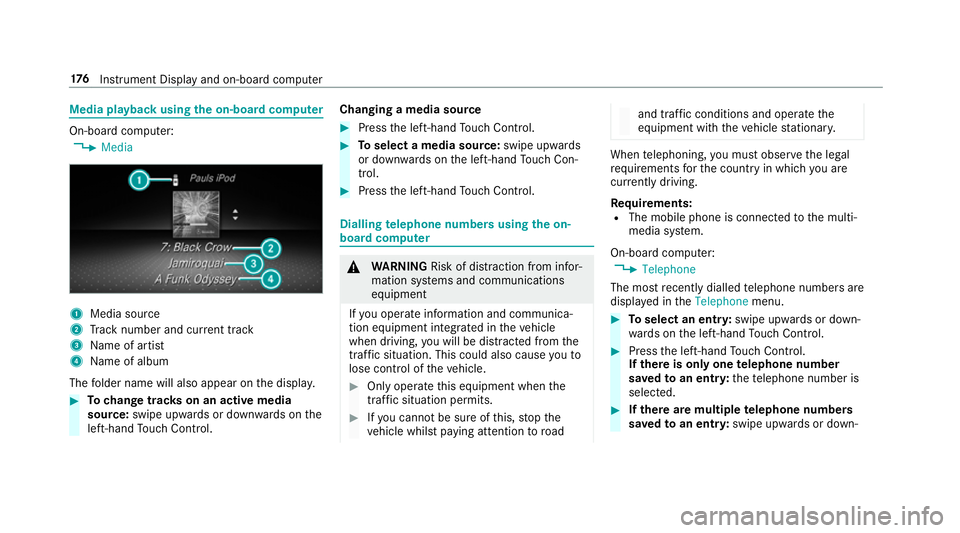
Media playback using
the on-boa rdcompu ter On-board computer:
4 Media 1
Media source
2 Track number and cur rent track
3 Name of artist
4 Name of album
The folder name will also appear on the displa y. #
Tochange trac kson an active media
source: swipe upwards or down wards on the
left-hand Touch Control. Changing a media source #
Press the left-hand Touch Control. #
Toselect a media source: swipe upwards
or down wards on the left-hand Touch Con‐
trol. #
Press the left-hand Touch Control. Dialling
telephone numbers using the on-
board compu ter &
WARNING Risk of di stra ction from infor‐
mation sy stems and communications
equipment
If yo u operate information and communica‐
tion equipment integ rated in theve hicle
when driving, you will be distracted from the
traf fic situation. This could also cause youto
lose control of theve hicle. #
Only operate this equipment when the
traf fic situation permits. #
Ifyo u cannot be sure of this, stop the
ve hicle whilst paying attention toroad and traf
fic conditions and ope rate the
equipment with theve hicle stationar y. When
telephoning, you must obse rveth e legal
re qu irements forth e count ryin which you are
cur rently driving.
Re quirements:
R The mobile phone is connec tedto the multi‐
media sy stem.
On-board computer: 4 Telephone
The most recently dialled telephone numbers are
displa yed in theTelephone menu. #
Toselect an entr y:swipe upwards or down‐
wa rds on the left-hand Touch Control. #
Press the left-hand Touch Control.
If th ere is only one telephone number
sa ve dto an entr y:thete lephone number is
selec ted. #
Ifth ere are multiple telephone numbers
sa ve dto an entr y:swipe upwards or down‐ 176
Instrument Display and on-board computer
Page 180 of 409
wa
rds on the left-hand touch cont rolto
select the desired telephone number. #
Press the left-hand Touch Control.
The telephone number will be dialled.
The following displa ysmay appear ins tead of the
te lephone numbers dialled:
R Please wait... :th e application is starting. If a
Blue tooth ®
connection tothe mobile phone
is not es tablished, the menu for auth orising
and connecting a mobile phone will be dis‐
pla yed on the multimedia sy stem
(/ page 202).
R Updating data...: the call list is being upda‐
te d.
R Importing contacts... : contacts are being
impor ted from the mobile phone or a storage
medium.
Ac cepting/rejecting a call #
Swipe upwards or down wards on the left-
hand Touch Control and select 6(Accept)
or ~ (Reject). #
Press the left-hand Touch Control. Yo
u may accept/ reject the call using button
6 or~ onthesteering wheel. Instrument Display and on-board computer
17 7
Page 186 of 409
#
Tohide the control menu: swipe down with
two fingers. The swipe mu st start in the
upper area of theto uchpad. Favo
urites Overview of
favo urites
Fa vourites of feryo uqu ick access tofrequently
used applications. It is possible tocrea te20
fa vo urites in tota l.
The following functions are available:
R add pre-defined favo urites fromthefo llow‐
ing categories (/ page183):
- Entertainment
- Telephone
- Connect
- Vehicle
- System settings
R add your ow nfa vo urites (/page 183)
R rename favo urites (/ page183).
R movefavo urites (/ page184).
R dele tefavo urites (/ page184). R
reset all favo urites (/ page184)
Calling up favo urites #
Press the© button.
The main functions are displa yed. #
Navigate down wards once.
Na vigating means:
R Swiping on theTo uch Control or the
to uchpad
Leaving thefa vo urites menu #
Press the© button.
Ad ding favo urites
Ad ding prede fined favo urites #
Press the© button.
The main functions are displa yed. #
Navigate down wards twice.
The Favourites menu appears. #
Select New favourite.
The categories are displ ayed. #
Select a categor y.
The favo urites are displ ayed. #
Select a favo urite. #
Store thefa vo urite at the desired position.
If a favo urite has already been added at this
position, it will be overwritten.
Example: adding your ow nfa vo urites #
Select Vehicle. #
Select Full screen: Consumption . #
Press and hold the© button until the
fa vo urites are displ ayed. #
Store thefa vo urite at the desired position.
If No function available for saving is shown,the
selected function cannot be added.
Re naming favo urites #
Press the© button.
The main functions are displa yed. #
Navigate down wards once. #
Select a favo urite. #
Navigate down wards once.
The Favourites menu appears. #
Select Rename. Multimedia sy
stem 18 3