light MERCEDES-BENZ C-Class 2017 W205 Comand Manual
[x] Cancel search | Manufacturer: MERCEDES-BENZ, Model Year: 2017, Model line: C-Class, Model: MERCEDES-BENZ C-Class 2017 W205Pages: 178, PDF Size: 5.62 MB
Page 37 of 178
Switching the display on/off
XPress theØbutton.
or
XPress Vehiclein the main function bar.
The vehicle menu is displayed.
XTo select Display Off: slide6, turn and
press the controller.
The display goes out.
XTo switch the display on again: press the
controller.
Time settings
General information
The multimedia system can automatically set
the time and date.
The following navigation system functions
require the time, time zone and summer and
standard time to be set correctly in order to
work properly:
Rroute guidance on routes with time-depend-
ent traffic guidance
Rcalculation of expected time of arrival
Switching automatic time on and off
The Automatic Time Settingsfunction is
used to activate or deactivate the automatic
setting of the time and date. This function is
activated when the vehicle leaves the factory.
XPress the Øbutton.
or
XPress Vehiclein the main function bar.
The vehicle menu is displayed.
XTo select Time: slide6, turn and press the
controller.
A menu appears.
XTo select AutomaticTimeSettings: press
the controller.
XTo switch the function on Oor off ª: press
the controller.
Setting the time zone
To set the time zone, the Automatic TimeSettingsfunction must be activated.
XPress theØbutton.
or
XPress Vehiclein the main function bar.
The vehicle menu is displayed.
XTo select Time: slide6, turn and press the
controller.
A menu appears.
XTo select Time Zone:: turn and press the
controller.
A list of countries appears. The #dot indi-
cates the current setting.
XTo select the country in which you are
currently driving: turn and press the con-
troller.
The country is accepted.
A time zone list may also be displayed,
depending on the country selected.
XTo select the desired time zone: turn and
press the controller.
The time zone is accepted.
A list of available options for setting summer
time appears (
Ypage 35).
Setting summer and standard time
You can use the DaylightSavingTimemenu
to set automatic summer time changeover or
switch the summer time setting on or off. The
changeover to summer time advances the time
by one hour.
The Daylight
SavingTimemenu or the Auto‐maticoption is not available in all countries.
XPress theØbutton.
or
XSelect Vehiclein the main function bar.
The vehicle menu is displayed.
XTo select Time: slide6, turn and press the
controller.
A menu appears.
XTo select Daylight Saving Time: turn and
press the controller.
A list of available options for setting summer
time appears.
XTo select Automatic,Onor Off: turn and
press the controller.
Time settings35
System settings
Z
Page 38 of 178
SettingFunction
AutomaticThe summer and
standard time are
automatically
changed over.
OnThe clock is advanced
one hour ahead of
standard time.
OffThe standard time for
the chosen time zone
is selected.
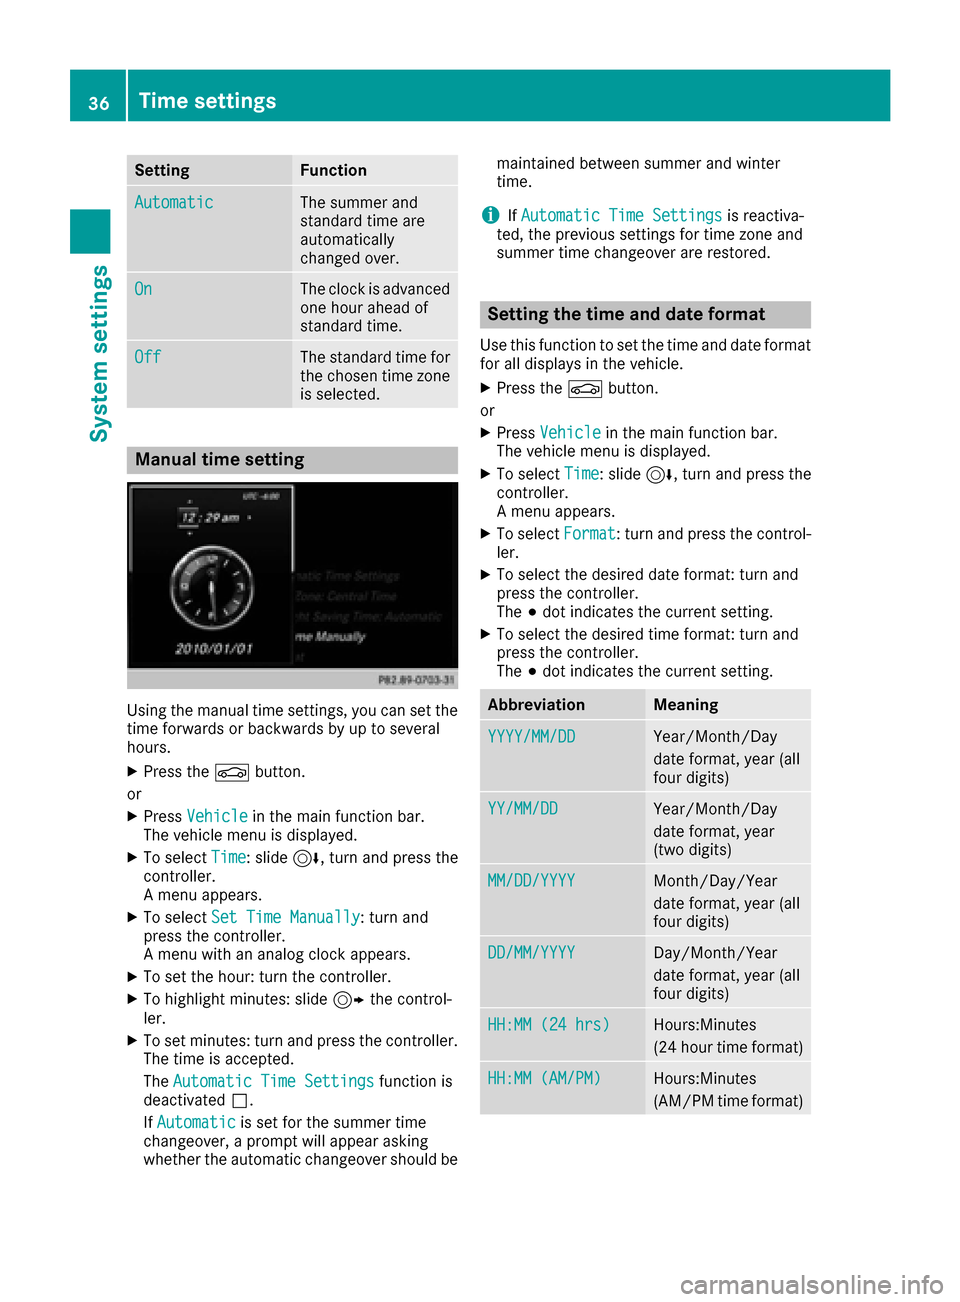
Manual time setting
Using the manual time settings, you can set the
time forwards or backwards by up to several
hours.
XPress theØbutton.
or
XPress Vehiclein the main function bar.
The vehicle menu is displayed.
XTo select Time: slide6, turn and press the
controller.
A menu appears.
XTo select Set Time Manually: turn and
press the controller.
A menu with an analog clock appears.
XTo set the hour: turn the controller.
XTo highlight minutes: slide 9the control-
ler.
XTo set minutes: turn and press the controller. The time is accepted.
The Automatic Time Settings
function is
deactivated ª.
If Automatic
is set for the summer time
changeover, a prompt will appear asking
whether the automatic changeover should be maintained between summer and winter
time.
iIf
Automatic Time Settingsis reactiva-
ted, the previous settings for time zone and
summer time changeover are restored.
Setting the time and date format
Use this function to set the time and date format for all displays in the vehicle.
XPress the Øbutton.
or
XPress Vehiclein the main function bar.
The vehicle menu is displayed.
XTo select Time: slide6, turn and press the
controller.
A menu appears.
XTo select Format: turn and press the control-
ler.
XTo select the desired date format: turn and
press the controller.
The #dot indicates the current setting.
XTo select the desired time format: turn and
press the controller.
The #dot indicates the current setting.
AbbreviationMeaning
YYYY/MM/DDYear/Month/Day
date format, year (all
four digits)
YY/MM/DDYear/Month/Day
date format, year
(two digits)
MM/DD/YYYYMonth/Day/Year
date format, year (all
four digits)
DD/MM/YYYYDay/Month/Year
date format, year (all
four digits)
HH:MM (24 hrs)Hours:Minutes
(24 hour time format)
HH:MM (AM/PM)Hours:Minutes
(AM/PM time format)
36Time settings
System settings
Page 41 of 178
XSelectSystem Settings.
The System Settingsmenu is displayed.
XSelect WiFi.
The WiFi menu appears.
XSelect Change SSID.
A dialog for entering the SSID appears.
XEnter the new SSID.
XSelect ¬.
XPress the controller.
From now on, when establishing a connec-
tion, the vehicle will be shown with the new
SSID both on the device to be connected and
in the Connect
UsingSecurityKeymenu.
iDevice connections established using the
previous SSID will no longer work after the
SSID is changed. You have to reconnect these
devices (
Ypage 37).
Bluetooth®settings
General information about Blue-
tooth®
Bluetooth®-capable devices, e. g. mobile
phones, need to comply with a certain profile in
order to be connected to the multimedia sys-
tem. Every Bluetooth
®device has its own spe-
cific Bluetooth®name.
Bluetooth®technology is a standard for short-
range wireless data transmissions up to approx-
imately 10 m.
Yo u can use Bluetooth
®to connect your mobile
phone to the multimedia system, for example:
Ruse the hands-free system
Restablish an Internet connection
Rlisten to music using Bluetooth®Audio
Rexchange vCards
Bluetooth®is a registered trademark of Blue-
tooth Special Interest Group (SIG) Inc.
Activating/deactivating Bluetooth®
X
Press the Øbutton.
or
XPress Vehiclein the main function bar.
The vehicle menu is displayed.
XTo select System Settings: slide6, turn
and press the controller.
A menu appears.
XTo select Activate Bluetooth: turn and
press the controller.
This switches Bluetooth
®on O or off ª.
Automatic volume adjustment
General information
With the AutomaticVolumeAdjustmentfunc-
tion, the volumes of different audio sources are
adjusted for each other, to compensate for rel-
ative differences in volume.
For example: changing from a relatively quiet to
a relatively loud radio station. The volume for
both stations sounds the same. Manual read-
justment of the volume is not required.
The Automatic Volume Adjustment
function
is deactivated ªwhen the vehicle leaves the
factory. Using this function, the dynamic range
of the music is slightly reduced. To make the
most of the audiophile sound quality, it is rec-
ommended to leave it off.
Switching the automatic volume
adjustment on/off
XPress the Øbutton.
or
XPress Vehiclein the main function bar.
The vehicle menu is displayed.
XTo select System Settings: slide6, turn
and press the controller.
A menu appears.
XTo select Automatic Volume Adjustment:
turn and press the controller.
Switch the Automatic Volume Adjustment
function on Oor off ª.
Setting the system language
This function allows you to determine the lan-
guage for the menu displays and the navigation
messages. The selected language affects the
characters available for entry.
iThe navigation announcements are not
available in all languages. If a language is not
Setting the system language39
System settings
Z
Page 45 of 178
Your multimediasyste mequipment
These operatin ginstruction sdescribe all th e
standar dan doptional equipment of your multi-
media system, as available at th etime of going
to press. Country-specifi cdifference sare pos -
sible. Bear in min dthat your vehicle may no t
feature all function sdescribed here. Thi salso
applies to safety-relevan tsystems an dfunc-
tions.
Read th einformation on qualifie dspecialis t
workshop sin th evehicle Operator's Manual.
Important safet ynotes
GWARNING
If you operat emobile communication equip-
men twhil edriving, you will be distracted from
traffic conditions. You could also los econtro l
of th evehicle. There is aris kof an accident.
Only operat ethis equipment when th evehicle
is stationary.
You mus tobserv eth elegal requirements fo rth e
country in whic hyou are currentl ydrivin gwhen
operatin gmobile communication sequipment in
th evehicle.
Vehicl esettings
Calling up vehicle settings
XPress th eØ button.
or
XPress Vehicl ein themain function bar .
The vehicle men uis displayed.
XTo selec tVehicle Settings:press th econ-
troller.
The Vehicl eSettings
men uis active .
XTo selectth edesire dvehicle setting :turn an d
press th econtroller .
The main are awit hth esetting elemen tis
active .
Selecting adifferent vehicle setting:
XTo activat eth emen ufo rselecting th evehicle
setting :slid e5 thecontroller . Exiting th
evehicle settings :
XTo select& :slid e6 andpress th econ-
troller.
Ambien tlighting
General notes
You can set th efollowin gfo rth eambien tlight-
ing:
RBrightness
Thi ssetting makes an additional change to
th ebrightness of th eambien tlighting .
RColor
Thi ssetting changes th ecolor of th eambien t
lighting .
Setting th ebrightness
XCall up VehicleSettings(Ypage 43).
XTo selec tAmbien tLigh tBrightness:turn
an dpress th econtroller .
The setting elemen tis active .The brightness
valu eis displayed.
XTo change th ebrightness value: turn th econ-
troller.
You can fin dfurther information on th einterio r
lighting in th evehicle Operator's Manual.
Setting th ecolor
XCall up VehicleSettings(Ypage 43).
XTo selec tAmbien tLigh tColo r:turn an d
press th econtroller .
The setting elemen tis active .
XTo selec t acolor :turn an dpress th econtrol-
ler .
You can fin dfurther information on th einterio r
lighting in th evehicle Operator's Manual.
Switching th edisplay lighting on/of f
If thevehicle is no tequippe dwit hth e"Ambien t
lighting "package, you can turn th edisplay light-
in g on or of fwit hthis function .
Vehicle settings43
Vehicle functions
Z
Page 46 of 178
XCallupVehicle Settings(Ypage 43).
XTo select Ambient Light: Display: turn
and press the controller.
The function switches on or off, dependin g on
the previous setting.
iThe brightness can beadjusted using the
controller on the rotary light switch.
You can find further information on the interior
lighting inthe veh icleOperator's Manual.
Setting the easy entry and exit feature
This function makes getting inand out of your
veh icle easier.
XCall upVehicle Settings(Ypage 43).
XTo select Easy Entry/Exit: turn and press
the controller.
The setting element isactive.
XTo change the setting: press the controller.
You can find further information on the easy
entry and exit featureinthe veh icleOperator's
Manual.
Activating/deactivating the acoustic
locking verification signal
You can also set an audiblesignal to confirm
that the veh iclehas been locke d.
XCallupVehicle Settings(Ypage 43).
XTo select Acoustic Lock Feedback: turn
and press the controller.
The function switches on or off, dependin g on
the previous setting.
You can find further information on the locking
feature inthe veh icleOperator's Manual.
Switching the seat belt adjustment
on/off
TheBeltAdjustmentfunction adjusts the driv-
er's and front passenger seat beltto the upper
body of the occupants.
XCallupVehicle Settings(Ypage 43).
XTo select Belt Adjustment: turn and press
the controller.
The function switches on or off, dependin g on
the previous setting. You can find further information on seat belt
adjustment in the vehicle Operator's Manual.
Switching the automatic mirror fold-
ing function on/off
When the
Automatic Mirror Foldingfunc-
tion isactivated, the outside mirrors fold in auto-
matically as soon as you lock the vehicle from
the outside. The outside mirrors fold out auto-
matically again as soon as you unlock the veh i-
cle.
XCall up Vehicle Settings(Ypage 43).
XTo select Automatic Mirror Folding: turn
and press the controller.
The function switches on or off, depending on
the previous setting.
You can find further information on the auto-
mat icfolding mirror function inthe vehicle Oper-
ator's Manual.
Switching locator lighting on/off
If you switch on the Locator Lightingfunc-
tion, the exterior lighting is switched on for a
short time when it is dark. The light switch must
be set to Ã; see the vehicle Operator's Man-
ual.
The exterior lighting remains on for 40 seconds
after the vehicle is unlocked. When you start the
engine, the locator lighting is switched off and
the automatic driving lights are activated.
XCall up Vehicle Settings(Ypage 43).
XTo select LocatorLighting: turn and press
the controller.
XPress the controller.
The function isswitched on or off, depending
on the previous status.
You can find further information on the locator
lighting in the vehicle Operator's Manual.
Activating/deactivating the auto-
matic door locking mechanism
The vehicle islocked automatically when the
ignition is switched on and the vehicle istravel-
ing faster than walking pace.
44Vehicle settings
Vehicle functions
Page 47 of 178
XCallupVehicle Settings(Ypage 43).
XTo select Automatic Locking: turn and
press the controller.
The function switches on or off, dependin g on
the previous setting.
You can find further information on the locking
feature inthe veh icleOperator's Manual.
Setting the switch-off delay time
Interior lighting switch-off delay time
The interior lighting isactivated for the duration
of the switch-off delay time when the SmartKey
is removed from the ignition lock.
XCall upVehicle Settings(Ypage 43).
XTo select Interior Lighting DelayedSwitch-off: turn and press the controller.
The setting element isactive.
XTo change the delayed switch-off time: turn
and press the controller.
You can find further information on the interior
lighting inthe veh icleOperator's Manual.
Exterior lighting switch-off delay time
Ifyou switch on the Exterior LightingDelayed Switch-offfunction, the exterior
lighting is switched on for a short time after the
engine is switched off. The light switch must be
set to Ã; see the veh icleOperator's Manual.
The exterior lighting remains on for 60 seconds
after the engine is switched off. Ifyou close all
the doors and the tailgate, the exterior lighting
swit ches off after the set time.
XCall upVehicle Settings(Ypage 43).
XTo select Exterior Lighting DelayedSwitch-off: turn and press the controller.
The setting element isactive.
XTo change the delayed switch-off time: turn
and press the controller.
Activating/deactivating the trunk lid
opening height restriction
Activating the Trunk Opening-heightRestrictionfunctionallowsyou to avoid
bumping the trunk lidon a low garage cei ling, for
example. Setting via the multimed iasystem is
availab lefor the Sedan and Coupe.
XCall up Vehicle Settings(Ypage 43 ).
XTo select Trunk Opening-heightRestriction: turn and press the controller.
The function switches on or off, depending on
the previous setting.
360° camera
General notes
The 360° camera covers the immediate sur-
roundings of the vehicle and assists you, for
instance when parking or at exits with reduced
visibility.
The 360° camera is only an aid. It is not a
replacement for your attention to your imm edi-
ate surroundings. You are always responsible
for safe maneuvering and parking. Make sure
that no persons or animals are inthe maneu-
vering range.
For more information on the 360° camera see
the vehicle Operator's Manual.
Displaying the 360° camera image
The 360° camera image can be displayed if:
Ryour vehicle isequipped with a 360° camera
Rthe 360°Camerafunction isswitched on; see
the vehicle Operator's Manual
XPress the Øbutton.
or
XPress Vehicleinthe main function bar.
The vehicle menu isdisplayed.
XTo select 360° Camera: turn and press the
controller.
The 360° camera image appears in split-
screen mode.
You willsee the previous view on the display if,
when the function is switched on:
Ryou turn the SmartKey to position 1in the
ignition lock
Ryou select transmission position P
Rwhen you are driving at moderate speeds
Switching the display off manually
XTo select &: slide 6and press the con-
troller.
360° camera45
Vehicle functions
Z
Page 52 of 178
RTransmission
RSports exhaust system
RElectronic Stability Program ESP®
There may be fewer settings or set values, or
none, depending on your vehicle's equipment.
For further information on the Individual drive
program; see the vehicle Operator's Manual.
Configuration via the DYNAMIC
SELECT switch
XUse the DYNAMIC SELECT switch to select
the Individual drive program; see the vehicle
Operator's Manual.
A window appears after a short while.
XTo confirmAdjust:press the controller.
The Individual Configuration
menu for
setting the drive program appears.
XTo select Drive,Suspension,Steering,
Climate Control
or Eco Start/StopFunction:turn and press the controller.
XSelect individual settings.
The menu symbol, text and image show the
selected setting.
In Mercedes-AMG vehicles, you can configure
the settings of the drive system, suspension,
transmission, sports exhaust system and Elec-
tronic Stability Program ESP
®.
Displaying vehicle data
XPress the Øbutton.
or
XPress Vehiclein the main function bar.
The vehicle menu is displayed.
XTo select DYNAMIC SELECT:turn and press
the controller.
The Individual
Configuration,VehicleDataand Engine Datamenus appear.
XSelect Vehicle Data.
Updates of the following data are displayed:
RRoad type analogous to the selected drive
program
RG-force display of longitudinal and lateral
acceleration
RAccelerator and brake pedal activity
RActivity of the suspension struts
RWheel angle
ROverrun mode animation
The G-force display is not available in all of the
drive programs.
Daytime or night-time view is shown depending
on the automatic light sensor.
Displaying engine data
XPress Vehiclein the main function bar.
The vehicle menu is displayed.
XTo select DYNAMIC SELECT:turn and press
the controller.
The Individual
Configuration,VehicleDataand Engine Datamenus appear.
XSelect Engine Data.
The following current data is displayed:
REngine output
REngine torque
REngine oil temperature
ROn-board electrical system voltage
iThe values for engine output and engine tor-
que may deviate from the nominal values.
Items that can influence this are, for example:
REngine speed
RSea level
RFuel grade
ROutside temperature
In Mercedes-AMG vehicles you will see current
data on the transmission oil temperature
instead of the on-board electrical system volt-
age.
Setting options
You can choose from the following settings for
the drive:
CComfort
SSport
S+Sport +
MManual
EEco
50DYNAMIC SELECT
Vehicle functions
Page 54 of 178
Your multimediasyste mequipment
These operatin ginstruction sdescribe all th e
standar dan doptional equipment of your multi-
media system, as available at th etime of going
to press. Country-specifi cdifference sare pos -
sible. Bear in min dthat your vehicle may no t
feature all function sdescribed here. Thi salso
applies to safety-relevan tsystems an dfunc-
tions.
Read th einformation on qualifie dspecialis t
workshop sin th evehicle Operator's Manual.
Introduction
Important safet ynotes
GWARNING
If you operat einformation systems an dcom-
munication equipment integrated in th evehi-
cl e whil edriving, you will be distracted from
traffic conditions. You could also los econtro l
of th evehicle. There is aris kof an accident.
Only operat eth eequipment when th etraffic
situation permits. If you are no tsur ethat this
is possible, par kth evehicle payin gattention
to traffic condition san doperat eth eequip-
men twhen th evehicle is stationary.
You mus tobserv eth elegal requirements fo rth e
country in whic hyou are currentl ydrivin gwhen
operatin gth emultimedia system.
The multimedia syste mcalculates th erout eto
th edestination without taking th efollowin ginto
account, fo rexample:
Rtraffic lights
Rstop an dyield signs
Rmergin glanes
Rparking or stoppin gin ano parking/n ostop-
pin gzone
Rother road an dtraffic rule san dregulation s
Rnarrow bridge s
The multimedia syste mmay giv eincorrec tnav-
igation commands if th eactual street/traffic
situation doe sno tcorrespon dwit hth edigita l
map's data. Fo rexample, arout emay hav ebee n
dive
rted or th edirection of aone-way stree tmay
hav echanged . Fo
rthis reason ,you mus talways observ eroad
an dtraffic rule san dregulation sdurin gyour
journey. Road an dtraffic rule san dregulation s
always hav epriorit yover th esystem' sdrivin g
recommendations.
Navigation announcement sare intended to
direc tyou whil edrivin gwithout divertin gyour
attention from th eroad an ddriving.
Please always use this feature instead of con-
sultin gth emap display fo rdirections. Lookin g
at th eicon sor map display can distract you from
traffic condition san ddriving, an dincrease th e
ris kof an accident.
General notes
Operationa lreadines sof th enavigation
syste m
The navigation syste mmus tdetermin eth eposi-
tion of th evehicle befor efirst use or wheneve r
operational status is restored .Therefore, you
may hav eto drive fo r awhil ebefor eprecise
rout eguidance is possible.
GP Sreception
Amon gother things, correc tfunctionin gof th e
navigation syste mdepends on GPS reception .In
certain situations, GPS reception may be
impaired, there may be interferenc eor there
may be no reception at all, e.g. in tunnels or
parking garages .
iUsing roof carriers may impair th ecorrec t
functionin gof aroof antenn a(phone, satellite
radio, GPS).
Entry restriction
Fo rvehicles in certain countries, there is adat a
entr yrestriction .
The restriction is active from avehicle speed of
abov eapproximately 3mph (5 km/ h).As soon
as the speed falls below approximately 2 mph
(3 km/h), the restriction becomes inactive.
When the restriction is active, certain entries
cannot be made. Menu items are shown in gray
and cannot be selected.
For example:
Rentering the destination city and street
Rentering a destination via the map
52Introduction
Navigation
Page 55 of 178
Rentering POIs in the vicinity of a city or via a
name search
Rediting entries
Other entries are possible, such as entering
points of interest in the vicinity of the destina-
tion or current position.
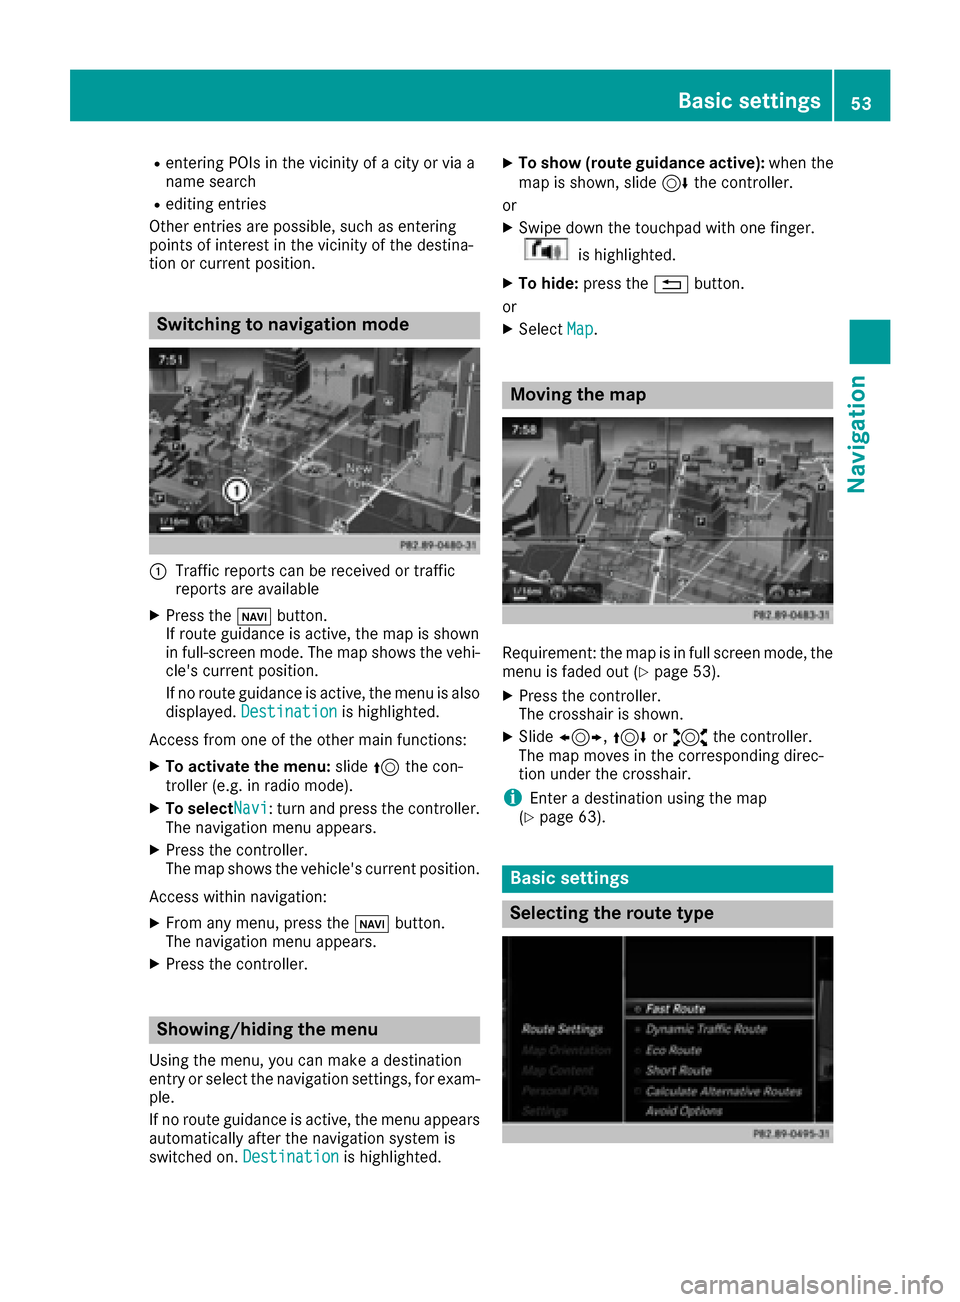
Switching to navigation mode
:Traffic reports can be received or traffic
reports are available
XPress the ßbutton.
If route guidance is active, the map is shown
in full-screen mode. The map shows the vehi-
cle's current position.
If no route guidance is active, the menu is also
displayed. Destination
is highlighted.
Access from one of the other main functions:
XTo activate the menu: slide5the con-
troller (e.g. in radio mode).
XTo selectNavi: turn and press the controller.
The navigation menu appears.
XPress the controller.
The map shows the vehicle's current position.
Access within navigation:
XFrom any menu, press the ßbutton.
The navigation menu appears.
XPress the controller.
Showing/hiding the menu
Using the menu, you can make a destination
entry or select the navigation settings, for exam-
ple.
If no route guidance is active, the menu appears
automatically after the navigation system is
switched on. Destination
is highlighted.
XTo show (route guidance active): when the
map is shown, slide 6the controller.
or
XSwipe down the touchpad with one finger.
is highlighted.
XTo hide: press the %button.
or
XSelect Map.
Moving the map
Requirement: the map is in full screen mode, the
menu is faded out (Ypage 53).
XPress the controller.
The crosshair is shown.
XSlide1, 4or2 the controller.
The map moves in the corresponding direc-
tion under the crosshair.
iEnter a destination using the map
(Ypage 63).
Basic settings
Selecting the route type
Basic settings53
Navigation
Z
Page 56 of 178
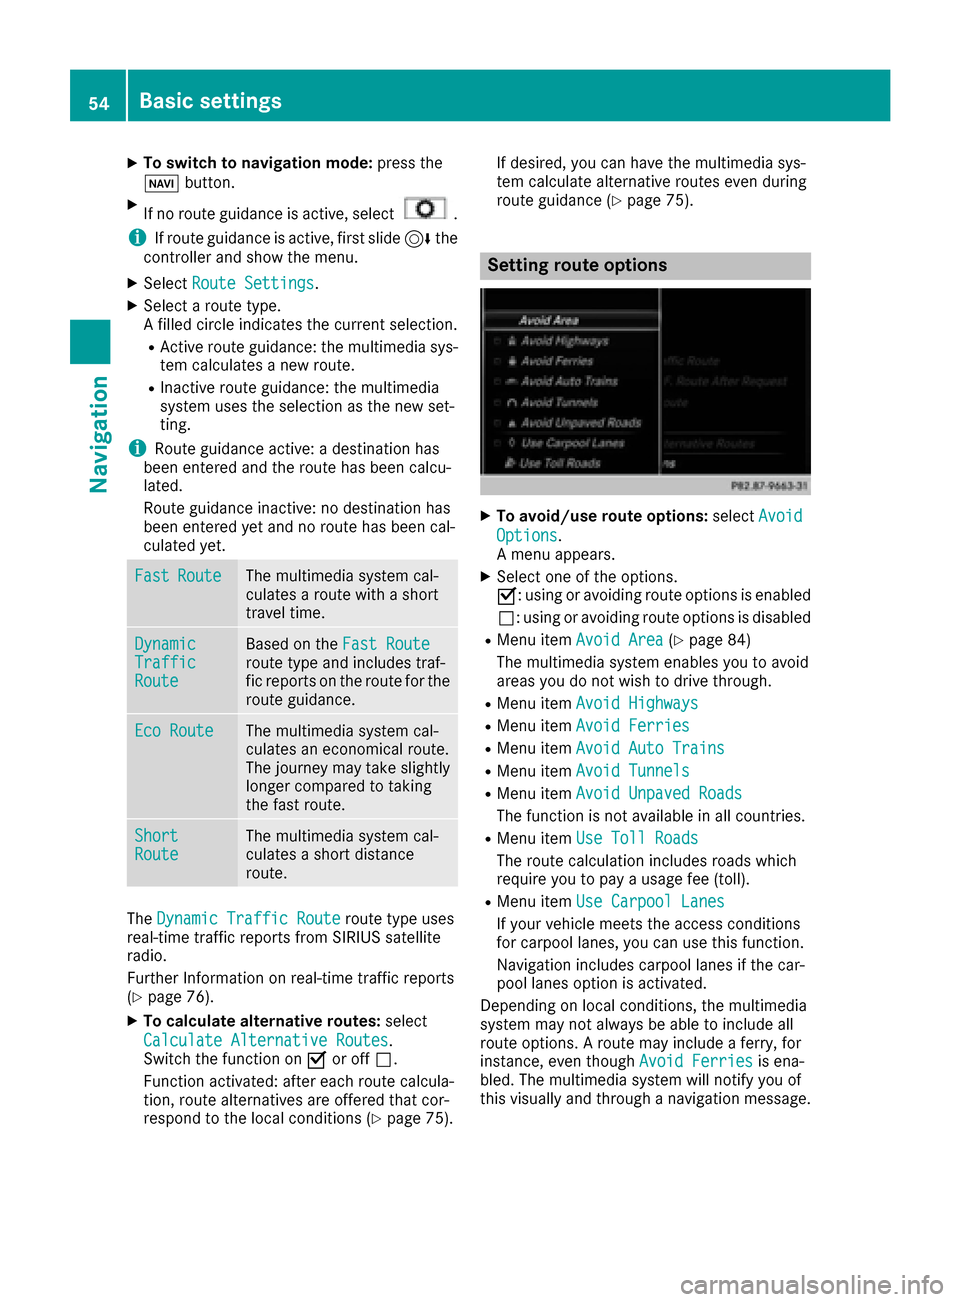
XTo switch to navigation mode:press the
Ø button.
XIf no route guidance is active, select.
iIf route guidance is active, first slide 6the
controller and show the menu.
XSelect Route Settings.
XSelect a route type.
A filled circle indicates the current selection.
RActive route guidance: the multimedia sys-
tem calculates a new route.
RInactive route guidance: the multimedia
system uses the selection as the new set-
ting.
iRoute guidance active: a destination has
been entered and the route has been calcu-
lated.
Route guidance inactive: no destination has
been entered yet and no route has been cal-
culated yet.
FastRouteThe multimedia system cal-
culates a route with a short
travel time.
DynamicTrafficRoute
Based on the Fast Routeroute type and includes traf-
fic reports on the route for the
route guidance.
Eco RouteThe multimedia system cal-
culates an economical route.
The journey may take slightly
longer compared to taking
the fast route.
ShortRouteThe multimedia system cal-
culates a short distance
route.
TheDynamic Traffic Routeroute type uses
real-time traffic reports from SIRIUS satellite
radio.
Further Information on real-time traffic reports
(
Ypage 76).
XTo calculate alternative routes: select
Calculate Alternative Routes
.
Switch the function on Oor off ª.
Function activated: after each route calcula-
tion, route alternatives are offered that cor-
respond to the local conditions (
Ypage 75). If desired, you can have the multimedia sys-
tem calculate alternative routes even during
route guidance (
Ypage 75).
Setting route options
XTo avoid/use route options:
selectAvoid
Options.
A menu appears.
XSelect one of the options.
O: using or avoiding route options is enabled
ª: using or avoiding route options is disabled
RMenu item Avoid Area(Ypage 84)
The multimedia system enables you to avoid
areas you do not wish to drive through.
RMenu item Avoid Highways
RMenu itemAvoid Ferries
RMenu itemAvoid Auto Trains
RMenu itemAvoid Tunnels
RMenu itemAvoid Unpaved Roads
The function is not available in all countries.
RMenu itemUse Toll Roads
The route calculation includes roads which
require you to pay a usage fee (toll).
RMenu itemUse Carpool Lanes
If your vehicle meets the access conditions
for carpool lanes, you can use this function.
Navigation includes carpool lanes if the car-
pool lanes option is activated.
Depending on local conditions, the multimedia
system may not always be able to include all
route options. A route may include a ferry, for
instance, even though Avoid Ferries
is ena-
bled. The multimedia system will notify you of
this visually and through a navigation message.
54Basic settings
Navigation