road sign MERCEDES-BENZ CLS-Class 2017 W218 Owner's Manual
[x] Cancel search | Manufacturer: MERCEDES-BENZ, Model Year: 2017, Model line: CLS-Class, Model: MERCEDES-BENZ CLS-Class 2017 W218Pages: 334, PDF Size: 8.22 MB
Page 11 of 334
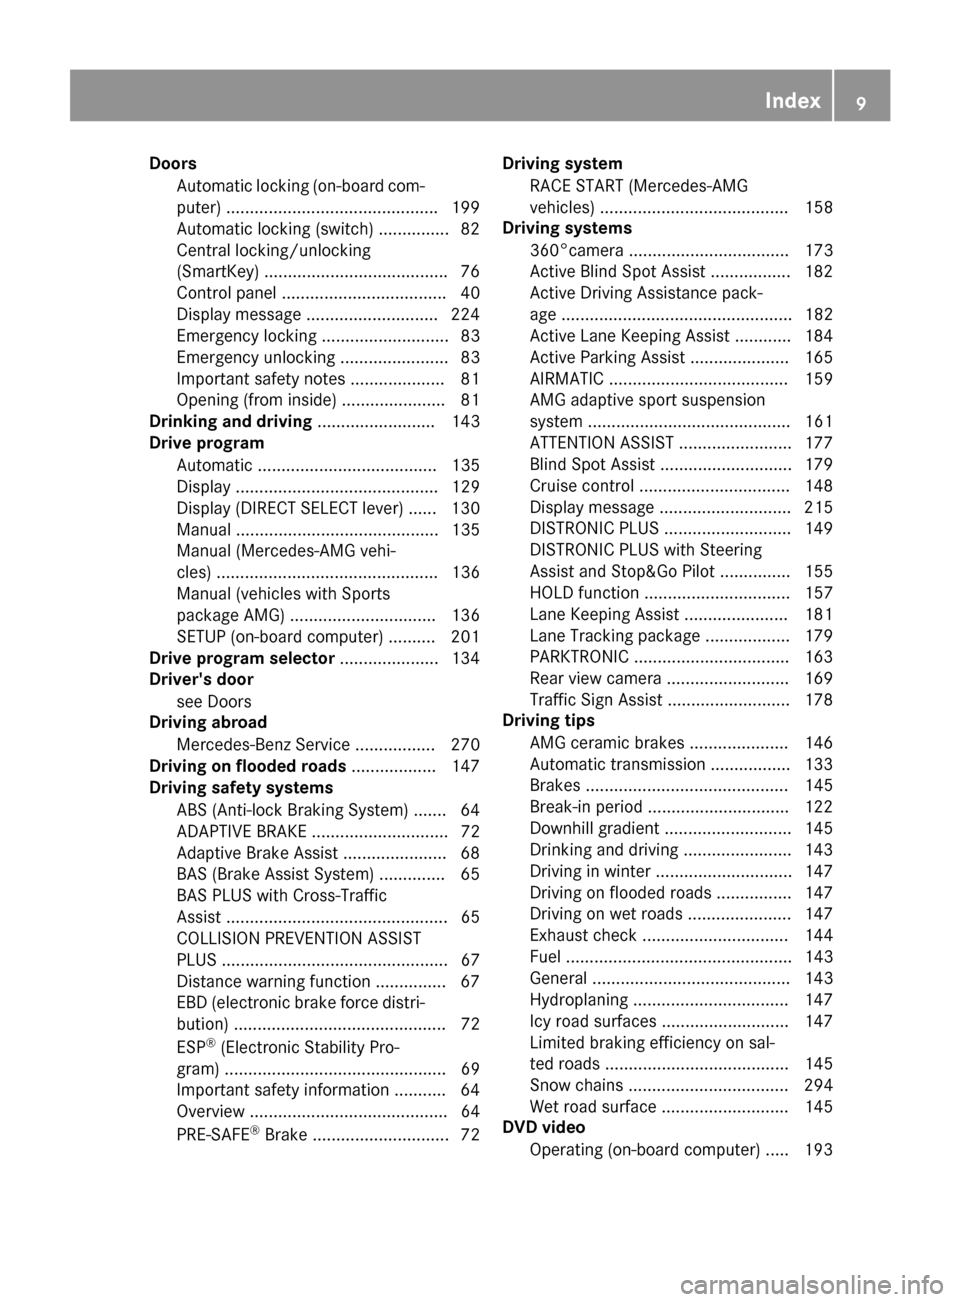
Doors
Automati clocking (on-boar dcom-
puter) ............................................ .199
Automatic locking (switch) ...............8 2
Central locking/unlocking
(SmartKey) ...................................... .76
Control panel .................................. .40
Display message ............................ 224
Emergency locking ........................... 83
Emergency unlocking ....................... 83
Important safety notes .................... 81
Opening (from inside) ...................... 81
Drinking and driving ......................... 143
Drive program
Automatic ...................................... 135
Display ........................................... 129
Display (DIRECT SELECT lever) ...... 130
Manual ........................................... 135
Manual (Mercedes-AMG vehi-
cles) ............................................... 136
Manual (vehicles with Sports
package AMG) ............................... 136
SETUP (on-board computer) .......... 201
Drive program selector ..................... 134
Driver's door
see Doors
Driving abroad
Mercedes-Benz Service ................. 270
Driving on flooded roads .................. 147
Driving safety systems
ABS (Anti-lock Braking System) ....... 64
ADAPTIVE BRAKE ............................. 72
Adaptive Brake Assist ...................... 68
BAS (Brake Assist System) .............. 65
BAS PLUS with Cross-Traffic
Assist ............................................... 65
COLLISION PREVENTION ASSIST
PLUS ................................................ 67
Distance warning function ............... 67
EBD (electronic brake force distri-
bution) ............................................. 72
ESP
®(Electronic Stability Pro-
gram) ............................................... 69
Important safety information ........... 64
Overview .......................................... 64
PRE-SAFE
®Brake ............................. 72 Driving system
RACE ST
ART (Mercedes-AMG
vehicles) ........................................ 158
Driving systems
360°camera .................................. 173
Active Blind Spot Assist ................. 182
Active Driving Assistance pack-
age ................................................. 182
Active Lane Keeping Assist ............ 184
Active Parking Assist ..................... 165
AIRMATIC ...................................... 159
AMG adaptive sport suspension
system ........................................... 161
ATTENTION ASSIST ........................ 177
Blind Spot Assist ............................ 179
Cruise control ................................ 148
Display message ............................ 215
DISTRONIC PLUS ........................... 149
DISTRONIC PLUS with Steering
Assist and Stop&Go Pilot ............... 155
HOLD function ............................... 157
Lane Keeping Assist ...................... 181
Lane Tracking package .................. 179
PARKTRONIC ................................. 163
Rear view camera .......................... 169
Traffic Sign Assist .......................... 178
Driving tips
AMG ceramic brakes ..................... 146
Automatic transmission ................. 133
Brakes ........................................... 145
Break-in period .............................. 122
Downhill gradient ........................... 145
Drinking and driving ....................... 143
Driving in winter ............................. 147
Driving on flooded roads ................ 147
Driving on wet roads ...................... 147
Exhaust check ............................... 144
Fuel ................................................ 143
General .......................................... 143
Hydroplaning ................................. 147
Icy road surfaces ........................... 147
Limited braking efficiency on sal-
ted roads ....................................... 145
Snow chains .................................. 294
Wet road surface ........................... 145
DVD video
Operating (on-board computer) ..... 193
Index9
Page 15 of 334
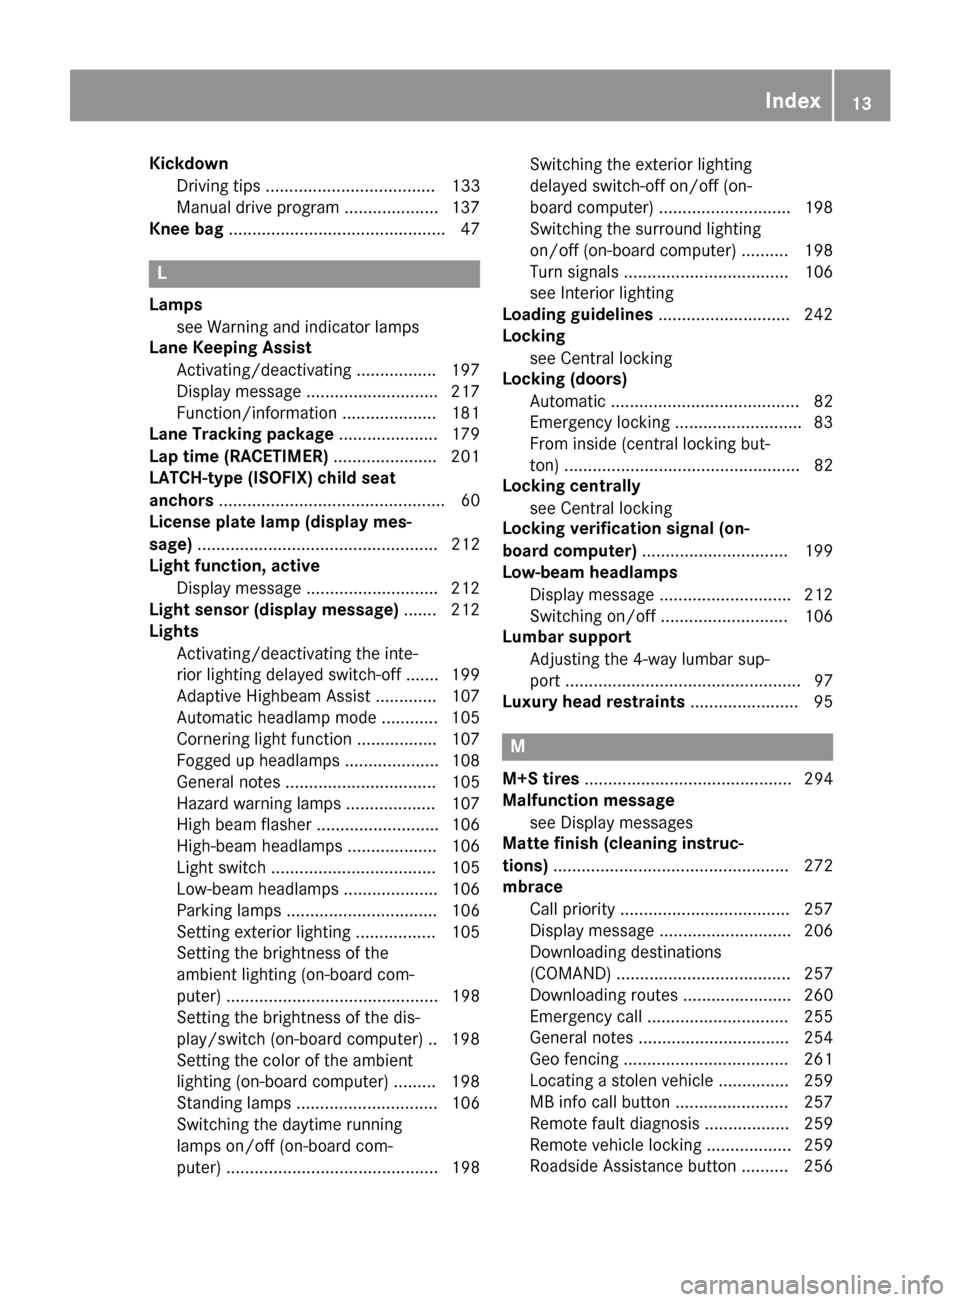
KickdownDrivin g tips .................................... 133
Manual drive program .................... 137
Knee bag .............................................. 47
L
Lamps
see Warning and indicator lamps
Lane Keeping Assist
Activating/deactivating ................ .197
Display message ............................ 217
Function/information .................... 181
Lane Tracking package ..................... 179
Lap time (RACETIMER) ...................... 201
LATCH-type (ISOFIX) child seat
anchors ................................................ 60
License plate lamp (display mes-
sage) ................................................... 212
Light function, active
Display message ............................ 212
Light sensor (display message) ....... 212
Lights
Activating/deactivating the inte-
rior lighting delayed switch-off ....... 199
Adaptive Highbeam Assist ............. 107
Automatic headlamp mode ............ 105
Cornering light function ................. 107
Fogged up headlamps .................... 108
General notes ................................ 105
Hazard warning lamps ................... 107
High beam flasher .......................... 106
High-beam headlamps ................... 106
Light switch ................................... 105
Low-beam headlamps .................... 106
Parking lamps ................................ 106
Setting exterior lighting ................. 105
Setting the brightness of the
ambient lighting (on-board com-
puter) ............................................. 198
Setting the brightness of the dis-
play/switch (on-board computer) .. 198
Setting the color of the ambient
lighting (on-board computer) ......... 198
Standing lamps .............................. 106
Switching the daytime running
lamps on/off (on-board com-
puter) ............................................. 198 Switching the exterior lighting
delayed switch-off on/off (on-
board computer) ............................ 198
Switching the surround lighting
on/off (on-board computer) .......... 198
Turn signals ................................... 106
see Interior lighting
Loading guidelines ............................ 242
Loc
king
see Central locking
Locking (doors)
Automatic ........................................ 82
Emergency locking ........................... 83
From inside (central locking but-
ton) .................................................. 82
Locking centrally
see Central locking
Locking verification signal (on-
board computer) ............................... 199
Low-beam headlamps
Display message ............................ 212
Switching on/off ........................... 106
Lumbar support
Adjusting the 4-way lumbar sup-
port .................................................. 97
Luxury head restraints ....................... 95
M
M+S tires............................................ 294
Malfunction message
see Display messages
Matte finish (cleaning instruc-
tions) .................................................. 272
mbrace
Call priority .................................... 257
Display message ............................ 206
Downloading destinations
(COMAND) ..................................... 257
Downloading routes ....................... 260
Emergency call .............................. 255
General notes ................................ 254
Geo fencing ................................... 261
Locating a stolen vehicle ............... 259
MB info call button ........................ 257
Remote fault diagnosis .................. 259
Remote vehicle locking .................. 259
Roadside Assistance button .......... 256
Index13
Page 30 of 334
Operating safety
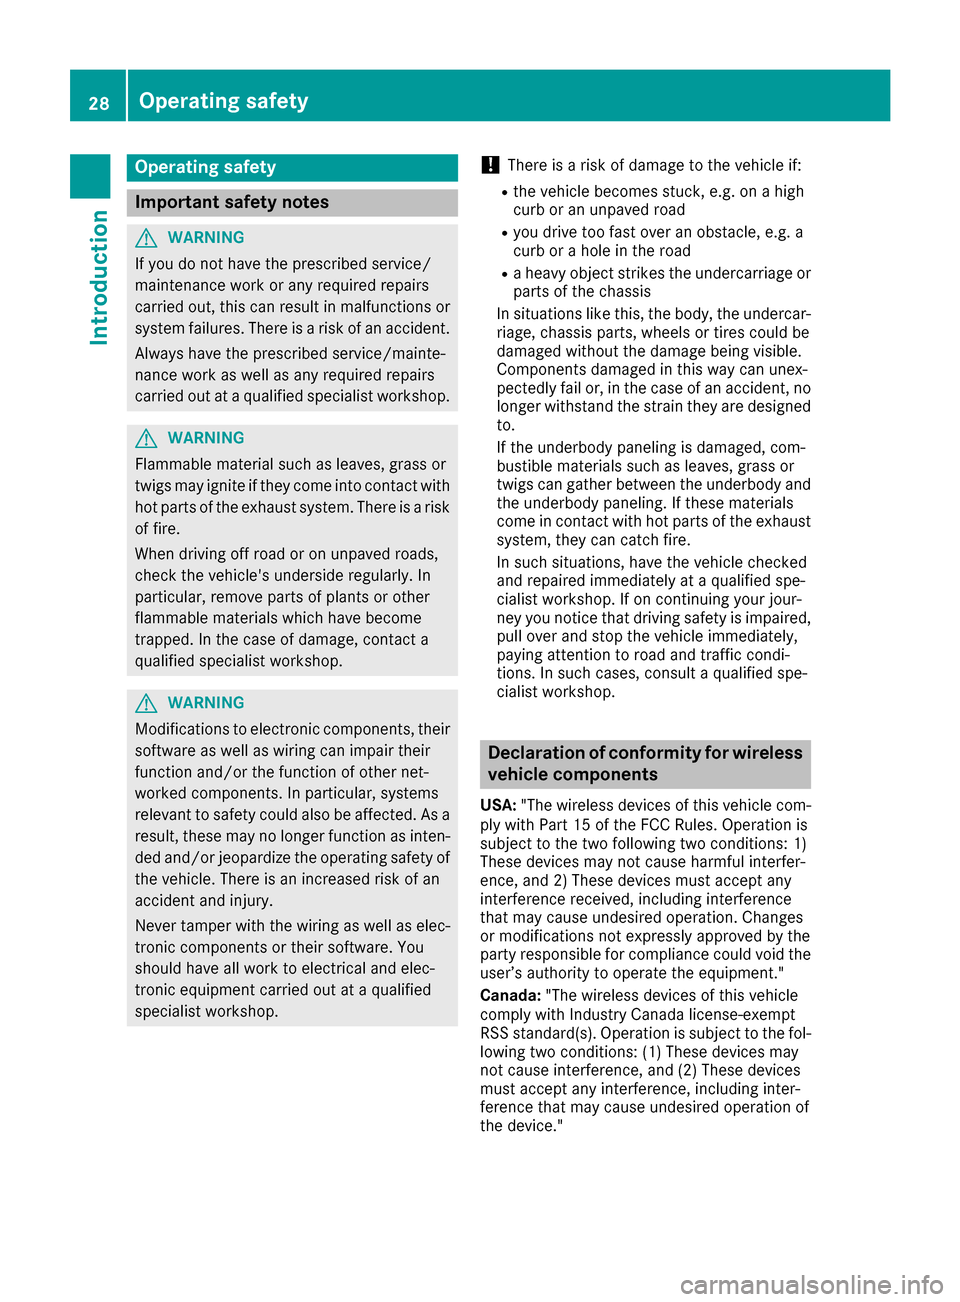
Important safety notes
GWARNING
If you do not have the prescribed service/
maintenance work or any required repairs
carried out, this can result in malfunctions or system failures. There is a risk of an accident.
Always have the prescribed service/mainte-
nance work as well as any required repairs
carried out at a qualified specialist workshop.
GWARNING
Flammable material such as leaves, grass or
twigs may ignite if they come into contact with
hot parts of the exhaust system. There is a risk of fire.
When driving off road or on unpaved roads,
check the vehicle's underside regularly. In
particular, remove parts of plants or other
flammable materials which have become
trapped. In the case of damage, contact a
qualified specialist workshop.
GWARNING
Modifications to electronic components, their software as well as wiring can impair their
function and/or the function of other net-
worked components. In particular, systems
relevant to safety could also be affected. As a
result, these may no longer function as inten-
ded and/or jeopardize the operating safety of
the vehicle. There is an increased risk of an
accident and injury.
Never tamper with the wiring as well as elec-
tronic components or their software. You
should have all work to electrical and elec-
tronic equipment carried out at a qualified
specialist workshop.
!There is a risk of damage to the vehicle if:
Rthe vehicle becomes stuck, e.g. on a high
curb or an unpaved road
Ryou drive too fast over an obstacle, e.g. a
curb or a hole in the road
Ra heavy object strikes the undercarriage or
parts of the chassis
In situations like this, the body, the undercar-
riage, chassis parts, wheels or tires could be
damaged without the damage being visible.
Components damaged in this way can unex-
pectedly fail or, in the case of an accident, no
longer withstand the strain they are designed to.
If the underbody paneling is damaged, com-
bustible materials such as leaves, grass or
twigs can gather between the underbody and
the underbody paneling. If these materials
come in contact with hot parts of the exhaust
system, they can catch fire.
In such situations, have the vehicle checked
and repaired immediately at a qualified spe-
cialist workshop. If on continuing your jour-
ney you notice that driving safety is impaired,
pull over and stop the vehicle immediately,
paying attention to road and traffic condi-
tions. In such cases, consult a qualified spe-
cialist workshop.
Declaration of conformity for wireless
vehicle components
USA: "The wireless devices of this vehicle com-
ply with Part 15 of the FCC Rules. Operation is
subject to the two following two conditions: 1)
These devices may not cause harmful interfer-
ence, and 2) These devices must accept any
interference received, including interference
that may cause undesired operation. Changes
or modifications not expressly approved by the
party responsible for compliance could void the
user’s authority to operate the equipment."
Canada: "The wireless devices of this vehicle
comply with Industry Canada license-exempt
RSS standard(s). Operation is subject to the fol- lowing two conditions: (1) These devices may
not cause interference, and (2) These devices
must accept any interference, including inter-
ference that may cause undesired operation of
the device."
28Operating safety
Introduction
Page 33 of 334
The vehicle is read out by employees of the ser-
vice network (including the manufacturer) using
special diagnostic testers. More detailed infor-
mation is obtained from it, if required.
After a malfunction has been rectified, the infor-
mation is deleted from the malfunction memory
or is continually overwritten.
When operating the vehicle, situations are con-
ceivable in which this technical data, in connec-
tion with other information (if necessary, under
consultation with an authorized expert), could
be traced to a person.
Examples include:
Raccident reports
Rdamage to the vehicle
Rwitness statements
Further additional functions that have been con-
tractually agreed upon with the customer allow
certain vehicle data to be conveyed by the vehi- cle as well. The additional functions include, for
example, vehicle location in case of an emer-
gency.
COMAND/mbrace
If the vehicle is equipped with COMAND or
mbrace, additional data about the vehicle's
operation, the use of the vehicle in certain sit-
uations, and the location of the vehicle may be
compiled through COMAND or the mbrace sys-
tem.
For additional information please refer to the
COMAND User Manual or the Digital Owners
Manual and/or the mbrace Terms and Condi-
tions.
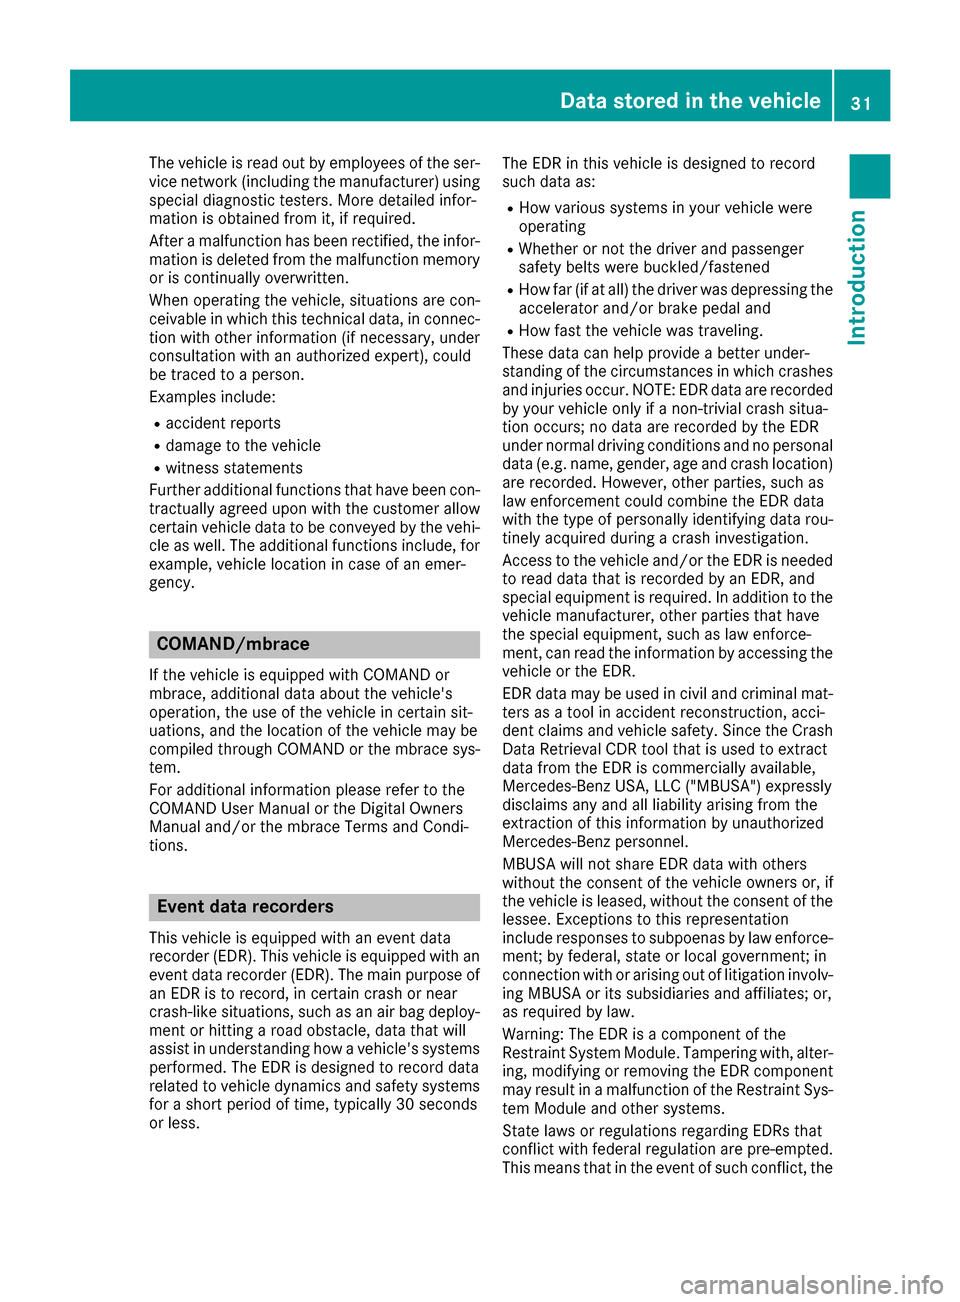
Event data recorders
This vehicle is equipped with an event data
recorder (EDR). This vehicle is equipped with an
event data recorder (EDR). The main purpose of
an EDR is to record, in certain crash or near
crash-like situations, such as an air bag deploy-
ment or hitting a road obstacle, data that will
assist in understanding how a vehicle's systems
performed. The EDR is designed to record data
related to vehicle dynamics and safety systems for a short period of time, typically 30 seconds
or less. The EDR in this vehicle is designed to record
such data as:
RHow various systems in your vehicle were
operating
RWhether or not the driver and passenger
safety belts were buckled/fastened
RHow far (if at all) the driver was depressing the
accelerator and/or brake pedal and
RHow fast the vehicle was traveling.
These data can help provide a better under-
standing of the circumstances in which crashes and injuries occur. NOTE: EDR data are recorded
by your vehicle only if a non-trivial crash situa-
tion occurs; no data are recorded by the EDR
under normal driving conditions and no personal data (e.g. name, gender, age and crash location)
are recorded. However, other parties, such as
law enforcement could combine the EDR data
with the type of personally identifying data rou-
tinely acquired during a crash investigation.
Access to the vehicle and/or the EDR is needed
to read data that is recorded by an EDR, and
special equipment is required. In addition to the
vehicle manufacturer, other parties that have
the special equipment, such as law enforce-
ment, can read the information by accessing the
vehicle or the EDR.
EDR data may be used in civil and criminal mat- ters as a tool in accident reconstruction, acci-
dent claims and vehicle safety. Since the Crash
Data Retrieval CDR tool that is used to extract
data from the EDR is commercially available,
Mercedes-Benz USA, LLC ("MBUSA") expressly
disclaims any and all liability arising from the
extraction of this information by unauthorized
Mercedes-Benz personnel.
MBUSA will not share EDR data with others
without the consent of the vehicle owners or, if
t
he vehicle is leased, without the consent of the
lessee. Exceptions to this representation
include responses to subpoenas by law enforce- ment; by federal, state or local government; in
connection with or arising out of litigation involv-
ing MBUSA or its subsidiaries and affiliates; or,
as required by law.
Warning: The EDR is a component of the
Restraint System Module. Tampering with, alter-
ing, modifying or removing the EDR component
may result in a malfunction of the Restraint Sys-
tem Module and other systems.
State laws or regulations regarding EDRs that
conflict with federal regulation are pre-empted.
This means that in the event of such conflict, the
Data stored in the vehicle31
Introduction
Z
Page 61 of 334
secured properly. The special seat belt retrac-tor is disabled and the inertia real draws in a
portion of the seat belt. The seat belt cannot
be immediately refastened. There is an
increased risk of injury, possibly even fatal.
Stop the vehicle immediately, paying atten-
tion to road and traffic conditions. Reactivate
the special seat belt retractor and secure the
child restraint system properly.
All seat belts except the driver's seat belt are
equipped with a special seat belt retractor.
When activated, the special seat belt retractor
ensures that the seat belt will not slacken once
the child restraint system has been secured.
Installing a child restraint system:
XAlways comply with the child restraint system
manufacturer's installation instructions.
XPull the seat belt smoothly from the belt out-
let.
XEngage the seat belt tongue in the belt buckle.
Activating the special seat belt retractor:
XPull the seat belt out fully and let the inertia
reel retract it again.
While the seat belt is retracting, you should
hear a ratcheting sound. The special seat belt
retractor is activated.
XPush the child seat restraint system down so
that the seat belt is tight and does not loosen.
Removing a child restraint system and deacti-
vating the special seat belt retractor:
XAlways comply with the child restraint system
manufacturer's installation instructions.
XPress the release button of the belt buckle,
hold the belt tongue firmly and guide it back
towards the belt outlet.
The special seat belt retractor is deactivated.
Child restraint system
The use of seat belts and child restraint systems
is required by law in:
Rall 50 states
Rthe U.S. territories
Rthe District of Columbia
Rall Canadian provinces You can obtain further information about the
correct child restraint system from any author-
ized Mercedes-Benz Center.
GWARNING
If the child restraint system is installed incor-
rectly on a suitable seat, it cannot protect as
intended. The child cannot then be restrained
in the event of an accident, heavy braking or
sudden changes of direction. There is an
increased risk of injury, possibly even fatal.
Make sure that you observe the child restraint
system manufacturer's installation instruc-
tions and the notes on use. Please ensure,
that the base of the child restraint system is
always resting completely on the seat cush-
ion. Never place objects, e.g. cushions, under or behind the child restraint system. Only use
child restraint systems with the original cover
designed for them. Only replace damaged
covers with genuine covers.
GWARNING
If the child restraint system is installed incor-
rectly or is not secured, it can come loose in
the event of an accident, heavy braking or a
sudden change in direction. The child
restraint system could be thrown about, strik-
ing vehicle occupants. There is an increased
risk of injury, possibly even fatal.
Always install child restraint systems prop-
erly, even if they are not being used. Make
sure that you observe the child restraint sys-
tem manufacturer's installation instructions.
You will find further information on stowing
objects, luggage or loads under "Loading guide-
lines" (
Ypage 242).
GWARNING
Child restraint systems or their securing sys-
tems which have been damaged or subjected
to a load in an accident can no longer protect
as intended. The child cannot then be
restrained in the event of an accident, heavy
braking or sudden changes of direction. There is an increased risk of injury, possibly even
fatal.
Children in the vehicle59
Safety
Z
Page 66 of 334
Drivingsafet ysystems
Overview of drivin gsafet ysystems
In this section ,you will fin dinformation about
th efollowin gdrivin gsafet ysystems :
RABS (Anti-loc kBrakin gSystem)
(Ypage 64)
RBA S (B rakeAssist System) (Ypage 65)
RBASPLU S (B rake Assis tSystem PLUS) wit h
Cross-Traffic Assis t (Ypage 65)
RCOLLISION PREVENTION ASSIST PLU S
(Ypage 67 )
RESP®(Electronic StabilityProgram)
(Ypage 69)
REB D (Electroni cBrak eforc eDistribution )
(Ypage 72 )
RADAPTIV EBRAKE (Ypage 72 )
RPRE-SAF E®Brake (Ypage 72 )
Important safet ynotes
If you fail to adapt your drivin gstyle or if you are
inattentive ,th edrivin gsafet ysystems can nei-
ther reduce th eris kof an acciden tno roverride
th elaws of physics. Driving safet ysystems are
merely aids designed to assist driving. You are
responsible fo rmaintainin gth edistanc eto th e
vehicle in front, fo rvehicle speed, fo rbraking in
goo dtime, and fo rstayin gin lane. Always adapt
your drivin gstyle to suit th eprevailin groad and
weather condition sand maintain asaf edistanc e
from th evehicle in front. Drive carefully.
The drivin gsafet ysystems described only wor k
as effectively as possible when there is ade-
quat econtact between th etires and th eroad
surface. Pay particular attention to th einforma-
tion regardin gtires ,recommended minimum
tire tread depths etc. in th e"Wheels and tires "
section (
Ypage 292).
In wintr ydrivin gconditions, always use winte r
tires (M+ Stires )and if necessary, snow chains.
Only in this way will the driving safety systems
described in this section work as effectively as
possible.
ABS (Anti-lock Braking System)
General information
ABS regulates brake pressure in such a way that
the wheels do not lock when you brake. This
allows you to continue steering the vehicle when
braking.
The ! ABS warning lamp in the instrument
cluster lights up when the ignition is switched
on. It goes out when the engine is running.
ABS works from a speed of about 5 mph
(8 km/h), regardless of road-surface conditions.
ABS works on slippery surfaces, even when you
only brake gently.
Important safety notes
iObserve the "Important safety notes" sec-
tion (Ypage 64).
GWARNING
If ABS is faulty, the wheels could lock when
braking. The steerability and braking charac-
teristics may be severely impaired. Addition-
ally, further driving safety systems are deac-
tivated. There is an increased danger of skid-
ding and accidents.
Drive on carefully. Have ABS checked imme-
diately at a qualified specialist workshop.
When ABS is malfunctioning, other systems,
including driving safety systems, will also
become inoperative. Observe the information
on the ABS warning lamp (
Ypage 229) and dis-
play messages which may be shown in the
instrument cluster (
Ypage 204).
Braking
XIf ABS intervenes: continue to depress the
brake pedal vigorously until the braking sit-
uation is over.
XTo make a full brake application: depress
the brake pedal with full force.
If ABS intervenes when braking, you will feel a
pulsing in the brake pedal.
The pulsating brake pedal can be an indication
of hazardous road conditions, and functions as a reminder to take extra care while driving.
64Driving safety systems
Safety
Page 73 of 334
Deactivating/activating ESP®
(Mercedes‑AM Gvehicles )
Important safet ynotes
iObserv eth e"Important safet ynotes" sec -
tion (Ypage 64).
You can selec tbetween th efollowin gstates of
ES P
®:
RESP®is activated.
RSPORT handlin gmode is activated.
RES P®is deactivated.
GWARNING
Whe nSPORT handlin gmode is activated,
there is agreater ris kof skidding and acci-
dents .
Only activat eSPORT handlin gmode in th esit -
uation sdescribed in th efollowing.
GWARNING
If you deactivat eES P
®,ES P®no longer sta-
bilizes th evehicle. There is an increase dris k
of skidding and an accident.
Only deactivat eES P
®in th esituation sdescri-
bed in th efollowing.
!Avoid spinnin gth edriven wheels fo ran
extended period wit hES P®deactivated. You
could otherwise damage th edrivetrain .
In th efollowin gsituations, it may be bette rto
activat eSPORT handlin gmode or deactivat e
ES P
®:
Rwhen usin gsnow chain s
Rin deepsnow
Ron san dor grave l
Ron specially designated roads when th evehi-
cle's own oversteering and understeering
characteristics are desire d
Spinning th ewheels result sin acutting action
whic hprovides bette rgrip.
Driving in SPORT handlin gmode or without
ES P
®require san extremely qualified and expe-
rienced driver .
iActivateES P®as soo nas th esituation s
described abov eno longer apply .ES P®will
otherwise no tbe able to stabilize th evehicle if th
evehicle start sto skid or awhee lstart sto
spin.
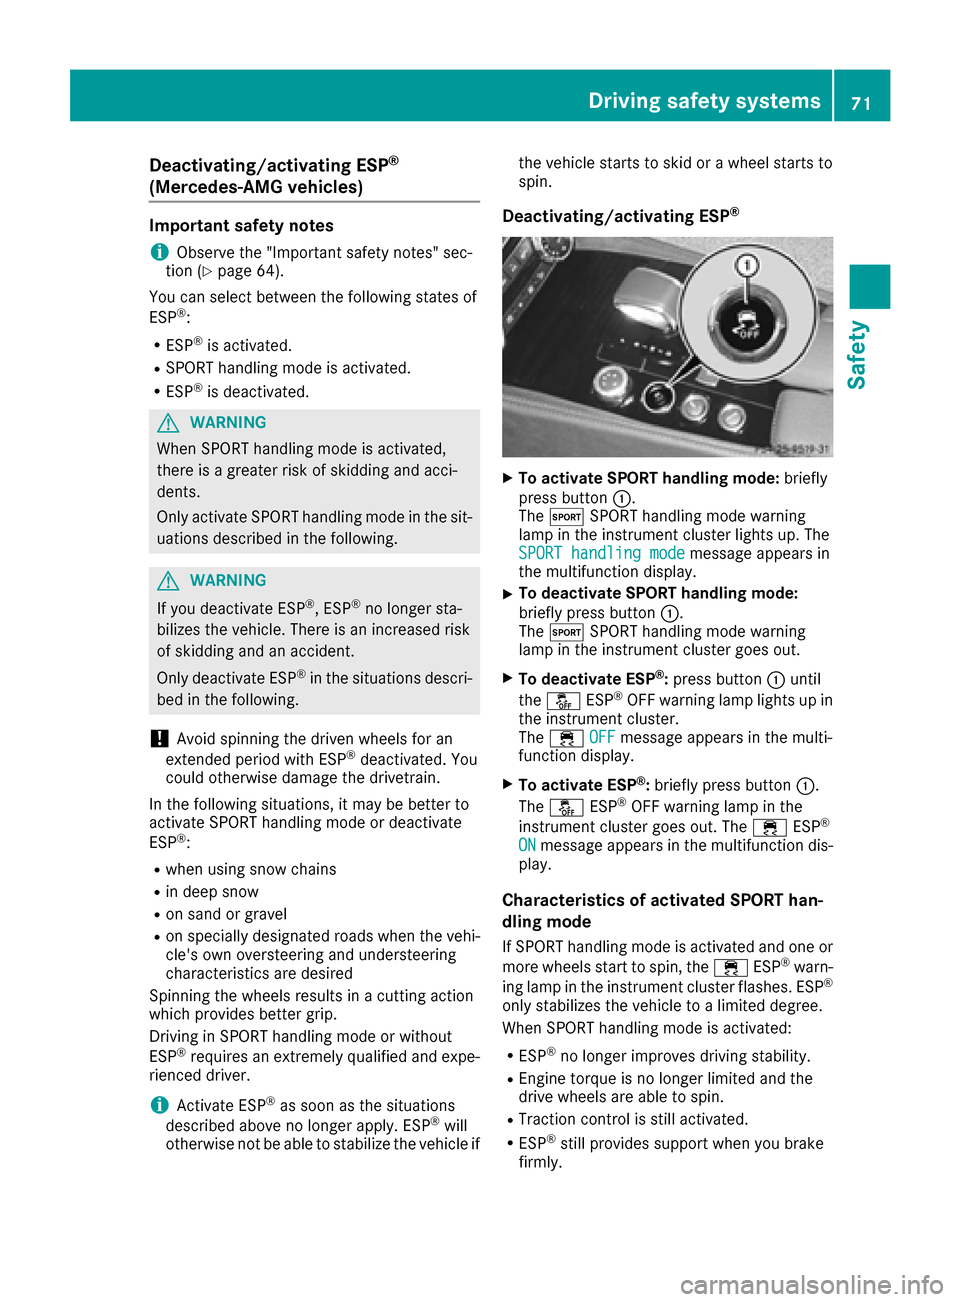
Deactivating/activating ESP®
XTo activate SPORT handling mode: briefly
press butto n:.
The M SPORT handlin gmode warnin g
lamp in th einstrumen tcluster lights up. The
SPORT handling mod e
messageappears in
th emultifunction display.
XTo deactivate SPORT handling mode:
briefly press butto n:.
The M SPORT handlin gmode warnin g
lamp in th einstrumen tcluster goe sout .
XTo deactivate ESP®:press butto n: until
th eå ESP®OF Fwarnin glamp lights up in
th einstrumen tcluster.
The ÷ OFF
messag eappears in th emulti-
function display.
XTo activate ESP®: briefly press butto n:.
The å ESP®OF Fwarnin glamp in th e
instrumen tcluster goe sout .The ÷ ESP®
ONmessag eappears in th emultifunction dis -
play.
Characteristics of activate dSPORT han-
dling mode
If SPORT handlin gmode is activated and on eor
more wheels start to spin, th e÷ ESP®warn -
in glamp in th einstrumen tcluster flashes .ES P®
only stabilize sth evehicle to alimited degree .
Whe nSPORT handlin gmode is activated:
RES P®no longer improves drivin gstability.
REngin etorqu eis no longer limited and th e
drive wheels are able to spin.
RTraction contro lis still activated.
RES P®still provides suppor twhen you brake
firmly.
Driving safety systems71
Safety
Z
Page 78 of 334
SmartKey
Important safety notes
GWARNING
If children are left unsupervised in the vehicle,
they could:
Ropen the doors, thus endangering other
people or road users.
Rget out and disrupt traffic.
Roperate the vehicle's equipment.
Additionally, children could set the vehicle in
motion if, for example, they:
Rrelease the parking brake.
Rshifting the automatic transmission out of
park position P
RStart the engine.
There is a risk of an accident and injury.
When leaving the vehicle, always take the
SmartKey with you and lock the vehicle. Never
leave children or animals unattended in the
vehicle. Always keep the SmartKey out of
reach of children.
GWARNING
If you attach heavy or large objects to the
SmartKey, the SmartKey could be uninten-
tionally turned in the ignition lock. This could
cause the engine to be switched off. There is a risk of an accident.
Do not attach any heavy or large objects to the
SmartKey. Remove any bulky key rings before
inserting the SmartKey into the ignition lock.
!Keep the SmartKey away from strong mag-
netic fields. Otherwise, the remote control
function could be affected.
Strong magnetic fields can occur in the vicin-
ity of powerful electrical installations.
Do not keep the SmartKey:
Rwith electronic devices, e.g. a mobile phone
or another SmartKey.
Rwith metallic objects, e.g. coins or metal foil.
Rinside metallic objects, e.g. a metal case.
This can affect the functionality of the Smart- Key.
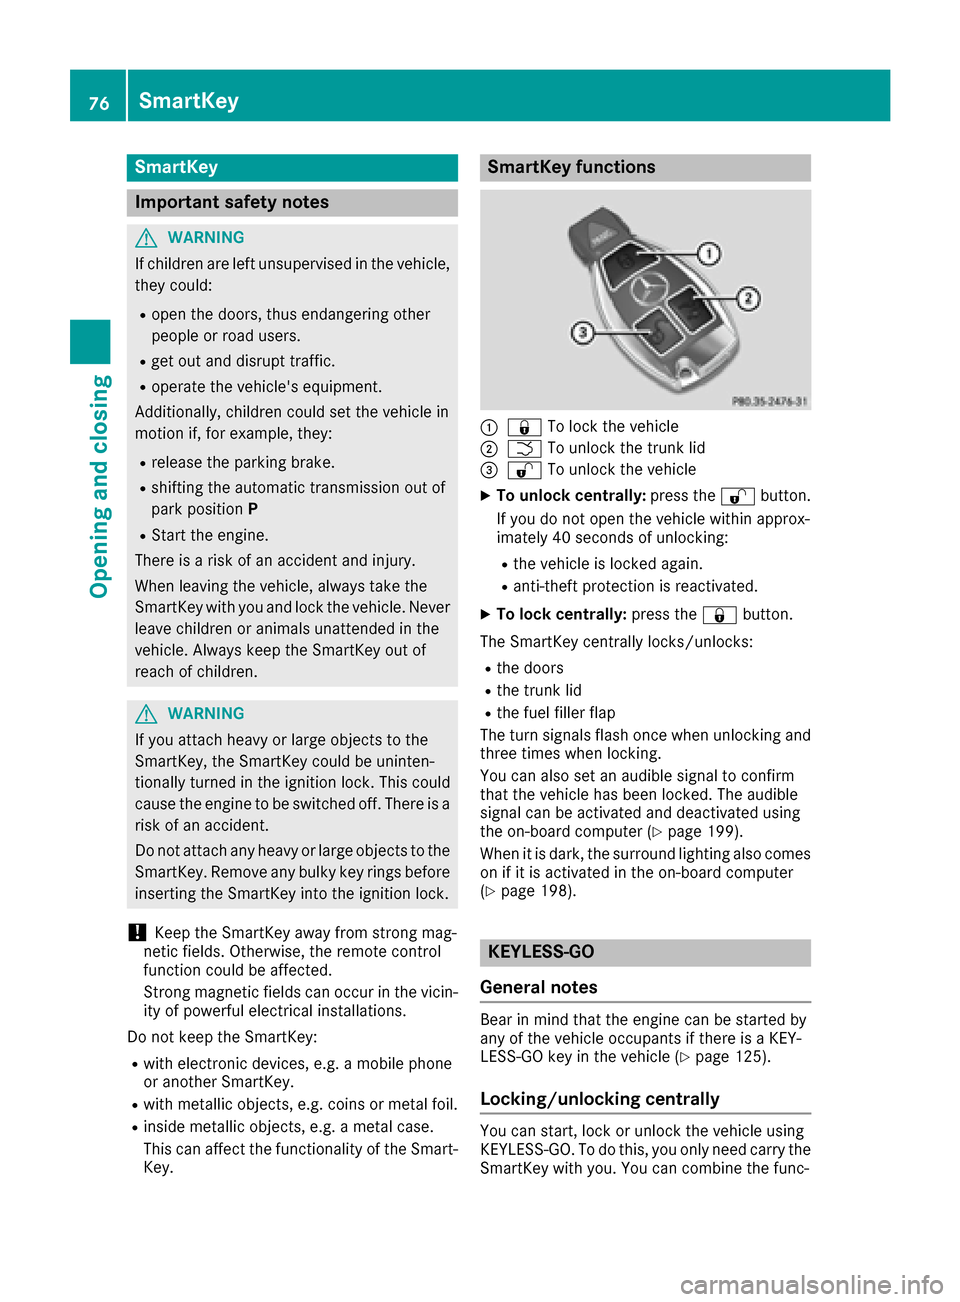
SmartKey functions
:& To lock the vehicle
;FTo unlock the trunk lid
=%To unlock the vehicle
XTo unlock centrally: press the%button.
If you do not open the vehicle within approx-
imately 40 seconds of unlocking:
Rthe vehicle is locked again.
Ranti-theft protection is reactivated.
XTo lock centrally: press the&button.
The SmartKey centrally locks/unlocks:
Rthe doors
Rthe trunk lid
Rthe fuel filler flap
The turn signals flash once when unlocking and
three times when locking.
You can also set an audible signal to confirm
that the vehicle has been locked. The audible
signal can be activated and deactivated using
the on-board computer (
Ypage 199).
When it is dark, the surround lighting also comes
on if it is activated in the on-board computer
(
Ypage 198).
KEYLESS-GO
General notes
Bear in mind that the engine can be started by
any of the vehicle occupants if there is a KEY-
LESS-GO key in the vehicle (
Ypage 125).
Locking/unlocking centrally
You can start, lock or unlock the vehicle using
KEYLESS-GO. To do this, you only need carry the
SmartKey with you. You can combine the func-
76SmartKey
Opening and closing
Page 109 of 334
The blueKindicator lamp on the instru-
ment cluster lights up when the high-beam
headlamps are switched on.
XTo switch off the high-beam headlamps:
move the combination switch back to its nor-
mal position.
The blue Kindicator lamp on the instru-
ment cluster goes out.
Vehicles with Adaptive Highbeam Assist: if
Adaptive Highbeam Assist is activated, it auto-
matically controls activation and deactivation of
the high-beam headlamps (
Ypage 107).
XHigh-beam flasher: pull the combination
switch in the direction of arrow =.
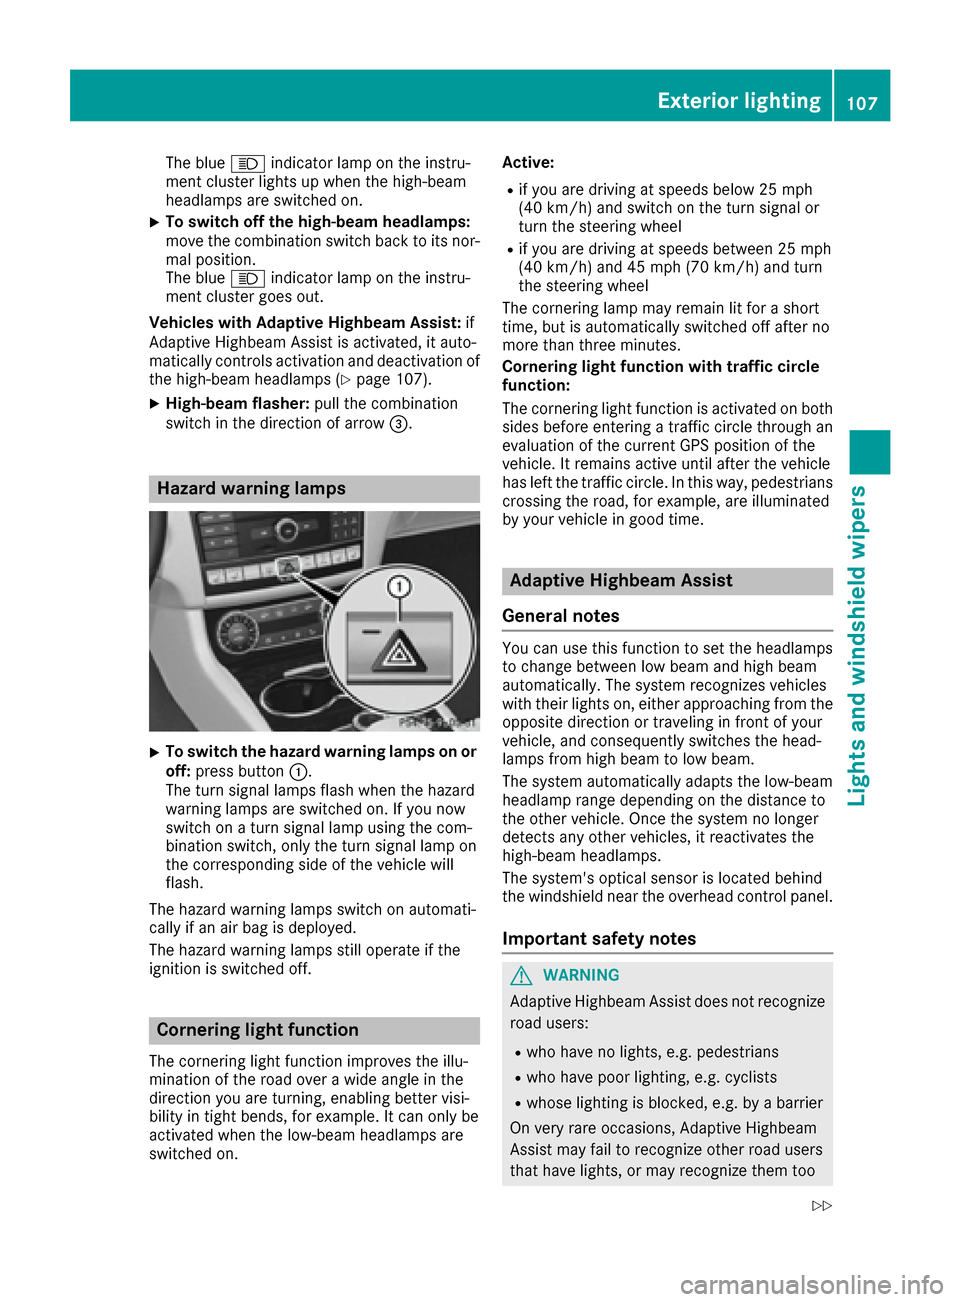
Hazard warning lamps
XTo switch the hazard warning lamps on or
off: press button :.
The turn signal lamps flash when the hazard
warning lamps are switched on. If you now
switch on a turn signal lamp using the com-
bination switch, only the turn signal lamp on
the corresponding side of the vehicle will
flash.
The hazard warning lamps switch on automati-
cally if an air bag is deployed.
The hazard warning lamps still operate if the
ignition is switched off.
Cornering light function
The cornering light function improves the illu-
mination of the road over a wide angle in the
direction you are turning, enabling better visi-
bility in tight bends, for example. It can only be
activated when the low-beam headlamps are
switched on. Active:
Rif you are driving at speeds below 25 mph
(40 km/h) and switch on the turn signal or
turn the steering wheel
Rif you are driving at speeds between 25 mph
(40 km/h) and 45 mph (70 km/h) and turn
the steering wheel
The cornering lamp may remain lit for a short
time, but is automatically switched off after no
more than three minutes.
Cornering light function with traffic circle
function:
The cornering light function is activated on both
sides before entering a traffic circle through an
evaluation of the current GPS position of the
vehicle. It remains active until after the vehicle
has left the traffic circle. In this way, pedestrians
crossing the road, for example, are illuminated
by your vehicle in good time.
Adaptive Highbeam Assist
General notes
You can use this function to set the headlamps
to change between low beam and high beam
automatically. The system recognizes vehicles
with their lights on, either approaching from the
opposite direction or traveling in front of your
vehicle, and consequently switches the head-
lamps from high beam to low beam.
The system automatically adapts the low-beam
headlamp range depending on the distance to
the other vehicle. Once the system no longer
detects any other vehicles, it reactivates the
high-beam headlamps.
The system's optical sensor is located behind
the windshield near the overhead control panel.
Important safety notes
GWARNING
Adaptive Highbeam Assist does not recognize
road users:
Rwho have no lights, e.g. pedestrians
Rwho have poor lighting, e.g. cyclists
Rwhose lighting is blocked, e.g. by a barrier
On very rare occasions, Adaptive Highbeam
Assist may fail to recognize other road users
that have lights, or may recognize them too
Exterior lighting107
Lights and windshield wipers
Z
Page 147 of 334
change dynamically at the beginning of the
journey. On longer journeys, there are fewer
changes. For more dynamic changes, carry
out a manual reset.
For further information on the ECO display, see
(
Ypage 191).
Braking
Important safety notes
GWARNING
If you shift down on a slippery road surface in an attempt to increase the engine's braking
effect, the drive wheels could lose their grip.
There is an increased danger of skidding and
accidents.
Do not shift down for additional engine brak-
ing on a slippery road surface.
Downhill gradients
!On long and steep gradients, you must
reduce the load on the brakes by shifting to a
lower gear in good time. This allows you to
take advantage of the engine's braking effect.
This helps you to avoid overheating the
brakes and wearing them out excessively.
When you take advantage of engine braking, a
drive wheel may not turn for some time, e.g.
on a slippery road surface. This could cause
damage to the drive train. This type of damage
is not covered by the Mercedes-Benz war-
ranty.
Change into a lower gear in good time on long
and steep downhill gradients. This is especially
important if the vehicle is laden.
Heavy and light loads
GWARNING
If you rest your foot on the brake pedal while
driving, the braking system can overheat. This increases the stopping distance and can even
cause the braking system to fail. There is a
risk of an accident.
Never use the brake pedal as a footrest. Never
depress the brake pedal and the accelerator
pedal at the same time.
!Depressing the brake pedal constantly
results in excessive and premature wear to
the brake pads.
If the brakes have been subjected to a heavy
load, do not stop the vehicle immediately, but
drive on for a short while. This allows the airflow
to cool the brakes more quickly.
Wet roads
If you have driven for a long time in heavy rain
without braking, there may be a delayed reac-
tion from the brakes when braking for the first
time. This may also occur after the vehicle has
been washed or driven through deep water.
You have to depress the brake pedal more
firmly. Maintain a greater distance from the
vehicle in front.
After driving on a wet road or having the vehicle
washed, brake firmly while paying attention to
the traffic conditions. This will warm up the
brake discs, thereby drying them more quickly
and protecting them against corrosion.
Limited braking performance on salt-
treated roads
If you drive on salted roads, a layer of salt resi-
due may form on the brake discs and brake
pads. This can result in a significantly longer
braking distance.
RIn order to prevent any salt build-up, apply the
brakes occasionally while paying attention to
the traffic conditions.
RCarefully depress the brake pedal and the
beginning and end of a journey.
RMaintain a greater distance to the vehicle
ahead.
Servicing the brakes
!The brake fluid level may be too low, if:
Rif the red brake warning lamp lights up in
the instrument cluster and
Ryou hear a warning tone while the engine is
running
Observe additional warning messages in the
multifunction display.
The brake fluid level may be too low due to
brake pad wear or leaking brake lines.
Driving tips145
Driving and parking
Z