display MERCEDES-BENZ E-Class 2001 W210 Owner's Manual
[x] Cancel search | Manufacturer: MERCEDES-BENZ, Model Year: 2001, Model line: E-Class, Model: MERCEDES-BENZ E-Class 2001 W210Pages: 421, PDF Size: 20.52 MB
Page 328 of 421
325 Malfunction and warning messages
Te ch n ica l
data Instruments
and controlsOperation DrivingInstrument
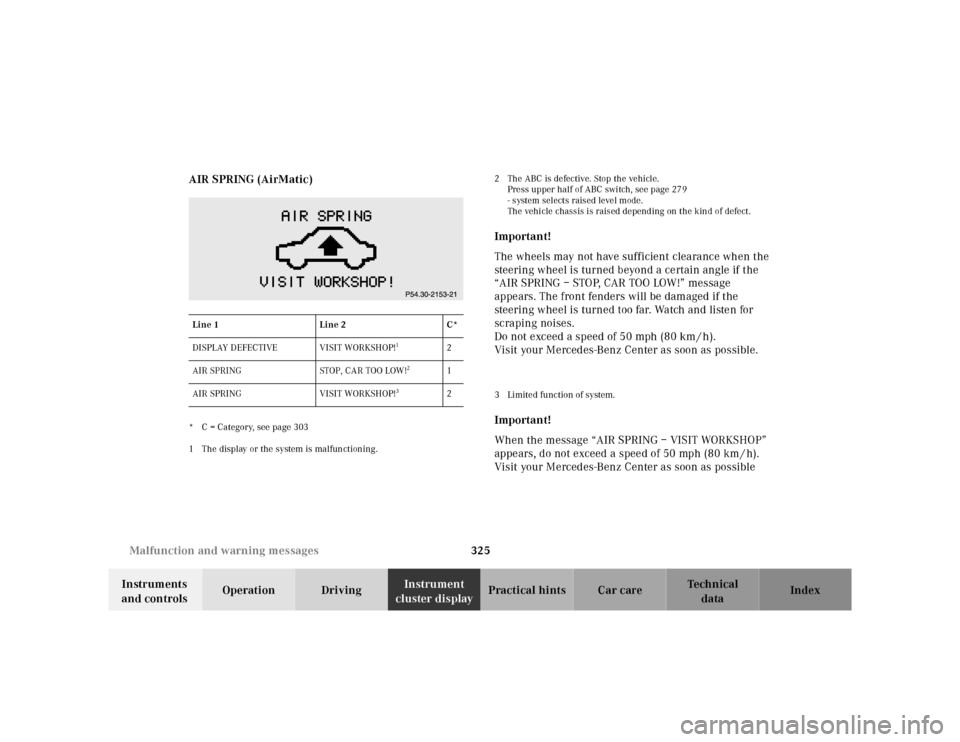
cluster displayPractical hints Car care Index AIR SPRING (AirMatic)
* C = Category, see page 303
1 The display or the system is malfunctioning.2 The ABC is defective. Stop the vehicle.
Press upper half of ABC switch, see page 279
- system selects raised level mode.
The vehicle chassis is raised depending on the kind of defect.
Important!
The wheels may not have sufficient clearance when the
steering wheel is turned beyond a certain angle if the
“AIR SPRING – STOP, CAR TOO LOW!” message
appears. The front fenders will be damaged if the
steering wheel is turned too far. Watch and listen for
scraping noises.
Do not exceed a speed of 50 mph (80 km / h).
Visit your Mercedes-Benz Center as soon as possible.3 Limited function of system.Important!
When the message “AIR SPRING – VISIT WORKSHOP”
appears, do not exceed a speed of 50 mph (80 km / h).
Visit your Mercedes-Benz Center as soon as possible
Line 1Line 2C*
DISPLAY DEFECTIVE VISIT WORKSHOP!
1
2
AIR SPRING STOP, CAR TOO LOW!
2
1
AIR SPRING VISIT WORKSHOP!
3
2
Page 329 of 421

326 Malfunction and warning messages
Te ch n ica l
data Instruments
and controlsOperation DrivingInstrument
cluster displayPractical hints Car care Index
DISTRONIC (DTR)
* C = Category, see page 303.1 The display or the system is malfunctioning.
2 Due to the presence of electro-magnetic radiation, the system is
presently unavailable.
3 Distronic is automatically switched off.
Distronic sensor in hood grille needs cleaning, see page 378.
4 Distronic is defective.
Line 1Line 2C*
DISPLAY DEFECTIVE VISIT WORKSHOP!
1
2
DISTRONIC EXTERNAL MALFUNCTION!
2
2
DISTRONIC MALFUNCTION CLEAN SENSOR!
3
2
DISTRONIC VISIT WORKSHOP!
4
2
Page 330 of 421
327 Contents - Practical hints
Te ch n ica l
data Instruments
and controlsOperation DrivingInstrument
cluster displayPractical hintsCar care Index
Practical hintsFirst aid kit .....................................328
Stowing things in the vehicle ......328
Fuses ................................................329
Hood ................................................. 331
Checking engine oil level .............334
Automatic transmission
fluid level ...................................335
Active body control
(ABC) fluid level ........................335
Coolant level ...................................336
Adding coolant ...........................336
Windshield and
headlamp washer system ........337Windshield and
headlamp washer fluid
mixing ratio ................................ 337
Spare wheel, vehicle tools,
storage compartment ............... 338
Vehicle jack .................................... 339
Wheels ............................................ 340
Tire Replacement ....................... 340
Rotating wheels ......................... 341
Spare wheel .................................... 341
Changing wheels ........................... 343
Tire inflation pressure ................. 348
Battery ............................................. 349
Jump starting ................................. 351
Towing the vehicle ........................ 353Exterior lamps ................................356
Headlamp assembly ...................357
Taillamp assemblies ..................360
Trunk lamp .....................................362
Changing batteries in the
electronic main key ..................363
Synchronizing
remote control ............................365
Changing batteries in the
KEYLESS-GO-card .....................366
Emergency engine
shut-down ..................................368
Fuel filler flap,
manual release ..........................368
Emergency operation of
sliding/pop-up roof ...................369
Replacing wiper blades .................370
Roof rack ......................................... 371
Page 331 of 421
328 First aid kit
Te ch n ica l
data Instruments
and controlsOperation DrivingInstrument
cluster displayPractical hintsCar care Index
First aid kit
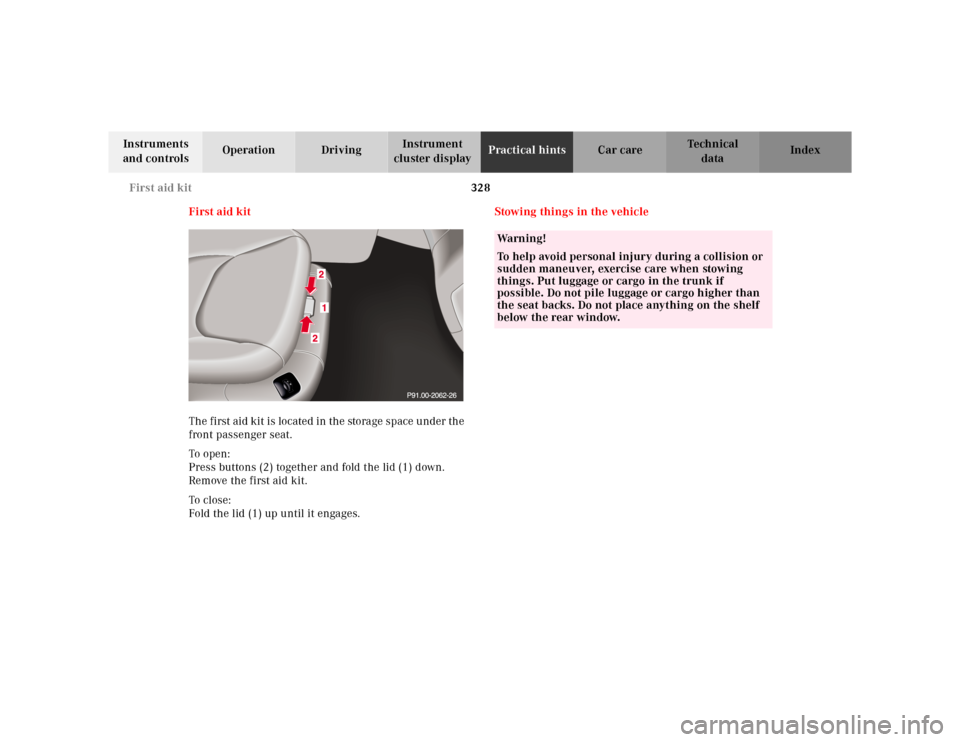
The first aid kit is located in the storage space under the
front passenger seat.
To o pen :
Press buttons (2) together and fold the lid (1) down.
Remove the first aid kit.
To cl os e:
Fold the lid (1) up until it engages.Stowing things in the vehicle
Wa r n i n g !
To help avoid personal injury during a collision or
sudden maneuver, exercise care when stowing
things. Put luggage or cargo in the trunk if
possible. Do not pile luggage or cargo higher than
the seat backs. Do not place anything on the shelf
below the rear window.
Page 332 of 421
329 Fuses
Te ch n ica l
data Instruments
and controlsOperation DrivingInstrument
cluster displayPractical hintsCar care Index Fuses
Most of your vehicle’s electrical components are fused
with safety fuses. With the exception of the brake lights,
all individual lighting system components are
electronically fused. Before replacing a blown safety
fuse, determine the cause of the short circuit. Always
observe amperage and color of fuse.
The circuit for components is protected by a cycled
circuit breaker interrupted if too much current is being
drawn. The circuit closes automatically after a short
time; the circuit is broken again if the malfunction
reoccurs.
Always use a new fuse for replacement. Never attempt to
repair or bridge a blown fuse.
A fuse chart, spare fuses and a fuse extractor are located
in the vehicle tool kit in the luggage bowl under the
trunk f loor. See page 338 for notes on the vehicle tool
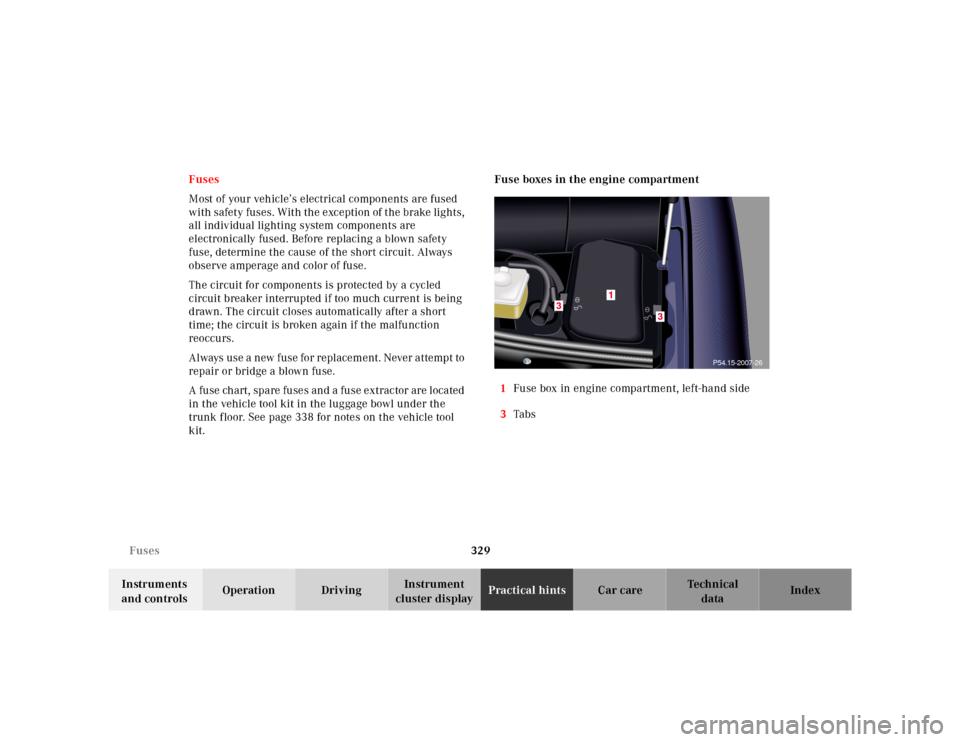
kit.Fuse boxes in the engine compartment
1Fuse box in engine compartment, left-hand side
3Tabs
3
3
1
P54.15-2007-26
Page 333 of 421
330 Fuses
Te ch n ica l
data Instruments
and controlsOperation DrivingInstrument
cluster displayPractical hintsCar care Index
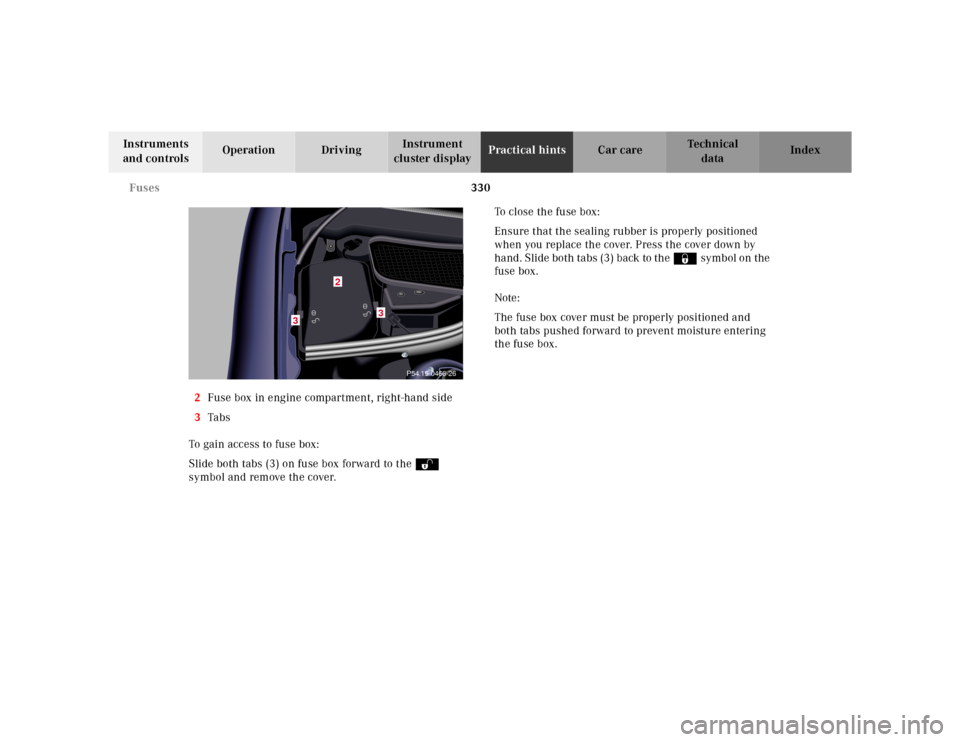
2Fuse box in engine compartment, right-hand side
3Ta bs
To gain access to fuse box:
Slide both tabs (3) on fuse box forward to the Œ
symbol and remove the cover.To close the fuse box:
Ensure that the sealing rubber is properly positioned
when you replace the cover. Press the cover down by
hand. Slide both tabs (3) back to the ‹ symbol on the
fuse box.
Note:
The fuse box cover must be properly positioned and
both tabs pushed forward to prevent moisture entering
the fuse box.
2
3
3
P54.15-0466-26
Page 334 of 421
331 Engine compartment
Te ch n ica l
data Instruments
and controlsOperation DrivingInstrument
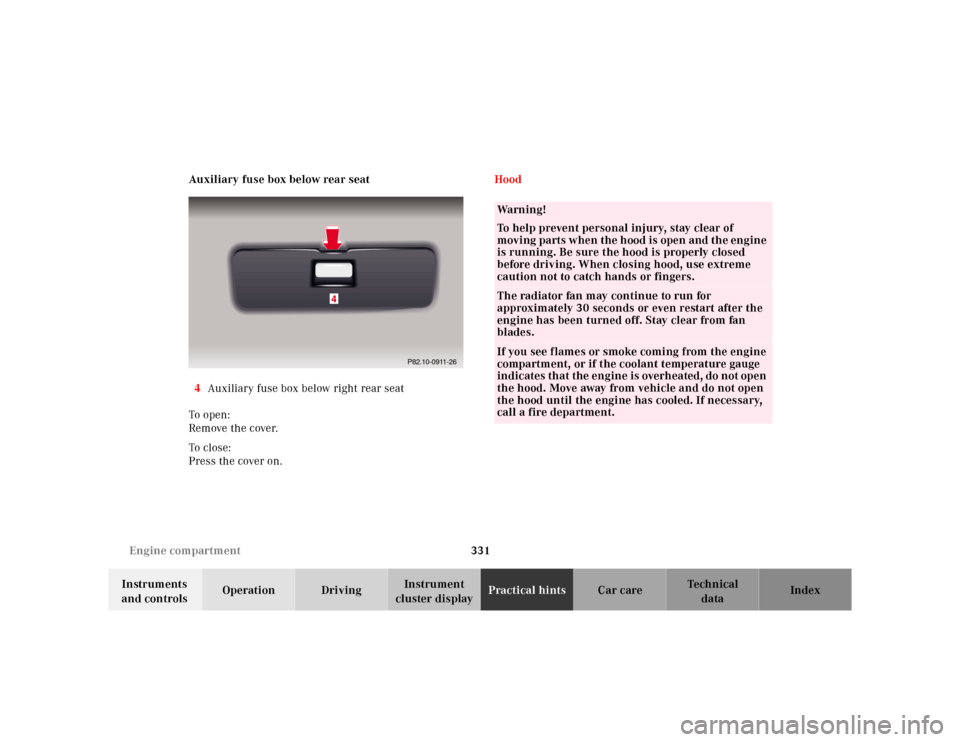
cluster displayPractical hintsCar care Index Auxiliary fuse box below rear seat
4Auxiliary fuse box below right rear seat
To o pen :
Rem ove the cover.
To cl os e:
Press the cover on.Hood
4
P82.10-0911-26
Wa r n i n g !
To help prevent personal injury, stay clear of
moving parts when the hood is open and the engine
is running. Be sure the hood is properly closed
before driving. When closing hood, use extreme
caution not to catch hands or fingers.The radiator fan may continue to run for
approximately 30 seconds or even restart after the
engine has been turned off. Stay clear from fan
blades.If you see flames or smoke coming from the engine
compartment, or if the coolant temperature gauge
indicates that the engine is overheated, do not open
the hood. Move away from vehicle and do not open
the hood until the engine has cooled. If necessary,
call a fire department.
Page 335 of 421
332 Engine compartment
Te ch n ica l
data Instruments
and controlsOperation DrivingInstrument
cluster displayPractical hintsCar care Index
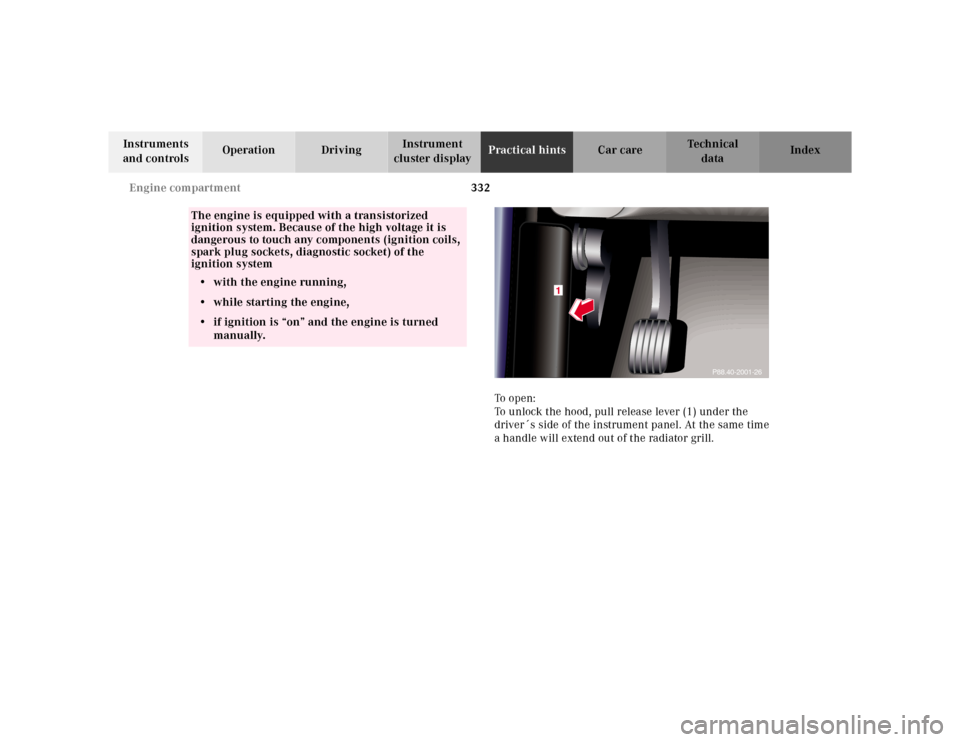
To o p e n :
To unlock the hood, pull release lever (1) under the
driver´s side of the instrument panel. At the same time
a handle will extend out of the radiator grill.
The engine is equipped with a transistorized
ignition system. Because of the high voltage it is
dangerous to touch any components (ignition coils,
spark plug sockets, diagnostic socket) of the
ignition system
• with the engine running,
• while starting the engine,
• if ignition is “on” and the engine is turned
manually.
1
P88.40-2001-26
Page 336 of 421
333 Engine compartment
Te ch n ica l
data Instruments
and controlsOperation DrivingInstrument
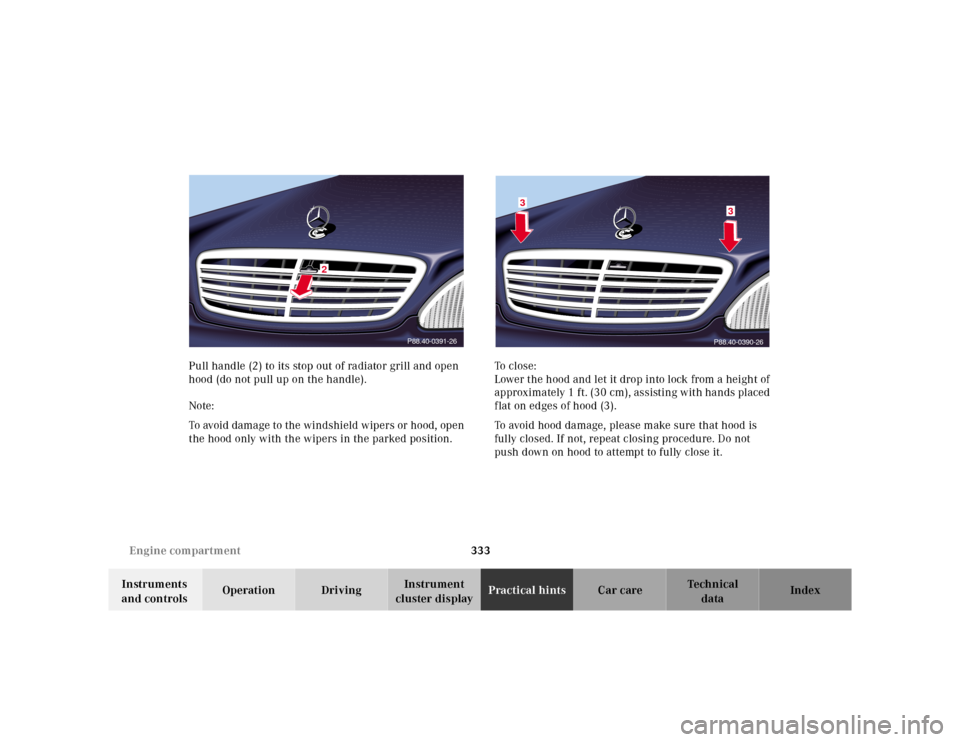
cluster displayPractical hintsCar care Index Pull handle (2) to its stop out of radiator grill and open
hood (do not pull up on the handle).
Note:
To avoid damage to the windshield wipers or hood, open
the hood only with the wipers in the parked position. To c l o s e :
Lower the hood and let it drop into lock from a height of
approximately 1 ft. (30 cm), assisting with hands placed
flat on edges of hood (3).
To avoid hood damage, please make sure that hood is
fully closed. If not, repeat closing procedure. Do not
push down on hood to attempt to fully close it.
P88.40-0391-26
2
P88.40-0390-26
3
3
Page 337 of 421
334 Engine compartment
Te ch n ica l
data Instruments
and controlsOperation DrivingInstrument
cluster displayPractical hintsCar care Index
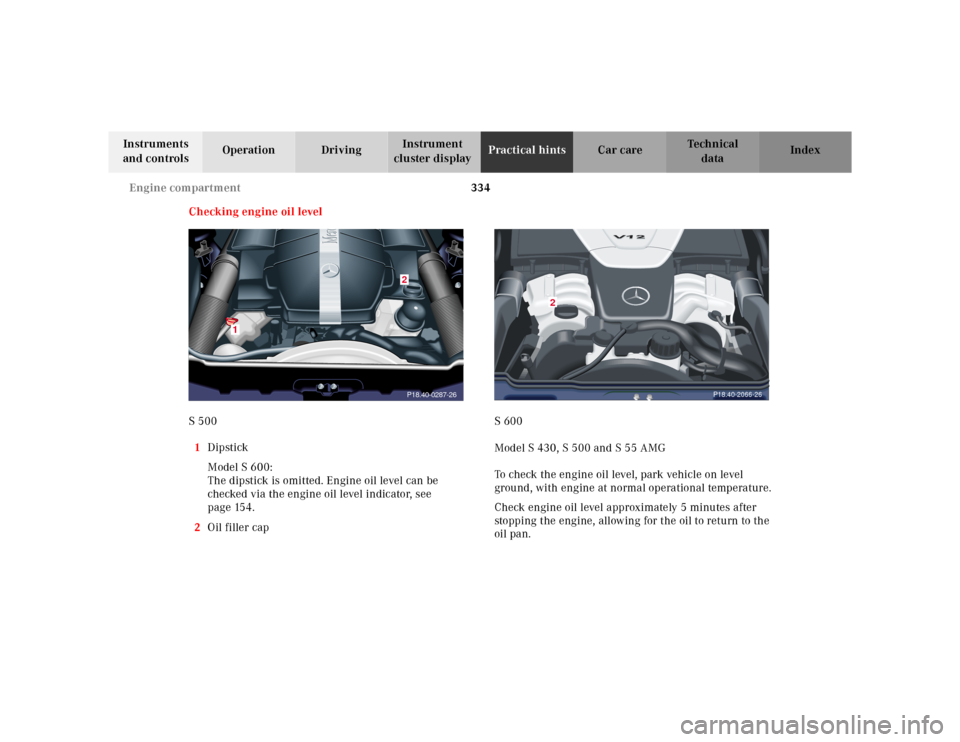
Checking engine oil level
S 500
1Dipstick
Model S 600:
The dipstick is omitted. Engine oil level can be
checked via the engine oil level indicator, see
page 154.
2Oil filler capS 600
Model S 430, S 500 and S 55 AMG
To check the engine oil level, park vehicle on level
ground, with engine at normal operational temperature.
Check engine oil level approximately 5 minutes after
stopping the engine, allowing for the oil to return to the
oil pan.
1
P18.40-0287-262
P18.40-2066-26
2