ECU MERCEDES-BENZ E-Class 2016 W213 Comand Manual
[x] Cancel search | Manufacturer: MERCEDES-BENZ, Model Year: 2016, Model line: E-Class, Model: MERCEDES-BENZ E-Class 2016 W213Pages: 246, PDF Size: 6.7 MB
Page 33 of 246
Adjusting the volumefor traffic
announcements and navigati on
announcements
During traffic or navigation announcements :
XTurn theq control knob.
or
XPress th eW orX buttonon th emul-
tifunction steering wheel.
iYou can set th evolume for navigation
announcements to be differen tfrom th e
volume of th erespective media source .
Adjusting the volumefor phone calls
You can adjust thevolume for hands-free
mod eduring atelephon ecall .
XTurn th eq control knob.
or
XPress th eW orX buttonon th emul-
tifunction steering wheel.
iSetting th evolume for th eVoic eControl
Syste mvoice output ,see th eseparat e
operating instructions.
Switching the sound on oroff
Media source sound
XPress th e8 buttonon th eCOMAND
controller or th emultifunction steering
wheel.
The soun dis switched off .If th eaudio out -
put is switched off ,th estatus lin ewill sho w
th e8 symbol. If you switch th emedia
source or chang eth evolume, th esoun dis
automatically switched on .
iEven if thesoun dis switched off ,you will
still hear navigation system announce -
ments .
Switching navigati onannouncements
off and onagain
XTo switch navigation announcement s
off: pressthe8 buttonduring an
announcement.
The Spoken
drivin grecommendations
havebee ndeactivated.message
appears.
XTo switch navigation announcement s
back on: switch COMAND off and then on
again (
Ypage 30).
or
XStart ane wrout ecalculation (Ypage 71).
or
XSelec t+: while rout eguidance is active ,
sho wthemen uand pre ssthecontroller
(
Ypage 90) .
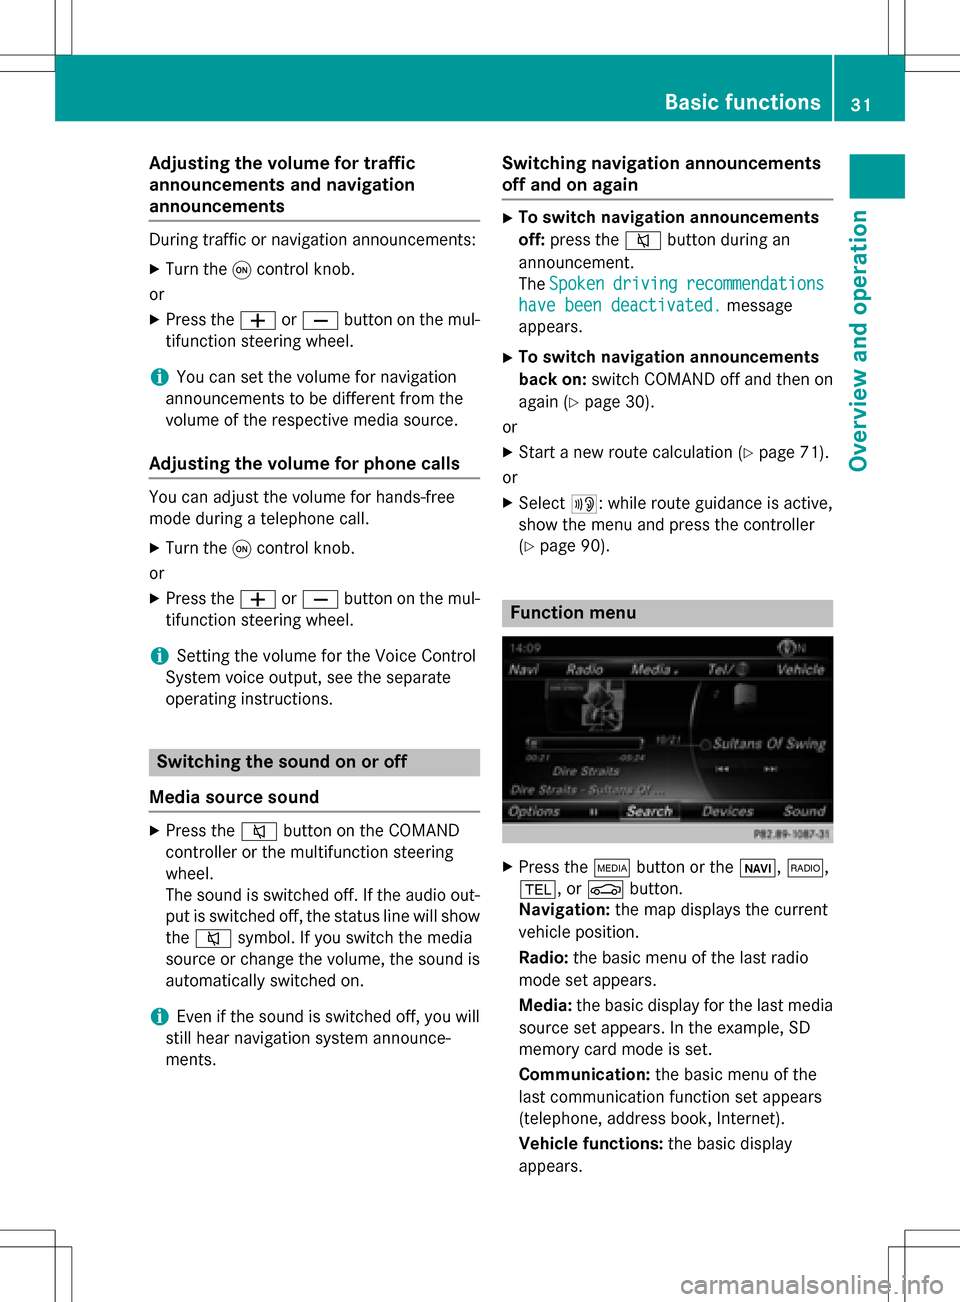
Function menu
XPresstheÕ buttonor th eß, $,
%, orØ button.
Navigation: themap displays th ecurren t
vehicl eposition .
Radio :th ebasic men uof th elast radi o
mod eset appears.
Media: thebasic display for th elast media
source set appears. In th eexample, SD
memory car dmod eis set.
Communication: thebasic men uof th e
last communication function set appear s
(telephone, addr essbook ,Internet).
Vehicle functions: thebasic display
appears.
Basic functions31
Overview and operation
Page 49 of 246
XTo switch to the menu bar: slide6the
controller.
XTo select System Settings: press the
controller.
XSelect WiFi.
The WiFi menu appears.
XSelect Connect via WPS PBC.
XSelect the vehicle from the device to be
connected and Connect via WPS PBC
.
The vehicle is displayed with the SSID MB
HOTSPOT XXXXX.
XTo confirm the entry:press the controller.
Connecting a device via WPS PBC (Can-
ada)
Prerequisite:
For this type of connection, the device to be
connected must support "Connect via push
button".
XPress theØbutton on the COMAND
control panel.
or
XPress Vehiclein the main function bar.
The vehicle menu is displayed.
XTo switch to the menu bar: slide 6the
controller.
XTo select System Settings: press the
controller.
XSelect WiFi.
The WiFi menu appears.
XTo select one of the hotspots that has been
found: turn and press the controller.
A menu for making the connection appears.
XSelect Connect via WPS PBC.
XPress the pushbutton on your device.
XTo confirm the entry: press the controller.
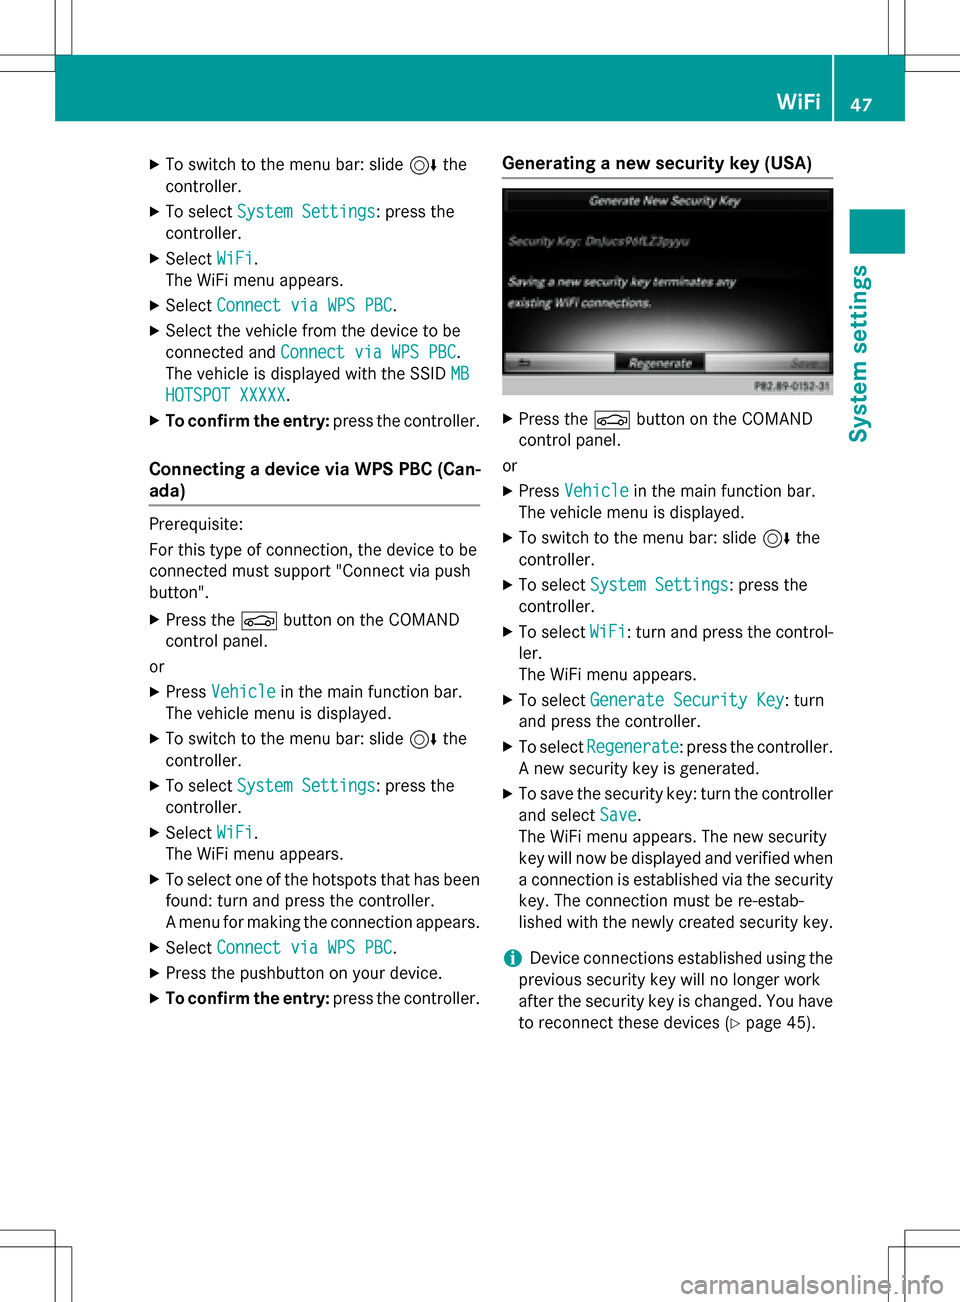
Generating a new security key (USA)
XPress theØbutton on the COMAND
control panel.
or
XPress Vehiclein the main function bar.
The vehicle menu is displayed.
XTo switch to the menu bar: slide 6the
controller.
XTo select System Settings: press the
controller.
XTo select WiFi: turn and press the control-
ler.
The WiFi menu appears.
XTo select Generate Security Key: turn
and press the controller.
XTo select Regenerate: press the controller.
A new security key is generated.
XTo save the security key: turn the controller
and select Save
.
The WiFi menu appears. The new security
key will now be displayed and verified when
a connection is established via the security
key. The connection must be re-estab-
lished with the newly created security key.
iDevice connections established using the
previous security key will no longer work
after the security key is changed. You have
to reconnect these devices (
Ypage 45).
WiFi47
System settings
Z
Page 50 of 246
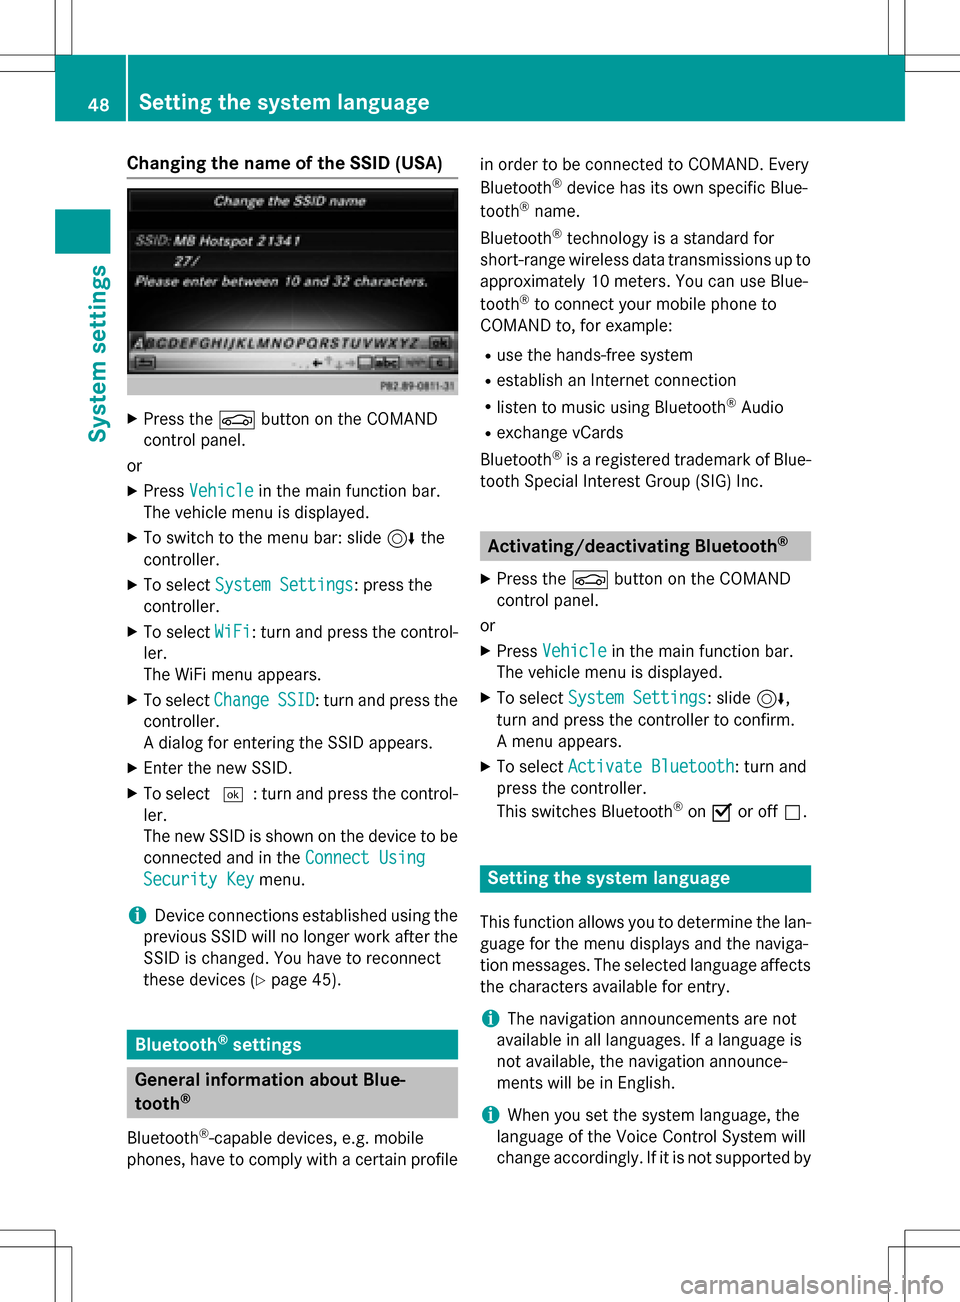
Changing the name of the SSID (USA)
XPress theØbutton on the COMAND
control panel.
or
XPress Vehiclein the main function bar.
The vehicle menu is displayed.
XTo switch to the menu bar: slide 6the
controller.
XTo select System Settings: press the
controller.
XTo select WiFi: turn and press the control-
ler.
The WiFi menu appears.
XTo select ChangeSSID: turn and press the
controller.
A dialog for entering the SSID appears.
XEnter the new SSID.
XTo select ¬: turn and press the control-
ler.
The new SSID is shown on the device to be
connected and in the Connect Using
Security Keymenu.
iDevice connections established using the
previous SSID will no longer work after the
SSID is changed. You have to reconnect
these devices (
Ypage 45).
Bluetooth®settings
General information about Blue-
tooth®
Bluetooth®-capable devices, e.g. mobile
phones, have to comply with a certain profile in order to be connected to COMAND. Every
Bluetooth
®device has its own specific Blue-
tooth®name.
Bluetooth
®technology is a standard for
short-range wireless data transmissions up to
approximately 10 meters. You can use Blue-
tooth
®to connect your mobile phone to
COMAND to, for example:
Ruse the hands-free system
Restablish an Internet connection
Rlisten to music using Bluetooth®Audio
Rexchange vCards
Bluetooth
®is a registered trademark of Blue-
tooth Special Interest Group (SIG) Inc.
Activating/deactivating Bluetooth®
X
Press the Øbutton on the COMAND
control panel.
or
XPress Vehiclein the main function bar.
The vehicle menu is displayed.
XTo select System Settings: slide6,
turn and press the controller to confirm.
A menu appears.
XTo select Activate Bluetooth: turn and
press the controller.
This switches Bluetooth
®on O or off ª.
Setting the system language
This function allows you to determine the lan-
guage for the menu displays and the naviga-
tion messages. The selected language affects
the characters available for entry.
iThe navigation announcements are not
available in all languages. If a language is
not available, the navigation announce-
ments will be in English.
iWhen you set the system language, the
language of the Voice Control System will
change accordingly. If it is not supported by
48Setting the system language
System settings
Page 78 of 246
Defining theposition for th ePOI searc h
SelectionInstructions
NearDestination
(whe nrout eguidanc eis
active )
XCall up th ePOI men u (Ypage 74) .
XTo selectNea rDestination:turn and press th econtroller .
XSelect aPOI category (Ypage 77).
CurrentPosition
Searches in th evicinit y
of th ecurren tvehicle
position .
XCall up th ePOI men u (Ypage 74) .
XTo selectCurren tPosition:turn and press th econtroller .
XSelect aPOI category (Ypage 77).
Other Cit y
Afterenterin g acity, th e
search is performed
within th ecity' sbounda-
rie s
Option 1
XCall up th ePOI men u (Ypage 74).
XTo selectOther Cit y:turn and press th econtroller .
XSelectth estate/province (Ypage 70),if desired.
XEnte rth ecity (Ypage 70) .
XSelect aPOI category (Ypage 77).
Option 2
XEnter acity in th eaddress entr ymen u (Ypage 70).
XTo selec tPOI s:slid e6 thecontroller ,turn and press to con-
firm.
XSelec t aPOI category (Ypage 77).
76Destination entry
Navigation
Page 90 of 246
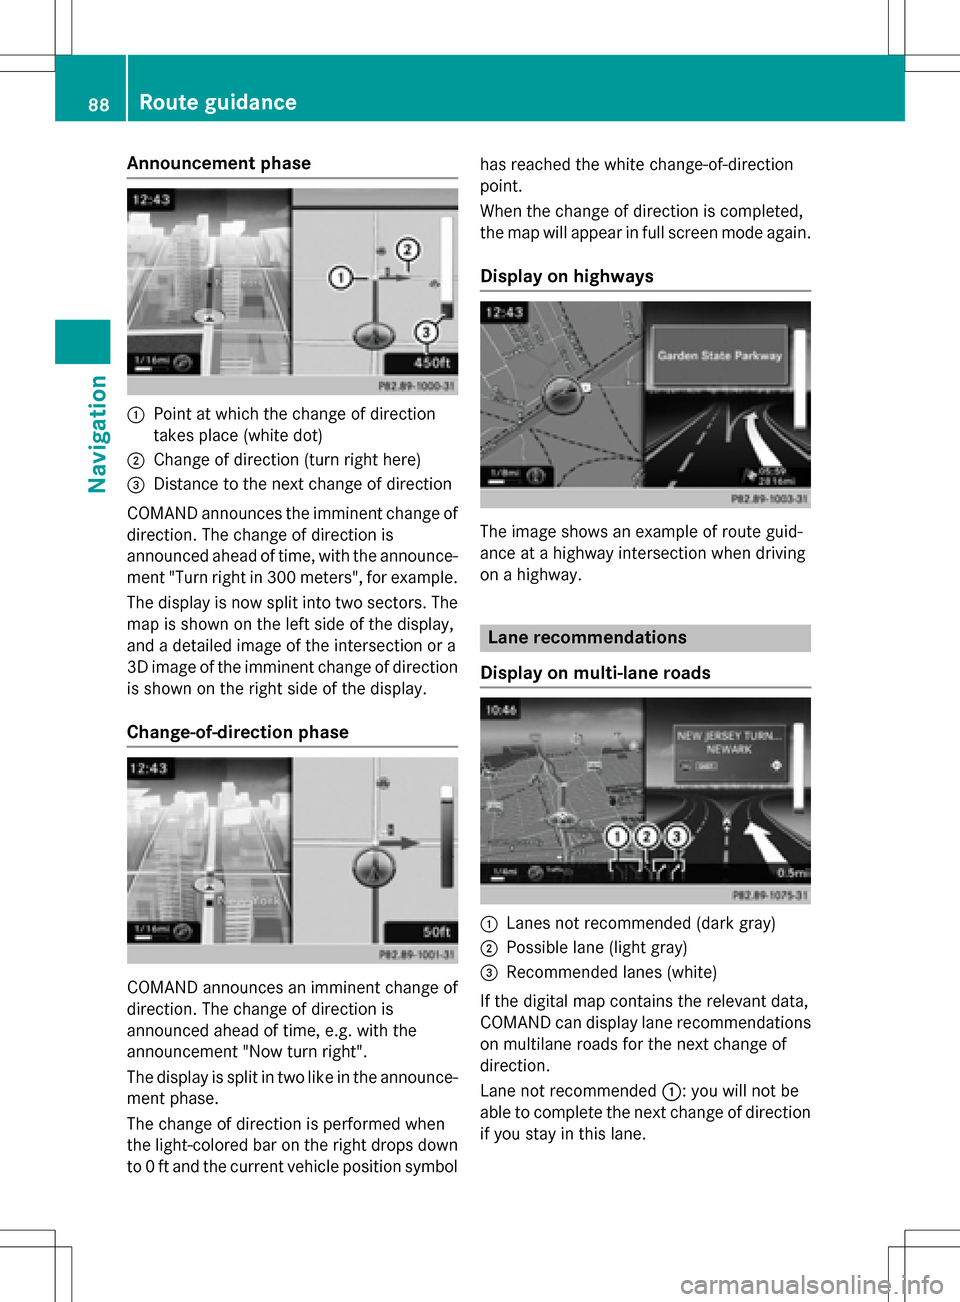
Announcement phase
:Pointat whic hth echang eof direction
takes plac e(whit edot )
;Change of direction (turn right here)
=Distanc eto th ene xt chang eof direction
COMAND announce sth eimminent chang eof
direction .The chang eof direction is
announce dahead of time, wit hth eannounce -
men t"Turn right in 30 0meters", for example.
The display is no wsplit int otwo sectors .The
map is shown on th elef tside of th edisplay,
and adetailed imag eof th eintersection or a
3D imag eof th eimminent chang eof direction
is shown on th eright side of th edisplay.
Change-of-directi onphase
COMAND announce san imminent chang eof
direction .The chang eof direction is
announce dahead of time, e.g. wit hth e
announcemen t"Now tur nright".
The display is split in two lik ein th eannounce -
men tphase.
The chang eof direction is performed when
th elight-colored bar on th eright drops down
to 0ft and th ecurren tvehicl eposition symbol has reached th
ewhit echange-of-direction
point.
When th echang eof direction is completed,
th emap will appear in full scree nmod eagain .
Display onhighways
The imag eshows an exampl eof rout eguid-
anc eat ahighway intersection when driving
on ahighway.
Lane rec ommendations
Display on multi-lane roads
:Lanes no trecommended (dar kgray)
;Possible lan e(ligh tgray)
=Recommended lanes (white)
If th edigital map contain sth erelevan tdata,
COMAND can display lan erecommendation s
on multilan eroad sfor th ene xt chang eof
direction .
Lan eno trecommended ::you will no tbe
able to complete th ene xtchang eof direction
if you stay in this lane.
88Route guidance
Navigation
Page 99 of 246
Activating/deactivating traffic informa-
ti on on themap
You can switch traffic information on th emap
on/off :
RIncidents
RSpeed &Flo w
RFree Flo w
XTo switch to navigation mode: press th e
Ø button.
XTo sho wthemenu: slide 6thecontroller .
XTo selectTraffic:tur nand press th econ-
troller .
XTo select TrafficInformationOnMap:
tur nand press th econtroller .
XSelectIncidents, Speed &Flo wor
Fre eFlo w
.
The display is on Oor off ª.
Reading out traffic rep ortson the
rou te
Introd uction
The read-aloud function is only available while
routeguidance is active .It read sout traffic
report saffecting th ecurren troute.
You can select from th efollowin gte xt reader
properties:
RLanguage (Ypage 48)
RTextreader spee d (Ypage 44)
You can start th ete xt reader function man -
ually or set it to automatic.
Starting the text reader function man-
ually
XTo switch to navigation mode: press th e
Ø button.
XTo sho wthemenu: slide 6thecontroller .
XTo selectTraffic:tur nand pre ssthecon-
troller .
XSelectRea dOut All Messages on
Route.
COMAND read sout th ereport sin
sequence.
If there are no report sfor th eroute, th e
Rea d
OutAllMessagesonRoutemen u
item is gray and canno tbe selected.
XTo cance lth eread-aloud function :select
Cancel Read-Alou dFunction
.
COMAND read sout th ecurren treport and
then exit sth eread-aloud function .
Automa tic read-aloud function
XTo switch to navigation mode: pre ssthe
Ø button.
XTo sho wthemenu: slide 6thecontroller .
XTo selectTraffic:tur nand pre ssthecon-
troller .
XSelectRea dMessages Automaticall y.
Dependin gon th eprevious state,switch
th eoption on Oor off ª.
Recalculating the route dynamically
Rout etypes Dynami cTraffi cRouteand
Dynami c
TRF.RouteAfterReques ttake
int oaccoun tall of th etraffic report sthey
receiv efor th ecurren trout ewhen calculating
th erout e (
Ypage 66).
If you hav eselected DynamicTraffi c
Routeas therout etype, COMAND guide syou
to your destination alon gth eupdated route.
If you hav eselected th erout etyp eDynami c
TRF.Route After Reques t, aprompt will
first appear .
You can no wdecide whether to :
Raccept therout esuggested by COMAND
Rcontinu eyour original rout e
Real-time traffic reports97
Navigation
Z
Page 111 of 246
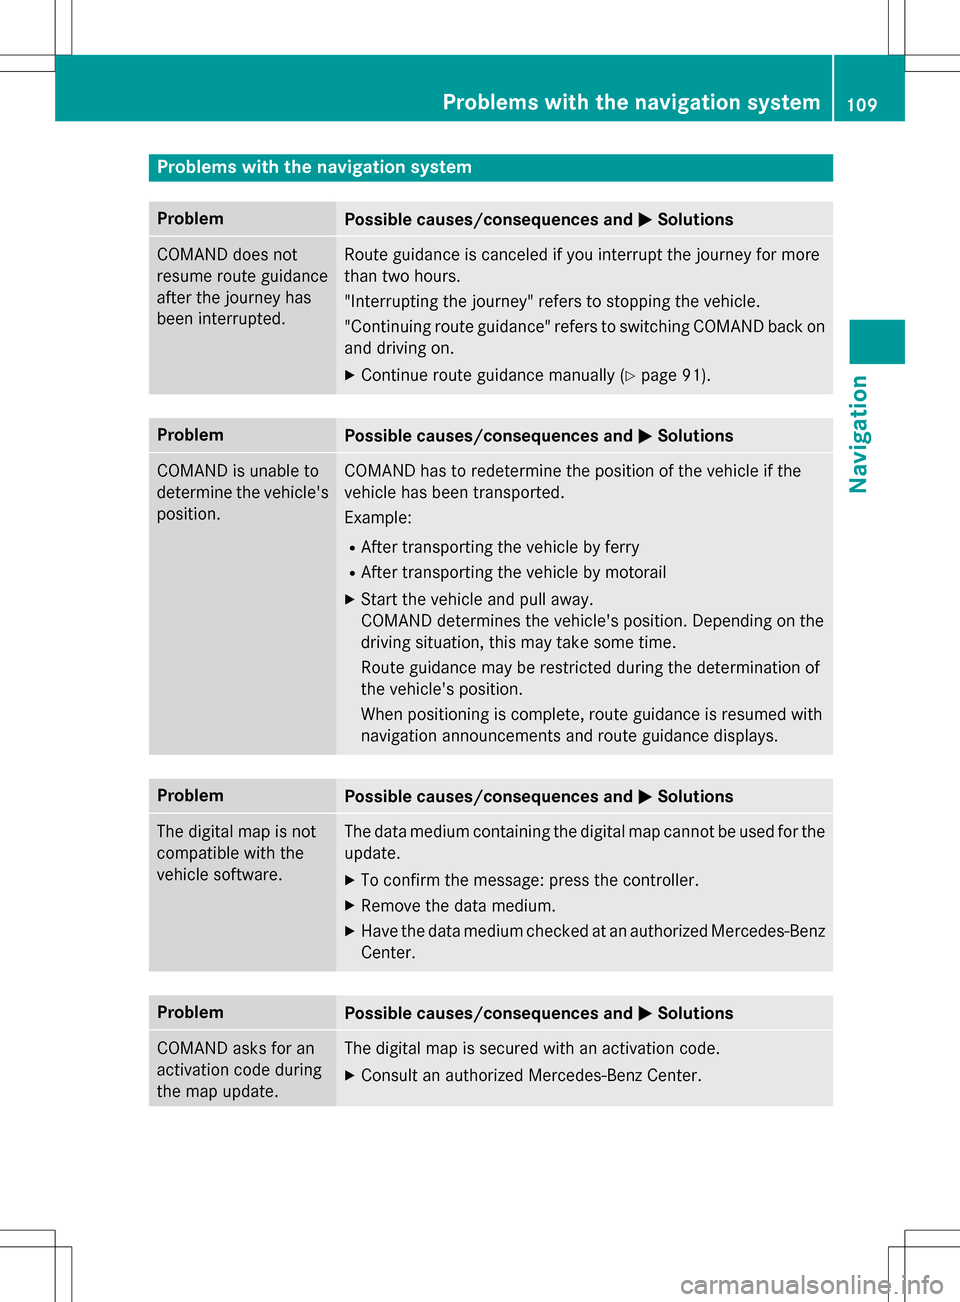
Problems with the navigation system
ProblemPossible causes/consequences andMSolutions
COMAND does not
resume route guidance
after the journey has
been interrupted.Route guidance is canceled if you interrupt the journey for more
than two hours.
"Interrupting the journey" refers to stopping the vehicle.
"Continuing route guidance" refers to switching COMAND back on
and driving on.
XContinue route guidance manually (Ypage 91).
ProblemPossible causes/consequences andMSolutions
COMAND is unable to
determine the vehicle's
position.COMAND has to redetermine the position of the vehicle if the
vehicle has been transported.
Example:
RAfter transporting the vehicle by ferry
RAfter transporting the vehicle by motorail
XStart the vehicle and pull away.
COMAND determines the vehicle's position. Depending on the
driving situation, this may take some time.
Route guidance may be restricted during the determination of
the vehicle's position.
When positioning is complete, route guidance is resumed with
navigation announcements and route guidance displays.
ProblemPossible causes/consequences andMSolutions
The digital map is not
compatible with the
vehicle software.The data medium containing the digital map cannot be used for the
update.
XTo confirm the message: press the controller.
XRemove the data medium.
XHave the data medium checked at an authorized Mercedes-Benz
Center.
ProblemPossible causes/consequences andMSolutions
COMAND asks for an
activation code during
the map update.The digital map is secured with an activation code.
XConsult an authorized Mercedes-Benz Center.
Problems with the navigation system109
Navigation
Z
Page 117 of 246
Procedure and general information
Authorizing a mobile phone (connect-
ing)
Before using your mobile phone with
COMAND for the first time, you will need to
search for the phone (
Ypage 115) and then
authorize it (
Ypage 116). Depending on the
mobile phone, authorization either takes
place by means of Secure Simple Pairing or by
entering a passkey. COMAND automatically
enables the procedure suited to your mobile
phone. You can recognize Secure Simple Pair-
ing by a code which is displayed in COMAND
and on the mobile phone. You can recognize
the passkey system by the fact that you have to enter a code on the mobile phone and in
COMAND. The mobile phone is connected
automatically after authorization. Further
information about automatically reconnect-
ing authorized mobile phones (
Ypage 117).
If COMAND does not detect your mobile
phone, this may be due to particular security
settings on your mobile phone. You can also
start the search procedure and authorization
on the mobile phone (
Ypage 117).
Device-specific information on authorizing
and connecting Bluetooth
®-capable mobile
phones can be obtained from your authorized
Mercedes-Benz Center or via the Internet at
http://www.mercedes-benz.com/
connect .
You can authorize up to 15 mobile phones.
Only one mobile phone can be connected to
COMAND at any one time for telephony.
De-authorizing (disconnecting) a mobile
phone
The connection is terminated automatically if
you leave the receiver range of COMAND or
deactivate Bluetooth
®on your mobile phone.
If you no longer want the Bluetooth
®connec-
tion to be established automatically, the
mobile phone must be de-authorized (discon-
nected) (
Ypage 118).
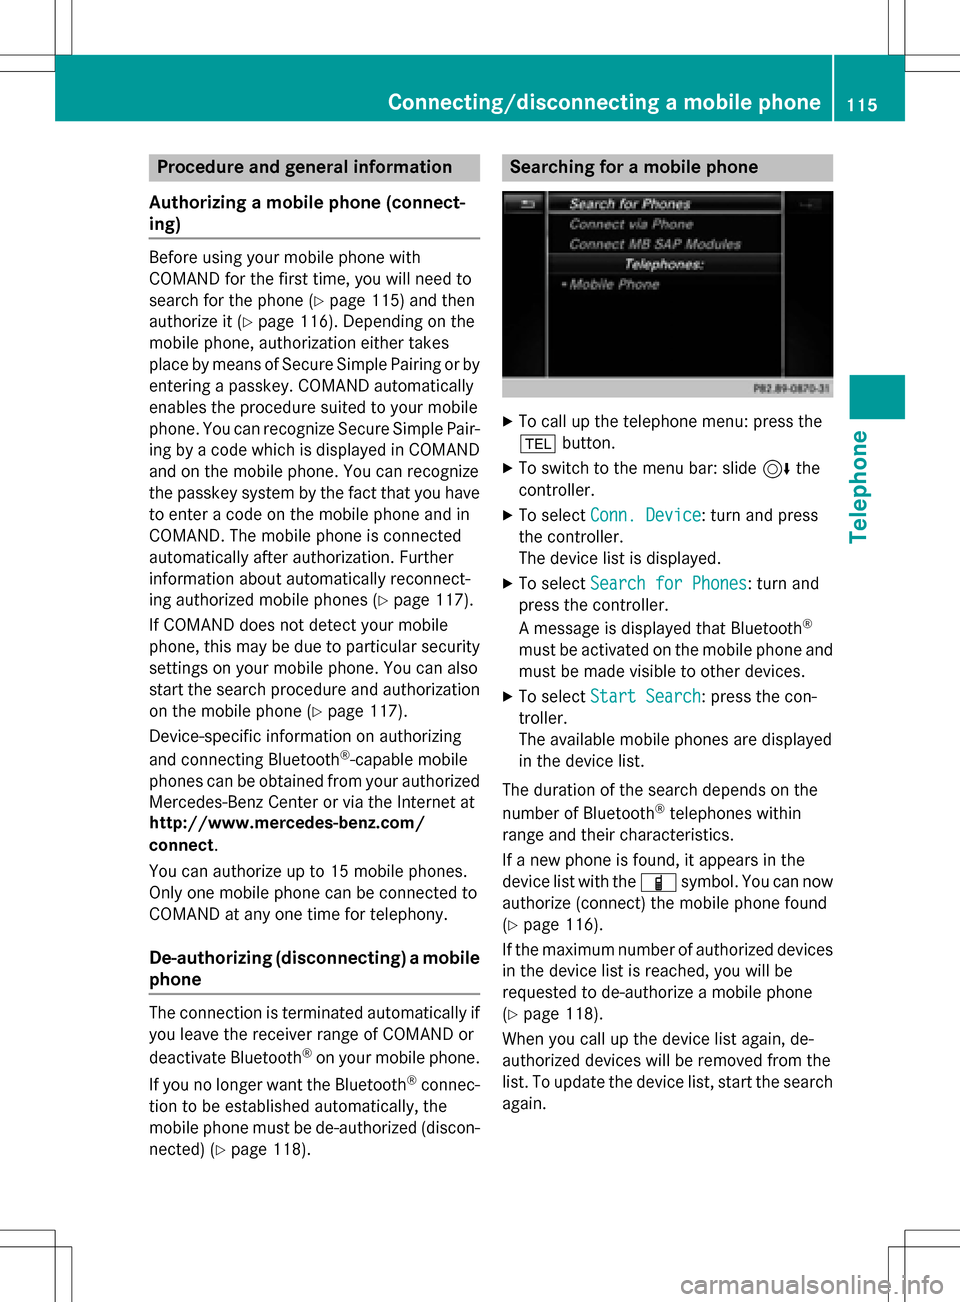
Searching for a mobile phone
XTo call up the telephone menu: press the
% button.
XTo switch to the menu bar: slide 6the
controller.
XTo select Conn. Device: turn and press
the controller.
The device list is displayed.
XTo select Search for Phones: turn and
press the controller.
A message is displayed that Bluetooth
®
must be activated on the mobile phone and
must be made visible to other devices.
XTo select Start Search: press the con-
troller.
The available mobile phones are displayed
in the device list.
The duration of the search depends on the
number of Bluetooth
®telephones within
range and their characteristics.
If a new phone is found, it appears in the
device list with the Ïsymbol. You can now
authorize (connect) the mobile phone found
(
Ypage 116).
If the maximum number of authorized devices
in the device list is reached, you will be
requested to de-authorize a mobile phone
(
Ypage 118).
When you call up the device list again, de-
authorized devices will be removed from the
list. To update the device list, start the search
again.
Connecting/disconnecting a mobile phone115
Telephone
Z
Page 118 of 246
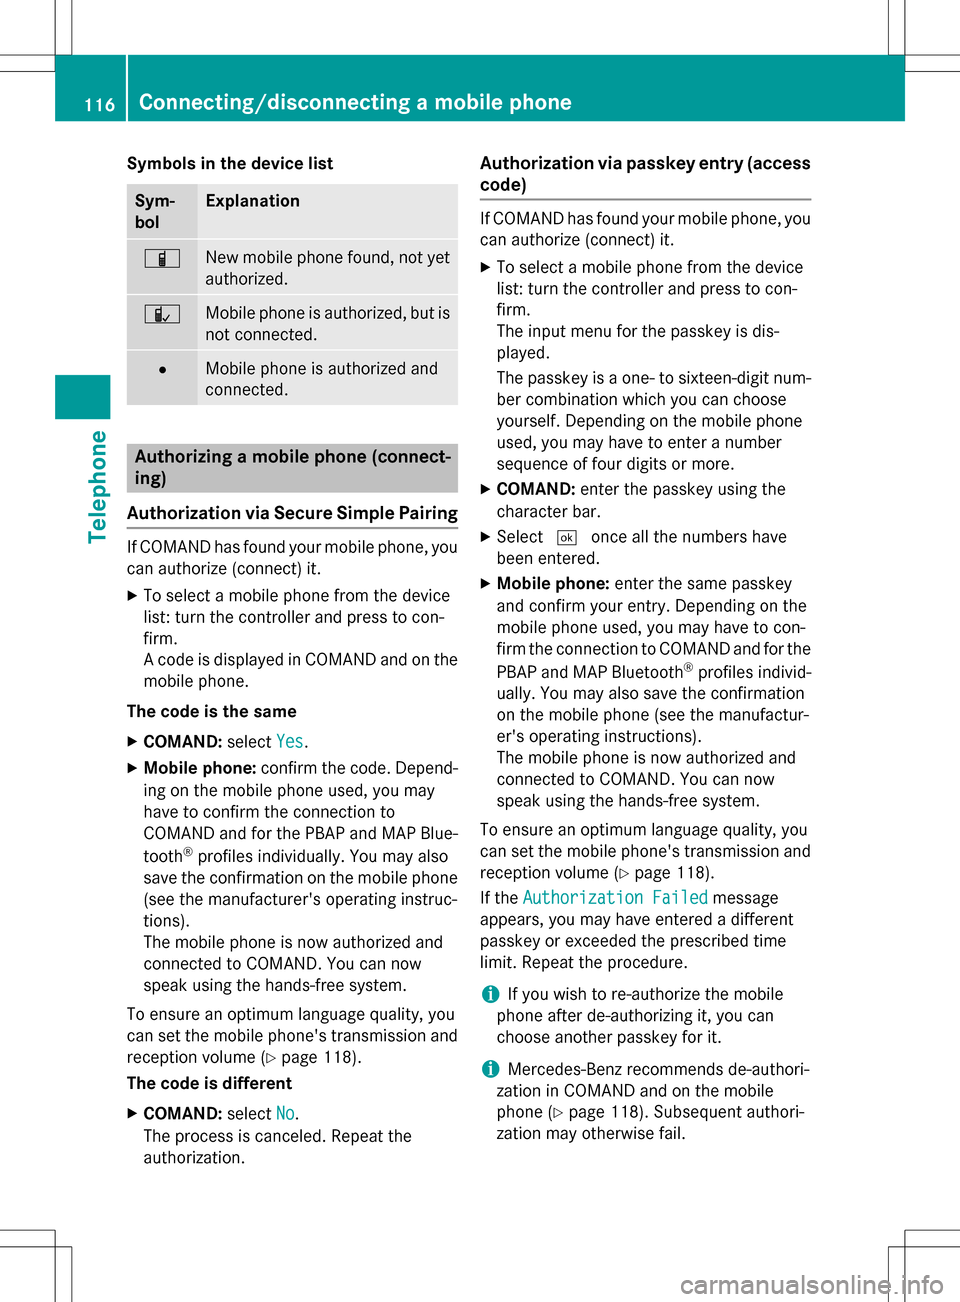
Symbols in the device list
Sym-
bolExplanation
ÏNew mobile phone found, not yet
authorized.
ÑMobile phone is authorized, but is
not connected.
#Mobile phone is authorized and
connected.
Authorizing a mobile phone (connect-
ing)
Authorization via Secure Simple Pairing
If COMAND has found your mobile phone, you
can authorize (connect) it.
XTo select a mobile phone from the device
list: turn the controller and press to con-
firm.
A code is displayed in COMAND and on the
mobile phone.
The code is the same
XCOMAND: selectYes.
XMobile phone: confirm the code. Depend-
ing on the mobile phone used, you may
have to confirm the connection to
COMAND and for the PBAP and MAP Blue-
tooth
®profiles individually. You may also
save the confirmation on the mobile phone
(see the manufacturer's operating instruc-
tions).
The mobile phone is now authorized and
connected to COMAND. You can now
speak using the hands-free system.
To ensure an optimum language quality, you
can set the mobile phone's transmission and
reception volume (
Ypage 118).
The code is different
XCOMAND: selectNo.
The process is canceled. Repeat the
authorization.
Authorization via passkey entry (access code)
If COMAND has found your mobile phone, you
can authorize (connect) it.
XTo select a mobile phone from the device
list: turn the controller and press to con-
firm.
The input menu for the passkey is dis-
played.
The passkey is a one- to sixteen-digit num-
ber combination which you can choose
yourself. Depending on the mobile phone
used, you may have to enter a number
sequence of four digits or more.
XCOMAND: enter the passkey using the
character bar.
XSelect ¬once all the numbers have
been entered.
XMobile phone: enter the same passkey
and confirm your entry. Depending on the
mobile phone used, you may have to con-
firm the connection to COMAND and for the
PBAP and MAP Bluetooth
®profiles individ-
ually. You may also save the confirmation
on the mobile phone (see the manufactur-
er's operating instructions).
The mobile phone is now authorized and
connected to COMAND. You can now
speak using the hands-free system.
To ensure an optimum language quality, you
can set the mobile phone's transmission and
reception volume (
Ypage 118).
If the Authorization Failed
message
appears, you may have entered a different
passkey or exceeded the prescribed time
limit. Repeat the procedure.
iIf you wish to re-authorize the mobile
phone after de-authorizing it, you can
choose another passkey for it.
iMercedes-Benz recommends de-authori-
zation in COMAND and on the mobile
phone (
Ypage 118). Subsequent authori-
zation may otherwise fail.
116Connecting/disconnecting a mobile phone
Telephone
Page 119 of 246
Establishing the connection from the
mobile phone
The Bluetooth®device name of COMAND is
"MB Bluetooth".
XCOMAND: call up the telephone menu.
XTo switch to the menu bar: slide 6the
controller.
XTo select Conn. Device: turn and press
the controller.
The device list is displayed.
XTo select Connect via Phone: turn and
press the controller.
A message is displayed, stating that you
can start the search on your mobile phone.
XMobile phone: start the search for a Blue-
tooth®device (see manufacturer's operat-
ing instructions).
COMAND is displayed with the name "MB
Bluetooth" in the mobile phone's device
list.
XSelect "MB Bluetooth".
A prompt appears in the COMAND display
asking if the mobile phone should be
authorized.
XCOMAND: selectYes.
If No
is selected, the procedure is canceled.
If your mobile phone supports Secure Sim-
ple Pairing, a code is now displayed on both
devices.
The code is the same
XCOMAND: selectYes.
XMobile phone: confirm the code. Depend-
ing on the mobile phone used, you may
have to confirm the connection to
COMAND and for the PBAP and MAP Blue-
tooth
®profiles individually. You may also
save the confirmation on the mobile phone
(see the manufacturer's operating instruc-
tions).
The mobile phone is now authorized and
connected to COMAND. You can now
speak using the hands-free system. To ensure an optimum language quality,
you can set the mobile phone's transmis-
sion and reception volume (
Ypage 118).
The code is different
XCOMAND: selectNo.
The process is canceled. Repeat the pro-
cedure.
If your mobile phone does not support Secure
Simple Pairing, an input menu is displayed for
the passkey. The passkey is a one- to sixteen-
digit number combination which you can
choose yourself. Enter the same passkey on
both COMAND and the mobile phone and
confirm. Depending on the mobile phone
used, you may have to confirm the connection
to COMAND and for the PBAP and MAP Blue-
tooth
®profiles.
Reconnecting automatically
COMAND always searches for the last con-
nected mobile phone.
If no connection can be made to the most
recently connected mobile phone, the system
searches for the mobile phone that was con-
nected before that one.
Switching between mobile phones
If you have authorized more than one mobile
phone, you can switch between the individual
phones.
XTo call up the telephone menu: press the
% button.
XTo switch to the menu bar: slide 6the
controller.
XTo select Conn. Device: turn and press
the controller.
The device list is displayed.
XTo select the desired mobile phone: turn
and press the controller.
The selected mobile phone is connected if
it is within Bluetooth
®range and if Blue-
tooth®is activated.
Connecting/disconnecting a mobile phone117
Telephone
Z