MERCEDES-BENZ G500 2002 W463 Owner's Manual
Manufacturer: MERCEDES-BENZ, Model Year: 2002, Model line: G500, Model: MERCEDES-BENZ G500 2002 W463Pages: 385, PDF Size: 30.37 MB
Page 231 of 385
228 Driving instructions
Te ch n i c a l
data Instruments
and controlsOperationDrivingInstrument
cluster displayPractical hints Car care Index
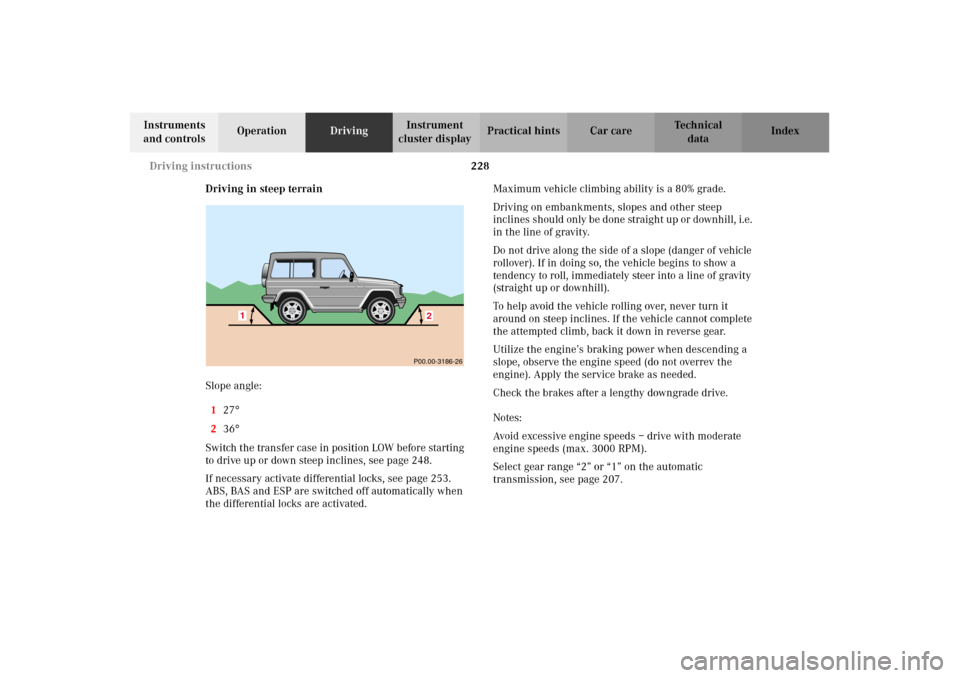
Driving in steep terrain
Slope angle:
127
°
236°
Switch the transfer case in position LOW before starting
to drive up or down steep inclines, see page 248.
If necessary activate differential locks, see page 253.
ABS, BAS and ESP are switched off automatically when
the differential locks are activated.Maximum vehicle climbing ability is a 80% grade.
Driving on embankments, slopes and other steep
inclines should only be done straight up or downhill, i.e.
in the line of gravity.
Do not drive along the side of a slope (danger of vehicle
rollover). If in doing so, the vehicle begins to show a
tendency to roll, immediately steer into a line of gravity
(straight up or downhill).
To help avoid the vehicle rolling over, never turn it
around on steep inclines. If the vehicle cannot complete
the attempted climb, back it down in reverse gear.
Utilize the engine’s braking power when descending a
slope, observe the engine speed (do not overrev the
engine). Apply the service brake as needed.
Check the brakes after a lengthy downgrade drive.
Notes:
Avoid excessive engine speeds – drive with moderate
engine speeds (max. 3000 RPM).
Select gear range “2” or “1” on the automatic
transmission, see page 207.1
2
P00.00-3186-26
J_G463.book Seite 228 Mittwoch, 19. September 2001 8:06 08
Page 232 of 385
229 Driving instructions
Te ch n i c a l
data Instruments
and controlsOperationDrivingInstrument
cluster displayPractical hints Car care Index Traction in steep terrain:
Be easy on the accelerator and watch for continuous
wheel traction when driving in steep terrain.
When the differential locks are not engaged, 4-ETS
helps greatly when starting out on a steep incline. The
front wheels have then the tendency to slip due to the
weight reduction over the front axle. The ETS
recognizes the situation and limits the torque for the
front wheels by braking them. Simultaneously the
torque for the rear wheels is increased.
See page 241 for four wheel electronic traction system
(4-ETS).
Driving across a hilltop:
To prevent the vehicle from speeding up too much after
climbing a hill, decelerate just ahead of a hilltop (do not
select gear range “N”). Use the momentum of the
vehicle to drive across the hilltop. Driving in this
manner prevents the vehicle from jumping across the
hilltop and thus loosing its forward momentum.
Driving downhill:
Select gear range “1” on the automatic transmission,
see page 207.Drive downhill observing the same rules as driving
uphill.
Driving on embankments, slopes and other steep
inclines should only be done straight up or downhill, i.e.
in the line of gravity.
Do not drive along the side of a slope (danger of vehicle
rollover). If in doing so, the vehicle begins to show a
tendency to roll, immediately steer into a line of gravity
(straight up or downhill).
Utilize the engine’s braking power when descending a
slope, observe the engine speed (do not overrev the
engine). Apply the service brake as needed.
The special LOW range ABS setting allows for precise
and brief (cyclical) blocking of the front wheels,
permitting them to dig into loose ground. Remember
that the front wheels when stopped, slide across a
surface, thus loose their ability to steer the vehicle.
Check the brakes after a lengthy downgrade drive.
Important!
Only apply the service brake if the vehicle travels
straight downhill, i.e. in the line of gravity.
J_G463.book Seite 229 Mittwoch, 19. September 2001 8:06 08
Page 233 of 385
230 Driving instructions
Te ch n i c a l
data Instruments
and controlsOperationDrivingInstrument
cluster displayPractical hints Car care Index
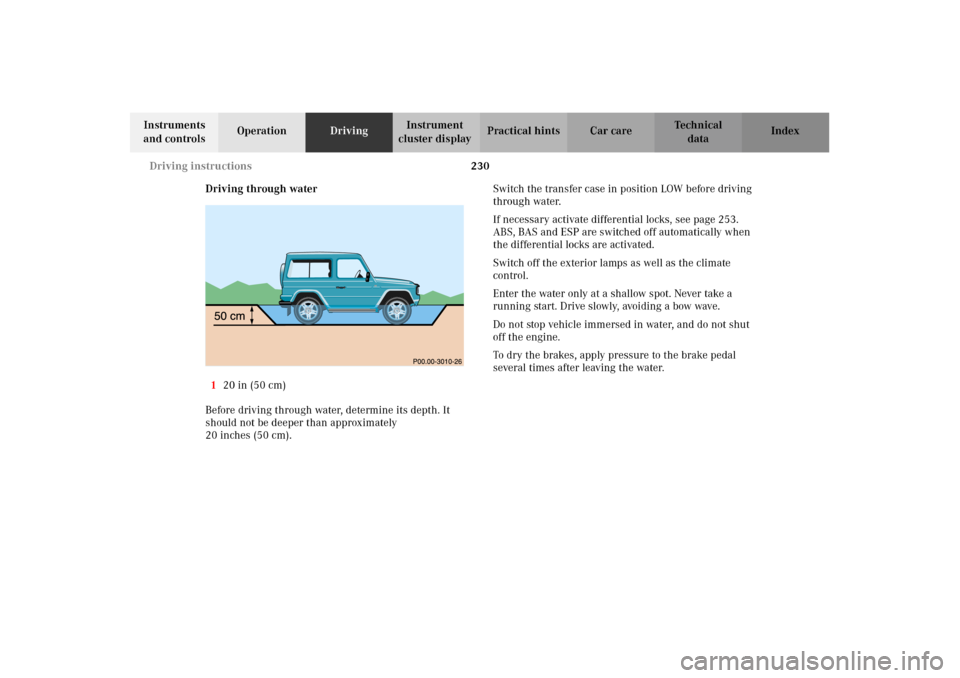
Driving through water
120 in (50 cm)
Before driving through water, determine its depth. It
should not be deeper than approximately
20 inches (50 cm).Switch the transfer case in position LOW before driving
through water.
If necessary activate differential locks, see page 253.
ABS, BAS and ESP are switched off automatically when
the differential locks are activated.
Switch off the exterior lamps as well as the climate
control.
Enter the water only at a shallow spot. Never take a
running start. Drive slowly, avoiding a bow wave.
Do not stop vehicle immersed in water, and do not shut
off the engine.
To dry the brakes, apply pressure to the brake pedal
several times after leaving the water.
J_G463.book Seite 230 Mittwoch, 19. September 2001 8:06 08
Page 234 of 385
231 Driving instructions
Te ch n i c a l
data Instruments
and controlsOperationDrivingInstrument
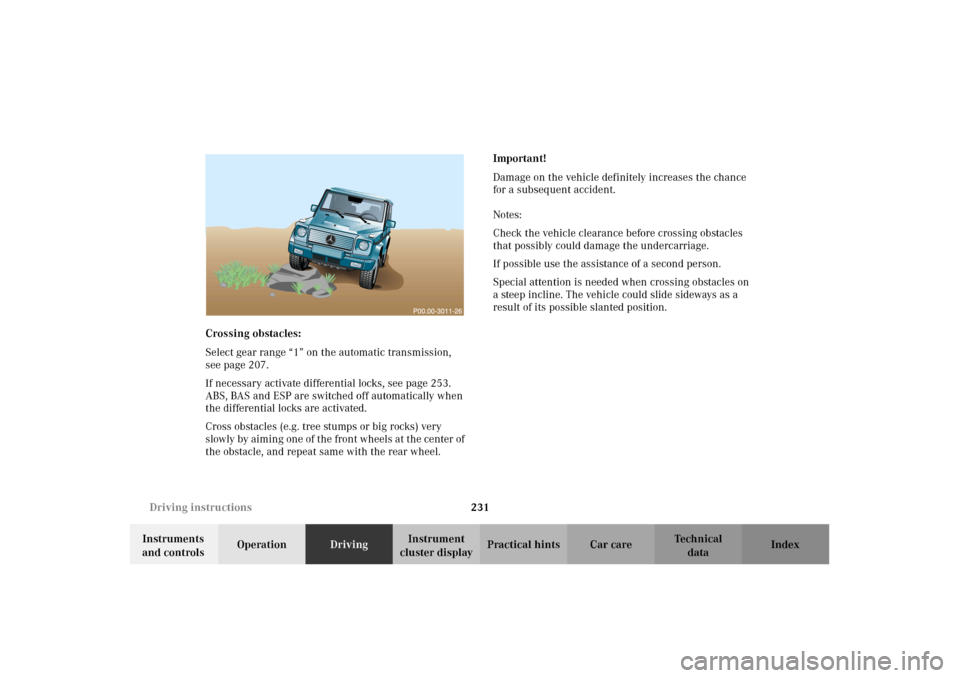
cluster displayPractical hints Car care Index Crossing obstacles:
Select gear range “1” on the automatic transmission,
see page 207.
If necessary activate differential locks, see page 253.
ABS, BAS and ESP are switched off automatically when
the differential locks are activated.
Cross obstacles (e.g. tree stumps or big rocks) very
slowly by aiming one of the front wheels at the center of
the obstacle, and repeat same with the rear wheel.Important!
Damage on the vehicle definitely increases the chance
for a subsequent accident.
Notes:
Check the vehicle clearance before crossing obstacles
that possibly could damage the undercarriage.
If possible use the assistance of a second person.
Special attention is needed when crossing obstacles on
a steep incline. The vehicle could slide sideways as a
result of its possible slanted position.
J_G463.book Seite 231 Mittwoch, 19. September 2001 8:06 08
Page 235 of 385
232 Driving instructions
Te ch n i c a l
data Instruments
and controlsOperationDrivingInstrument
cluster displayPractical hints Car care Index
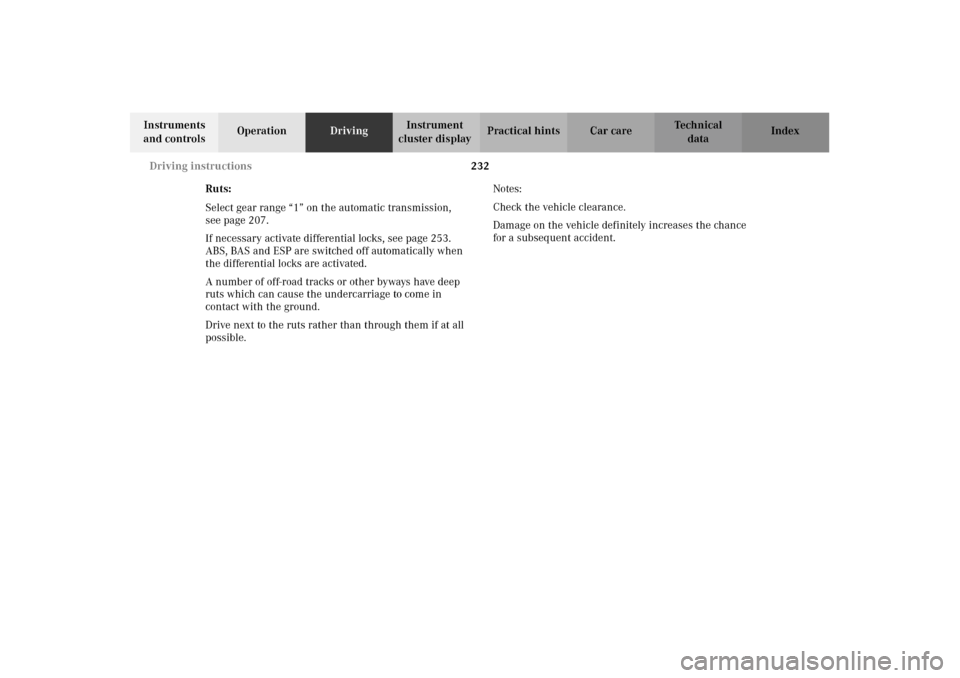
Ruts:
Select gear range “1” on the automatic transmission,
see page 207.
If necessary activate differential locks, see page 253.
ABS, BAS and ESP are switched off automatically when
the differential locks are activated.
A number of off-road tracks or other byways have deep
ruts which can cause the undercarriage to come in
contact with the ground.
Drive next to the ruts rather than through them if at all
possible. Notes:
Check the vehicle clearance.
Damage on the vehicle definitely increases the chance
for a subsequent accident.
J_G463.book Seite 232 Mittwoch, 19. September 2001 8:06 08
Page 236 of 385
233 Driving instructions
Te ch n i c a l
data Instruments
and controlsOperationDrivingInstrument
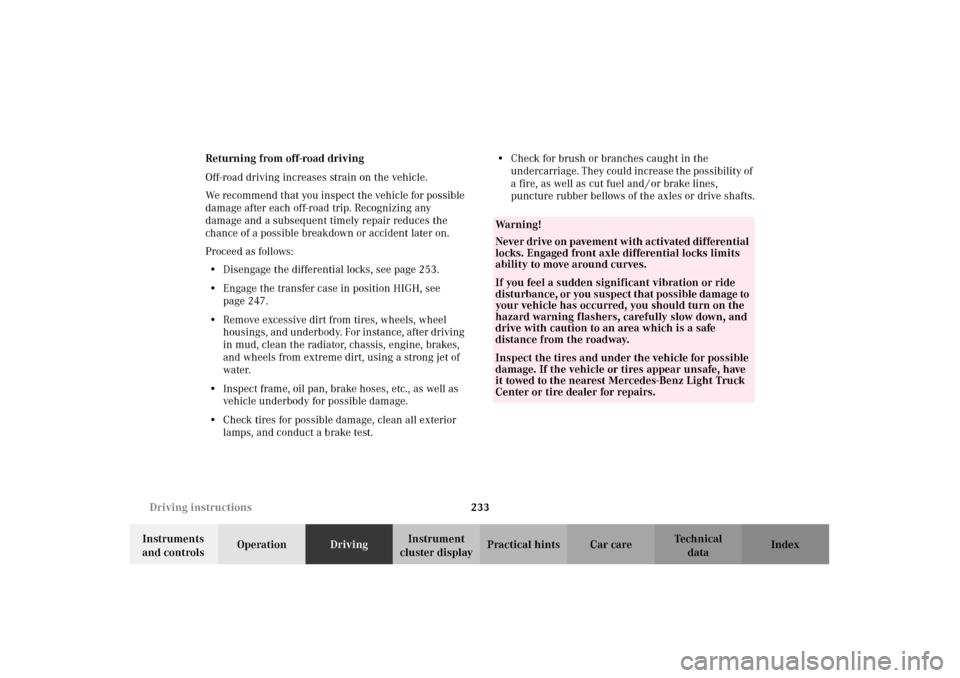
cluster displayPractical hints Car care Index Returning from off-road driving
Off-road driving increases strain on the vehicle.
We recommend that you inspect the vehicle for possible
damage after each off-road trip. Recognizing any
damage and a subsequent timely repair reduces the
chance of a possible breakdown or accident later on.
Proceed as follows:
•Disengage the differential locks, see page 253.
•Engage the transfer case in position HIGH, see
page 247.
•Remove excessive dirt from tires, wheels, wheel
housings, and underbody. For instance, after driving
in mud, clean the radiator, chassis, engine, brakes,
and wheels from extreme dirt, using a strong jet of
water.
•Inspect frame, oil pan, brake hoses, etc., as well as
vehicle underbody for possible damage.
•Check tires for possible damage, clean all exterior
lamps, and conduct a brake test.•Check for brush or branches caught in the
undercarriage. They could increase the possibility of
a fire, as well as cut fuel and / or brake lines,
puncture rubber bellows of the axles or drive shafts.
Wa r n i n g !
Never drive on pavement with activated differential
locks. Engaged front axle differential locks limits
ability to move around curves. If you feel a sudden significant vibration or ride
disturbance, or you suspect that possible damage to
your vehicle has occurred, you should turn on the
hazard warning flashers, carefully slow down, and
drive with caution to an area which is a safe
distance from the roadway.Inspect the tires and under the vehicle for possible
damage. If the vehicle or tires appear unsafe, have
it towed to the nearest Mercedes-Benz Light Truck
Center or tire dealer for repairs.
J_G463.book Seite 233 Mittwoch, 19. September 2001 8:06 08
Page 237 of 385
234 Driving systems
Te ch n i c a l
data Instruments
and controlsOperationDrivingInstrument
cluster displayPractical hints Car care Index
Cruise control
The cruise control allows you to drive in a more relaxed
manner, for example over long distances, as it
automatically maintains the set speed by actively
regulating the throttle setting.
Any given speed above approximately 25 mph
(40 km / h) can be maintained with the cruise control by
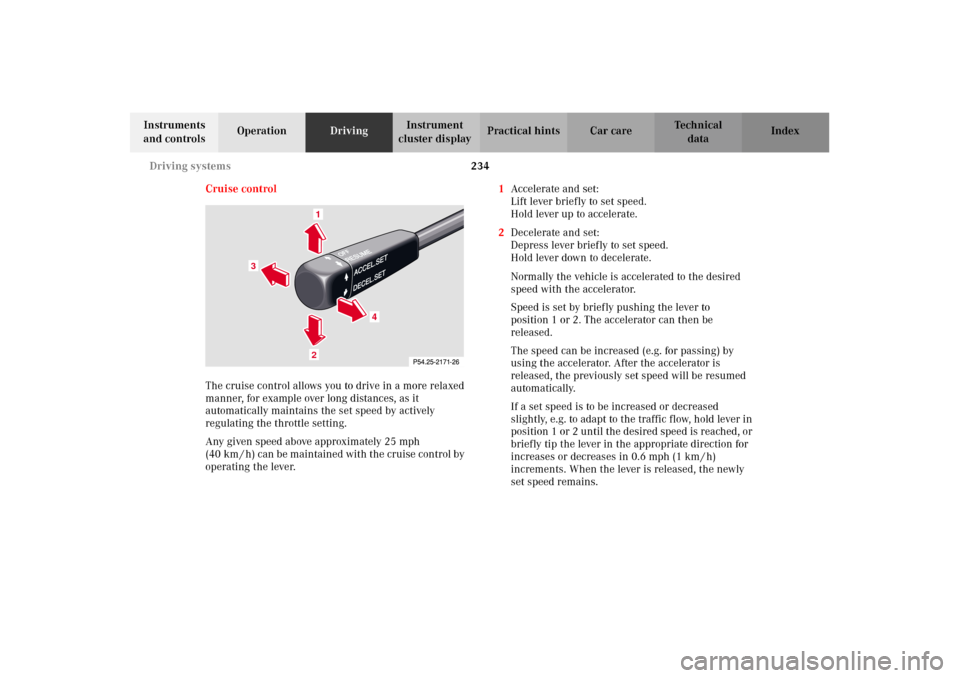
operating the lever.1Accelerate and set:
Lift lever briefly to set speed.
Hold lever up to accelerate.
2Decelerate and set:
Depress lever briefly to set speed.
Hold lever down to decelerate.
Normally the vehicle is accelerated to the desired
speed with the accelerator.
Speed is set by briefly pushing the lever to
position 1 or 2. The accelerator can then be
released.
The speed can be increased (e.g. for passing) by
using the accelerator. After the accelerator is
released, the previously set speed will be resumed
automatically.
If a set speed is to be increased or decreased
slightly, e.g. to adapt to the traffic flow, hold lever in
position 1 or 2 until the desired speed is reached, or
briefly tip the lever in the appropriate direction for
increases or decreases in 0.6 mph (1 km / h)
increments. When the lever is released, the newly
set speed remains.
1
4
2
3
J_G463.book Seite 234 Mittwoch, 19. September 2001 8:06 08
Page 238 of 385
235 Driving systems
Te ch n i c a l
data Instruments
and controlsOperationDrivingInstrument
cluster displayPractical hints Car care Index 3Canceling
To cancel the cruise control, briefly push lever to
position 3.
When you step on the brake pedal or the vehicle
speed drops below approximately 25 mph
(40 km / h), for example when driving upgrade, the
cruise control will be canceled.
If the cruise control cancels by itself and remains
inoperative until the engine is restarted, have the
system checked at your authorized Mercedes-Benz
Light Truck Center as soon as possible.
4Resume
If the lever is briefly pushed to position 4 when
driving at a speed exceeding approximately 25 mph
(40 km / h), the vehicle resumes the speed which
was set prior to the cancellation of the cruise
control. The last memorized speed is canceled when
the electronic key in the starter switch is turned to
position 1 or 0.Important!
Moving gear selector lever to position “N” switches the
cruise control off.
Wa r n i n g !
Only use the cruise control if the traffic and
weather conditions make it advisable to travel at a
steady speed.• The use of cruise control can be dangerous on
winding roads or in heavy traffic because
conditions do not allow safe driving at a steady
speed.
• The use of cruise control can be dangerous on
slippery roads. Rapid changes in tire adhesion
can result in wheel spin and loss of control.The “Resume” function should only be operated if
the driver is fully aware of the previously set speed
and wishes to resume this particular preset speed.
J_G463.book Seite 235 Mittwoch, 19. September 2001 8:06 08
Page 239 of 385
236 Driving systems
Te ch n i c a l
data Instruments
and controlsOperationDrivingInstrument
cluster displayPractical hints Car care Index
Notes:
If the engine does not brake the vehicle sufficiently
while driving on a downgrade, the speed you set on the
cruise control may be exceeded. In this case the
automatic transmission shifts down (max. to 3rd gear)
to maintain the set cruise control speed by using the
engine’s braking power.
As soon as the grade eases, the automatic transmission
shifts up again dependent on the selector lever position.
Nevertheless, in some cases you may have to step on the
brake pedal to slow down. In this case the cruise control
is switched off.
Use the lever to resume the previously set speed.
For malfunction and warning messages, see page 272.Transmission in position LOW
The cruise control should not be activated during off-
road driving in transfer case position LOW. Doing so
could reduce driving comfort.
J_G463.book Seite 236 Mittwoch, 19. September 2001 8:06 08
Page 240 of 385
237 Driving systems
Te ch n i c a l
data Instruments
and controlsOperationDrivingInstrument
cluster displayPractical hints Car care Index Brake assist system (BAS)The BAS is designed to maximize the vehicle’s braking
capability during emergency braking maneuvers by
having maximum power boost applied to the brakes
more quickly in emergency braking conditions than
might otherwise be afforded solely by the driver’s
braking style. This can help reduce braking distances
over what ordinary driving and braking style might do.
The BAS complements the antilock brake system (ABS).
Applying the brakes very quickly results in maximum
BAS assistance.
To receive the benefit of the system you must apply
continuous full braking power during the stopping
sequence. Do not reduce brake pedal pressure.
Once the brake pedal is released, the BAS is deactivated.
At the instant one of the wheels is about to lock up, a
slight pulsation can be felt in the brake pedal,
indicating that the ABS is in the regulating mode. Keep
firm and steady pressure on the brake pedal while
experiencing the pulsation.
Wa r n i n g !
BAS cannot prevent the natural laws of physics
from acting on the vehicle, nor can it increase
braking efficiency beyond that afforded by the
condition of the vehicle brakes and tires or the
traction afforded. The BAS cannot prevent
ac c id ent s, i nc l udi ng t hose resul tin g from exc es si ve
speed in turns, following another vehicle too
closely, or aquaplaning. Only a safe, attentive, and
skillful driver can prevent accidents. The
capabilities of a BAS equipped vehicle must never
be exploited in a reckless or dangerous manner
which could jeopardize the user’s safety or the
safety of others.
J_G463.book Seite 237 Mittwoch, 19. September 2001 8:06 08