engine oil MERCEDES-BENZ M-Class 2011 W164 Owner's Manual
[x] Cancel search | Manufacturer: MERCEDES-BENZ, Model Year: 2011, Model line: M-Class, Model: MERCEDES-BENZ M-Class 2011 W164Pages: 372, PDF Size: 16.23 MB
Page 10 of 372
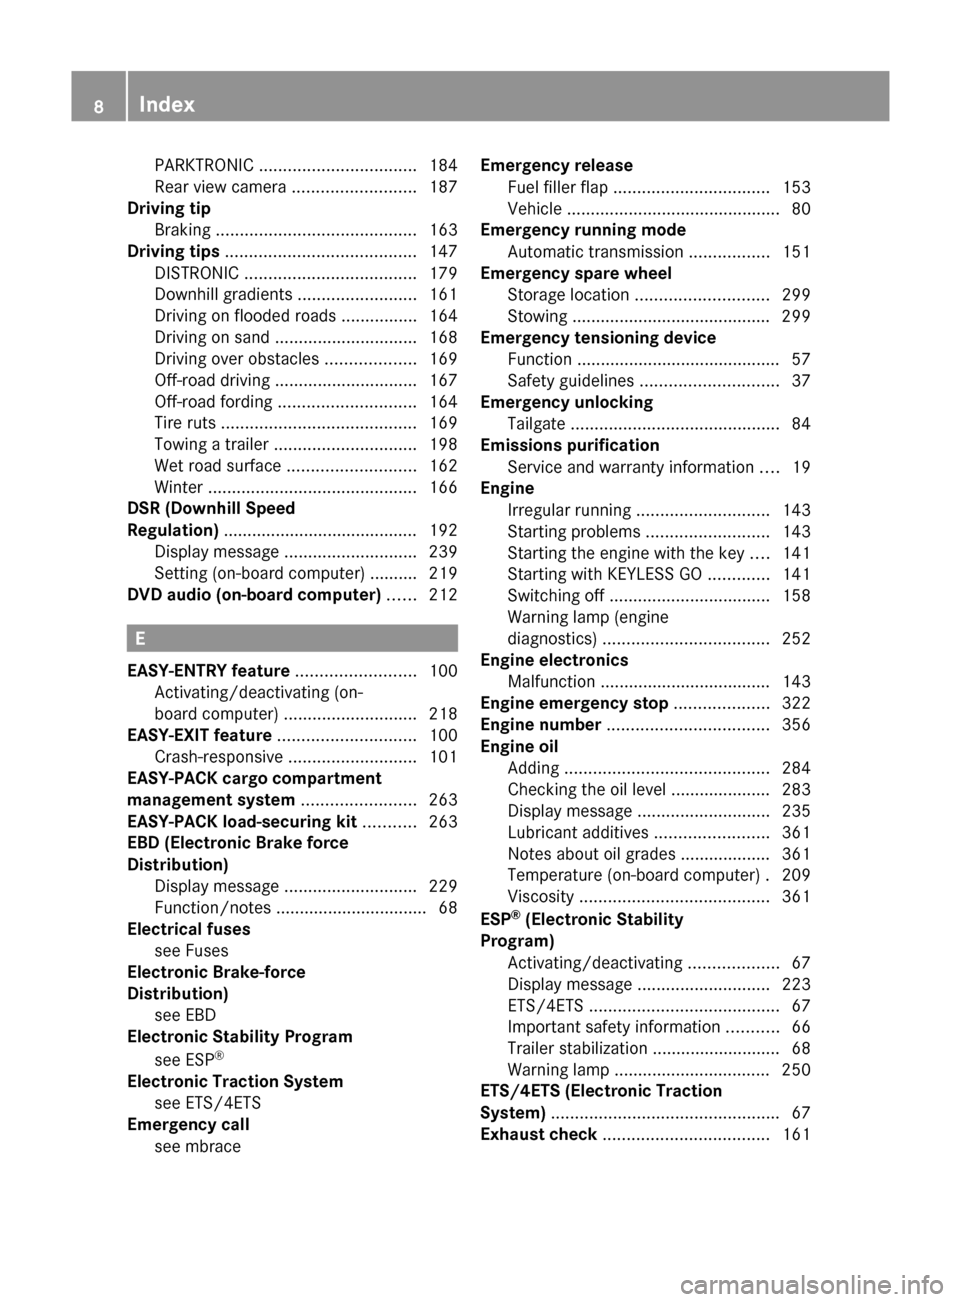
PARKTRONIC ................................. 184
Rear view camera .......................... 187
Driving tip
Braking .......................................... 163
Driving tips ........................................ 147
DISTRONIC .................................... 179
Downhill gradients .........................161
Driving on flooded roads ................164
Driving on sand .............................. 168
Driving over obstacles ...................169
Off-road driving .............................. 167
Off-road fording ............................. 164
Tire ruts ......................................... 169
Towing a trailer .............................. 198
Wet road surface ........................... 162
Winter ............................................ 166
DSR (Downhill Speed
Regulation) ......................................... 192
Display message ............................ 239
Setting (on-board computer) .......... 219
DVD audio (on-board computer) ...... 212
E
EASY-ENTRY feature ......................... 100
Activating/deactivating (on-
board computer) ............................ 218
EASY-EXIT feature ............................. 100
Crash-responsive ........................... 101
EASY-PACK cargo compartment
management system ........................ 263
EASY-PACK load-securing kit ........... 263
EBD (Electronic Brake force
Distribution) Display message ............................ 229
Function/notes ................................ 68
Electrical fuses
see Fuses
Electronic Brake-force
Distribution) see EBD
Electronic Stability Program
see ESP ®
Electronic Traction System
see ETS/4ETS
Emergency call
see mbrace
Emergency release
Fuel filler flap ................................. 153
Vehicle ............................................. 80
Emergency running mode
Automatic transmission .................151
Emergency spare wheel
Storage location ............................ 299
Stowing .......................................... 299
Emergency tensioning device
Function ........................................... 57
Safety guidelines ............................. 37
Emergency unlocking
Tailgate ............................................ 84
Emissions purification
Service and warranty information ....19
Engine
Irregular running ............................ 143
Starting problems ..........................143
Starting the engine with the key ....141
Starting with KEYLESS GO .............141
Switching off .................................. 158
Warning lamp (engine
diagnostics) ................................... 252
Engine electronics
Malfunction .................................... 143
Engine emergency stop .................... 322
Engine number .................................. 356
Engine oil Adding ........................................... 284
Checking the oil level ..................... 283
Display message ............................ 235
Lubricant additives ........................361
Notes about oil grades ................... 361
Temperature (on-board computer) . 209
Viscosity ........................................ 361
ESP ®
(Electronic Stability
Program) Activating/deactivating ...................67
Display message ............................ 223
ETS/4ETS ........................................ 67
Important safety information ...........66
Trailer stabilization ........................... 68
Warning lamp ................................. 250
ETS/4ETS (Electronic Traction
System) ................................................ 67
Exhaust check ................................... 1618IndexBA 164.1 USA, CA Edition B 2011; 1; 2, en-USd2mskotVersion: 3.0.3.52010-04-21T17:25:06+02:00 - Seite 8
Page 14 of 372
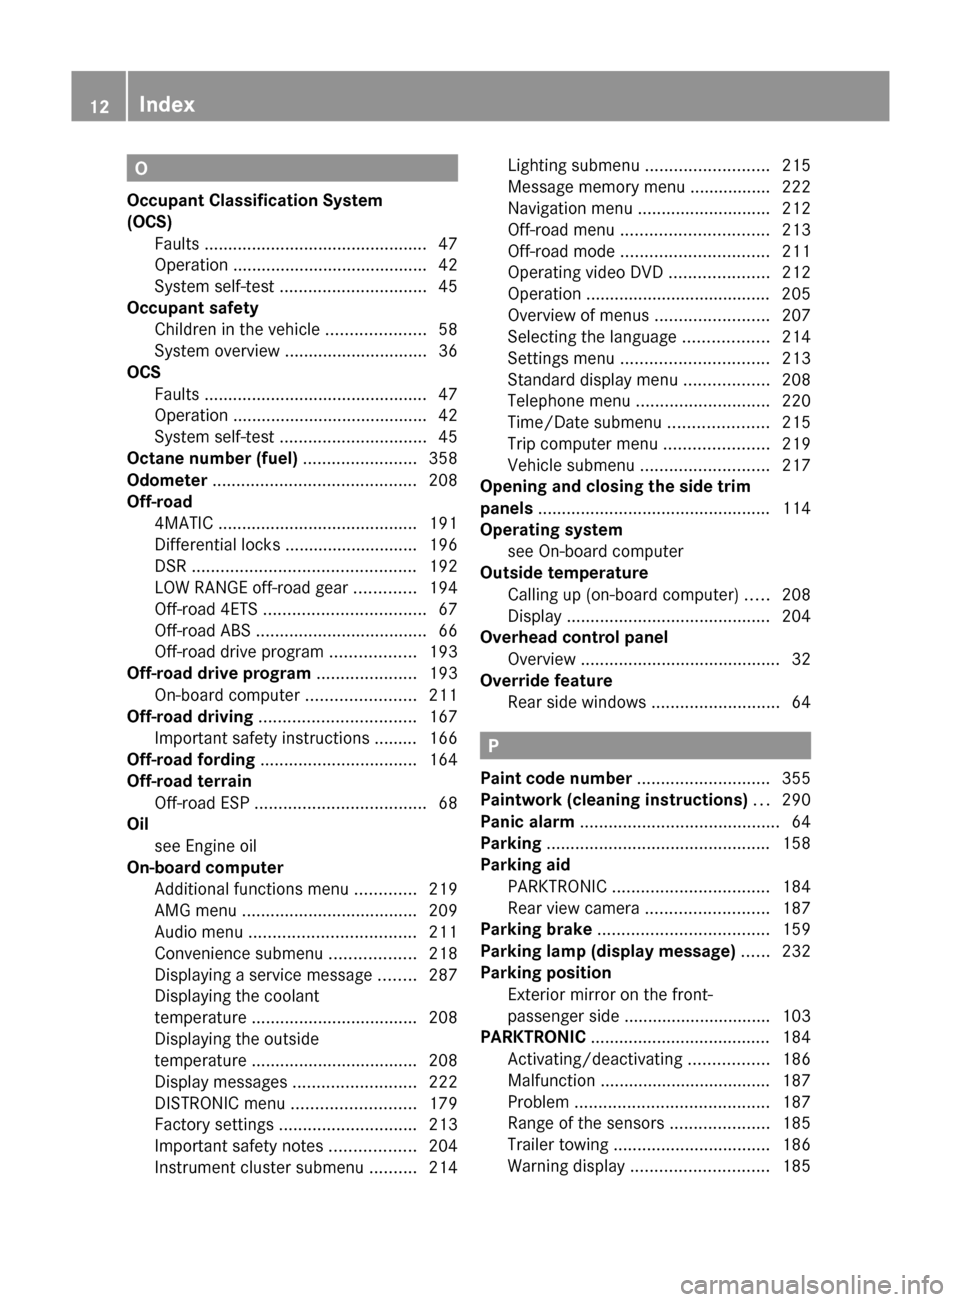
O
Occupant Classification System
(OCS) Faults ............................................... 47
Operation ......................................... 42
System self-test ............................... 45
Occupant safety
Children in the vehicle .....................58
System overview .............................. 36
OCS
Faults ............................................... 47
Operation ......................................... 42
System self-test ............................... 45
Octane number (fuel) ........................ 358
Odometer ........................................... 208
Off-road 4MATIC .......................................... 191
Differential locks ............................ 196
DSR ............................................... 192
LOW RANGE off-road gear .............194
Off-road 4ETS .................................. 67
Off-road ABS .................................... 66
Off-road drive program ..................193
Off-road drive program ..................... 193
On-board computer .......................211
Off-road driving ................................. 167
Important safety instructions ......... 166
Off-road fording ................................. 164
Off-road terrain Off-road ESP .................................... 68
Oil
see Engine oil
On-board computer
Additional functions menu .............219
AMG menu ..................................... 209
Audio menu ................................... 211
Convenience submenu ..................218
Displaying a service message ........287
Displaying the coolant
temperature ................................... 208
Displaying the outside
temperature ................................... 208
Display messages ..........................222
DISTRONIC menu .......................... 179
Factory settings ............................. 213
Important safety notes ..................204
Instrument cluster submenu ..........214Lighting submenu .......................... 215
Message memory menu ................. 222
Navigation menu ............................ 212
Off-road menu ............................... 213
Off-road mode ............................... 211
Operating video DVD .....................212
Operation ....................................... 205
Overview of menus ........................207
Selecting the language ..................214
Settings menu ............................... 213
Standard display menu ..................208
Telephone menu ............................ 220
Time/Date submenu .....................215
Trip computer menu ......................219
Vehicle submenu ........................... 217
Opening and closing the side trim
panels ................................................. 114
Operating system see On-board computer
Outside temperature
Calling up (on-board computer) .....208
Display ........................................... 204
Overhead control panel
Overview .......................................... 32
Override feature
Rear side windows ...........................64
P
Paint code number ............................ 355
Paintwork (cleaning instructions) ... 290
Panic alarm .......................................... 64
Parking ............................................... 158
Parking aid PARKTRONIC ................................. 184
Rear view camera .......................... 187
Parking brake .................................... 159
Parking lamp (display message) ...... 232
Parking position Exterior mirror on the front-
passenger side ............................... 103
PARKTRONIC ...................................... 184
Activating/deactivating .................186
Malfunction .................................... 187
Problem ......................................... 187
Range of the sensors .....................185
Trailer towing ................................. 186
Warning display ............................. 185
12IndexBA 164.1 USA, CA Edition B 2011; 1; 2, en-USd2mskotVersion: 3.0.3.52010-04-21T17:25:06+02:00 - Seite 12
Page 16 of 372
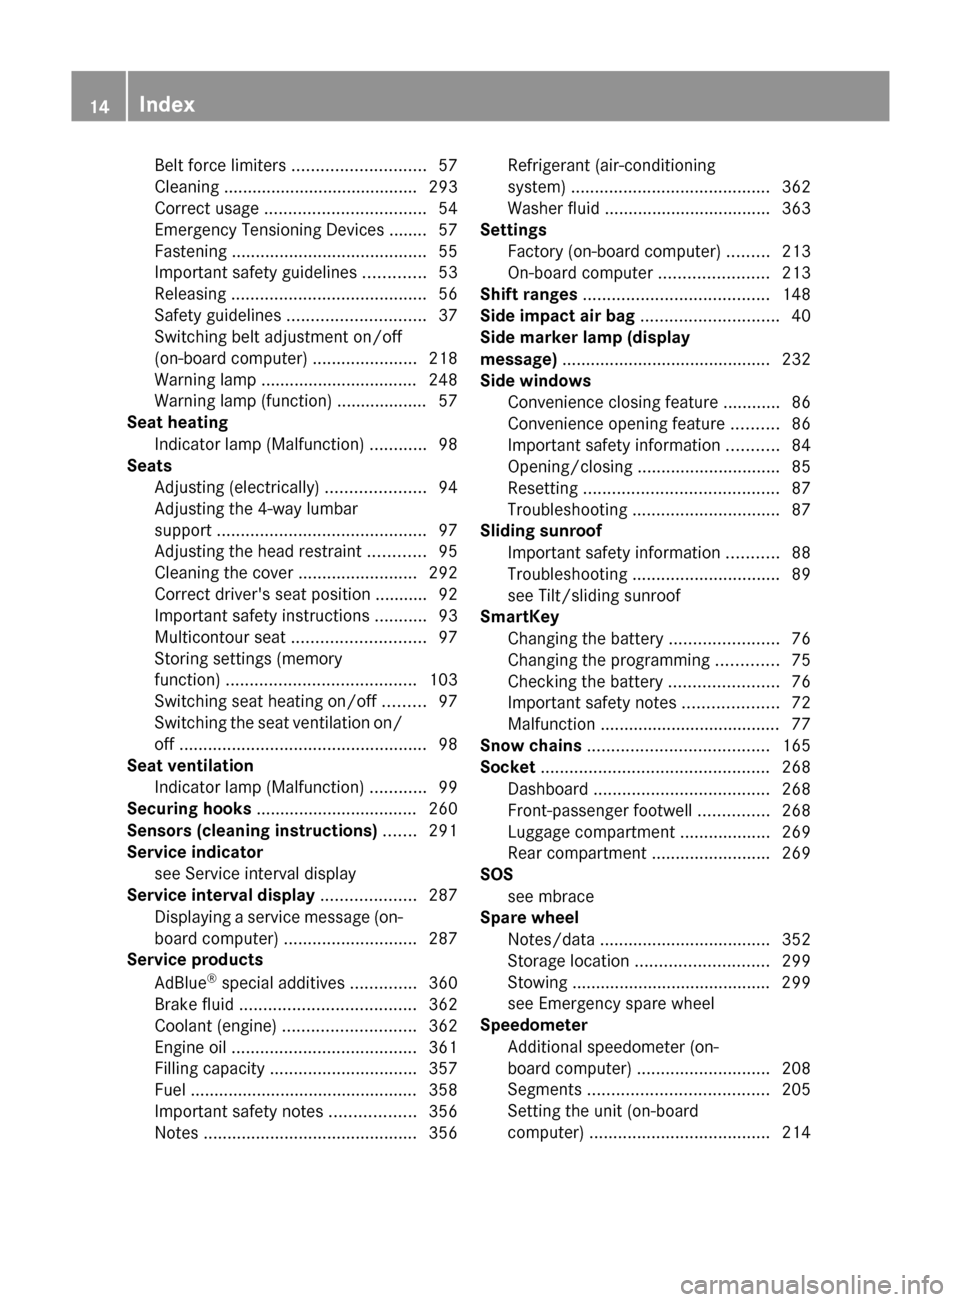
Belt force limiters ............................ 57
Cleaning ......................................... 293
Correct usage .................................. 54
Emergency Tensioning Devices ........ 57
Fastening ......................................... 55
Important safety guidelines .............53
Releasing ......................................... 56
Safety guidelines ............................. 37
Switching belt adjustment on/off
(on-board computer) ......................218
Warning lamp ................................. 248
Warning lamp (function) ................... 57
Seat heating
Indicator lamp (Malfunction) ............98
Seats
Adjusting (electrically) .....................94
Adjusting the 4-way lumbar
support ............................................ 97
Adjusting the head restraint ............95
Cleaning the cover .........................292
Correct driver's seat position ........... 92
Important safety instructions ...........93
Multicontour seat ............................ 97
Storing settings (memory
function) ........................................ 103
Switching seat heating on/off .........97
Switching the seat ventilation on/
off .................................................... 98
Seat ventilation
Indicator lamp (Malfunction) ............99
Securing hooks .................................. 260
Sensors (cleaning instructions) ....... 291
Service indicator see Service interval display
Service interval display .................... 287
Displaying a service message (on-
board computer) ............................ 287
Service products
AdBlue ®
special additives ..............360
Brake fluid ..................................... 362
Coolant (engine) ............................ 362
Engine oil ....................................... 361
Filling capacity ............................... 357
Fuel ................................................ 358
Important safety notes ..................356
Notes ............................................. 356Refrigerant (air-conditioning
system) .......................................... 362
Washer fluid ................................... 363
Settings
Factory (on-board computer) .........213
On-board computer .......................213
Shift ranges ....................................... 148
Side impact air bag ............................. 40
Side marker lamp (display
message) ............................................ 232
Side windows Convenience closing feature ............86
Convenience opening feature ..........86
Important safety information ...........84
Opening/closing .............................. 85
Resetting ......................................... 87
Troubleshooting ............................... 87
Sliding sunroof
Important safety information ...........88
Troubleshooting ............................... 89
see Tilt/sliding sunroof
SmartKey
Changing the battery .......................76
Changing the programming .............75
Checking the battery .......................76
Important safety notes ....................72
Malfunction ...................................... 77
Snow chains ...................................... 165
Socket ................................................ 268
Dashboard ..................................... 268
Front-passenger footwell ...............268
Luggage compartment ...................269
Rear compartment .........................269
SOS
see mbrace
Spare wheel
Notes/data .................................... 352
Storage location ............................ 299
Stowing .......................................... 299
see Emergency spare wheel
Speedometer
Additional speedometer (on-
board computer) ............................ 208
Segments ...................................... 205
Setting the unit (on-board
computer) ...................................... 21414IndexBA 164.1 USA, CA Edition B 2011; 1; 2, en-USd2mskotVersion: 3.0.3.52010-04-21T17:25:06+02:00 - Seite 14
Page 18 of 372
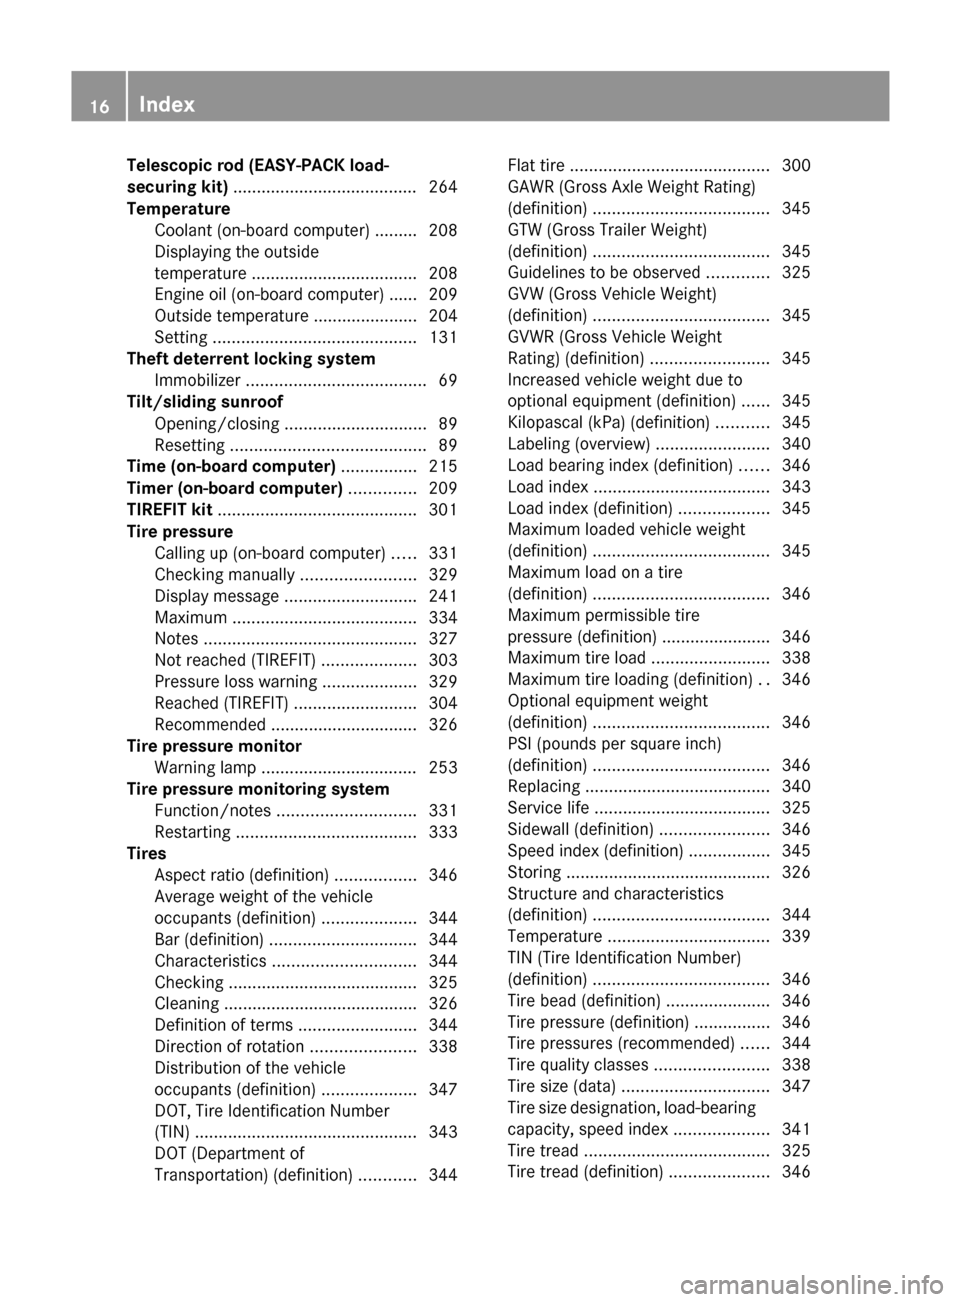
Telescopic rod (EASY-PACK load-
securing kit) ....................................... 264
Temperature Coolant (on-board computer) ......... 208
Displaying the outside
temperature ................................... 208
Engine oil (on-board computer) ...... 209
Outside temperature ...................... 204
Setting ........................................... 131
Theft deterrent locking system
Immobilizer ...................................... 69
Tilt/sliding sunroof
Opening/closing .............................. 89
Resetting ......................................... 89
Time (on-board computer) ................ 215
Timer (on-board computer) .............. 209
TIREFIT kit .......................................... 301
Tire pressure Calling up (on-board computer) .....331
Checking manually ........................329
Display message ............................ 241
Maximum ....................................... 334
Notes ............................................. 327
Not reached (TIREFIT) ....................303
Pressure loss warning ....................329
Reached (TIREFIT) ..........................304
Recommended ............................... 326
Tire pressure monitor
Warning lamp ................................. 253
Tire pressure monitoring system
Function/notes ............................. 331
Restarting ...................................... 333
Tires
Aspect ratio (definition) .................346
Average weight of the vehicle
occupants (definition) ....................344
Bar (definition) ............................... 344
Characteristics .............................. 344
Checking ........................................ 325
Cleaning ......................................... 326
Definition of terms .........................344
Direction of rotation ......................338
Distribution of the vehicle
occupants (definition) ....................347
DOT, Tire Identification Number
(TIN) ............................................... 343
DOT (Department of
Transportation) (definition) ............344Flat tire .......................................... 300
GAWR (Gross Axle Weight Rating)
(definition) ..................................... 345
GTW (Gross Trailer Weight)
(definition) ..................................... 345
Guidelines to be observed .............325
GVW (Gross Vehicle Weight)
(definition) ..................................... 345
GVWR (Gross Vehicle Weight
Rating) (definition) .........................345
Increased vehicle weight due to
optional equipment (definition) ......345
Kilopascal (kPa) (definition) ...........345
Labeling (overview) ........................340
Load bearing index (definition) ......346
Load index ..................................... 343
Load index (definition) ...................345
Maximum loaded vehicle weight
(definition) ..................................... 345
Maximum load on a tire
(definition) ..................................... 346
Maximum permissible tire
pressure (definition) ....................... 346
Maximum tire load .........................338
Maximum tire loading (definition) ..346
Optional equipment weight
(definition) ..................................... 346
PSI (pounds per square inch)
(definition) ..................................... 346
Replacing ....................................... 340
Service life ..................................... 325
Sidewall (definition) .......................346
Speed index (definition) .................345
Storing ........................................... 326
Structure and characteristics
(definition) ..................................... 344
Temperature .................................. 339
TIN (Tire Identification Number)
(definition) ..................................... 346
Tire bead (definition) ......................346
Tire pressure (definition) ................346
Tire pressures (recommended) ......344
Tire quality classes ........................338
Tire size (data) ............................... 347
Tire size designation, load-bearing
capacity, speed index ....................341
Tire tread ....................................... 325
Tire tread (definition) .....................34616IndexBA 164.1 USA, CA Edition B 2011; 1; 2, en-USd2mskotVersion: 3.0.3.52010-04-21T17:25:06+02:00 - Seite 16
Page 28 of 372
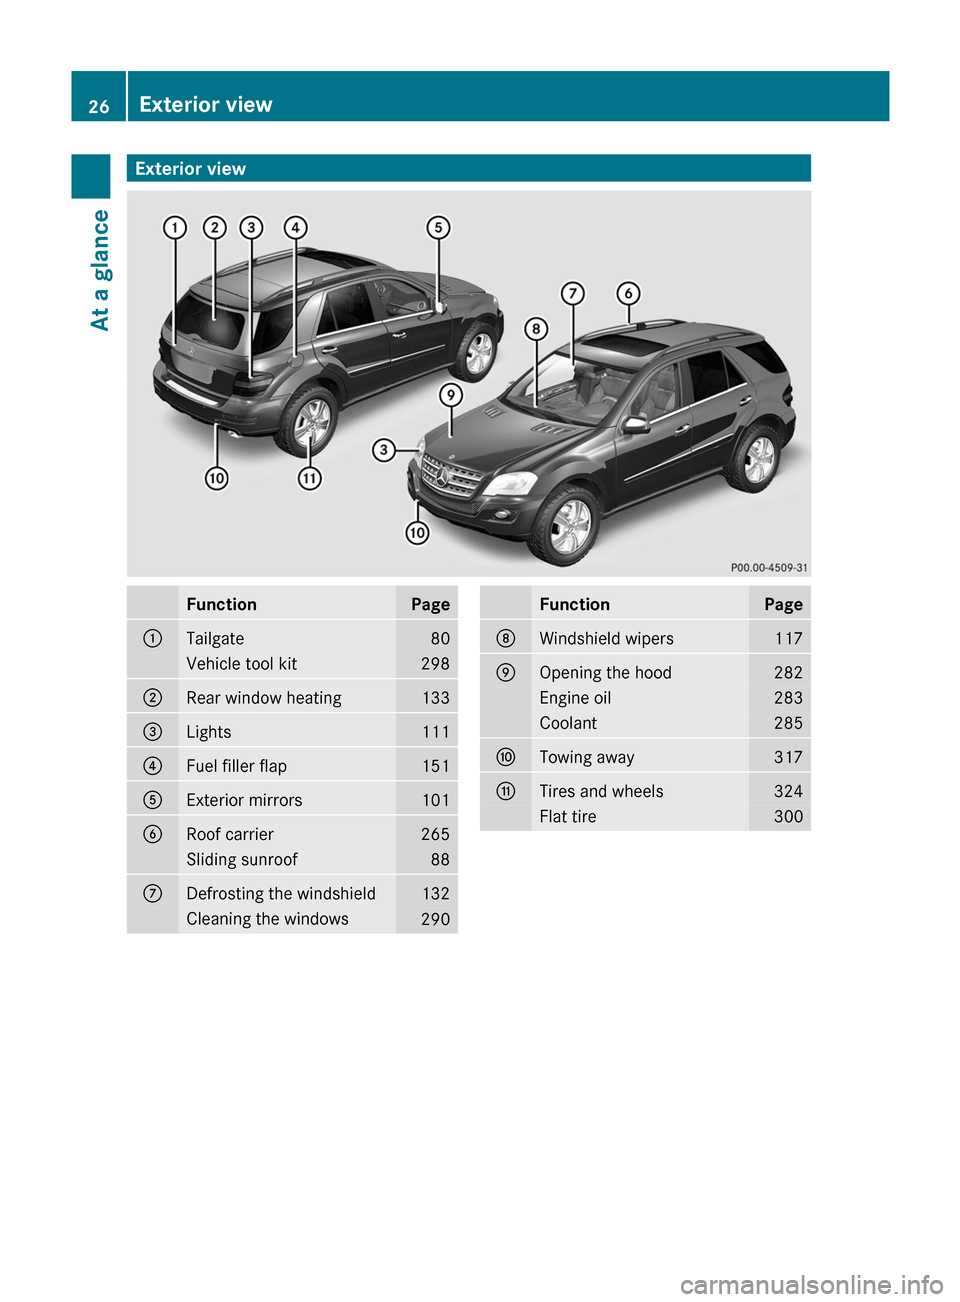
Exterior viewFunctionPage:Tailgate80Vehicle tool kit298;Rear window heating133=Lights111?Fuel filler flap151AExterior mirrors101BRoof carrier265Sliding sunroof88CDefrosting the windshield132Cleaning the windows290FunctionPageDWindshield wipers117EOpening the hood282Engine oil283Coolant285FTowing away317GTires and wheels324Flat tire30026Exterior viewAt a glance
BA 164.1 USA, CA Edition B 2011; 1; 2, en-USd2mskotVersion: 3.0.3.52010-04-21T17:25:06+02:00 - Seite 26
Page 76 of 372
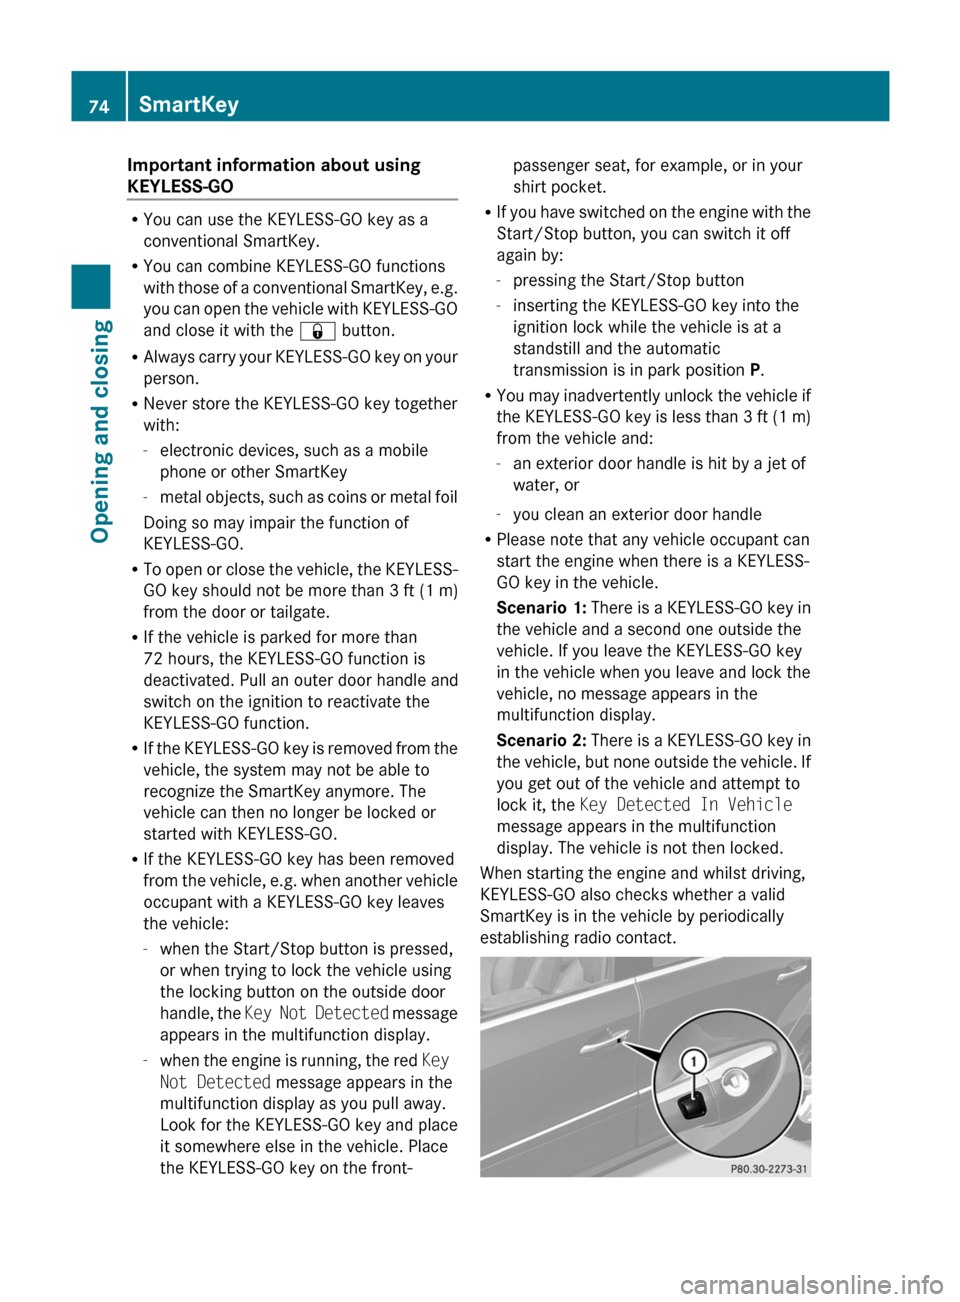
Important information about using
KEYLESS-GO
R You can use the KEYLESS-GO key as a
conventional SmartKey.
R You can combine KEYLESS-GO functions
with those of a conventional SmartKey, e.g.
you can open the vehicle with KEYLESS-GO
and close it with the & button.
R Always carry your KEYLESS-GO key on your
person.
R Never store the KEYLESS-GO key together
with:
- electronic devices, such as a mobile
phone or other SmartKey
- metal objects, such as coins or metal foil
Doing so may impair the function of
KEYLESS-GO.
R To open or close the vehicle, the KEYLESS-
GO key should not be more than 3 ft (1 m)
from the door or tailgate.
R If the vehicle is parked for more than
72 hours, the KEYLESS-GO function is
deactivated. Pull an outer door handle and
switch on the ignition to reactivate the
KEYLESS-GO function.
R If the KEYLESS-GO key is removed from the
vehicle, the system may not be able to
recognize the SmartKey anymore. The
vehicle can then no longer be locked or
started with KEYLESS-GO.
R If the KEYLESS-GO key has been removed
from the vehicle, e.g. when another vehicle
occupant with a KEYLESS-GO key leaves
the vehicle:
- when the Start/Stop button is pressed,
or when trying to lock the vehicle using
the locking button on the outside door
handle, the Key Not Detected message
appears in the multifunction display.
- when the engine is running, the red Key
Not Detected message appears in the
multifunction display as you pull away.
Look for the KEYLESS-GO key and place
it somewhere else in the vehicle. Place
the KEYLESS-GO key on the front-
passenger seat, for example, or in your
shirt pocket.
R If you have switched on the engine with the
Start/Stop button, you can switch it off
again by:
- pressing the Start/Stop button
- inserting the KEYLESS-GO key into the
ignition lock while the vehicle is at a
standstill and the automatic
transmission is in park position P.
R You may inadvertently unlock the vehicle if
the KEYLESS-GO key is less than 3 ft (1 m)
from the vehicle and:
- an exterior door handle is hit by a jet of
water, or
- you clean an exterior door handle
R Please note that any vehicle occupant can
start the engine when there is a KEYLESS-
GO key in the vehicle.
Scenario 1: There is a KEYLESS-GO key in
the vehicle and a second one outside the
vehicle. If you leave the KEYLESS-GO key
in the vehicle when you leave and lock the
vehicle, no message appears in the
multifunction display.
Scenario 2: There is a KEYLESS-GO key in
the vehicle, but none outside the vehicle. If
you get out of the vehicle and attempt to
lock it, the Key Detected In Vehicle
message appears in the multifunction
display. The vehicle is not then locked.
When starting the engine and whilst driving,
KEYLESS-GO also checks whether a valid
SmartKey is in the vehicle by periodically
establishing radio contact.74SmartKeyOpening and closing
BA 164.1 USA, CA Edition B 2011; 1; 2, en-USd2mskotVersion: 3.0.3.52010-04-21T17:25:06+02:00 - Seite 74
Page 141 of 372
Instructions included in your vehicle literature
portfolio. You may otherwise not receive all
necessary safety information and warning for
the operation of your vehicle.
! Warm up the engine quickly. Do not use
the engine's full performance until it has
reached operating temperature.
Only shift the automatic transmission to
the desired drive position when the vehicle
is stationary.
Where possible, avoid spinning the drive
wheels when pulling away on slippery
roads. You could otherwise damage the
drive train.
! AMG vehicles: at low engine oil
temperatures (below 68 ‡ (+20 †), the
maximum engine speed is restricted in
order to protect the engine. To protect the
engine and maintain smooth engine
operation, avoid driving at full throttle when
the engine is cold.
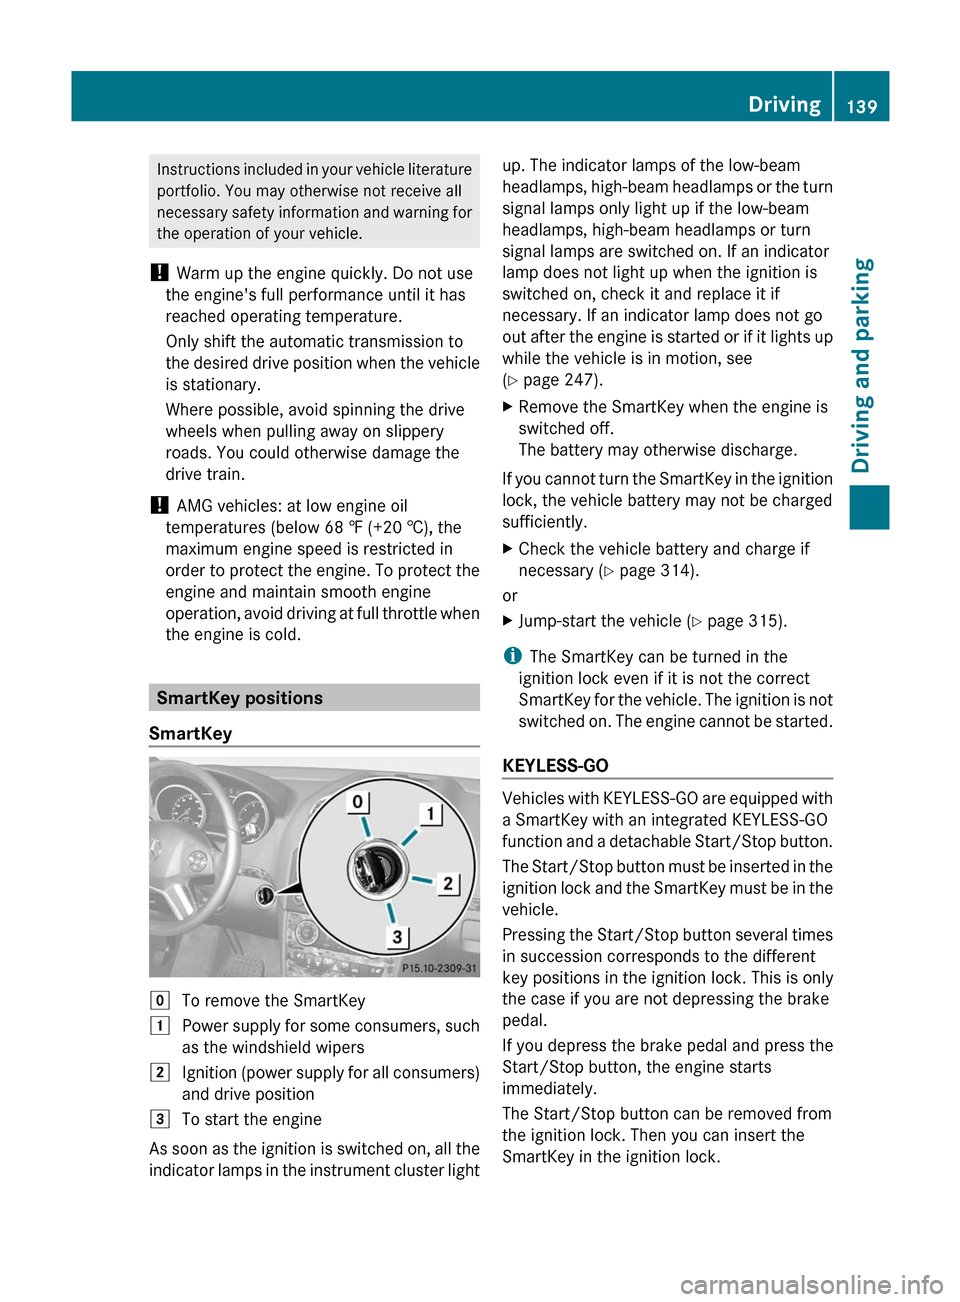
SmartKey positions
SmartKey
gTo remove the SmartKey1Power supply for some consumers, such
as the windshield wipers2Ignition (power supply for all consumers)
and drive position3To start the engine
As soon as the ignition is switched on, all the
indicator lamps in the instrument cluster light
up. The indicator lamps of the low-beam
headlamps, high-beam headlamps or the turn
signal lamps only light up if the low-beam
headlamps, high-beam headlamps or turn
signal lamps are switched on. If an indicator
lamp does not light up when the ignition is
switched on, check it and replace it if
necessary. If an indicator lamp does not go
out after the engine is started or if it lights up
while the vehicle is in motion, see
( Y page 247).XRemove the SmartKey when the engine is
switched off.
The battery may otherwise discharge.
If you cannot turn the SmartKey in the ignition
lock, the vehicle battery may not be charged
sufficiently.
XCheck the vehicle battery and charge if
necessary ( Y page 314).
or
XJump-start the vehicle ( Y page 315).
i
The SmartKey can be turned in the
ignition lock even if it is not the correct
SmartKey for the vehicle. The ignition is not
switched on. The engine cannot be started.
KEYLESS-GO
Vehicles with KEYLESS-GO are equipped with
a SmartKey with an integrated KEYLESS-GO
function and a detachable Start/Stop button.
The Start/Stop button must be inserted in the
ignition lock and the SmartKey must be in the
vehicle.
Pressing the Start/Stop button several times
in succession corresponds to the different
key positions in the ignition lock. This is only
the case if you are not depressing the brake
pedal.
If you depress the brake pedal and press the
Start/Stop button, the engine starts
immediately.
The Start/Stop button can be removed from
the ignition lock. Then you can insert the
SmartKey in the ignition lock.
Driving139Driving and parkingBA 164.1 USA, CA Edition B 2011; 1; 2, en-USd2mskotVersion: 3.0.3.52010-04-21T17:25:06+02:00 - Seite 139Z
Page 154 of 372
GWarning!
HYBRID vehicles: It is imperative that you read
the HYBRID Supplemental Operating
Instructions included in your vehicle literature
portfolio. You may otherwise not receive all
necessary safety information and warning for
the operation of your vehicle.
GWarning!
Do not fill diesel tanks with gasoline. Do not
mix diesel fuel with gasoline. Otherwise the
fuel system and engine could be damaged. In
addition, the vehicle could catch fire.
! Do not use gasoline to refuel vehicles with
a diesel engine. Do not use diesel to refuel
vehicles with a gasoline engine. Even small
amounts of the wrong fuel result in damage
to the fuel system and engine.
! Do not start the engine if you accidentally
refuel with the wrong fuel. Otherwise, the
fuel could enter the fuel lines. This would
require draining of the fuel tank and fuel
lines. Notify a qualified specialist workshop
and have the fuel tank and fuel lines
drained completely.
Gasoline
Fuel grade
! You should only refuel with unleaded
premium-grade gasoline as this avoids
damaging the catalytic converter.
If engine running problems are apparent,
have the cause checked immediately and
repaired. Excess unburned fuel can
otherwise enter the catalytic converter,
leading to overheating and possibly
causing a fire.
i Only refuel with unleaded premium-grade
gasoline with a specified minimum octane
number of 91 (average value of 96 RON/
86 MON).
Usually you will find information about the
fuel grade on the pump. If you cannot find
the label on the gasoline pump, ask the gas
station staff.
You can find further information under
"Fuel" ( Y page 358), by consulting an
authorized Mercedes-Benz Center or
visiting http://www.mbusa.com (USA
only).
Diesel
Fuel grade
! Only refuel with ULTRA-LOW SULFUR
DIESEL FUEL (ULSD, 15 ppm SULFUR
MAXIMUM). Using other diesel fuels could
result in increased wear and damage to the
engine and/or exhaust system.
Never refuel with marine diesel or heating
oil.
Do not mix these fuels with diesel fuels and
do not use any special additives, as this
may result in damage.
! When refueling using a fuel can, use a
filter or use a clean cloth as a filter.
Otherwise, particles from the fuel can may
block the fuel lines and/or the diesel
injection system.
i Refuel only with ULTRA-LOW SULFUR
DIESEL FUEL (ULSD, 15 ppm SULFUR
MAXIMUM).
Usually you will find information about the
fuel grade on the pump. If you cannot find
the label on the gasoline pump, ask the gas
station staff.
You can find further information under
"Fuel" ( Y page 358), by consulting an
authorized Mercedes-Benz Center or by
visiting http://www.mbusa.com (USA
only).
Low outside temperatures
! Do not use gasoline to refuel vehicles with
a diesel engine. Never mix diesel with
gasoline or kerosene, as this may result in
damage to the engine or fuel system.
152RefuelingDriving and parking
BA 164.1 USA, CA Edition B 2011; 1; 2, en-USd2mskotVersion: 3.0.3.52010-04-21T17:25:06+02:00 - Seite 152
Page 155 of 372
Diesel fuel with improved cold flow properties
is available during the winter months. Further
information on fuel properties can be
obtained from oil companies, e.g. at filling
stations.
Refueling
Fuel filler flap
The fuel filler flap is unlocked or locked
automatically when you open or close the
vehicle with the SmartKey or using KEYLESS-
GO.
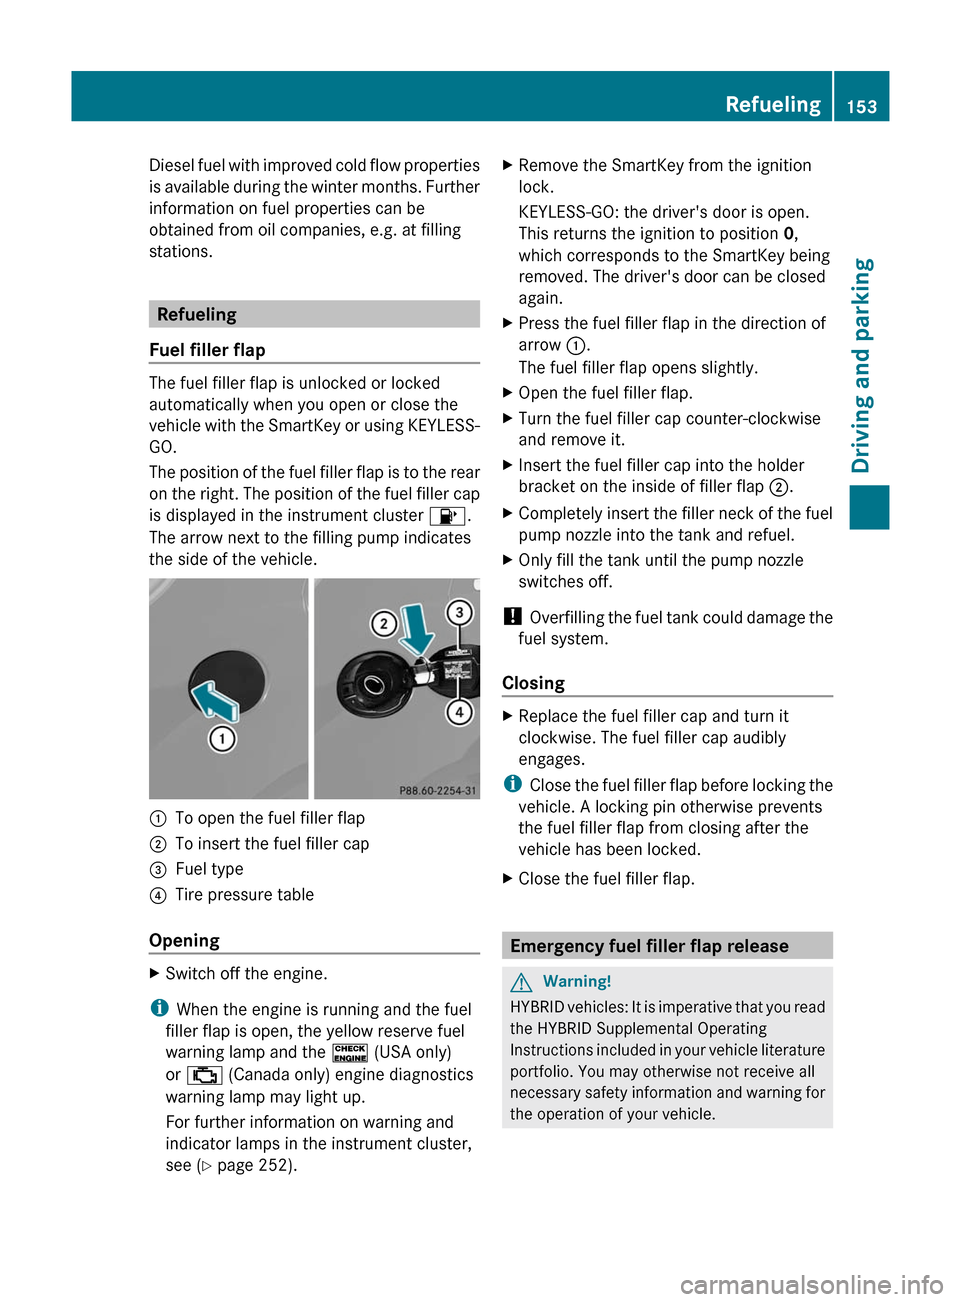
The position of the fuel filler flap is to the rear
on the right. The position of the fuel filler cap
is displayed in the instrument cluster 8.
The arrow next to the filling pump indicates
the side of the vehicle.
:To open the fuel filler flap;To insert the fuel filler cap=Fuel type?Tire pressure table
Opening
XSwitch off the engine.
i When the engine is running and the fuel
filler flap is open, the yellow reserve fuel
warning lamp and the ! (USA only)
or ; (Canada only) engine diagnostics
warning lamp may light up.
For further information on warning and
indicator lamps in the instrument cluster,
see ( Y page 252).
XRemove the SmartKey from the ignition
lock.
KEYLESS-GO: the driver's door is open.
This returns the ignition to position 0,
which corresponds to the SmartKey being
removed. The driver's door can be closed
again.XPress the fuel filler flap in the direction of
arrow :.
The fuel filler flap opens slightly.XOpen the fuel filler flap.XTurn the fuel filler cap counter-clockwise
and remove it.XInsert the fuel filler cap into the holder
bracket on the inside of filler flap ;.XCompletely insert the filler neck of the fuel
pump nozzle into the tank and refuel.XOnly fill the tank until the pump nozzle
switches off.
! Overfilling the fuel tank could damage the
fuel system.
Closing
XReplace the fuel filler cap and turn it
clockwise. The fuel filler cap audibly
engages.
i Close the fuel filler flap before locking the
vehicle. A locking pin otherwise prevents
the fuel filler flap from closing after the
vehicle has been locked.
XClose the fuel filler flap.
Emergency fuel filler flap release
GWarning!
HYBRID vehicles: It is imperative that you read
the HYBRID Supplemental Operating
Instructions included in your vehicle literature
portfolio. You may otherwise not receive all
necessary safety information and warning for
the operation of your vehicle.
Refueling153Driving and parkingBA 164.1 USA, CA Edition B 2011; 1; 2, en-USd2mskotVersion: 3.0.3.52010-04-21T17:25:06+02:00 - Seite 153Z
Page 163 of 372
Do not turn off the engine while the vehicle is
in motion.
Exhaust checkGWarning
Inhalation of exhaust gas is hazardous to your
health. All exhaust gas contains carbon
monoxide (CO), and inhaling it can cause
unconsciousness and possible death.
Do not run the engine in confined areas (such
as a garage) which are not properly ventilated.
If you think that exhaust gas fumes are
entering the vehicle while driving, have the
cause determined and corrected
immediately. If you must drive under these
conditions, drive only with at least one
window fully open at all times.
Certain engine systems are designed to keep
the level of poisonous components in exhaust
fumes within legal limits.
These systems only work optimally if they are
maintained exactly in accordance with the
manufacturer's specifications. For this
reason, all work on the engine must be carried
out by qualified and authorized Mercedes-
Benz technicians.
The engine settings must not be changed in
any circumstances. Furthermore, all specific
service work must be carried out at regular
intervals and in accordance with the
Mercedes-Benz service requirements. Details
can be found in the Service Booklet.
Engine oil
! Vehicles with a diesel particle filter:
If the vehicle is mostly driven for short
distances, it is possible that malfunctions
may occur during the automatic cleaning of
the diesel particle filter. This can lead to
engine damage. Therefore, if you frequently
drive short distances, make sure to drive
on highways or country roads for 20
minutes at least every 500 km.
Brakes
Important safety guidelinesGWarning
On slippery road surfaces, never downshift in
order to obtain braking action. This could
result in drive wheel slip and reduced vehicle
control. Your vehicle's ABS will not prevent
this type of loss of control.
GWarning
Make sure that you do not endanger other
road users when you apply the brakes.
Downhill gradients
! On long and steep gradients, you must
reduce the cargo on the brakes by shifting
to a lower gear in good time. This allows
you to take advantage of engine braking
and helps you to avoid overheating the
brakes and wearing them out excessively.
When you take advantage of engine
braking, a drive wheel may not turn for
some time, e.g. on a slippery road surface.
This could cause damage to the drive train.
Such damage is not covered by the
Mercedes-Benz warranty.
Heavy and light loads
GWarning
Depressing the brake pedal constantly results
in excessive and premature wear to the brake
pads.
It may also cause the brakes to overheat,
seriously impairing their effectiveness. It may
then not be possible to stop the vehicle in
sufficient time to avoid an accident.
If the brakes have been subjected to a heavy
cargo, do not stop the vehicle immediately,
but drive on for a short while. This allows the
airflow to cool the brakes more quickly.
Driving tips161Driving and parkingBA 164.1 USA, CA Edition B 2011; 1; 2, en-USd2mskotVersion: 3.0.3.52010-04-21T17:25:06+02:00 - Seite 161Z