display MERCEDES-BENZ S-Class 2014 W222 Comand Manual
[x] Cancel search | Manufacturer: MERCEDES-BENZ, Model Year: 2014, Model line: S-Class, Model: MERCEDES-BENZ S-Class 2014 W222Pages: 278, PDF Size: 6.65 MB
Page 153 of 278
Calling a telephone number
X
To select the telephone number data field:
turn the controller and press to confirm.
This initiates dialing and you can then make
your call (Y page 132).
Sending text messages X
To select a telephone number: turn the
controller.
X To select the list symbol to the right of the
data field: slide 00520096the controller and
press to confirm.
X To select Send Text Message
Send Text Message: turn the
controller and press to confirm.
The text message input menu appears
(Y page 145).
Sending e-mail X
To select the e-mail address: turn the
controller.
X To select the list symbol to the right of the
data field: slide 00520096the controller and
press to confirm.
X To select Send E-Mail
Send E-Mail : turn the controller
and press to confirm.
The e-mail input menu appears
(Y page 145).
Displaying sub-entry information X
To select the desired data field: turn the
controller.
X To select the list symbol to the right of the
data field: slide 00520096the controller and
press to confirm.
X To select Details
Details: turn and press the
controller.
The display is shown in full.
X To close the detailed display: press the
0038 button. Changing an address book entry X
To select the desired data field: turn the
controller.
X To select the list symbol to the right of the
data field: slide 00520096the controller and
press to confirm.
X To select Edit Edit: slide the controller and
press to confirm.
The input screen for the selected data field
appears.
Information about character entry
(Y page 30).
Changing the category of a data field X
To select the desired data field: turn the
controller.
X To select the list symbol to the right of the
data field: slide 00520096the controller and
press to confirm.
X To select Change Category Change Category: turn the
controller and press to confirm.
X To select a category: turn the controller and
press to confirm. Storing the phone number as a speed
dial number
X Call up the address book (Y page 148).
X Select an entry: turn and press the
controller.
The address book entry with all data fields
appears.
X To select the desired telephone number
data field: turn the controller.
X To select the list symbol to the right of the
data field: slide 00520096the controller and
press to confirm.
X To select Speed Dial Speed Dial: turn the controller
and press to confirm.
You can now store the number in one of the
ten speed dial presets (Y page 141). Using the address book
151Telephone Z
Page 155 of 278
Listening to a voice tag
X
Search for an address book entry with a
voice tag (Y page 149).
X To select the list symbol to the right of the
entry: slide 00520096the controller and press to
confirm.
X To select Voice Tag
Voice Tag : turn the controller
and press to confirm.
X To select Voice Tag
Voice Tag : turn the controller
and press to confirm.
X To select Listen
Listen turn the controller and
press to confirm.
You hear the voice tag. Importing phone book entries
This function allows you to store phone book
entries from the mobile phone in the address
book.
The following can be used as a source:
R the mobile phone
R the memory card
R the USB device
R the Bluetooth ®
Interface
Imported phone book entries are indicated in
the phone book by different symbols
(Y page 135).
X Search for an entry in the phone book on
the mobile phone 0034(Ypage 135).
X To select the list symbol to the right of the
entry: slide 00520096the controller and press to
confirm.
X To select Do you want to save the Do you want to save the
entry? entry? : turn the controller and press to
confirm.
The Data Saved Data Saved message appears. The
phone book entry is now saved as an
address book entry.
The 0034symbol is replaced by the ¥
symbol.
R Contacts marked with the ¥symbol are
accessible to all COMAND users, regardless of the mobile phone
connected.
R Saving or editing the contact data on
COMAND does not change the contacts
on the mobile phone. If automatic
downloading of phone contacts is
activated, COMAND displays the copy
¥ with the changed data. To add
additional data, such as additional phone
numbers or e-mail addresses, select this
contact. In this way, you avoid creating
additional copies of the mobile phone
entry. Importing contacts
Information and requirements You can import contacts (vCards) from the
memory card and a USB device into the
address book, or receive vCards via
Bluetooth
®
.
i Up to 2000 entries can be imported into
the address book. A message notifies you
when the maximum number is reached.
You then have to delete existing entries in
order to import new entries (Y page 150).
Depending on the source of the contact data,
different requirements apply: Source Prerequisites
Memory card The SD memory card is
inserted. It contains
importable contact details.
USB device The USB device is inserted
into the USB port. It
contains importable
contact details.
Requirements for receiving vCards via
Bluetooth
®
You can receive vCards from devices (e.g.
from a PC) that support the sending of vCards
via Bluetooth ®
. Using the address book
153Telephone Z
Page 156 of 278
It is not necessary to authorize the device in
COMAND to do so.
Please bear the following in mind:
R Bluetooth ®
must be activated in COMAND
and on the Bluetooth ®
device, see the
operating instructions for the device.
R the Bluetooth ®
device must be able to send
vCards via Bluetooth ®
(see operating
instructions for the device).
R the Bluetooth ®
device in the vehicle must
be switched on.
Importing from the memory card or USB
device Entries imported from the memory card or
from a USB device have the 00BBsymbol.
The following conditions must be fulfilled in
order to import vCards:
R vCards (vcf files) may be located in the main
directory or in folders. COMAND allows you
to select the relevant folders directly.
R vCards must have the file extension ".vcf".
i One vcf file may contain several vCards.
COMAND supports vCards in versions 2.1
and 3.0.
X To change to the menu bar when in the
address book or the telephone basic menu:
slide 00520064the controller.
X To select Options
Options: turn and press the
controller.
X To select Import Contacts
Import Contacts: turn the
controller and press to confirm.
A menu appears.
X To select From
From Memory Memory Card
CardorFrom
From USB
USB
Device
Device in the menu: turn the controller and
press to confirm. Receiving vCards via Bluetooth
® X
To change to the menu bar when in the
address book or the telephone basic menu:
slide 00520064the controller.
X To select Options Options: turn and press the
controller.
X To select Import Contacts
Import Contacts: turn the
controller and press to confirm.
A menu appears.
X To select From Bluetooth Device From Bluetooth Device: turn
the controller and press to confirm.
This interrupts the Bluetooth ®
connection
between COMAND and your active mobile
phone. COMAND is, however, ready to
receive vCards from another Bluetooth ®
device (PC, mobile phone).
X Start the data transfer on the external
Bluetooth ®
device (see the operating
instructions for the device).
The number of vCards received is
displayed.
X To end reception: press the controller or
the 0038 button.
COMAND then reconnects to the mobile
phone.
Received vCards are identified by the 00BA
symbol in the address book.
i If you switch to another main function,
e.g. navigation, while receiving vCards, the
reception of vCards will be terminated.
Deleting contacts X
To change to the menu bar when in the
address book or the basic telephone menu:
slide 00520064the controller.
X To select Options Options: turn and press the
controller.
X To select Delete Contacts
Delete Contacts: turn the
controller and press to confirm.
X Select one of the following options:
R
Internal Contacts Internal Contacts
R Imported From Storage Devices
Imported From Storage Devices 154
Using the address bookTelephone
Page 157 of 278
R
Imported via Bluetooth devices
Imported via Bluetooth devices
R Downloaded From Phone
Downloaded From Phone
Turn and press the controller.
A prompt corresponding to your selection
appears.
X To select Yes YesorNo
No: turn the controller and
press to confirm.
If you select Yes
Yes, the contacts are deleted
according to your selection.
If you select No
No, the process will be
canceled.
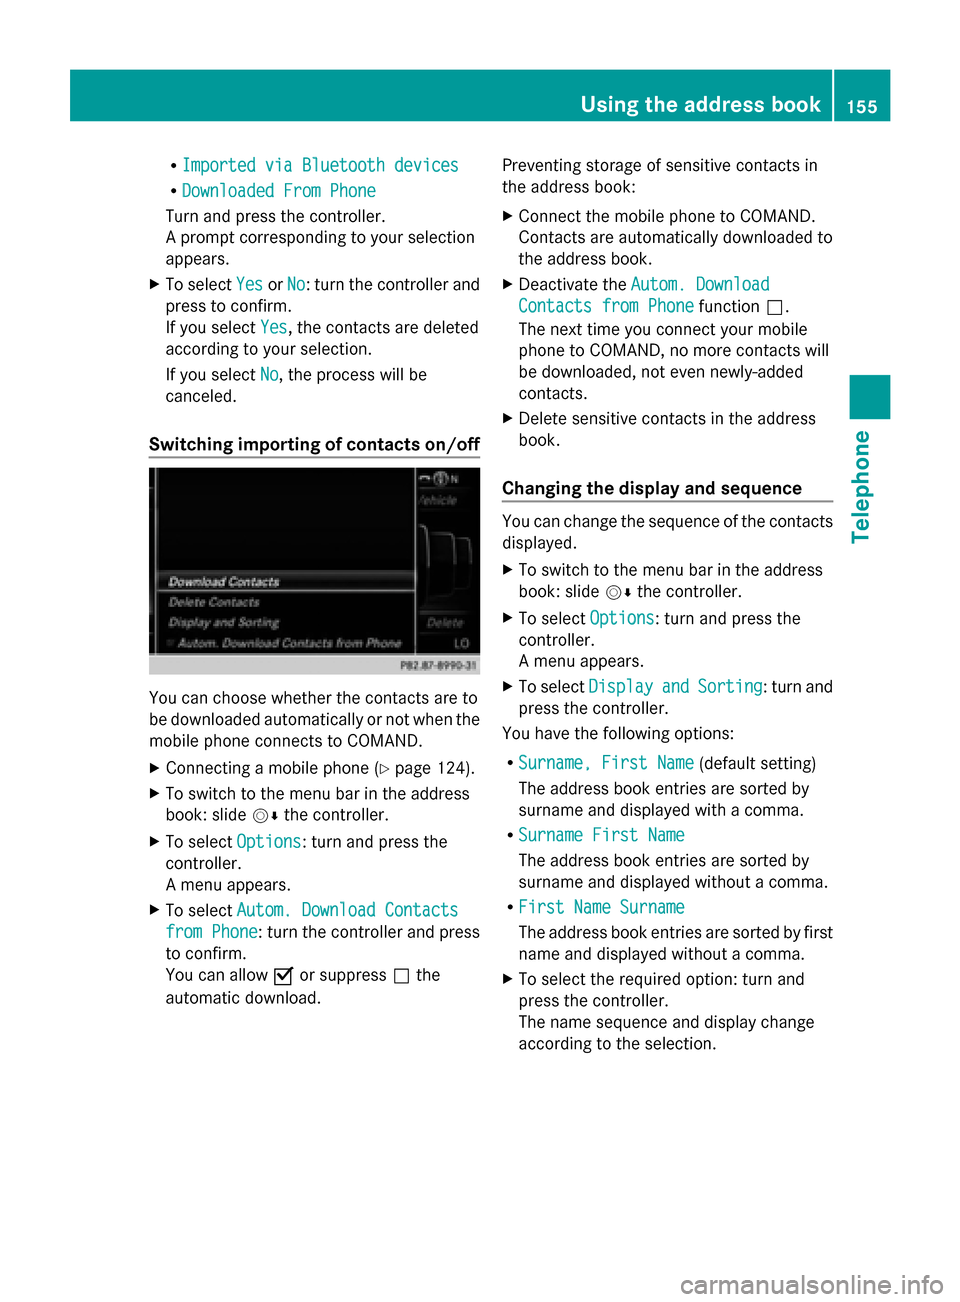
Switching importing of contacts on/off You can choose whether the contacts are to
be downloaded automatically or not when the
mobile phone connects to COMAND.
X
Connecting a mobile phone (Y page 124).
X To switch to the menu bar in the address
book: slide 00520064the controller.
X To select Options Options: turn and press the
controller.
A menu appears.
X To select Autom. Download Contacts Autom. Download Contacts
from Phone
from Phone: turn the controller and press
to confirm.
You can allow 0073or suppress 0053the
automatic download. Preventing storage of sensitive contacts in
the address book:
X
Connect the mobile phone to COMAND.
Contacts are automatically downloaded to
the address book.
X Deactivate the Autom. Download Autom. Download
Contacts from Phone
Contacts from Phone function0053.
The next time you connect your mobile
phone to COMAND, no more contacts will
be downloaded, not even newly-added
contacts.
X Delete sensitive contacts in the address
book.
Changing the display and sequence You can change the sequence of the contacts
displayed.
X
To switch to the menu bar in the address
book: slide 00520064the controller.
X To select Options Options: turn and press the
controller.
A menu appears.
X To select Display Display and
andSorting
Sorting : turn and
press the controller.
You have the following options:
R Surname, First Name Surname, First Name (default setting)
The address book entries are sorted by
surname and displayed with a comma.
R Surname First Name
Surname First Name
The address book entries are sorted by
surname and displayed without a comma.
R First Name Surname First Name Surname
The address book entries are sorted by first
name and displayed without a comma.
X To select the required option: turn and
press the controller.
The name sequence and display change
according to the selection. Using the address book
155Telephone Z
Page 162 of 278
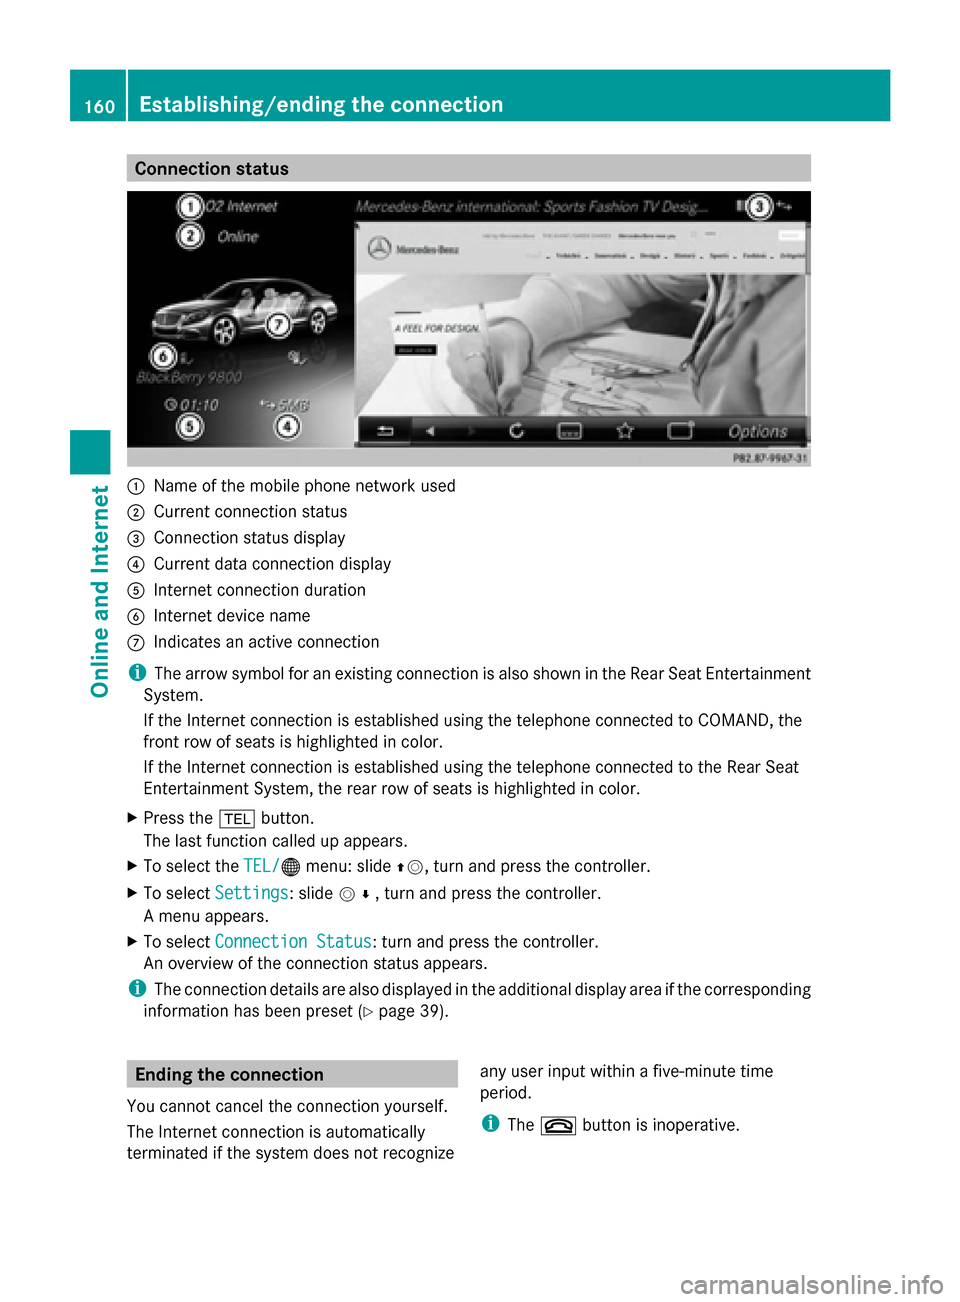
Connection status
0043
Name of the mobile phone network used
0044 Current connection status
0087 Connection status display
0085 Current data connection display
0083 Internet connection duration
0084 Internet device name
006B Indicates an active connection
i The arrow symbol for an existing connection is also shown in the Rear Seat Entertainment
System.
If the Internet connection is established using the telephone connected to COMAND, the
front row of seats is highlighted in color.
If the Internet connection is established using the telephone connected to the Rear Seat
Entertainment System, the rear row of seats is highlighted in color.
X Press the 002Bbutton.
The last function called up appears.
X To select the TEL/
TEL/00A7 menu: slide 00970052, turn and press the controller.
X To select Settings
Settings: slide 005200C5, turn and press the controller.
A menu appears.
X To select Connection Status Connection Status : turn and press the controller.
An overview of the connection status appears.
i The connection details are also displayed in the additional display area if the corresponding
information has been preset (Y page 39).Ending the connection
You cannot cancel the connection yourself.
The Internet connection is automatically
terminated if the system does not recognize any user input within a five-minute time
period.
i
The 0076 button is inoperative. 160
Establishing/ending the connectionOnline and Internet
Page 163 of 278
Automatic disconnection of the
Internet connection after inactivity
If no data is transferred from COMAND for a
specified time, e.g. five minutes, the system
automatically disconnects the Internet
connection. Google™ local search
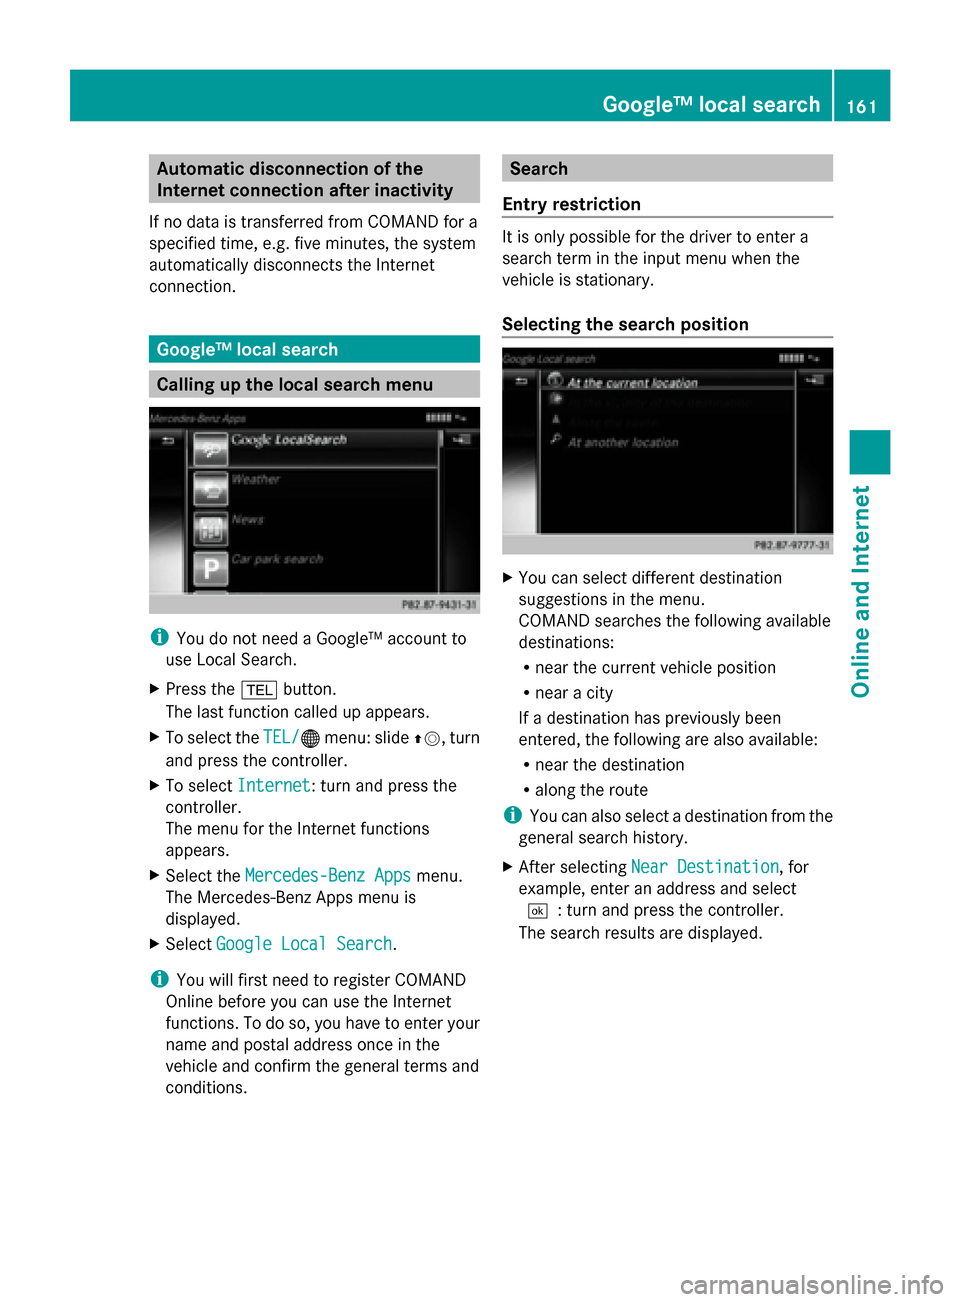
Calling up the local search menu
i
You do not need a Google™ account to
use Local Search.
X Press the 002Bbutton.
The last function called up appears.
X To select the TEL/
TEL/00A7 menu: slide 00970052, turn
and press the controller.
X To select Internet Internet: turn and press the
controller.
The menu for the Internet functions
appears.
X Select the Mercedes-Benz Apps
Mercedes-Benz Apps menu.
The Mercedes-Benz Apps menu is
displayed.
X Select Google Local Search
Google Local Search .
i You will first need to register COMAND
Online before you can use the Internet
functions. To do so, you have to enter your
name and postal address once in the
vehicle and confirm the general terms and
conditions. Search
Entry restriction It is only possible for the driver to enter a
search term in the input menu when the
vehicle is stationary.
Selecting the search position
X
You can select different destination
suggestions in the menu.
COMAND searches the following available
destinations:
R
near the current vehicle position
R near a city
If a destination has previously been
entered, the following are also available:
R near the destination
R along the route
i You can also select a destination from the
general search history.
X After selecting Near Destination Near Destination, for
example, enter an address and select
0054: turn and press the controller.
The search results are displayed. Google™ local search
161Online and Internet Z
Page 164 of 278
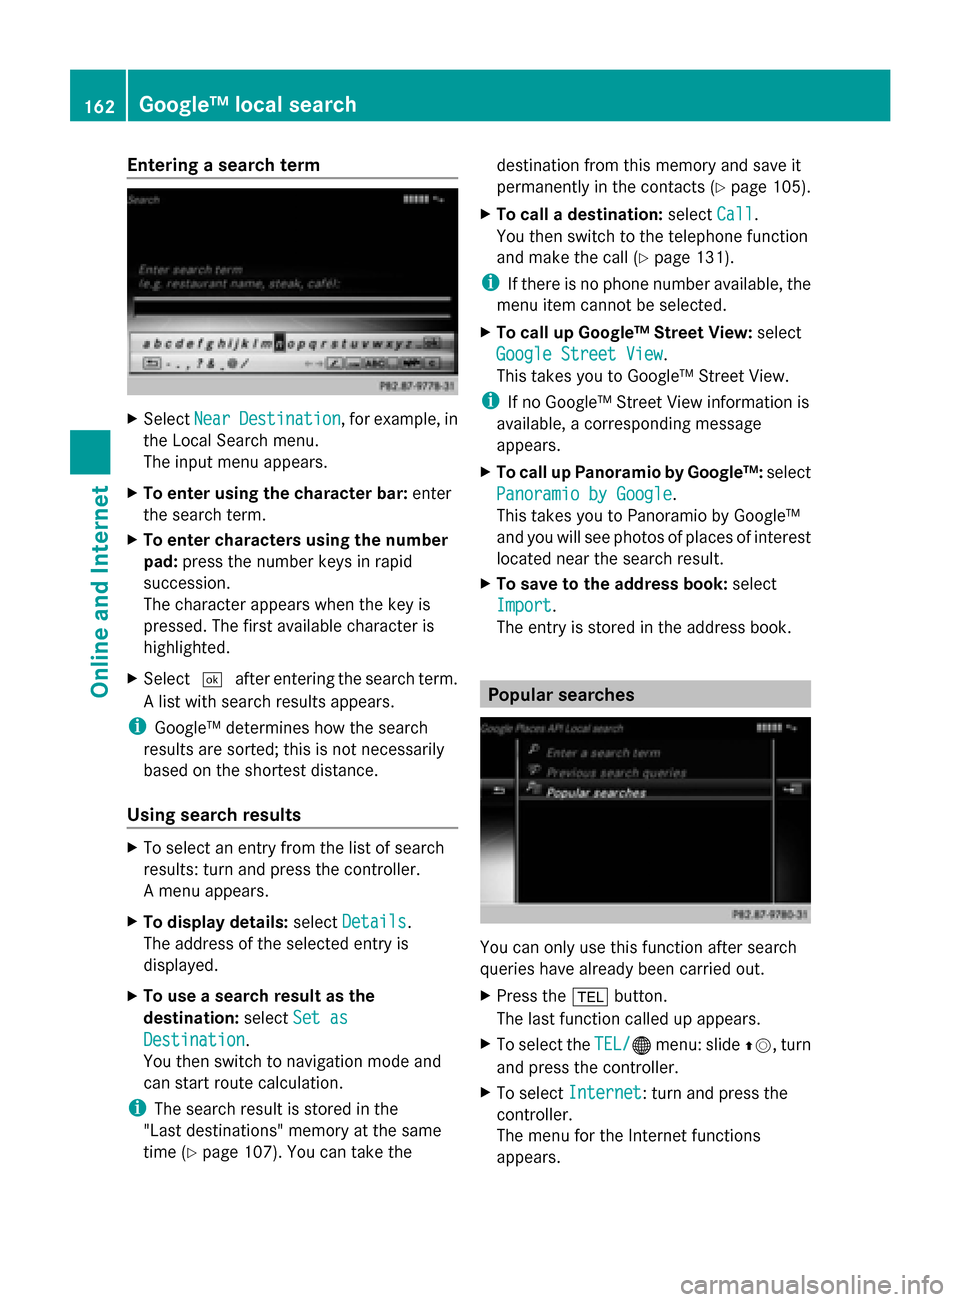
Entering a search term
X
Select Near
NearDestination
Destination , for example, in
the Local Search menu.
The input menu appears.
X To enter using the character bar: enter
the search term.
X To enter characters using the number
pad: press the number keys in rapid
succession.
The character appears when the key is
pressed. The first available character is
highlighted.
X Select 0054after entering the search term.
A list with search results appears.
i Google™ determines how the search
results are sorted; this is not necessarily
based on the shortest distance.
Using search results X
To select an entry from the list of search
results: turn and press the controller.
A menu appears.
X To display details: selectDetails
Details.
The address of the selected entry is
displayed.
X To use a search result as the
destination: selectSet as
Set as
Destination Destination.
You then switch to navigation mode and
can start route calculation.
i The search result is stored in the
"Last destinations" memory at the same
time (Y page 107). You can take the destination from this memory and save it
permanently in the contacts (Y
page 105).
X To call a destination: selectCall
Call.
You then switch to the telephone function
and make the call (Y page 131).
i If there is no phone number available, the
menu item cannot be selected.
X To call up Google™ Street View: select
Google Street View Google Street View.
This takes you to Google™ Street View.
i If no Google™ Street View information is
available, a corresponding message
appears.
X To call up Panoramio by Google™: select
Panoramio by Google Panoramio by Google .
This takes you to Panoramio by Google™
and you will see photos of places of interest
located near the search result.
X To save to the address book: select
Import
Import .
The entry is stored in the address book. Popular searches
You can only use this function after search
queries have already been carried out.
X
Press the 002Bbutton.
The last function called up appears.
X To select the TEL/
TEL/00A7 menu: slide 00970052, turn
and press the controller.
X To select Internet Internet: turn and press the
controller.
The menu for the Internet functions
appears. 162
Google™ local searchOnline and Internet
Page 165 of 278
X
Select the Mercedes-Benz Apps
Mercedes-Benz Apps menu.
The Mercedes-Benz Apps menu is
displayed.
X Select Google Local Search
Google Local Search .
X To select At AtCurrent
Current Location
Location : turn and
press the controller.
X To select Frequent Search Queries
Frequent Search Queries:
turn and press the controller.
X Proceed as described in the "Selecting the
search position" section (Y page 161). If
the vehicle is stationary, the search results
can be supplemented manually, e.g. "Hotel
Adler". Search History
You can only use this function after search
queries have already been carried out.
X Press the 002Bbutton.
The last function called up appears.
X To select the TEL/
TEL/00A7 menu: slide 00970052, turn
and press the controller.
X To select Internet Internet: turn and press the
controller.
The menu for the Internet functions
appears.
X Select the Mercedes-Benz Apps
Mercedes-Benz Apps menu.
The Mercedes-Benz Apps menu is
displayed.
X Select Google Local Search
Google Local Search .
X To select At AtCurrent
Current Location
Location : turn and
press the controller.
X To select Last
LastSearch
Search Queries
Queries : turn and
press the controller.
X Proceed as described in the "Selecting the
search position" section (Y page 161). If
the vehicle is stationary, the search results
can be supplemented manually, e.g. "Hotel
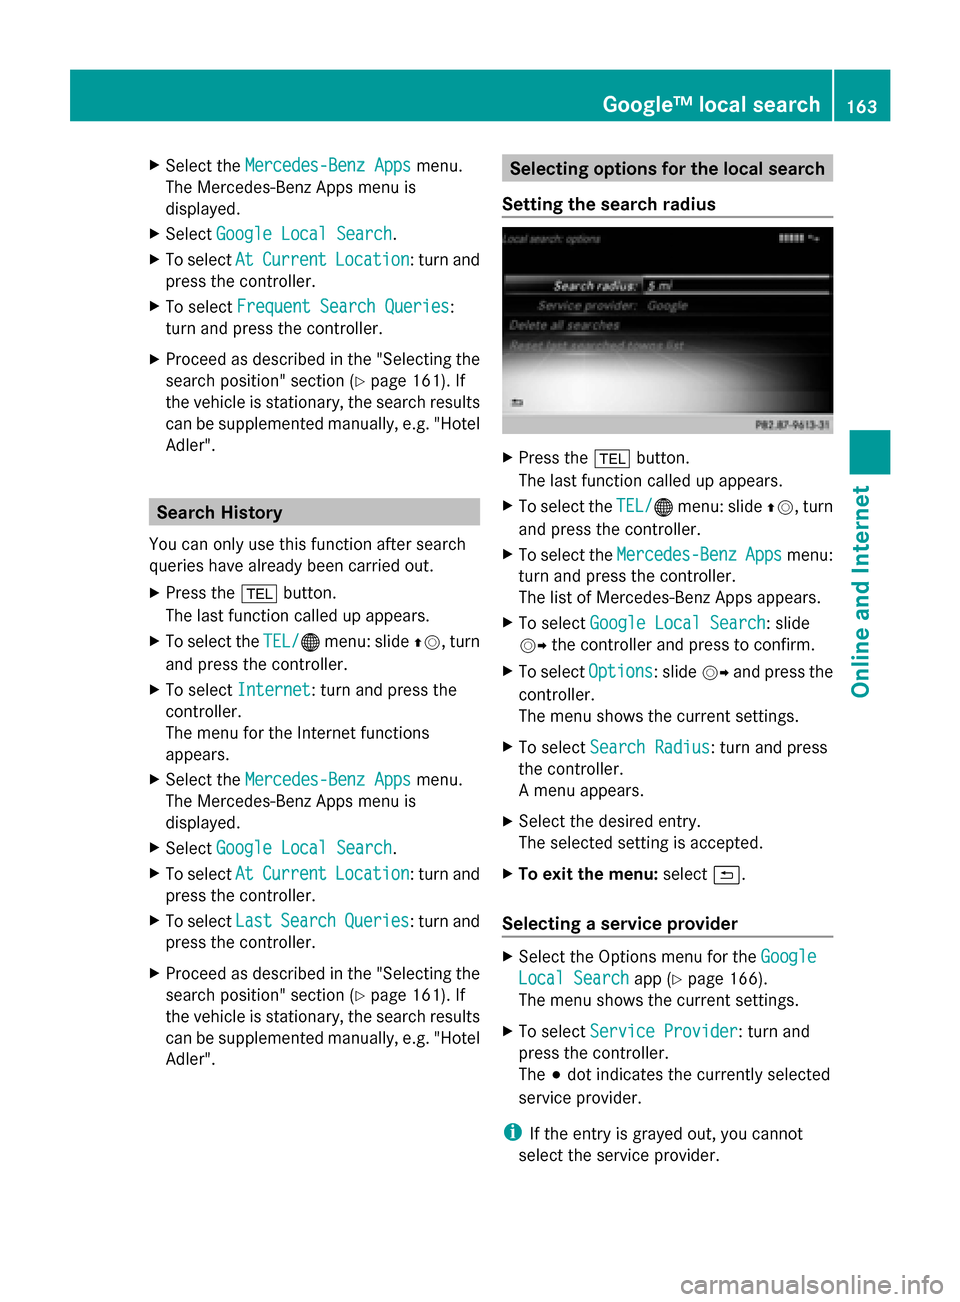
Adler". Selecting options for the local search
Setting the search radius X
Press the 002Bbutton.
The last function called up appears.
X To select the TEL/ TEL/00A7menu: slide 00970052, turn
and press the controller.
X To select the Mercedes-Benz
Mercedes-Benz Apps
Appsmenu:
turn and press the controller.
The list of Mercedes-Benz Apps appears.
X To select Google Local Search Google Local Search : slide
00520096 the controller and press to confirm.
X To select Options
Options: slide 00520096and press the
controller.
The menu shows the current settings.
X To select Search Radius
Search Radius : turn and press
the controller.
A menu appears.
X Select the desired entry.
The selected setting is accepted.
X To exit the menu: select0039.
Selecting a service provider X
Select the Options menu for the Google
Google
Local Search Local Search app (Ypage 166).
The menu shows the current settings.
X To select Service Provider
Service Provider: turn and
press the controller.
The 003Bdot indicates the currently selected
service provider.
i If the entry is grayed out, you cannot
select the service provider. Google™ local search
163Online and Internet Z
Page 167 of 278
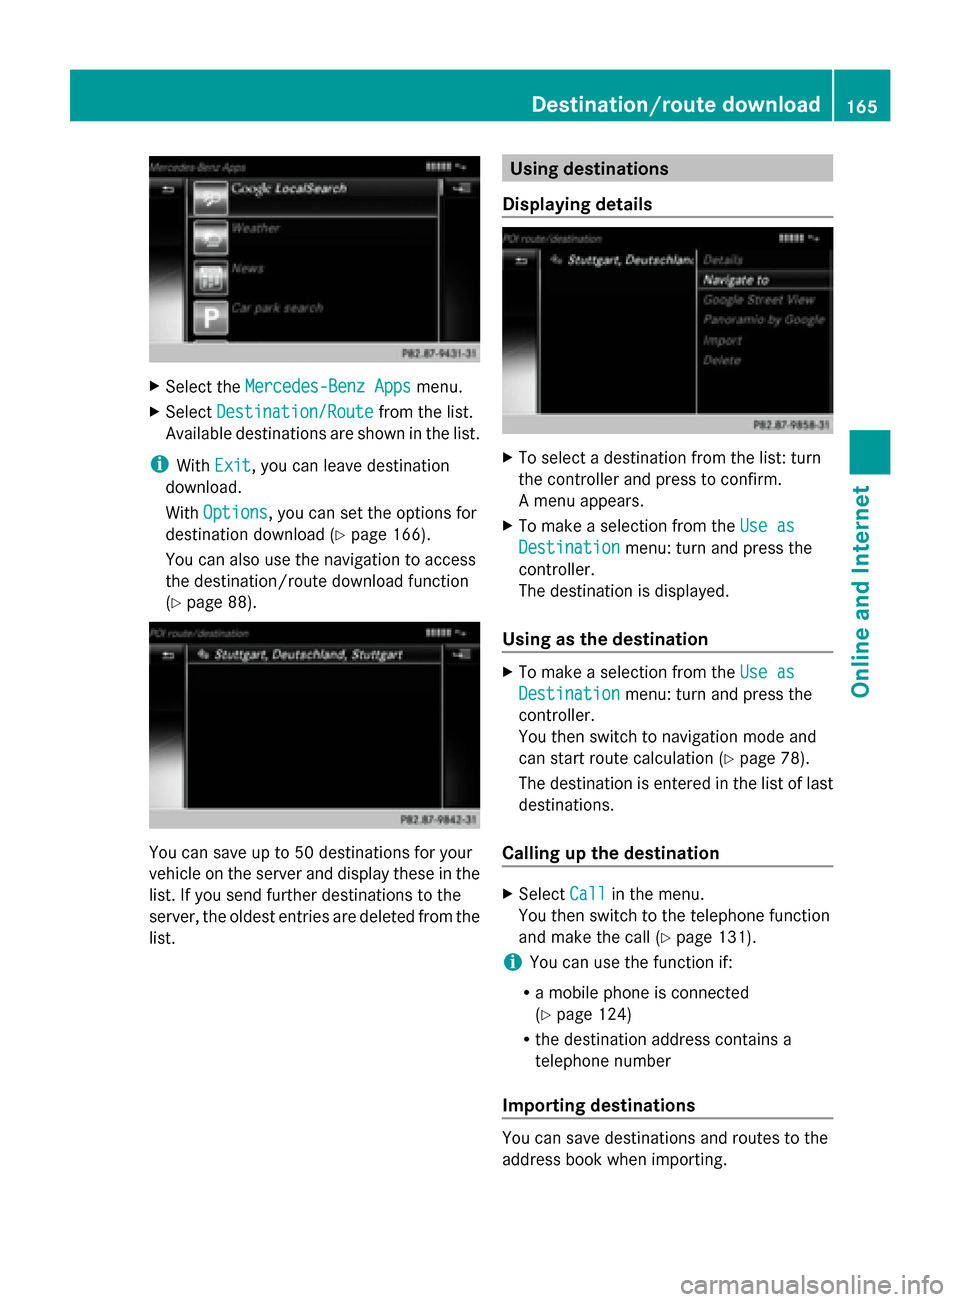
X
Select the Mercedes-Benz Apps
Mercedes-Benz Apps menu.
X Select Destination/Route
Destination/Route from the list.
Available destinations are shown in the list.
i With Exit
Exit, you can leave destination
download.
With Options
Options, you can set the options for
destination download (Y page 166).
You can also use the navigation to access
the destination/route download function
(Y page 88). You can save up to 50 destinations for your
vehicle on the server and display these in the
list. If you send further destinations to the
server, the oldest entries are deleted from the
list. Using destinations
Displaying details X
To select a destination from the list: turn
the controller and press to confirm.
A menu appears.
X To make a selection from the Use as Use as
Destination
Destination menu: turn and press the
controller.
The destination is displayed.
Using as the destination X
To make a selection from the Use as Use as
Destination
Destination menu: turn and press the
controller.
You then switch to navigation mode and
can start route calculation (Y page 78).
The destination is entered in the list of last
destinations.
Calling up the destination X
Select Call Callin the menu.
You then switch to the telephone function
and make the call (Y page 131).
i You can use the function if:
R a mobile phone is connected
(Y page 124)
R the destination address contains a
telephone number
Importing destinations You can save destinations and routes to the
address book when importing. Destination/route download
165Online and Internet Z
Page 170 of 278
You can call up additional Mercedes-Benz
Apps, such as Facebook, Google™ Street
View, Google™ Panoramio or country
information such as maximum speed here.
The following examples show how to call up
a Mercedes-Benz App, for example Facebook,
and generally how to call up Google™
services.
To call up Facebook:
X Press the 002Bbutton.
The last function called up appears.
X Select TEL/
TEL/ 00A7in the main function bar by
sliding 00970052, turning and pressing the
controller.
A menu appears.
X To select Internet Internet: turn and press the
controller.
The menu for the Internet functions
appears.
X Select the Mercedes-Benz Apps
Mercedes-Benz Apps menu.
The Mercedes-Benz Apps menu is
displayed.
X Select Facebook from the list.
The Facebook home page appears.
i Facebook is a social network. This App
allows you to log in from your vehicle and
use Facebook's many functions.
To call up Google™ services:
X This is done through Google™ Local Search
(Y page 162).
i Google™ Street View allows you to view
streets in 360-degree panoramas.
Google™ Panoramio expands Google Local
Search to include photos at the selected
position.
To exit Mercedes-Benz Apps:
X Press the 0038button.
The Internet menu appears.
i Additional Mercedes-Benz Apps can be
purchased on the Mercedes-Benz website.
You can find further information under:
http://apps.mercedes-benz.com/apps/
The available features are country-
dependent. Internet radio
General notes
A good Internet connection is required to
transmit audio data efficiently. To ensure the
best-possible reception, your mobile phone
should be connected to the vehicle's exterior
antenna via the phone bracket (optional).
i Bear in mind that a relatively large volume
of data can be transmitted when using
Internet radio. An average 128 kbit per
second data transfer rate can transfer
56 MB of data in one hour.
The data transfer rate of a station is
displayed while receiving data. Calling up the Internet radio
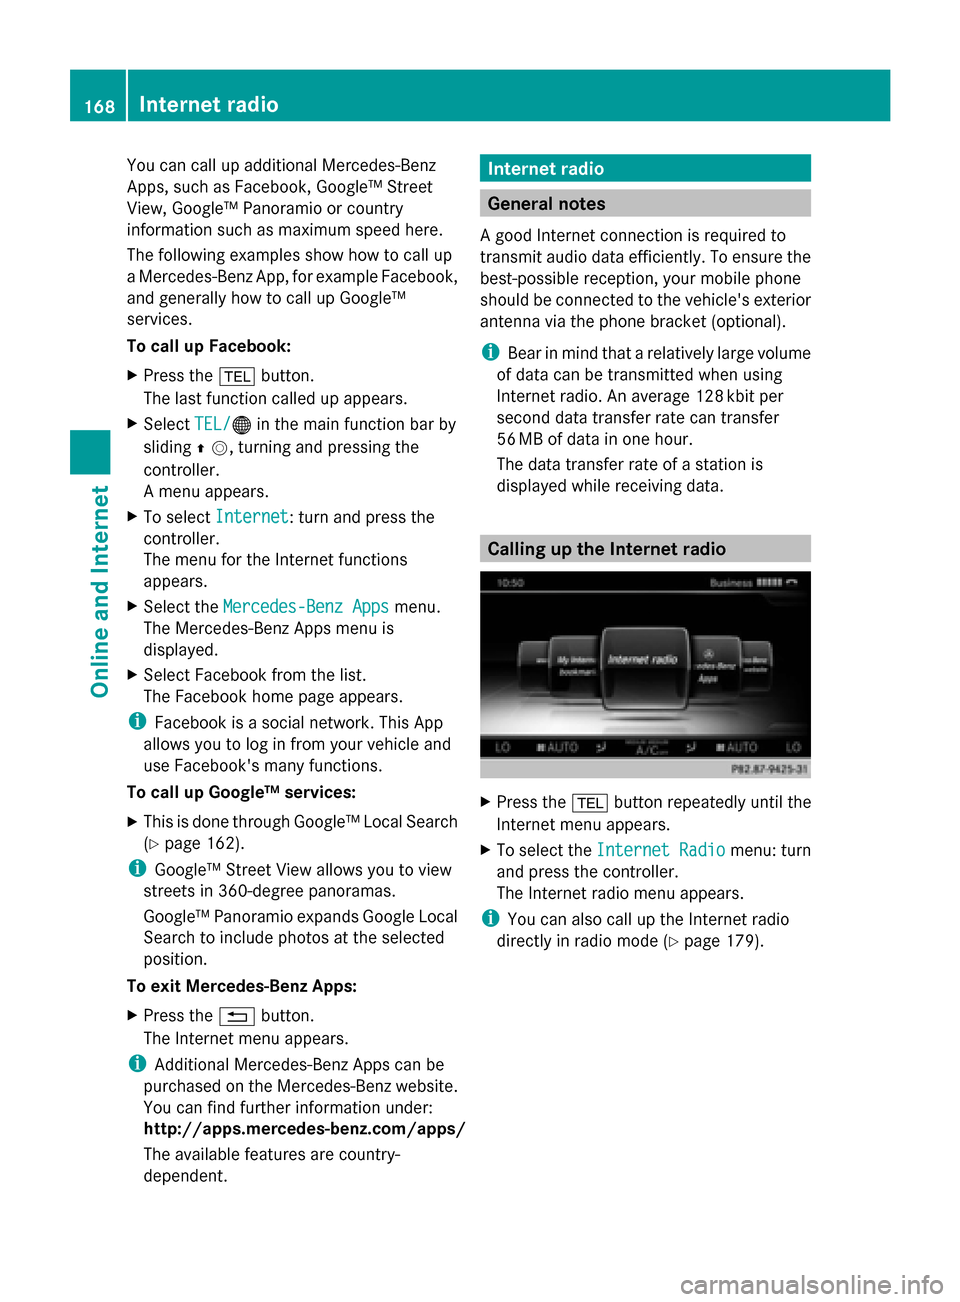
X
Press the 002Bbutton repeatedly until the
Internet menu appears.
X To select the Internet Radio Internet Radio menu: turn
and press the controller.
The Internet radio menu appears.
i You can also call up the Internet radio
directly in radio mode (Y page 179).168
Internet radioOnline and Internet