ESP MERCEDES-BENZ S-Class 2014 W222 Comand Manual
[x] Cancel search | Manufacturer: MERCEDES-BENZ, Model Year: 2014, Model line: S-Class, Model: MERCEDES-BENZ S-Class 2014 W222Pages: 278, PDF Size: 6.65 MB
Page 200 of 278
X
In media mode, slide 00520064the controller.
The media menu bar is shown.
X To select Search
Search: turn the controller and
press to confirm.
The category list is shown.
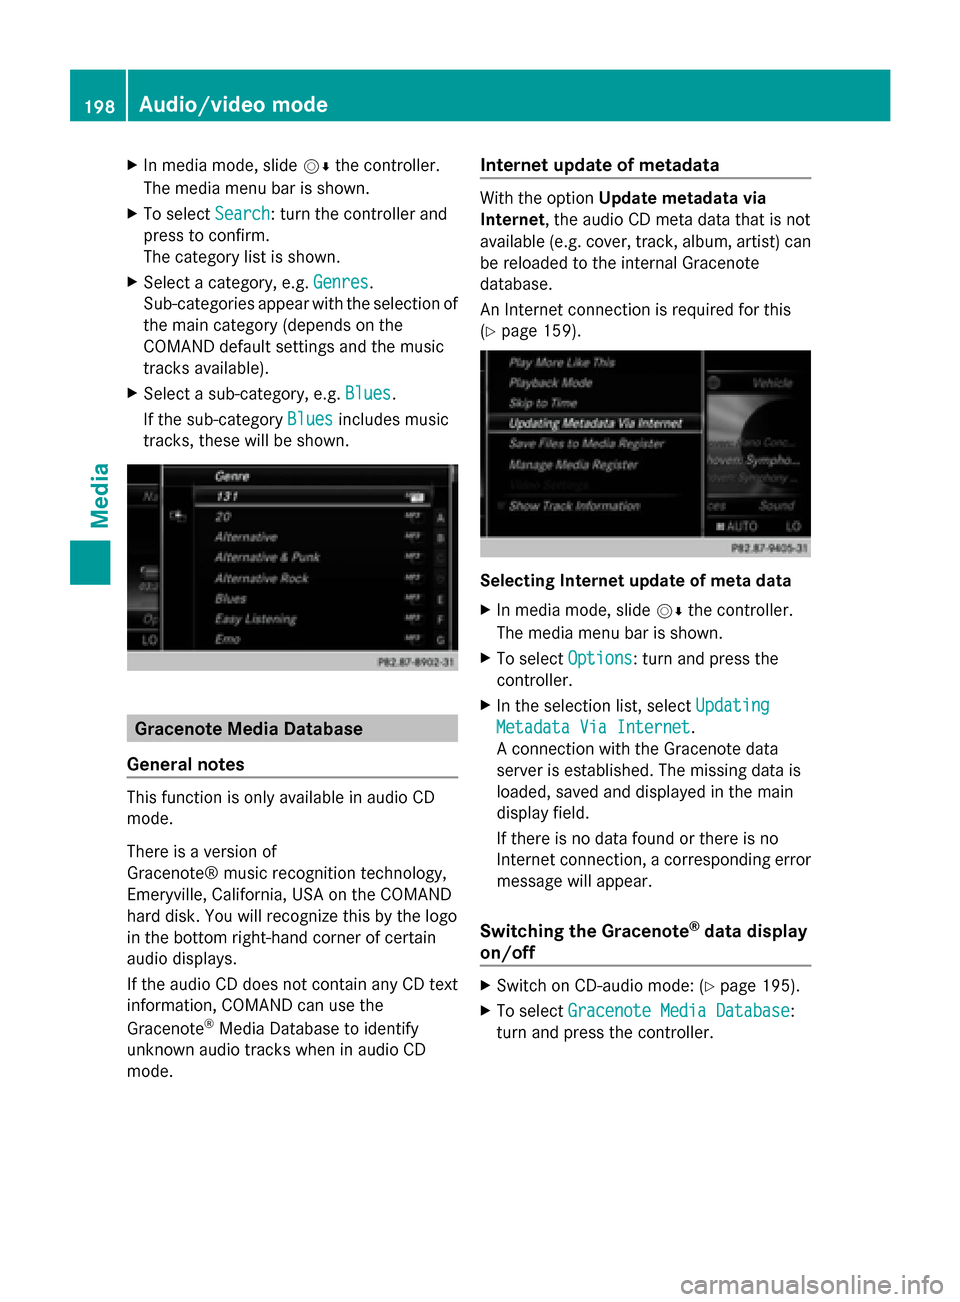
X Select a category, e.g. Genres Genres.
Sub-categories appear with the selection of
the main category (depends on the
COMAND default settings and the music
tracks available).
X Select a sub-category, e.g. Blues
Blues.
If the sub-category Blues Bluesincludes music
tracks, these will be shown. Gracenote Media Database
General notes This function is only available in audio CD
mode.
There is a version of
Gracenote® music recognition technology,
Emeryville, California, USA on the COMAND
hard disk. You will recognize this by the logo
in the bottom right-hand corner of certain
audio displays.
If the audio CD does not contain any CD text
information, COMAND can use the
Gracenote ®
Media Database to identify
unknown audio tracks when in audio CD
mode. Internet update of metadata With the option
Update metadata via
Internet, the audio CD meta data that is not
available (e.g. cover, track, album, artist) can
be reloaded to the internal Gracenote
database.
An Internet connection is required for this
(Y page 159). Selecting Internet update of meta data
X
In media mode, slide 00520064the controller.
The media menu bar is shown.
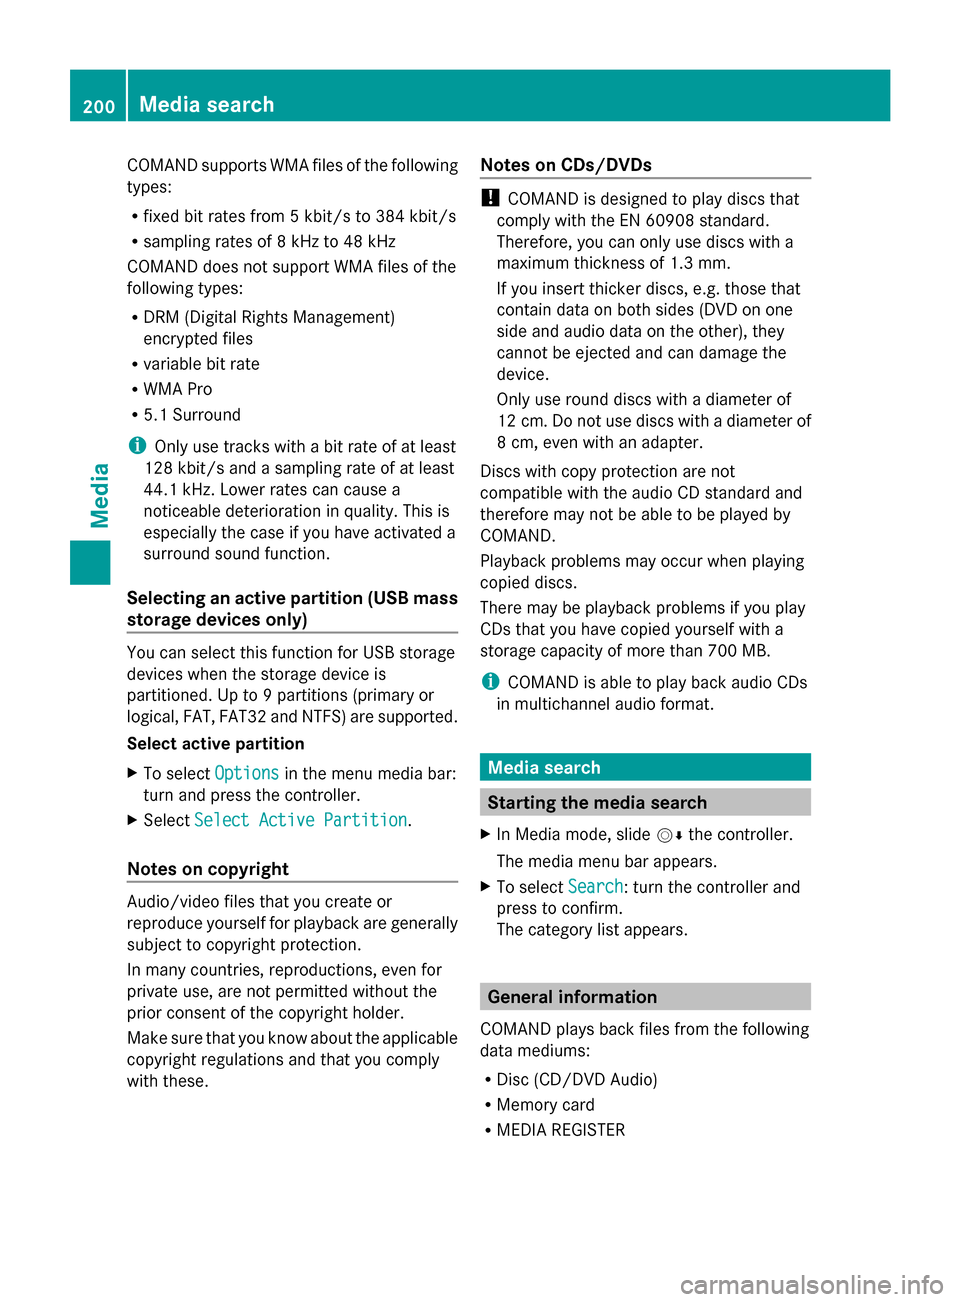
X To select Options Options: turn and press the
controller.
X In the selection list, select Updating
Updating
Metadata Via Internet
Metadata Via Internet.
A connection with the Gracenote data
server is established. The missing data is
loaded, saved and displayed in the main
display field.
If there is no data found or there is no
Internet connection, a corresponding error
message will appear.
Switching the Gracenote ®
data display
on/off X
Switch on CD-audio mode: (Y page 195).
X To select Gracenote Media Database Gracenote Media Database:
turn and press the controller. 198
Audio/video modeMedia
Page 202 of 278
COMAND supports WMA files of the following
types:
R fixed bit rates from 5 kbit/s to 384 kbit/s
R sampling rates of 8 kHz to 48 kHz
COMAND does not support WMA files of the
following types:
R DRM (Digital Rights Management)
encrypted files
R variable bit rate
R WMA Pro
R 5.1 Surround
i Only use tracks with a bit rate of at least
128 kbit/s and a sampling rate of at least
44.1 kH z.Lower rates can cause a
noticeable deterioration in quality. This is
especially the case if you have activated a
surround sound function.
Selecting an active partition (USB mass
storage devices only) You can select this function for USB storage
devices when the storage device is
partitioned. Up to 9 partitions (primary or
logical, FAT, FAT32 and NTFS) are supported.
Select active partition
X To select Options Optionsin the menu media bar:
turn and press the controller.
X Select Select Active Partition
Select Active Partition.
Notes on copyright Audio/video files that you create or
reproduce yourself for playback are generally
subject to copyright protection.
In many countries, reproductions, even for
private use, are not permitted without the
prior consent of the copyright holder.
Make sure that you know about the applicable
copyright regulations and that you comply
with these. Notes on CDs/DVDs !
COMAND is designed to play discs that
comply with the EN 60908 standard.
Therefore, you can only use discs with a
maximum thickness of 1.3 mm.
If you insert thicker discs, e.g. those that
contain data on both sides (DVD on one
side and audio data on the other), they
cannot be ejected and can damage the
device.
Only use round discs with a diameter of
12 cm. Do not use discs with a diameter of
8 cm, even with an adapter.
Discs with copy protection are not
compatible with the audio CD standard and
therefore may not be able to be played by
COMAND.
Playback problems may occur when playing
copied discs.
There may be playback problems if you play
CDs that you have copied yourself with a
storage capacity of more than 700 MB.
i COMAND is able to play back audio CDs
in multichannel audio format. Media search
Starting the media search
X In Media mode, slide 00520064the controller.
The media menu bar appears.
X To select Search Search: turn the controller and
press to confirm.
The category list appears. General information
COMAND plays back files from the following
data mediums:
R Disc (CD/DVD Audio)
R Memory card
R MEDIA REGISTER 200
Media searchMedia
Page 209 of 278
X
To switch on media mode: keep pressing
the 00FD button until the required media
mode has been switched on.
X Slide 00520064the controller.
The media menu bar appears.
X To select Options
Options: turn and press the
controller.
X Select Manage Media Register
Manage Media Register.
X Select Delete All Media Files
Delete All Media Files.
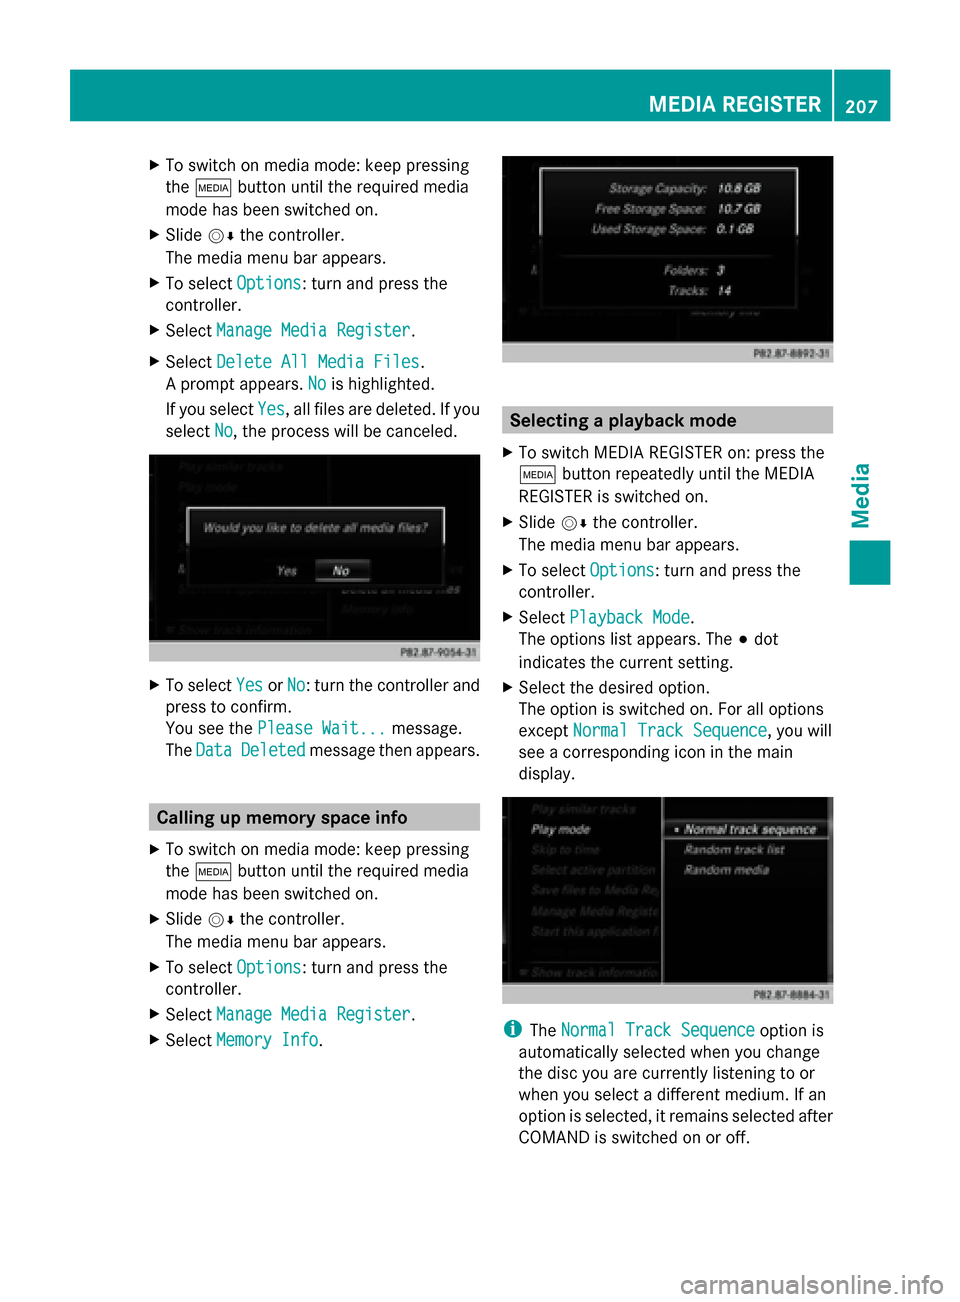
A prompt appears. No Nois highlighted.
If you select Yes
Yes, all files are deleted. If you
select No
No, the process will be canceled. X
To select Yes YesorNo No: turn the controller and
press to confirm.
You see the Please Wait... Please Wait... message.
The Data
Data Deleted
Deleted message then appears. Calling up memory space info
X To switch on media mode: keep pressing
the 00FD button until the required media
mode has been switched on.
X Slide 00520064the controller.
The media menu bar appears.
X To select Options
Options: turn and press the
controller.
X Select Manage Media Register
Manage Media Register.
X Select Memory Info
Memory Info. Selecting a playback mode
X To switch MEDIA REGISTER on: press the
00FD button repeatedly until the MEDIA
REGISTER is switched on.
X Slide 00520064the controller.
The media menu bar appears.
X To select Options
Options: turn and press the
controller.
X Select Playback Mode Playback Mode.
The options list appears. The 003Bdot
indicates the current setting.
X Select the desired option.
The option is switched on. For all options
except Normal Track Sequence Normal Track Sequence, you will
see a corresponding icon in the main
display. i
The Normal Track Sequence Normal Track Sequence option is
automatically selected when you change
the disc you are currently listening to or
when you select a different medium. If an
option is selected, it remains selected after
COMAND is switched on or off. MEDIA REGISTER
207Media Z
Page 214 of 278
(see the Bluetooth
®
audio device's
operating instructions). Switching to Bluetooth
®
audio mode
Basic display 0043
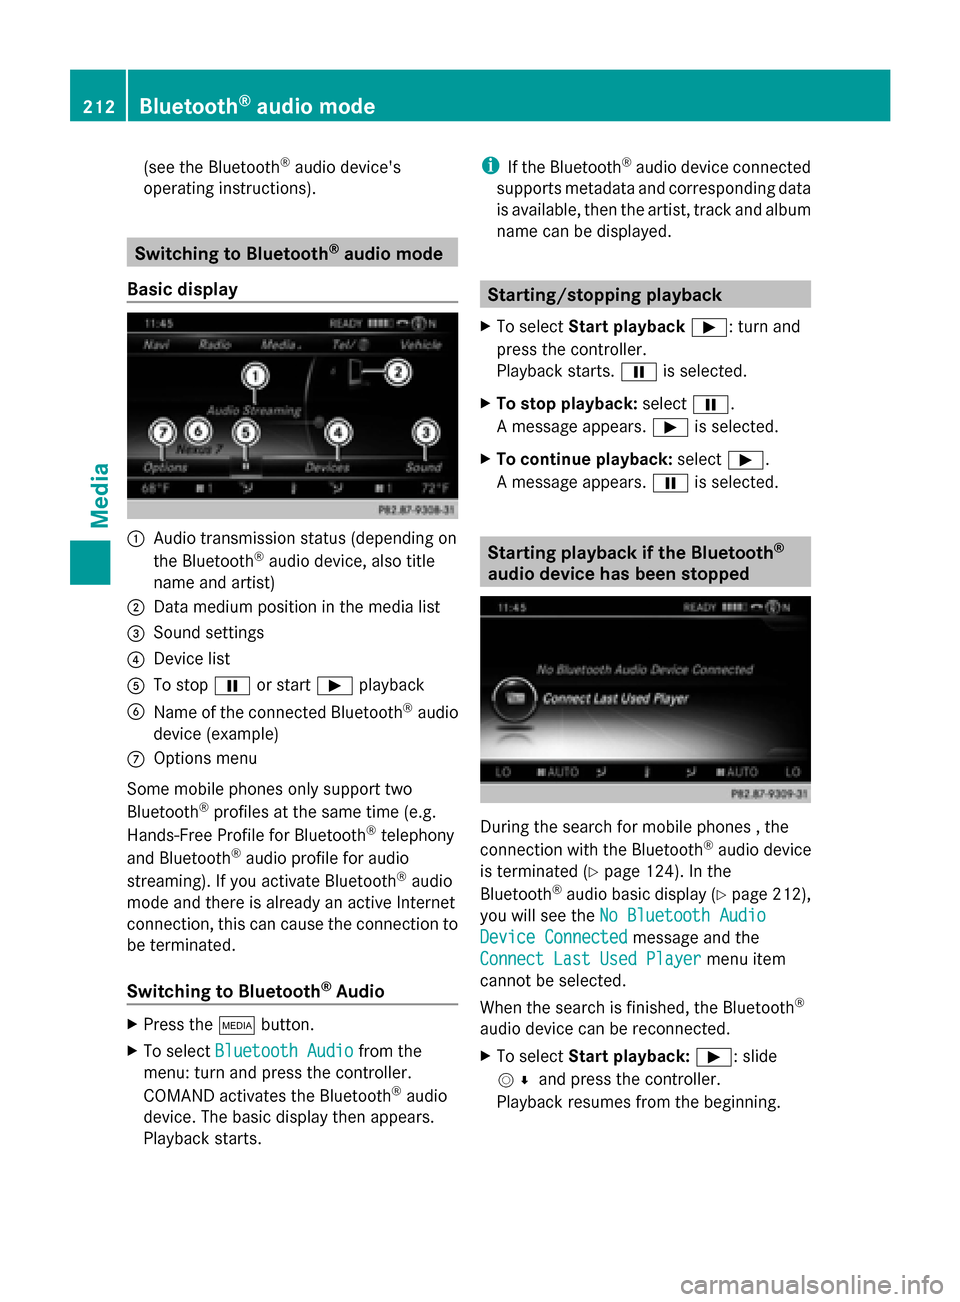
Audio transmission status (depending on
the Bluetooth ®
audio device, also title
name and artist)
0044 Data medium position in the media list
0087 Sound settings
0085 Device list
0083 To stop 00CFor start 00D0playback
0084 Name of the connected Bluetooth ®
audio
device (example)
006B Options menu
Some mobile phones only support two
Bluetooth ®
profiles at the same time (e.g.
Hands-Free Profile for Bluetooth ®
telephony
and Bluetooth ®
audio profile for audio
streaming). If you activate Bluetooth ®
audio
mode and there is already an active Internet
connection, this can cause the connection to
be terminated.
Switching to Bluetooth ®
Audio X
Press the 00FDbutton.
X To select Bluetooth Audio Bluetooth Audio from the
menu: turn and press the controller.
COMAND activates the Bluetooth ®
audio
device. The basic display then appears.
Playback starts. i
If the Bluetooth ®
audio device connected
supports metadata and corresponding data
is available, then the artist, track and album
name can be displayed. Starting/stopping playback
X To select Start playback 00D0: turn and
press the controller.
Playback starts. 00CFis selected.
X To stop playback: select00CF.
A message appears. 00D0is selected.
X To continue playback: select00D0.
A message appears. 00CFis selected. Starting playback if the Bluetooth
®
audio device has been stopped During the search for mobile phones , the
connection with the Bluetooth
®
audio device
is terminated (Y page 124). In the
Bluetooth ®
audio basic display (Y page 212),
you will see the No Bluetooth Audio No Bluetooth Audio
Device Connected
Device Connected message and the
Connect Last Used Player
Connect Last Used Player menu item
cannot be selected.
When the search is finished, the Bluetooth ®
audio device can be reconnected.
X To select Start playback: 00D0: slide
005200C5 and press the controller.
Playback resumes from the beginning. 212
Bluetooth ®
audio modeMedia
Page 215 of 278
X
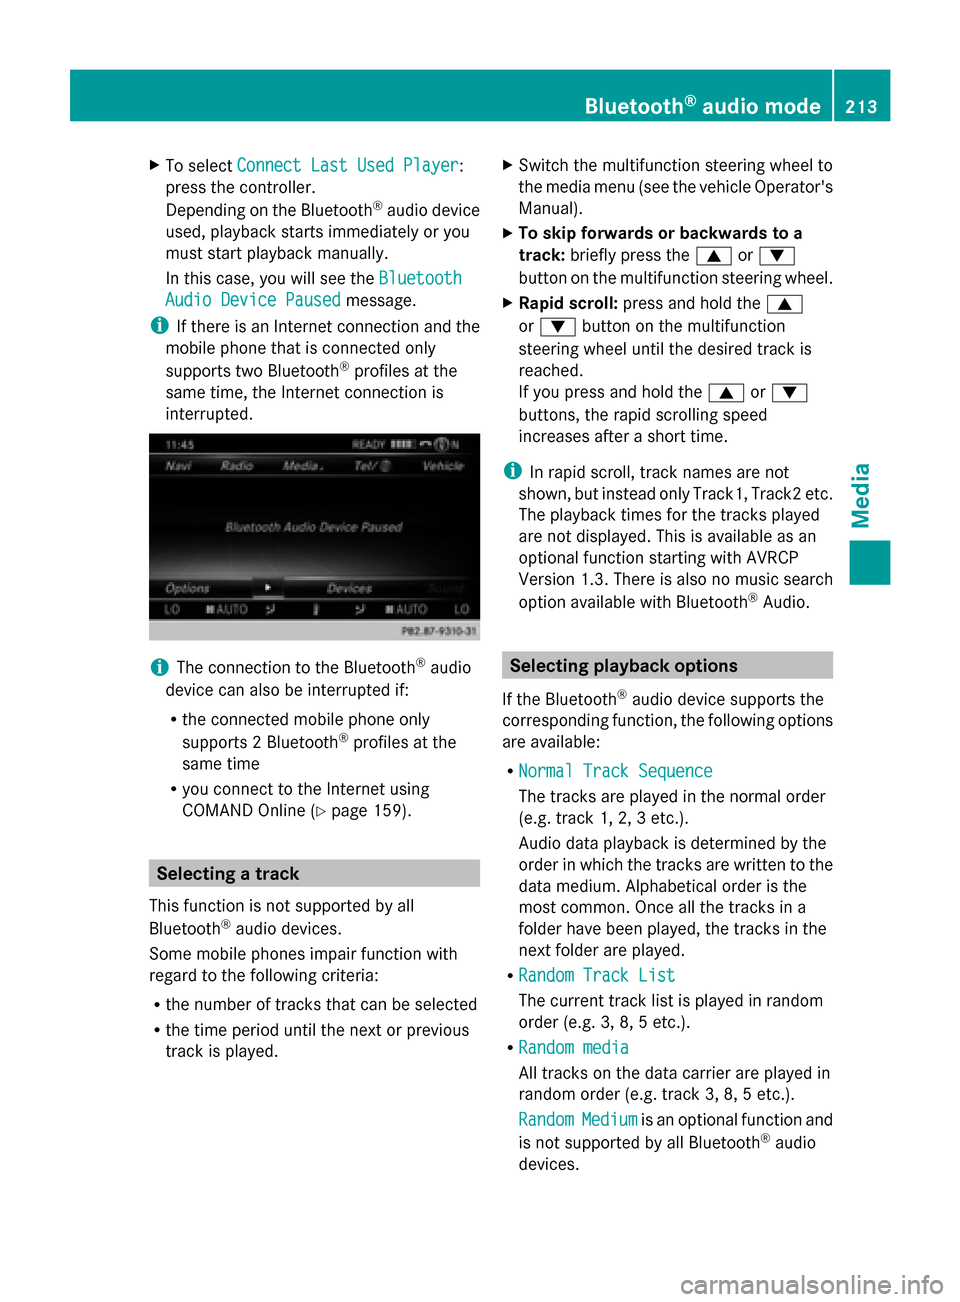
To select Connect Last Used Player
Connect Last Used Player:
press the controller.
Depending on the Bluetooth ®
audio device
used, playback starts immediately or you
must start playback manually.
In this case, you will see the Bluetooth
Bluetooth
Audio Device Paused Audio Device Paused message.
i If there is an Internet connection and the
mobile phone that is connected only
supports two Bluetooth ®
profiles at the
same time, the Internet connection is
interrupted. i
The connection to the Bluetooth ®
audio
device can also be interrupted if:
R the connected mobile phone only
supports 2 Bluetooth ®
profiles at the
same time
R you connect to the Internet using
COMAND Online (Y page 159). Selecting a track
This function is not supported by all
Bluetooth ®
audio devices.
Some mobile phones impair function with
regard to the following criteria:
R the number of tracks that can be selected
R the time period until the next or previous
track is played. X
Switch the multifunction steering wheel to
the media menu (see the vehicle Operator's
Manual).
X To skip forwards or backwards to a
track: briefly press the 0063or0064
button on the multifunction steering wheel.
X Rapid scroll: press and hold the 0063
or 0064 button on the multifunction
steering wheel until the desired track is
reached.
If you press and hold the 0063or0064
buttons, the rapid scrolling speed
increases after a short time.
i In rapid scroll, track names are not
shown, but instead only Track1, Track2 etc.
The playback times for the tracks played
are not displayed. This is available as an
optional function starting with AVRCP
Version 1.3. There is also no music search
option available with Bluetooth ®
Audio. Selecting playback options
If the Bluetooth ®
audio device supports the
corresponding function, the following options
are available:
R Normal Track Sequence Normal Track Sequence
The tracks are played in the normal order
(e.g. track 1, 2, 3 etc.).
Audio data playback is determined by the
order in which the tracks are written to the
data medium. Alphabetical order is the
most common. Once all the tracks in a
folder have been played, the tracks in the
next folder are played.
R Random Track List Random Track List
The current track list is played in random
order (e.g. 3, 8, 5 etc.).
R Random media Random media
All tracks on the data carrier are played in
random order (e.g. track 3, 8, 5 etc.).
Random Random Medium
Mediumis an optional function and
is not supported by all Bluetooth ®
audio
devices. Bluetooth
®
audio mode 213Media Z
Page 216 of 278
Selecting playback options
X
To select Options Options: turn and press the
controller.
X Select Play back music
Play back music.
A 0036 dot indicates the current setting.
X Select the desired option.
If you select Random RandomTrack
Track List
List, you will
see a corresponding message in the
display/selection window. Increasing the volume using COMAND
X To select Options Options: slide 005200C5and press
the controller.
X To select Volume
Volume: turn and press the
controller.
A menu appears. The 0036dot indicates the
current setting.
X Select Standard
Standard orBoost
Boost.
Information on sound settings
(Y page 230).
Further information: "Audio AUX mode"
(Y page 218). 214
Bluetooth ®
audio modeMedia
Page 220 of 278
Audio AUX mode
Notes on audio AUX mode
External audio sources may have different
volumes, which can mean that system
messages such as traffic announcements and
navigation system announcements are much
louder. If necessary, deactivate the system
messages or adjust their volume manually.
AUX also provides the option of connecting a
Media Player to COMAND.
To connect an external audio source to the
audio AUX, you will require an audio AUX
cable.
i You will find further information online at
http://www.mbusa-mobile.com. Or call
the Mercedes-Benz Customer Assistance
Center at
1-800-FOR-MERCedes(1-800-367-6372)
(for the USA) or Customer Relations at
1-800-387-0100 (for Canada). Switching to audio AUX mode
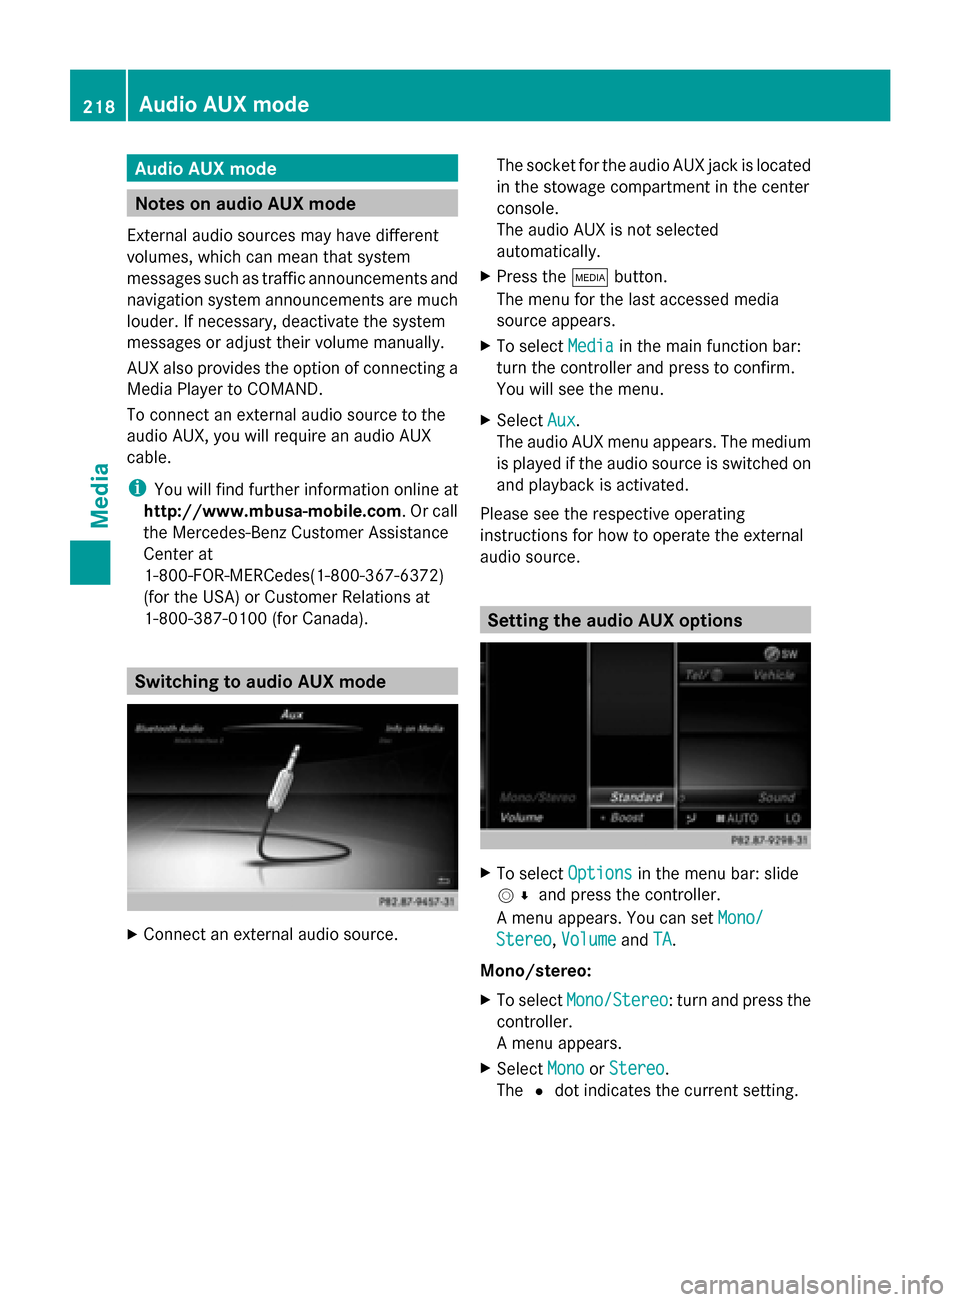
X
Connect an external audio source. The socket for the audio AUX jack is located
in the stowage compartment in the center
console.
The audio AUX is not selected
automatically.
X Press the 00FDbutton.
The menu for the last accessed media
source appears.
X To select Media
Media in the main function bar:
turn the controller and press to confirm.
You will see the menu.
X Select Aux Aux.
The audio AUX menu appears. The medium
is played if the audio source is switched on
and playback is activated.
Please see the respective operating
instructions for how to operate the external
audio source. Setting the audio AUX options
X
To select Options Optionsin the menu bar: slide
005200C5 and press the controller.
A menu appears. You can set Mono/
Mono/
Stereo
Stereo ,Volume
Volume andTA
TA.
Mono/stereo:
X To select Mono/Stereo Mono/Stereo: turn and press the
controller.
A menu appears.
X Select Mono
Mono orStereo Stereo .
The 0036dot indicates the current setting. 218
Audio AUX
modeMedia
Page 221 of 278
Volume:
X
To select Volume Volume: turn and press the
controller.
X Select Standard
Standard orBoost
Boost.
Standard
Standard: the volume of the external audio
source is adjusted to a standard value.
Boost
Boost: the volume of the external audio
source is raised by approximately 10 dB.
The 0036dot indicates the current setting.
Traffic announcement:
X To select TA
TA: turn the controller and press
to confirm.
You have switched traffic announcements
on 0073 or off 0053.
A device which is connected as an external
audio source may seem quieter or louder in
the vehicle, or the usual maximum volume
cannot be achieved. On some devices, it is
possible to adjust the volume separately. In
this case, start at a medium volume and
increase it gradually. This enables you to
determine whether the system is able to play
the music at high volume without distorting
it. AUX video mode
Connecting external video sources
G
WARNING
External video sources may have different
volumes, which can mean that system
messages such as traffic announcements and
navigation system announcements are much
louder. If necessary, please deactivate the
system messages or adjust their volume
manually.
Video AUX is a further option for showing
videos via COMAND.
To connect an external video source to the
video AUX, you will require a video AUX cable. i
If you only use an audio AUX cable, you
will only be able to hear the sound from the
video being played.
Videos cannot be shown on the driver's
side while the vehicle is in motion. Switching to AUX video mode
X Connect the external video source.
The socket for the video AUX jack is located
in the stowage compartment in the center
console.
The video AUX is not selected
automatically.
X Press the 00FDbutton.
The menu for the last accessed media
source appears.
X To select Media Mediain the main function bar:
turn the controller and press to confirm.
You will see the menu.
X Select AUX AUX.
The AUX video menu appears.
X To select Audio/Video Audio/Video in the menu bar:
slide 005200C5 and press the controller.
A Source Type Selection Source Type Selection menu
appears.
X Select Video
Video.
The 0036dot indicates the current setting.
If the video source is connected and
playback selected, the image from the
external video source will appear if Video
Video
is selected.
Please see the corresponding device
operating instructions for information on how
to operate the external video source.
Information on:
R Sound settings: (Y page 230) AUX video mode
219Media Z
Page 232 of 278
Your COMAND equipment
These operating instructions describe all
standard and optional equipment available
for your COMAND system at the time of
purchase. Country-specific differences are
possible. Please note that your
COMAND system may not be equipped with
all the features described. This also applies to
safety-relevant systems and functions.
Therefore, the equipment on your COMAND
system may differ from that in the
descriptions and illustrations. Should you
have any questions concerning equipment
and operation, please consult an authorized
Mercedes-Benz Center. Sound settings
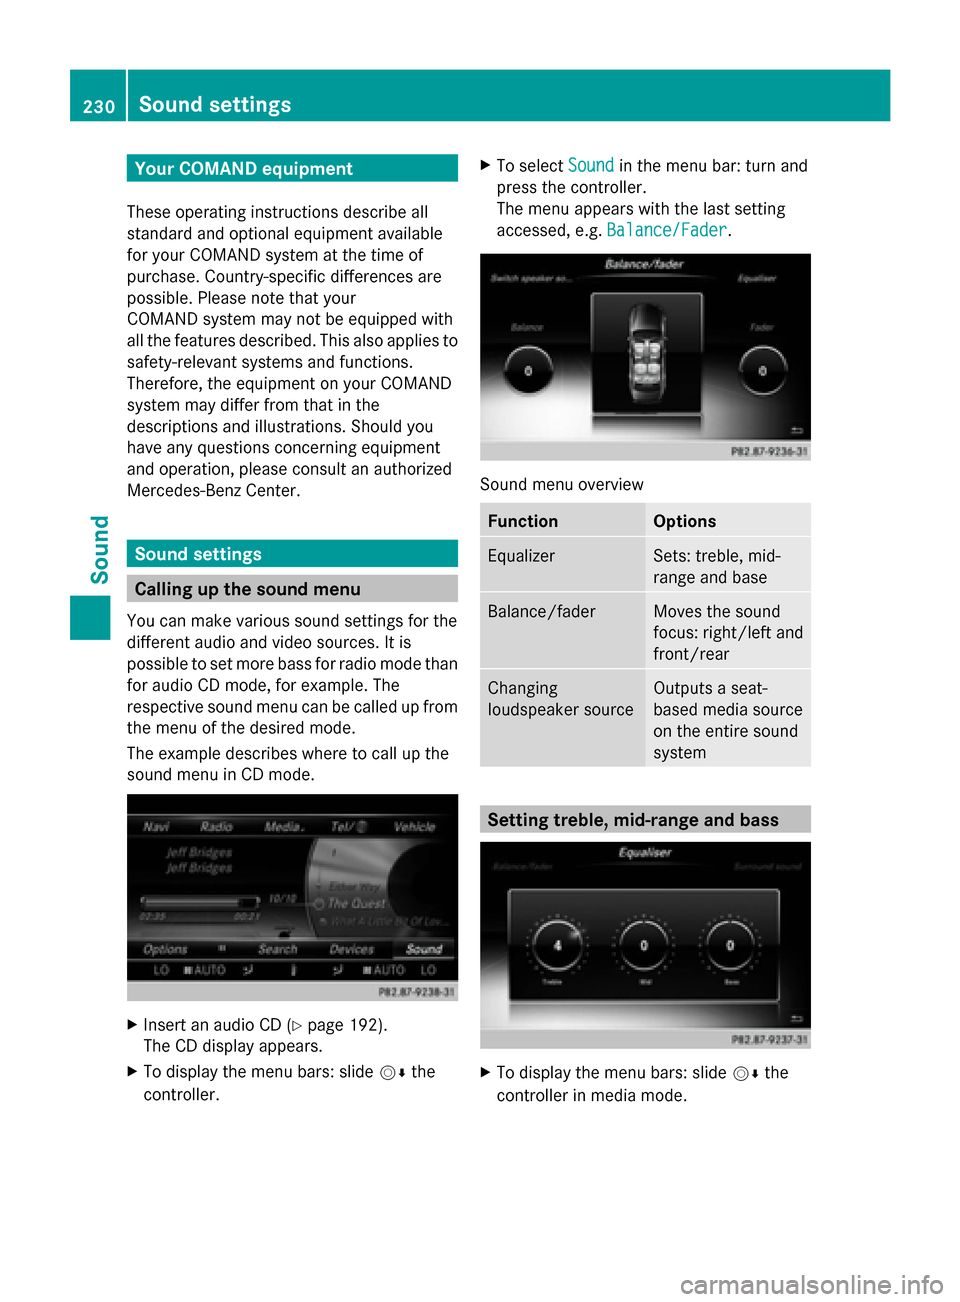
Calling up the sound menu
You can make various sound settings for the
different audio and video sources. It is
possible to set more bass for radio mode than
for audio CD mode, for example. The
respective sound menu can be called up from
the menu of the desired mode.
The example describes where to call up the
sound menu in CD mode. X
Insert an audio CD (Y page 192).
The CD display appears.
X To display the menu bars: slide 00520064the
controller. X
To select Sound
Sound in the menu bar: turn and
press the controller.
The menu appears with the last setting
accessed, e.g. Balance/Fader Balance/Fader. Sound menu overview
Function Options
Equalizer Sets: treble, mid-
range and base
Balance/fader Moves the sound
focus: right/left and
front/rear
Changing
loudspeaker source Outputs a seat-
based media source
on the entire sound
system
Setting treble, mid-range and bass
X
To display the menu bars: slide 00520064the
controller in media mode. 230
Sound set
tingsSound
Page 234 of 278
X
To activate the rotary menu for the speaker
source: slide 00520064the controller.
X To set the desired speaker source: turn the
controller.
The segment, text and image show the
selected setting.
X To return to the menu: slide 00970052the
controller.
X To return to the basic menu: press the
0038 button briefly. Burmester
®
surround sound system Equipment
Your vehicle is equipped with the
Burmester ®
surround sound system.
It has a total output of 590 watts and is
equipped with 13 loudspeakers.
The Burmester ®
surround sound system is
available for all functions in the radio and
media modes. Calling up the sound menu
You can make various sound settings for the
different audio and video sources. It is
possible to set more bass for radio mode than
for audio CD mode, for example. The
respective sound menu is called up from the
menu of the desired mode.
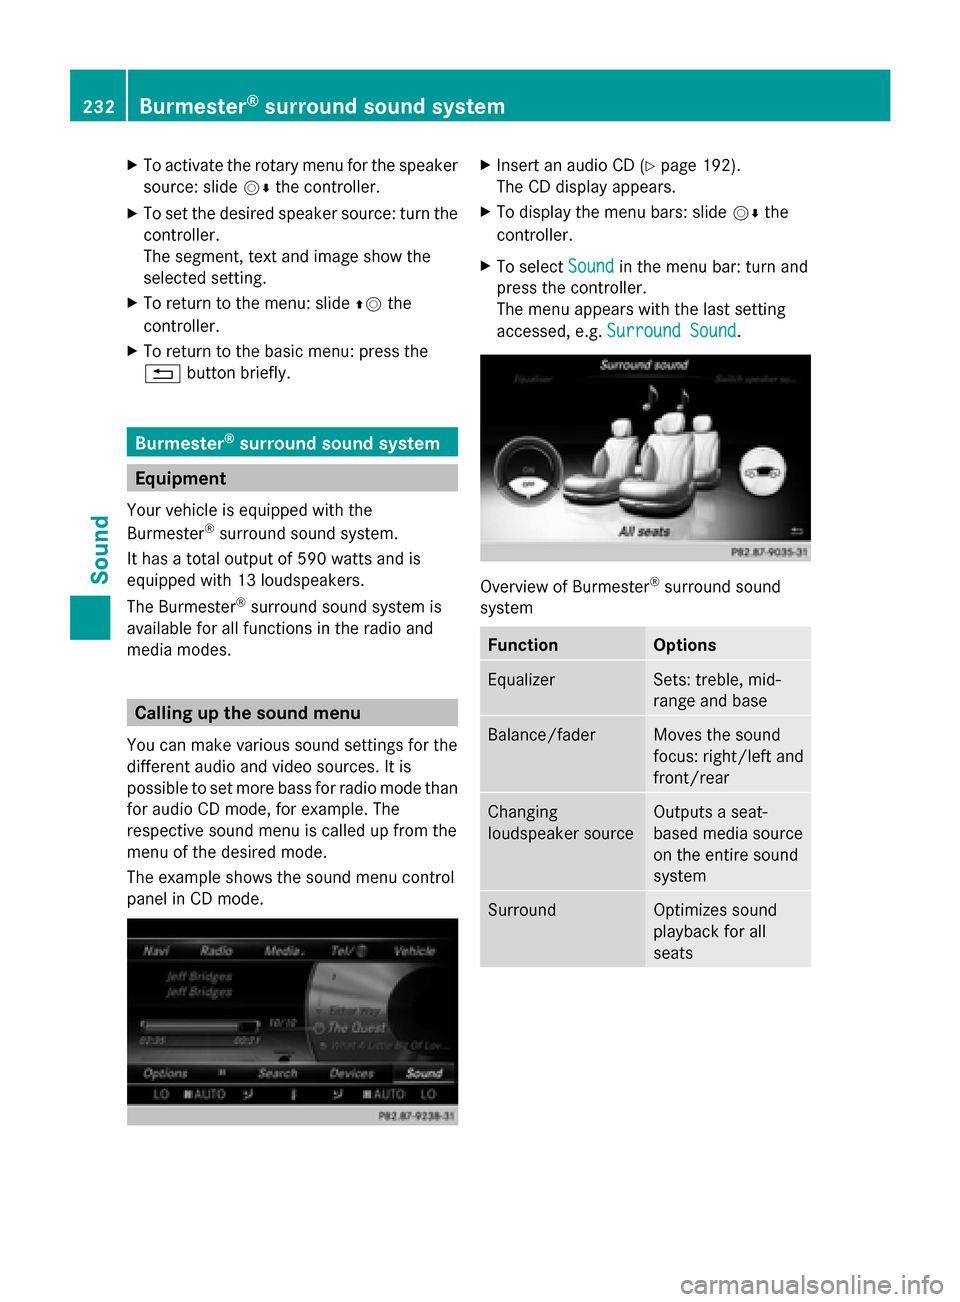
The example shows the sound menu control
panel in CD mode. X
Insert an audio CD (Y page 192).
The CD display appears.
X To display the menu bars: slide 00520064the
controller.
X To select Sound Soundin the menu bar: turn and
press the controller.
The menu appears with the last setting
accessed, e.g. Surround Sound Surround Sound. Overview of Burmester
®
surround sound
system Function Options
Equalizer Sets: treble, mid-
range and base
Balance/fader Moves the sound
focus: right/left and
front/rear
Changing
loudspeaker source Outputs a seat-
based media source
on the entire sound
system
Surround Optimizes sound
playback for all
seats232
Burmester ®
surround sound systemSound