ESP MERCEDES-BENZ S-Class 2014 W222 Comand Manual
[x] Cancel search | Manufacturer: MERCEDES-BENZ, Model Year: 2014, Model line: S-Class, Model: MERCEDES-BENZ S-Class 2014 W222Pages: 278, PDF Size: 6.65 MB
Page 152 of 278
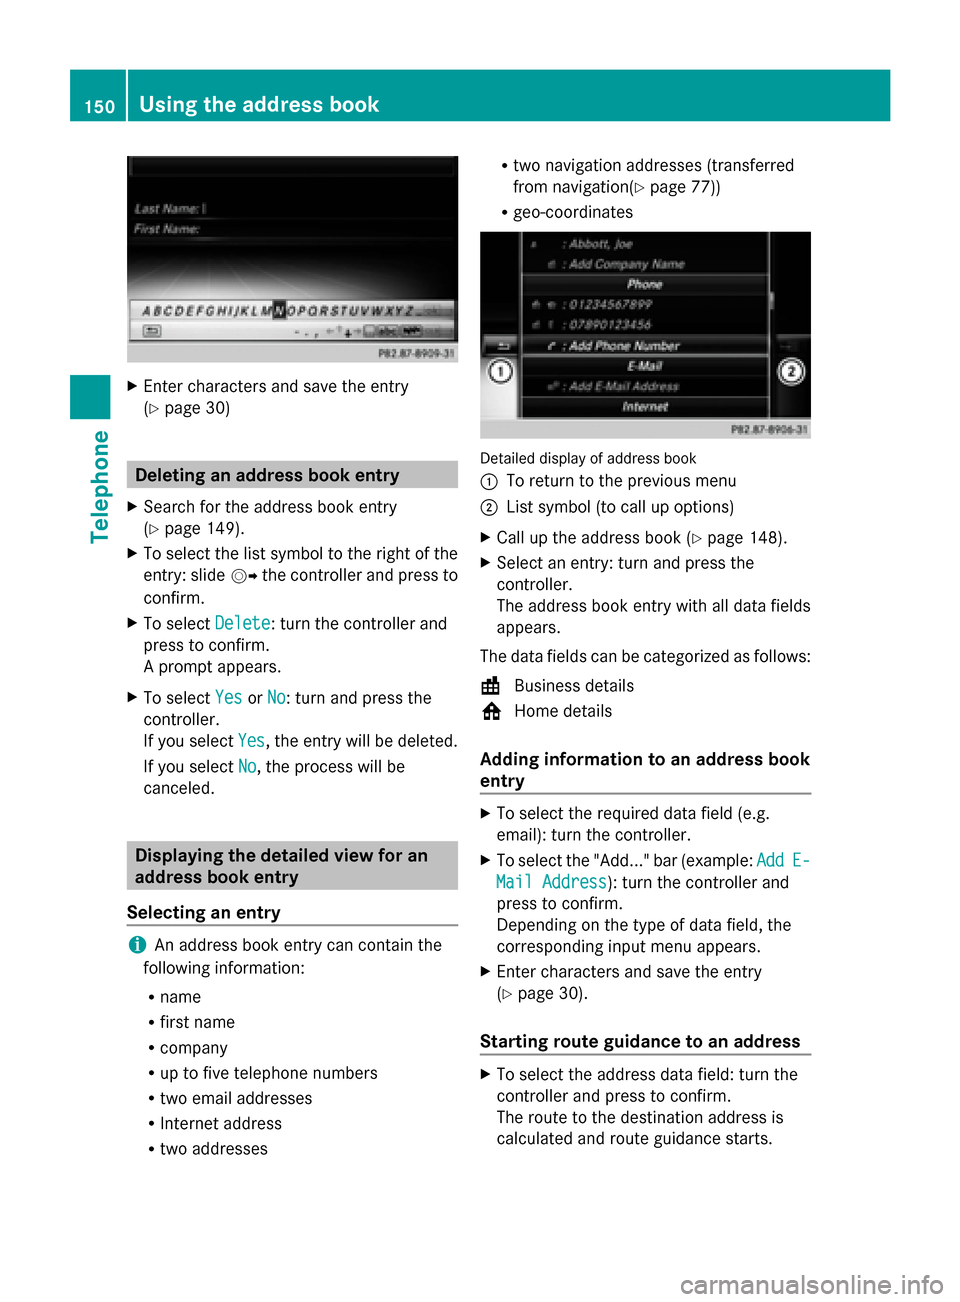
X
Enter characters and save the entry
(Y page 30) Deleting an address book entry
X Search for the address book entry
(Y page 149).
X To select the list symbol to the right of the
entry: slide 00520096the controller and press to
confirm.
X To select Delete
Delete : turn the controller and
press to confirm.
A prompt appears.
X To select Yes
Yes orNo No: turn and press the
controller.
If you select Yes
Yes , the entry will be deleted.
If you select No
No, the process will be
canceled. Displaying the detailed view for an
address book entry
Selecting an entry i
An address book entry can contain the
following information:
R name
R first name
R company
R up to five telephone numbers
R two email addresses
R Internet address
R two addresses R
two navigation addresses (transferred
from navigation( Ypage 77))
R geo-coordinates Detailed display of address book
0043
To return to the previous menu
0044 List symbol (to call up options)
X Call up the address book (Y page 148).
X Select an entry: turn and press the
controller.
The address book entry with all data fields
appears.
The data fields can be categorized as follows:
\ Business details
0088 Home details
Adding information to an address book
entry X
To select the required data field (e.g.
email): turn the controller.
X To select the "Add..." bar (example: Add AddE-
E-
Mail Address
Mail Address): turn the controller and
press to confirm.
Depending on the type of data field, the
corresponding input menu appears.
X Enter characters and save the entry
(Y page 30).
Starting route guidance to an address X
To select the address data field: turn the
controller and press to confirm.
The route to the destination address is
calculated and route guidance starts. 150
Using the address bookTelephone
Page 157 of 278
R
Imported via Bluetooth devices
Imported via Bluetooth devices
R Downloaded From Phone
Downloaded From Phone
Turn and press the controller.
A prompt corresponding to your selection
appears.
X To select Yes YesorNo
No: turn the controller and
press to confirm.
If you select Yes
Yes, the contacts are deleted
according to your selection.
If you select No
No, the process will be
canceled.
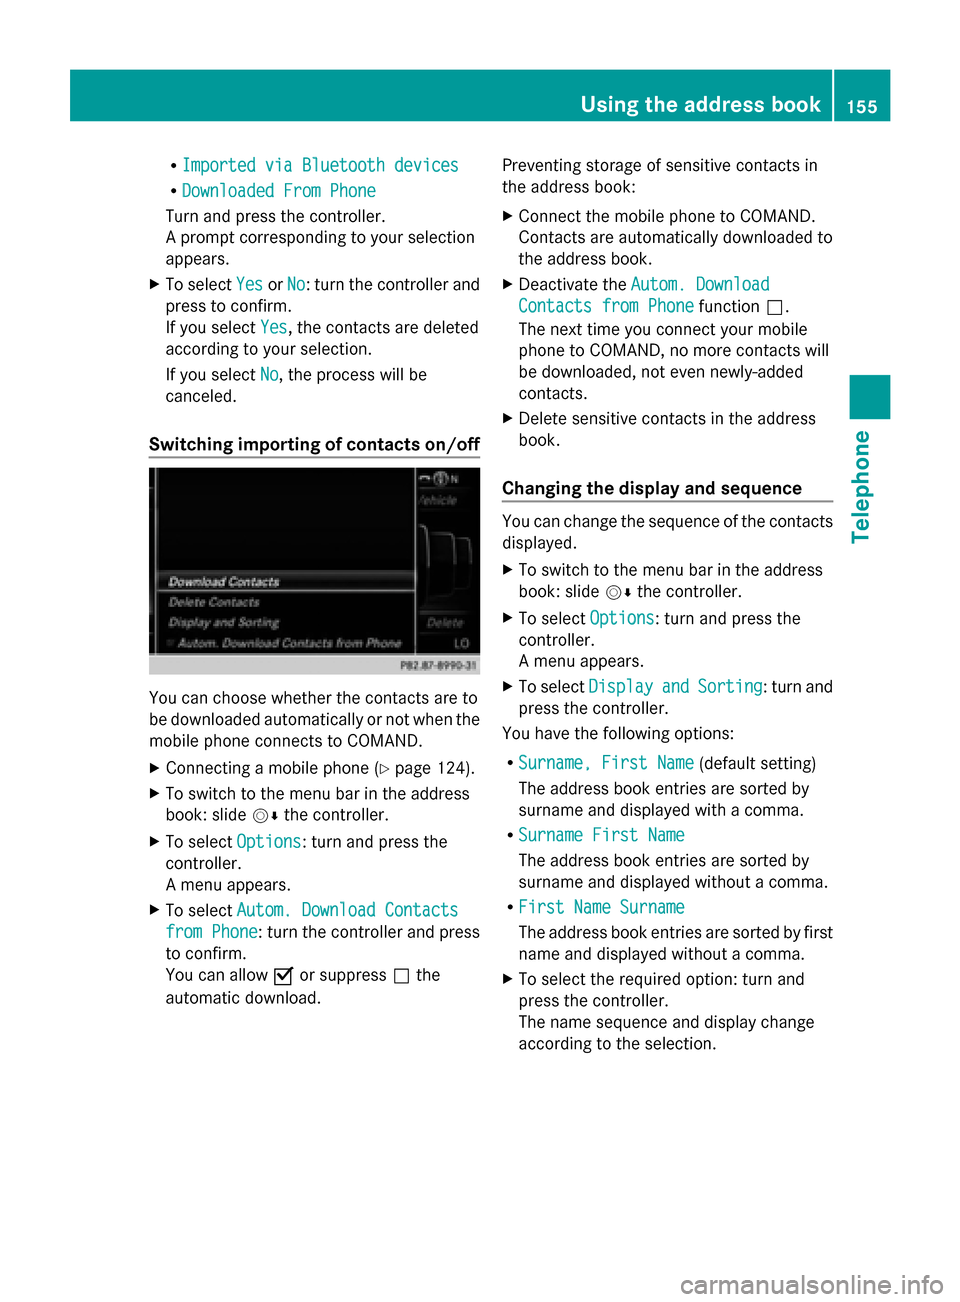
Switching importing of contacts on/off You can choose whether the contacts are to
be downloaded automatically or not when the
mobile phone connects to COMAND.
X
Connecting a mobile phone (Y page 124).
X To switch to the menu bar in the address
book: slide 00520064the controller.
X To select Options Options: turn and press the
controller.
A menu appears.
X To select Autom. Download Contacts Autom. Download Contacts
from Phone
from Phone: turn the controller and press
to confirm.
You can allow 0073or suppress 0053the
automatic download. Preventing storage of sensitive contacts in
the address book:
X
Connect the mobile phone to COMAND.
Contacts are automatically downloaded to
the address book.
X Deactivate the Autom. Download Autom. Download
Contacts from Phone
Contacts from Phone function0053.
The next time you connect your mobile
phone to COMAND, no more contacts will
be downloaded, not even newly-added
contacts.
X Delete sensitive contacts in the address
book.
Changing the display and sequence You can change the sequence of the contacts
displayed.
X
To switch to the menu bar in the address
book: slide 00520064the controller.
X To select Options Options: turn and press the
controller.
A menu appears.
X To select Display Display and
andSorting
Sorting : turn and
press the controller.
You have the following options:
R Surname, First Name Surname, First Name (default setting)
The address book entries are sorted by
surname and displayed with a comma.
R Surname First Name
Surname First Name
The address book entries are sorted by
surname and displayed without a comma.
R First Name Surname First Name Surname
The address book entries are sorted by first
name and displayed without a comma.
X To select the required option: turn and
press the controller.
The name sequence and display change
according to the selection. Using the address book
155Telephone Z
Page 162 of 278
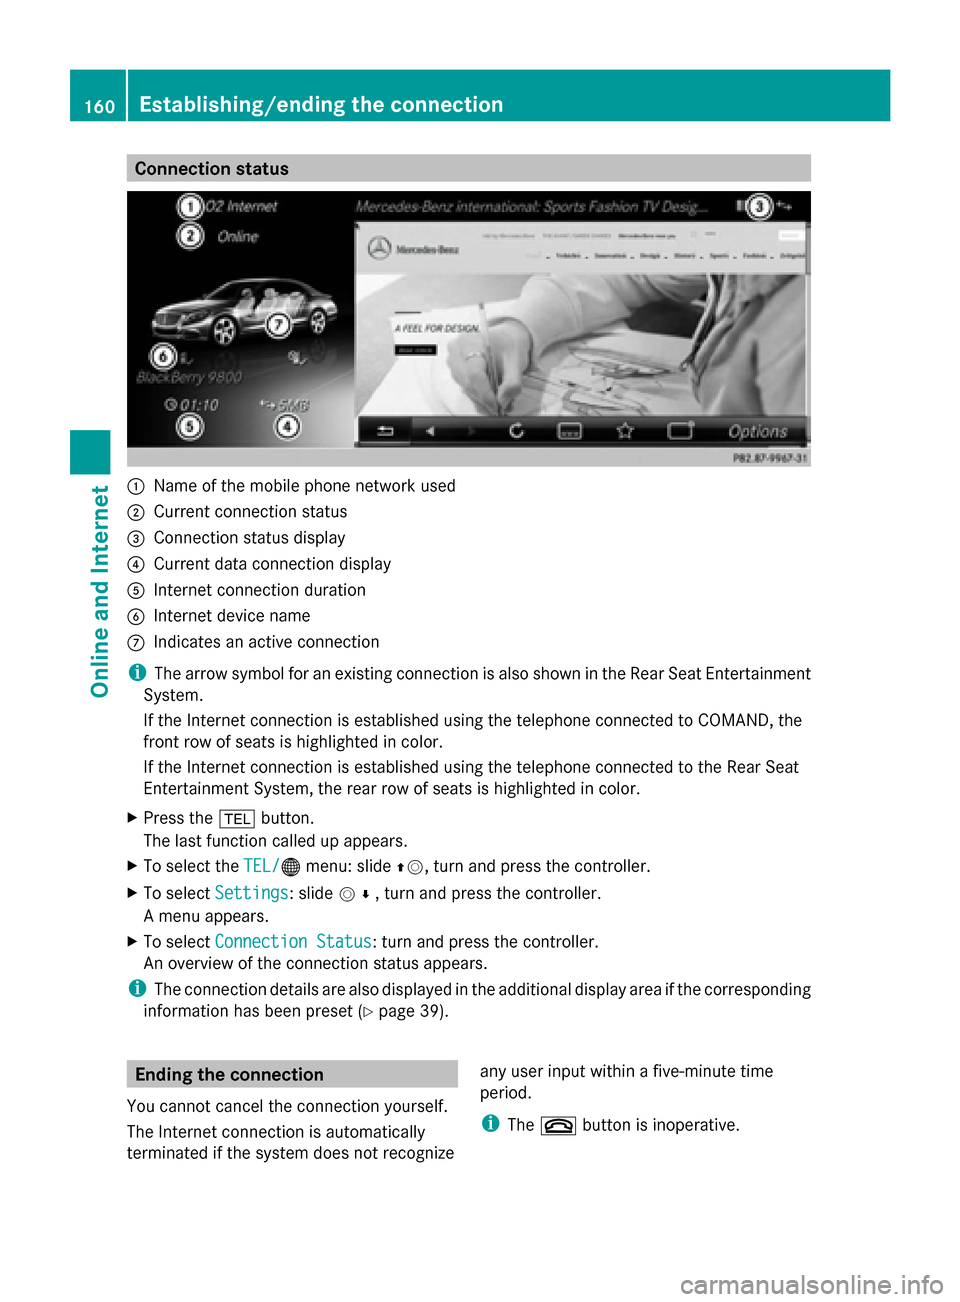
Connection status
0043
Name of the mobile phone network used
0044 Current connection status
0087 Connection status display
0085 Current data connection display
0083 Internet connection duration
0084 Internet device name
006B Indicates an active connection
i The arrow symbol for an existing connection is also shown in the Rear Seat Entertainment
System.
If the Internet connection is established using the telephone connected to COMAND, the
front row of seats is highlighted in color.
If the Internet connection is established using the telephone connected to the Rear Seat
Entertainment System, the rear row of seats is highlighted in color.
X Press the 002Bbutton.
The last function called up appears.
X To select the TEL/
TEL/00A7 menu: slide 00970052, turn and press the controller.
X To select Settings
Settings: slide 005200C5, turn and press the controller.
A menu appears.
X To select Connection Status Connection Status : turn and press the controller.
An overview of the connection status appears.
i The connection details are also displayed in the additional display area if the corresponding
information has been preset (Y page 39).Ending the connection
You cannot cancel the connection yourself.
The Internet connection is automatically
terminated if the system does not recognize any user input within a five-minute time
period.
i
The 0076 button is inoperative. 160
Establishing/ending the connectionOnline and Internet
Page 164 of 278
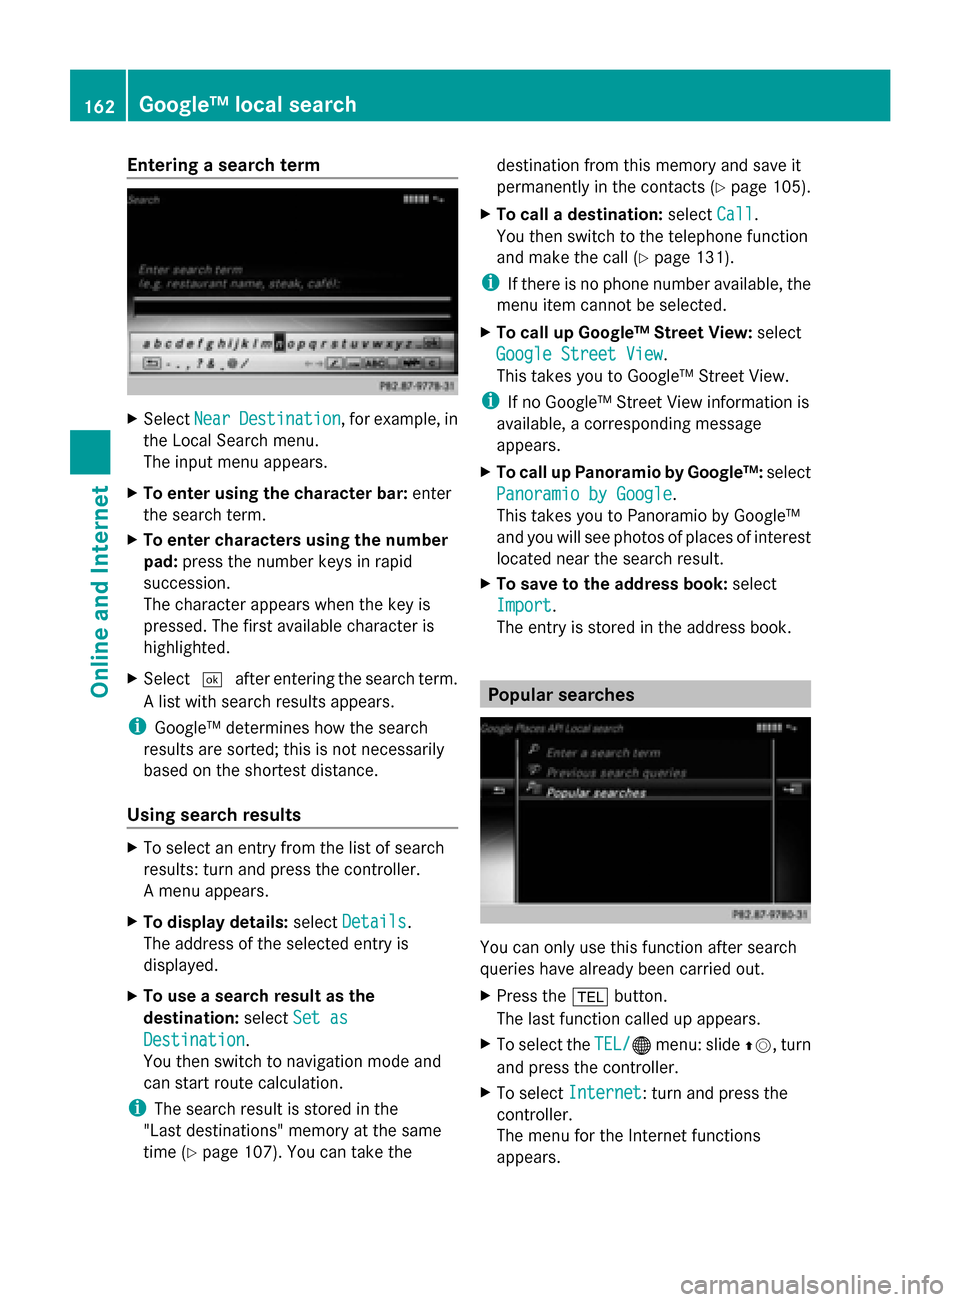
Entering a search term
X
Select Near
NearDestination
Destination , for example, in
the Local Search menu.
The input menu appears.
X To enter using the character bar: enter
the search term.
X To enter characters using the number
pad: press the number keys in rapid
succession.
The character appears when the key is
pressed. The first available character is
highlighted.
X Select 0054after entering the search term.
A list with search results appears.
i Google™ determines how the search
results are sorted; this is not necessarily
based on the shortest distance.
Using search results X
To select an entry from the list of search
results: turn and press the controller.
A menu appears.
X To display details: selectDetails
Details.
The address of the selected entry is
displayed.
X To use a search result as the
destination: selectSet as
Set as
Destination Destination.
You then switch to navigation mode and
can start route calculation.
i The search result is stored in the
"Last destinations" memory at the same
time (Y page 107). You can take the destination from this memory and save it
permanently in the contacts (Y
page 105).
X To call a destination: selectCall
Call.
You then switch to the telephone function
and make the call (Y page 131).
i If there is no phone number available, the
menu item cannot be selected.
X To call up Google™ Street View: select
Google Street View Google Street View.
This takes you to Google™ Street View.
i If no Google™ Street View information is
available, a corresponding message
appears.
X To call up Panoramio by Google™: select
Panoramio by Google Panoramio by Google .
This takes you to Panoramio by Google™
and you will see photos of places of interest
located near the search result.
X To save to the address book: select
Import
Import .
The entry is stored in the address book. Popular searches
You can only use this function after search
queries have already been carried out.
X
Press the 002Bbutton.
The last function called up appears.
X To select the TEL/
TEL/00A7 menu: slide 00970052, turn
and press the controller.
X To select Internet Internet: turn and press the
controller.
The menu for the Internet functions
appears. 162
Google™ local searchOnline and Internet
Page 169 of 278
X
Select the desired app, e.g. Google
Google
Local Search
Local Search .
X To select the 00DEOptions menu: slide
00520096 and press the controller.
The menu shows the current settings. Resetting adjustments
With the reset function, all Mercedes-Benz
Apps settings are reset to the factory
settings.
X Call up the Options menu (Y page 166).
A menu appears.
i No apps should be selected, otherwise
the options menu of the respective app
opens.
X To select Reset
Reset: turn the controller and
press to confirm.
A prompt appears asking whether you
really wish to reset.
X Select Yes
Yes orNo No.
If you select Yes
Yes, the settings are reset.
If you select No
No, the process will be
canceled. Mercedes-Benz Apps
General notes
To be able to use Mercedes-Benz Apps, you
first have to register COMAND. To do so, you
have to enter your name and postal address
once in the vehicle and confirm the general
terms and conditions. A message to this
effect appears the first time you call up the
online and Internet functions.
For individual Mercedes-Benz Apps, it may be
necessary to pay license fees before using.
Use is then limited to a certain period of time.
License fees must be paid again for use
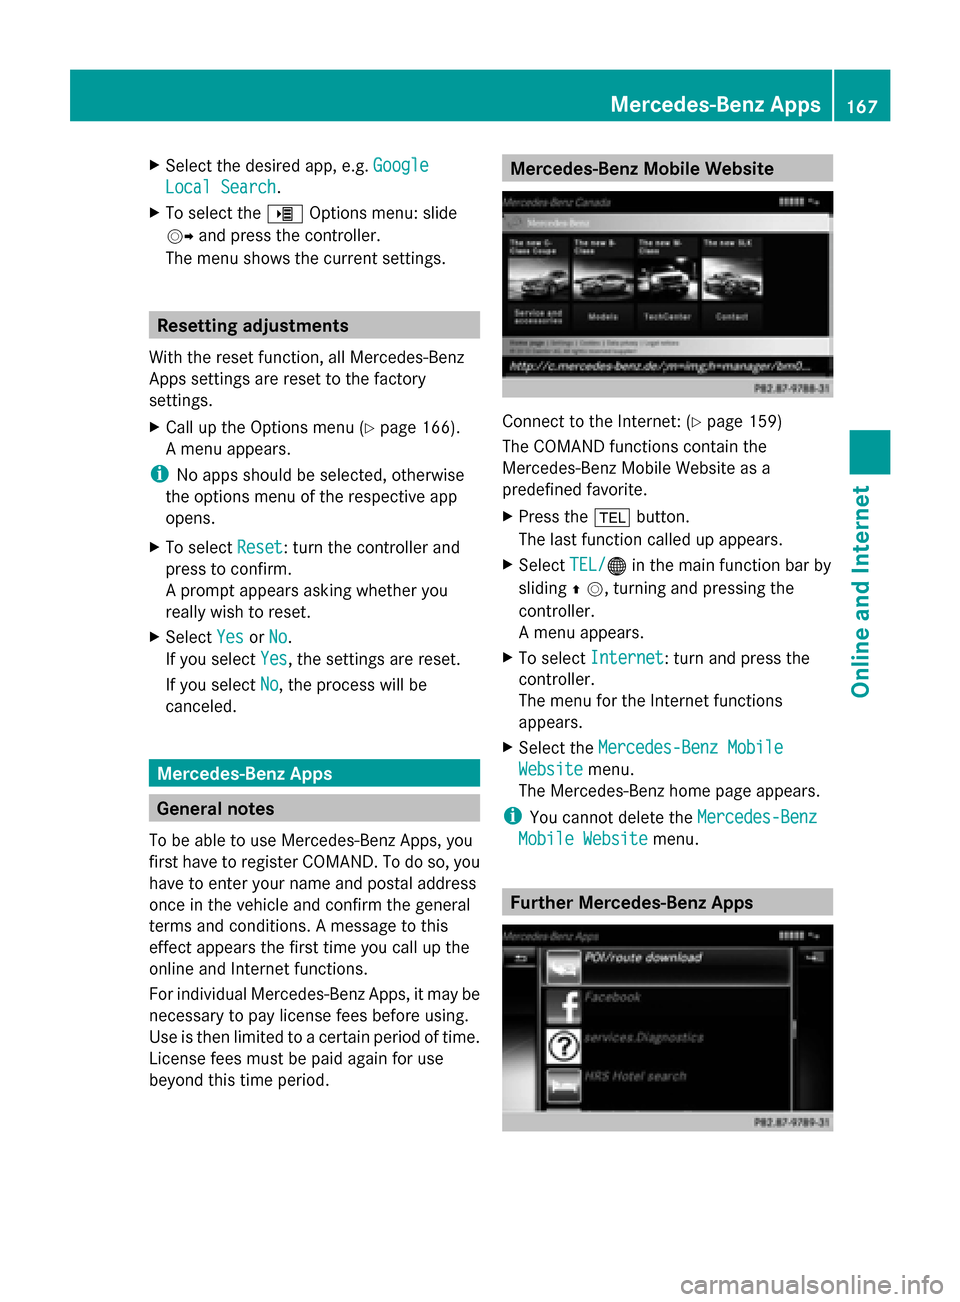
beyond this time period. Mercedes-Benz Mobile Website
Connect to the Internet: (Y
page 159)
The COMAND functions contain the
Mercedes-Benz Mobile Website as a
predefined favorite.
X Press the 002Bbutton.
The last function called up appears.
X Select TEL/ TEL/00A7 in the main function bar by
sliding 00970052, turning and pressing the
controller.
A menu appears.
X To select Internet Internet: turn and press the
controller.
The menu for the Internet functions
appears.
X Select the Mercedes-Benz Mobile Mercedes-Benz Mobile
Website
Website menu.
The Mercedes-Benz home page appears.
i You cannot delete the Mercedes-Benz
Mercedes-Benz
Mobile Website
Mobile Website menu. Further Mercedes-Benz Apps Mercedes-Benz Apps
167Online and Internet Z
Page 187 of 278
X
To call up the category list: select
Category
Category in the menu bar: slide 00520064and
press the controller.
The category list appears.
X To select a category: turn the controller
and press to confirm.
The category selected is shown in the
display. You hear the station last selected
for this category.
The 0036dot indicates the current setting.
The All Channels
All Channels category is at the top
of the category list. This category enables
you to browse all available channels. Selecting a channel
Channel search X
When the display/section window is
selected, slide 009500520096the controller.
COMAND searches in both directions
(ascending and descending) and stops at
the next channel found in the selected
category.
Entering channel numbers directly X
To select Options Optionsin the menu bar: slide
00520064 and press the controller.
The satellite radio menu appears.
X To select Enter Channel
Enter Channel: turn and press
the controller.
An input menu appears.
X For the channel number, press the
corresponding number keys on the control
panel one after the other.
COMAND sets the selected channel.
i You can only select currently permitted
digits. Selecting a channel via the satellite
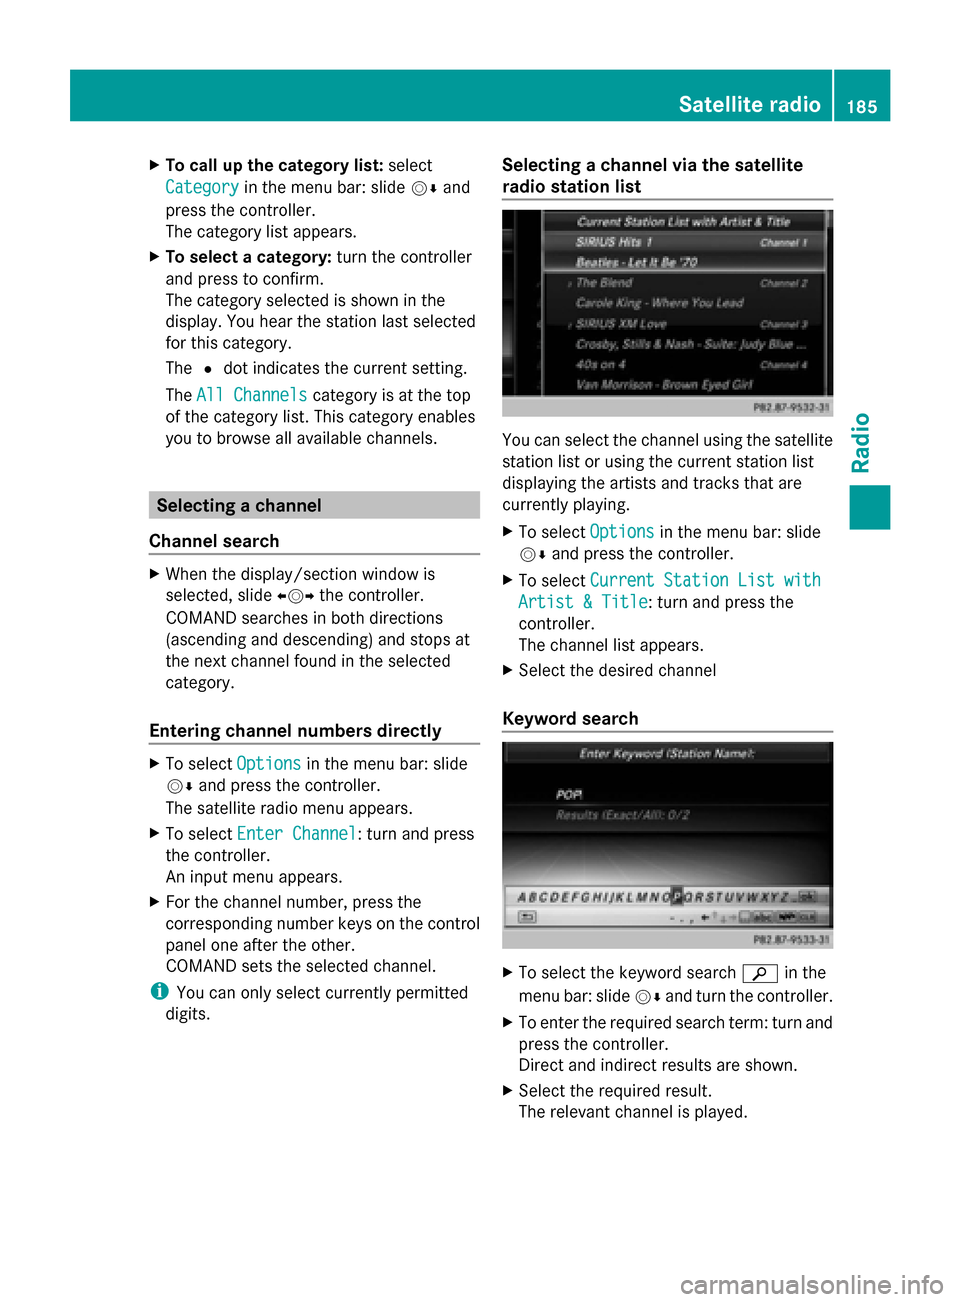
radio station list You can select the channel using the satellite
station list or using the current station list
displaying the artists and tracks that are
currently playing.
X
To select Options Optionsin the menu bar: slide
00520064 and press the controller.
X To select Current Station List with Current Station List with
Artist & Title Artist & Title: turn and press the
controller.
The channel list appears.
X Select the desired channel
Keyword search X
To select the keyword search 00D3in the
menu bar: slide 00520064and turn the controller.
X To enter the required search term: turn and
press the controller.
Direct and indirect results are shown.
X Select the required result.
The relevant channel is played. Satellite radio
185Radio
Page 188 of 278
Memory functions
Storing channels i
There are 99 presets available.
X Quick store: press the number key, e.g.
0082, until you hear a tone. The channel is
saved to the second position in the radio
channel presets.
X To store a channel using the edit
function: selectOptions
Options in the menu bar:
slide 00520064and press the controller.
X To select Edit/Organize Edit/Organize: turn and press
the controller.
The list of saved channels appears.
X To select the preset: turn the controller and
press for about 2 seconds.
A tone confirms that the currently selected
channel has been saved to the radio station
presets.
The newly saved station overwrites the
existing preset. Music and sport alerts
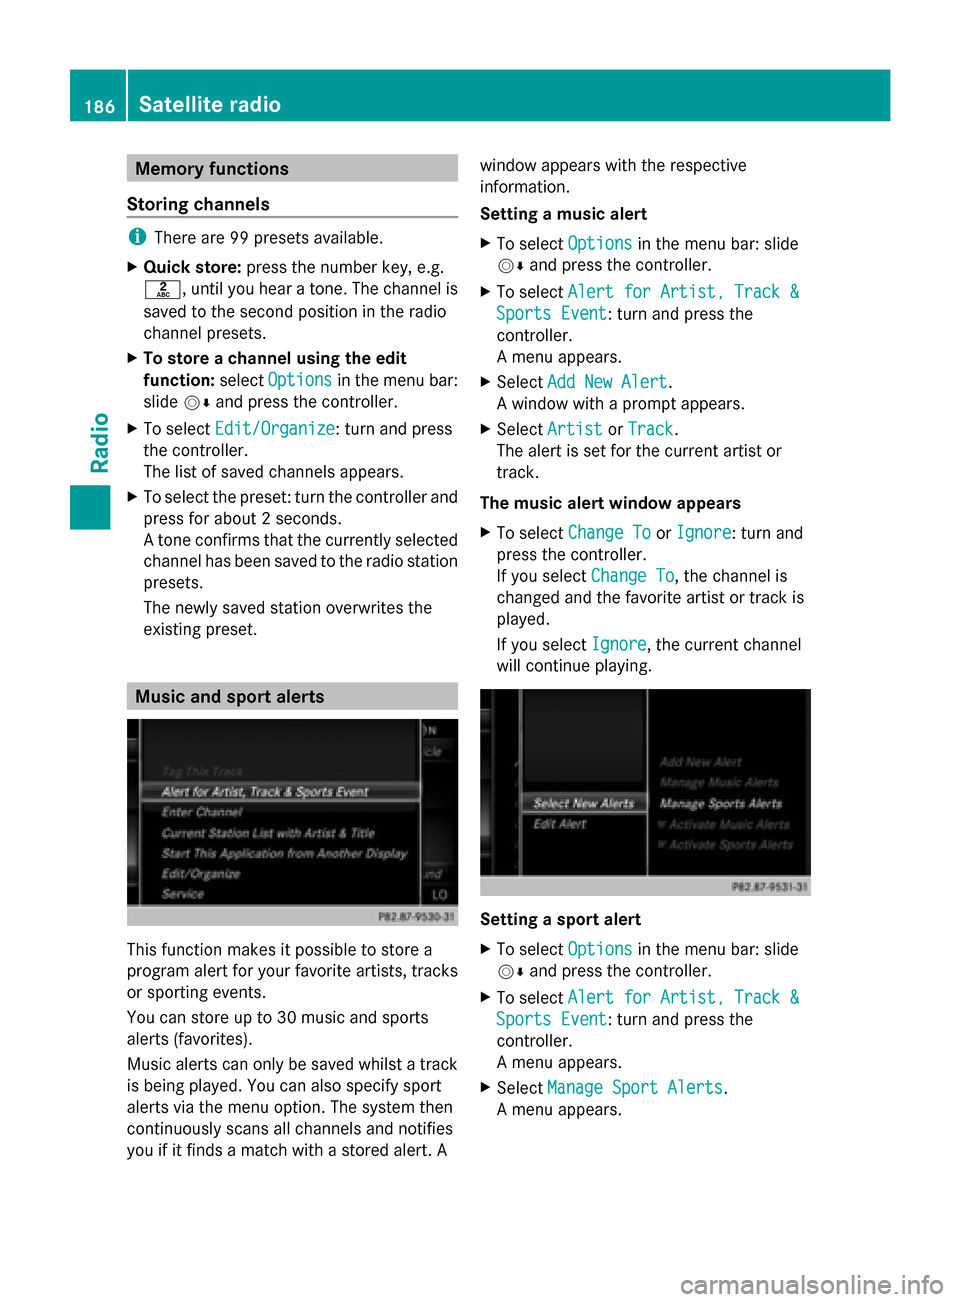
This function makes it possible to store a
program alert for your favorite artists, tracks
or sporting events.
You can store up to 30 music and sports
alerts (favorites).
Music alerts can only be saved whilst a track
is being played. You can also specify sport
alerts via the menu option. The system then
continuously scans all channels and notifies
you if it finds a match with a stored alert. A window appears with the respective
information.
Setting a music alert
X
To select Options
Options in the menu bar: slide
00520064 and press the controller.
X To select Alert for Artist, Track & Alert for Artist, Track &
Sports Event
Sports Event: turn and press the
controller.
A menu appears.
X Select Add New Alert Add New Alert.
A window with a prompt appears.
X Select Artist
Artist orTrack
Track.
The alert is set for the current artist or
track.
The music alert window appears
X To select Change To Change To orIgnore
Ignore: turn and
press the controller.
If you select Change To
Change To, the channel is
changed and the favorite artist or track is
played.
If you select Ignore
Ignore, the current channel
will continue playing. Setting a sport alert
X
To select Options Optionsin the menu bar: slide
00520064 and press the controller.
X To select Alert for Artist, Track &
Alert for Artist, Track &
Sports Event
Sports Event: turn and press the
controller.
A menu appears.
X Select Manage Sport Alerts Manage Sport Alerts.
A menu appears. 186
Satellite radioRadio
Page 193 of 278
X
To select Media
Media: turn the controller and
press to confirm.
The menu appears with the available media
sources.
X Select the media source.
If the media source contains music or video
files, these will be played. The
corresponding basic menu will be shown. Using the number keypad
i
If you touch a key in the touch-sensitive
number keypad, the number field is
displayed in the additional display area.
X Touch any number key when in media
mode.
The number field is shown. The active
media source is highlighted.
X To select a media source: press the
corresponding number key.
If the media source contains music or video
files, these will be played. The
corresponding basic menu will be shown.
X To select a track from the active media
source: press the 007Dkey on the number
keypad.
An input field appears.
X To enter a track number: use the number
keypad to enter the desired numbers.
The track is played.
X To show track information: press the #
key on the number keypad
An additional field appears with the track
information. Using the device list
X
In media mode, slide 00520064the controller.
The media menu bar appears.
X To select Devices Devices: turn the controller and
press to confirm.
The available media sources will be shown.
The 0036dot indicates the current setting.
X Select the media source.
If the media source contains music or video
files, these will be played. The
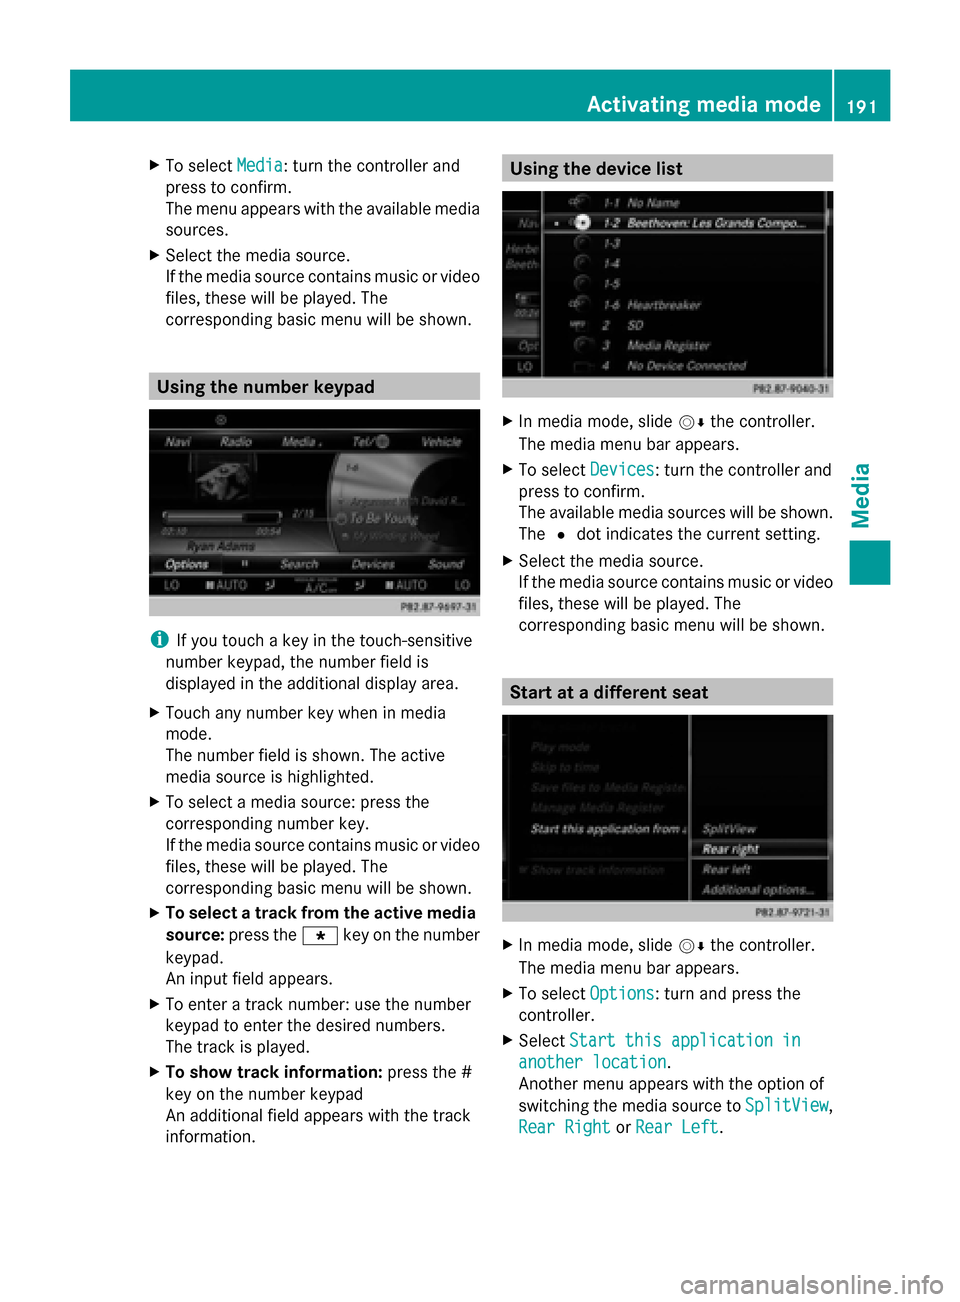
corresponding basic menu will be shown. Start at a different seat
X
In media mode, slide 00520064the controller.
The media menu bar appears.
X To select Options Options: turn and press the
controller.
X Select Start this application in
Start this application in
another location
another location.
Another menu appears with the option of
switching the media source to SplitView SplitView,
Rear Right
Rear Right orRear Left
Rear Left. Activating media mode
191Media
Page 194 of 278
Use
Additional Options
Additional Options to operate the
parental control screen for selected seats:
(Y page 63).
X To switch the media source to, e.g.
SplitView
SplitView: turn and press the controller
(Y page 26). Audio/video mode
Important safety notes
G
WARNING
The CD/DVD drive is a class 1 laser product.
If you open the CD/DVD drive housing, you
could be exposed to invisible laser radiation.
This laser radiation could damage your retina.
There is a risk of injury.
Never open the housing. Always have
maintenance and repair work carried out at a
qualified specialist workshop. G
WARNING
Only when the vehicle is stationary should
you:
R insert a data carrier
R eject a disc
There is a risk of being distracted from the
road and traffic conditions if you insert or
eject a disc while the vehicle is in motion. Inserting and removing a disc from
the single CD/DVD drive
Before inserting a CD/DVD, ensure that the
cup holder is empty and the spray guard flap
is open.
X To insert: press the00F8button on the
single drive.
If there is a disc already inserted, it will be
ejected.
X Insert a disc into the disc slot with the
printed side facing upwards.
The drive closes and the disc is played. If the CD/DVD is operated in Media mode,
the corresponding basic menu will be
shown. If the CD/DVD is started using
another application (e.g. navigation), the
display will not change.
i The drive may not be able to play discs
with copy protection.
X To remove: press the00F8button.
The drive ejects the disc.
X Remove the ejected disc from the slot.
If you do not take the disc out of the slot, it
is drawn in again automatically after a short
while. 192
Audio/video modeMedia
Page 199 of 278
Start at a different seat
The media source can be played back at a
different seat: (Y page 191).
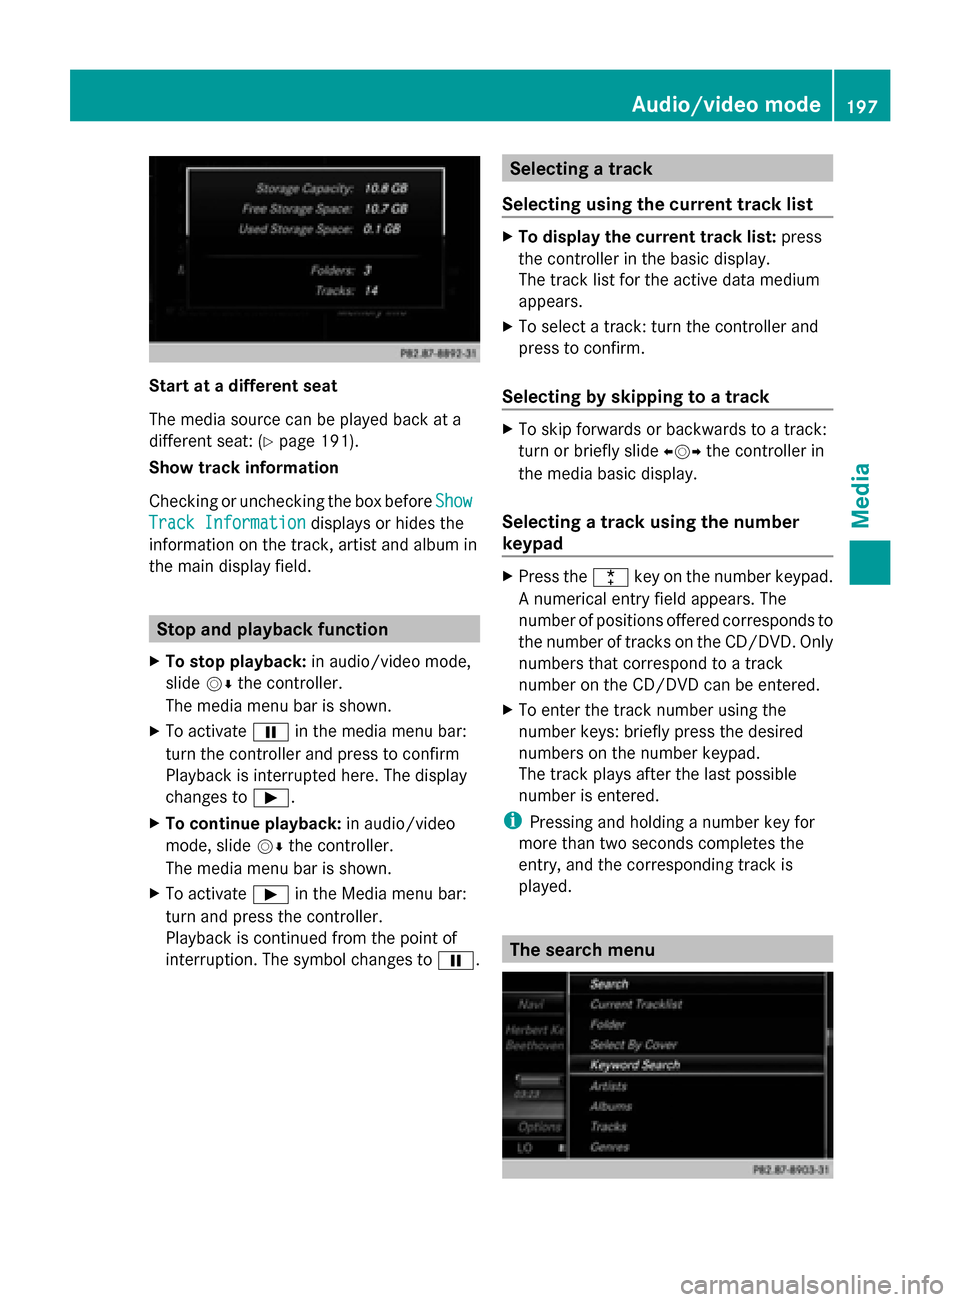
Show track information
Checking or unchecking the box before Show Show
Track Information
Track Information displays or hides the
information on the track, artist and album in
the main display field. Stop and playback function
X To stop playback: in audio/video mode,
slide 00520064the controller.
The media menu bar is shown.
X To activate 00CFin the media menu bar:
turn the controller and press to confirm
Playback is interrupted here. The display
changes to 00D0.
X To continue playback: in audio/video
mode, slide 00520064the controller.
The media menu bar is shown.
X To activate 00D0in the Media menu bar:
turn and press the controller.
Playback is continued from the point of
interruption. The symbol changes to 00CF. Selecting a track
Selecting using the current track list X
To display the current track list: press
the controller in the basic display.
The track list for the active data medium
appears.
X To select a track: turn the controller and
press to confirm.
Selecting by skipping to a track X
To skip forwards or backwards to a track:
turn or briefly slide 009500520096the controller in
the media basic display.
Selecting a track using the number
keypad X
Press the 0056key on the number keypad.
A numerical entry field appears. The
number of positions offered corresponds to
the number of tracks on the CD/DVD. Only
numbers that correspond to a track
number on the CD/DVD can be entered.
X To enter the track number using the
number keys: briefly press the desired
numbers on the number keypad.
The track plays after the last possible
number is entered.
i Pressing and holding a number key for
more than two seconds completes the
entry, and the corresponding track is
played. The search menu Audio/video mode
197Media Z