light MERCEDES-BENZ S-Class 2015 W222 Comand Manual
[x] Cancel search | Manufacturer: MERCEDES-BENZ, Model Year: 2015, Model line: S-Class, Model: MERCEDES-BENZ S-Class 2015 W222Pages: 298, PDF Size: 6.39 MB
Page 163 of 298
X
To select Edit
Edit: turn and press the control-
ler.
The text template is displayed in an input
line.
X Edit the text template as desired. Further
information on character entry using the
controller (Y page 36). Alternatively,
depending on the vehicle equipment, you
can enter characters using the telephone
keypad or the touchpad (Y page 32).
X To adopt changes to the text template,
select 0054: turn and press the controller.
The text template has been changed. Calling a text message sender
X Display the message (Y page 157).
X To call up a menu: press the controller.
X To select Call
Call Sender Sender: turn and press the
controller.
The call is made. Using a phone number in the text
Numbers in text messages that are high-
lighted can be used.
X To select a usable telephone number while
the message is displayed: turn the control-
ler.
X To select Use
Use : press the controller.
X To select Call
Call Number Number: turn and press the
controller.
The call is made.
i It is possible that a highlighted numerical
sequence may not contain a telephone
number.
i You can use the "New entry" or "Add no."
functions to save this telephone number or to add it to an existing entry. Storing a sender as a new entry in the
address book
Storing the sender of a text message X
To call up the menu when a text message is
displayed: press the controller.
X To select Save SaveNumber
Number: turn and press the
controller.
X To select New Entry
New Entry: turn and press the
controller.
X Select a number category, e.g. Home
Home.
X Select a telephone category, e.g. Mobile
Mobile
Phone
Phone.
X Select Continue
Continue.
The input line for the name of the new con-
tact is displayed. The input line for the tele- phone number is filled in automatically.
X Enter characters using the controller
(Y page 36), the telephone keypad or the
touchpad (Y page 32), depending on the
vehicle's equipment.
X To finish the entry: select OK OK.
The new contact has been created.
Saving the sender of an e-mail X
To call up the menu when an e-mail is dis-
played: press the controller.
X To select Save Sender's E-Mail Save Sender's E-Mail
Address
Address: turn and press the controller.
X To select New Entry
New Entry: turn and press the
controller.
The input line for the name of the new con-
tact is displayed. The input line for the e-
mail address is filled in automatically.
X Enter characters using the controller
(Y page 36), the telephone keypad or the
touchpad (Y page 32), depending on the
vehicle's equipment.
X To finish the entry: select OK OK.
The new contact has been created. Messages (text messages and e-mails)
161Telephone Z
Page 165 of 298
You can view these contacts even without a
mobile phone.
i The address book can store a total of
5000 contacts.
R 2000 entries are reserved for perma-
nently saved contacts.
R 3000 entries are reserved for contacts
that you can load from the mobile phone.
i Before selling your vehicle, delete the
contacts saved in COMAND using the reset function (Y page 55). Calling up the address book
X To call up the telephone menu: press the
002B button.
X To switch to the main function bar: slide
5 the controller.
X To select Tel Tel: turn the controller and press
to confirm.
X To select Address Book
Address Book : turn and press
the controller. X
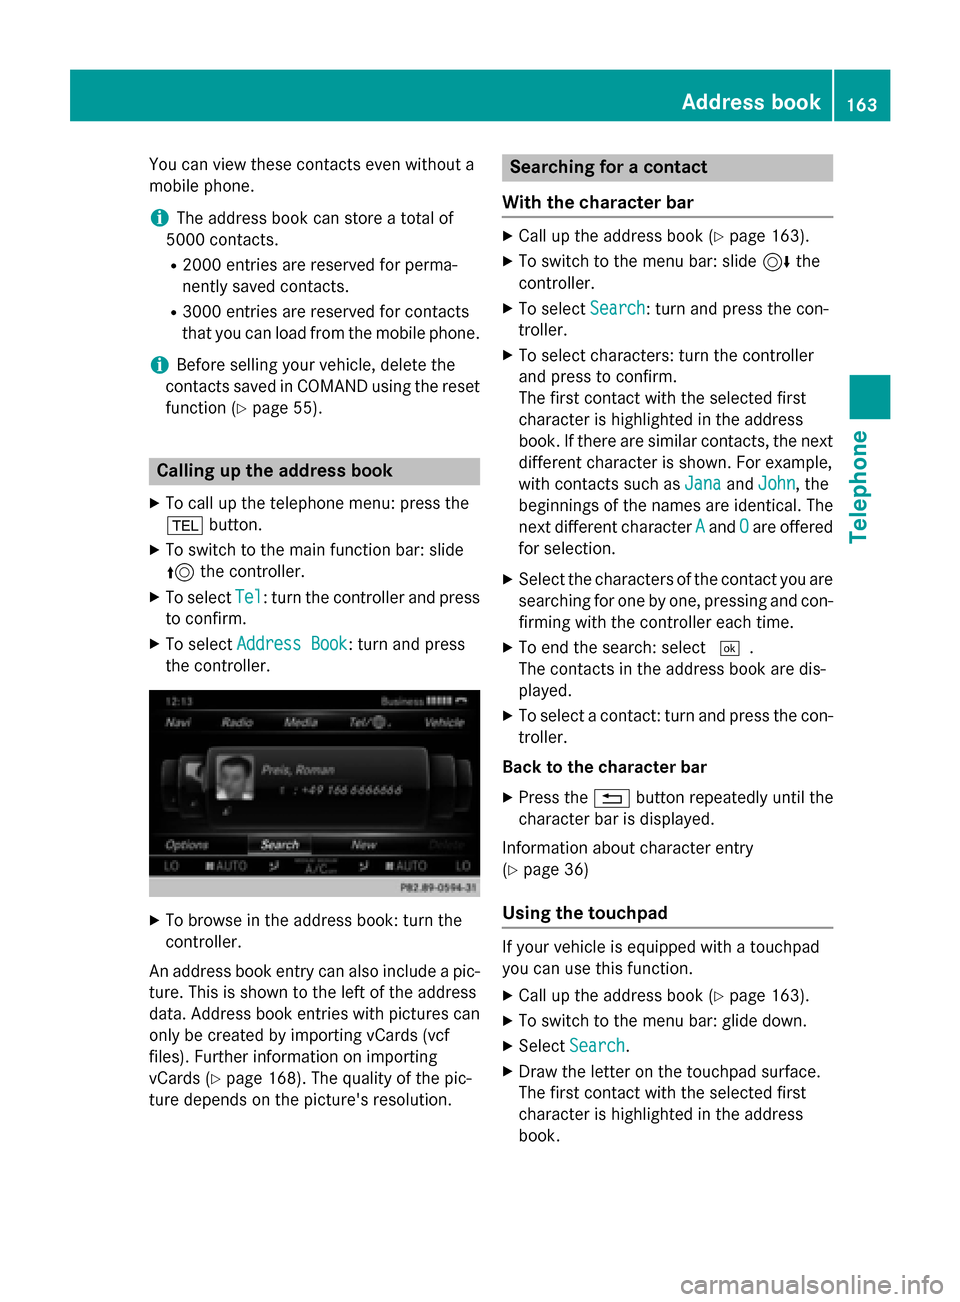
To browse in the address book: turn the
controller.
An address book entry can also include a pic- ture. This is shown to the left of the address
data. Address book entries with pictures can
only be created by importing vCards (vcf
files). Further information on importing
vCards (Y page 168). The quality of the pic-
ture depends on the picture's resolution. Searching for a contact
With the character bar X
Call up the address book (Y page 163).
X To switch to the menu bar: slide 6the
controller.
X To select Search Search: turn and press the con-
troller.
X To select characters: turn the controller
and press to confirm.
The first contact with the selected first
character is highlighted in the address
book. If there are similar contacts, the next
different character is shown. For example,
with contacts such as Jana JanaandJohn John , the
beginnings of the names are identical. The
next different character A Aand O
Oare offered
for selection.
X Select the characters of the contact you are
searching for one by one, pressing and con- firming with the controller each time.
X To end the search: select 0054.
The contacts in the address book are dis-
played.
X To select a contact: turn and press the con-
troller.
Back to the character bar X Press the 0038button repeatedly until the
character bar is displayed.
Information about character entry
(Y page 36)
Using the touchpad If your vehicle is equipped with a touchpad
you can use this function.
X Call up the address book (Y page 163).
X To switch to the menu bar: glide down.
X Select Search Search.
X Draw the letter on the touchpad surface.
The first contact with the selected first
character is highlighted in the address
book. Address book
163Telephone Z
Page 167 of 298
X
Enter characters using the controller
(Y page 36), the telephone keypad or the
touchpad (Y page 32), depending on the
vehicle's equipment.
X To finish and save an entry: select 0054.
A maximum of five telephone numbers can be saved for one contact. Starting route guidance to an address
or geo-coordinates
If an address with a ZIP code is saved, the
address can be used for route guidance. If the
ZIP code cannot be assigned to an exact
address, you can adjust the destination sub-
sequently using the controller.
X Call up the address book (Y page 163).
X To select a contact: turn and press the con-
troller.
The details for the contact are displayed.
X To select the address or geocoordinates:
turn and press the controller.
The navigation menu is displayed.
X To select Start Start: slide 6and press the
controller.
The route to the destination address is cal- culated and route guidance starts. Making a call
X Call up the address book (Y page 163).
X To select a contact: turn and press the con-
troller.
The details for the contact are displayed.
X To select a telephone number: turn and
press the controller.
The number is dialed. Further information
about the functions during a call
(Y page 145). Sending text messages
X Call up the address book (Y page 163).
X To select a contact: turn and press the con-
troller.
The details for the contact are displayed.
X To highlight the telephone number: turn the
controller.
X To select G: slide 9the controller.
X To select Send Text Message Send Text Message: turn and
press the controller.
The entry fields for a text message are dis-
played (Y page 158).
Observe the requirements for the message
function (Y page 155). Sending e-mail
X Call up the address book (Y page 163).
X To select an entry: turn and press the con-
troller.
The details for the contact are displayed.
X To select an e-mail address: turn and press
the controller.
The entry fields for an e-mail are displayed
(Y page 159).
Observe the requirements for the message
function (Y page 155). Displaying sub-entry information
X Call up the address book (Y page 163).
X To select an entry: turn and press the con-
troller.
The details for the contact are displayed.
X To highlight the desired entry: turn the con-
troller.
X To select G: slide 9the controller.
X To select Details Details: turn and press the con-
troller.
The display is shown in full.
X To close the detailed display: press the
0038 button. Address book
165Telephone Z
Page 168 of 298
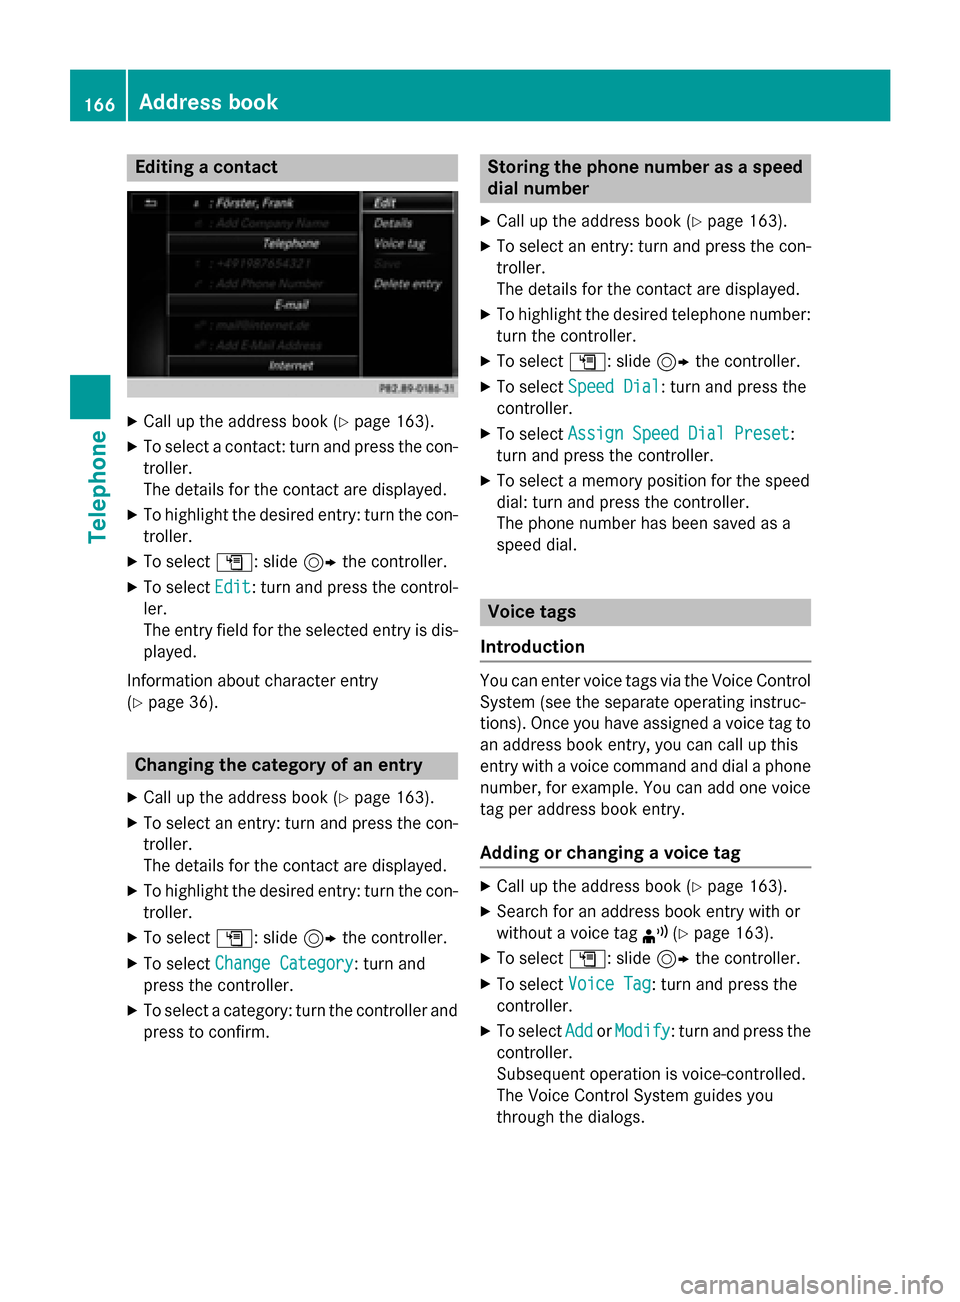
Editing a contact
X
Call up the address book (Y page 163).
X To select a contact: turn and press the con-
troller.
The details for the contact are displayed.
X To highlight the desired entry: turn the con-
troller.
X To select G: slide 9the controller.
X To select Edit Edit: turn and press the control-
ler.
The entry field for the selected entry is dis- played.
Information about character entry
(Y page 36). Changing the category of an entry
X Call up the address book (Y page 163).
X To select an entry: turn and press the con-
troller.
The details for the contact are displayed.
X To highlight the desired entry: turn the con-
troller.
X To select G: slide 9the controller.
X To select Change Category
Change Category: turn and
press the controller.
X To select a category: turn the controller and
press to confirm. Storing the phone number as a speed
dial number
X Call up the address book (Y page 163).
X To select an entry: turn and press the con-
troller.
The details for the contact are displayed.
X To highlight the desired telephone number:
turn the controller.
X To select G: slide 9the controller.
X To select Speed Dial Speed Dial: turn and press the
controller.
X To select Assign Speed Dial Preset
Assign Speed Dial Preset :
turn and press the controller.
X To select a memory position for the speed
dial: turn and press the controller.
The phone number has been saved as a
speed dial. Voice tags
Introduction You can enter voice tags via the Voice Control
System (see the separate operating instruc-
tions). Once you have assigned a voice tag to an address book entry, you can call up this
entry with a voice command and dial a phone
number, for example. You can add one voice
tag per address book entry.
Adding or changing a voice tag X
Call up the address book (Y page 163).
X Search for an address book entry with or
without a voice tag ¦(Ypage 163).
X To select G: slide 9the controller.
X To select Voice Tag Voice Tag : turn and press the
controller.
X To select Add
AddorModify
Modify : turn and press the
controller.
Subsequent operation is voice-controlled.
The Voice Control System guides you
through the dialogs. 166
Address bookTelephone
Page 179 of 298
X
To call up the telephone menu: press the
002B button.
X To switch to the main function bar: slide
5 the controller.
X To select TEL/
TEL/00A7: press the controller.
X To select Internet
Internet: turn and press the
controller.
The menu with the Internet functions is dis-
played.
X To switch to the menu bar: slide 6the
controller.
X To select Settings Settings: turn and press the
controller.
X To select Configure Internet Set‐
Configure Internet Set‐
tings
tings: turn and press the controller.
The device list is displayed.
Editing the access data The mobile phone must be connected with
the system for the access data to be changed.
When the Internet connection is active, you
cannot edit or delete the access data of the
currently set mobile phone network provider.
X Call up the device list (Y page 176).
X To highlight the desired mobile phone in the
device list: turn the controller.
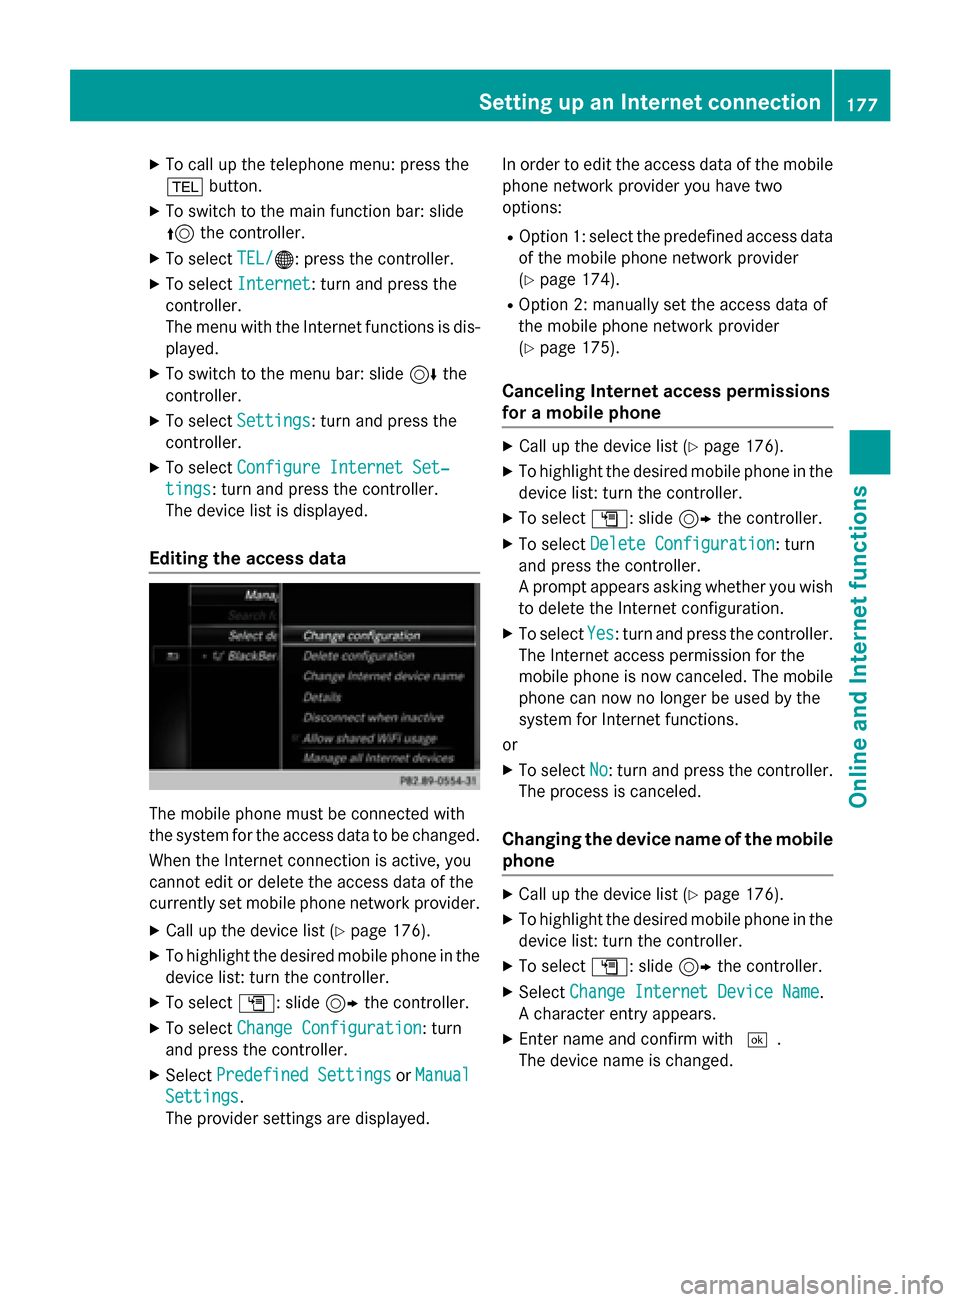
X To select G: slide 9the controller.
X To select Change Configuration
Change Configuration: turn
and press the controller.
X Select Predefined Settings Predefined Settings orManual
Manual
Settings
Settings.
The provider settings are displayed. In order to edit the access data of the mobile
phone network provider you have two
options:
R Option 1: select the predefined access data
of the mobile phone network provider
(Y page 174).
R Option 2: manually set the access data of
the mobile phone network provider
(Y page 175).
Canceling Internet access permissions
for a mobile phone X
Call up the device list (Y page 176).
X To highlight the desired mobile phone in the
device list: turn the controller.
X To select G: slide 9the controller.
X To select Delete Configuration Delete Configuration: turn
and press the controller.
A prompt appears asking whether you wish to delete the Internet configuration.
X To select Yes Yes: turn and press the controller.
The Internet access permission for the
mobile phone is now canceled. The mobile phone can now no longer be used by the
system for Internet functions.
or
X To select No No: turn and press the controller.
The process is canceled.
Changing the device name of the mobile phone X
Call up the device list (Y page 176).
X To highlight the desired mobile phone in the
device list: turn the controller.
X To select G: slide 9the controller.
X Select Change Internet Device Name
Change Internet Device Name.
A character entry appears.
X Enter name and confirm with 0054.
The device name is changed. Setting up an Internet connection
177Online and Internet functions Z
Page 180 of 298
Setting automatic disconnection of
the Internet connection
If a preset time has elapsed during which the Internet functions have not been used, the
Internet automatically disconnects.
X Call up the device list (Y page 176).
X To highlight the desired mobile phone in the
device list: turn the controller.
X To select G: slide 9the controller.
X To select Disconnect When Inactive
Disconnect When Inactive:
turn and press the controller.
X To select 5 Minutes 5 Minutes, 10 Minutes
10 Minutes, 20
20
Minutes
Minutes orNever
Never: turn and press the con-
troller. Establishing/ending the connection
Establishing the connection
Read the conditions for establishing a con-
nection (Y page 173).
A connection can be established by:
R entering a web address (Y page 190)
R calling up the Mercedes-Benz mobile web-
site. (Y page 187)
R calling up a Mercedes-Benz app.
(Y page 187)
R calling up a favorite.
R calling up the Internet radio (Y page 189)
R establishing an Internet connection via a
wireless networking device. The "Allow
shared WiFi usage" option must be acti-
vated on COMAND for this (Y page 49).
Ending the connection
X Press Cancel Cancel in the connections window. Connection status
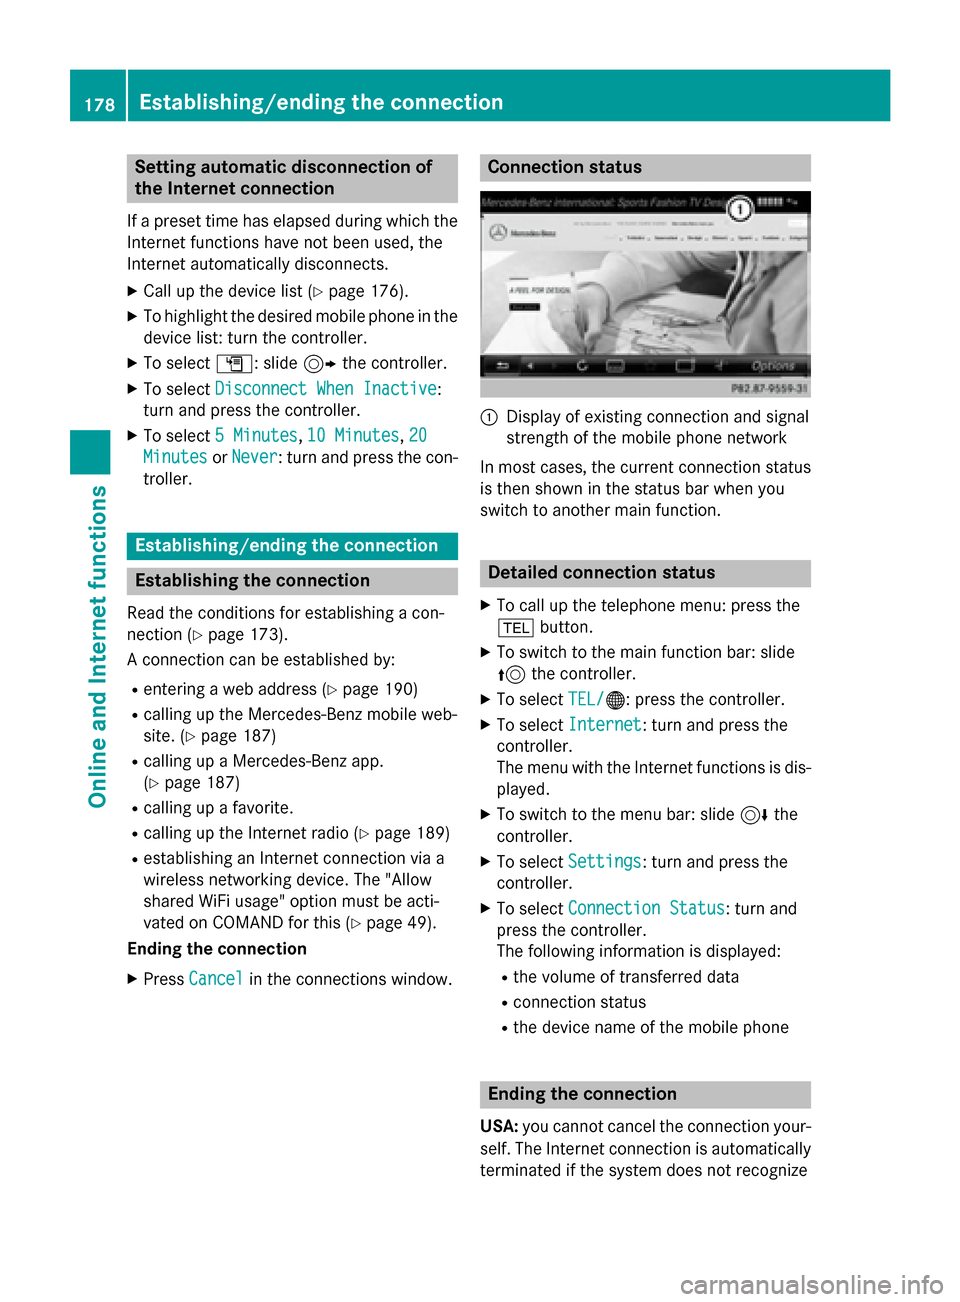
0043
Display of existing connection and signal
strength of the mobile phone network
In most cases, the current connection status
is then shown in the status bar when you
switch to another main function. Detailed connection status
X To call up the telephone menu: press the
002B button.
X To switch to the main function bar: slide
5 the controller.
X To select TEL/
TEL/00A7: press the controller.
X To select Internet
Internet: turn and press the
controller.
The menu with the Internet functions is dis-
played.
X To switch to the menu bar: slide 6the
controller.
X To select Settings Settings: turn and press the
controller.
X To select Connection Status
Connection Status: turn and
press the controller.
The following information is displayed:
R the volume of transferred data
R connection status
R the device name of the mobile phone Ending the connection
USA: you cannot cancel the connection your-
self. The Internet connection is automatically
terminated if the system does not recognize 178
Establishing/ending the connectionOnline and Internet functions
Page 185 of 298
Using destinations
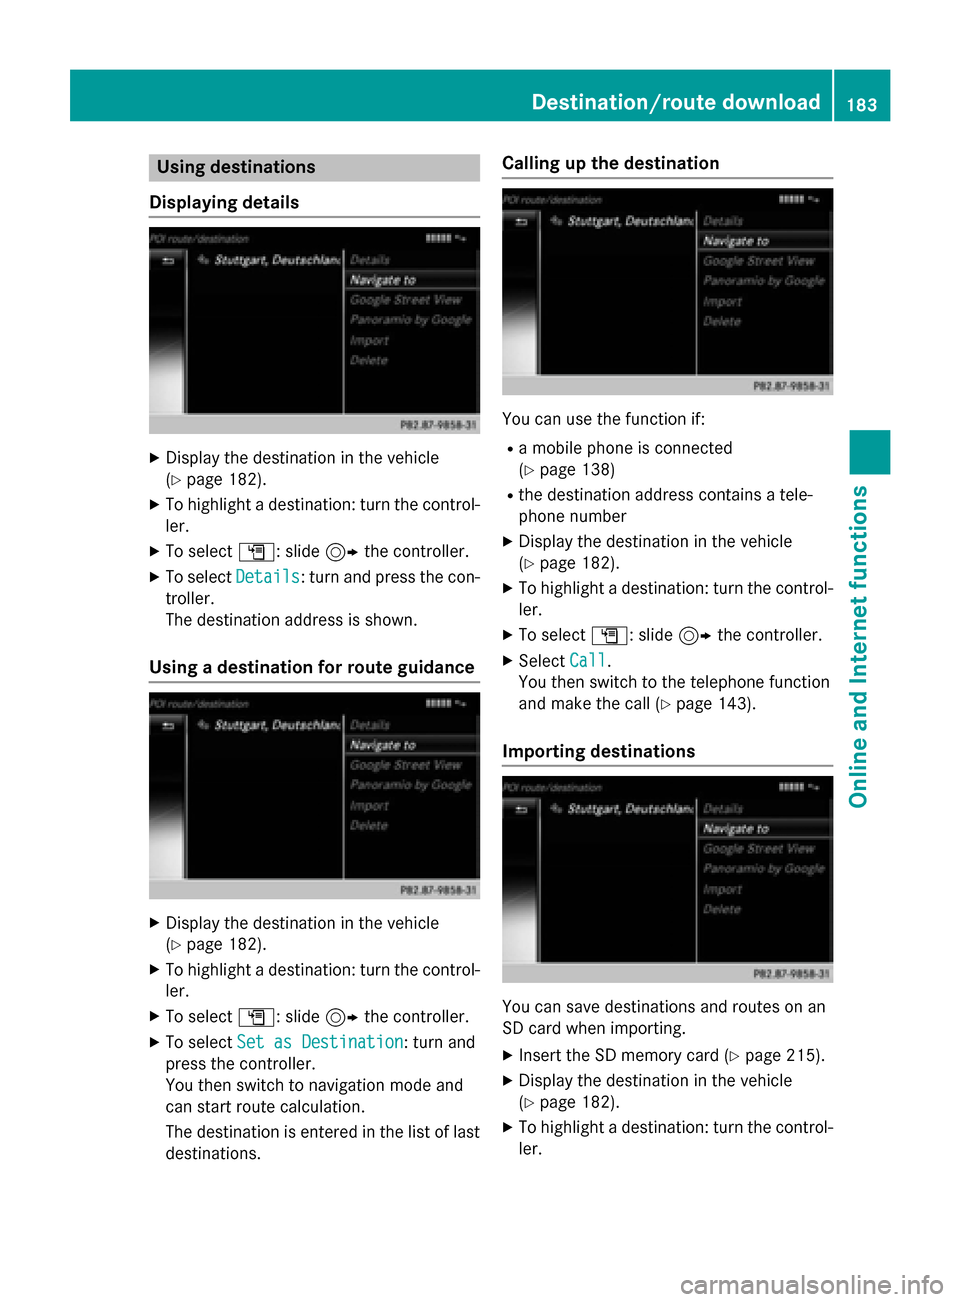
Displaying details X
Display the destination in the vehicle
(Y page 182).
X To highlight a destination: turn the control-
ler.
X To select G: slide 9the controller.
X To select Details
Details: turn and press the con-
troller.
The destination address is shown.
Using a destination for route guidance X
Display the destination in the vehicle
(Y page 182).
X To highlight a destination: turn the control-
ler.
X To select G: slide 9the controller.
X To select Set as Destination Set as Destination: turn and
press the controller.
You then switch to navigation mode and
can start route calculation.
The destination is entered in the list of last
destinations. Calling up the destination
You can use the function if:
R a mobile phone is connected
(Y page 138)
R the destination address contains a tele-
phone number
X Display the destination in the vehicle
(Y page 182).
X To highlight a destination: turn the control-
ler.
X To select G: slide 9the controller.
X Select Call Call.
You then switch to the telephone function
and make the call (Y page 143).
Importing destinations You can save destinations and routes on an
SD card when importing.
X Insert the SD memory card (Y page 215).
X Display the destination in the vehicle
(Y page 182).
X To highlight a destination: turn the control-
ler. Destination/route download
183Online and Internet functions Z
Page 186 of 298
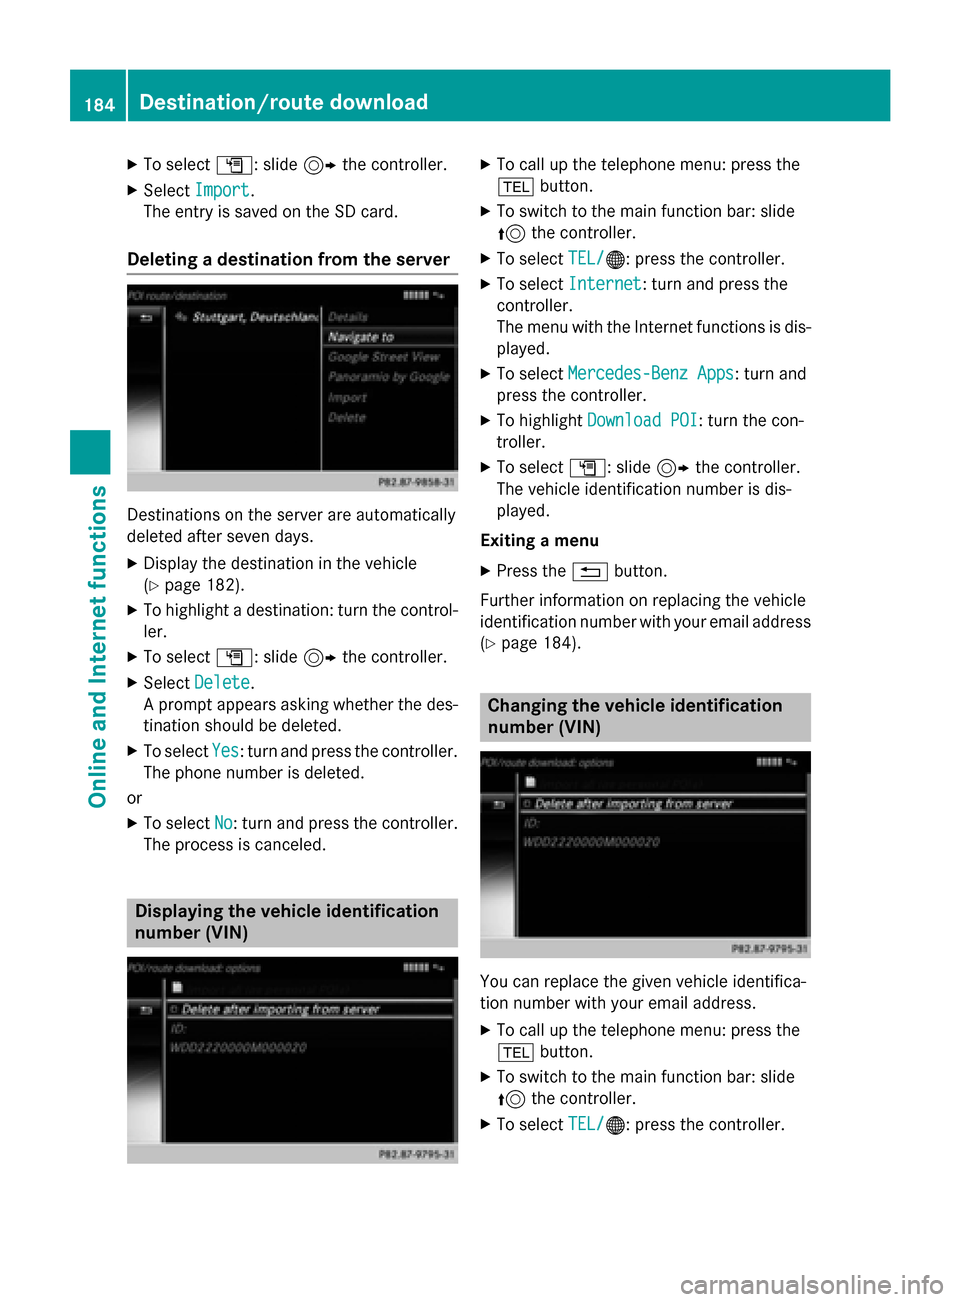
X
To select G: slide 9the controller.
X Select Import
Import.
The entry is saved on the SD card.
Deleting a destination from the server Destinations on the server are automatically
deleted after seven days.
X Display the destination in the vehicle
(Y page 182).
X To highlight a destination: turn the control-
ler.
X To select G: slide 9the controller.
X Select Delete
Delete.
A prompt appears asking whether the des- tination should be deleted.
X To select Yes
Yes: turn and press the controller.
The phone number is deleted.
or
X To select No No: turn and press the controller.
The process is canceled. Displaying the vehicle identification
number (VIN) X
To call up the telephone menu: press the
002B button.
X To switch to the main function bar: slide
5 the controller.
X To select TEL/
TEL/00A7: press the controller.
X To select Internet
Internet: turn and press the
controller.
The menu with the Internet functions is dis-
played.
X To select Mercedes-Benz Apps Mercedes-Benz Apps: turn and
press the controller.
X To highlight Download POI
Download POI: turn the con-
troller.
X To select G: slide 9the controller.
The vehicle identification number is dis-
played.
Exiting a menu
X Press the 0038button.
Further information on replacing the vehicle
identification number with your email address
(Y page 184). Changing the vehicle identification
number (VIN)
You can replace the given vehicle identifica-
tion number with your email address.
X To call up the telephone menu: press the
002B button.
X To switch to the main function bar: slide
5 the controller.
X To select TEL/
TEL/00A7: press the controller. 184
Destination/route downloadOnline and Internet functions
Page 187 of 298
X
To select Internet
Internet: turn and press the
controller.
The menu with the Internet functions is dis-
played.
X To select Mercedes-Benz Apps
Mercedes-Benz Apps: turn and
press the controller.
X To highlight Download POI Download POI: turn the con-
troller.
X To select G: slide 9the controller.
X To select ID
ID: turn and press the controller.
The vehicle identification number is dis-
played.
X Enter an e-mail address.
X Select 0054after entry.
An e-mail will be sent to your e-mail address
shortly afterwards. You must confirm it
within 48 hours. Otherwise, your previous
vehicle ID will continue to be used.
X To confirm the changed vehicle ID: check
the mailbox of your e-mail address and fol-
low the link in the e-mail.
Exiting a menu
X Press the 0038button. Deleting destinations automatically
after importing to the server
Destinations on the server are automatically
deleted after seven days. X Select the Options menu for the Download
Download
POI POI App (Y page 188).
The menu shows the current settings.
X To select Delete after importing to
Delete after importing to
the
the server
server: turn and press the controller.
Switch the setting on 0073or off 0053.
Exiting a menu
X Press the 0038button. Weather forecast
Introduction
You can call up the weather forecasts for a
location of your choice. The weather forecast can be displayed in an information chart for
the current day or as a 5-day forecast. Alter-
natively, the weather forecast can be dis-
played in a weather map. Calling up the weather forecast
X To call up the telephone menu: press the
002B button.
X To switch to the main function bar: slide
5 the controller.
X To select TEL/ TEL/00A7: press the controller.
X To select Internet
Internet: turn and press the
controller.
The menu with the Internet functions is dis-
played.
X To select Mercedes-Benz Apps Mercedes-Benz Apps: turn and
press the controller.
X Select Weather
Weather. Information chart overview
X Call up the weather forecast (Y page 185).
The following information is displayed:
R the time when the weather report was
updated
R the current temperature
R information on the weather (e.g. cloudy,
rain)
R the maximum daytime temperature
R the minimum daytime temperature
R the probability of rain
R the forecast for the current day (three
time intervals) Weather forecast
185Online and Internet functions Z
Page 190 of 298
X
To select Mercedes-Benz Apps
Mercedes-Benz Apps: turn and
press the controller.
The available Mercedes-Benz Apps Mercedes-Benz Apps are
displayed.
X To select the desired App: turn and press
the controller.
Additional Mercedes-Benz Apps can be pur-
chased on the Mercedes-Benz website. You
can find further information under: http://
apps.mercedes-benz.com/apps/
The available features are country-depend-
ent. Closing Mercedes-Benz Apps
X Press the 0038button.
The Internet menu appears.
or
X Press the 0038button for longer than two
seconds.
The Mercedes-Benz Apps menu or the
Internet menu appears. Adjusting the settings of individual
Apps
X To call up the telephone menu: press the
002B button.
X To switch to the main function bar: slide
5 the controller.
X To select TEL/ TEL/00A7: press the controller.
X To select Internet
Internet: turn and press the
controller.
The menu with the Internet functions is dis-
played.
X To select Mercedes-Benz Apps
Mercedes-Benz Apps: turn and
press the controller.
X To highlight the desired app: turn the con-
troller.
X To select G: slide 9the controller.
The current app settings are displayed. Resetting adjustments
With the reset function, all Mercedes-Benz
Apps settings are reset to the factory set-
tings. X To call up the telephone menu: press the
002B button.
X To switch to the main function bar: slide
5 the controller.
X To select TEL/
TEL/00A7: press the controller.
X To select Internet
Internet: turn and press the
controller.
The menu with the Internet functions is dis-
played.
X To select Mercedes-Benz Apps Mercedes-Benz Apps: turn and
press the controller.
The available Mercedes-Benz Apps Mercedes-Benz Apps are
displayed.
X To select G: slide 9the controller.
X To select Reset
Reset: turn and press the con-
troller.
A prompt appears asking whether you
really wish to reset.
X SelectYes YesorNo
No.
If you select Yes Yesthe settings are reset.
If you select No
Nothe process is canceled. Internet radio
General notes
A good Internet connection is required for
error-free audio data transmission. Connect-
ing your mobile phone to the vehicle's exte-
rior antenna via the phone bracket ensures
the best possible reception.
i Bear in mind that a relatively large volume
of data can be transmitted when using
Internet radio. An average 128 kbit per sec-
ond data transfer rate can transfer 56 MB of data in one hour.
The data transfer rate of a station is dis-
played while receiving data. 188
Internet radioOnline and Internet functions