light MERCEDES-BENZ S-Class 2015 W222 Comand Manual
[x] Cancel search | Manufacturer: MERCEDES-BENZ, Model Year: 2015, Model line: S-Class, Model: MERCEDES-BENZ S-Class 2015 W222Pages: 298, PDF Size: 6.39 MB
Page 193 of 298
Navigating the website
Action Result
X
Turn the control-
ler. Navigates from one
selectable item (e.g.
link, text field or
menu) to the next
and highlights the
respective element
on the website. Sliding the control-
ler:
X Left or right
1
X Up or down 4
X Diagonally 2 Moves the pointer
on the page.
X
Press the control-
ler. Opens the selected
item.
X
Press 0038. Calls up the menu.
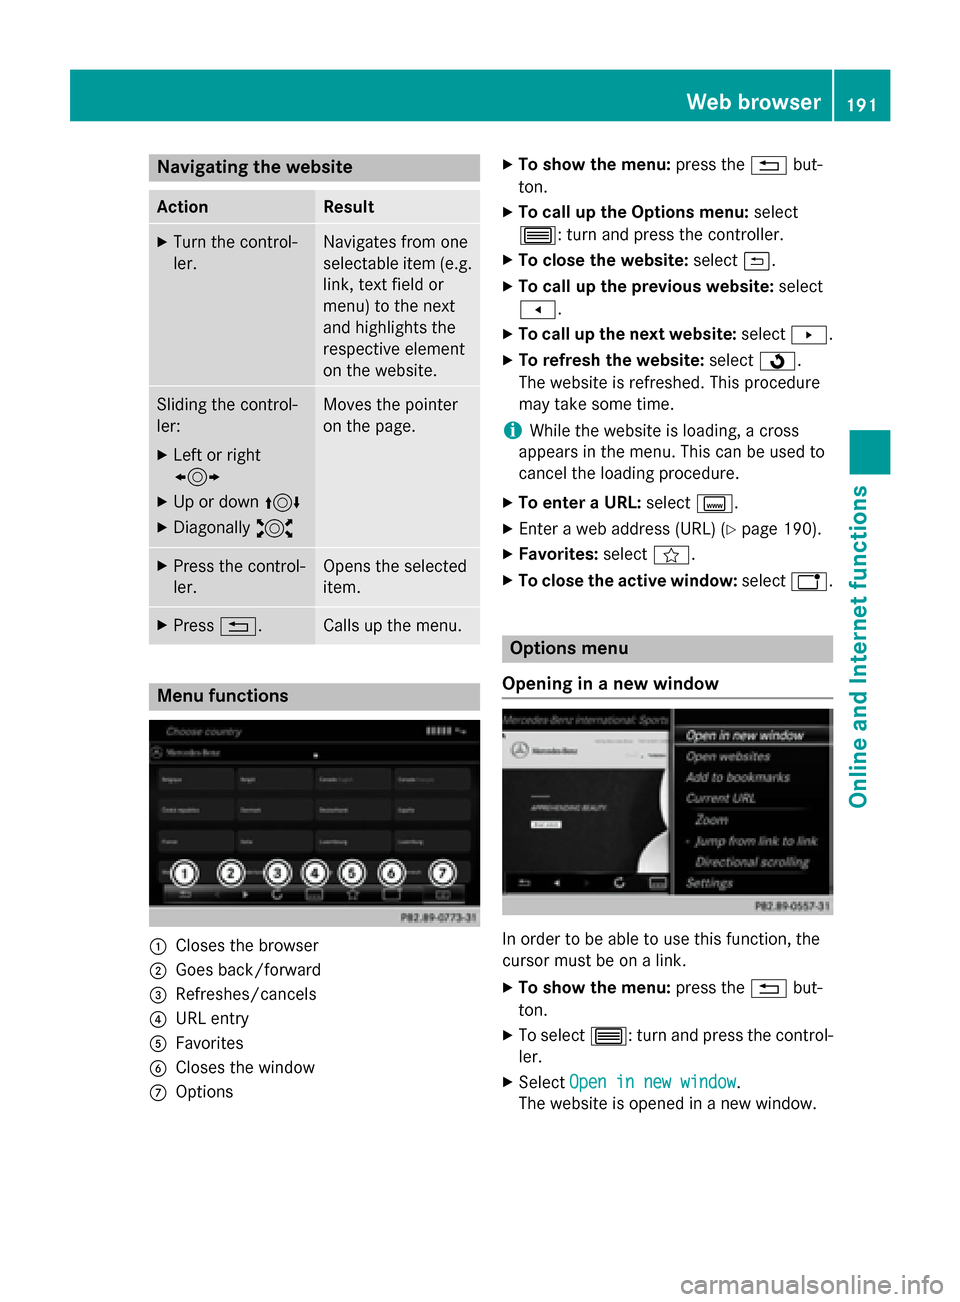
Menu functions
0043
Closes the browser
0044 Goes back/forward
0087 Refreshes/cancels
0085 URL entry
0083 Favorites
0084 Closes the window
006B Options X
To show the menu: press the0038but-
ton.
X To call up the Options menu: select
0057: turn and press the controller.
X To close the website: select0039.
X To call up the previous website: select
007F.
X To call up the next website: select0080.
X To refresh the website: select0080.
The website is refreshed. This procedure
may take some time.
i While the website is loading, a cross
appears in the menu. This can be used to
cancel the loading procedure.
X To enter a URL: selectg.
X Enter a web address (URL) (Y page 190).
X Favorites: selectf.
X To close the active window: selecth. Options menu
Opening in a new window In order to be able to use this function, the
cursor must be on a link.
X To show the menu: press the0038but-
ton.
X To select 0057: turn and press the control-
ler.
X Select Open in new window
Open in new window .
The website is opened in a new window. Web bro
wser
191Online an d Internet functions Z
Page 203 of 298
X
In radio mode: slide 00520064the controller.
X Select Options
Options.
X Select Tag This Track
Tag This Track.
A message appears in COMAND about stor-
ing the track information. Station Information
X In radio mode: slide 00520064the controller.
X To select Options
Options: turn and press the con-
troller.
X You can determine whether or not the
artist, track or station name are shown in
the main display area with 0073or0053 before
Show Station Information
Show Station Information. Station list
X In radio mode: press the controller.
The station list appears with the stations
currently available. Saving stations
i Frequencies are already stored in
COMAND. There are 100 preset positions
available.
Quick save
X Press a number key, such as 0082. The sta-
tion is saved to second place in the radio
station presets. Storing current stations
X In radio mode: slide 00520064the controller.
X To select Options Options: turn and press the con-
troller.
X Select Edit List
Edit List.
X Select the position of the required preset:
turn the controller.
This can also be a preset position that is
already occupied, which is then overwritten
by the current station.
X Slide 00520096the controller.
An additional menu appears.
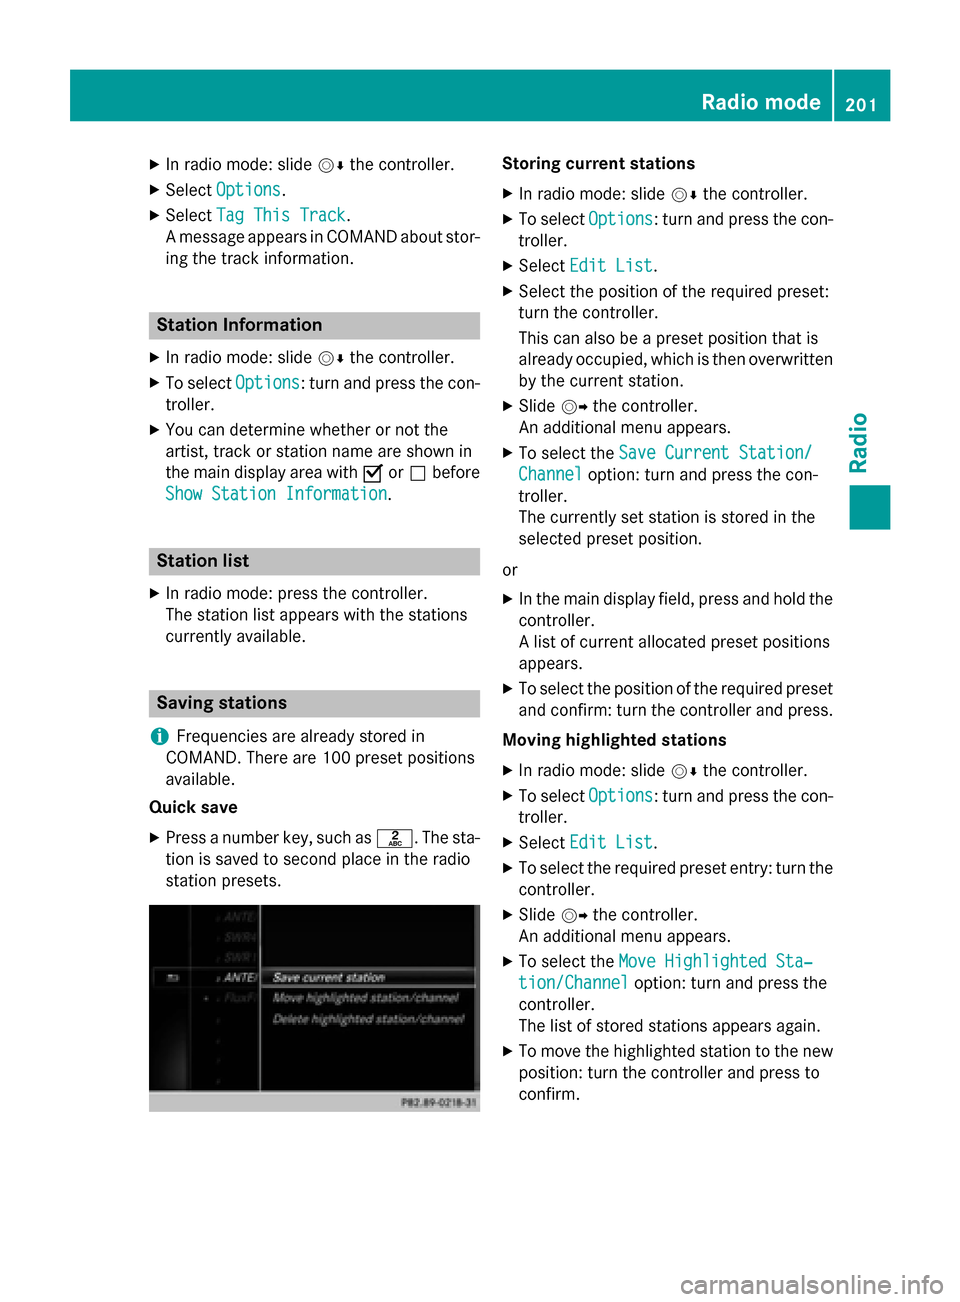
X To select the Save Current Station/
Save Current Station/
Channel Channel option: turn and press the con-
troller.
The currently set station is stored in the
selected preset position.
or
X In the main display field, press and hold the
controller.
A list of current allocated preset positions
appears.
X To select the position of the required preset
and confirm: turn the controller and press.
Moving highlighted stations
X In radio mode: slide 00520064the controller.
X To select Options Options: turn and press the con-
troller.
X Select Edit List
Edit List.
X To select the required preset entry: turn the
controller.
X Slide 00520096the controller.
An additional menu appears.
X To select the Move Highlighted Sta‐
Move Highlighted Sta‐
tion/Channel
tion/Channel option: turn and press the
controller.
The list of stored stations appears again.
X To move the highlighted station to the new
position: turn the controller and press to
confirm. Radio mode
201Radio
Page 204 of 298
Deleting highlighted stations
X In radio mode: slide 00520064the controller.
X To select Options
Options in the radio menu bar:
turn and press the controller.
X Select Edit List
Edit List.
X To select the required preset entry: turn the
controller.
X Slide 00520096the controller.
X To select the Delete Highlighted Sta‐
Delete Highlighted Sta‐
tion/Channel
tion/Channel option in the additional
menu: turn and press the controller.
X If you really wish to delete the highlighted
station, select Yes Yes: turn and press the con-
troller. Otherwise, select No
No: turn and press
the controller. Calling up sound settings
X In radio mode: slide 00520064the controller.
X To select Sound
Sound in the radio menu bar: turn
and press the controller.
The sound menu appears (Y page 250).Radio text
This function is available in HD and FM/AM
radio mode.
Radio text is additional data, metadata or
similar that, in addition to displaying the artist and track, also includes information on the
current program.
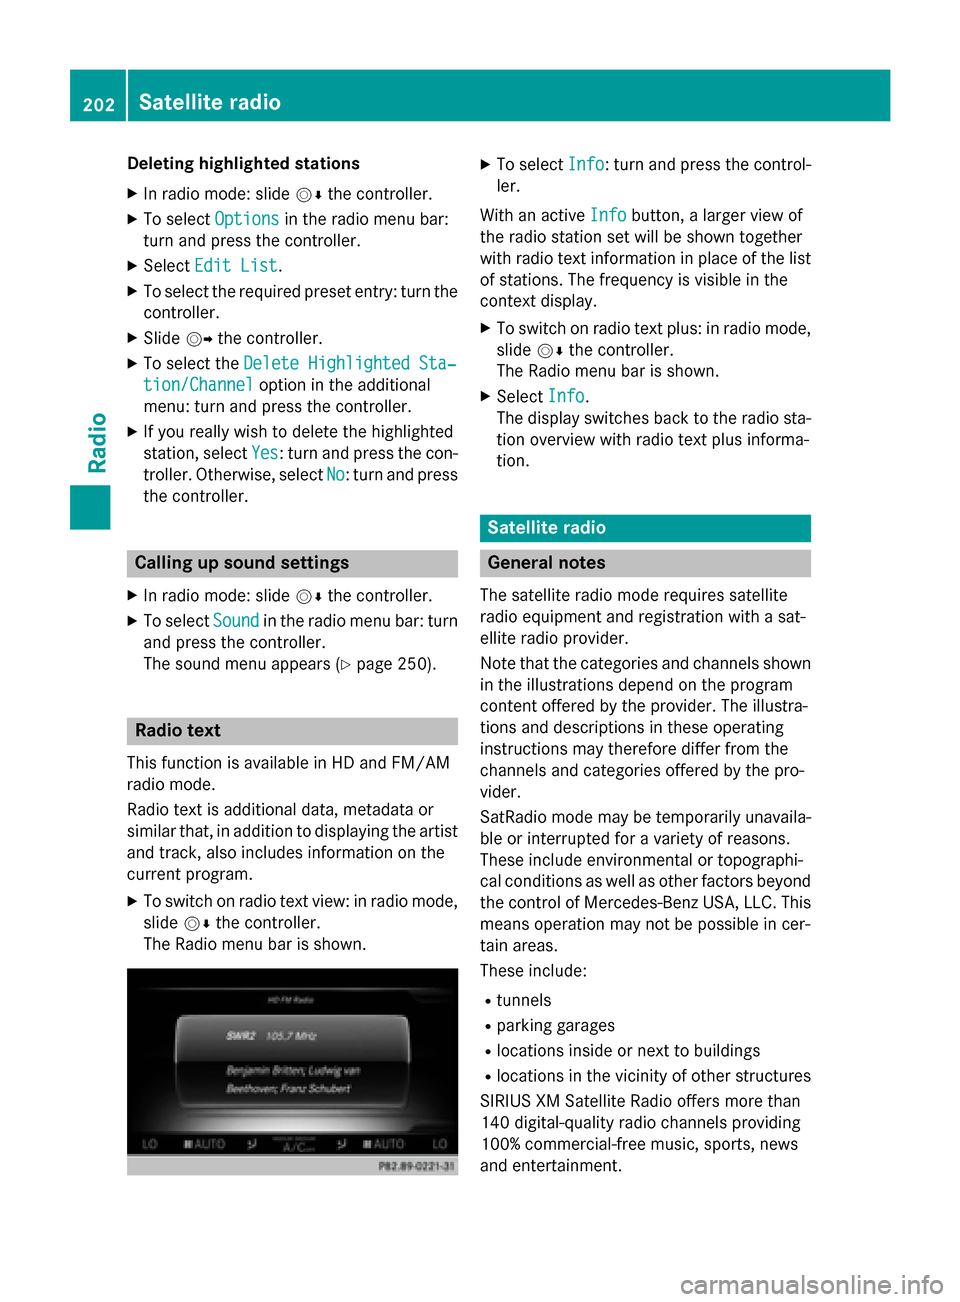
X To switch on radio text view: in radio mode,
slide 00520064the controller.
The Radio menu bar is shown. X
To select Info Info: turn and press the control-
ler.
With an active Info
Infobutton, a larger view of
the radio station set will be shown together
with radio text information in place of the list
of stations. The frequency is visible in the
context display.
X To switch on radio text plus: in radio mode,
slide 00520064the controller.
The Radio menu bar is shown.
X Select Info
Info.
The display switches back to the radio sta-
tion overview with radio text plus informa-
tion. Satellite radio
General notes
The satellite radio mode requires satellite
radio equipment and registration with a sat-
ellite radio provider.
Note that the categories and channels shown in the illustrations depend on the program
content offered by the provider. The illustra-
tions and descriptions in these operating
instructions may therefore differ from the
channels and categories offered by the pro-
vider.
SatRadio mode may be temporarily unavaila-
ble or interrupted for a variety of reasons.
These include environmental or topographi-
cal conditions as well as other factors beyond
the control of Mercedes-Benz USA, LLC. This means operation may not be possible in cer-
tain areas.
These include:
R tunnels
R parking garages
R locations inside or next to buildings
R locations in the vicinity of other structures
SIRIUS XM Satellite Radio offers more than
140 digital-quality radio channels providing
100% commercial-free music, sports, news
and entertainment. 202
Satellite
radioRadio
Page 213 of 298
Using the main function bar
X
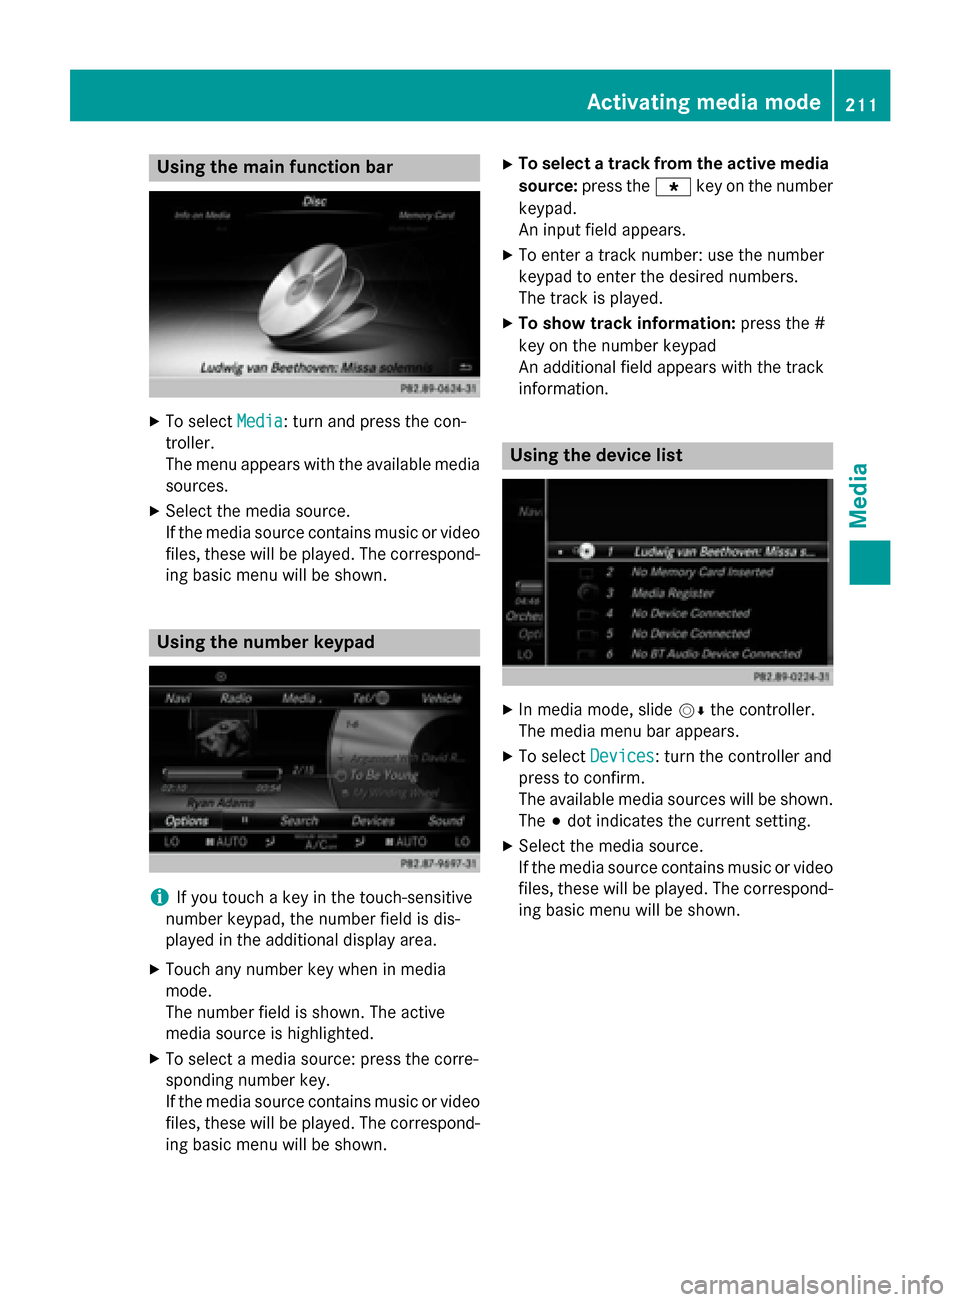
To select Media
Media: turn and press the con-
troller.
The menu appears with the available media
sources.
X Select the media source.
If the media source contains music or video
files, these will be played. The correspond- ing basic menu will be shown. Using the number keypad
i
If you touch a key in the touch-sensitive
number keypad, the number field is dis-
played in the additional display area.
X Touch any number key when in media
mode.
The number field is shown. The active
media source is highlighted.
X To select a media source: press the corre-
sponding number key.
If the media source contains music or video
files, these will be played. The correspond- ing basic menu will be shown. X
To select a track from the active media
source: press the 007Dkey on the number
keypad.
An input field appears.
X To enter a track number: use the number
keypad to enter the desired numbers.
The track is played.
X To show track information: press the #
key on the number keypad
An additional field appears with the track
information. Using the device list
X
In media mode, slide 00520064the controller.
The media menu bar appears.
X To select Devices Devices: turn the controller and
press to confirm.
The available media sources will be shown.
The 003Bdot indicates the current setting.
X Select the media source.
If the media source contains music or video
files, these will be played. The correspond- ing basic menu will be shown. Activating media mode
211Media
Page 227 of 298
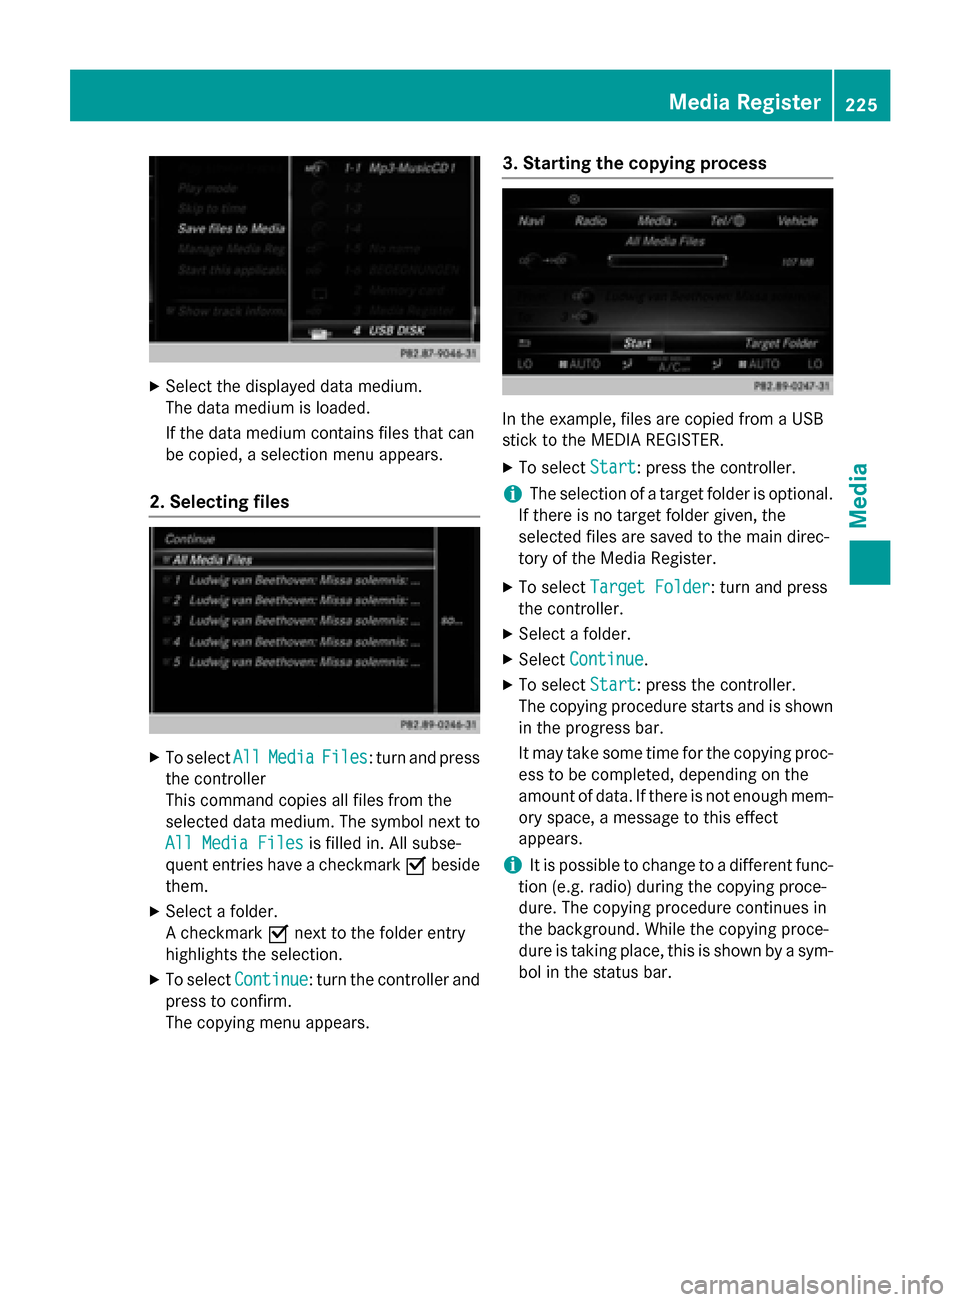
X
Select the displayed data medium.
The data medium is loaded.
If the data medium contains files that can
be copied, a selection menu appears.
2. Selecting files X
To select All
AllMedia
Media Files
Files: turn and press
the controller
This command copies all files from the
selected data medium. The symbol next to
All Media Files All Media Files is filled in. All subse-
quent entries have a checkmark 0073beside
them.
X Select a folder.
A checkmark 0073next to the folder entry
highlights the selection.
X To select Continue
Continue: turn the controller and
press to confirm.
The copying menu appears. 3. Starting the copying process In the example, files are copied from a USB
stick to the MEDIA REGISTER.
X To select Start Start: press the controller.
i The selection of a target folder is optional.
If there is no target folder given, the
selected files are saved to the main direc-
tory of the Media Register.
X To select Target Folder
Target Folder : turn and press
the controller.
X Select a folder.
X Select Continue Continue.
X To select Start
Start: press the controller.
The copying procedure starts and is shown in the progress bar.
It may take some time for the copying proc-
ess to be completed, depending on the
amount of data. If there is not enough mem-
ory space, a message to this effect
appears.
i It is possible to change to a different func-
tion (e.g. radio) during the copying proce-
dure. The copying procedure continues in
the background. While the copying proce-
dure is taking place, this is shown by a sym-
bol in the status bar. Media Register
225Media Z
Page 228 of 298
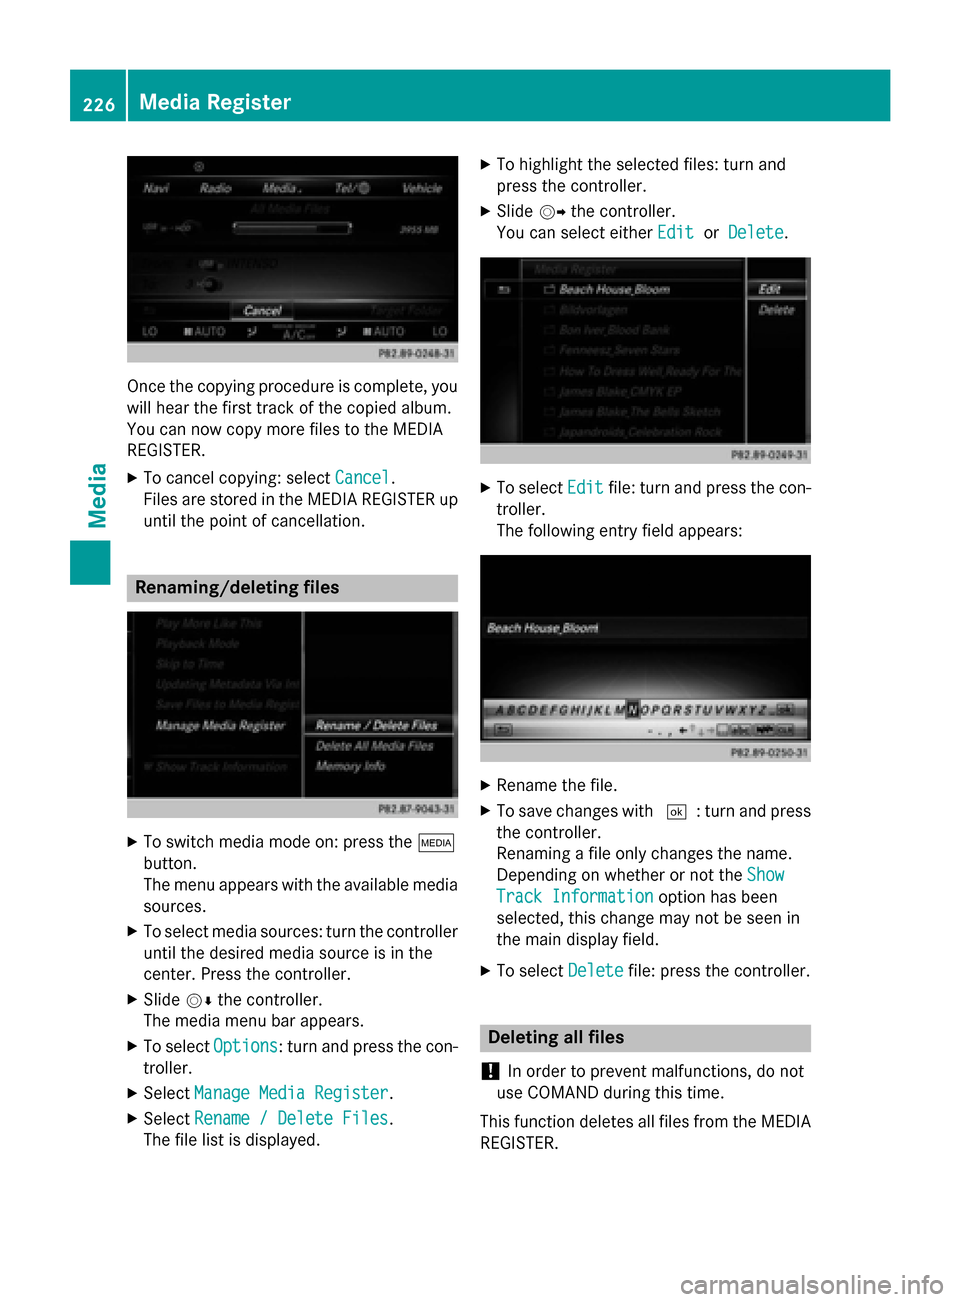
Once the copying procedure is complete, you
will hear the first track of the copied album.
You can now copy more files to the MEDIA
REGISTER.
X To cancel copying: select Cancel Cancel.
Files are stored in the MEDIA REGISTER up
until the point of cancellation. Renaming/deleting files
X
To switch media mode on: press the 00FD
button.
The menu appears with the available media sources.
X To select media sources: turn the controller
until the desired media source is in the
center. Press the controller.
X Slide 00520064the controller.
The media menu bar appears.
X To select Options
Options: turn and press the con-
troller.
X Select Manage Media Register Manage Media Register.
X Select Rename / Delete Files
Rename / Delete Files.
The file list is displayed. X
To highlight the selected files: turn and
press the controller.
X Slide 00520096the controller.
You can select either Edit EditorDelete
Delete. X
To select Edit
Editfile: turn and press the con-
troller.
The following entry field appears: X
Rename the file.
X To save changes with 0054: turn and press
the controller.
Renaming a file only changes the name.
Depending on whether or not the Show Show
Track Information
Track Information option has been
selected, this change may not be seen in
the main display field.
X To select Delete Deletefile: press the controller. Deleting all files
! In order to prevent malfunctions, do not
use COMAND during this time.
This function deletes all files from the MEDIA
REGISTER. 226
Media RegisterMedia
Page 229 of 298
X
To switch media mode on: press the 00FD
button.
The menu appears with the available media sources.
X To select media sources: turn the controller
until the desired media source is in the
center. Press the controller.
X Slide 00520064the controller.
The media menu bar appears.
X To select Options
Options: turn and press the con-
troller.
X Select Manage Media Register Manage Media Register.
X Select Delete All Media Files
Delete All Media Files.
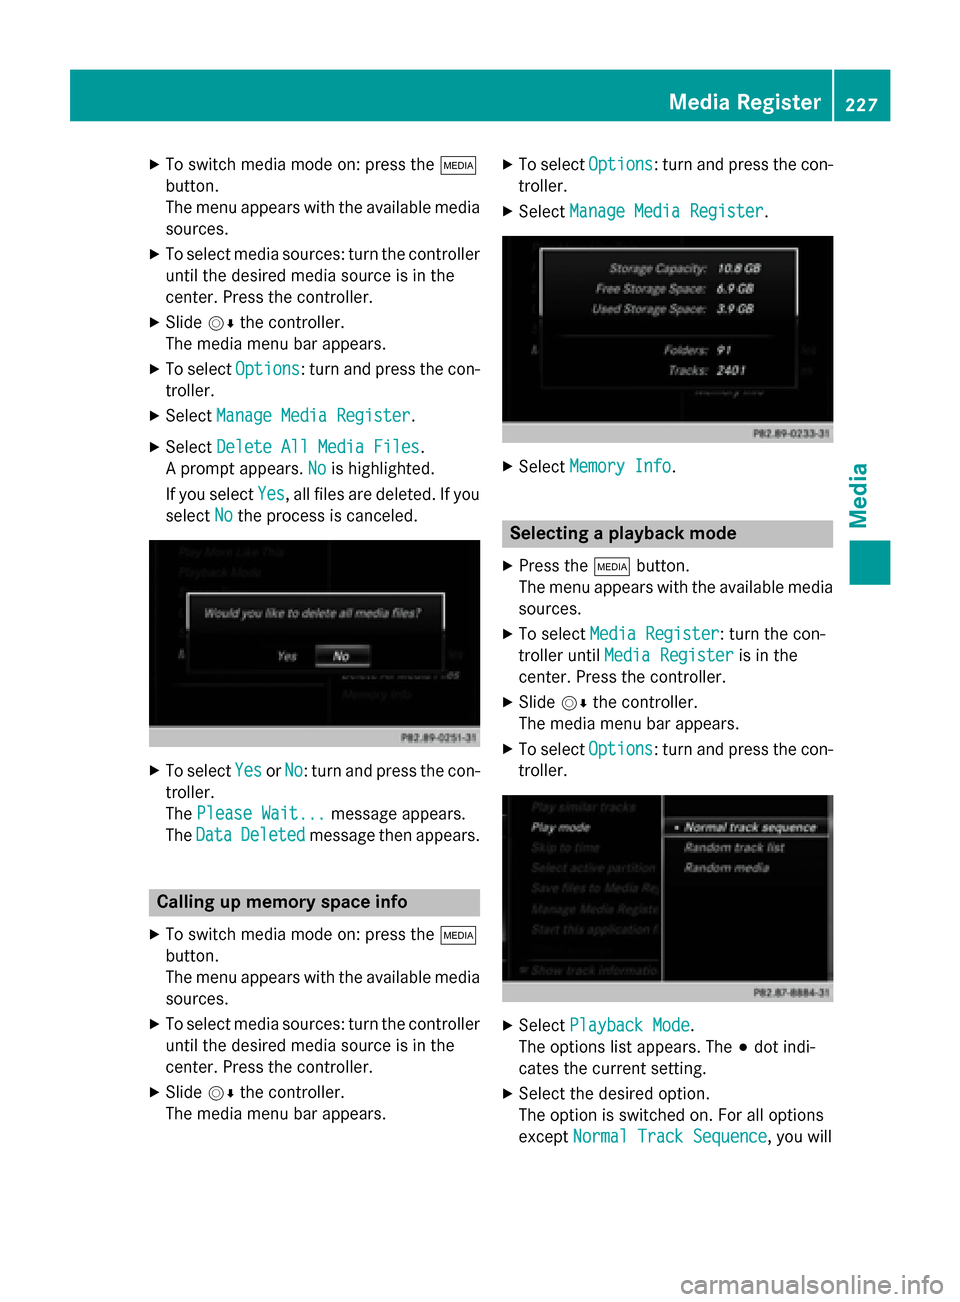
A prompt appears. No
Nois highlighted.
If you select Yes
Yes, all files are deleted. If you
select No
No the process is canceled. X
To select Yes
YesorNo
No: turn and press the con-
troller.
The Please Wait...
Please Wait... message appears.
The Data Data Deleted
Deleted message then appears. Calling up memory space info
X To switch media mode on: press the 00FD
button.
The menu appears with the available media sources.
X To select media sources: turn the controller
until the desired media source is in the
center. Press the controller.
X Slide 00520064the controller.
The media menu bar appears. X
To select Options
Options: turn and press the con-
troller.
X Select Manage Media Register Manage Media Register. X
Select Memory Info
Memory Info. Selecting a playback mode
X Press the 00FDbutton.
The menu appears with the available media
sources.
X To select Media Register
Media Register: turn the con-
troller until Media Register
Media Register is in the
center. Press the controller.
X Slide 00520064the controller.
The media menu bar appears.
X To select Options
Options: turn and press the con-
troller. X
Select Playback Mode
Playback Mode.
The options list appears. The 003Bdot indi-
cates the current setting.
X Select the desired option.
The option is switched on. For all options
except Normal Track Sequence Normal Track Sequence, you will Media Register
227Media Z
Page 242 of 298
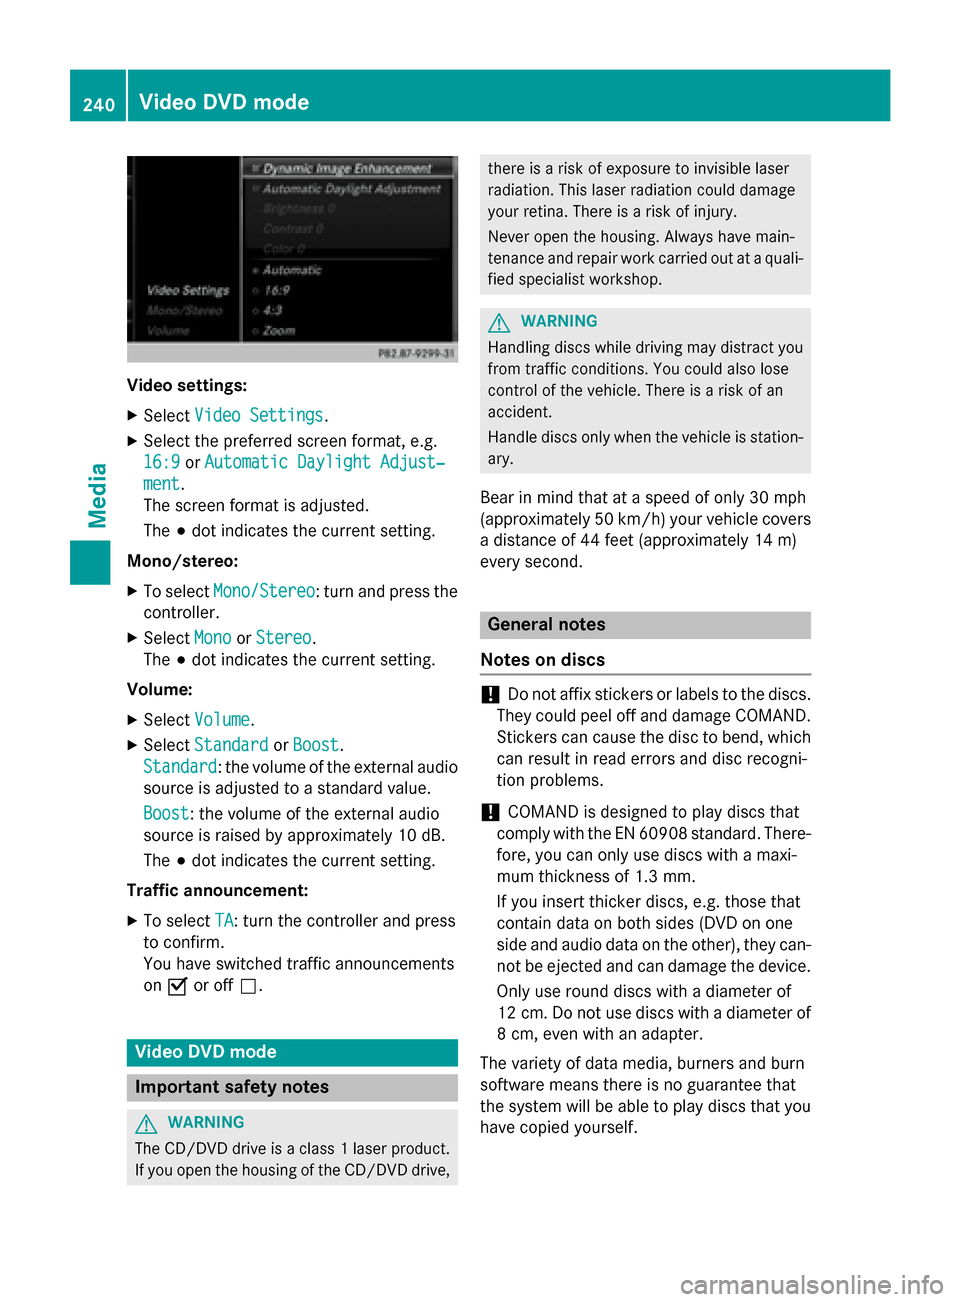
Video settings:
X Select Video Settings
Video Settings.
X Select the preferred screen format, e.g.
16:9
16:9 orAutomatic Daylight Adjust‐
Automatic Daylight Adjust‐
ment
ment.
The screen format is adjusted.
The 003Bdot indicates the current setting.
Mono/stereo: X To select Mono/Stereo
Mono/Stereo: turn and press the
controller.
X Select Mono MonoorStereo
Stereo .
The 003Bdot indicates the current setting.
Volume:
X Select Volume
Volume .
X Select Standard
Standard orBoost
Boost.
Standard
Standard: the volume of the external audio
source is adjusted to a standard value.
Boost Boost: the volume of the external audio
source is raised by approximately 10 dB.
The 003Bdot indicates the current setting.
Traffic announcement: X To select TA TA: turn the controller and press
to confirm.
You have switched traffic announcements
on 0073 or off 0053. Video DVD mode
Important safety notes
G
WARNING
The CD/DVD drive is a class 1 laser product. If you open the housing of the CD/DVD drive, there is a risk of exposure to invisible laser
radiation. This laser radiation could damage
your retina. There is a risk of injury.
Never open the housing. Always have main-
tenance and repair work carried out at a quali- fied specialist workshop. G
WARNING
Handling discs while driving may distract you from traffic conditions. You could also lose
control of the vehicle. There is a risk of an
accident.
Handle discs only when the vehicle is station-
ary.
Bear in mind that at a speed of only 30 mph
(approximately 50 km/h) your vehicle covers
a distance of 44 feet (approximately 14 m)
every se cond. General notes
Notes on discs !
Do not affix stickers or labels to the discs.
They could peel off and damage COMAND.
Stickers can cause the disc to bend, which can result in read errors and disc recogni-
tion problems.
! COMAND is designed to play discs that
comply with the EN 60908 standard. There-
fore, you can only use discs with a maxi-
mum thickness of 1.3 mm.
If you insert thicker discs, e.g. those that
contain data on both sides (DVD on one
side and audio data on the other), they can- not be ejected and can damage the device.
Only use round discs with a diameter of
12 cm. Do not use discs with a diameter of 8 cm, even with an adapter.
The variety of data media, burners and burn
software means there is no guarantee that
the system will be able to play discs that you have copied yourself. 240
Video DVD modeMedia
Page 245 of 298
Skip to time
X To select Skip
Skipto
toTime
Time: turn and press the
controller.
A menu appears.
X To set the time: turn the controller.
or
Set the desired time using the number key-
pad.
X To hide the menu: press the 0038button.
DVD functions
X To select DVD Functions DVD Functions: turn and press
the controller.
A menu appears (Y page 244).
Starting an application at a different seat
X To select Start
Start Application Application at
atOther
Other
Seat
Seat: turn and press the controller.
The menu appears: (Y page 212).
i Activating the parental control screen:
(Y page 72). Video settings
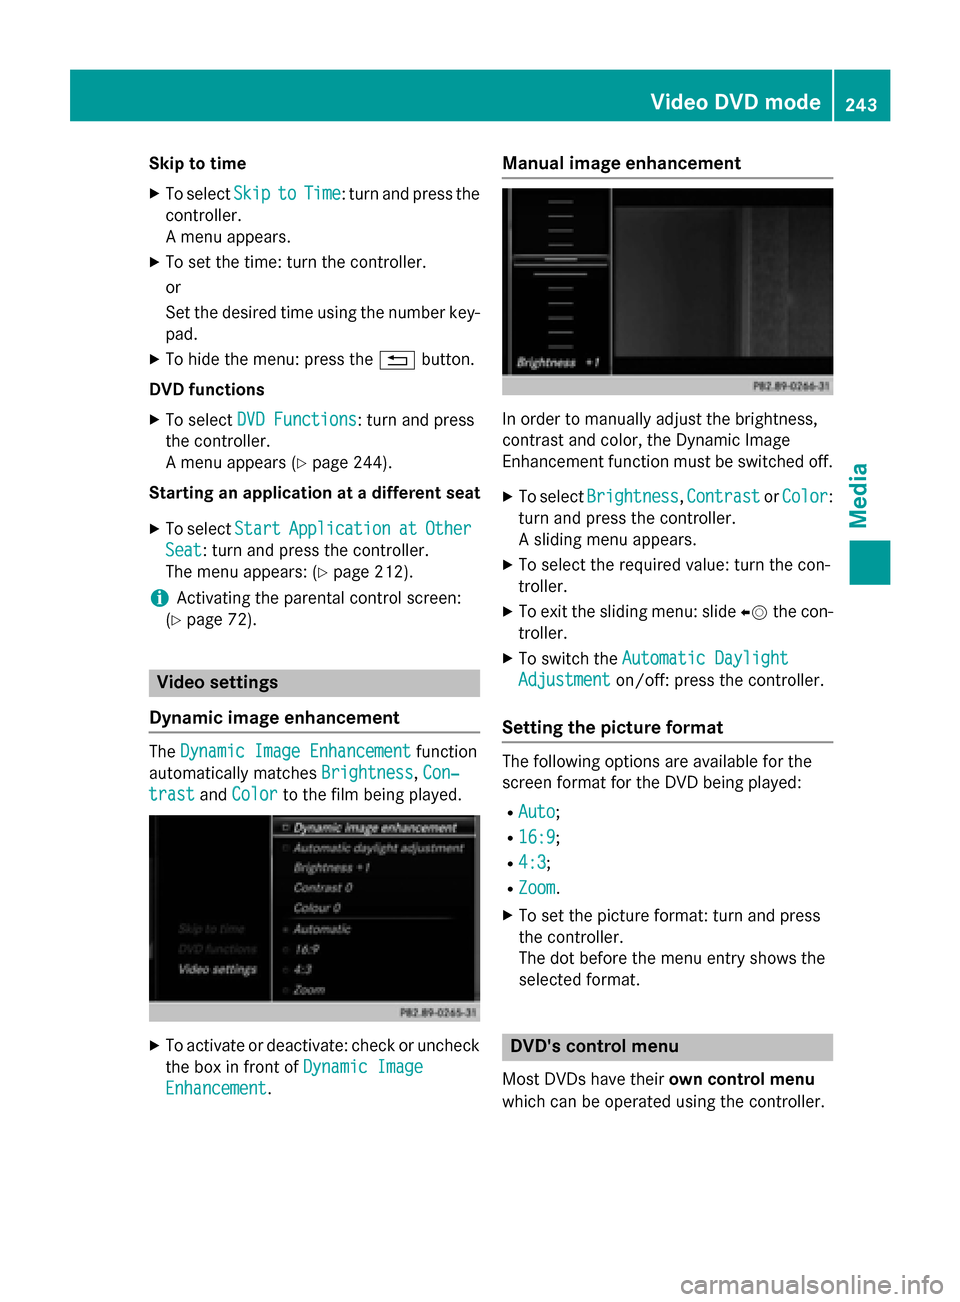
Dynamic image enhancement The
Dynamic Image Enhancement
Dynamic Image Enhancement function
automatically matches Brightness
Brightness,Con‐
Con‐
trast
trast andColor
Color to the film being played. X
To activate or deactivate: check or uncheck
the box in front of Dynamic Image
Dynamic Image
Enhancement
Enhancement. Manual image enhancement
In order to manually adjust the brightness,
contrast and color, the Dynamic Image
Enhancement function must be switched off.
X To select Brightness Brightness, Contrast
ContrastorColor
Color:
turn and press the controller.
A sliding menu appears.
X To select the required value: turn the con-
troller.
X To exit the sliding menu: slide 00950052the con-
troller.
X To switch the Automatic Daylight Automatic Daylight
Adjustment
Adjustment on/off: press the controller.
Setting the picture format The following options are available for the
screen format for the DVD being played:
R Auto Auto;
R 16:9
16:9;
R 4:3
4:3;
R Zoom
Zoom.
X To set the picture format: turn and press
the controller.
The dot before the menu entry shows the
selected format. DVD's control menu
Most DVDs have their own control menu
which can be operated using the controller. Video DVD mode
243Media Z
Page 247 of 298
Using the DVD functions
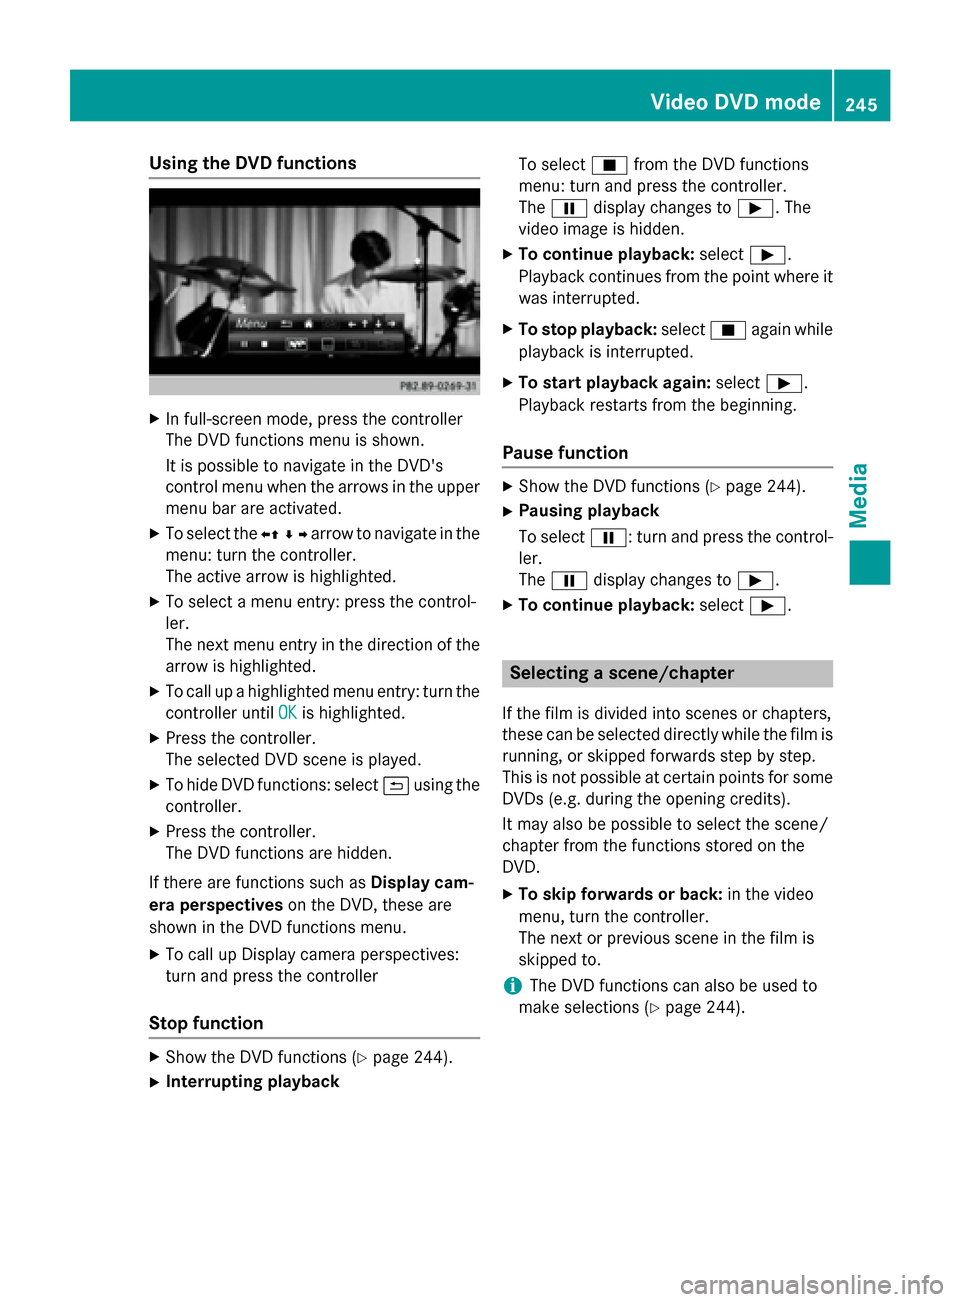
X
In full-screen mode, press the controller
The DVD functions menu is shown.
It is possible to navigate in the DVD's
control menu when the arrows in the upper
menu bar are activated.
X To select the 0095009700C50096arrow to navigate in the
menu: turn the controller.
The active arrow is highlighted.
X To select a menu entry: press the control-
ler.
The next menu entry in the direction of the
arrow is highlighted.
X To call up a highlighted menu entry: turn the
controller until OK OKis highlighted.
X Press the controller.
The selected DVD scene is played.
X To hide DVD functions: select 0039using the
controller.
X Press the controller.
The DVD functions are hidden.
If there are functions such as Display cam-
era perspectives on the DVD, these are
shown in the DVD functions menu.
X To call up Display camera perspectives:
turn and press the controller
Stop function X
Show the DVD functions (Y page 244).
X Interrupting playback To select
00DBfrom the DVD functions
menu: turn and press the controller.
The 00CF display changes to 00D0. The
video image is hidden.
X To continue playback: select00D0.
Playback continues from the point where it was interrupted.
X To stop playback: select00DBagain while
playback is interrupted.
X To start playback again: select00D0.
Playback restarts from the beginning.
Pause function X
Show the DVD functions (Y page 244).
X Pausing playback
To select 00CF: turn and press the control-
ler.
The 00CF display changes to 00D0.
X To continue playback: select00D0. Selecting a scene/chapter
If the film is divided into scenes or chapters,
these can be selected directly while the film is running, or skipped forwards step by step.
This is not possible at certain points for some
DVDs (e.g. during the opening credits).
It may also be possible to select the scene/
chapter from the functions stored on the
DVD.
X To skip forwards or back: in the video
menu, turn the controller.
The next or previous scene in the film is
skipped to.
i The DVD functions can also be used to
make selections (Y page 244). Video DVD mode
245Media Z