tow Mercury Mountaineer 1997 s User Guide
[x] Cancel search | Manufacturer: MERCURY, Model Year: 1997, Model line: Mountaineer, Model: Mercury Mountaineer 1997Pages: 197, PDF Size: 2.08 MB
Page 87 of 197

2. Allow the shoulder belts to fully
retract.
Removing your child from the
built-in child seat
1. Disconnect the chest clip by
squeezing the release tabs together
and pulling the two sides apart.
2. Press the release button on the
crotch buckle.
3. Slide the shoulder belts off the
child's shoulders and remove child.
If ALR is engaged, hold either left
or right shoulder belt fully out
while helping the child slide his
arms out of the belts.
4. Fold the cushion protector flap
onto the child seat cushion. Slide
the belt tongues up and out of the
way of the cushion, then return
the child seat cushion to the
stowed (upright) position.
5. Slide the Velcrotstraps through
the D-rings on the child seat
cushion and attach.
6. Slide head restraint down until
the top of the head restraint is
flush with the top of the adult seat
back.
Seating and safety restraints
87
Page 88 of 197

7. Press firmly on the top center of
the built-in child seat head
restraint to ensure it is stowed
properly.
Inspecting the built-in child seat
after a collision
All built-in child restraints,
including seats, buckles,
retractors, seat latches,
interlocks, and attaching
hardware should be inspected by
a qualified dealer technician after
any collision. If the child seat
was in use during a collision,
Ford recommends replacing it.
However, if the collision was
minor and a qualified technician
finds that the child restraints do
not show damage and continue
to operate properly, they do not
need to be replaced. Built-in
child seats not in use during a
collision should also be inspected
and replaced if either damage or
improper operation is noted.
Seating and safety restraints
88
Page 98 of 197

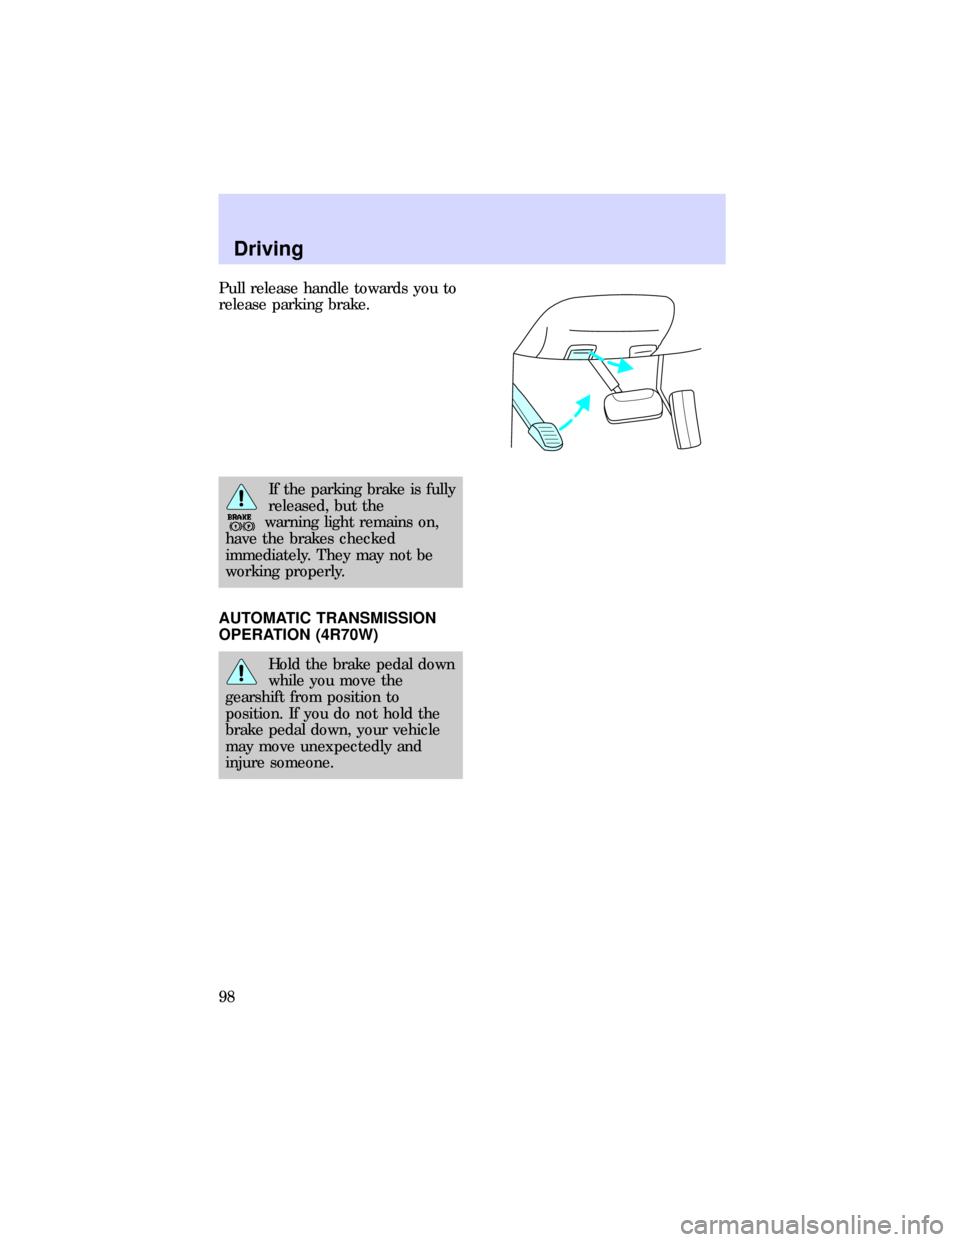
Pull release handle towards you to
release parking brake.
If the parking brake is fully
released, but the
warning light remains on,
have the brakes checked
immediately. They may not be
working properly.
AUTOMATIC TRANSMISSION
OPERATION (4R70W)
Hold the brake pedal down
while you move the
gearshift from position to
position. If you do not hold the
brake pedal down, your vehicle
may move unexpectedly and
injure someone.
Driving
98
Page 99 of 197

Pull gearshift lever towards you
and downward to move the
automatic gearshift.
P - ParkAlways come to a
complete stop before shifting into
or out of P (Park).
Always set the parking
brake fully and make sure
that the gearshift is securely
latched in P (Park).
R - ReverseAlways come to a
complete stop before shifting into
or out of R (Reverse).
N - NeutralVehicle is free to roll.
Do not leave the vehicle
unattended with the
transfer case in the N (Neutral)
position. Always set the parking
brake fully and turn off the
ignition when leaving the vehicle.
P RND21
P RND21
Driving
99
Page 100 of 197

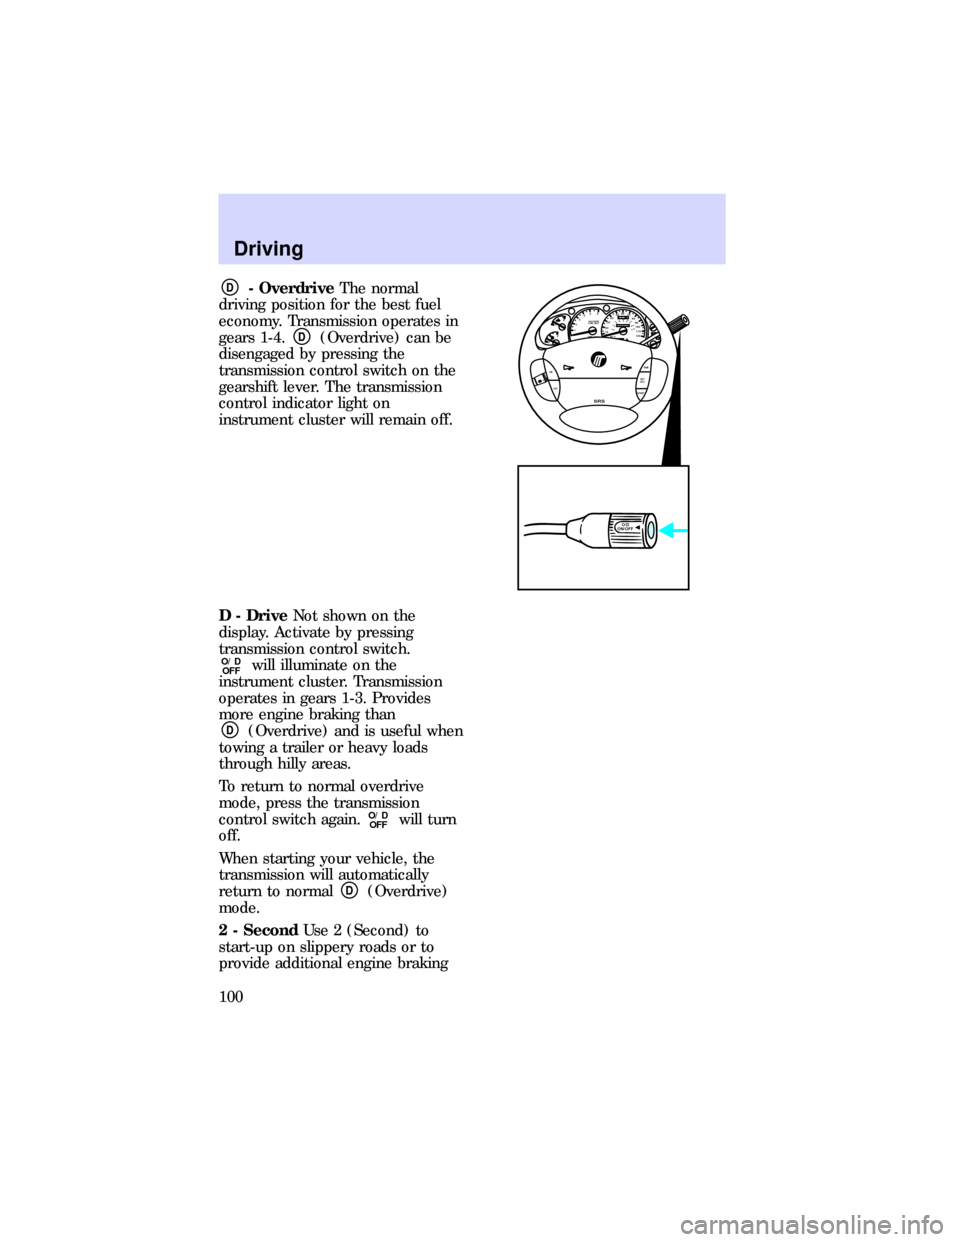
D- OverdriveThe normal
driving position for the best fuel
economy. Transmission operates in
gears 1-4.
D(Overdrive) can be
disengaged by pressing the
transmission control switch on the
gearshift lever. The transmission
control indicator light on
instrument cluster will remain off.
D - DriveNot shown on the
display. Activate by pressing
transmission control switch.
O/D
OFFwill illuminate on the
instrument cluster. Transmission
operates in gears 1-3. Provides
more engine braking than
D(Overdrive) and is useful when
towing a trailer or heavy loads
through hilly areas.
To return to normal overdrive
mode, press the transmission
control switch again.
O/D
OFFwill turn
off.
When starting your vehicle, the
transmission will automatically
return to normal
D(Overdrive)
mode.
2 - SecondUse 2 (Second) to
start-up on slippery roads or to
provide additional engine braking
0P RND21
UNLEADED
FUEL ONLY
RPM x 100012345
6H
C
F
E
RSM
SET
ACC
COAST OFF ON
SRS
- +H
H
L L020
1030405060
70
80
90
110
120000000oooo
km/h100
20406080100
120
140
160
180
O/D
ON/OFF
Driving
100
Page 108 of 197

²Payload: Combined maximum
allowable weight of cargo,
passengers and optional
equipment. The payload equals
gross vehicle weight rating
(GVWR) minus base curb
weight.
²GVW (Gross Vehicle Weight):
Base curb weight plus the
payload weight (including
passengers, cargo, and optional
equipment). Remember, the
GVW is not a limit or a
specification.
²GVWR (Gross Vehicle Weight
Rating): Maximum total weight
of the base vehicle, passengers,
optional equipment and cargo.
The GVWR is specific to each
particular vehicle and is listed
on the Safety Compliance
Certification Label on the
driver's door pillar.
²GAWR (Gross Axle Weight
Rating): Carrying capacity for
each axle system (front and
rear). This amount is specific to
each particular vehicle and is
listed on the Safety Compliance
Certification Label on the
driver's door pillar.
²GCWR (Gross Combined Weight
Rating): Maximum combined
weight of the towing vehicle
(including passengers and
cargo) and the trailer. The
GCWR indicates the maximum
loaded weight that the vehicle is
allowed to tow.
Driving
108
Page 109 of 197

²Maximum Trailer Weight Rating:
Maximum weight of a trailer the
vehicle is permitted to tow. The
maximum trailer weight rating
equals the vehicle curb weight
for each engine/transmission
combination, any required
option weight for trailer towing
and the weight of the driver
from the GCWR for the towing
vehicle.
²Maximum Trailer Weight:
Maximum weight of a trailer the
loaded vehicle (including
passengers and cargo) is
permitted to tow. It is
determined by subtracting the
weight of the loaded towing
vehicle from the GCWR for the
towing vehicle.
²Trailer Weight Range: Specified
weight range that the trailer
must fall within that ranges from
zero to the maximum trailer
weight rating.
Remember to figure in the tongue
load of your loaded trailer when
figuring the total weight.
If the GVWR or the GAWR
specified on the Safety
Compliance Certification Label is
exceeded, your vehicle may be
damaged or you may lose control
and injure someone.
To obtain correct weights, try
taking your vehicle to a shipping
company or an inspection station
for trucks.
Driving
109
Page 110 of 197

Do not use replacement tires with
lower weight capacities than the
original because they may lower
the vehicle's GVWR and GAWR
limitations. Replacement tires with
a higher weight limit than the
originals do not increase the
GVWR and GAWR limitations.
TRAILER TOWING
Your vehicle may tow a Class I or
II trailer provided the maximum
trailer weight is less than or equal
to the maximum trailer weight
listed for your engine and rear axle
ratio. See theTrailer towing table
later in this chapter.
Do not exceed the maximum loads
stated on the Safety Compliance
Certification Label. Refer to
Vehicle loadingfor a definition of
the terms on the label.
Your vehicle's load capacity is
designated by weight, not by
volume, so you cannot necessarily
use all available space when
loading a vehicle.
Distribute the trailer load so that
only 10 to 15% of the total weight
of the trailer is on the tongue. Tie
down the load so that it does not
shift and change the weight on the
hitch.
Towing a trailer places an
additional load on your vehicle's
engine, transmission, axle, brakes,
tires and suspension. Inspect these
components carefully before and
after any towing operation.
Driving
110
Page 111 of 197

If the GVWR or the GAWR
specified on the Safety
Compliance Certification Label is
exceeded, your vehicle may be
damaged or you may lose control
and injure someone.
Towing trailers beyond the
maximum recommended
gross trailer weight exceeds the
limits of the vehicle and could
result in engine damage,
transmission/axle damage,
structural damage, loss of
control, and personal injury.
Calculating the load your
vehicle can carry/tow
1. Use the Safety Compliance
Certification Label to find the axle
code number and engine type for
your vehicle.
2. Use the appropriate maximum
Gross Combined Weight Rating
(GCWR) chart to find the
maximum GCWR for your type
engine and rear axle ratio.
3. Weigh your vehicle as you
customarily operate the vehicle
without cargo. To obtain correct
weights, try taking your vehicle to
a shipping company or an
inspection station for trucks.
4. Subtract your loaded vehicle
weight from the maximum GCWR
on the following charts. This is the
maximum trailer weight your
vehicle can tow and must fall
Driving
111
Page 112 of 197

below the maximum shown under
maximum trailer weight on the
chart.
Trailer Towing Table
4R70W Automatic Transmission
EngineRear
Axle
RatioMaximum
GCWR kg (lb)
1
Maximum
Trailer Weight
kg (lb)
2
Maximum
Frontal Area of
Trailer ft
2-Wheel Drive
5.0L 3.73 4,990 (11,000) 3,039 (6,700) 50
All-Wheel Drive
5.0L 3.73 4,990 (11,000) 2,944 (6,500) 50
1For high altitude operation, reduce GCWR by 2% per 300 meters
(1,000 ft) elevation.
2To determine the maximum trailer weight designed for your particular
vehicle as equipped, follow the sectionCalculating the load your
vehicle can carry/towearlier in this section.
Preparing to tow
Use the proper equipment for
towing a trailer, and make sure it
is properly attached to your
vehicle. See your dealer or a
reliable trailer dealer if you require
assistance.
Hitches
Do not use or install hitches that
clamp onto the bumper or to the
axle. Underbody hitches are
acceptable if installed properly.
The rear bumper has an integral
hitch and only requires a ball with
a 3/4 inch shank diameter. The
Driving
112