tow Mercury Mountaineer 1998 Owner's Manuals
[x] Cancel search | Manufacturer: MERCURY, Model Year: 1998, Model line: Mountaineer, Model: Mercury Mountaineer 1998Pages: 216, PDF Size: 1.72 MB
Page 2 of 216

ICONS
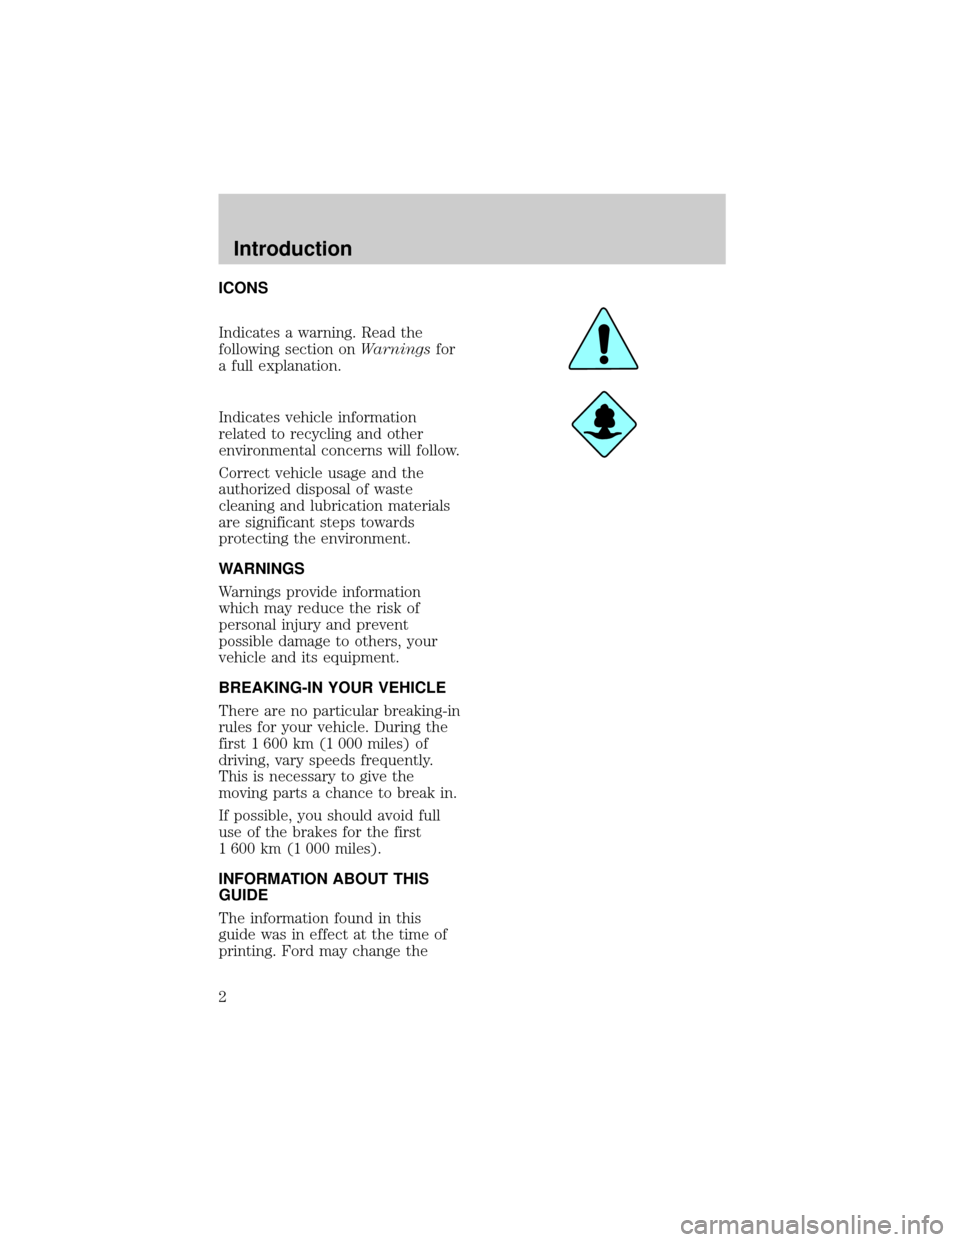
Indicates a warning. Read the
following section onWarningsfor
a full explanation.
Indicates vehicle information
related to recycling and other
environmental concerns will follow.
Correct vehicle usage and the
authorized disposal of waste
cleaning and lubrication materials
are significant steps towards
protecting the environment.
WARNINGS
Warnings provide information
which may reduce the risk of
personal injury and prevent
possible damage to others, your
vehicle and its equipment.
BREAKING-IN YOUR VEHICLE
There are no particular breaking-in
rules for your vehicle. During the
first 1 600 km (1 000 miles) of
driving, vary speeds frequently.
This is necessary to give the
moving parts a chance to break in.
If possible, you should avoid full
use of the brakes for the first
1 600 km (1 000 miles).
INFORMATION ABOUT THIS
GUIDE
The information found in this
guide was in effect at the time of
printing. Ford may change the
Introduction
2
Page 6 of 216

WARNING LIGHTS AND CHIMES
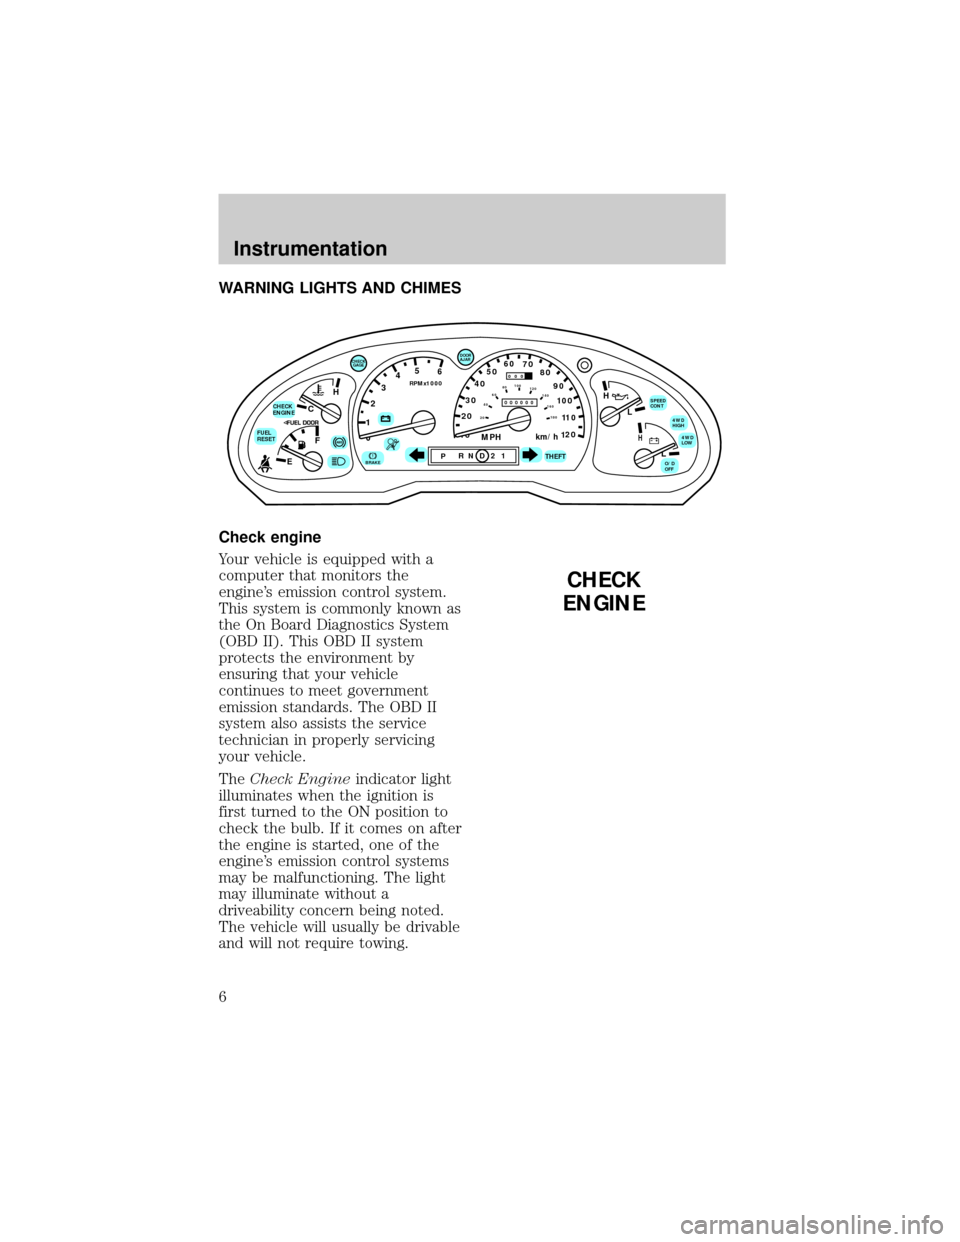
Check engine
Your vehicle is equipped with a
computer that monitors the
engine's emission control system.
This system is commonly known as
the On Board Diagnostics System
(OBD II). This OBD II system
protects the environment by
ensuring that your vehicle
continues to meet government
emission standards. The OBD II
system also assists the service
technician in properly servicing
your vehicle.
TheCheck Engineindicator light
illuminates when the ignition is
first turned to the ON position to
check the bulb. If it comes on after
the engine is started, one of the
engine's emission control systems
may be malfunctioning. The light
may illuminate without a
driveability concern being noted.
The vehicle will usually be drivable
and will not require towing.
C
012345
6
RPMx1000
ABS!BRAKE
CHECK
ENGINE
FUEL
RESET
EFH
H
H
PRN D 2 1THEFT
SPEED
CONT
4WD
HIGH
4WD
LOW
O/D
OFFL
L
10MPH 205060
70
304080
90
km/h
0 0 0
10 100
1
20
1
0 0 0 0 0 0406080100
120
140
160
180
20
DOOR
AJAR
CHECK
GAGE
CHECK
ENGINE
Instrumentation
6
Page 31 of 216

TILT STEERING
Pull the steering control toward
you to move the steering wheel up
or down. Hold the control while
adjusting the wheel to the desired
position, then release the control
to lock the steering wheel in
position.
Never adjust the steering
wheel when the vehicle is
moving.
HAZARD FLASHER
For information on the hazard
flasher control, refer toHazard
lights controlin theRoadside
emergencieschapter.
Controls and features
31
Page 35 of 216

The moon roof has a sliding shade
that can be manually opened or
closed when the glass panel is
shut. To close the shade, pull it
toward the front of the vehicle.
Do not let children play
with the moon roof. They
may seriously hurt themselves.
Electronic compass/temperature
display
A compass and outside
temperature display are contained
in the overhead console.
The compass and temperature
display can be turned off and on
by pressing the MODE control on
the overhead console. The vehicle
heading is displayed as one of N,
NE, E, SE, S, SW, W and NW.
Outside air temperature
The temperature can be displayed
in Centigrade or Fahrenheit by
pressing the MODE control.
If the outside temperature falls
below 3.3ÉC (38ÉF), the display
will alternate from ªICEº to the
outside temperature at a two
second rate for one minute.
LAMPMODELAMP
9 VAR
Controls and features
35
Page 40 of 216

One touch down
²Press AUTO and release quickly.
The window will open fully.
Depress again to stop window
operation.
Window lock
The window lock feature allows
only the driver to operate the
power windows.
POWER DOOR LOCKS
Press U to unlock all doors and L
to lock all doors.
Two step unlocking
(if equipped)
When unlocking the driver door
with the key, turn it once toward
the rear of the vehicle to unlock
that door only. Turn the key to the
rear a second time to unlock all
doors.
AUTO
WINDOW LOCK
UL
Controls and features
40
Page 44 of 216

damage may occur to the liftgate
door lift cylinders and attaching
hardware.
Make sure that the liftgate
door and/or window are
closed to prevent exhaust fumes
from being drawn into the
vehicle. This will also prevent
passengers and cargo from falling
out. If you must drive with the
liftgate door or window open,
keep the vents open so outside
air comes into the vehicle.
CARGO COVER (IF EQUIPPED)
Your vehicle may be equipped with
a cargo area shade that covers the
luggage compartment of your
vehicle.
To install the shade:
1. Fasten the cover into the
mounting brackets (make sure the
cover is right side up).
2. Pull the end of the shade toward
you and hook the sides into the
notches in the rear trim panels.
To prevent the possibility
of injuries, the fasteners
for the cargo area cover must be
properly attached to the
mounting clips on the rear trim
panels.
Controls and features
44
Page 45 of 216

Do not place any objects
on the cargo area cover.
They may obstruct your vision or
strike occupants of the vehicle in
the case of a sudden stop or
collision.
Rewinding the shade
With extended use, the cargo
shade may lose its spring tension.
If this occurs, the shade must be
manually rewound. This is a
two-person operation.
1. Remove the shade from the
vehicle and extend it with the
smooth grain facing you.
2. Wrap the vinyl around the roller
tube twice. Tuck the edges of the
vinyl inside the end cap with each
wrap.
3. Fold the edges of the vinyl
towards the center, making sure
that the edges clear the end cap
slots. Use tape or a rubber band to
hold the vinyl to the left side of
the tube.
4. Push in the right end cap
(marked RH) about
1¤4of the total
length to disengage the clutch and
hold the end cap in while turning
the roller tube toward you 14
times.
Controls and features
45
Page 48 of 216

Replacing the battery
The transmitter is powered by one
coin type three-volt lithium battery
CR2032 or equivalent. Typical
operating range will allow you to
be up to 10 meters (33 feet) away
from your vehicle. A decrease in
operating range can be caused by:
²battery weakness due to time
and use
²weather conditions
²nearby radio towers
²structures around the vehicle
²other vehicles parked next to
the vehicle
To replace the battery:
1. Twist a thin coin between the
two halves of the transmitter near
the key ring. DO NOT TAKE THE
FRONT PART OF THE
TRANSMITTER APART.
2. Place the positive (+) side of
new battery in the same
orientation. Refer to the diagram
inside the transmitter unit.
3. Snap the two halves back
together.
Controls and features
48
Page 57 of 216

²Unlock the doors by using your
remote entry transmitter.
²Unlock the doors with a key.
Turn the key full travel (toward
the front of the vehicle) to make
sure the alarm disarms.
²Unlock the doors by using your
keyless entry keypad.
²Turn ignition to ACC or ON.
²Press the panic control on the
remote entry transmitter. This
will disarm the system only if
the alarm is sounding.
SecuriLockYanti-theft system
The SecuriLockyanti-theft system
provides an advanced level of
vehicle theft protection. Your
vehicle's engine can only be started
with the two special SecuriLocky
electronically coded keys provided
with your vehicle. Each time you
start your vehicle, the
123
45678
90
Controls and features
57
Page 65 of 216

REAR SEATS
Head restraints
Push or pull the head rests to the
desired position.
Folding rear seats (if equipped)
If your vehicle is equipped with a
built-in child seat, the seatback
cannot be folded down unless the
built-in child seat is fully stowed.
1. Press the lower release control
downward to unlatch the seatback.
2. Rotate the seatback downward
into the load floor position.
3. Press down on the top outboard
area of the seatback until a click is
heard. The seat is now latched in
the floor position.
PUSH
PUSH
Seating and safety restraints
65