check engine Mercury Sable 1997 s User Guide
[x] Cancel search | Manufacturer: MERCURY, Model Year: 1997, Model line: Sable, Model: Mercury Sable 1997Pages: 167, PDF Size: 1.59 MB
Page 120 of 167
It is recommended you use the appropriate
Motorcraft oil filter (or another brand meeting Ford
specifications) for your engine application.
BRAKE FLUID
CHECKING AND ADDING BRAKE FLUID
Brake fluid should be checked and refilled as needed
at least once each year:
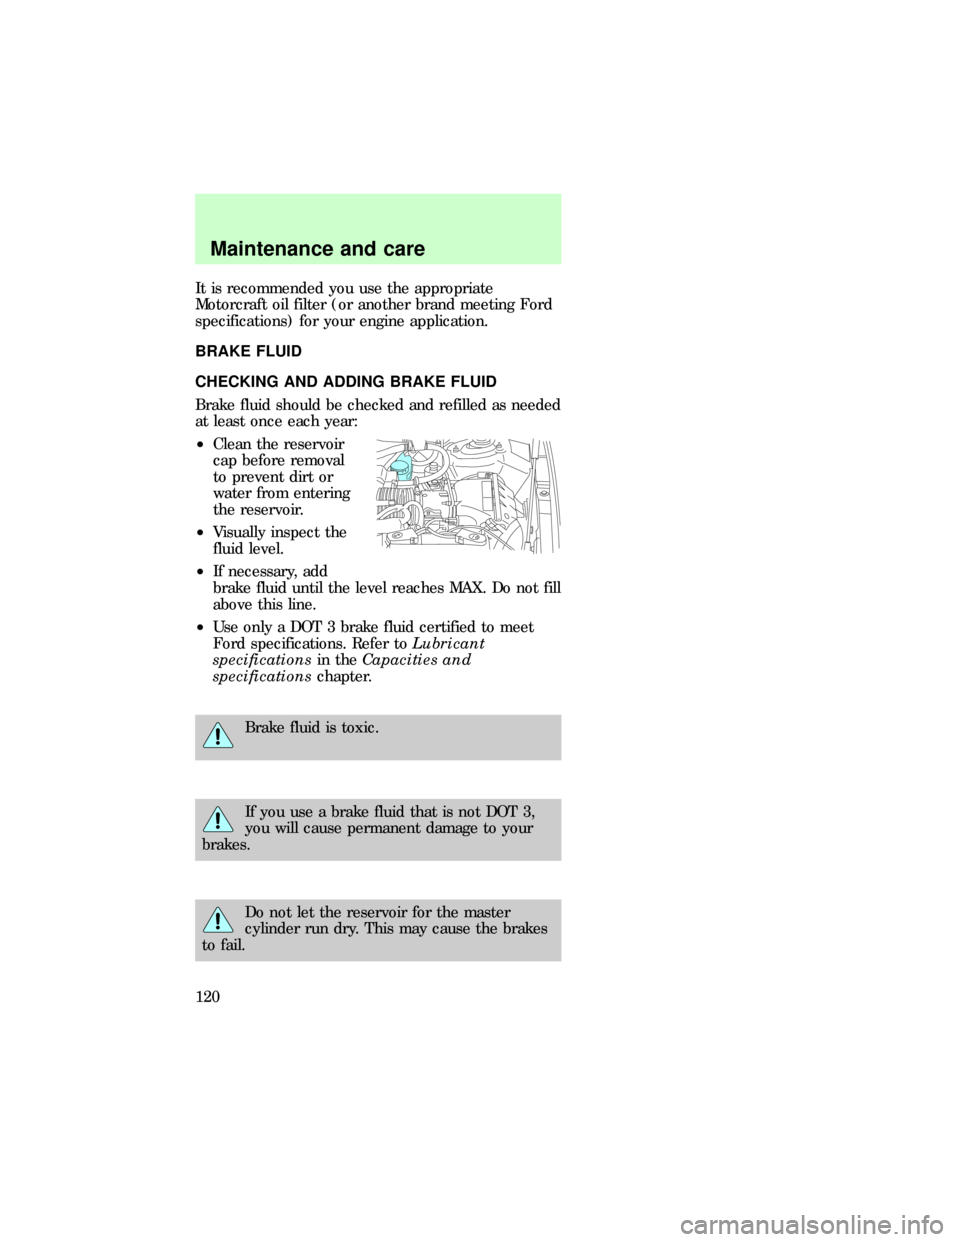
²Clean the reservoir
cap before removal
to prevent dirt or
water from entering
the reservoir.
²Visually inspect the
fluid level.
²If necessary, add
brake fluid until the level reaches MAX. Do not fill
above this line.
²Use only a DOT 3 brake fluid certified to meet
Ford specifications. Refer toLubricant
specificationsin theCapacities and
specificationschapter.
Brake fluid is toxic.
If you use a brake fluid that is not DOT 3,
you will cause permanent damage to your
brakes.
Do not let the reservoir for the master
cylinder run dry. This may cause the brakes
to fail.
dno_brake-fluids
com_checking-adding_fluid.01
dno_washer-fluid
Maintenance and care
120
Page 121 of 167
CHECKING AND ADDING WASHER FLUID
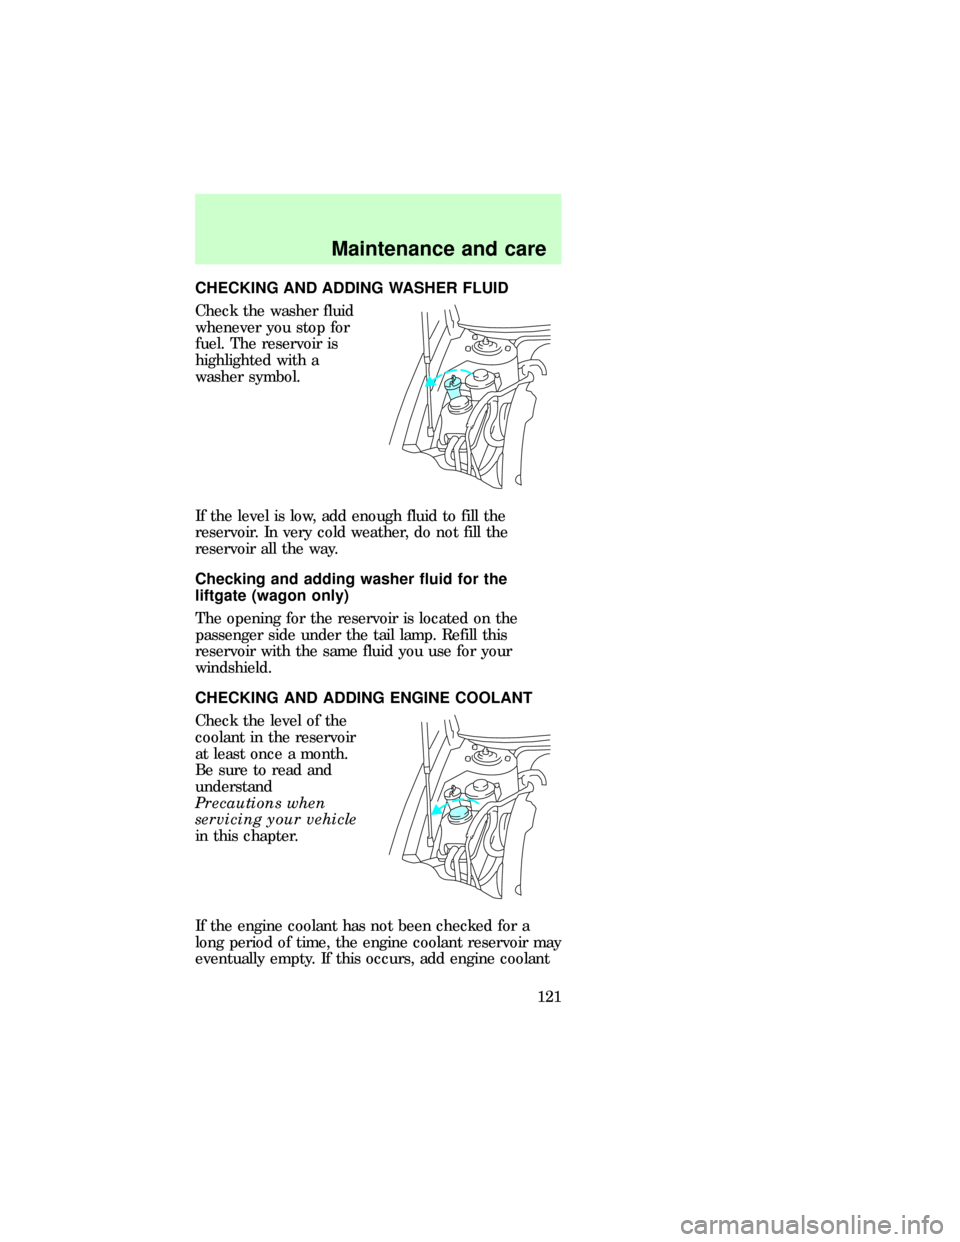
Check the washer fluid
whenever you stop for
fuel. The reservoir is
highlighted with a
washer symbol.
If the level is low, add enough fluid to fill the
reservoir. In very cold weather, do not fill the
reservoir all the way.
Checking and adding washer fluid for the
liftgate (wagon only)
The opening for the reservoir is located on the
passenger side under the tail lamp. Refill this
reservoir with the same fluid you use for your
windshield.
CHECKING AND ADDING ENGINE COOLANT
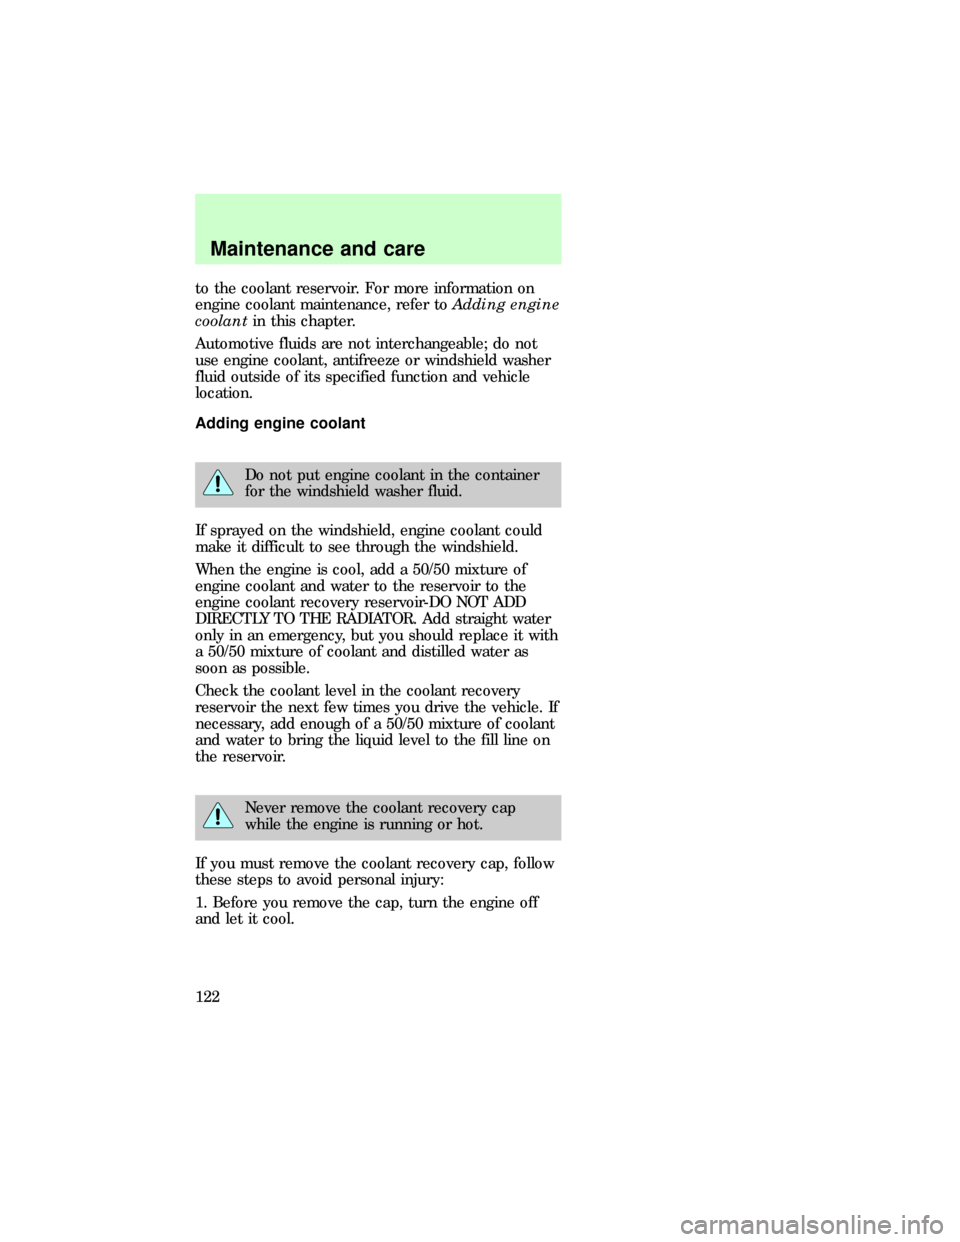
Check the level of the
coolant in the reservoir
at least once a month.
Be sure to read and
understand
Precautions when
servicing your vehicle
in this chapter.
If the engine coolant has not been checked for a
long period of time, the engine coolant reservoir may
eventually empty. If this occurs, add engine coolant
dno_wiper-washer
com_checking-adding_coolant.01
Maintenance and care
121
Page 122 of 167
to the coolant reservoir. For more information on
engine coolant maintenance, refer toAdding engine
coolantin this chapter.
Automotive fluids are not interchangeable; do not
use engine coolant, antifreeze or windshield washer
fluid outside of its specified function and vehicle
location.
Adding engine coolant
Do not put engine coolant in the container
for the windshield washer fluid.
If sprayed on the windshield, engine coolant could
make it difficult to see through the windshield.
When the engine is cool, add a 50/50 mixture of
engine coolant and water to the reservoir to the
engine coolant recovery reservoir-DO NOT ADD
DIRECTLY TO THE RADIATOR. Add straight water
only in an emergency, but you should replace it with
a 50/50 mixture of coolant and distilled water as
soon as possible.
Check the coolant level in the coolant recovery
reservoir the next few times you drive the vehicle. If
necessary, add enough of a 50/50 mixture of coolant
and water to bring the liquid level to the fill line on
the reservoir.
Never remove the coolant recovery cap
while the engine is running or hot.
If you must remove the coolant recovery cap, follow
these steps to avoid personal injury:
1. Before you remove the cap, turn the engine off
and let it cool.
dno_adding-coolant
Maintenance and care
122
Page 124 of 167

Coolant refill capacity
To find out how much fluid your vehicle's cooling
system can hold, refer toRefill capacitiesin the
Capacities and specificationschapter.
Have your dealer check the engine cooling system
for leaks if you have to add more than a liter (quart)
of engine coolant per month.
Severe winter climate
If you drive in extremely cold climates [less than
±36ÉC (±34ÉF)], it may be necessary to increase the
coolant concentration above 50%. Refer to the chart
on the coolant container to ensure the coolant
concentration in your vehicle is such that the
coolant will not freeze at the temperature level in
which you drive during winter months. Never
increase the engine coolant concentration above
60%. Leave a 50/50 mixture of engine coolant and
water in your vehicle year-round in non-extreme
climates.
CHECKING AND ADDING POWER STEERING
FLUID
Check the power
steering fluid at least
twice a year. If adding
fluid is necessary, use
only MercontAT F
power steering fluid.
1. Start the engine and let it run until it reaches
normal operating temperature (the engine coolant
gauge will be near the center of the NORMAL band).
2. While the engine idles, turn the steering wheel
left and right several times.
com_winter_climate.01
dno_power-steering-fluid
Maintenance and care
124
Page 125 of 167
3. Turn the engine off.
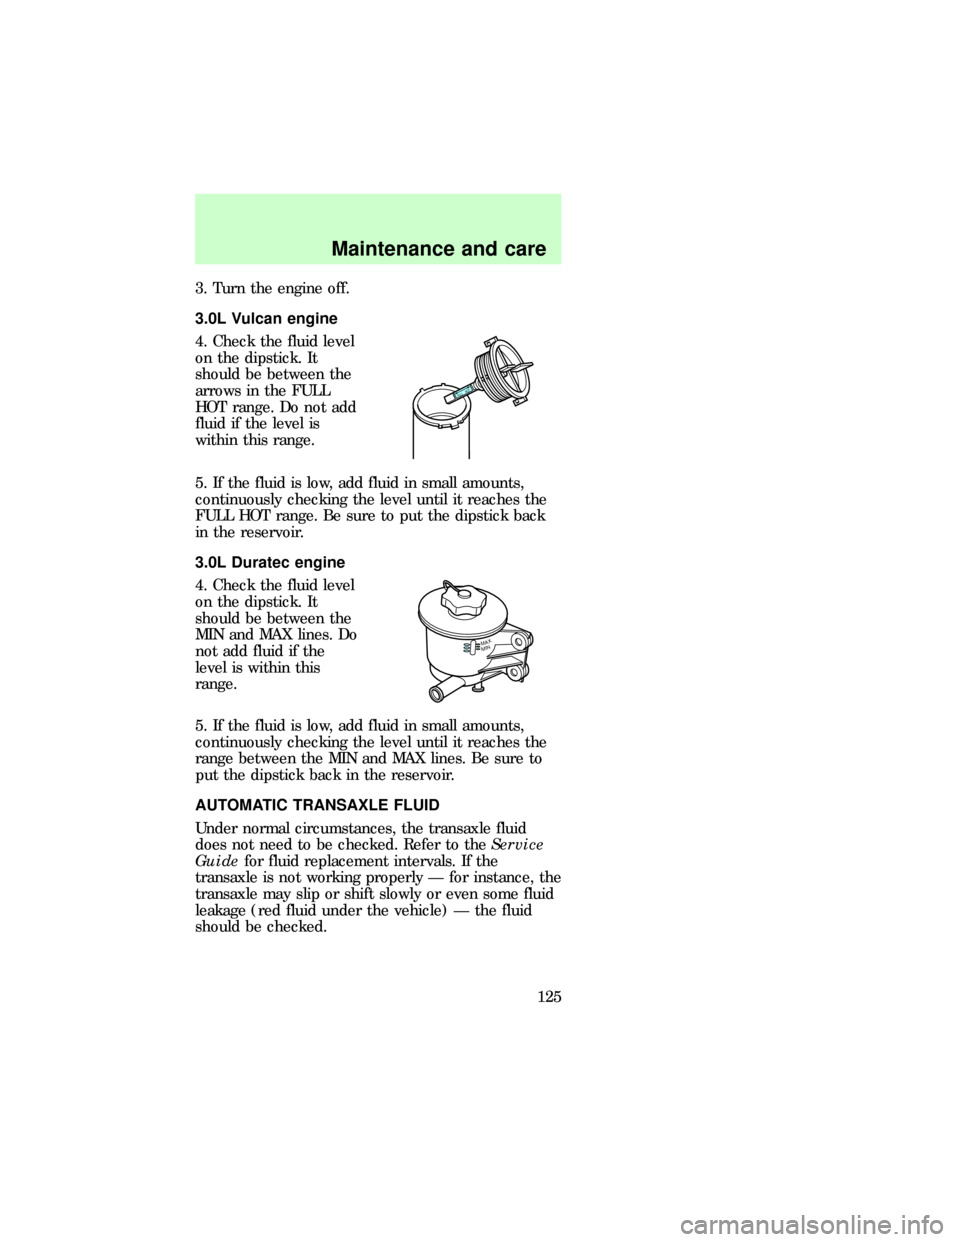
3.0L Vulcan engine
4. Check the fluid level
on the dipstick. It
should be between the
arrows in the FULL
HOT range. Do not add
fluid if the level is
within this range.
5. If the fluid is low, add fluid in small amounts,
continuously checking the level until it reaches the
FULL HOT range. Be sure to put the dipstick back
in the reservoir.
3.0L Duratec engine
4. Check the fluid level
on the dipstick. It
should be between the
MIN and MAX lines. Do
not add fluid if the
level is within this
range.
5. If the fluid is low, add fluid in small amounts,
continuously checking the level until it reaches the
range between the MIN and MAX lines. Be sure to
put the dipstick back in the reservoir.
AUTOMATIC TRANSAXLE FLUID
Under normal circumstances, the transaxle fluid
does not need to be checked. Refer to theService
Guidefor fluid replacement intervals. If the
transaxle is not working properly Ð for instance, the
transaxle may slip or shift slowly or even some fluid
leakage (red fluid under the vehicle) Ð the fluid
should be checked.
FULL HOT
MINMAX
dno_steers
sab_steer
dno_transaxle-fluids
dno_checking-trans
Maintenance and care
125
Page 126 of 167
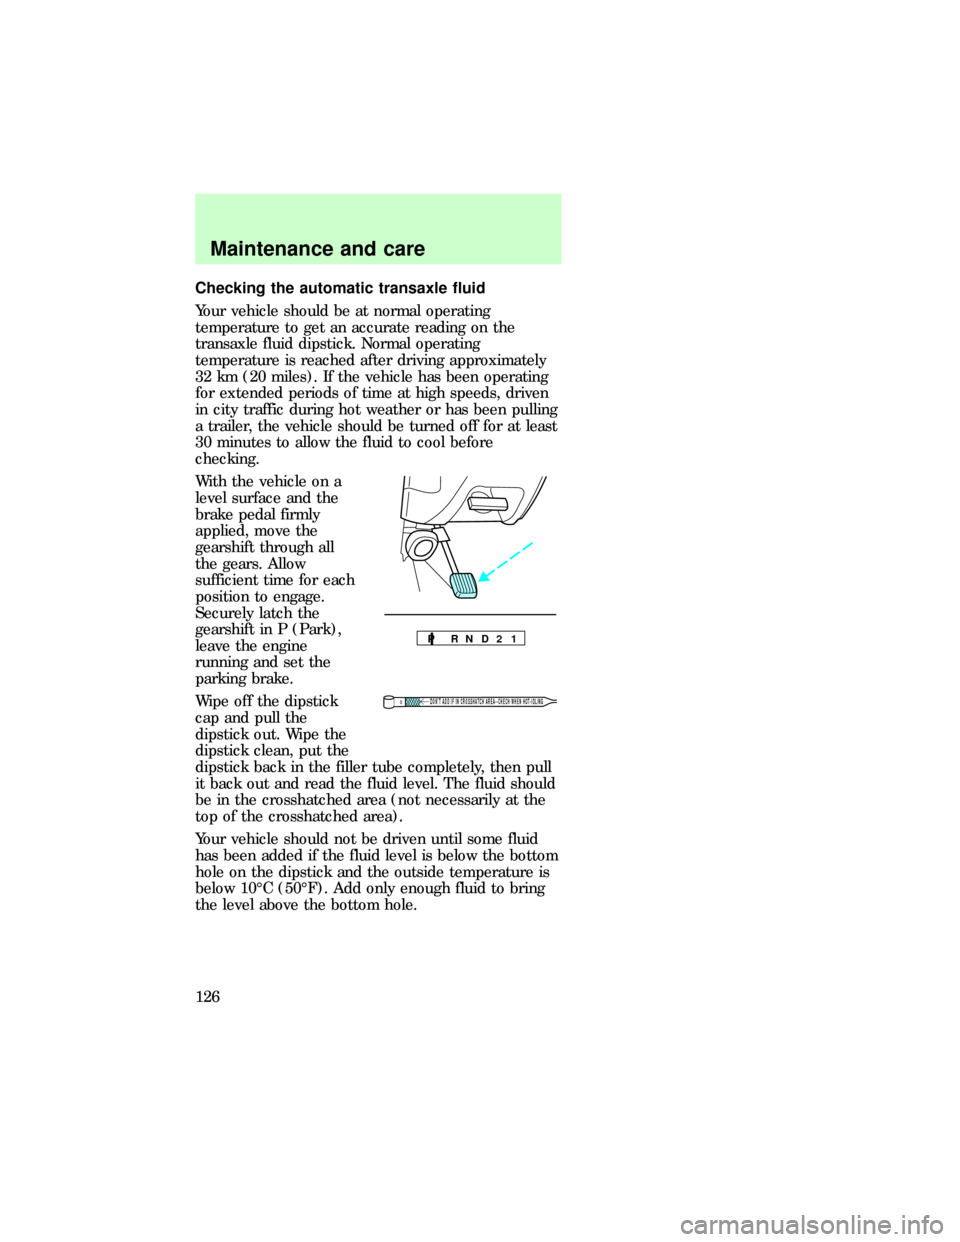
Checking the automatic transaxle fluid
Your vehicle should be at normal operating
temperature to get an accurate reading on the
transaxle fluid dipstick. Normal operating
temperature is reached after driving approximately
32 km (20 miles). If the vehicle has been operating
for extended periods of time at high speeds, driven
in city traffic during hot weather or has been pulling
a trailer, the vehicle should be turned off for at least
30 minutes to allow the fluid to cool before
checking.
With the vehicle on a
level surface and the
brake pedal firmly
applied, move the
gearshift through all
the gears. Allow
sufficient time for each
position to engage.
Securely latch the
gearshift in P (Park),
leave the engine
running and set the
parking brake.
Wipe off the dipstick
cap and pull the
dipstick out. Wipe the
dipstick clean, put the
dipstick back in the filler tube completely, then pull
it back out and read the fluid level. The fluid should
be in the crosshatched area (not necessarily at the
top of the crosshatched area).
Your vehicle should not be driven until some fluid
has been added if the fluid level is below the bottom
hole on the dipstick and the outside temperature is
below 10ÉC (50ÉF). Add only enough fluid to bring
the level above the bottom hole.
P R N D 2 1
DON’T ADD IF IN CROSSHATCH AREA--CHECH WHEN HOT-IDLING
dno_adding-fluid
Maintenance and care
126
Page 128 of 167

Applying too much pressure on the ends
when lifting a battery could cause acid to
spill. Lift the battery with a carrier or with your
hands on the opposite corners.
Servicing your battery
The low-maintenance battery has removable vent
caps for checking electrolyte level and adding water.
Check electrolyte level every 24 months or 40,000
km (24,000 miles) in an average temperature of
32ÉC (90ÉF). Keep the electrolyte level in each cell
up to the level indicator. Do not overfill.
If the level gets low, refill the battery with distilled
water. If necessary, distilled water may be
substituted with tap water that is not hard or has a
high mineral or alkali content. If the battery needs
water quite often, have the charging system checked
for a possible malfunction.
Because your vehicle's engine is electronically
controlled by a computer, some control conditions
are maintained by power from the battery. When the
battery is disconnected or a new battery is installed,
the engine must relearn its idle conditions before
you vehicle will drive properly. To begin this process:
1. Put the gearshift in P (Park), turn off all
accessories and start the vehicle.
2. Let the engine idle for at least one minute.
3. The relearning process will automatically
complete as you drive the vehicle.
²If you do not allow the engine to relearn its idle,
the idle quality of your vehicle may be adversely
affected until the idle is eventually relearned.
²If the battery has been disconnected or a new
battery has been installed, the clock and the
preset radio stations must be reset once the
battery is reconnected.
Maintenance and care
128
Page 139 of 167

unburned fuel to reach the exhaust system can
increase the temperature of the engine or exhaust
system.
By law, anyone who manufactures, repairs, services,
sells, leases, trades vehicles, or supervises a fleet of
vehicles is not permitted to intentionally remove an
emission control device or prevent it from working.
In some of the United States and Canada, vehicle
owners may be liable if their emission control device
is removed or prevented from working.
Never use a metal exhaust collector when you
service your vehicle. If the metal collector contacts
any of your vehicle's plastic trim or bumper parts
they could melt or deform.
Do not drive your vehicle if it does not operate
properly. See your dealer if the engine runs on for
more than five seconds after you shut it off or if it
misfires, surged, stalls or backfires.
Information about your vehicle's emission system is
on the Vehicle Emission Control Information decal
located on or near the engine. This decal identifies
engine displacement and gives some tune up
specifications.
Readiness for inspection/maintenance testing
In some localities, it may become a legal
requirement to pass an Inspection/Maintenance (I/M)
test of the On-board Diagnostic (OBD) II system. If
the vehicle's powertrain system or its battery has
just been serviced, the OBD II system is reset to a
not ready for I/M testing condition. To prepare for
I/M testing, the law specifies that additional mixed
city and highway driving is required to complete the
check of the OBD II system.
The driving modes required to reach the ready
condition consist of a minimum of 30 minutes of city
and highway driving as described below:
²At least twenty minutes driving in stop and go,
city type traffic with at least four idle periods.
dno_ready-test
Maintenance and care
139
Page 140 of 167

²At least ten minutes of driving on an expressway
or highway.
Before completing the above driving modes, the
engine must be warmed up and at operating
temperature. Once started, the vehicle must not be
turned off during these driving modes.
EXTERIOR LAMPS
It is a good idea to check the operation of the
following lights frequently:
²Headlamps
²High-mount brake lamp
²Tail lamps
²Brake lamps
²Backup lamps
²Hazard flashers
²Turn signals
²License plate lamp
²Interior overhead lamps
Do not remove lamp bulbs unless they will be
replaced immediately. If a bulb is removed for an
extended period of time, contaminants may enter
the lamp housings and affect performance.
High-mount brake lamp - Sedan
To remove the brake lamp:
1. Remove package
tray trim, then push
attachment toward the
rear.
2. Slide brake lamp up
and away from the rear
window to remove it
from the tabs that hold
it down.
3. Disconnect bulbs.
dno_drive-cycle
dno_exterior-bulbs
Maintenance and care
140
Page 163 of 167

Aiming headlamps .. 144
Air bag supplemental
restraint system
and child safety
seats ......................... 61
description .............. 60
disposal .................... 64
indicator light ......... 63
passenger air bag ... 62
Air cleaner filter
replacing ................ 129
Air conditioning
automatic temperature
control system 16,17,18,
19,20
manual heating and air
conditioning
system ........... 14,15,16
Anti-theft system ...... 44
warning light ............. 8
Audio system (see
Electronic sound
system) ...................... 21
Autolamp system (see
Headlamps) ............... 13
Battery ..................... 127
servicing ................ 128
Brakes
adjustment .............. 81
anti-lock ................... 81
fluid, checking and
adding .................... 120
Brake-shift interlock . 83
Break-in period ........... 2
Cargo cover ............... 35
Cargo net ................... 35
Child safety seats ...... 66
Childproof locks ........ 31
Cleaning your vehicle 146
built-in child seat . 150engine
compartment ......... 147
fabric ...................... 149
instrument panel .. 149
plastic parts .......... 148
safety belts ............ 150
tail lamps ............... 148
washing .................. 146
waxing ................... 147
wheels .................... 147
Climate control
system ........................ 14
Console, description . 31
Daytime running light
system ........................ 14
Emission control
system ...................... 137
Engine
service points . 116,117
Engine block heater . 79
Engine coolant
checking and
adding ............. 121,122
disposal .................. 123
refill capacities ...... 124
Engine oil ................ 119
changing oil and oil
filter ....................... 119
checking and
adding .................... 118
Entry system
illumination ............. 43
Exhaust fumes .......... 79
Floor mats ................. 33
Fuel
calculating fuel
economy ................ 137
improving fuel
economy .................. 95
octane rating ......... 136
Index
163