Mercury Sable 1997 s Owner's Guide
Manufacturer: MERCURY, Model Year: 1997, Model line: Sable, Model: Mercury Sable 1997Pages: 167, PDF Size: 1.59 MB
Page 31 of 167

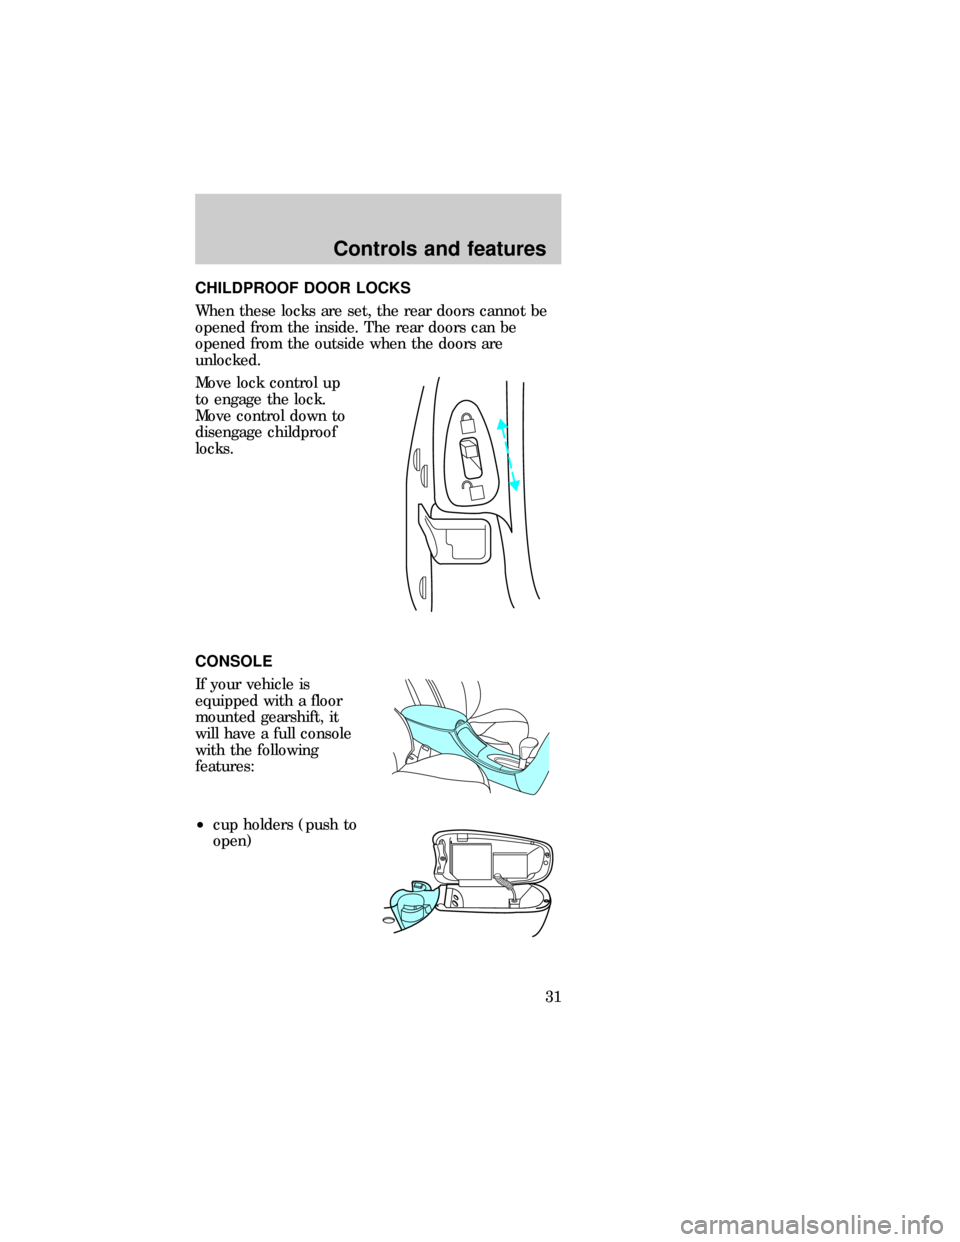
CHILDPROOF DOOR LOCKS
When these locks are set, the rear doors cannot be
opened from the inside. The rear doors can be
opened from the outside when the doors are
unlocked.
Move lock control up
to engage the lock.
Move control down to
disengage childproof
locks.
CONSOLE
If your vehicle is
equipped with a floor
mounted gearshift, it
will have a full console
with the following
features:
²cup holders (push to
open)
dno_consoleControls and features
31
Page 32 of 167

²coin holder and
utility bin
²cassette/CD storage
²cellular phone (if
equipped)
²ashtray (push to
open)
The release for the utility compartment is on the
front of the console, just below the armrest. Press
and release at the ridges to open.
Controls and features
32
Page 33 of 167

If your vehicle is
equipped with a
cellular phone, press
the latch release
located on the driver's
side edge of the
console lid to access
the phone.
If your vehicle is
equipped with the
column shift, it has a
center console in the
center front seating
position.
The center console has the same features as the full
console. To open the storage compartment, raise the
armrest and pull the strap on the seat up and
toward the front of the vehicle. The cupholders in
the center console can be removed for cleaning.
Cellular phone
Refer to the cellular phone user's manual for
instruction on operation.
POSITIVE RETENTION FLOOR MAT (IF
EQUIPPED)
Position the floor mat so that the eyelet is over the
pointed end of the retention post and rotate forward
to lock in. Make sure the mat does not interfere with
the operation of the accelerator and brake pedal. To
remove the floor mat, reverse the installation
procedure.
dno_cell-phone
dno_floor-mats
dno_opening-trunk-remote
Controls and features
33
Page 34 of 167

OPENING THE TRUNK WITH REMOTE
CONTROL (IF EQUIPPED)
Press the remote
release control on the
instrument panel to the
left of the steering
wheel.
LIFTGATE (WAGON ONLY)
You can open the
entire liftgate or just
the liftgate window. To
open the entire liftgate,
press the release
button hidden under
the exterior trim panel
just above the license
plate.
You must lock the liftgate with the key or power
lock control; it does not lock automatically.
The window locks when the liftgate is locked. To
open the window, make sure the liftgate and window
are unlocked, then press the outside lock cylinder.
The window can only be opened from the outside.
To prevent any damage to the liftgate and window,
close them completely before driving.
dno_opening-liftgate
dno_storage-compControls and features
34
Page 35 of 167

STORAGE COMPARTMENT (WAGON ONLY)
Your vehicle comes
equipped with a
storage compartment
in the floor of the
cargo area. An
additional
compartment is in the
rear trim panel on the
right. Always put the
load you are carrying as far forward as possible.
CARGO NET (IF EQUIPPED)
The cargo net secures
lightweight objects in
the cargo area. Attach
the net to the anchors
provided. Do not put
more than 22 kg (50
lbs.) in the net. This
net is not designed to
restrain objects during
a collision.
CARGO COVER (WAGON - IF EQUIPPED)
You can cover the rear
compartment by
fastening the cover
into the pockets in the
trim panel (make sure
the cover is right side
up so it unrolls from
the top), then pulling
and hooking the cover
into the pockets into the trim panel.
REWINDING THE SLIDING SHADE
If the shade is damaged or loses its spring tension
from excessive use, manual rewinding of the shade
may be necessary. The following procedure is a
two-person operation:
dno_cargo-nets
dno_cover
Controls and features
35
Page 36 of 167

1. Remove the shade from the mounting brackets by
detaching the safety clip and pressure fit plastic
knobs from either side of the shade.
2.Wrap the vinyl around the tube twice by twisting
the tube away from you. Tuck the edged of the vinyl
end cap with each wrap.
3. Fold the vinyl toward the center, making sure the
edges clear the end cap slots. Use tape or a rubber
band to hold the vinyl on the left side of the tube..
4. Push in the right end cap (marked R) about 6 mm
(1/4 inch) to disengage the clutch and hold in while
turning the tube toward you fourteen times.
5. Let go of the right end cap and unfold the vinyl.
Place the vinyl into the end cap slots.
6. Place the shade back into the vehicle.
The cover may cause injury in a sudden stop
or accident if it is not securely installed.
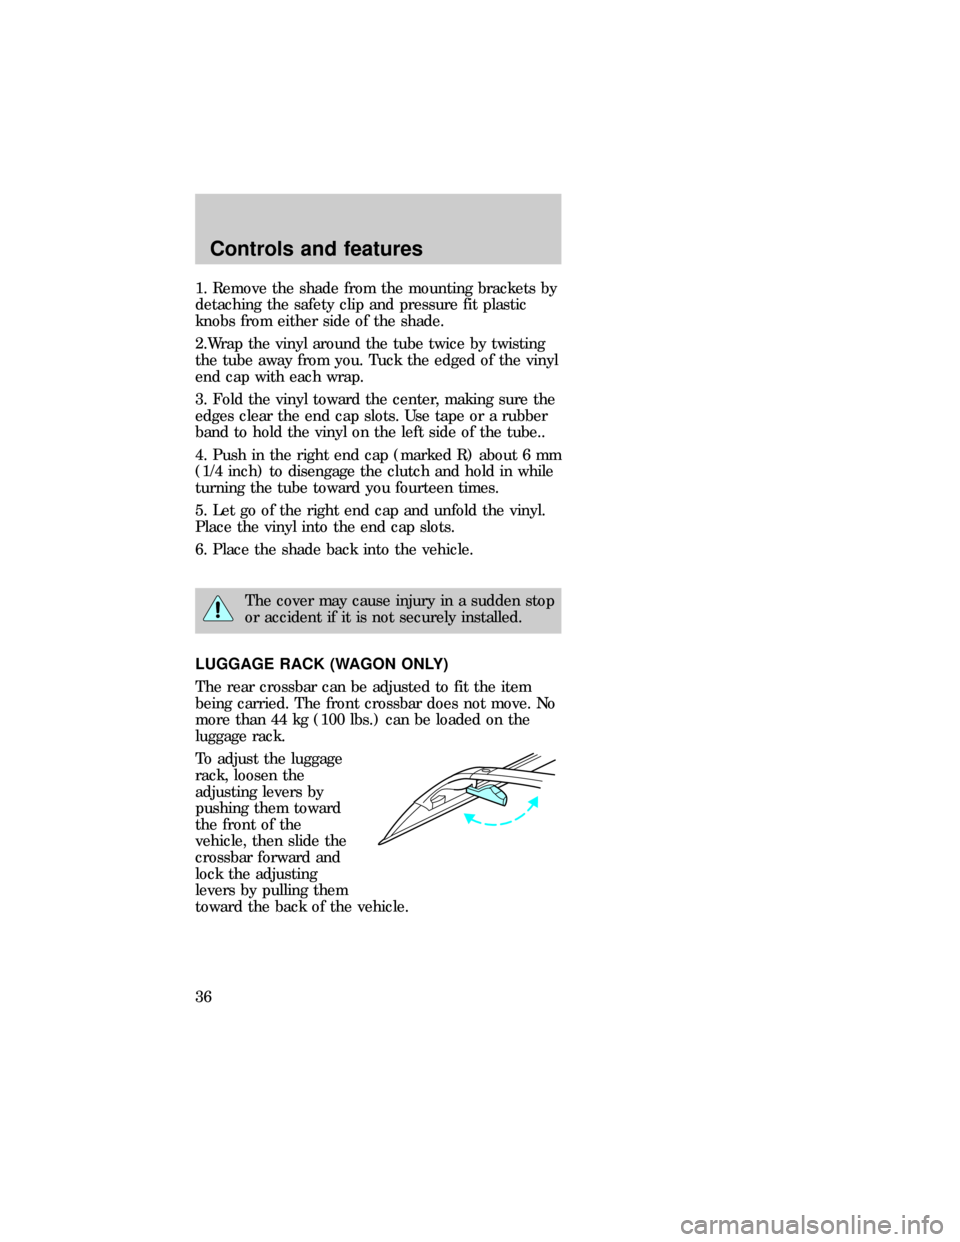
LUGGAGE RACK (WAGON ONLY)
The rear crossbar can be adjusted to fit the item
being carried. The front crossbar does not move. No
more than 44 kg (100 lbs.) can be loaded on the
luggage rack.
To adjust the luggage
rack, loosen the
adjusting levers by
pushing them toward
the front of the
vehicle, then slide the
crossbar forward and
lock the adjusting
levers by pulling them
toward the back of the vehicle.dno_luggage
com_keyless_entry.01
Controls and features
36
Page 37 of 167

KEYLESS ENTRY SYSTEM (IF EQUIPPED)
You can lock or unlock
the vehicle doors
without using a key.
See alsoRemote entry system (if equipped)in this
chapter.
The computer code that operates the keyless system
is located on your owner's wallet card found in the
glove compartment.
Illuminated entry system:
²turns on the interior lights for approximately 25
seconds and
²lights up the keypad controls for five seconds.
Do not push the control keypad with any hard object
that could damage the controls.
Programming your own entry code
This code does not replace the permanent code from
the dealership.
To program your own code:
1. Select five digits for your personal code.
2. Enter the permanent code that the dealership
gave you.
3. Within five seconds,
press 1/2.
4. Within five seconds of pressing 1/2, enter your
personal code, pressing each digit within five
seconds of the previous digit.
You can now use either code. The system
remembers only one personal code at a time.
To erase your personal code:
1. Enter the original permanent code.
123
45678
90
123
45678
90
com_keyless_programming.01
Controls and features
37
Page 38 of 167

2. Press 1/2 within five
seconds of step one.
3. Wait six seconds.
For maximum security, do not set a code that
presents the numbers in sequential order or uses the
same button five times.
Unlocking the doors with the keyless entry
system
The driver's door must be unlocked before any
other. If more than five seconds pass between
pressing numbers, enter the code again. The system
has shut down if the keypad light is out. If the
keyless entry system does not work, use the key or
remote entry transmitter(s).
1. To unlock the driver's door, enter one of the two
codes. After pressing the fifth number, the driver's
door unlocks.
2. To unlock the
passenger's door(s) and
liftgate (wagon), press
the 3/4 button within
five seconds of unlocking the driver's door.
3. To unlock the trunk
or liftgate (wagon),
enter the five-digit
factory code, then
press the 5/6 button within five seconds.
Locking the doors with the keyless entry
system
To lock all the doors,
press 7/8 and 9/0 at the
same time. It is not
necessary to first enter
the keypad code.
123
45678
90
123
45678
90
123
45678
90
123
45678
90
com_keyless_unlocking.01
com_keyless_locking.01
com_keyless_perimeter.01
Controls and features
38
Page 39 of 167

Operating your perimeter anti-theft system (if
equipped) from the keyless entry pad
The keyless entry
system arms by
pressing 7/8 and 9/0.
To disarm or reset a triggered anti-theft alarm, enter
the five digit code.
All doors must be fully closed for the anti-theft
system to arm. Refer to theAnti-theft system
section, if equipped, in this chapter for more details.
Autolock
The autolock feature is part of your remote keyless
entry system which locks all of the doors when:
²all vehicle doors are closed
²the ignition key is turned to the ON position
²the brake pedal is pressed
²you shift through R (reverse)
²one second has elapsed after the brake pedal is
released.
The autolock feature repeats when:
²a door is opened and then all doors are closed
²the brake pedal is released.
The doors may not lock automatically if the driver:
²shifts through gears without pressing the brake
²shifts through gears quickly after starting the
vehicle
²releases their foot from the brake while someone
has stepped out of the vehicle for a moment.
Deactivating the system by using the controls for the
keyless entry system:
1. Enter your permanent five-digit entry code (not
the user code you may have set).
2. Within five seconds, press and hold 7/8.
123
45678
90
com_keyless_autolock.02
Controls and features
39
Page 40 of 167

3. Within five more
seconds, press and
release 3/4.
4. Release 7/8.
To reactivate the system, repeat the system
deactivating instructions.
You can also deactivate or reactivate the autolock
feature by this method:
1. Make sure the anti-theft system is not armed or
triggered, ignition is off and all doors are closed.
2. Turn the ignition key from OFF to ON.
3. Press the door power unlock switch three times.
4. Turn the ignition key from ON to OFF.
5. Press the door power unlock switch three times.
6. Turn the ignition key back to ON within 30
seconds of step two.
7. The horn should chirp once. If not, wait 30
seconds and repeat steps one through six.
8. Press the door power unlock switch.
9. Press the door power lock switch.
10. The horn will chirp once if the autolock feature
was deactivated, twice (one short chirp followed by
a long chirp) if the autolock feature was activated.
11. Turn the ignition key to OFF.
12. The horn will chirp once to confirm you
activated or deactivated the autolock feature.
123
45678
90
dno_remote-entry
Controls and features
40