brake Mercury Sable 2002 s User Guide
[x] Cancel search | Manufacturer: MERCURY, Model Year: 2002, Model line: Sable, Model: Mercury Sable 2002Pages: 240, PDF Size: 3.53 MB
Page 58 of 240
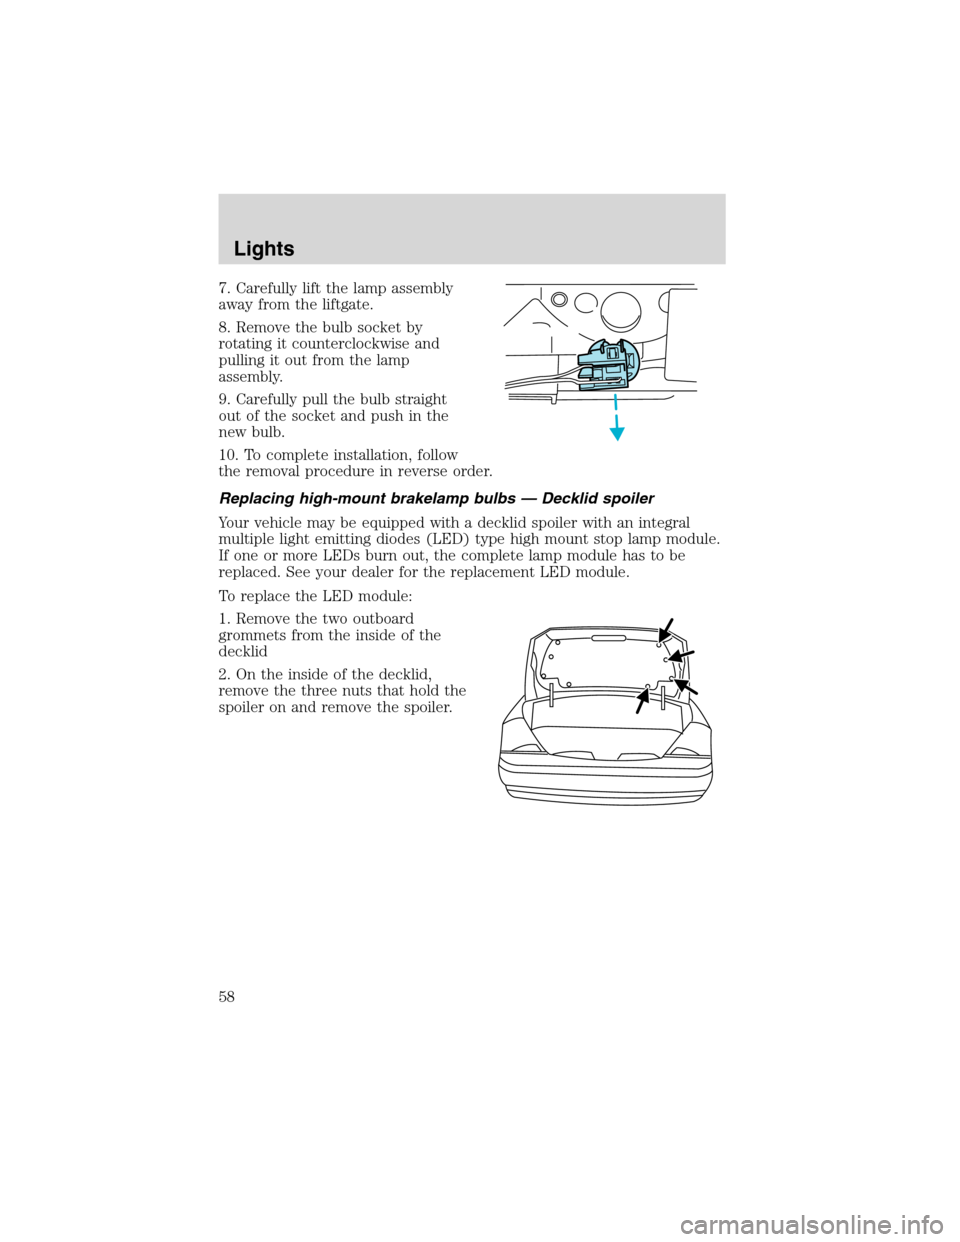
7. Carefully lift the lamp assembly
away from the liftgate.
8. Remove the bulb socket by
rotating it counterclockwise and
pulling it out from the lamp
assembly.
9. Carefully pull the bulb straight
out of the socket and push in the
new bulb.
10. To complete installation, follow
the removal procedure in reverse order.
Replacing high-mount brakelamp bulbs—Decklid spoiler
Your vehicle may be equipped with a decklid spoiler with an integral
multiple light emitting diodes (LED) type high mount stop lamp module.
If one or more LEDs burn out, the complete lamp module has to be
replaced. See your dealer for the replacement LED module.
To replace the LED module:
1. Remove the two outboard
grommets from the inside of the
decklid
2. On the inside of the decklid,
remove the three nuts that hold the
spoiler on and remove the spoiler.
Lights
58
Page 60 of 240
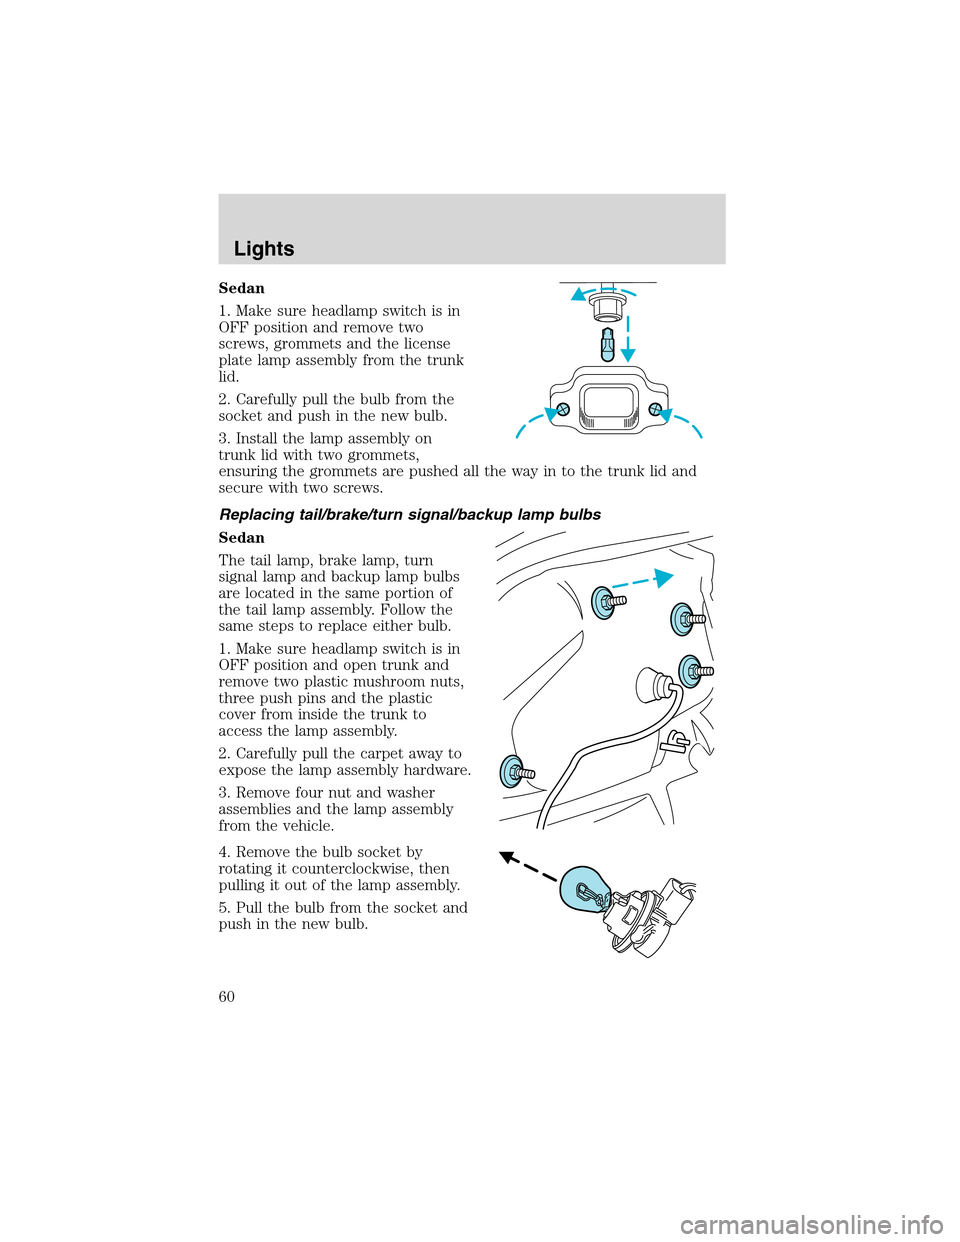
Sedan
1. Make sure headlamp switch is in
OFF position and remove two
screws, grommets and the license
plate lamp assembly from the trunk
lid.
2. Carefully pull the bulb from the
socket and push in the new bulb.
3. Install the lamp assembly on
trunk lid with two grommets,
ensuring the grommets are pushed all the way in to the trunk lid and
secure with two screws.
Replacing tail/brake/turn signal/backup lamp bulbs
Sedan
The tail lamp, brake lamp, turn
signal lamp and backup lamp bulbs
are located in the same portion of
the tail lamp assembly. Follow the
same steps to replace either bulb.
1. Make sure headlamp switch is in
OFF position and open trunk and
remove two plastic mushroom nuts,
three push pins and the plastic
cover from inside the trunk to
access the lamp assembly.
2. Carefully pull the carpet away to
expose the lamp assembly hardware.
3. Remove four nut and washer
assemblies and the lamp assembly
from the vehicle.
4. Remove the bulb socket by
rotating it counterclockwise, then
pulling it out of the lamp assembly.
5. Pull the bulb from the socket and
push in the new bulb.
Lights
60
Page 69 of 240
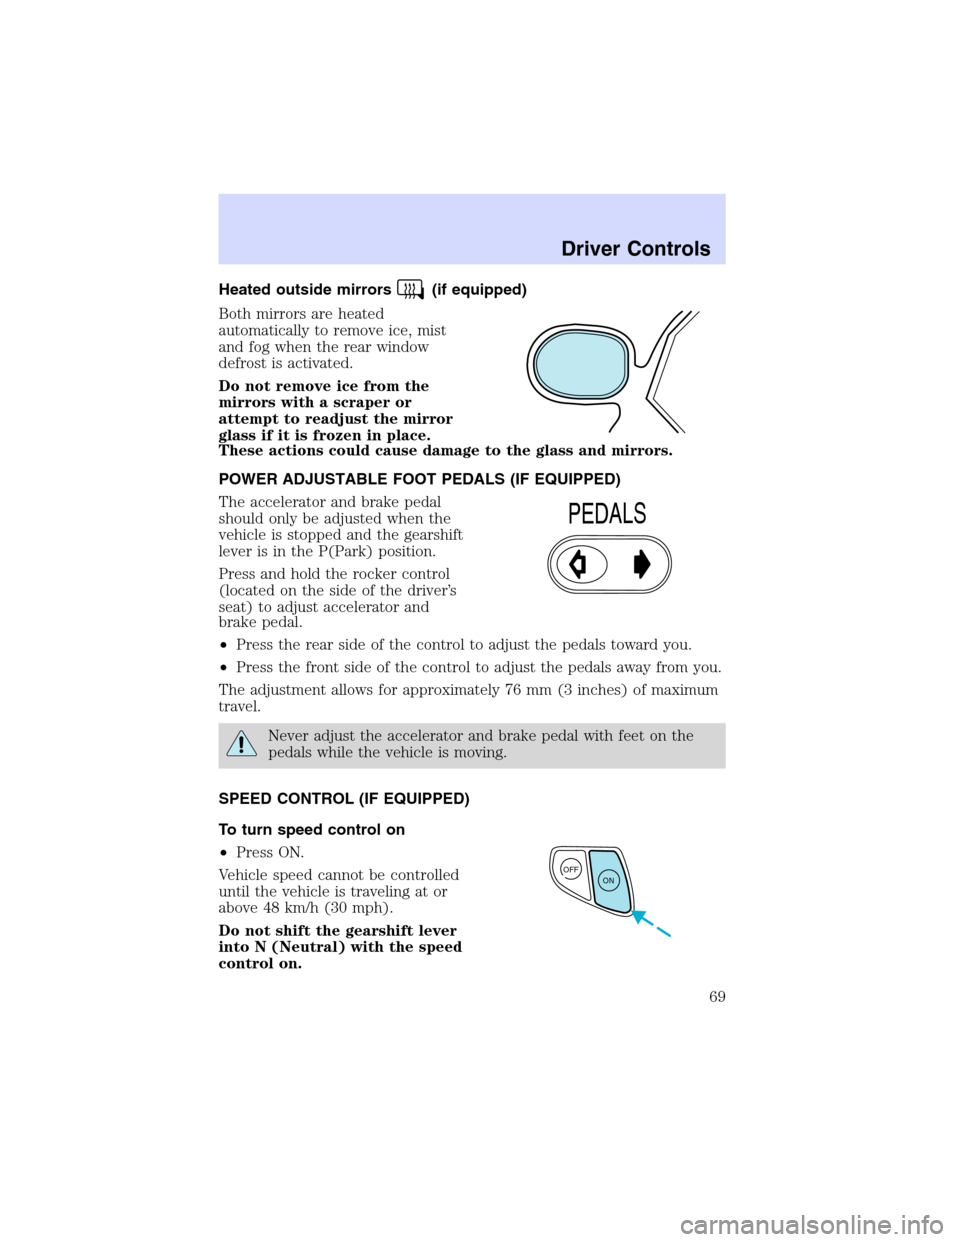
Heated outside mirrors(if equipped)
Both mirrors are heated
automatically to remove ice, mist
and fog when the rear window
defrost is activated.
Do not remove ice from the
mirrors with a scraper or
attempt to readjust the mirror
glass if it is frozen in place.
These actions could cause damage to the glass and mirrors.
POWER ADJUSTABLE FOOT PEDALS (IF EQUIPPED)
The accelerator and brake pedal
should only be adjusted when the
vehicle is stopped and the gearshift
lever is in the P(Park) position.
Press and hold the rocker control
(located on the side of the driver’s
seat) to adjust accelerator and
brake pedal.
•Press the rear side of the control to adjust the pedals toward you.
•Press the front side of the control to adjust the pedals away from you.
The adjustment allows for approximately 76 mm (3 inches) of maximum
travel.
Never adjust the accelerator and brake pedal with feet on the
pedals while the vehicle is moving.
SPEED CONTROL (IF EQUIPPED)
To turn speed control on
•Press ON.
Vehicle speed cannot be controlled
until the vehicle is traveling at or
above 48 km/h (30 mph).
Do not shift the gearshift lever
into N (Neutral) with the speed
control on.
PEDALS
OFF
ON
Driver Controls
69
Page 70 of 240
Do not use the speed control in heavy traffic or on roads that
are winding, slippery, or unpaved.
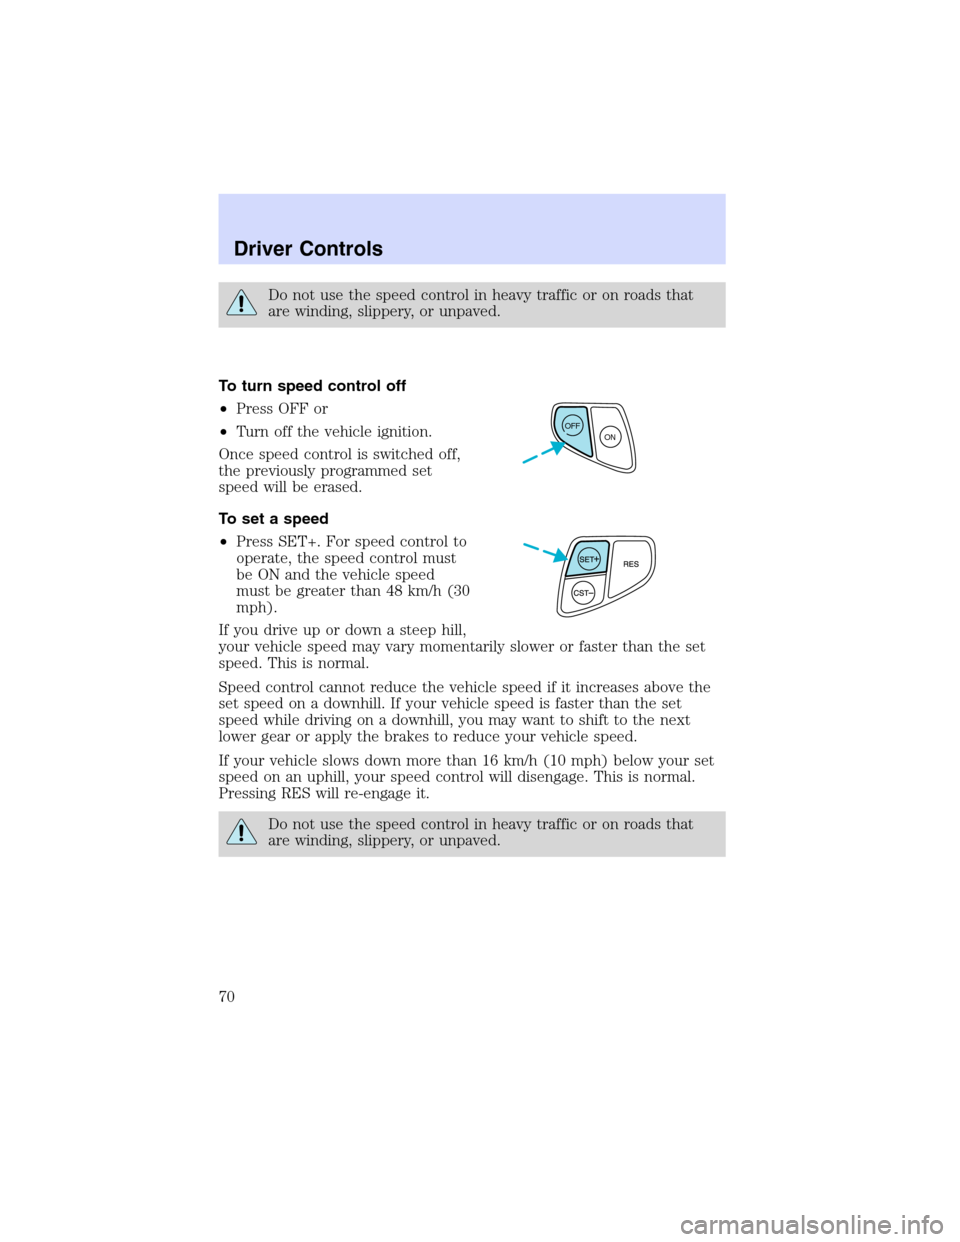
To turn speed control off
•Press OFF or
•Turn off the vehicle ignition.
Once speed control is switched off,
the previously programmed set
speed will be erased.
To set a speed
•Press SET+. For speed control to
operate, the speed control must
be ON and the vehicle speed
must be greater than 48 km/h (30
mph).
If you drive up or down a steep hill,
your vehicle speed may vary momentarily slower or faster than the set
speed. This is normal.
Speed control cannot reduce the vehicle speed if it increases above the
set speed on a downhill. If your vehicle speed is faster than the set
speed while driving on a downhill, you may want to shift to the next
lower gear or apply the brakes to reduce your vehicle speed.
If your vehicle slows down more than 16 km/h (10 mph) below your set
speed on an uphill, your speed control will disengage. This is normal.
Pressing RES will re-engage it.
Do not use the speed control in heavy traffic or on roads that
are winding, slippery, or unpaved.
OFF
ON
Driver Controls
70
Page 71 of 240

To set a higher set speed
•Press and hold SET +. Release
the control when the desired
vehicle speed is reached or
•Press and release SET + to
operate the Tap-Up function.
Each press will increase the set
speed by 1.6 km/h (1 mph) or
•Accelerate with your accelerator pedal. When the desired vehicle
speed is reached, press and release SET +.
You can accelerate with the accelerator pedal at any time during speed
control usage. Releasing the accelerator pedal will return your vehicle to
the previously programmed set speed.
To set a lower set speed
•Press and hold CST �. Release
the control when the desired
speed is reached or
•Press and release CST � to
operate the Tap-Down function.
Each press will decrease the set
speed by 1.6 km/h (1 mph) or
•Depress the brake pedal. When
the desired vehicle speed is
reached, press SET +.
Driver Controls
71
Page 72 of 240

To disengage speed control
•Depress the brake pedal.
Disengaging the speed control will
not erase the previously
programmed set speed.
Pressing OFF will erase the
previously programmed set speed.
To return to a previously set speed
•Press RES. For RES to operate,
the vehicle speed must be faster
than 48 km/h (30 mph).
Indicator light
This light comes on when either the
SET or RES controls are pressed. It
turns off when the speed control
OFF control is pressed, the brake is applied or the ignition is turned to
the OFF position.
OFF
ON
CRUISE
Driver Controls
72
Page 75 of 240
To avoid potential distraction and increased risk of injury or
accident, Ford recommends you do not use the phone while
driving.
Please pull off the road and park before making or answering a call.
To prevent damage to the antenna or your car, remove the cellular phone
antenna mast before using an automatic car wash.
POSITIVE RETENTION FLOOR MAT
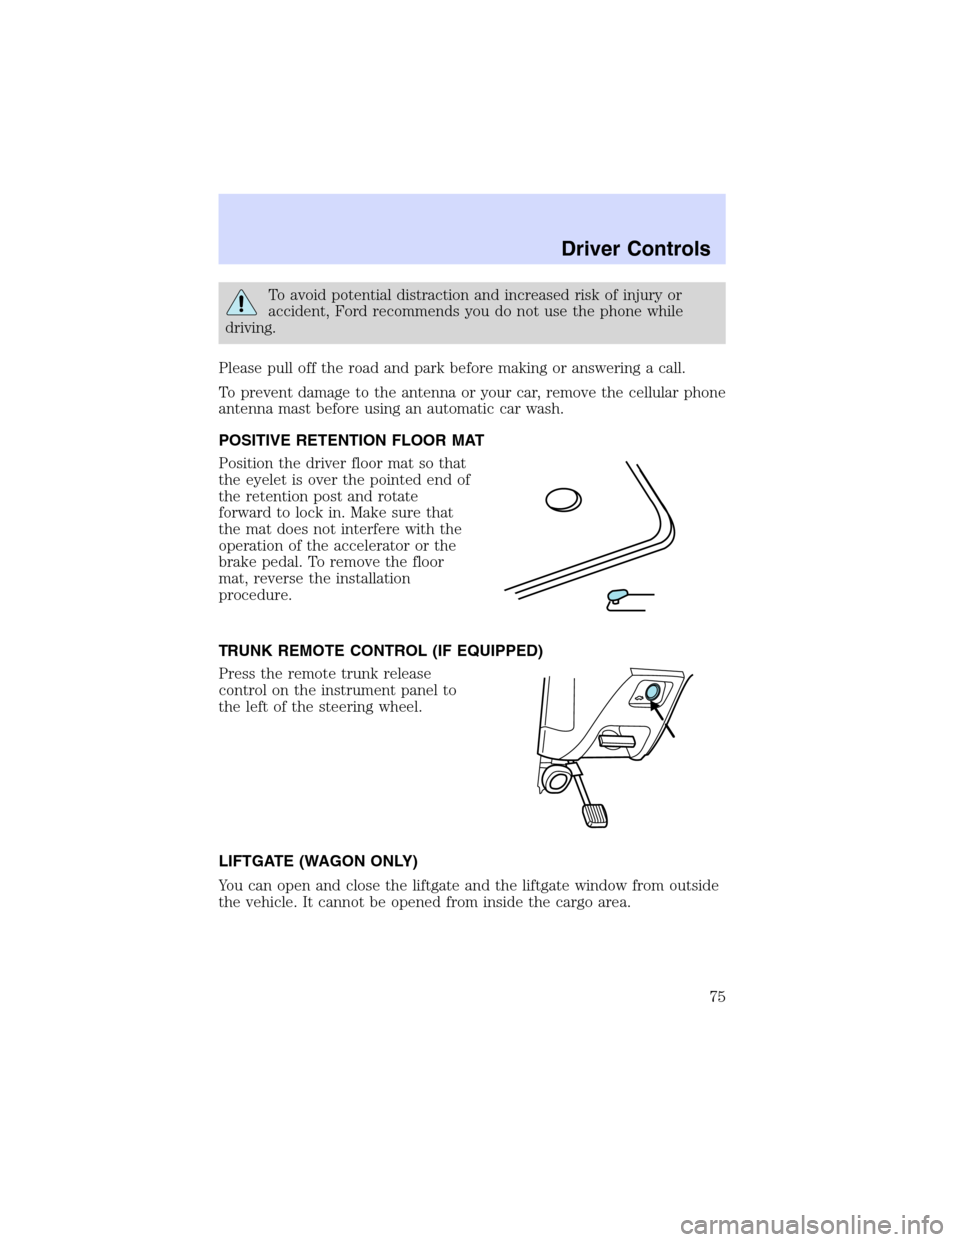
Position the driver floor mat so that
the eyelet is over the pointed end of
the retention post and rotate
forward to lock in. Make sure that
the mat does not interfere with the
operation of the accelerator or the
brake pedal. To remove the floor
mat, reverse the installation
procedure.
TRUNK REMOTE CONTROL (IF EQUIPPED)
Press the remote trunk release
control on the instrument panel to
the left of the steering wheel.
LIFTGATE (WAGON ONLY)
You can open and close the liftgate and the liftgate window from outside
the vehicle. It cannot be opened from inside the cargo area.
Driver Controls
75
Page 104 of 240
response to vehicle movement. For example, if the driver brakes
suddenly or turns a corner sharply, or the vehicle receives an impact of
approximately 8 km/h (5 mph) or more, the combination safety belts will
lock to help reduce forward movement of the driver and passengers.
Automatic locking mode
In this mode, the shoulder belt is automatically pre-locked. The belt will
still retract to remove any slack in the shoulder belt.
The automatic locking mode is not available on the driver safety belt.
When to use the automatic locking mode
•Any timea child safety seat is installed in the vehicle. Children 12
years old and under should be properly restrained in the rear seat
whenever possible. Refer toSafety restraints for childrenorSafety
seats for childrenlater in this chapter.
In this mode, the shoulder belt is automatically pre-locked. The belt will
still retract to remove any slack in the shoulder belt. The automatic
locking mode is not available on the driver safety belt.
This mode should be usedany timea child safety seat is installed in the
vehicle. Children 12 years old and under should be properly restrained in
the rear seat whenever possible. Refer toSafety restraints for children
orSafety seats for childrenlater in this chapter.
How to use the automatic locking mode
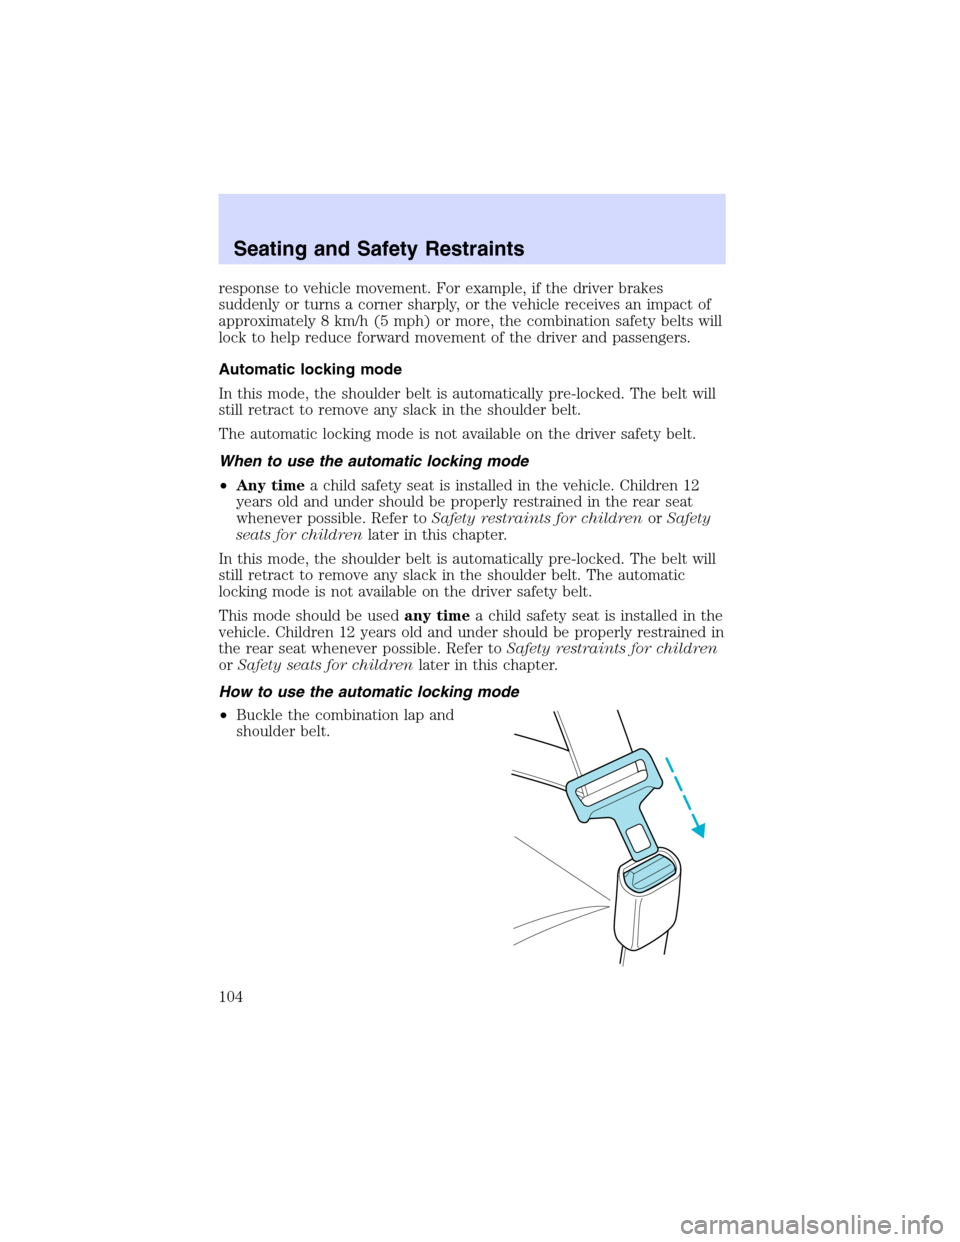
•Buckle the combination lap and
shoulder belt.
Seating and Safety Restraints
104
Page 109 of 240
grasp the tongue so that it is parallel to the webbing and slide the
tongue upward. Provide enough length so that the tongue can reach the
buckle.
To fasten the belt, pull the combination lap and shoulder belt from the
retractor so that the shoulder belt portion of the safety belt crosses your
shoulder and chest. Be sure the belt is not twisted. If the belt is twisted,
remove the twist. Insert the tongue into the proper buckle for your
seating position until you hear a snap and feel it latch. Make sure the
tongue is securely fastened to the buckle by pulling on the tongue.
The lap belt should fit snugly and as low as possible around the
hips, not across the waist.
Front and rear seat occupants, including pregnant women,
should wear safety belts for optimum protection in an accident.
Each seating position in your vehicle has a specific safety belt
assembly which is made up of one buckle and one tongue that
are designed to be used as a pair. 1) Use the shoulder belt on the
outside shoulder only. Never wear the shoulder belt under the arm.
2) Never swing the safety belt around your neck over the inside
shoulder. 3) Never use a single belt for more than one person.
Due to folding rear seats, sometimes the buckles and tongues toward the
center of the vehicle may be hidden by the rear edge of the seat cushion.
Pull them out so they will be accessible.
While you are fastened in the seat belt, the shoulder belt adjusts to your
movement. However, if you brake hard, turn hard or your vehicle
receives an impact of 8 km/h (5 mph) or more, the safety belt will
become locked and help reduce your forward movement.
To unfasten the belt, push the red release button on the end of the
buckle. This allows the tongue to unlatch from the buckle. While the belt
retracts, guide the tongue to its original position to prevent it from
striking you or the vehicle.
Safety belt warning light and indicator chime
The safety belt warning light illuminates in the instrument cluster and a
chime sounds to remind the occupants to fasten their safety belts.
Seating and Safety Restraints
109
Page 112 of 240
Reasons given... Consider...
“Belts wrinkle my clothes”Possibly, but a serious crash can do
much more than wrinkle your clothes,
particularly if you are unbelted.
“The people I’m with don’t
wear belts”Set the example, teen deaths occur 4
times more often in vehicles with
TWO or MORE people. Children and
younger brothers/sisters imitate
behavior they see.
“I have an air bag”Air bags offer greater protection when
used with safety belts. Frontal airbags
are not designed to inflate in rear and
side crashes or rollovers.
“I’d rather be thrown clear”Not a good idea.Peoplewho are
ejected are 40 times more likely
to DIE.Safety belts help prevent
ejection, WE CAN’T“PICK OUR
CRASH”.
Do not sit on top of a buckled safety belt to avoid the Belt
Minder chime. Sitting on the safety belt will increase the risk of
injury in an accident. To disable (one-time) or deactivate the Belt
Minder feature please follow the directions stated below.
One time disable
Anytime the safety belt is buckled and then unbuckled during an ignition
ON cycle, BeltMinder will be disabled for that ignition cycle only. The
safety belt needs to be latched for a minimum of 3 seconds before belt
minder is disabled.
Deactivating/activating the BeltMinder feature
Read steps1-9thoroughly before proceeding with the
deactivation/activation programming procedure.
The BeltMinder feature can be deactivated/activated by performing the
following procedure:
Before following the procedure, make sure that:
•The parking brake is set
•The gearshift is in P (Park) (automatic transmission)
Seating and Safety Restraints
112