brake Mercury Sable 2002 Owner's Manuals
[x] Cancel search | Manufacturer: MERCURY, Model Year: 2002, Model line: Sable, Model: Mercury Sable 2002Pages: 240, PDF Size: 3.53 MB
Page 2 of 240
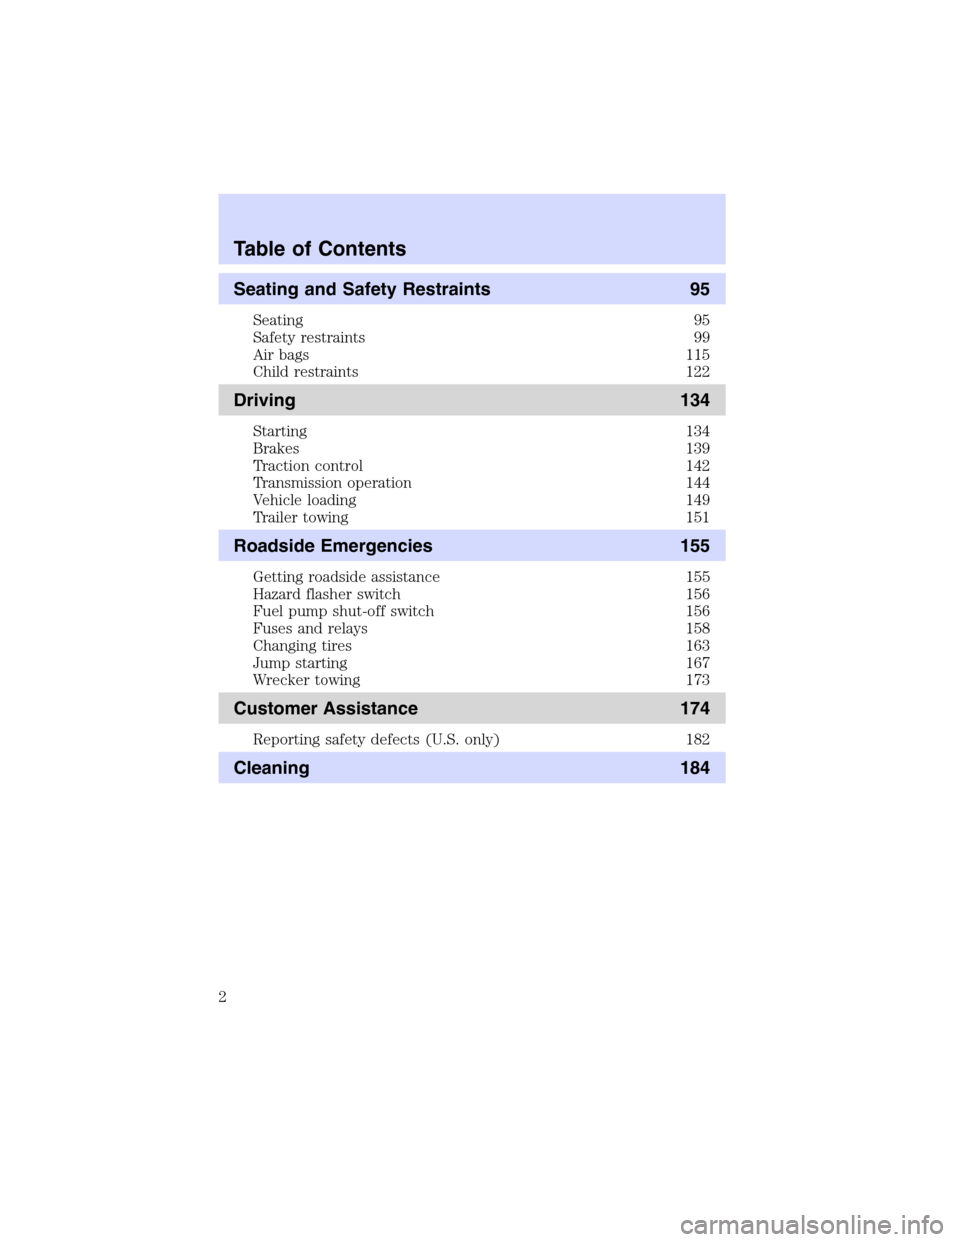
Seating and Safety Restraints 95
Seating 95
Safety restraints 99
Air bags 115
Child restraints 122
Driving 134
Starting 134
Brakes 139
Traction control 142
Transmission operation 144
Vehicle loading 149
Trailer towing 151
Roadside Emergencies 155
Getting roadside assistance 155
Hazard flasher switch 156
Fuel pump shut-off switch 156
Fuses and relays 158
Changing tires 163
Jump starting 167
Wrecker towing 173
Customer Assistance 174
Reporting safety defects (U.S. only) 182
Cleaning 184
Table of Contents
2
Page 8 of 240
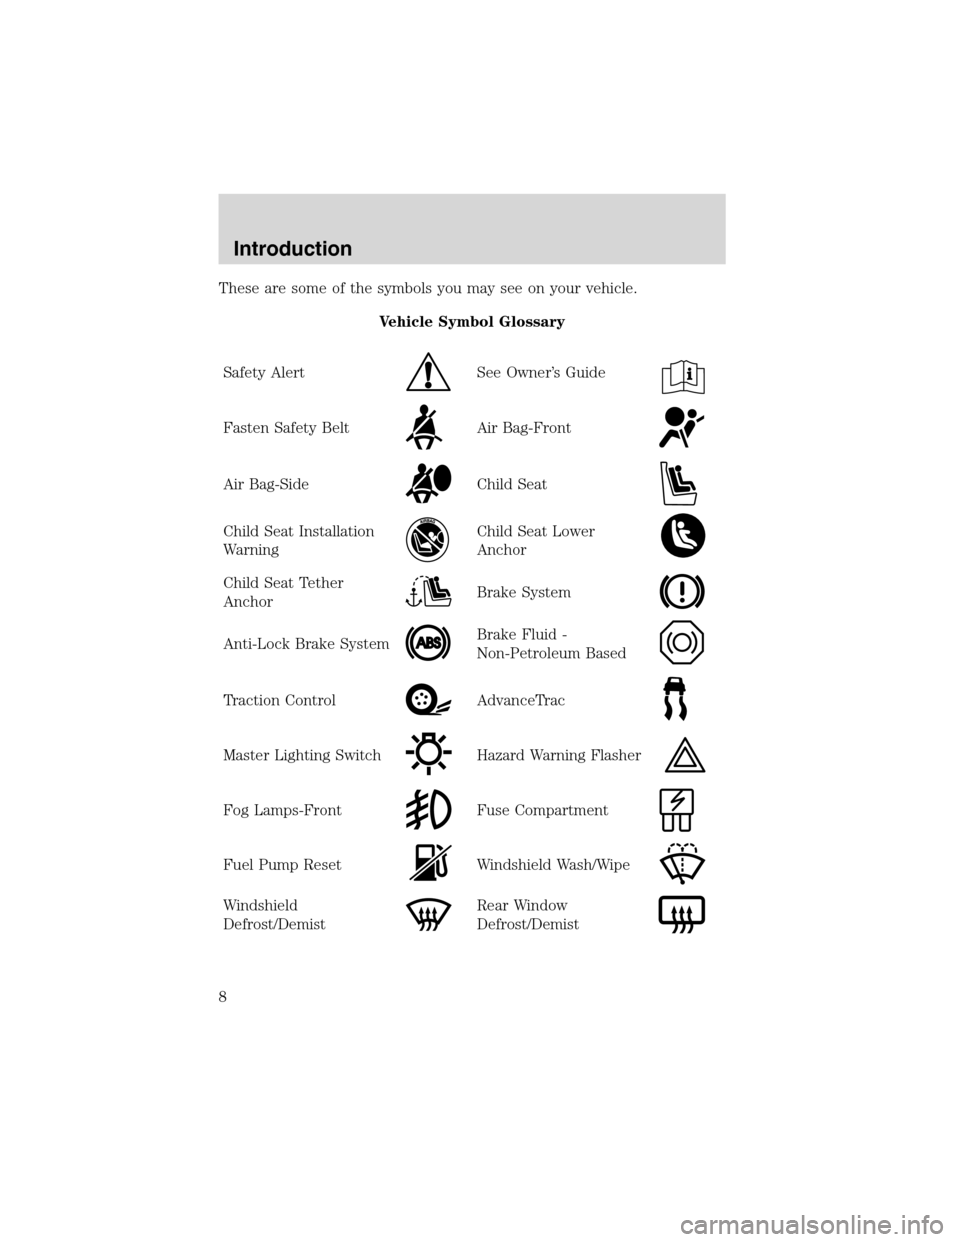
These are some of the symbols you may see on your vehicle.
Vehicle Symbol Glossary
Safety Alert
See Owner’s Guide
Fasten Safety BeltAir Bag-Front
Air Bag-SideChild Seat
Child Seat Installation
WarningChild Seat Lower
Anchor
Child Seat Tether
AnchorBrake System
Anti-Lock Brake SystemBrake Fluid -
Non-Petroleum Based
Traction ControlAdvanceTrac
Master Lighting SwitchHazard Warning Flasher
Fog Lamps-FrontFuse Compartment
Fuel Pump ResetWindshield Wash/Wipe
Windshield
Defrost/DemistRear Window
Defrost/Demist
Introduction
8
Page 10 of 240
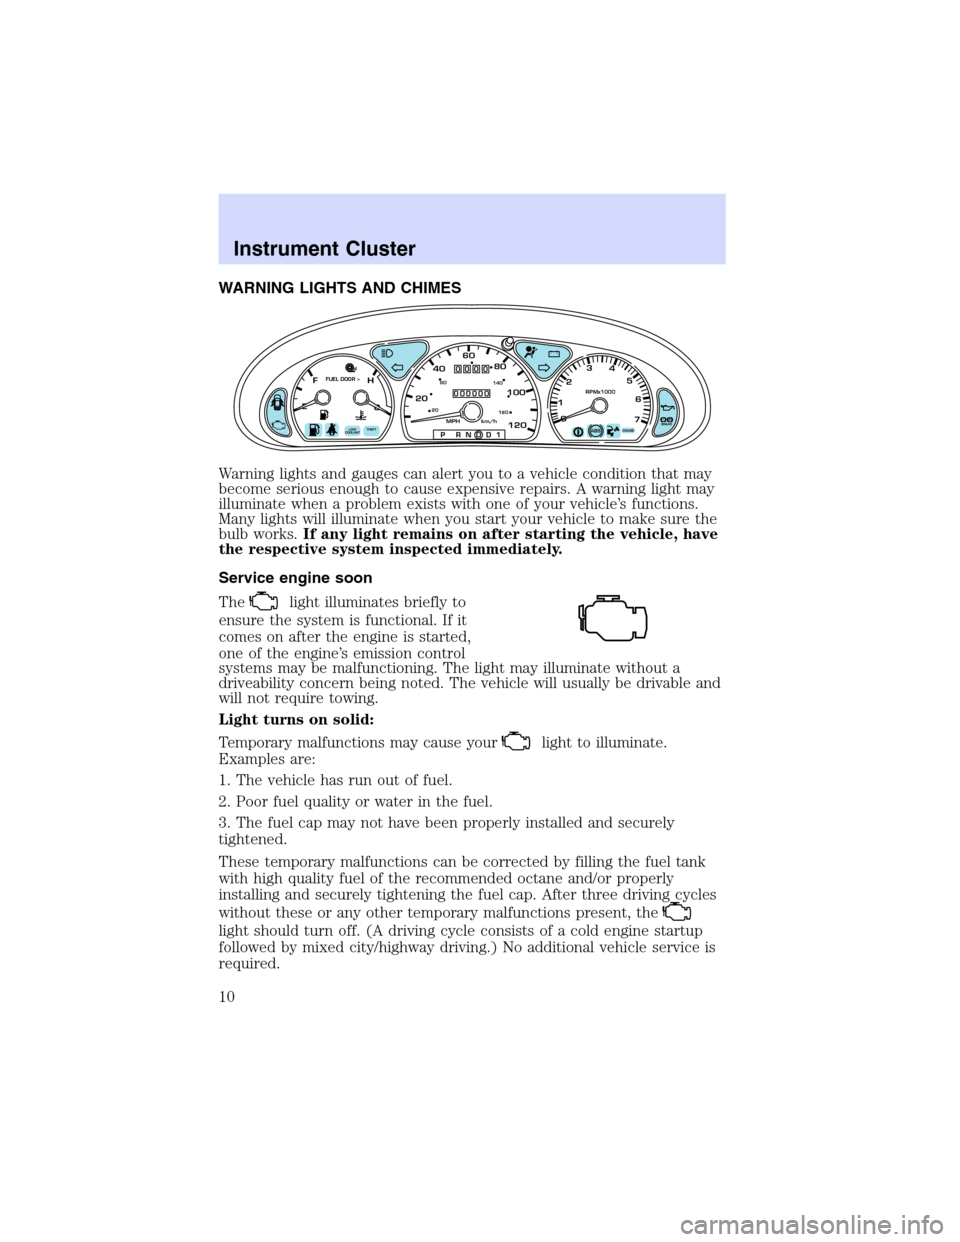
WARNING LIGHTS AND CHIMES
Warning lights and gauges can alert you to a vehicle condition that may
become serious enough to cause expensive repairs. A warning light may
illuminate when a problem exists with one of your vehicle’s functions.
Many lights will illuminate when you start your vehicle to make sure the
bulb works.If any light remains on after starting the vehicle, have
the respective system inspected immediately.
Service engine soon
The
light illuminates briefly to
ensure the system is functional. If it
comes on after the engine is started,
one of the engine’s emission control
systems may be malfunctioning. The light may illuminate without a
driveability concern being noted. The vehicle will usually be drivable and
will not require towing.
Light turns on solid:
Temporary malfunctions may cause your
light to illuminate.
Examples are:
1. The vehicle has run out of fuel.
2. Poor fuel quality or water in the fuel.
3. The fuel cap may not have been properly installed and securely
tightened.
These temporary malfunctions can be corrected by filling the fuel tank
with high quality fuel of the recommended octane and/or properly
installing and securely tightening the fuel cap. After three driving cycles
without these or any other temporary malfunctions present, the
light should turn off. (A driving cycle consists of a cold engine startup
followed by mixed city/highway driving.) No additional vehicle service is
required.
P!
BRAKE
+ –
CRUISE
RPMx1000
ABS0 123
4
5
6
7
204060
80
100
1202060
140
180
P R N D D 1MPH km/h
000000
0000
EFC H
FUEL DOOR >
THEFT LOW
COOLANT
Instrument Cluster
10
Page 11 of 240
If thelight remains on, have your vehicle serviced at the first
available opportunity.
Note:The
light will illuminate if vehicle refueling is conducted
with the engine running.
Never refuel vehicle with the engine running.
Light is blinking:
Engine misfire is occurring which could damage your catalytic converter.
You should drive in a moderate fashion (avoid heavy acceleration and
deceleration) and have your vehicle serviced at the first available
opportunity.
Under engine misfire conditions, excessive exhaust temperatures
could damage the catalytic converter, the fuel system, interior
floor coverings or other vehicle components, possibly causing a fire.
Check fuel cap
Illuminates when the fuel cap is not
installed correctly. Check the fuel
cap for proper installation. When
the fuel filler cap is properly
re-installed, the light(s) will turn off
after a period of normal driving.
Continuing to operate the vehicle with the check fuel cap light on, or a
mis-installed fuel cap can activate theService Engine Soon/Check
Enginewarning light.
It may take a long period of time for the system to detect an
improperly installed fuel filler cap.
For more information, refer toFuel filler capin theMaintenance and
specificationschapter.
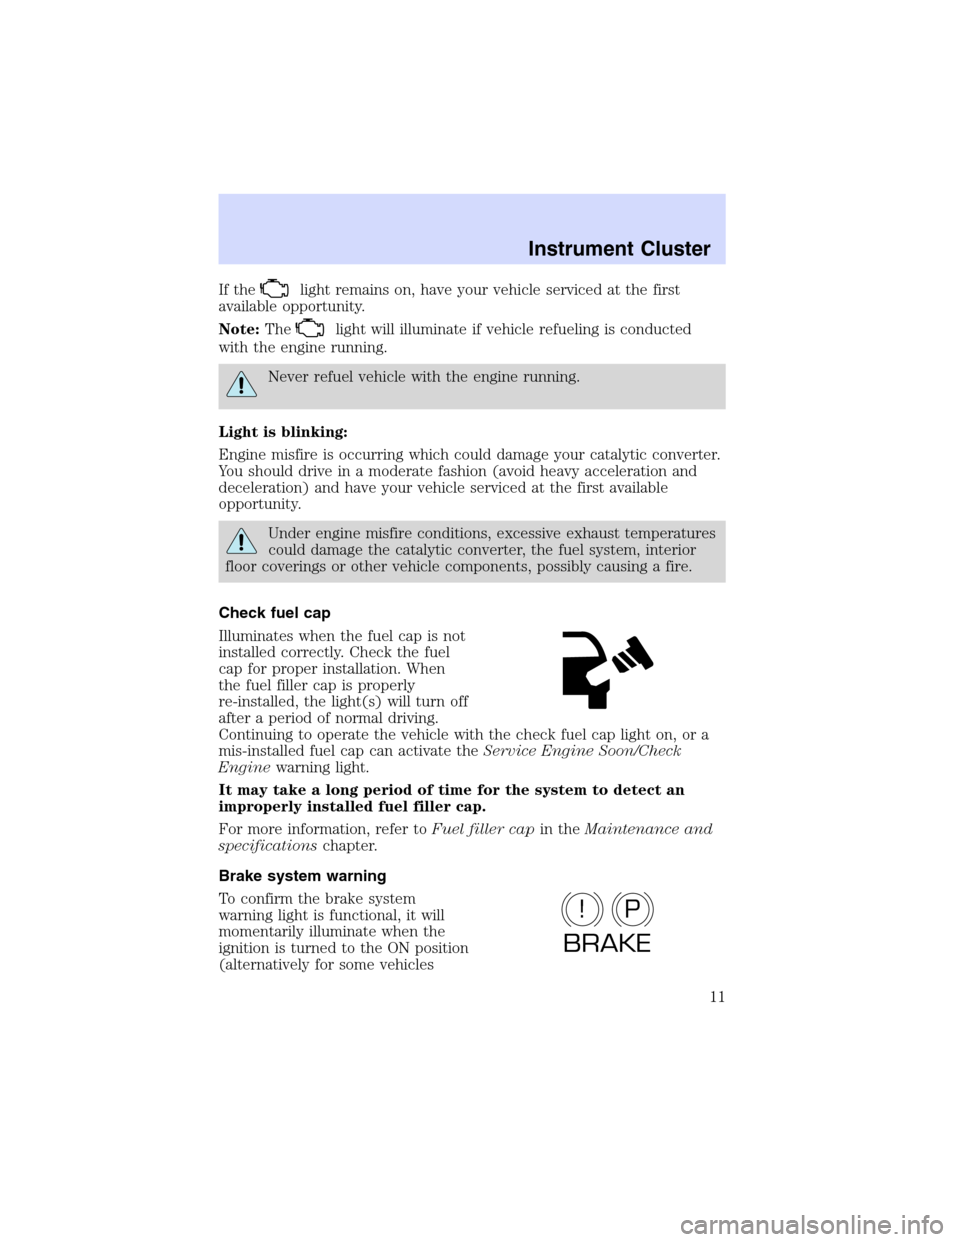
Brake system warning
To confirm the brake system
warning light is functional, it will
momentarily illuminate when the
ignition is turned to the ON position
(alternatively for some vehicles
P!
BRAKE
Instrument Cluster
11
Page 12 of 240
when the ignition is moved from the ON position to START position, the
light will momentarily illuminate prior to reaching the START position).
It also illuminates if the parking brake is engaged. If the brake system
warning light does not illuminate as described, seek service immediately.
Illumination after the parking brake is released indicates low brake fluid
level or a brake system malfunction and the brake system should be
serviced immediately by a qualified technician.
Refer toBrakesin theDrivingchapter for more information.
Anti-lock brake system (ABS) (If equipped)
To confirm the anti-lock brake
system (ABS) warning light is
functional it will momentarily
illuminate when the ignition is
turned to the ON position
(alternatively for some vehicles when the ignition is moved from the ON
position to the START position, the light will momentarily illuminate just
prior to reaching the START position). If the light remains on, continues
to flash or fails to illuminate, have the ABS serviced immediately. If the
ABS light remains on, it means the anti-lock brake system has
malfunctioned and is disabled, however, the normal brake system will
still function unless the brake warning light also remains illuminated and
parking brake is off. Refer toBrakesin theDrivingchapter for more
information.
Safety belt
Illuminates to remind you to fasten
your safety belts. For more
information, refer to theSeating
and safety restraintschapter.
Air bag readiness
Illuminates to confirm that the air
bags (front or side) are operational.
If the light fails to illuminate,
continues to flash or remains on,
have the system serviced immediately.
ABS
Instrument Cluster
12
Page 15 of 240
Headlamps on warning chime
Sounds when the headlamps or parking lamps are on, the key is removed
from the ignition and the driver’s door is opened.
Key-in-ignition warning chime
Sounds when the key is left in the ignition and the driver’s door is
opened.
Park brake warning chime
Sounds when the parking brake is set, the engine is running and the
transaxle is not in P (Park) or N (Neutral). The chime will shut off when
the parking brake is disengaged.
GAUGES
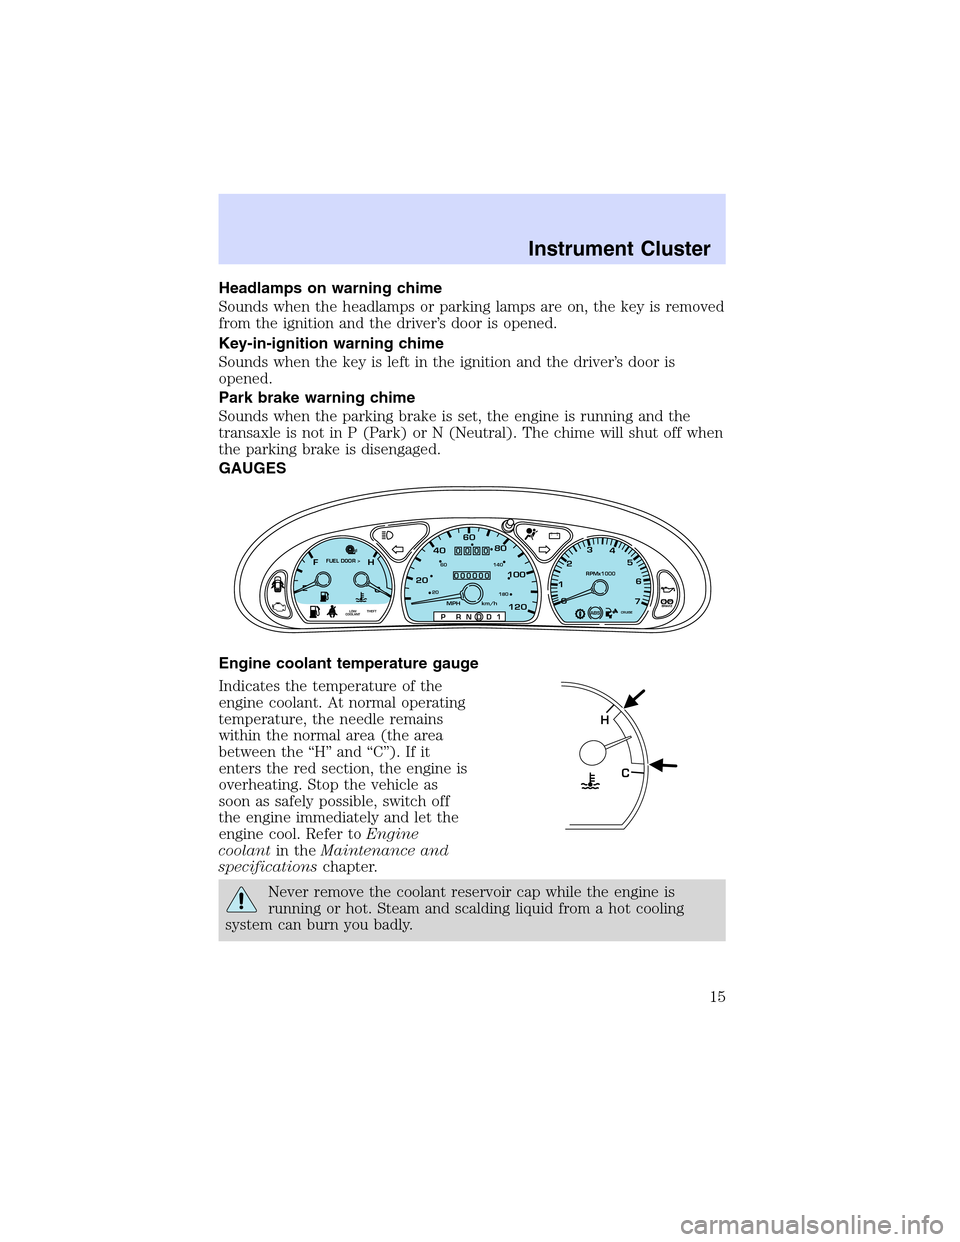
Engine coolant temperature gauge
Indicates the temperature of the
engine coolant. At normal operating
temperature, the needle remains
within the normal area (the area
between the“H”and“C”). If it
enters the red section, the engine is
overheating. Stop the vehicle as
soon as safely possible, switch off
the engine immediately and let the
engine cool. Refer toEngine
coolantin theMaintenance and
specificationschapter.
Never remove the coolant reservoir cap while the engine is
running or hot. Steam and scalding liquid from a hot cooling
system can burn you badly.
P!
BRAKE
+ –
CRUISE
RPMx1000
ABS0 123
4
5
6
7
204060
80
100
1202060
140
180
P R N D D 1MPH km/h
000000
0000
EFC H
FUEL DOOR >
THEFT LOW
COOLANTCRUISE
C H
Instrument Cluster
15
Page 51 of 240
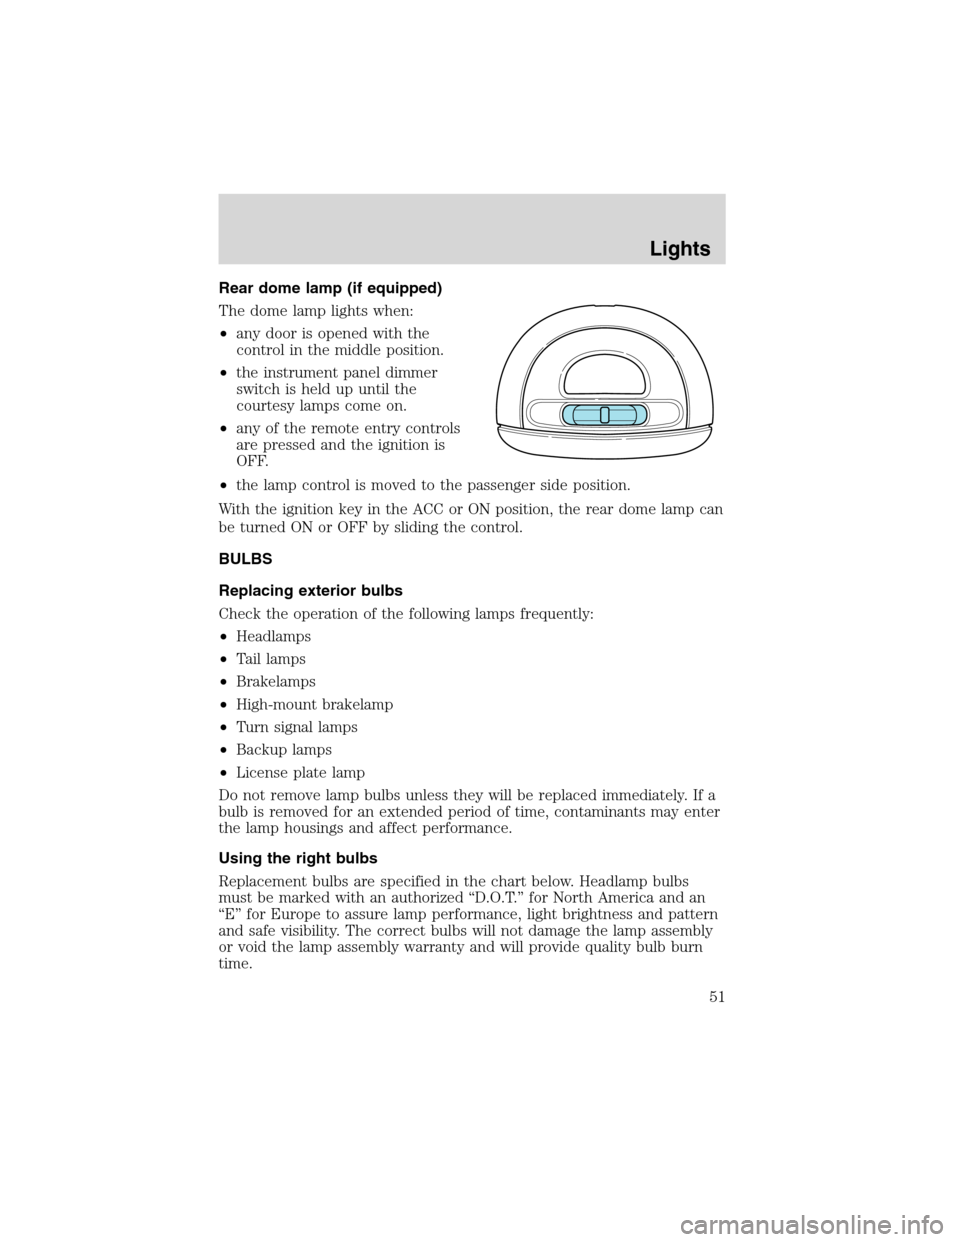
Rear dome lamp (if equipped)
The dome lamp lights when:
•any door is opened with the
control in the middle position.
•the instrument panel dimmer
switch is held up until the
courtesy lamps come on.
•any of the remote entry controls
are pressed and the ignition is
OFF.
•the lamp control is moved to the passenger side position.
With the ignition key in the ACC or ON position, the rear dome lamp can
be turned ON or OFF by sliding the control.
BULBS
Replacing exterior bulbs
Check the operation of the following lamps frequently:
•Headlamps
•Tail lamps
•Brakelamps
•High-mount brakelamp
•Turn signal lamps
•Backup lamps
•License plate lamp
Do not remove lamp bulbs unless they will be replaced immediately. If a
bulb is removed for an extended period of time, contaminants may enter
the lamp housings and affect performance.
Using the right bulbs
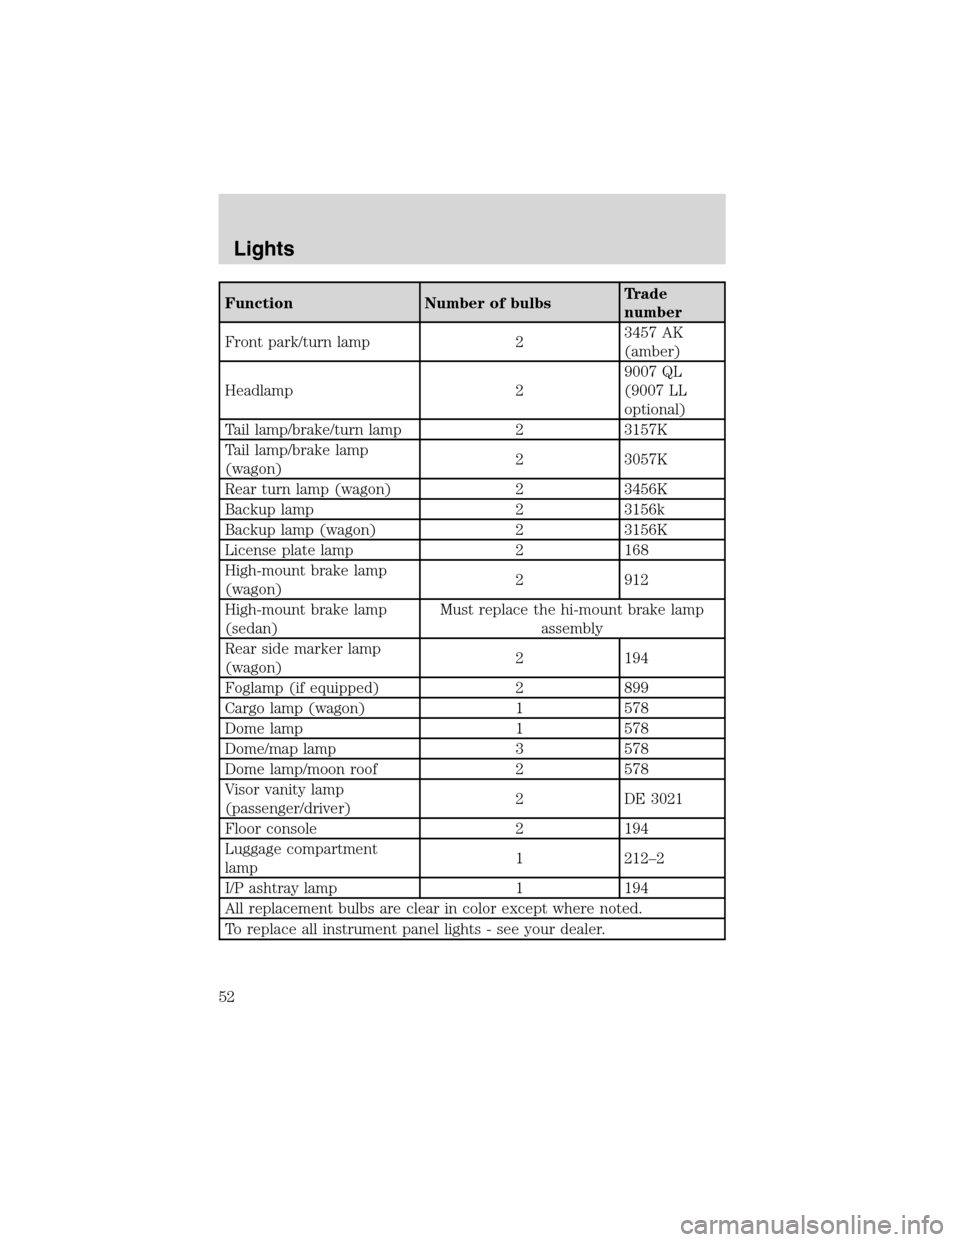
Replacement bulbs are specified in the chart below. Headlamp bulbs
must be marked with an authorized“D.O.T.”for North America and an
“E”for Europe to assure lamp performance, light brightness and pattern
and safe visibility. The correct bulbs will not damage the lamp assembly
or void the lamp assembly warranty and will provide quality bulb burn
time.
Lights
51
Page 52 of 240
Function Number of bulbsTrade
number
Front park/turn lamp 23457 AK
(amber)
Headlamp 29007 QL
(9007 LL
optional)
Tail lamp/brake/turn lamp 2 3157K
Tail lamp/brake lamp
(wagon)2 3057K
Rear turn lamp (wagon) 2 3456K
Backup lamp 2 3156k
Backup lamp (wagon) 2 3156K
License plate lamp 2 168
High-mount brake lamp
(wagon)2 912
High-mount brake lamp
(sedan)Must replace the hi-mount brake lamp
assembly
Rear side marker lamp
(wagon)2 194
Foglamp (if equipped) 2 899
Cargo lamp (wagon) 1 578
Dome lamp 1 578
Dome/map lamp 3 578
Dome lamp/moon roof 2 578
Visor vanity lamp
(passenger/driver)2 DE 3021
Floor console 2 194
Luggage compartment
lamp1 212–2
I/P ashtray lamp 1 194
All replacement bulbs are clear in color except where noted.
To replace all instrument panel lights - see your dealer.
Lights
52
Page 56 of 240
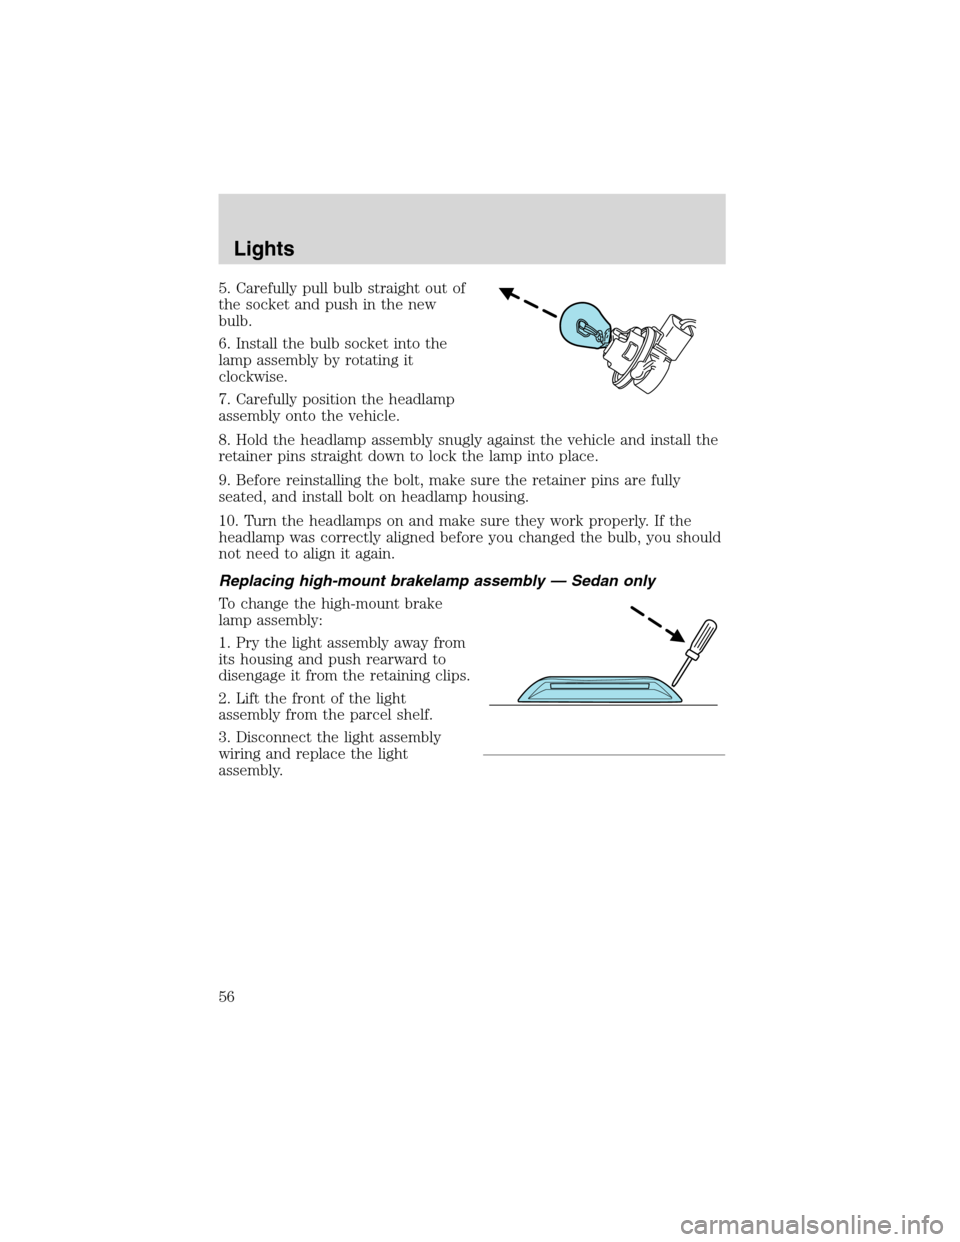
5. Carefully pull bulb straight out of
the socket and push in the new
bulb.
6. Install the bulb socket into the
lamp assembly by rotating it
clockwise.
7. Carefully position the headlamp
assembly onto the vehicle.
8. Hold the headlamp assembly snugly against the vehicle and install the
retainer pins straight down to lock the lamp into place.
9. Before reinstalling the bolt, make sure the retainer pins are fully
seated, and install bolt on headlamp housing.
10. Turn the headlamps on and make sure they work properly. If the
headlamp was correctly aligned before you changed the bulb, you should
not need to align it again.
Replacing high-mount brakelamp assembly — Sedan only
To change the high-mount brake
lamp assembly:
1. Pry the light assembly away from
its housing and push rearward to
disengage it from the retaining clips.
2. Lift the front of the light
assembly from the parcel shelf.
3. Disconnect the light assembly
wiring and replace the light
assembly.
Lights
56
Page 57 of 240

Replacing high-mount brakelamp bulbs—Wagon only
1. Open liftgate.
2. Remove two screw covers, screws
and handle from liftgate.
3. Remove two screws and the lower
trim panel from the liftgate.
4. Remove the upper trim panel.
5. Remove the rubber plug from the
lower access hole in the upper
portion of the liftgate.
6. Remove four nuts from the lamp
assembly.
Lights
57